
This post may contain affiliate links. Please read our disclosure policy.
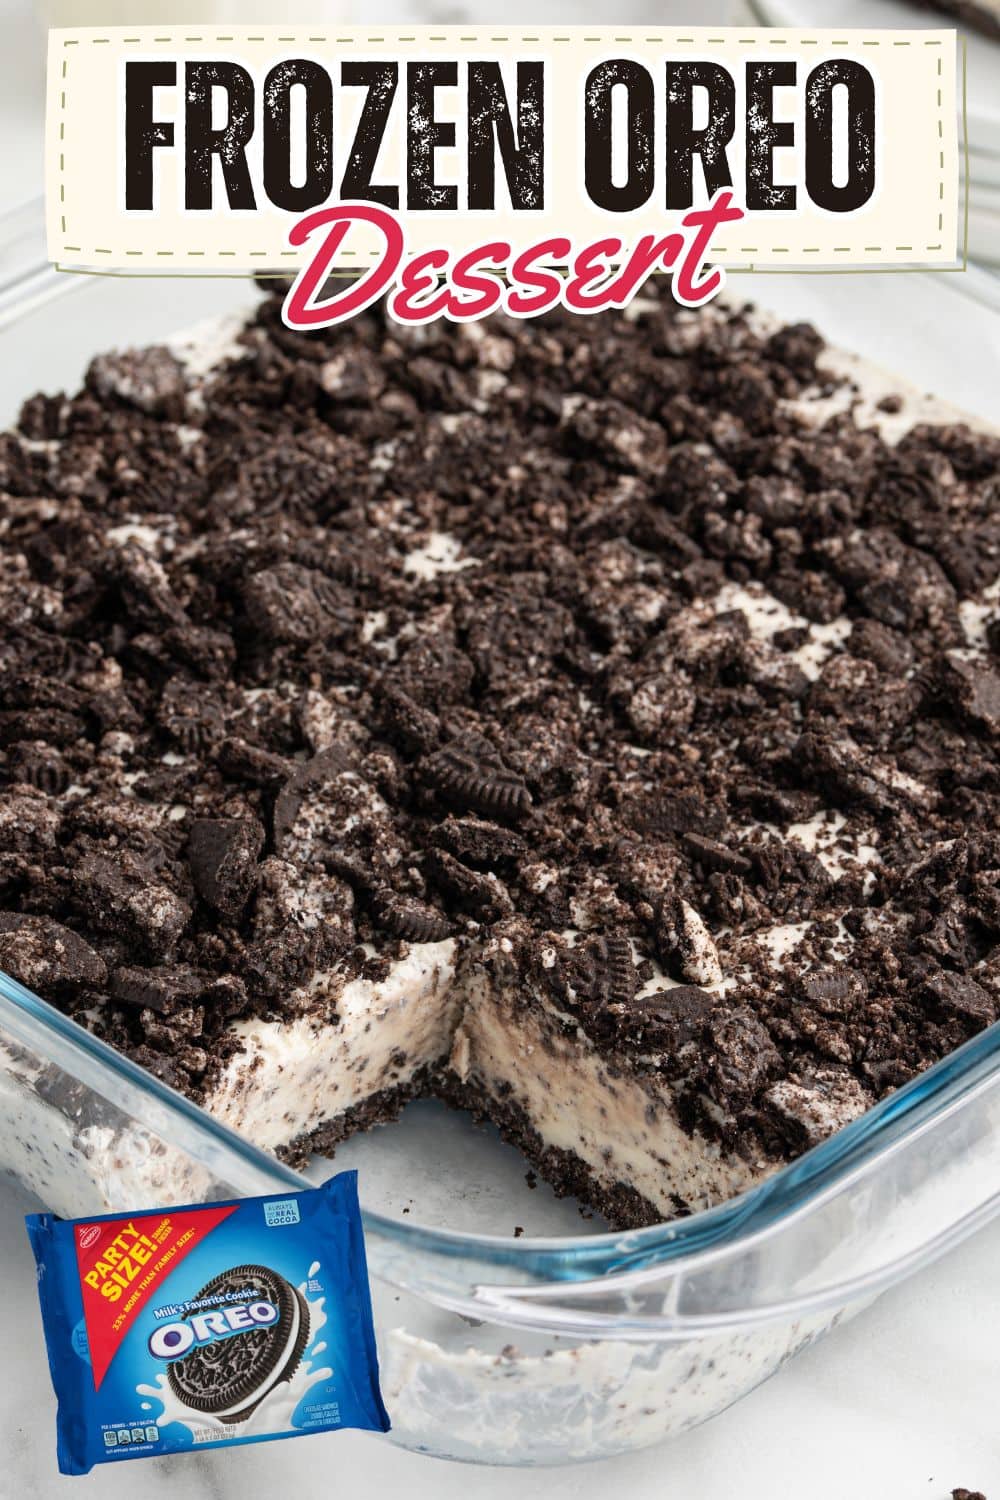
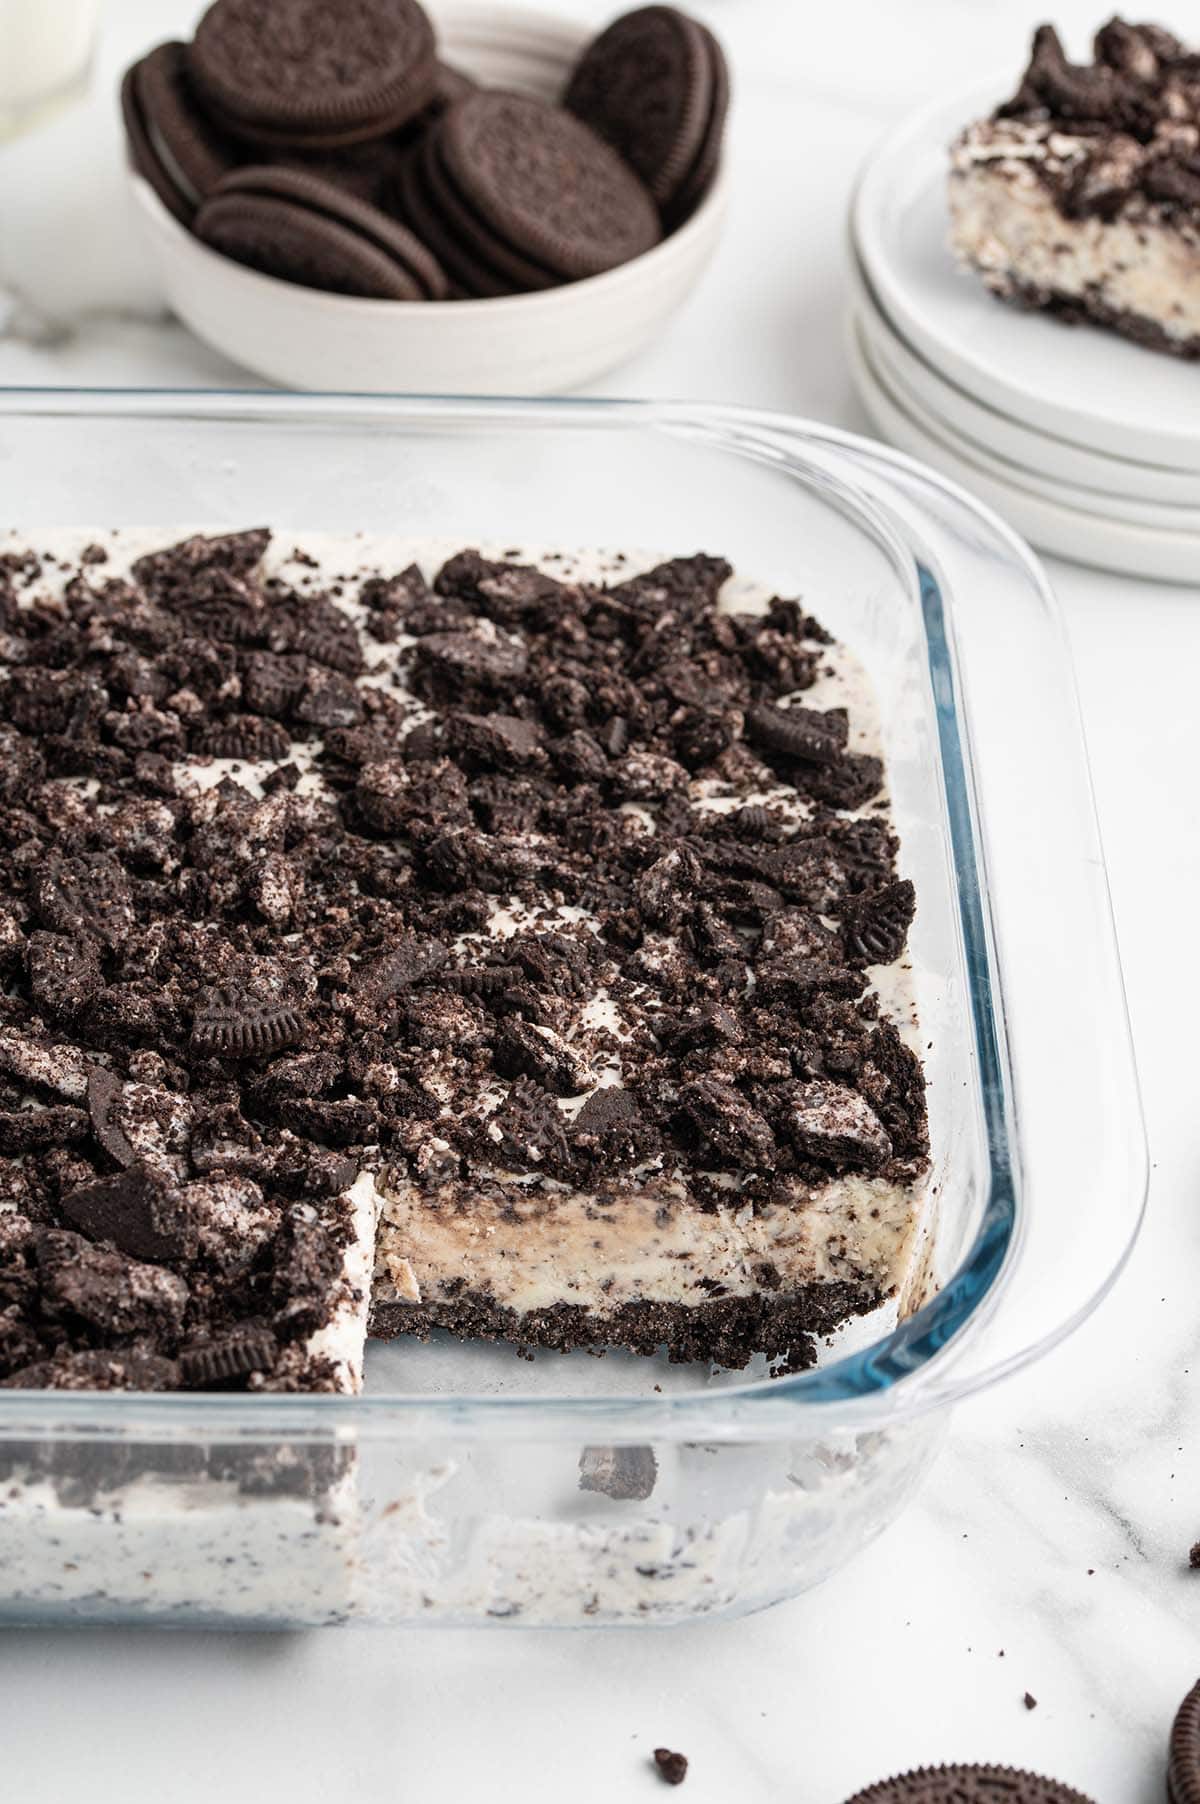
This no bake oreo dessert is one of those recipes that everybody has their own name for. Oreo cake, Oreo ice cream cake, frozen Oreo dessert. I have handed out this recipe every single time I made it, which is exactly how it ended up on my family favorite.
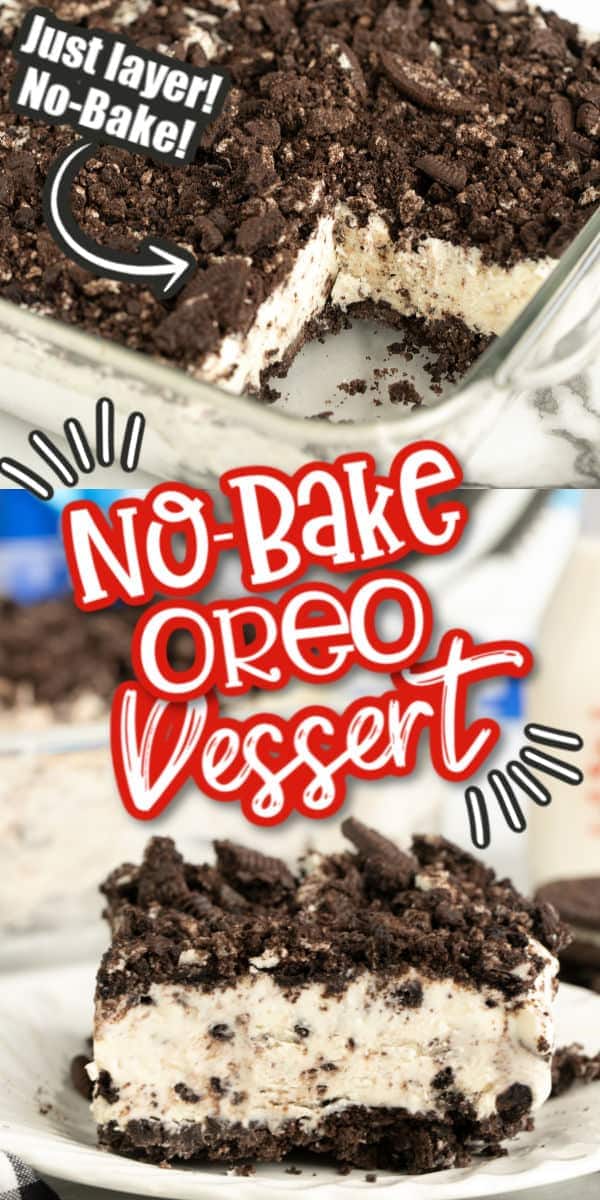


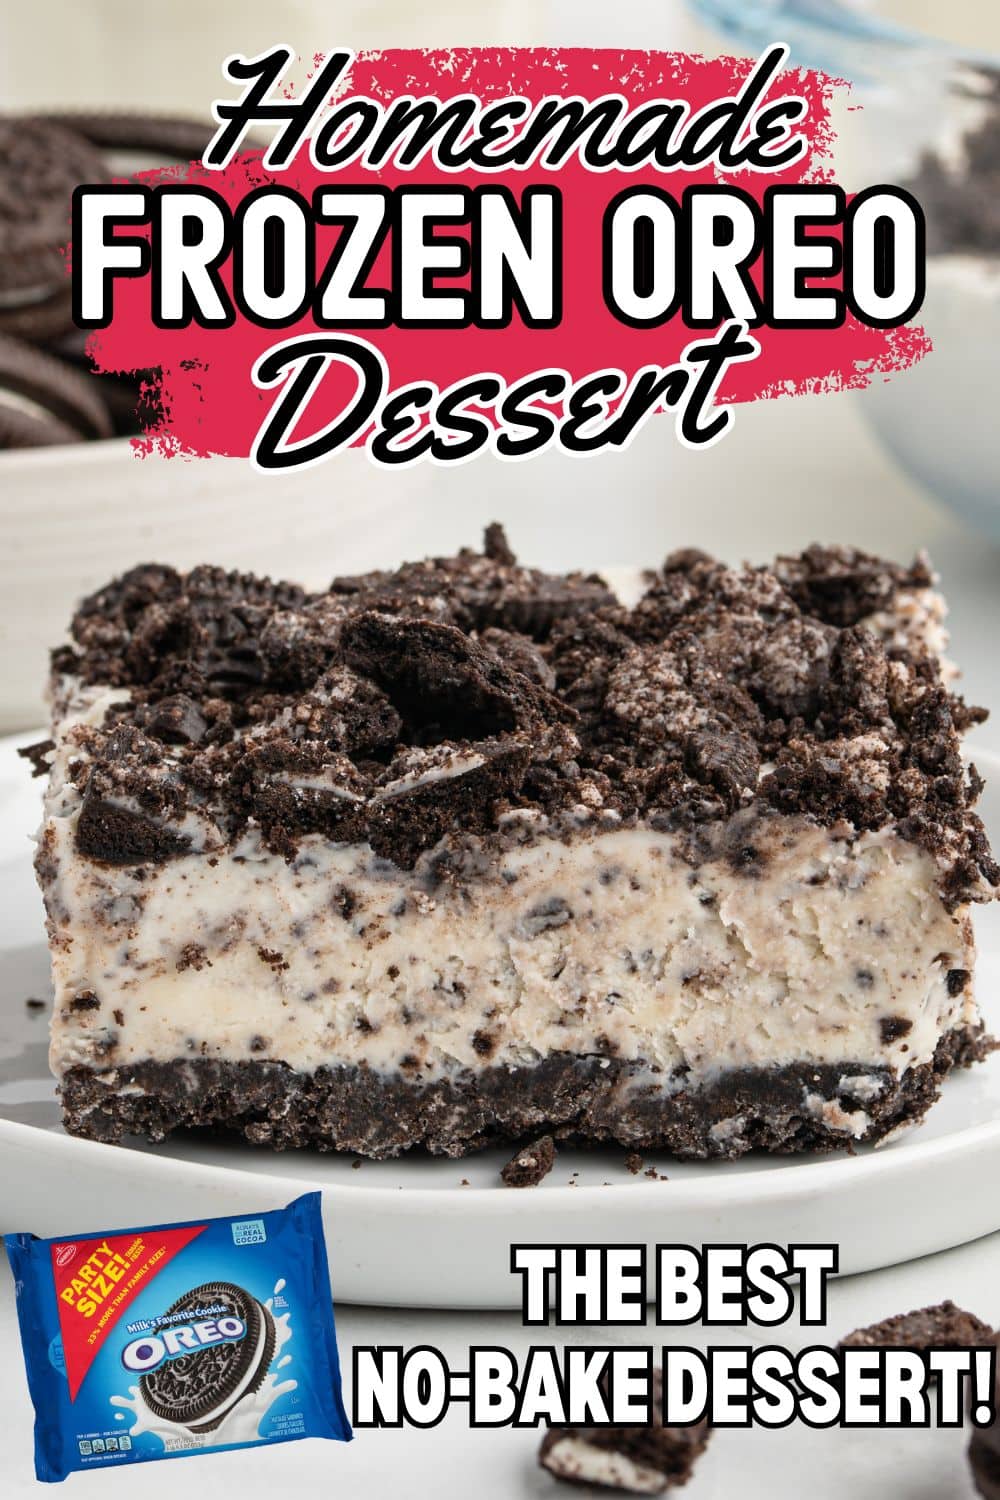
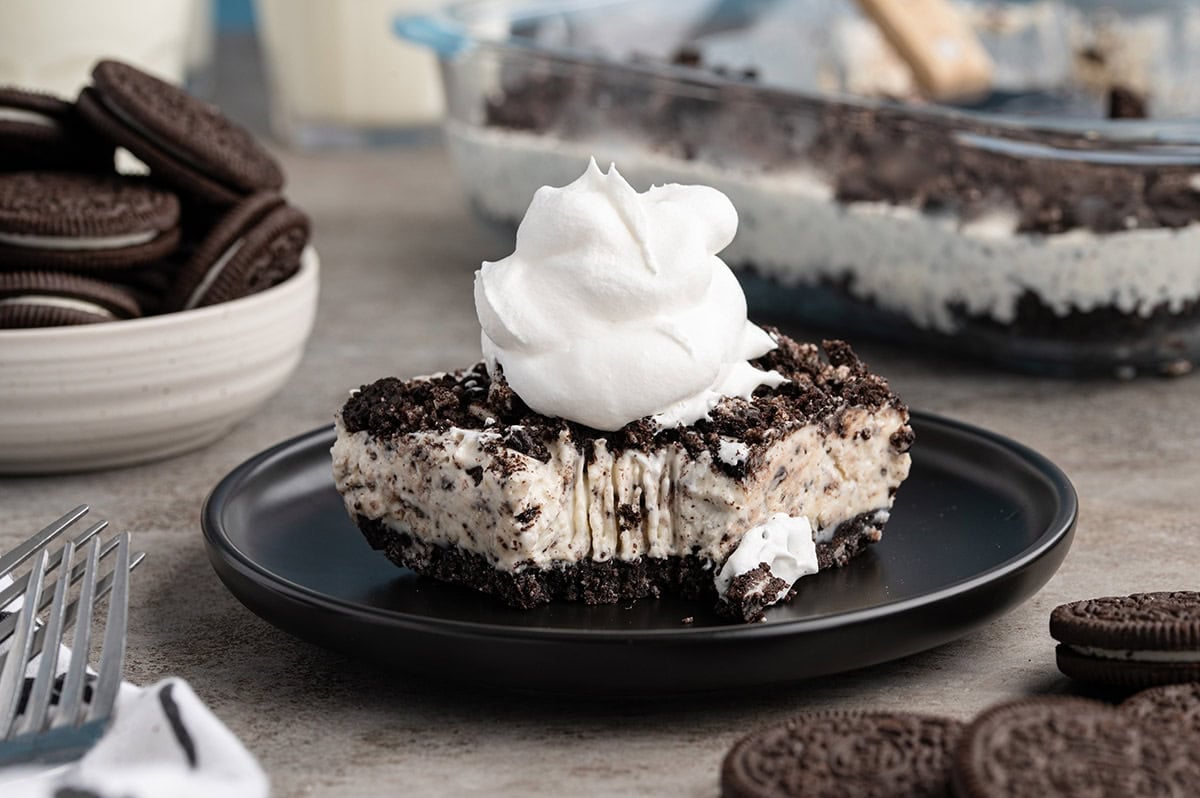
The texture is one of my favorite things about this recipe. Rich and creamy, not icy. The sweetened condensed milk gives the filling a cookies and cream flavor, and I fold Oreo crumbs right into it so you get them in every single bite.
The one thing I always tell people before they make this: plan ahead. It needs a minimum of 4 hours in the freezer to set right. I have cut it short before, and it does not hold its shape when you slice it, so do not skip the freeze time.
If you love easy no bake desserts like this one, my Oreo Dirt Cake is another family favorite that disappears fast. And my Lemon Icebox Cake is a great one for summer when you want something with a little lemon.
I just made this for the 3rd time – it’s a hit every time. Thank you for sharing!
Key Ingredients
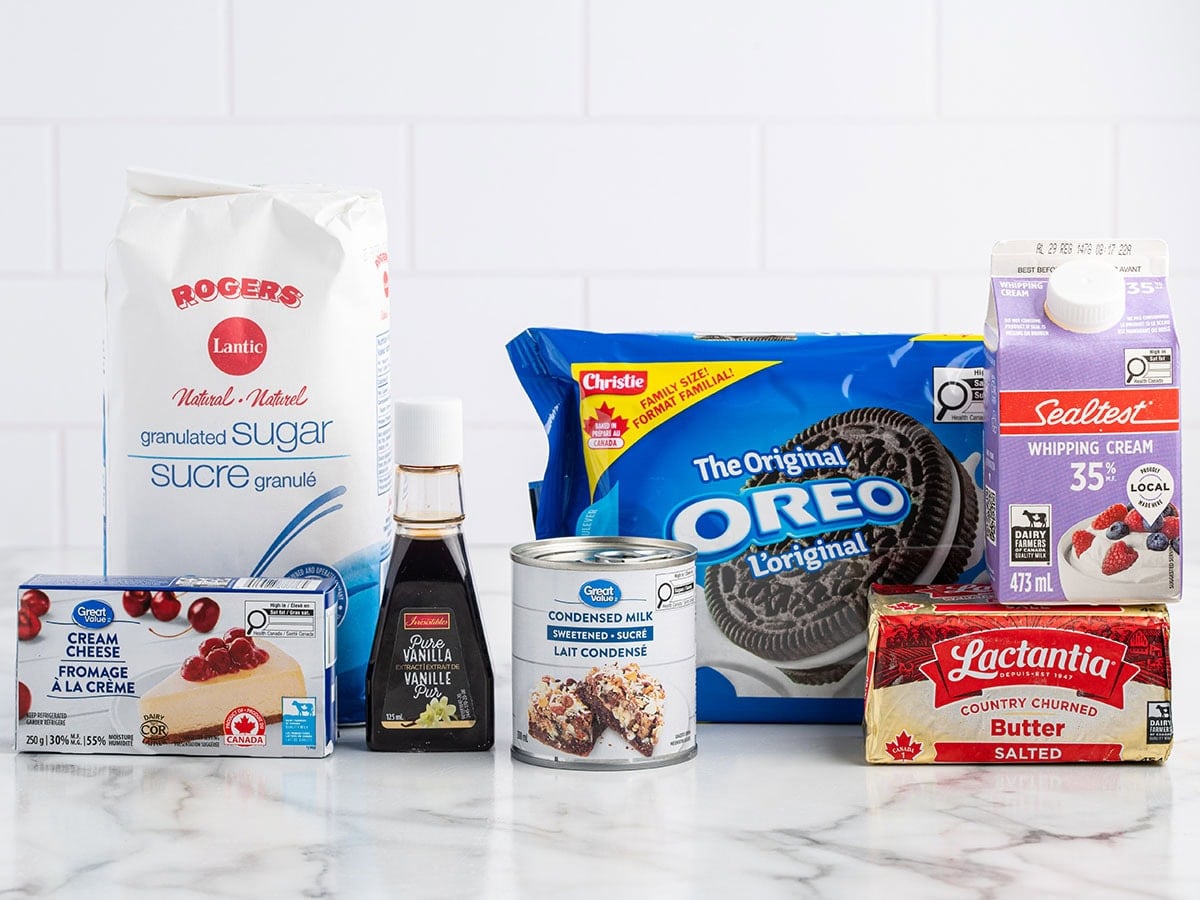
- Cream cheese: Use a full block of cream cheese, not the spreadable kind in a tub. It needs to be completely softened to room temperature before you mix it. Cold cream cheese will not blend smooth and you will end up with lumps that do not go away no matter how long you mix.
- Heavy whipping cream: Whip it to stiff peaks in a separate bowl before folding it into the cream cheese mixture. This is what gives the filling that light, mousse-like texture. Do not substitute with half-and-half or light cream.
- Sweetened condensed milk: This is what gives the filling its cookies and cream flavor and helps it set up creamy instead of icy in the freezer. Do not swap it out.
- Oreo cookies: One full package does three things in this recipe: it goes into the crust, gets folded into the filling, and gets crushed on top. Do not reduce the amount or the crust will be too thin and the topping will look sparse.
- Butter: Melted butter goes into the crust only. It binds the crushed Oreo crumbs together and helps the crust hold its shape when you press it into the pan.
How to Make No-Bake Oreo Dessert
Step 1: Prep the Oreos Set aside 12 whole Oreos for the topping. Place the remaining cookies in a large zip-top bag and crush them with a rolling pin, or pulse in a food processor, until you have fine crumbs. Divide the crumbs roughly in half and set one half aside for the filling.
Step 2: Make the Crust Mix half of the crushed crumbs with the melted butter until the crumbs are evenly coated. Press the mixture firmly into the bottom of a 9×9 inch pan to form an even layer. Place the pan in the refrigerator while you make the filling.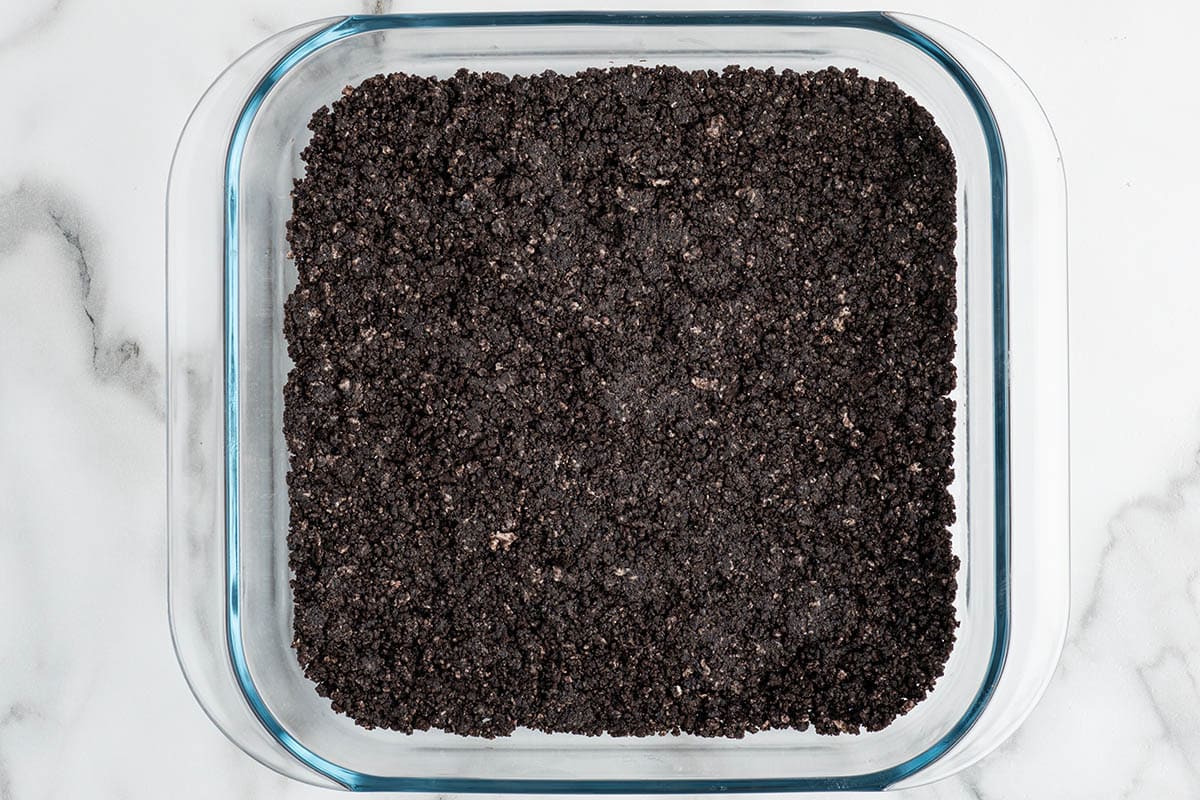
Step 3: Whip the Cream Pour 1 cup of heavy whipping cream into a large bowl and beat with a hand mixer on medium-high speed until stiff peaks form. Set it aside. Do not skip this step or cut it short. You want stiff peaks, not soft peaks, or the filling will not hold its structure.
Step 4: Make the Filling In a separate large bowl, beat the softened cream cheese and 3 tablespoons sugar together until smooth. Add 1 teaspoon vanilla and mix again. Fold in the whipped cream gently using a spatula, then add the sweetened condensed milk and continue folding until fully combined. Stir in the remaining Oreo crumbs.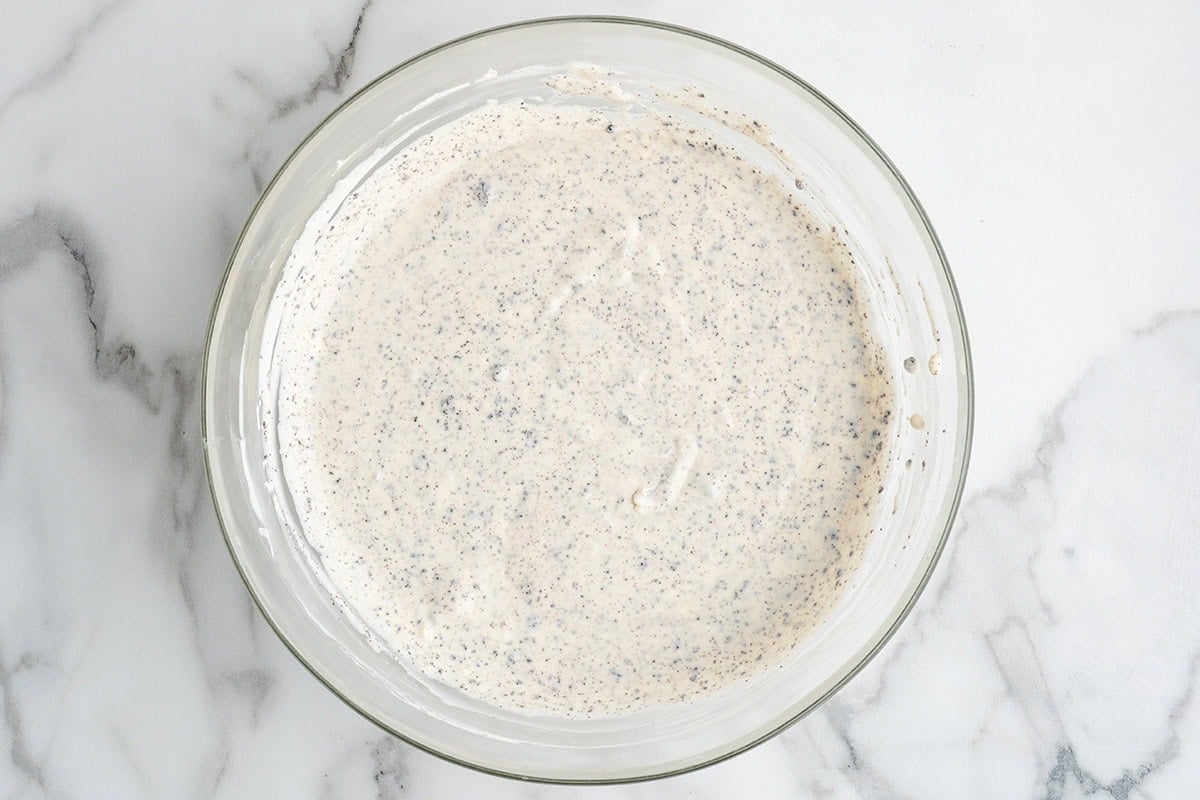
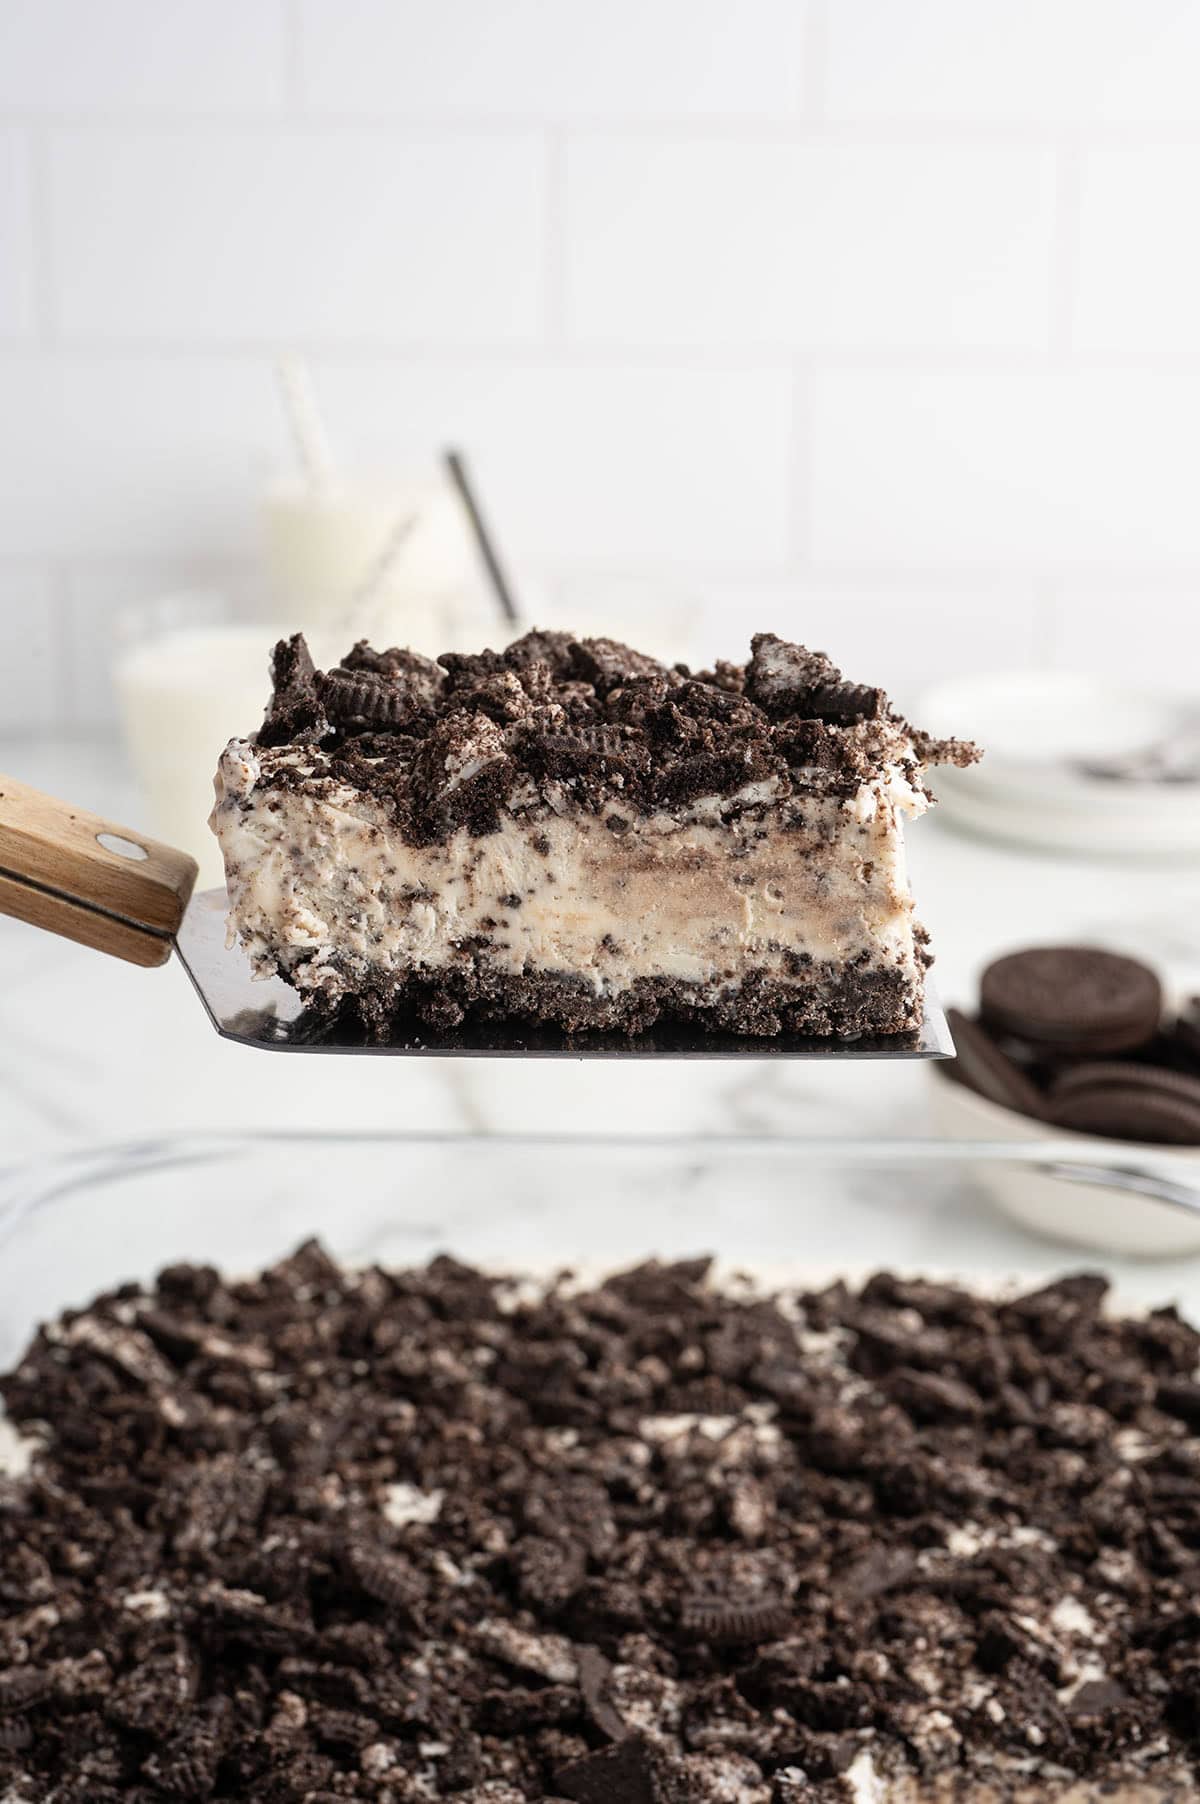
Step 5: Assemble Spread the filling evenly over the chilled Oreo crust. Crush the reserved 12 Oreos and sprinkle them across the top.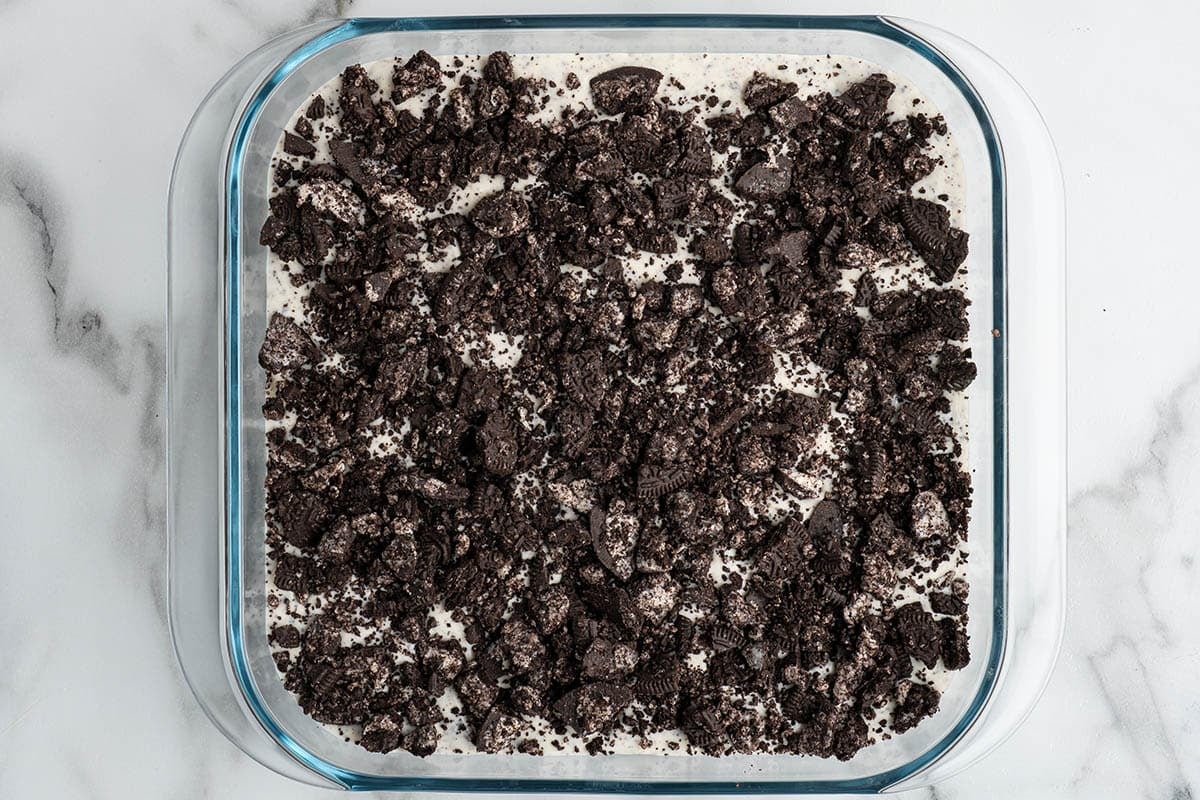
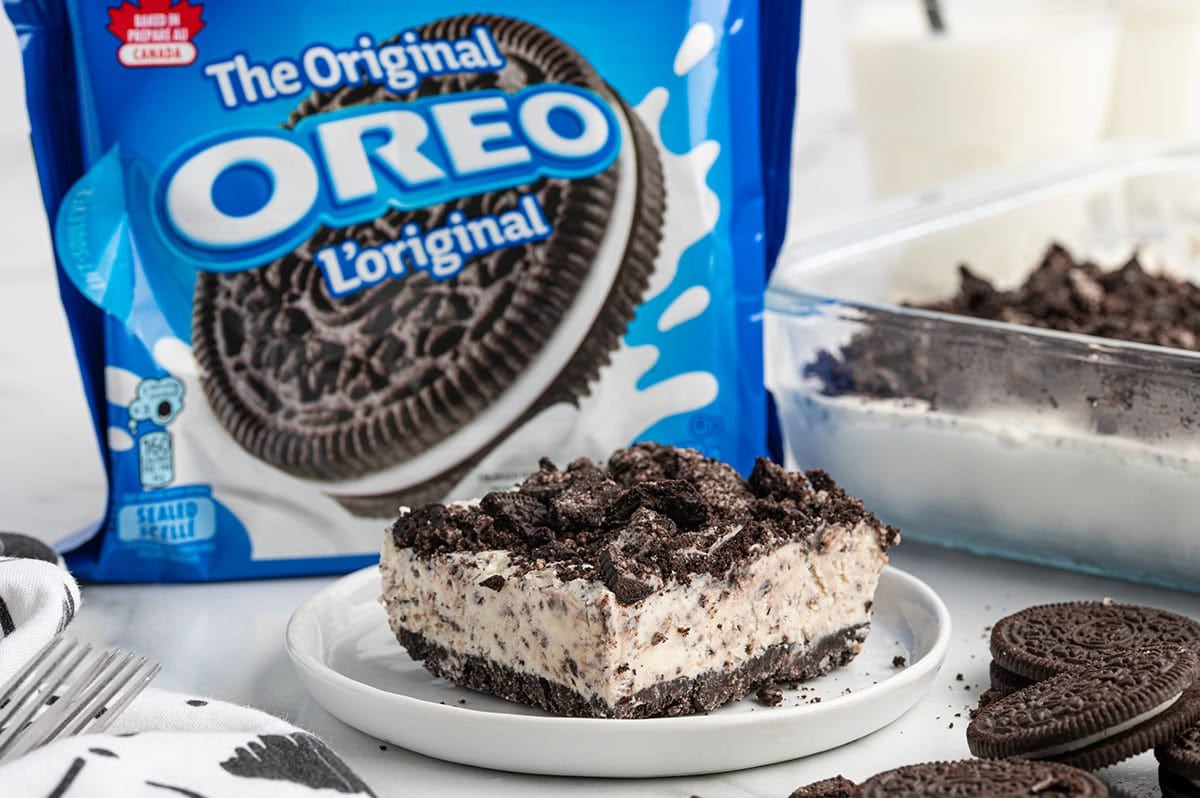
Step 6: Freeze and Serve Cover the pan tightly with foil and freeze for at least 3 to 4 hours. Overnight is best. When you are ready to serve, remove the pan from the freezer and let it sit on the counter for about 15 minutes before slicing. Right around that 15-minute mark it softens up and is ready to slice.
Substitutions and Variations
Golden Oreos: Swap the regular Oreos for Golden Oreos in both the crust and the filling for a vanilla version. I have not tested this myself, but it is a reasonable swap if you want a lighter flavor.
Cool Whip: You can substitute an 8-ounce container of Cool Whip for the homemade whipped cream. The texture will be slightly lighter and the filling a little less rich, but it works. I have not tested this version, so treat it as a starting point.
Individual cups: Instead of a 9×9 pan, layer the dessert in individual clear cups or glasses for party servings. No changes to the recipe needed, and it is easy to transport and serve.
Double the recipe: For a larger crowd, double everything and use a 9×13 pan. This is what I do when I bring it to cookouts or potlucks. It feeds closer to 18 to 20 people and travels well.
How to Store This Dessert
- Store any leftovers covered tightly in the refrigerator for up to 4 days. The texture is best in the first 2 days while the crust is at that slightly softened but still-defined stage.
- If you need to freeze leftovers for longer, wrap the pan tightly and freeze for up to 1 month. Thaw overnight in the refrigerator before serving.
- For outdoor parties and warm weather, keep the pan in a cooler or refrigerator until close to serving time. The filling softens quickly once it warms up.
Frequently Asked Questions
No. This no bake oreo dessert sets firm but not rock solid. Pull it from the freezer and let it sit on the counter for about 15 minutes. It softens up and slices clean, and the texture is creamy, not icy.
Can I make this ahead of time? Yes, and it is actually better if you do. Make it the night before and freeze overnight. The layers firm up completely, the crust softens into that icebox texture, and everything slices cleaner than if you only freeze it for a few hours.
Freeze for at least 4 hours, then let the pan sit on the counter for about 15 minutes before cutting. Use a sharp knife and wipe it clean between each slice. If it has been in the refrigerator and softened, pop it in the freezer for 10 to 15 minutes first.
You can swap in an 8-ounce container of Cool Whip for the homemade whipped cream. The texture will be slightly lighter and the filling a little less rich, but it works. I have not tested this version myself, so treat it as a starting point.
More No Bake Desserts You Will Love
- No Bake Oreo Cream Pie
- No-Bake Banana Split Cake
- Chocolate Eclair Cake
- Chocolate Lasagna
- Rolled Ice Cream
- Homemade Rolled Ice Cream (Oreo Recipe)
- Homemade Whipped Cream Recipe
No Bake Oreo Dessert
Ingredients
- 1 14.3 ounce package Oreo cookies crushed and divided
- ¼ cup butter melted
- 1 cup heavy whipping cream
- 1 teaspoon vanilla
- 8 ounces cream cheese softened
- 3 tablespoons sugar
- 1 14 ounce can sweetened condensed milk
Instructions
- Remove 12 Oreos from the package.1 14.3 ounce package Oreo cookies
- Crush the remaining Oreos either by placing in a Ziploc bag and using a rolling pin or placing in a food processor.
- Mix half of the crushed Oreo crumbs with the melted butter. Press into a 9×9 pan to form the crust. Place into the refrigerator while preparing the filling. Set the rest of the Oreo crumbs aside.¼ cup butter
- In a large bowl whip the heavy cream until stiff peaks form. Set aside.1 cup heavy whipping cream
- In another large bowl cream together the cream cheese and sugar. Add the vanilla and mix again.1 teaspoon vanilla, 3 tablespoons sugar, 8 ounces cream cheese
- Next add the heavy whipping cream to the cream cheese mixture folding gently with a spatula.1 cup heavy whipping cream
- Add the sweetened condensed milk and continue mixing gently until fully combined.1 14 ounce can sweetened condensed milk
- Mix in the remaining Oreo crumbs.
- Spread the mixture evenly over your cookie base.
- Crush the remaining 12 Oreos and sprinkle them on top of the filling.
- Cover with foil. Return to the freezer and chill until solid (3-4 hours, overnight is best).
- Remove from the freezer 15 minutes before serving.
Jenn’s Notes
- Give the cream cheese plenty of time to soften. Pull it from the fridge at least 30 to 60 minutes before you’re ready to start. Cold cream cheese will leave you with lumps in the filling that no amount of mixing will fix. Set it on the counter and just let it do its thing.
- Whip the cream all the way to stiff peaks. This is the step people tend to rush, and it shows. Soft peaks mean a filling that’s looser than it should be. Keep the mixer going until those peaks stand straight up and hold their shape, then you’re ready.
- Build in enough time, 4 hours at minimum. This dessert needs a real freeze to set up properly. Cut into it too soon and it won’t hold its shape. Overnight is even better, and the texture the next morning is noticeably improved.
- Pop it back in the freezer before slicing. If the dessert has been sitting in the refrigerator and softened up, give it 10 to 15 minutes in the freezer before you cut it. A sharp knife wiped clean between each slice keeps those layers looking sharp.
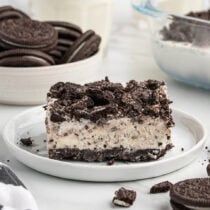
- Reach for a glass baking dish. A clear pan lets the crust, filling, and topping layers show through the sides, and it looks genuinely impressive at a party without any extra effort on your part.


I just made this for the 3rd time – it’s a hit every time. Thank you for sharing!
Have you tried this in Muffin tins or silicone? I’m wondering if placing in muffin molds would help with getting servings
I haven’t, but that would be fun. I think you would need make more of a “cup” with the oreos and bake the crust in order for them to come out.
I love cookies and cream. Thank you for sharing this! I can’t wait to try this 🙂
Too sweet for me, but my 15 year old grandson loved it!
This was so good! I doubled the recipe and put it in a 9×13 pan. It was amazing!
Very easy recipe. No tension of baking. And oreo cheesecake is surely a very delicious dessert. I enjoyed making it following this super easy recipe.
Thank you so much! So glad you liked it!
Amazing! Made this for Father’s Day. My dad loves oreos. So I couldn’t go wrong. Sure enough it was a big hit!! Great recipe and easy!!
I bought the large package of Oreos. Do you know how many total Oreos I need to use?
I think a standard pack of Oreos has 45