

This post may contain affiliate links. Please read our disclosure policy.
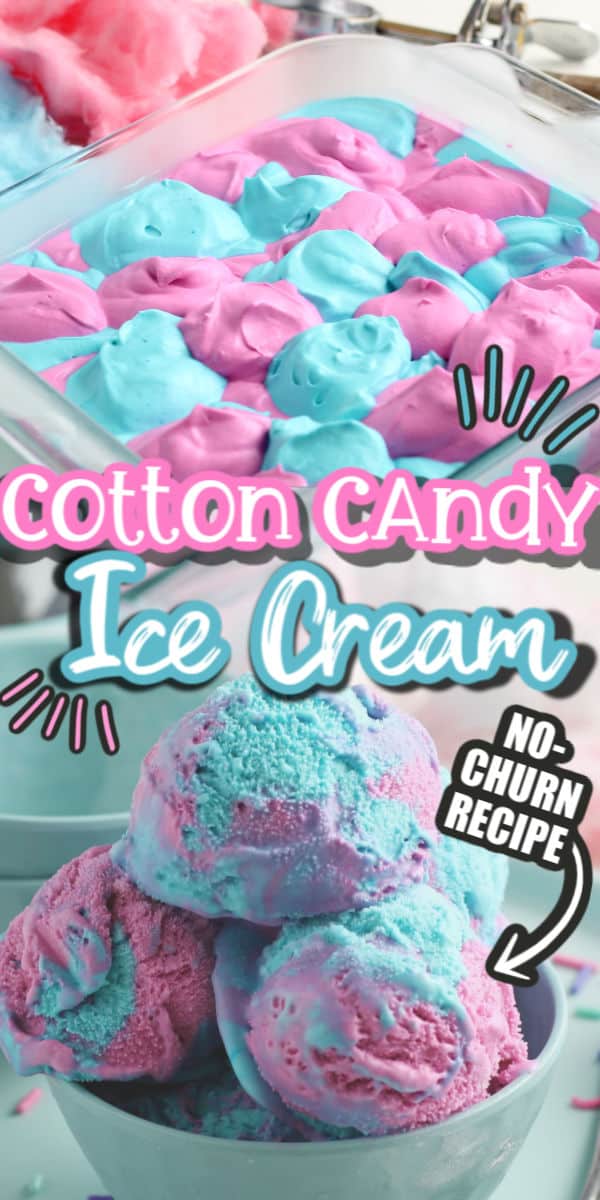
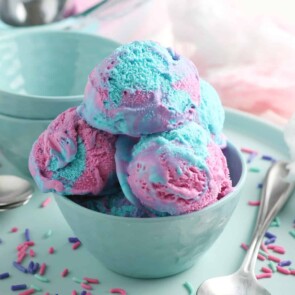
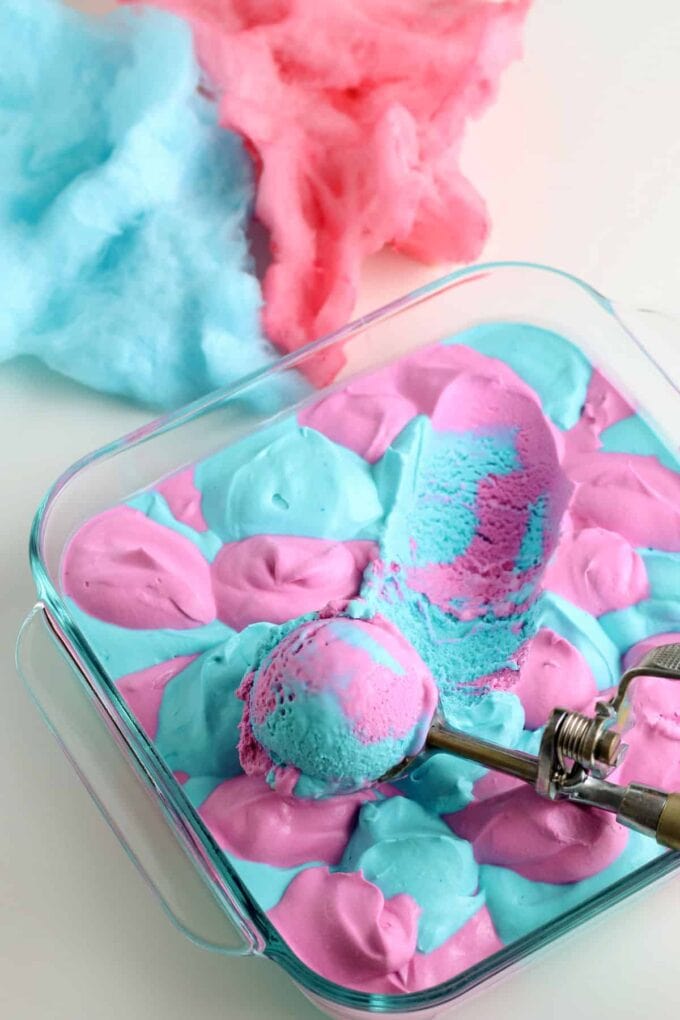
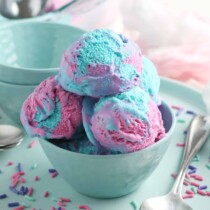
This cotton candy ice cream tastes like the pink and blue spun sugar from the fair, and I make it right in my freezer with no ice cream maker. Every scoop is soft and creamy and sweet, with that carnival flavor I remember, marbled pink and blue so it is as fun to look at as it is to eat.
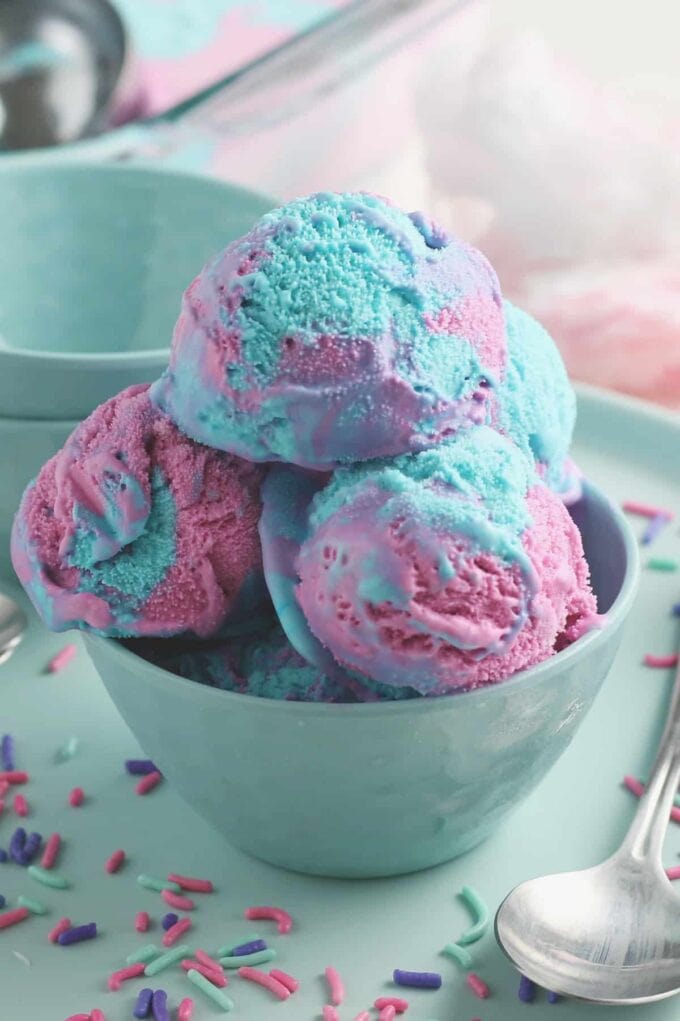
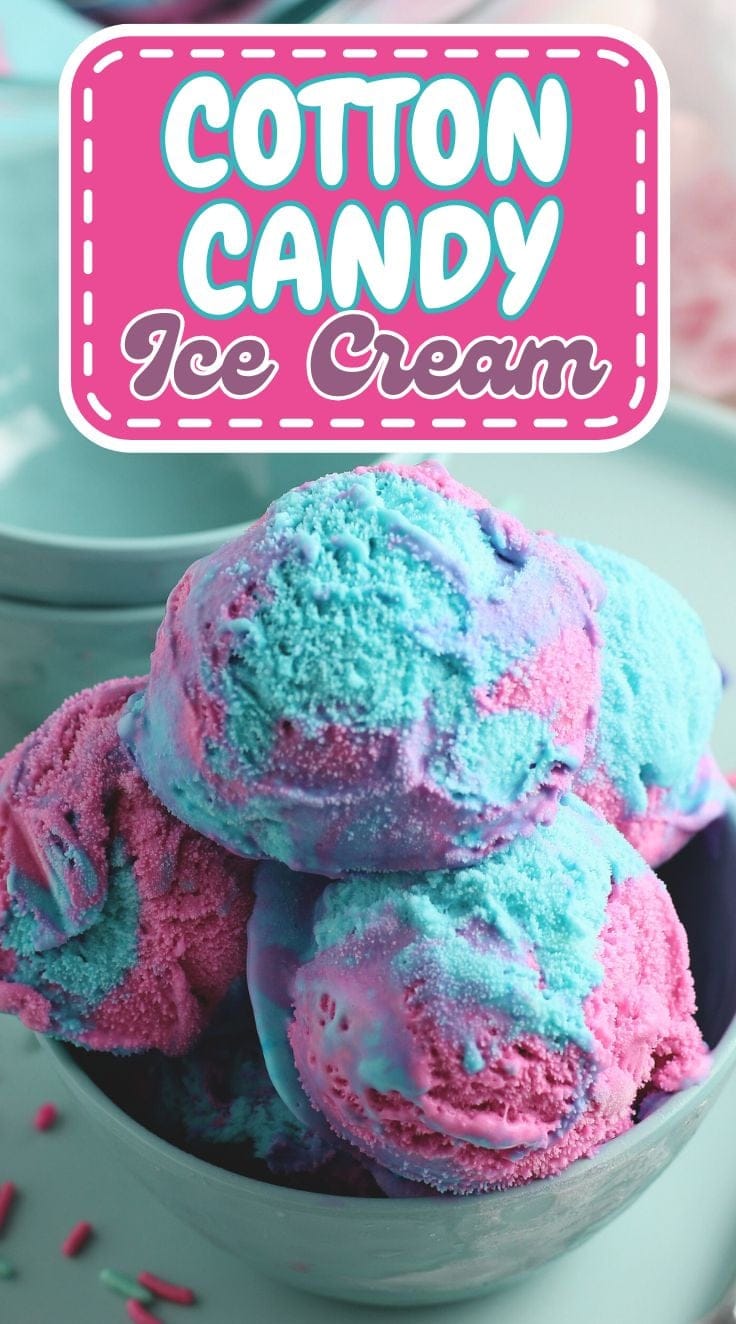
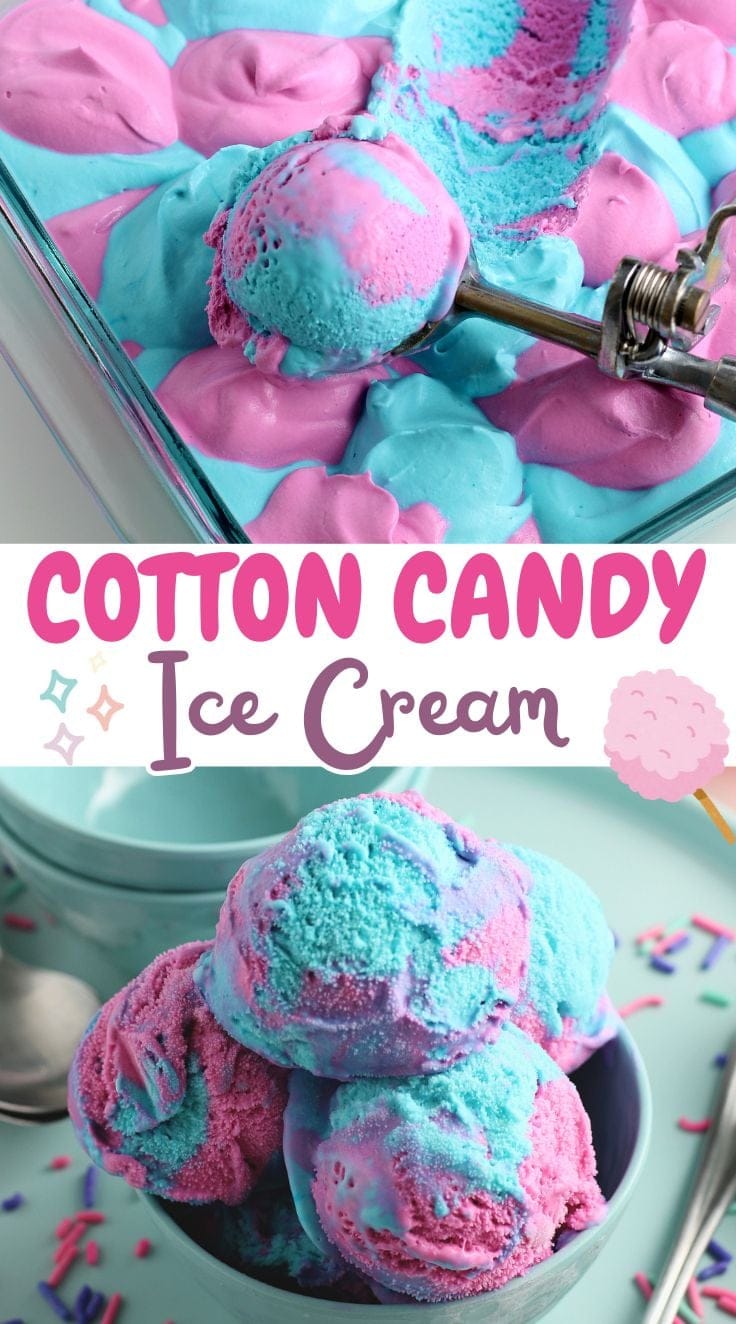
I make this every summer when I need an easy dessert for a party or a hot afternoon with nothing much planned. I have pulled it together more times than a few over the years, and it is one of those no-churn desserts I can stir up in about ten minutes and forget about until it is frozen.
The difference with mine comes down to two small moves. I tell you exactly which cotton candy flavoring to buy so you are not guessing in the baking aisle, and I show you how to swirl the pink and blue so it stays bright instead of blending into one muddy purple. Get those two right and you get creamy, carnival-colored ice cream on the first try.

Family Favorite
The Little Things I Went Back and Fixed to Get It Right
I came back to this one because the questions I kept getting were about the same two things: which flavoring actually works and how to keep the colors from blending together. So I made it again with both in mind. The base comes out smoother and creamier, the swirl stays bright pink and blue, and I spelled out the flavoring so nobody has to guess. It is the version I hand to anyone who wants carnival ice cream without the carnival.

A Few Notes on the Ingredients
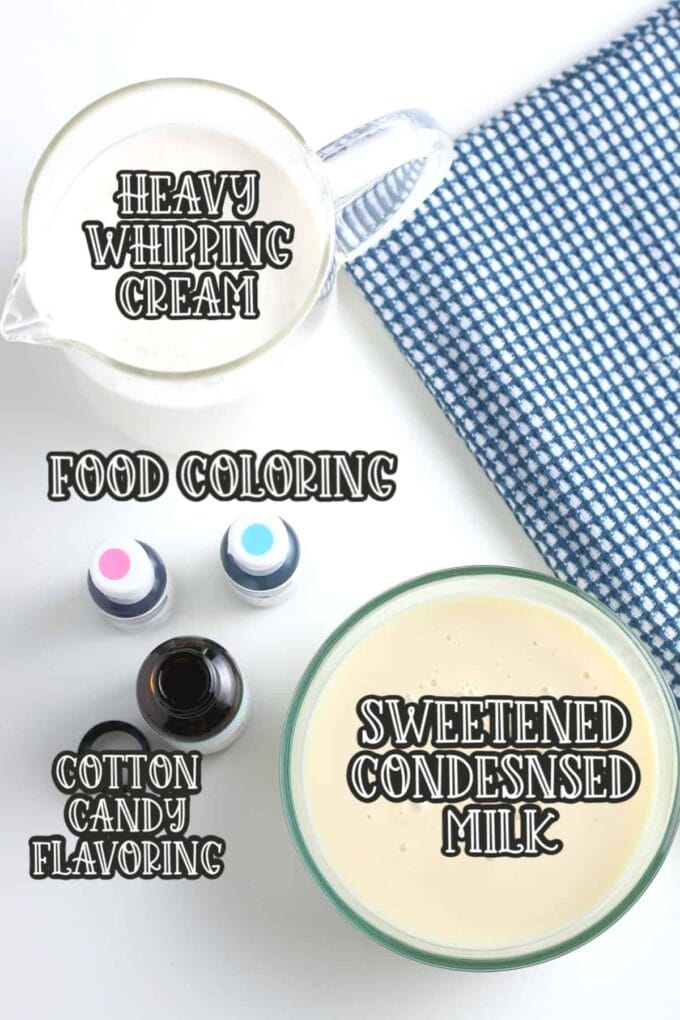
Cold heavy whipping cream: Use it cold, straight from the fridge. Cold cream whips faster and holds more air, and that trapped air is what makes the ice cream light and scoopable instead of dense.
Sweetened condensed milk: This is what makes a no-churn ice cream possible. It sweetens the base and keeps it smooth by preventing the ice crystals that turn homemade ice cream grainy. Do not swap in regular milk here, or you lose the creamy texture and end up icy.
How to Make Cotton Candy Ice Cream
Step 1: Whip the Cream In a large bowl, beat the cold heavy cream until stiff peaks form. This is where all the air comes from, so let it get thick and billowy before you stop.
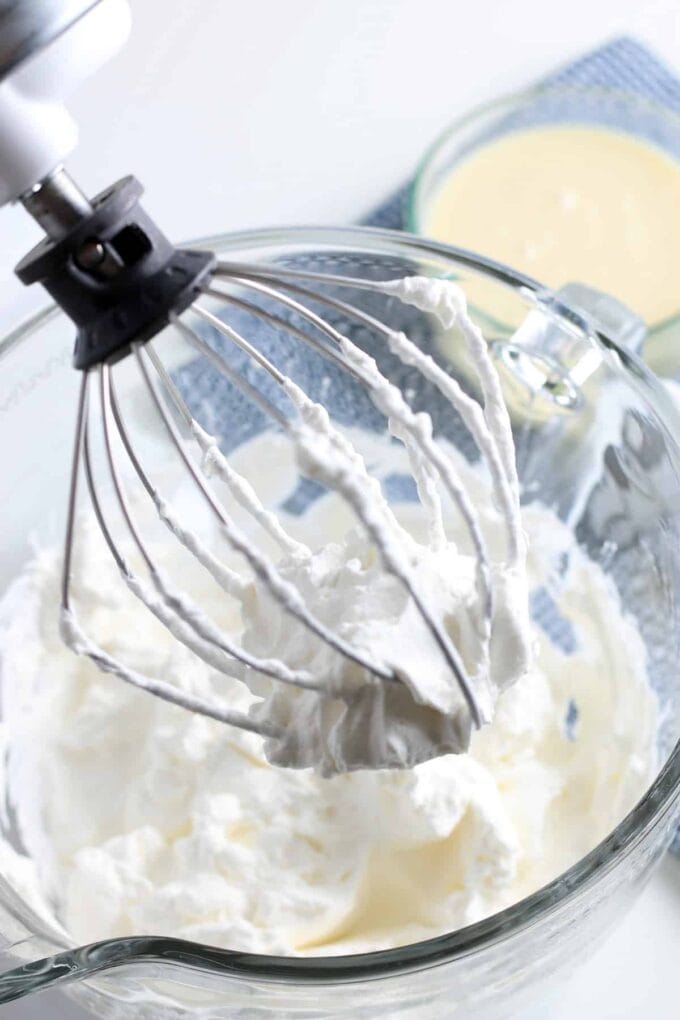
Step 2: Fold in the Condensed Milk and Flavoring Pour in the cold sweetened condensed milk and the cotton candy flavoring. Fold gently until it is barely combined, with no white streaks left.
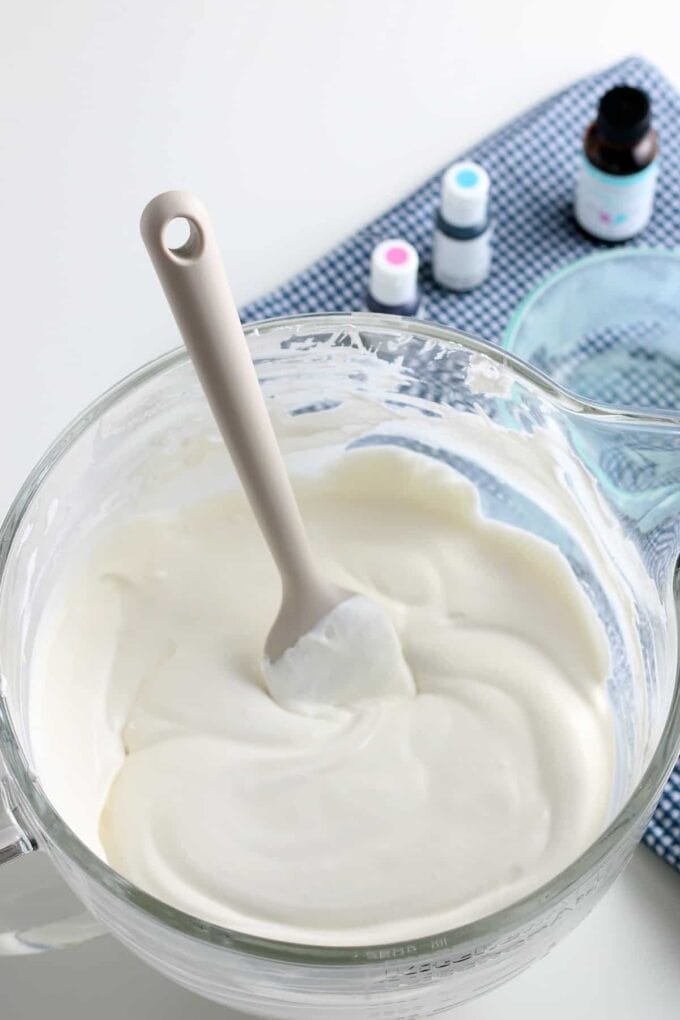
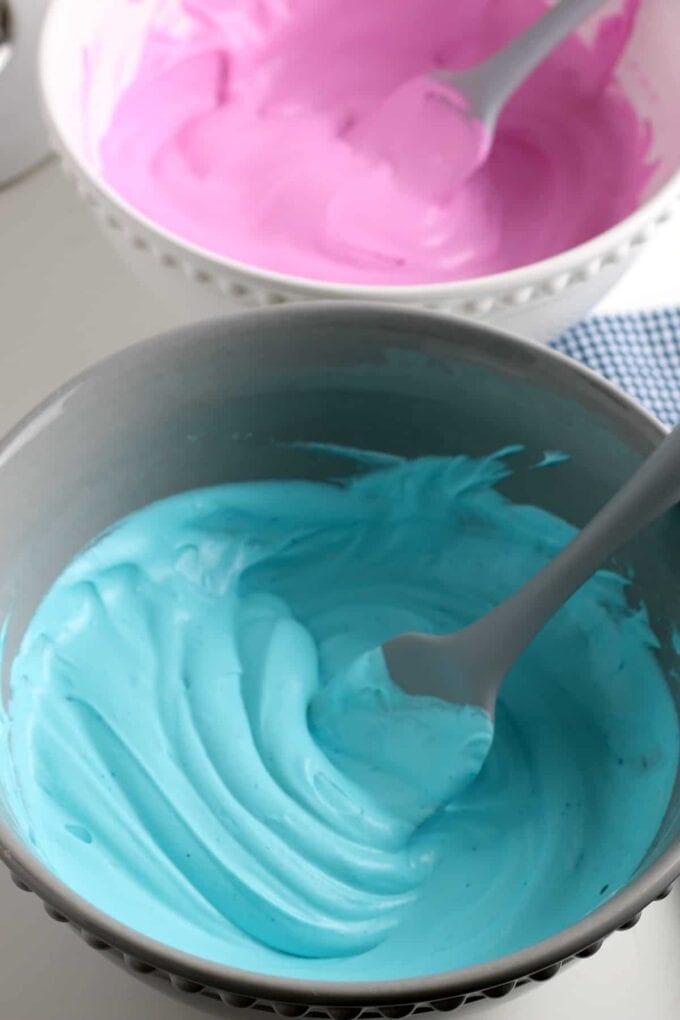
Step 3: Divide and Color Split the base between two bowls. Tint one pink and one blue, stirring each only until the color is even.
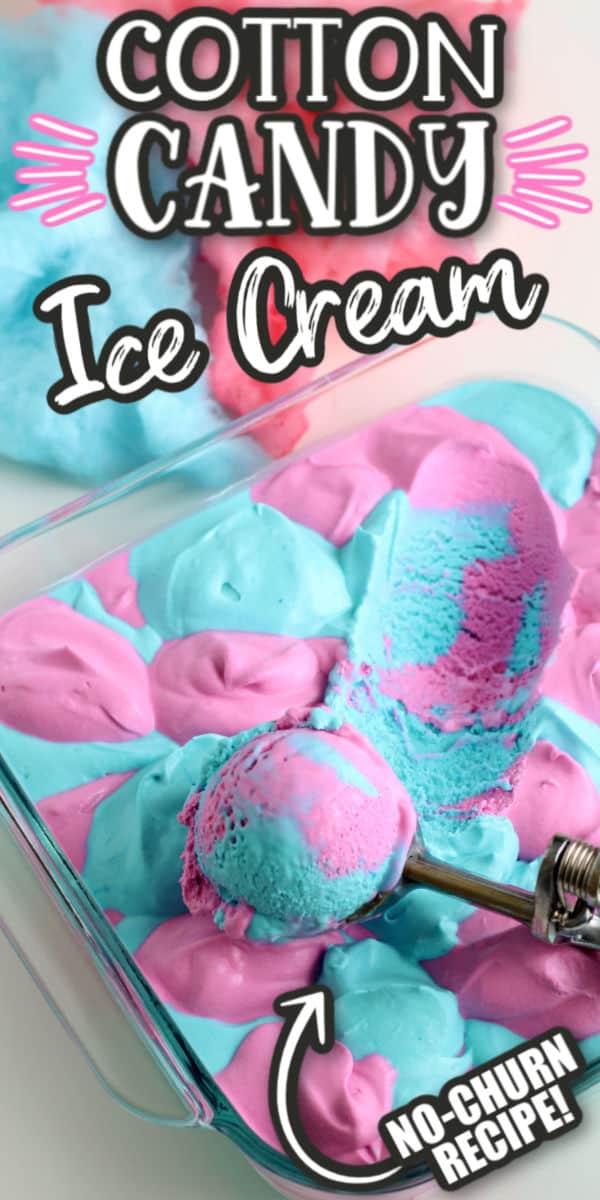
Step 4: Layer and Swirl Spoon the pink and blue into a 9×5 loaf pan, alternating colors as you go. Drag a knife through once or twice to marble them.
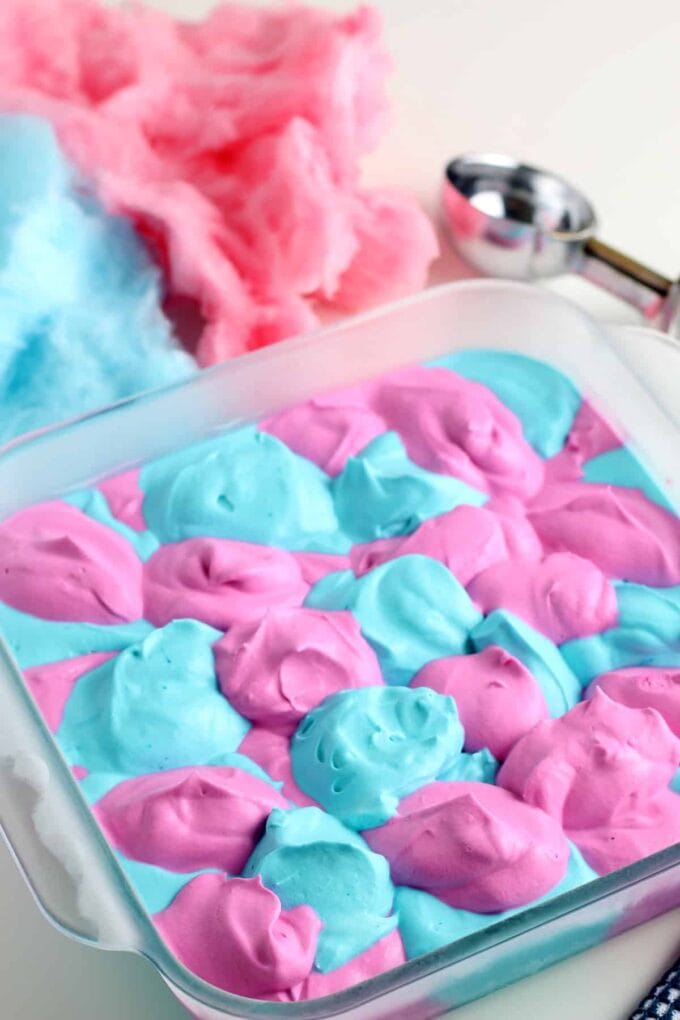
Optional: Sprinkle the top of the pan with fun sprinkles or jimmies.
Step 5: Freeze Cover the pan tightly and freeze until firm. I freeze mine overnight for the best scoopable texture, but give it at least 6 hours.
How to Store It
Keep the ice cream right in the loaf pan, covered tightly with plastic wrap or a lid, in the freezer. Pressing the wrap against the surface keeps ice crystals from forming so it stays smooth, and a few minutes on the counter before scooping softens it back to that creamy texture.
In my experience, this cotton candy ice cream is best enjoyed within 2 to 3 weeks for the creamiest texture and freshest flavor. It will usually stay safe to eat for up to 2 months if it’s stored in an airtight, freezer safe container, but it will gradually become firmer and may develop ice crystals over time.
If you like fun flavors like this, my no-churn cookie monster ice cream is the same easy idea in bright blue.
More Ice Cream Recipes
This is one of a whole batch of make your own ice cream recipes I keep on rotation all summer. A few more no-churn flavors to try:
- Dr. Pepper Ice Cream
- No-churn Kool-Aid Ice Cream
- No-churn S’mores Ice Cream
- No-Churn Vanilla Ice Cream
No-Churn Cotton Candy Ice Cream
Ingredients
- 2 cups very cold heavy whipping cream
- 1 14-ounce can sweetened condensed milk cold
- 2 teaspoons cotton candy flavoring
- Food coloring in pink and blue optional
Instructions
- Place your loaf pan, large bowl, and whisk in the freezer for about 30 minutes before you are ready to use them and be sure whipping cream and condensed milk are very cold.
- In the large bowl or stand-mixer bowl beat whipping cream until stiff peaks are formed (approximately 4 minutes).
- In a medium bowl, stir together the sweetened condensed milk and cotton candy flavoring until smooth.
- Gradually add condensed milk mixture to the whipping cream by GENTLY folding into whipped cream.
- Divide the mixture into 2 separate bowls (it will be about 3 cups each). Color one bowl of the mixture with pink food coloring and one with blue food coloring.
- Remove the loaf pan or container from the freezer and drop ice cream mixture by spoonfuls into the container.
- Optional: Sprinkle the top of the pan with fun sprinkles or jimmies. We love these!
- Cover tightly and freeze until firm, at least 6 hours or overnight.
Jenn’s Notes
- I use LorAnn cotton candy flavoring because brand strength really does vary, so if you use another brand, start with less and taste before freezing.
- Fold the whipped cream in only until combined so it stays creamy, and swirl the pink and blue only once or twice so they do not blend into purple.








Went online to the amazon link for the cotton candy flavoring, a little concerned by all the negative reviews of the flavoring. When making your no churn ice cream does it actually taste a little like cotton candy? It’s not a cheap item to purchase and be disappointed if the flavor isn’t there. Have you ever tried any other flavor in your recipe. Love the simplicity and fun look but concerned of taste.
I liked the flavor, but I guess that could be up to personal preference! There are a few different brands out there, you could really use any of them. I have made ice cream with tons of other flavors – any flavor you like will work (and any colors too!)
Super, thanks for reply. I’m going to give it a go, looks so fun!