This post may contain affiliate links. Please read our disclosure policy.
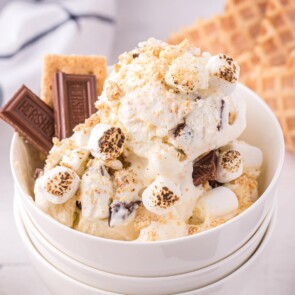
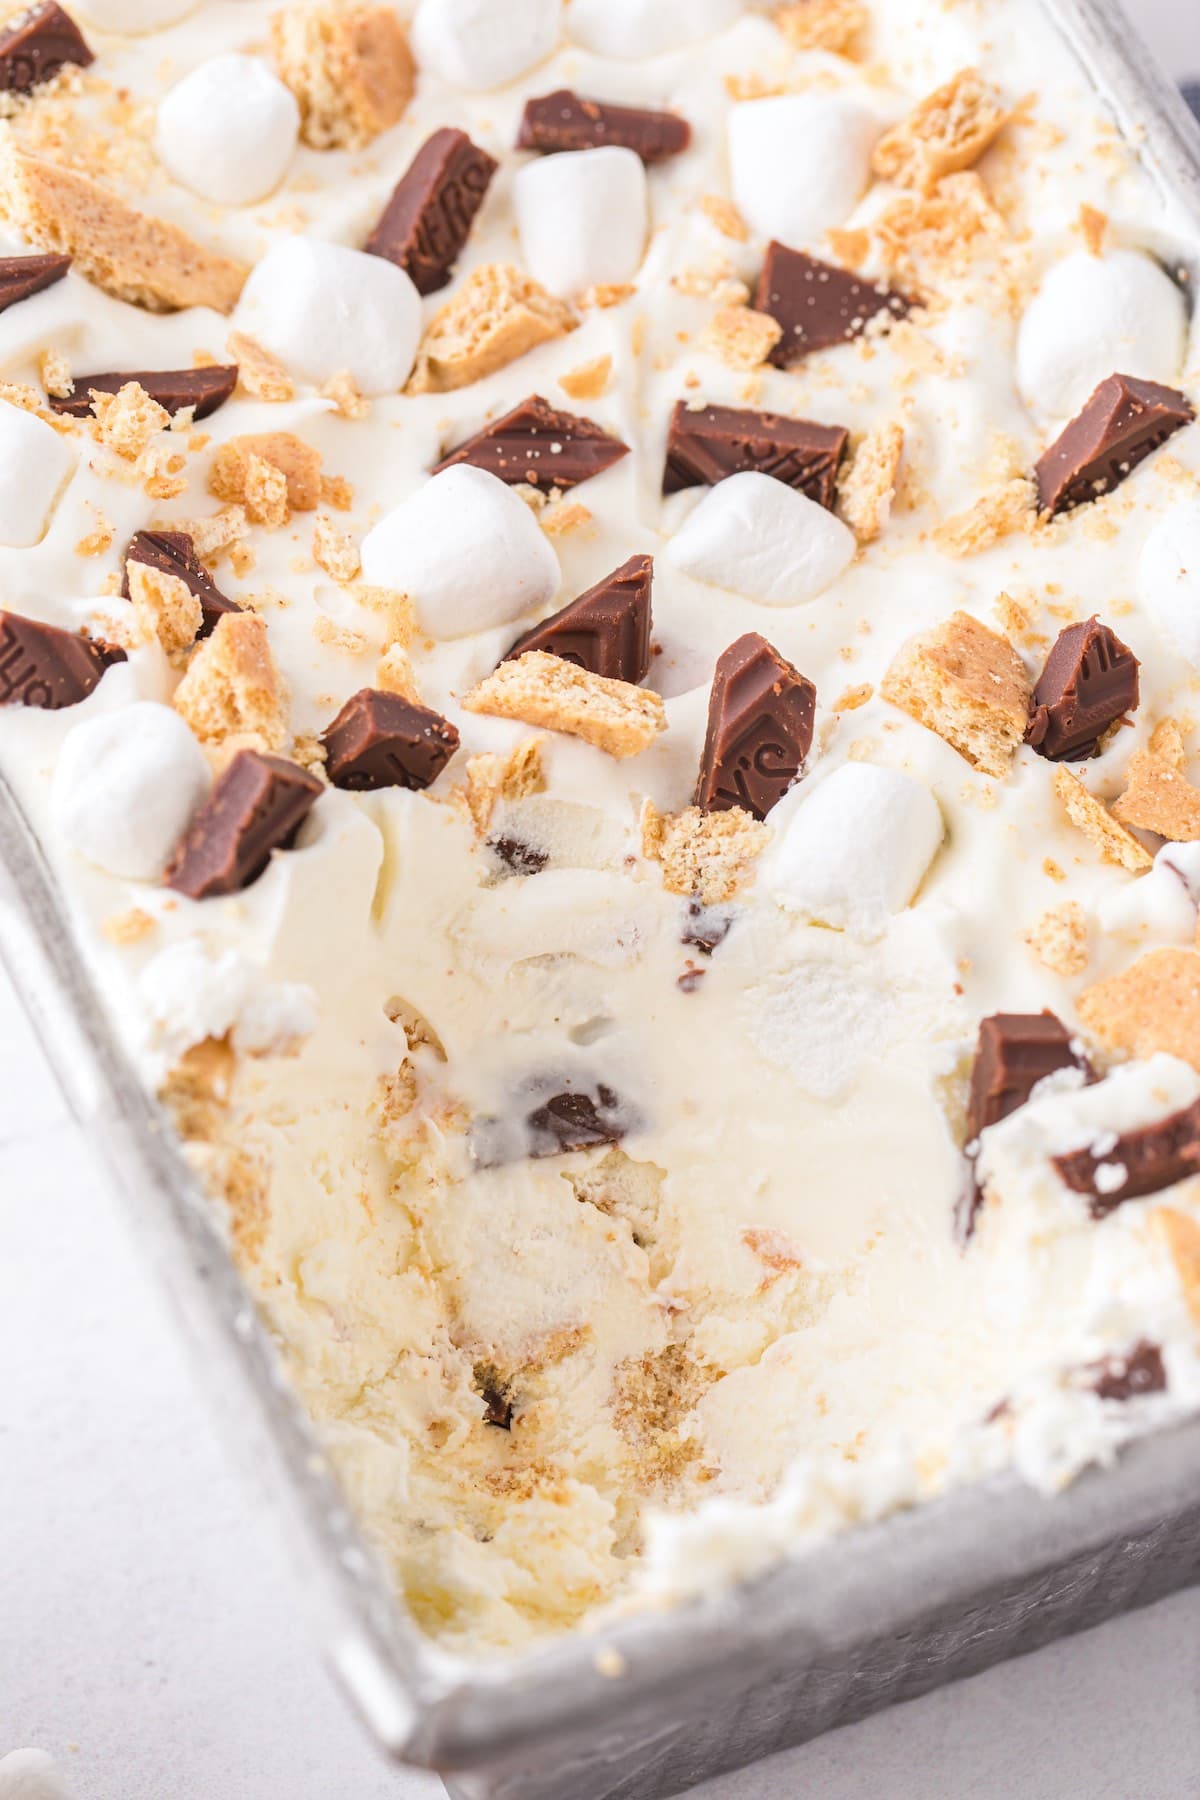
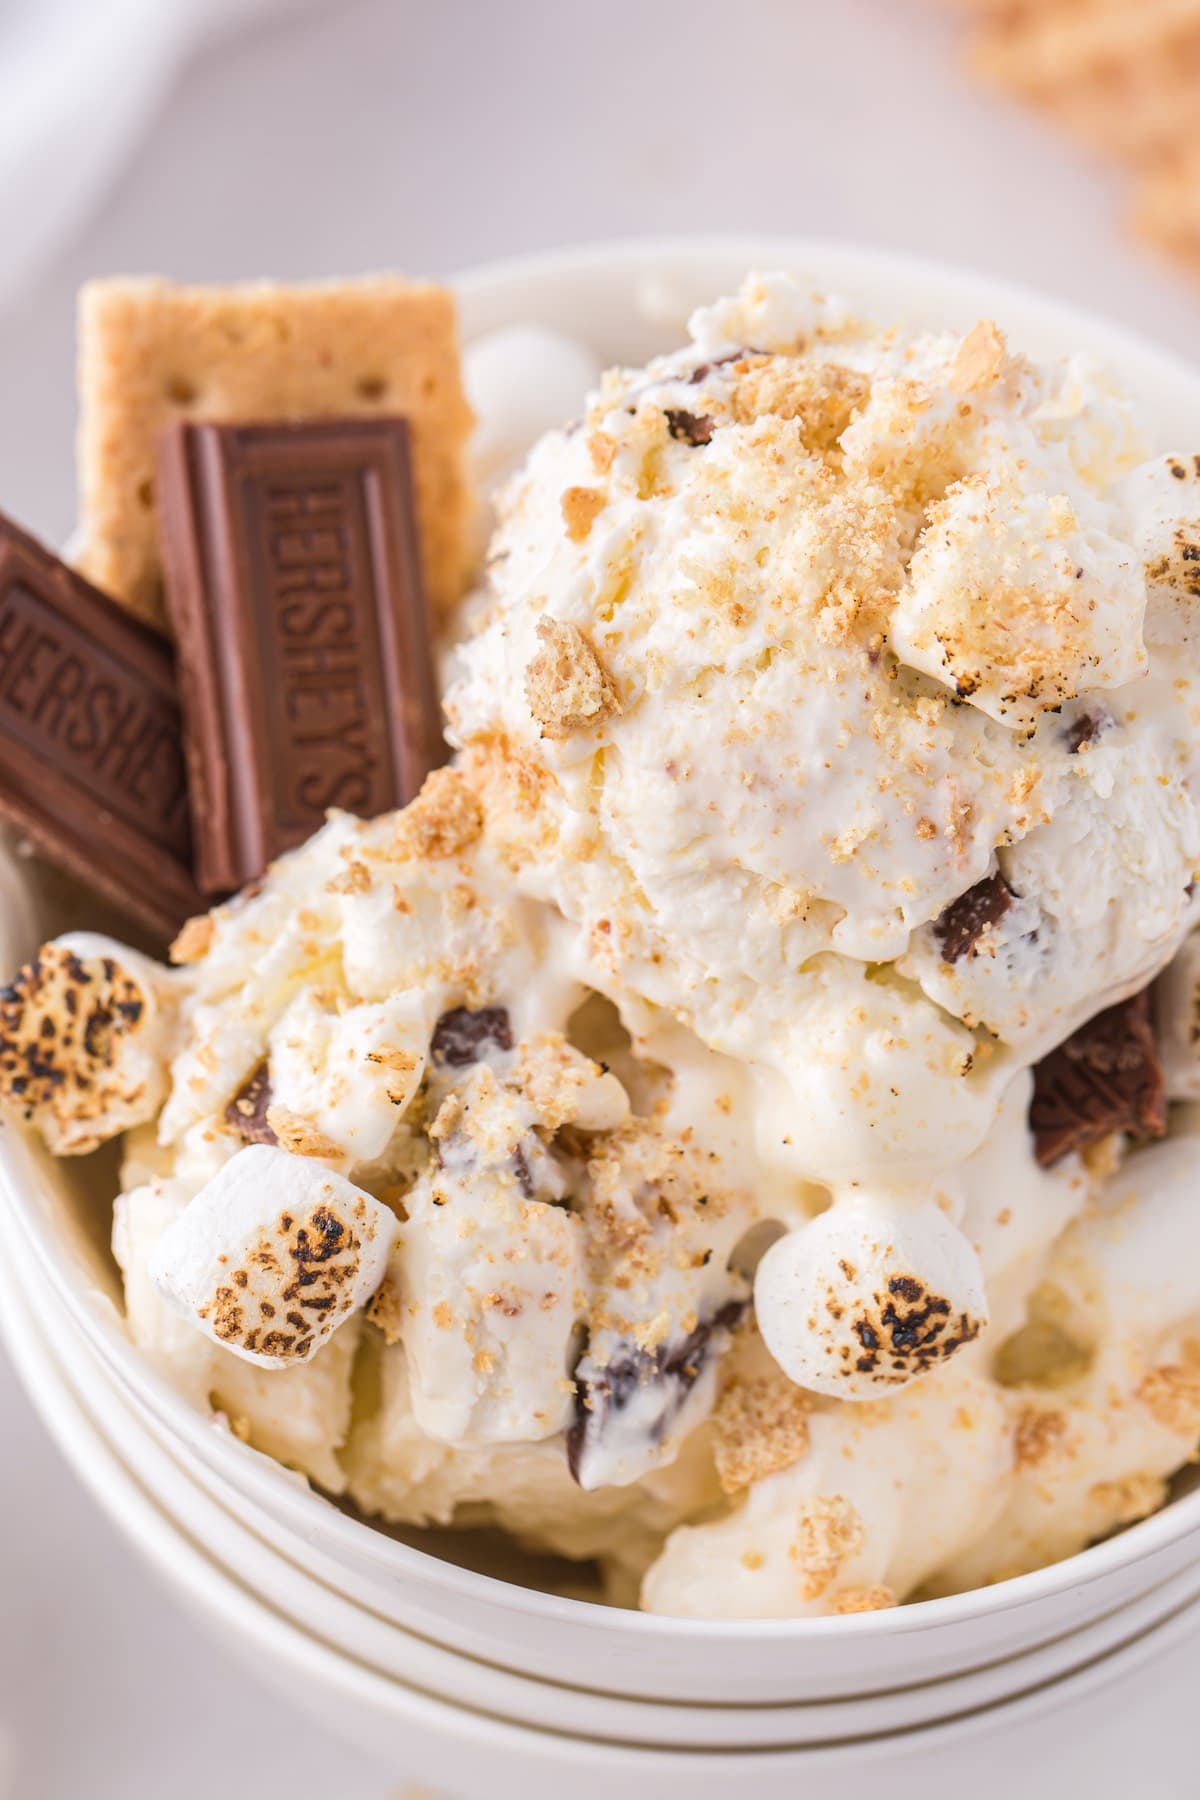
This super simple S’mores Ice Cream is a no-churn recipe and made with only 6 basic ingredients and celebrates summer in the most scrumptious ways! Filled with graham cracker crumble, chopped chocolate, and fluffy marshmallows, this is the easiest recipe to make at home, all without a machine!
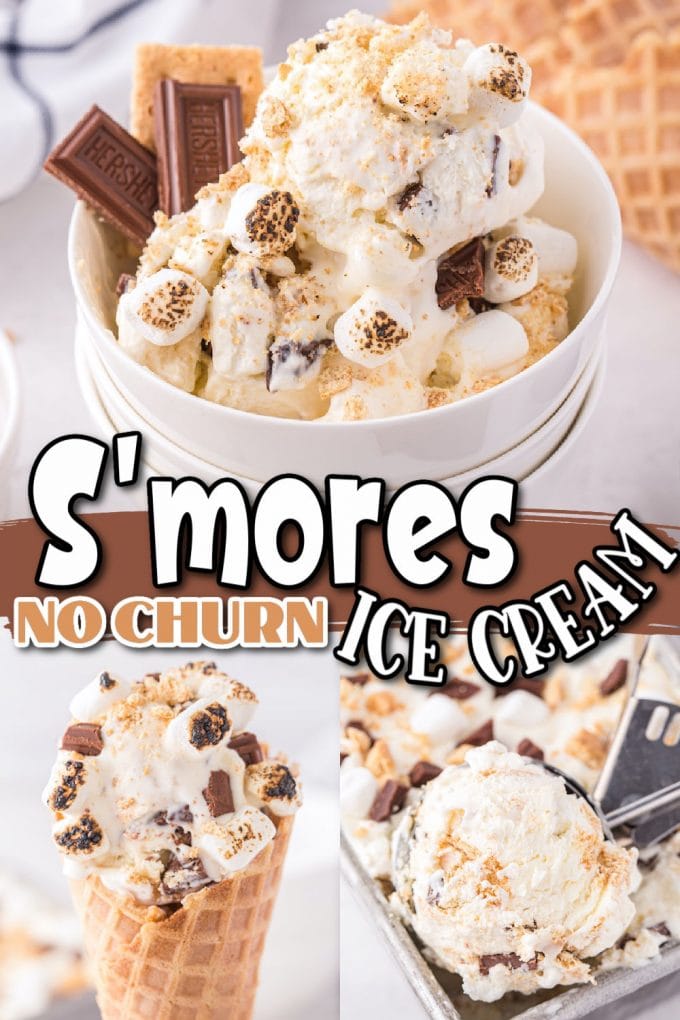
S’mores Ice Cream – No Ice Cream Machine Needed!
I’ve always had a weakness for the traditional summer campfire treat, with its ooey-gooey toasted marshmallow, real melted chocolate bar, and crunchy graham cracker, but sometimes I crave the combination of these delicious flavors, even when I don’t have an open flame.
That’s why our s’mores no-churn ice cream is the best sweet treat for all seasons. With “indoor s’mores,” you get all of your favorite tastes and textures of the classic recipe mixed into a perfect scoopable consistency straight from the freezer.
This recipe for no-churn ice cream is so simple! Just mix a few familiar ingredients together, pour in a pan, and freeze. That’s all it takes to make our rich, creamy, homemade dessert. And just like the classic hand-held sandwich, this spoonable version combines the nostalgia of an outdoor treat with the ease of an indoor indulgence, so you get the best of both bites, but in homemade ice cream form!
Why We Love This S’mores Ice Cream
- Easy to make without an ice cream machine
- Takes 15 quick minutes to prep
- Delicious s’mores flavors in every bite
- Cool on a hot summer day (but perfect for any weather)
- Loaded with traditional s’mores ingredients in ice cream form
- Light and creamy texture
Ingredients / Shopping List
- Heavy whipping cream
- Sweetened condensed milk
- Marshmallow crème: If you don’t have marshmallow crème, just add some mini marshmallows to the mixture instead.
- Graham crackers: crumbled into pieces
- Chocolate bars: I used Hershey bars, but you can use your favorite type of chocolate bars, like baking bars, Ghirardelli, etc.
- Mini marshmallows
Substitutions and Additions
- Graham Crackers: Feel free to use your preferred flavor of graham cracker. Honey, chocolate, or cinnamon will all taste delicious!
- Candy: Instead of chocolate bars, try adding peanut butter cups or your favorite candy bar.
- Toppings: Top it off with hot fudge and/or salted caramel sauce.
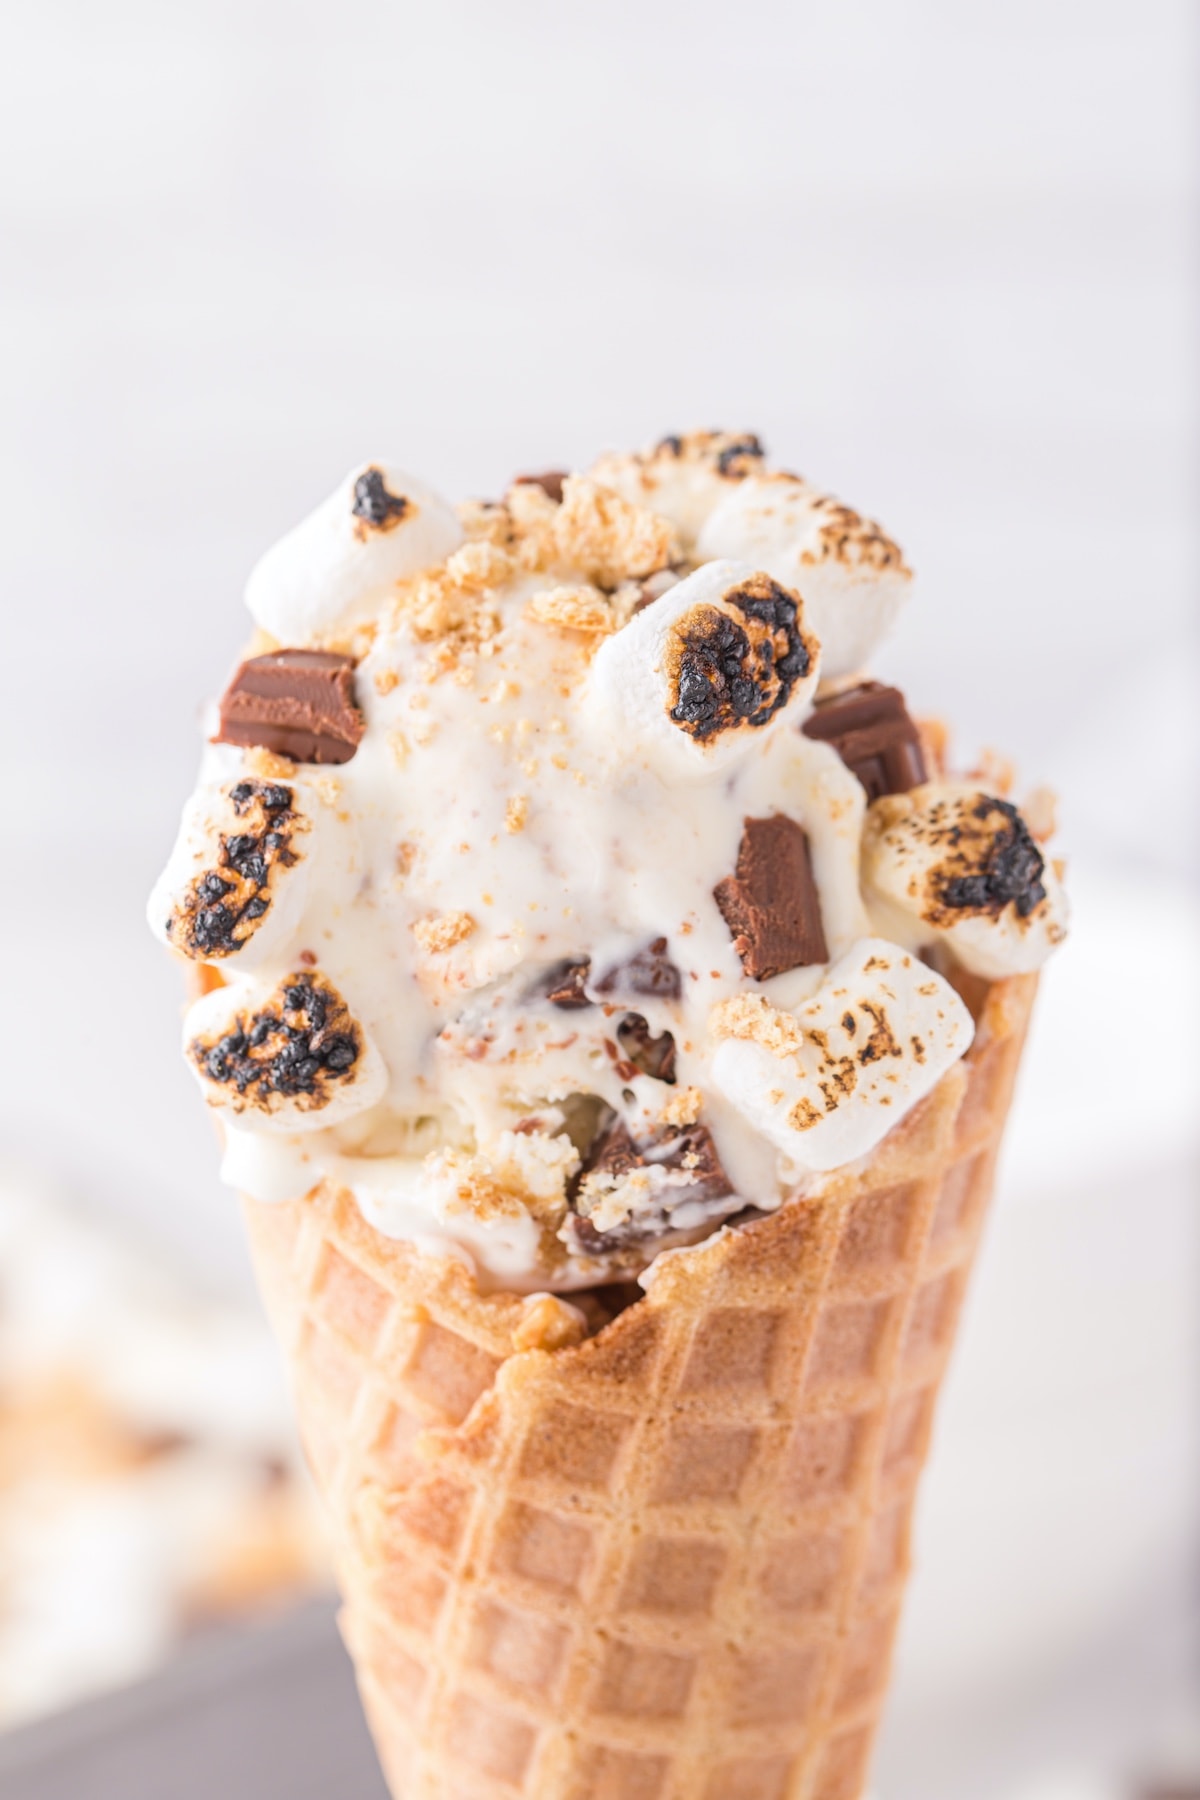
- Make it Hand-Held: Sandwich a scoop of s’mores ice cream between two graham crackers or chocolate chip cookies.
- Extra Chocolatey: Serve a scoop of ice cream on top of a warm chocolate brownie.
Recommended Tools
- Stand or hand mixer
- Mixing bowl
- Measuring tools
- 9×5 inch loaf pan or reusable ice cream container
SEE FULL PRINTABLE RECIPE CARD BELOW
How to Make Our Homemade S’mores Ice Cream
This s’mores ice cream is the ultimate easy-to-make indulgence–it is no-churn, so no ice cream maker required! Only 15 quick minutes to prep this rich, creamy treat that’s frozen in your own freezer.
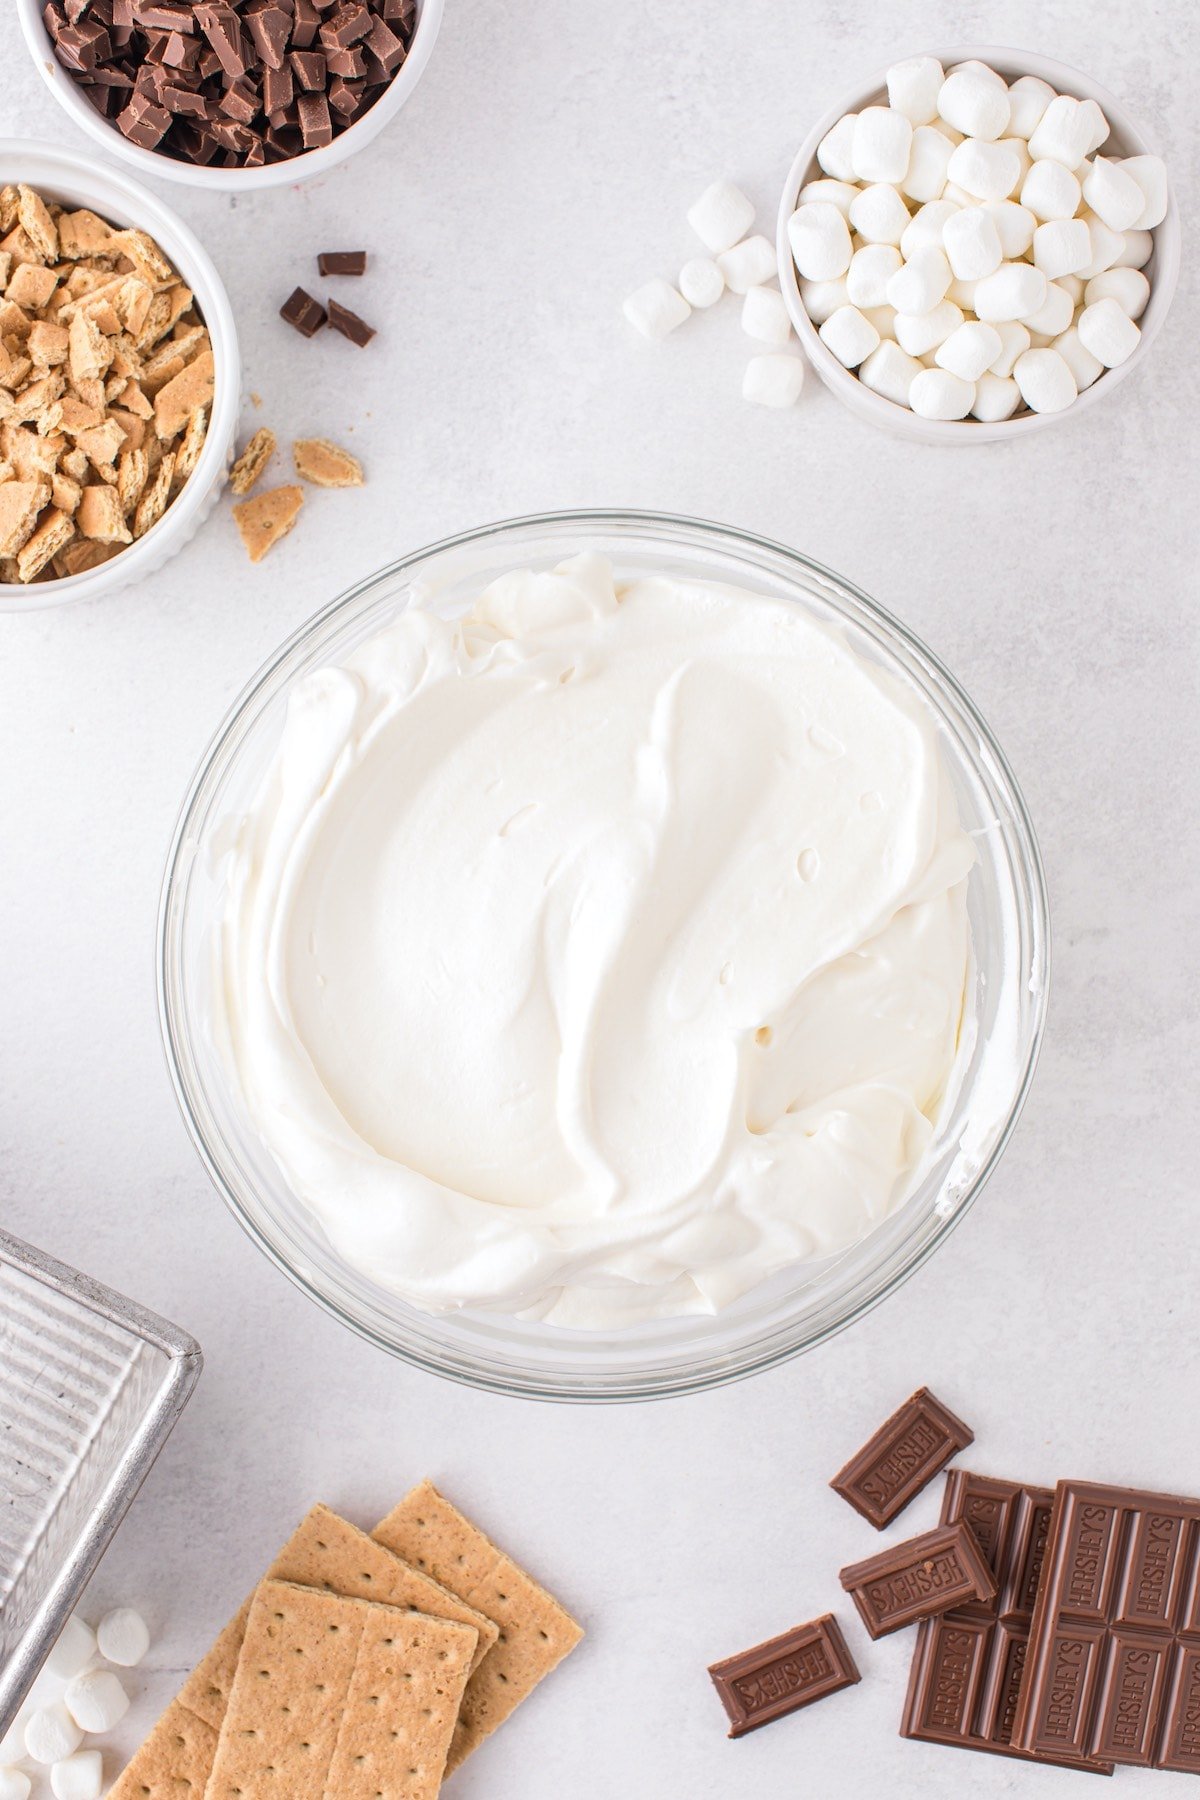
- Beat the heavy whipping cream with your mixer until medium peaks form (See FAQ for medium peak definition).
- Add the sweetened and condensed milk and marshmallow crème and beat together.

- Stir in the graham crackers, chocolate, and marshmallows.
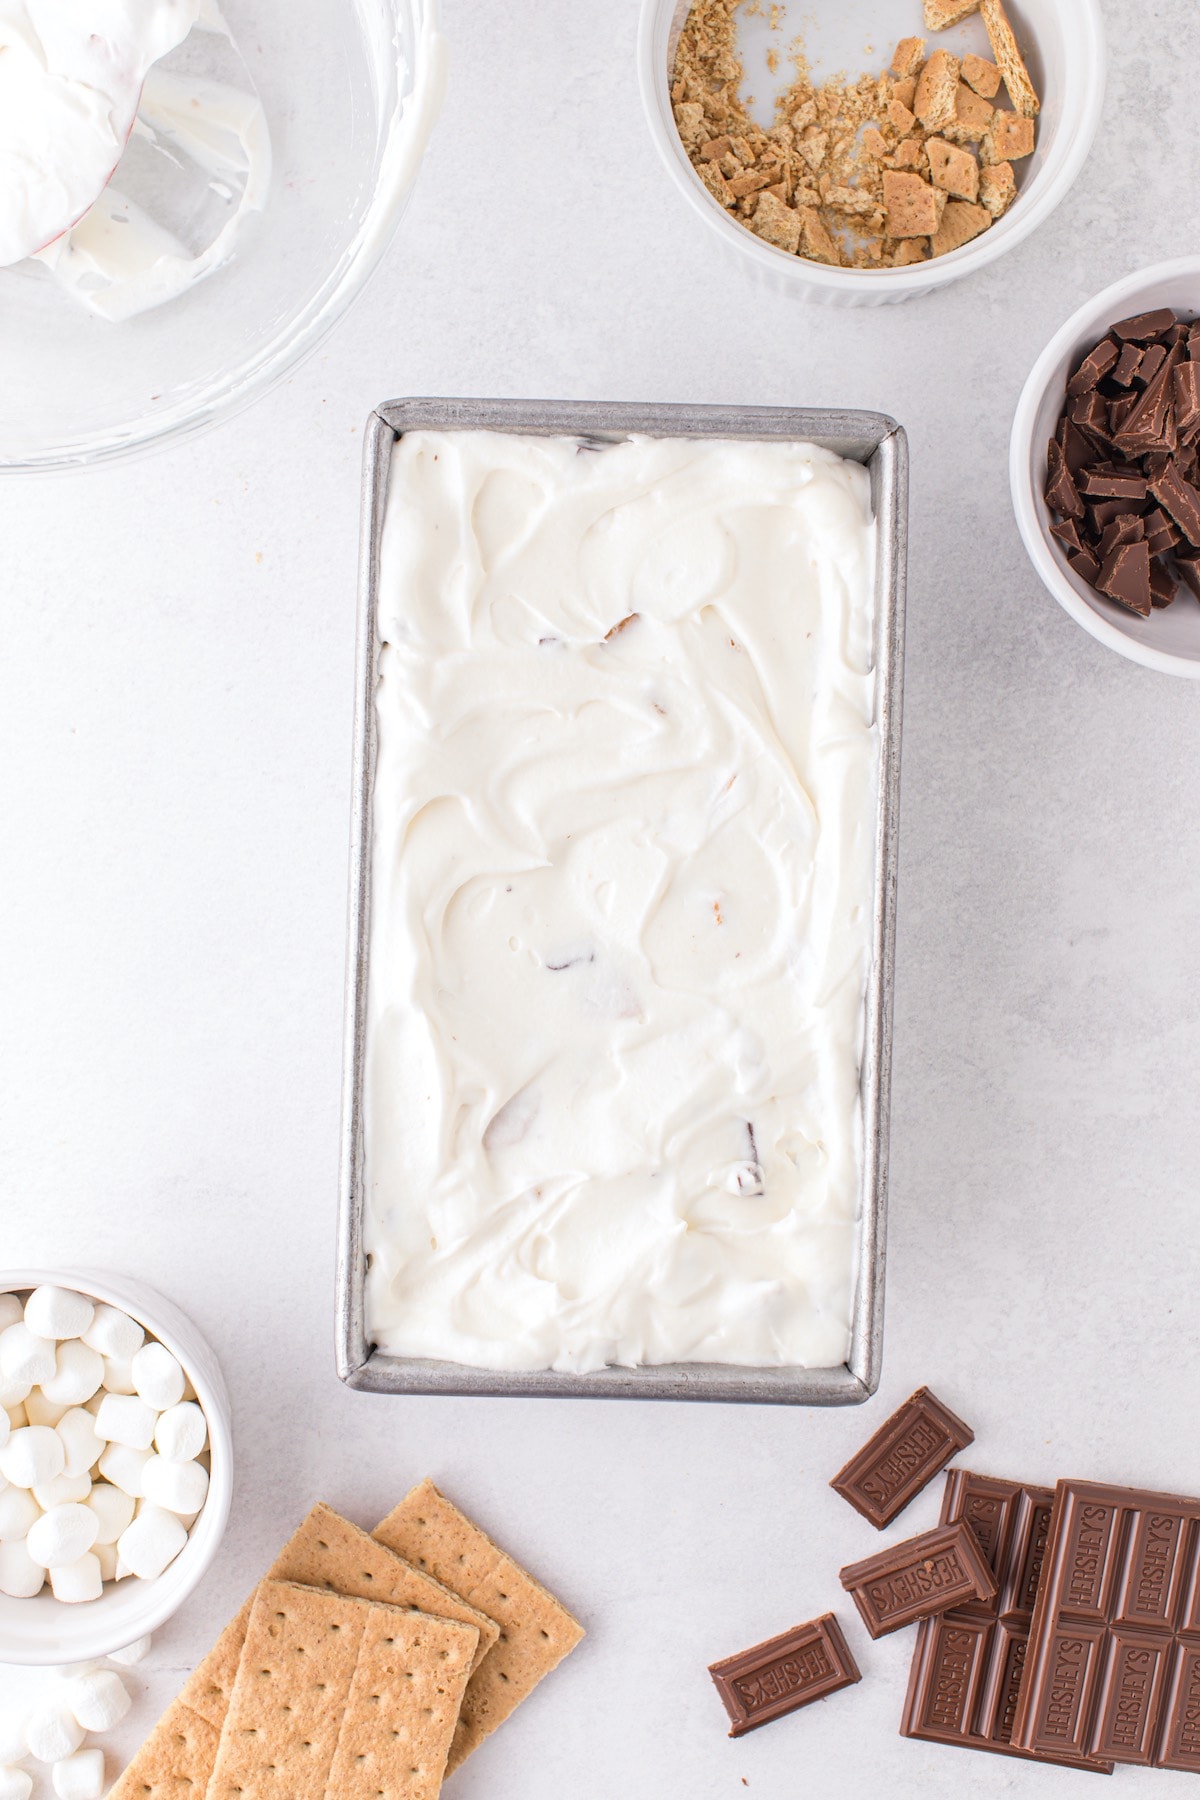
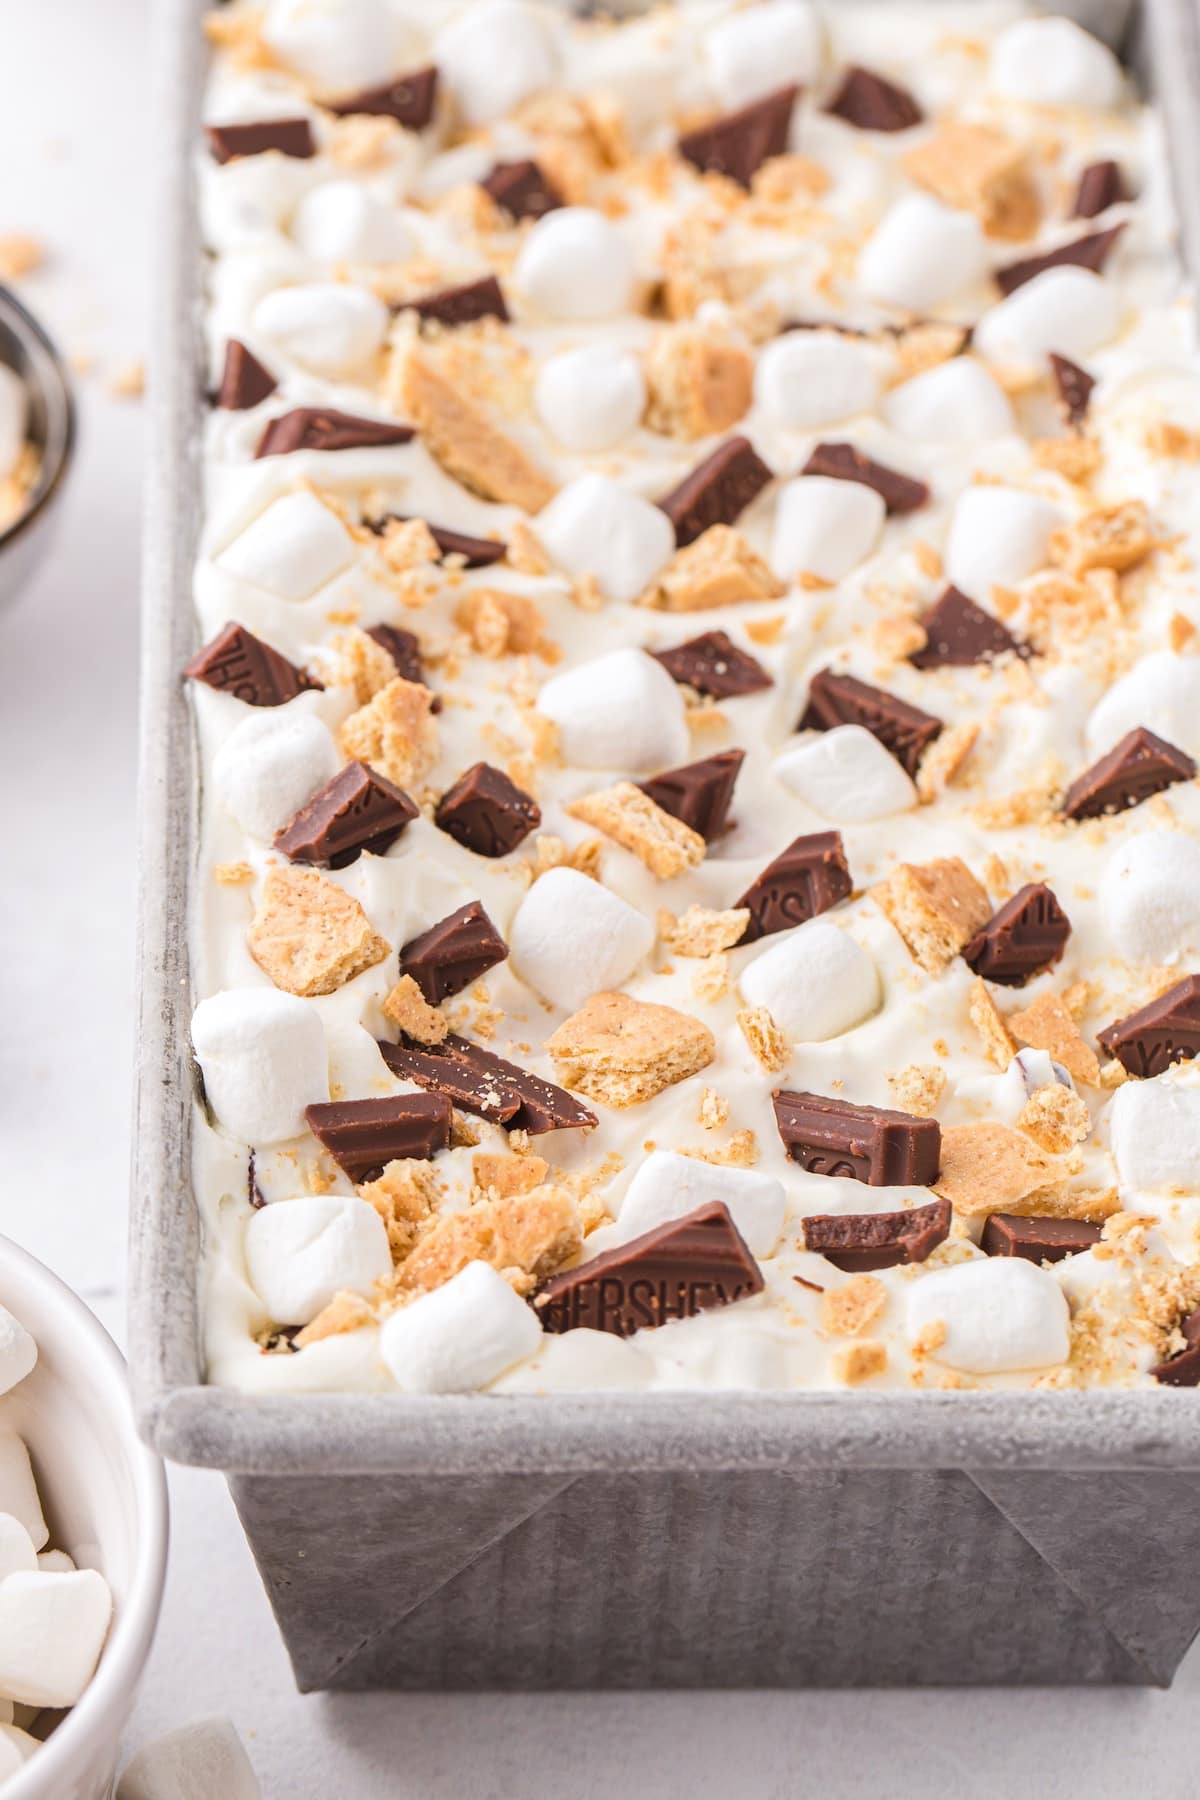
- Pour the ice cream mixture into your pan.
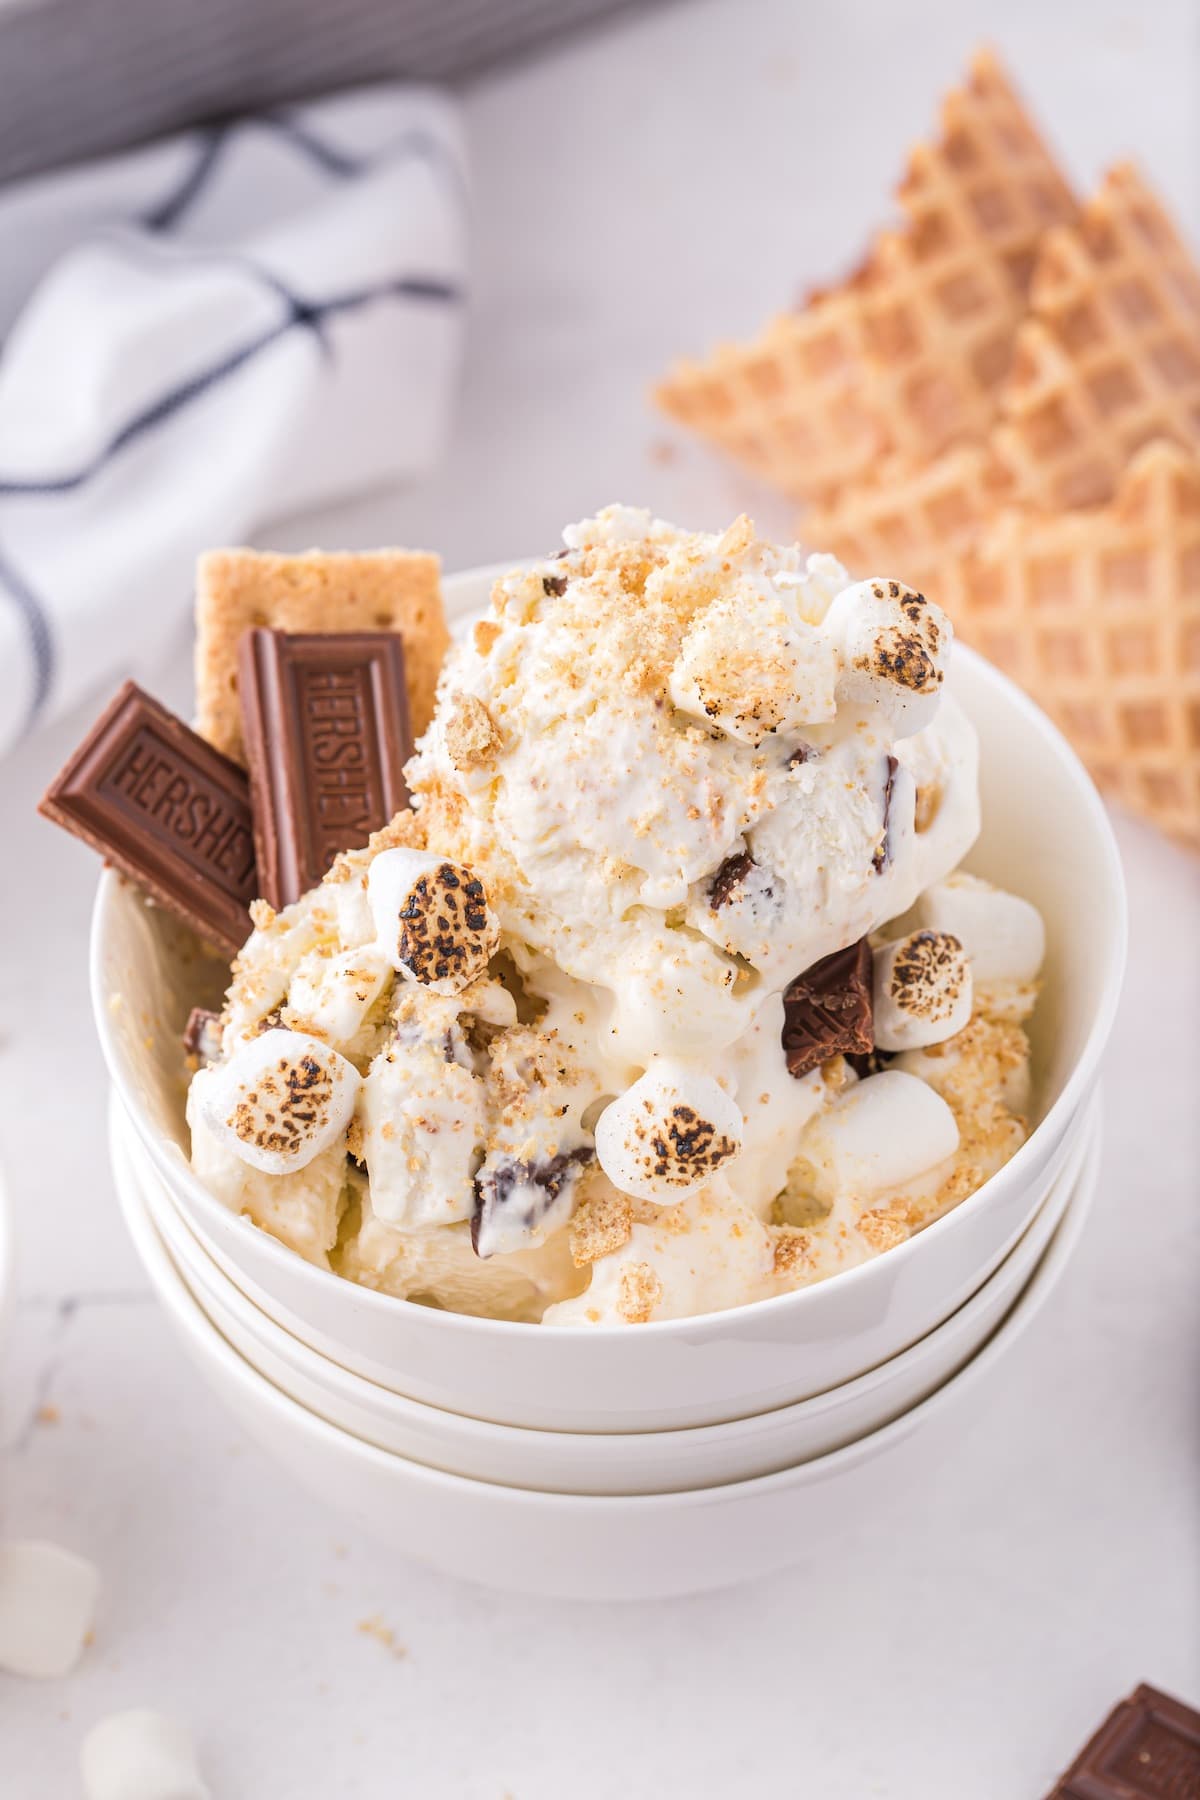
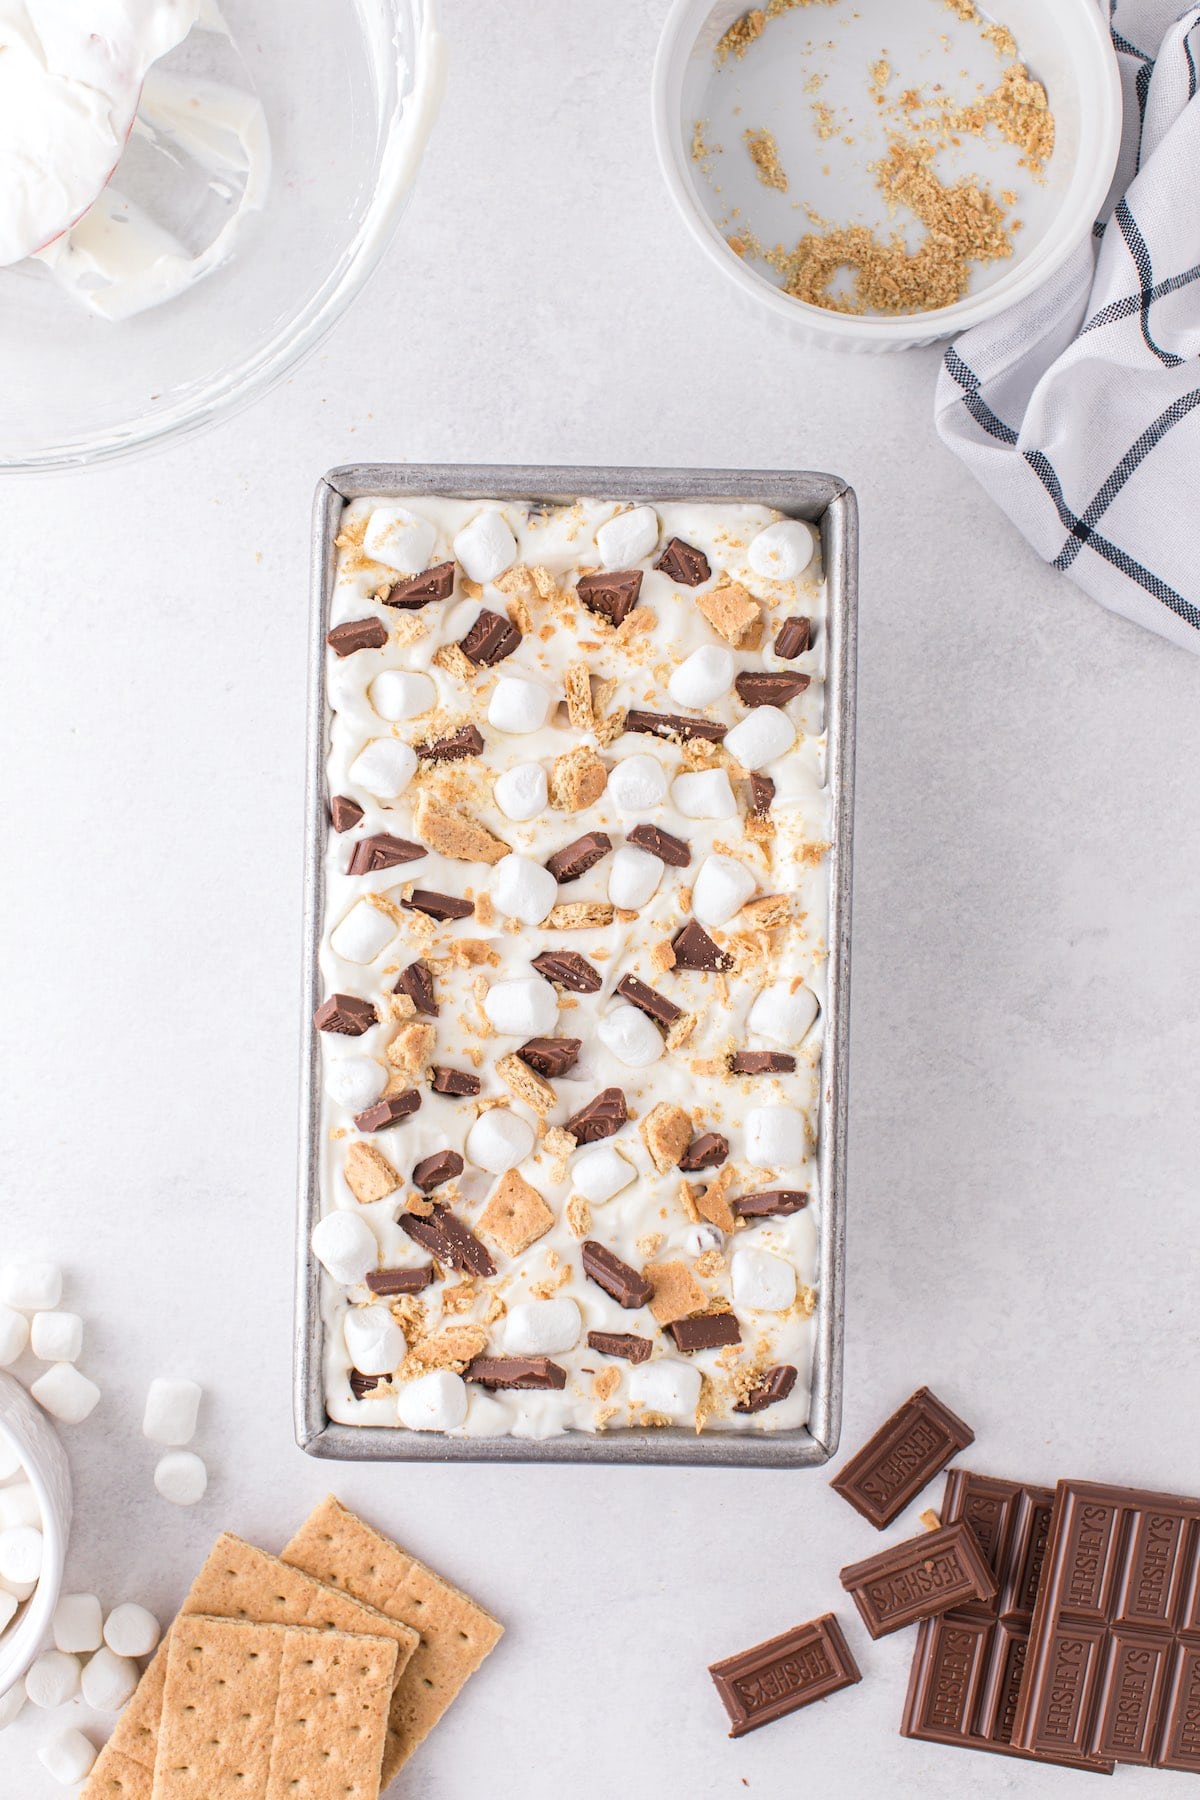
- Top your ice cream with additional graham crackers, chocolate, and mini marshmallows.
- Wrap tightly and freeze.
- Scoop your s’mores ice cream into a bowl or cone and enjoy!


Tips
- I prefer to use a 9×5 inch loaf pan for this recipe, but you can use an 8×8 inch baking dish or another dish, as long as it can be frozen.
- If you would like to have browned marshmallows on your ice cream, place the mini marshmallows on a sheet pan and broil in the oven for about one minute or until the tops are toasted and golden brown. Be sure to watch them carefully in the oven so they don’t burn. After toasting, let the marshmallows cool down completely before using, as they will become a gooey mess if they are still warm. You can also use a culinary blow torch on some of the decorated marshmallows if you have one.
Storage Tips
- Keep this in the freezer, covered. It will last about 1-2 weeks without a change in texture if covered properly. One to two months is the maximum time I recommend keeping this ice cream stored without eating it, although I can’t imagine it not being eaten sooner!
- I love to use these reusable ice cream containers for storage. They are great for keeping away the freezer burn!
Frequently Asked Questions
Medium peaks are when we beat whipping cream to stiff peaks, where the cream will hold its shape and not move. Medium peaks occur before stiff peaks, where the cream still has some movement and flow. It isn’t slightly runny like soft peaks, but it won’t stay totally stiff either.
You will likely need to beat your heavy cream for about two minutes to get these peaks. However if you end up whipping up the cream too much, to the “stiff peaks” point, your ice cream will still work.
It is better to beat it too much than to beat it too little with this ice cream, otherwise, it might not set very well.
You cannot use regular milk instead of heavy whipped cream in this recipe. The heavy cream as the base for the ice cream gives it an ultra-creamy texture and, when beaten with a mixer, makes it much lighter. Regular milk won’t provide a base that is nearly as light or as creamy.
S’mores are a simple contraction of “some more.” Because when you eat one you immediately want “some more!”
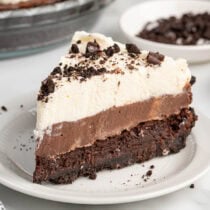
Other Easy S’more Recipes
S’mores No Churn Ice Cream
Ingredients
- 1¾ cups heavy whipping cream cold
- ½ cup sweetened and condensed milk
- 1 cup marshmallow crème
- 3 graham crackers crumbled, plus more for topping
- 4.5 ounces chocolate bars roughly chopped, plus more for topping
- 1 cup mini marshmallows plus more for topping
- Optional garnishes: Extra graham cracker crumbs and chopped chocolate
Instructions
- Using a stand mixer with the whisk attachment or a hand mixer, beat the heavy whipping cream at high speed for about 2 minutes, until medium peaks form.
- Slowly beat in the sweetened and condensed milk and marshmallow creme. Remove from the stand mixer or remove the hand mixer.
- Gently stir in the graham crackers, chopped chocolate, and marshmallows until fully incorporated.
- Pour the ice cream mixture into a 9×5 inch loaf pan.
- Decorate the top with additional graham crackers, chopped chocolate, and mini marshmallows. Wrap with plastic wrap.
- Freeze until solid, at least 5-6 hours (you can leave it in the freezer overnight if you’d like).
- Remove from the freezer and use an ice cream scoop to plate the ice cream.
Jenn’s Notes
- I prefer to use a 9×5 inch loaf pan for this recipe, but you can use an 8×8 inch baking dish or another dish, as long as it can be frozen.
- If you would like to have browned marshmallows on your ice cream, place the mini marshmallows on a sheet pan and broil in the oven for about one minute or until the tops are toasted and golden brown. Be sure to watch them carefully in the oven so they don’t burn. After toasting, let the marshmallows cool down completely before using, as they will become a gooey mess if they are still warm. You can also use a culinary blow torch on some of the decorated marshmallows if you have one.


make sure to wipe the knife clean before slicing the next piece.