This post may contain affiliate links. Please read our disclosure policy.
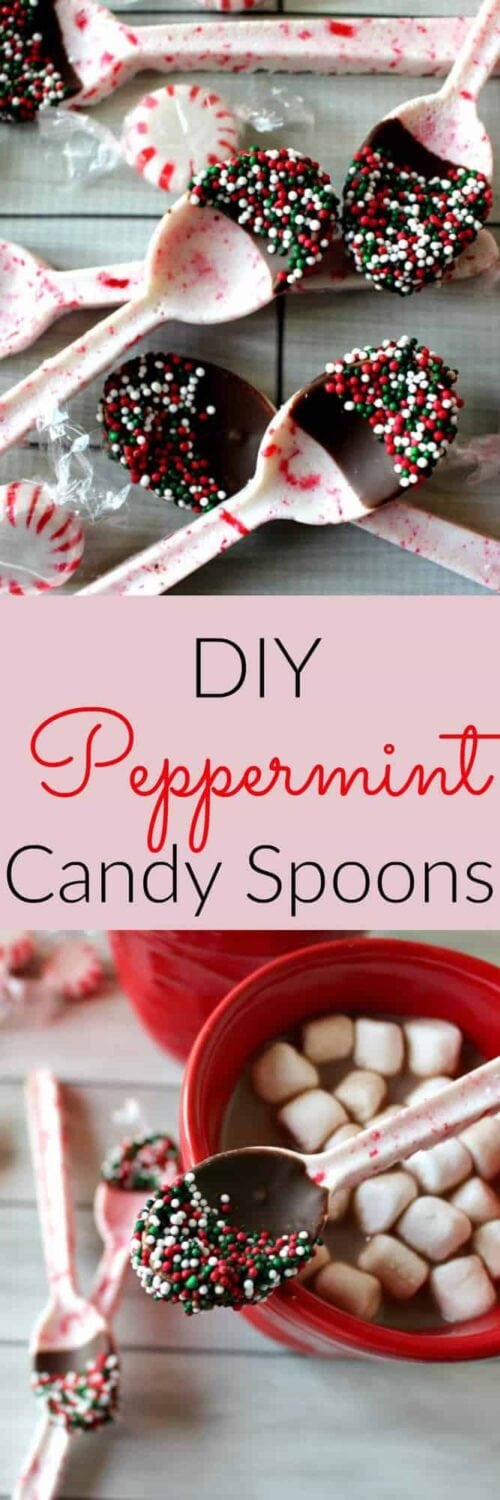
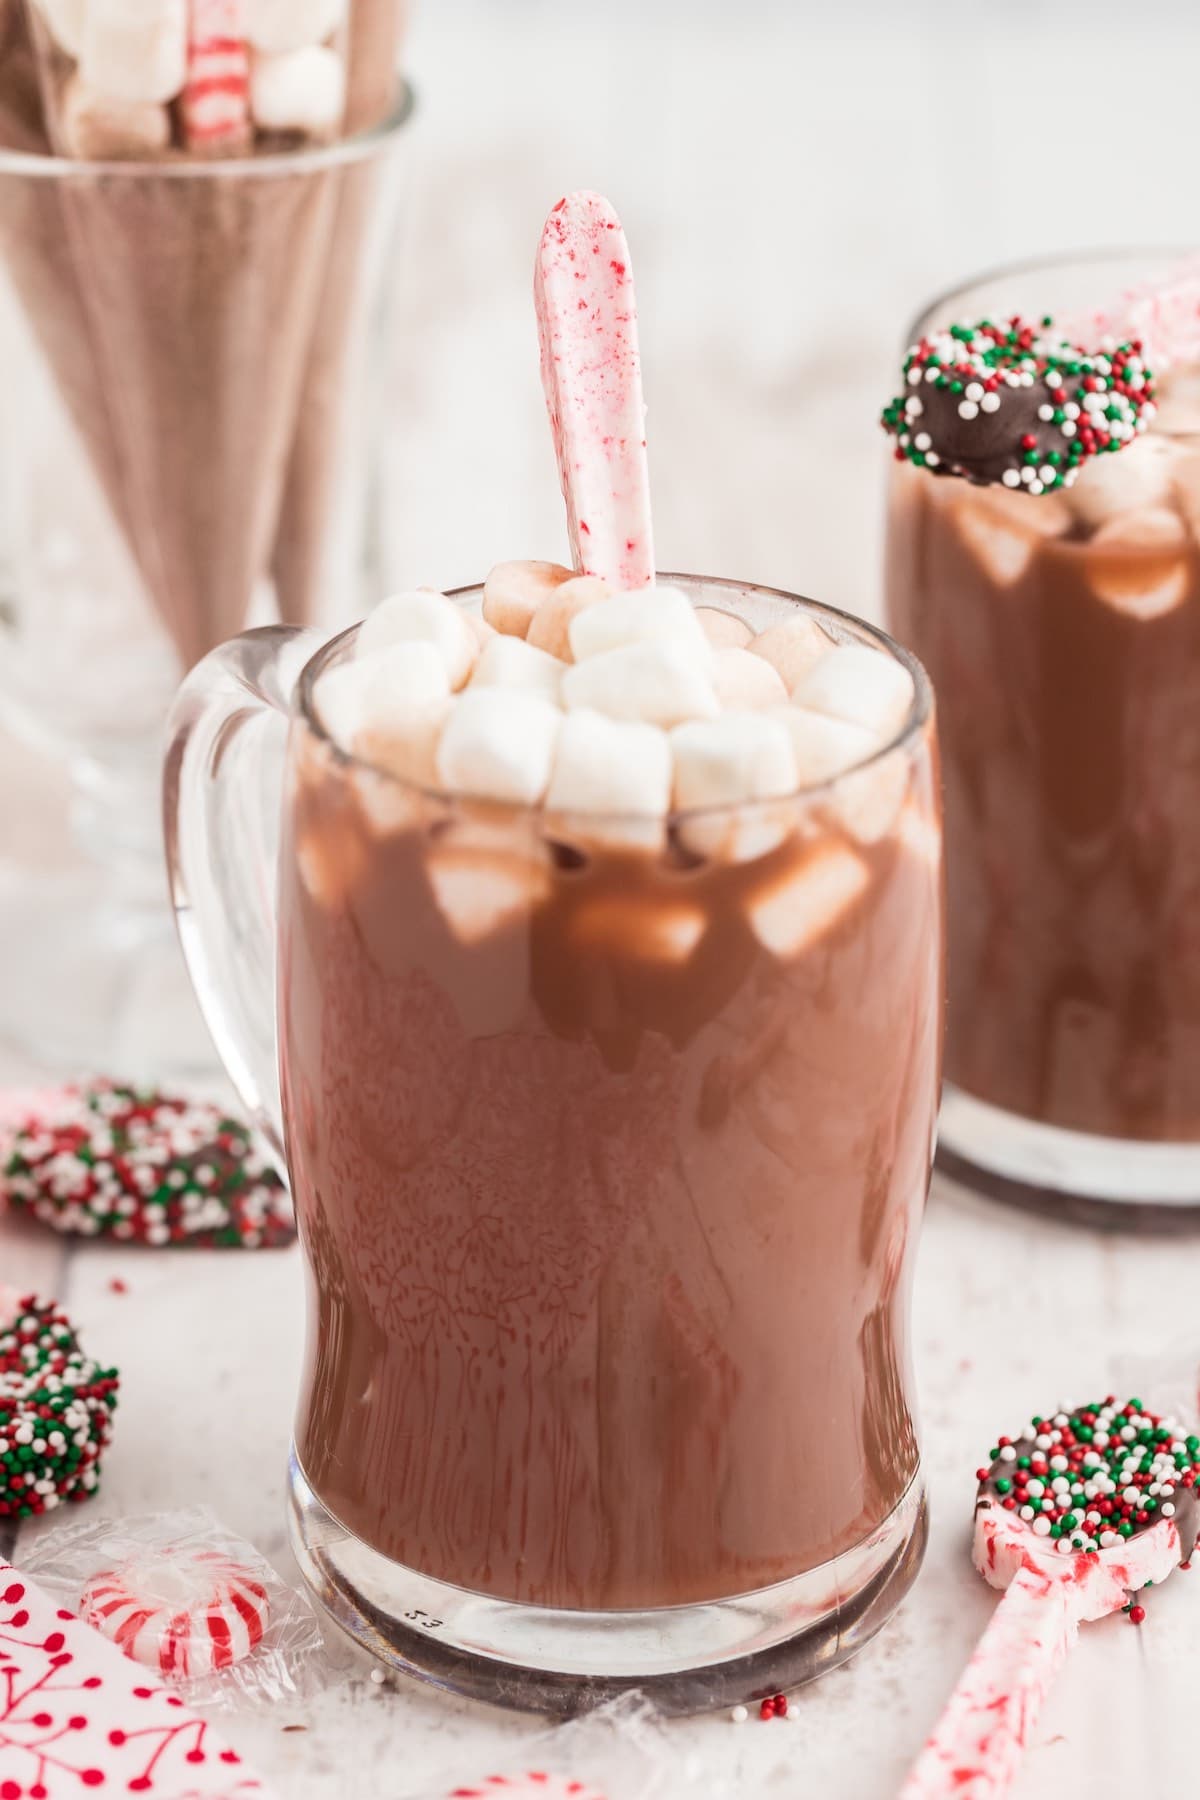
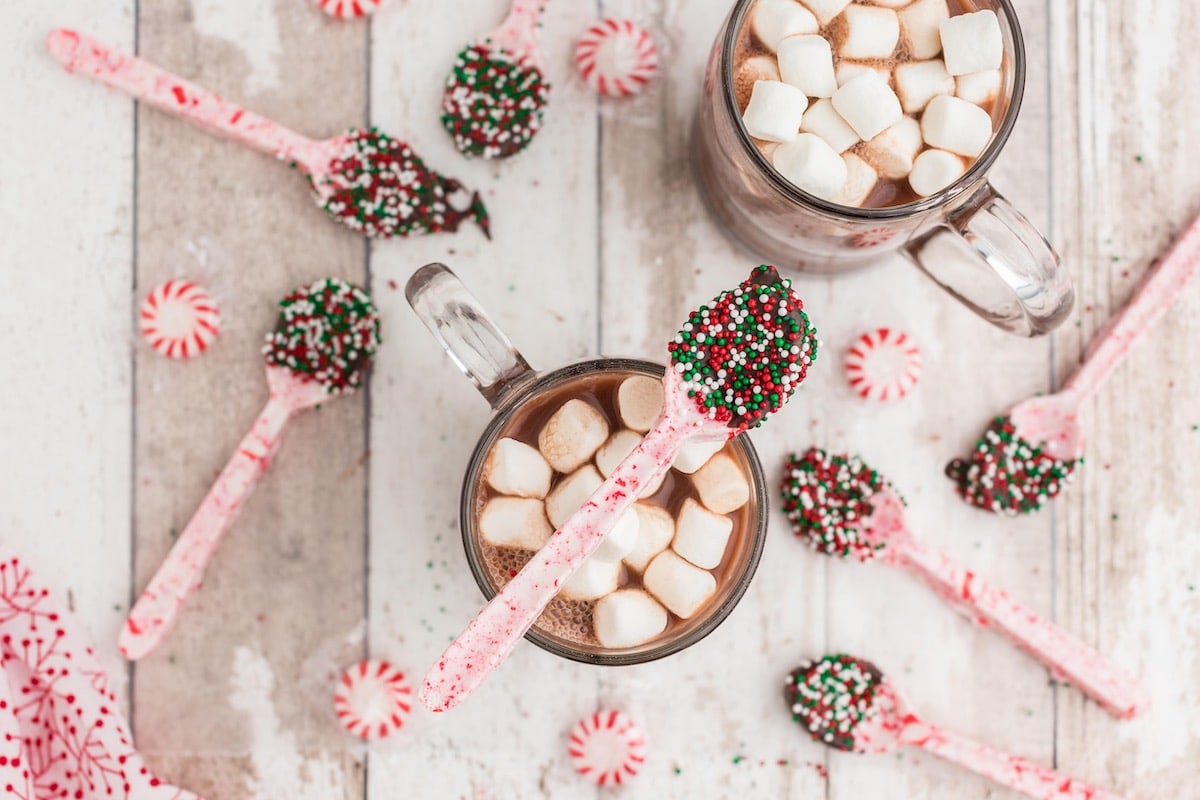
Give the perfect DIY Christmas gift this holiday season: Peppermint Candy Spoons. Easy to make and a great way to add a festive feel to a warm cup of cocoa or coffee.
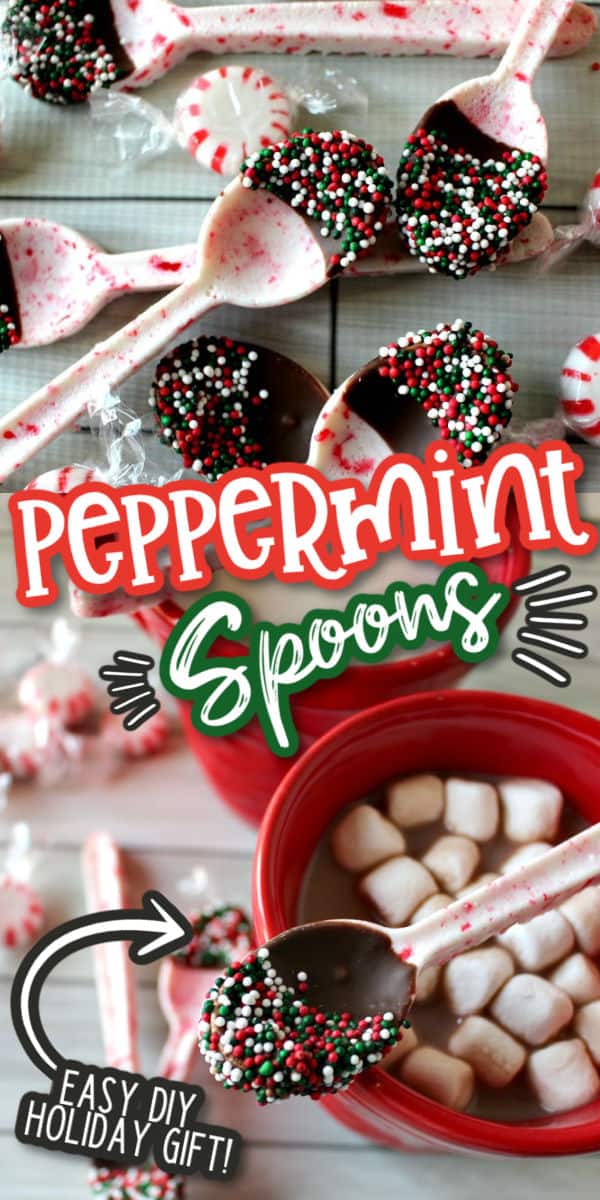
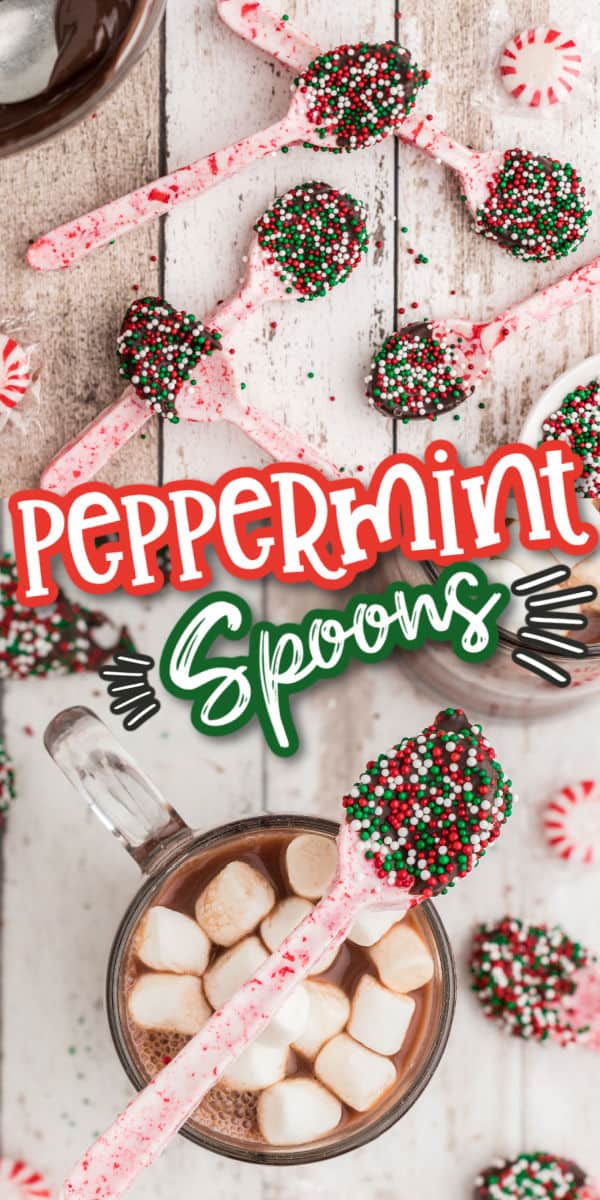
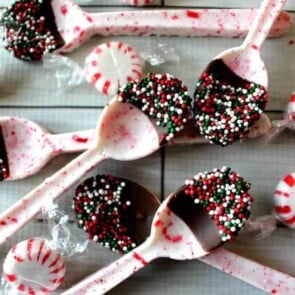
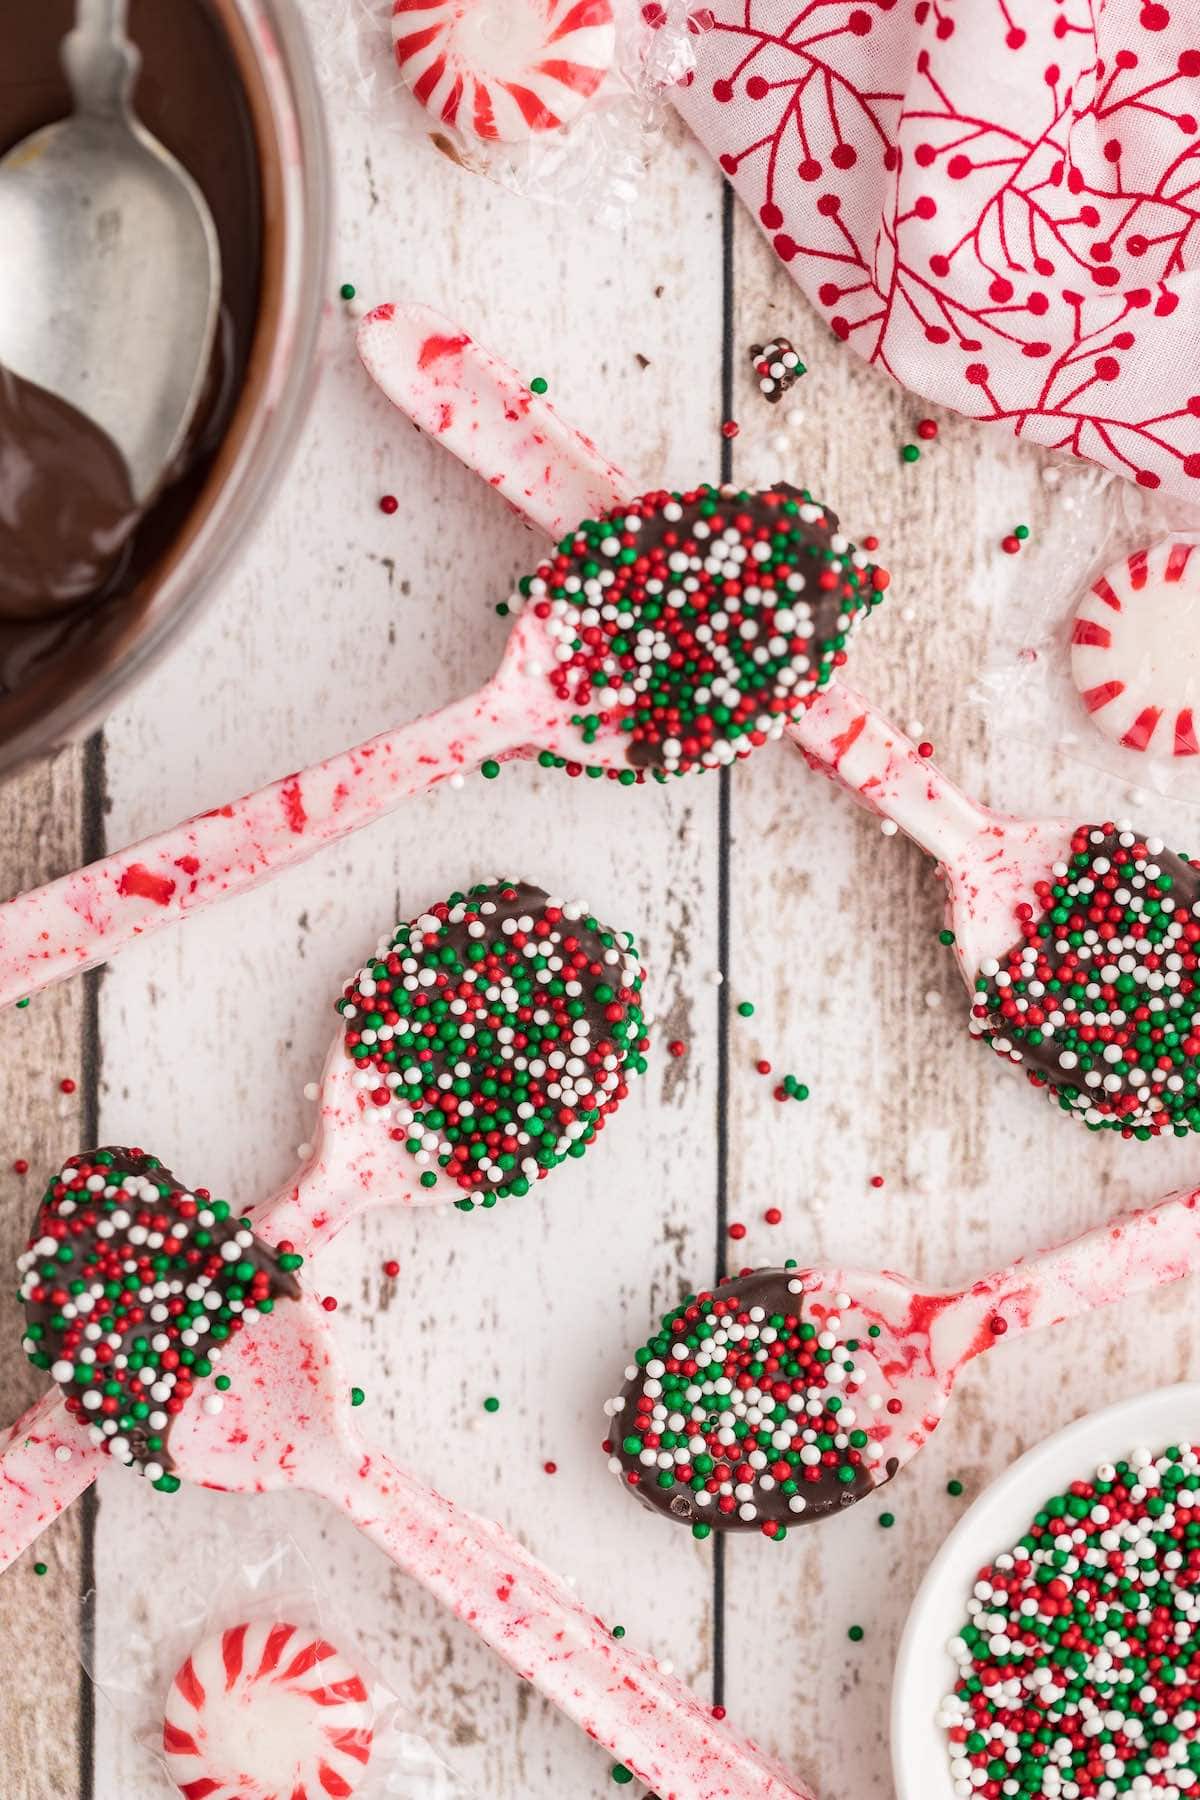
Chocolate Dipped Peppermint Spoons
Our easy DIY Peppermint Candy Spoons are the perfect holiday project and homemade Christmas gifts that take plastic drink stirrers and turn them into edible sweet treats with a gourmet seasonal twist.
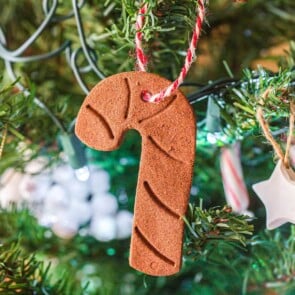
I love making everyday items out of melted candy, especially when they come together so easily, look cute, add delicious flavor, and (like these candy cane spoons) pair perfectly with hot holiday drinks. Ever since my Peppermint Candy Dish and Peppermint Shot Glasses, I have been busy melting and molding! Speaking of melting, check out this Melted Snowman Chocolate Bark!
Give your hot chocolate or coffee beverage a boost of festive flavor with these peppermint chocolate spoons. Because mint just belongs in other recipes besides chocolate bark, cakes, and cookies!
Why We Love This Peppermint Candy Spoons Recipe
- Quick and easy to make in minutes.
- Uses only 3 ingredients.
- Delicious way to add holiday flavor to a hot drink.
- Fun edible food craft to make with kids in the kitchen.
- Perfect homemade gift for teachers, friends, co-workers, and family.
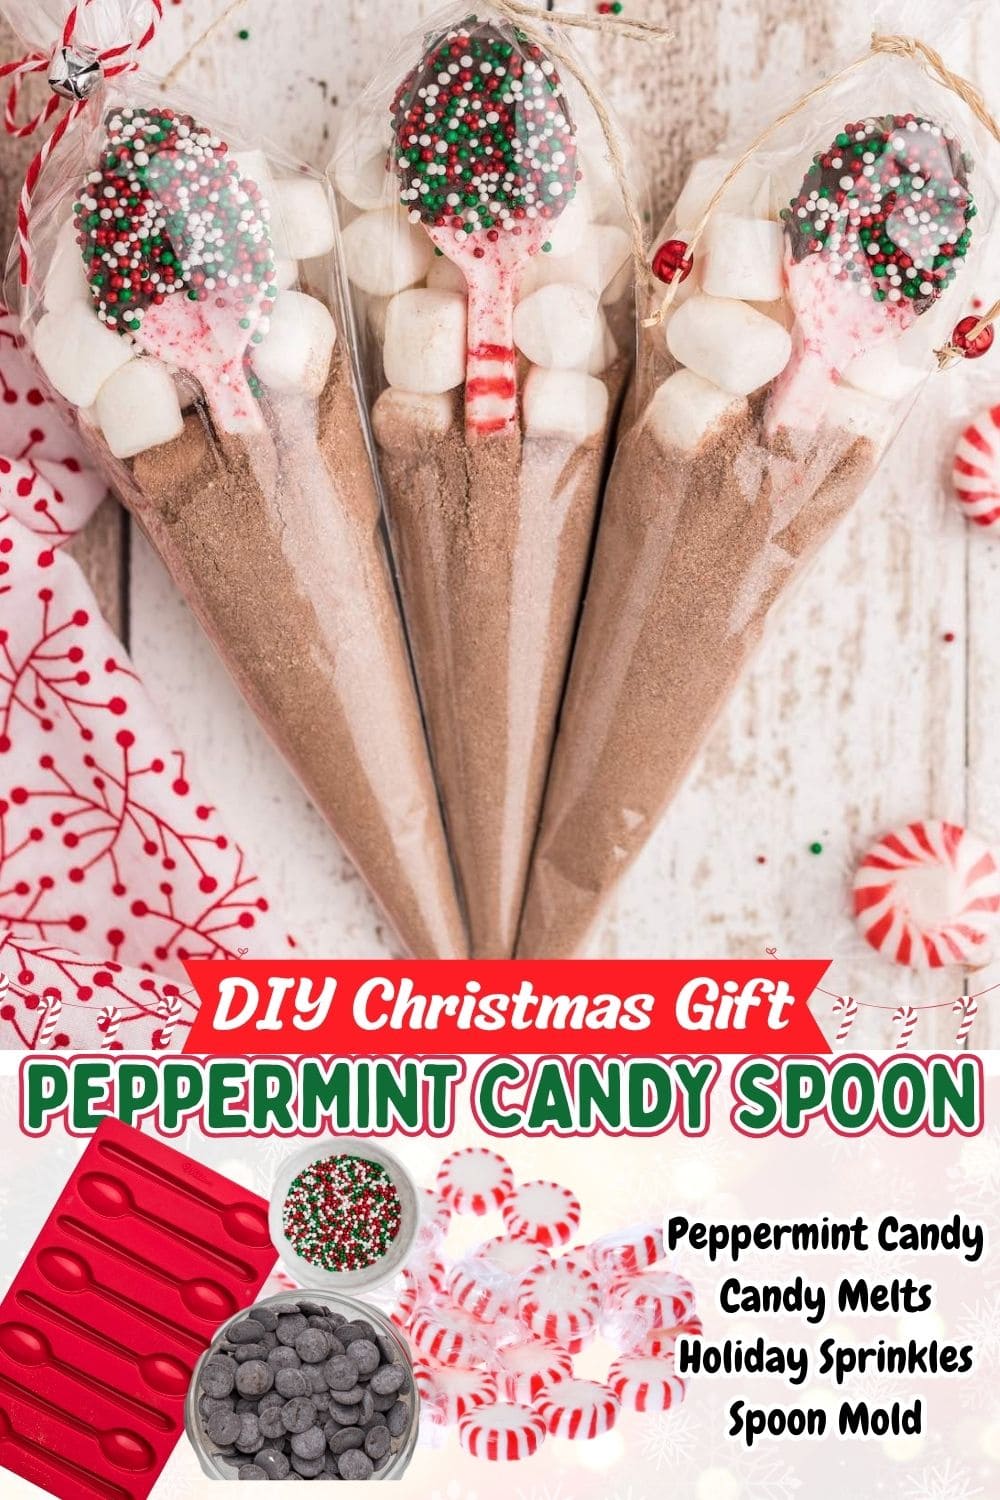
DIY Peppermint Candy Spoons Ingredients
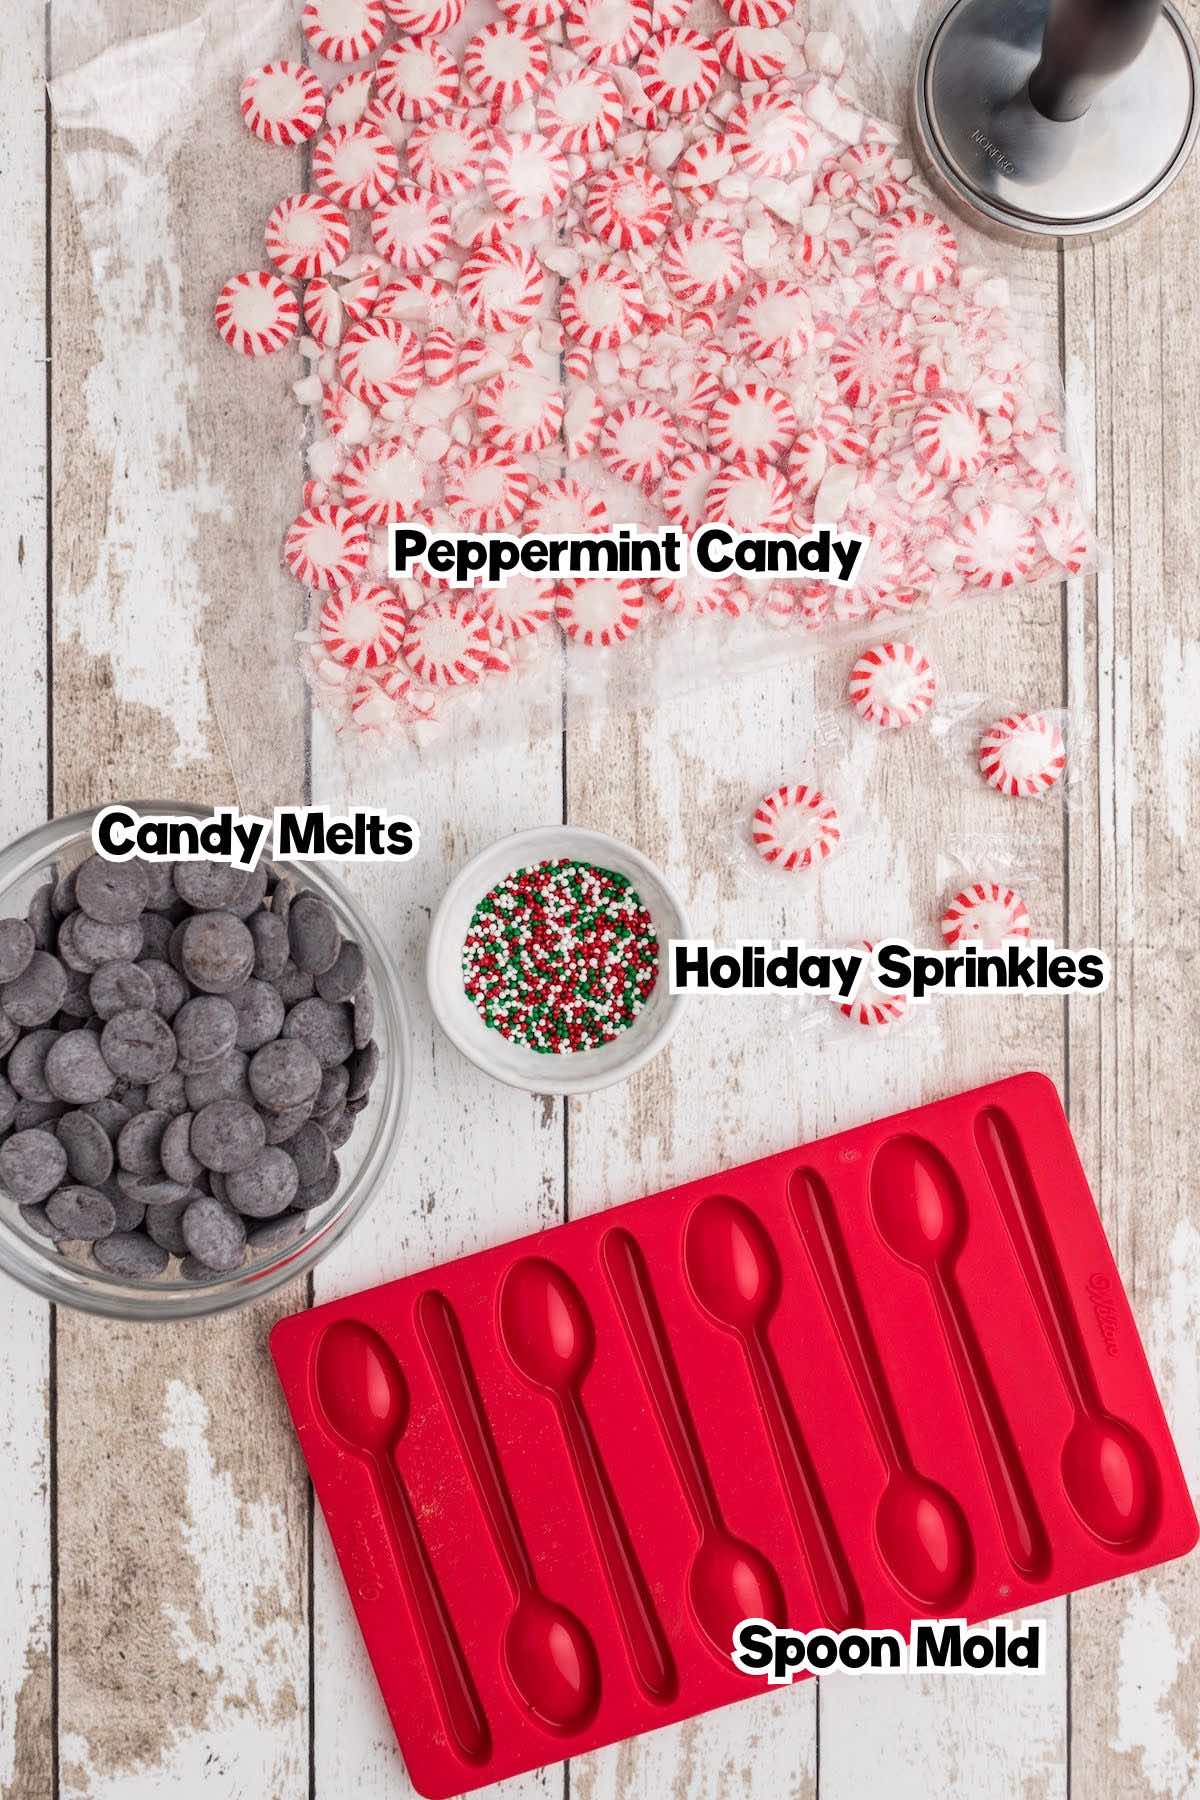
- Starlight Peppermint Candy: I prefer this brand of peppermint candies. I know it sounds crazy, but I find that the spoons come out the best with this particular brand of peppermints (this is also true with the shot glasses and candy bowls I mentioned above).
- Chocolate Candy Melts
- Holiday/Christmas Sprinkles: I prefer nonpareils, but any will work!
See the recipe card for full information on ingredients and quantities.
Substitutions and Additions
- Choose Your Chocolate: Feel free to use your favorite chocolate flavor for dipping. Milk chocolate, semi sweet chocolate, dark chocolate, and whitle chocolate will all taste delicious.
- Crush Your Candy: You can crush starlight mints, candy canes, or other hard peppermint candies inside your candy spoon mold.
Recommended Tools
- Silicone Spoon Mold (got mine here – click link): These molds sometimes sell out around Christmas, so get it early! Others will work too, but just make sure that they are oven-safe. Personally, I prefer the shape of this one.
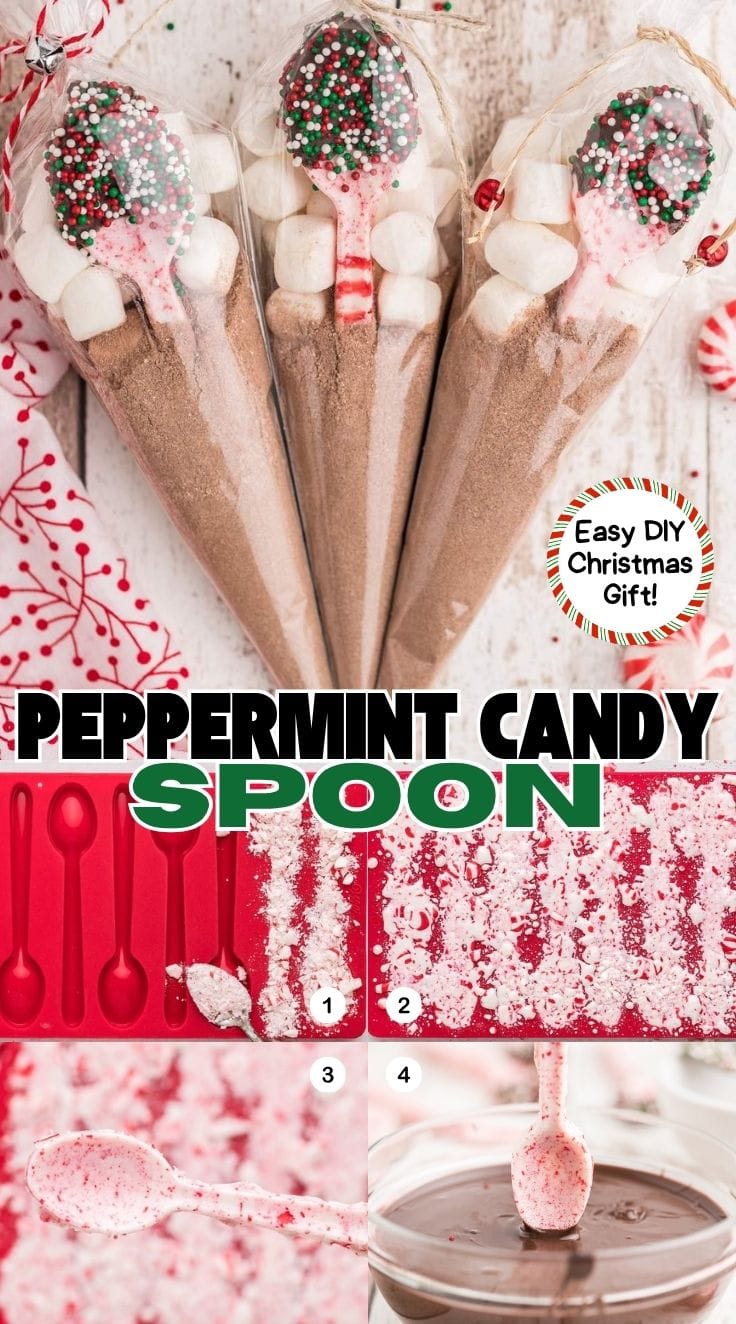
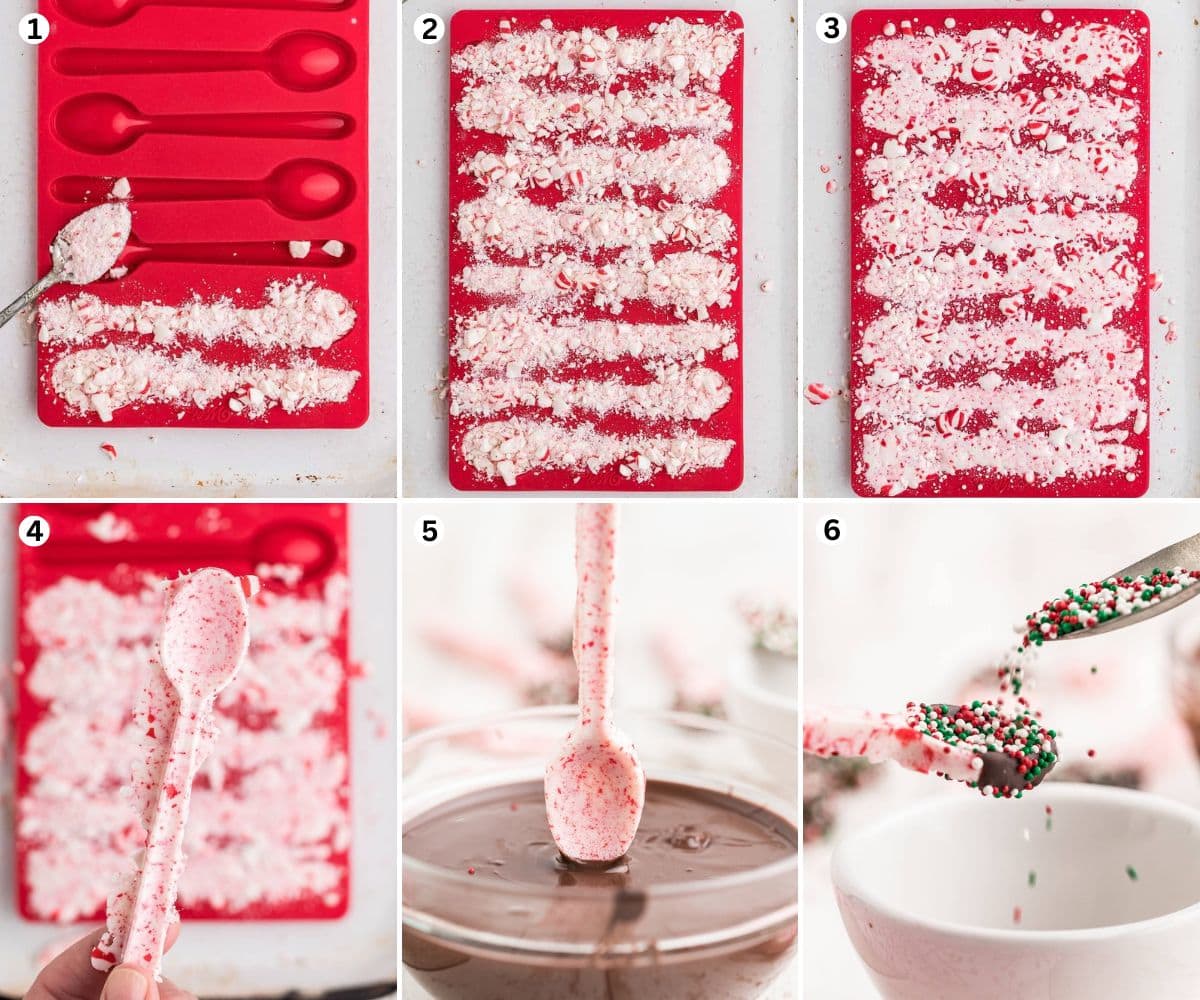
How to make DIY Peppermint Candy Spoons
- Crush The Candy: Crush the peppermints into small pieces.
- Melt In The Mold: Fill each spoon mold with crushed peppermints. Place in a 300 degree Fahrenheit oven and melt completely.
Pro Tip: Be sure to add extra candy at the neck of the spoon (where the spoon and handle meet). These are areas that break most easily. - Separate Your Spoons: Separate the molds from the candy carefully and remove. If one breaks, just add some more crushed peppermint and cook for a few minutes more.
- Dip And Decorate: Melt the chocolate and dip each spoon in the melted chocolate and cover with holiday sprinkles.
- Serve: Allow the spoons to dry and start stirring! Enjoy!
Tips For Making DIY Peppermint Candy Spoons
- You do need a silicone spoon mold to make these treats. Mine says it is for microwaving chocolate, but I used it in my oven over and over – no problem!
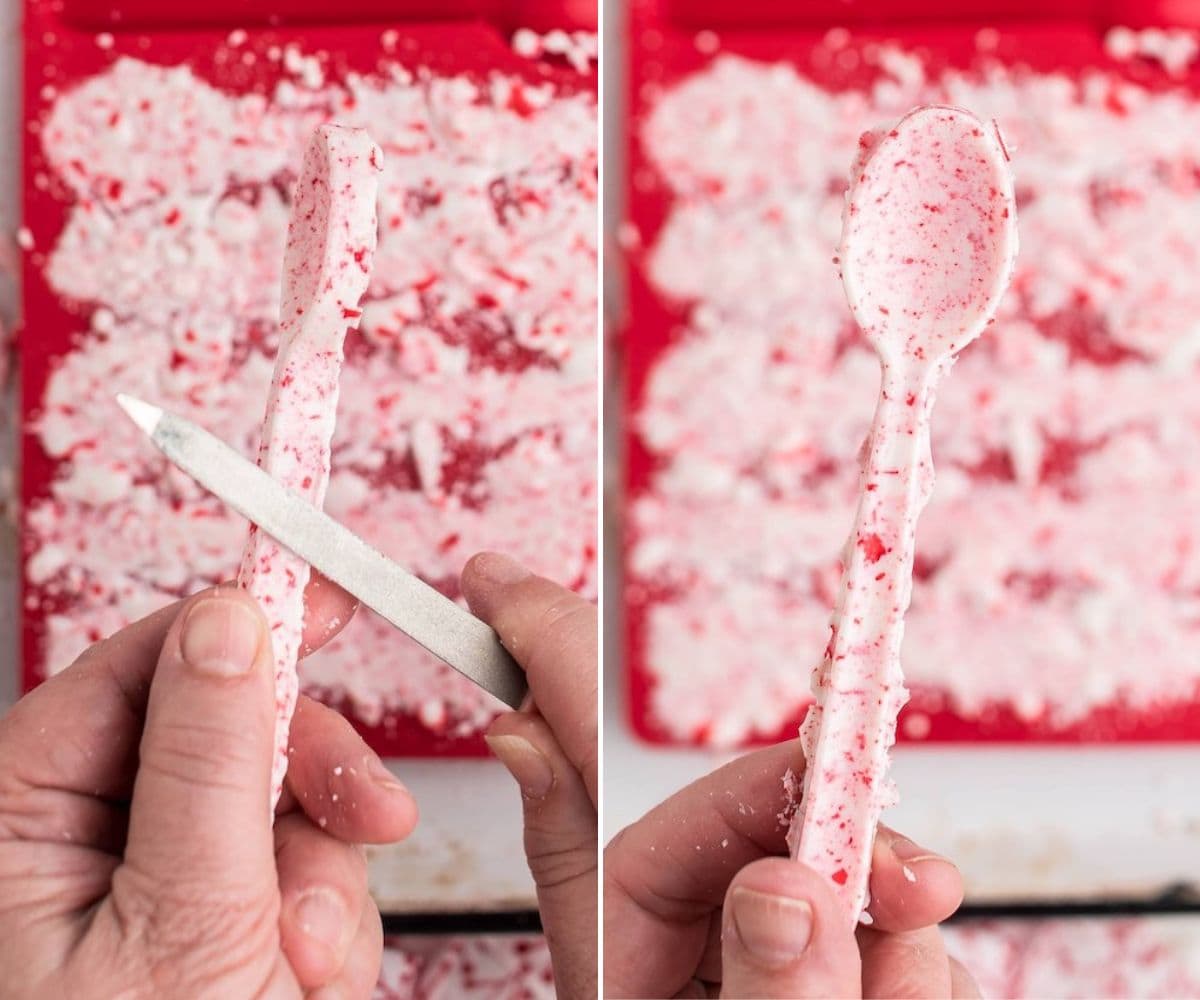
- After removing the spoons from the mold, use a new, clean fingernail file to make the edges smooth and gently file away the uneven edges. Be careful not to push too hard so as not to break the spoon.
- One full bag of mints from Target makes two full spoon molds.
- A whole bag of chocolate candy melts was way more than sufficient. Probably half a bag would work, but make sure you melt them in a deep bowl so you can dip the spoon to the depth needed.
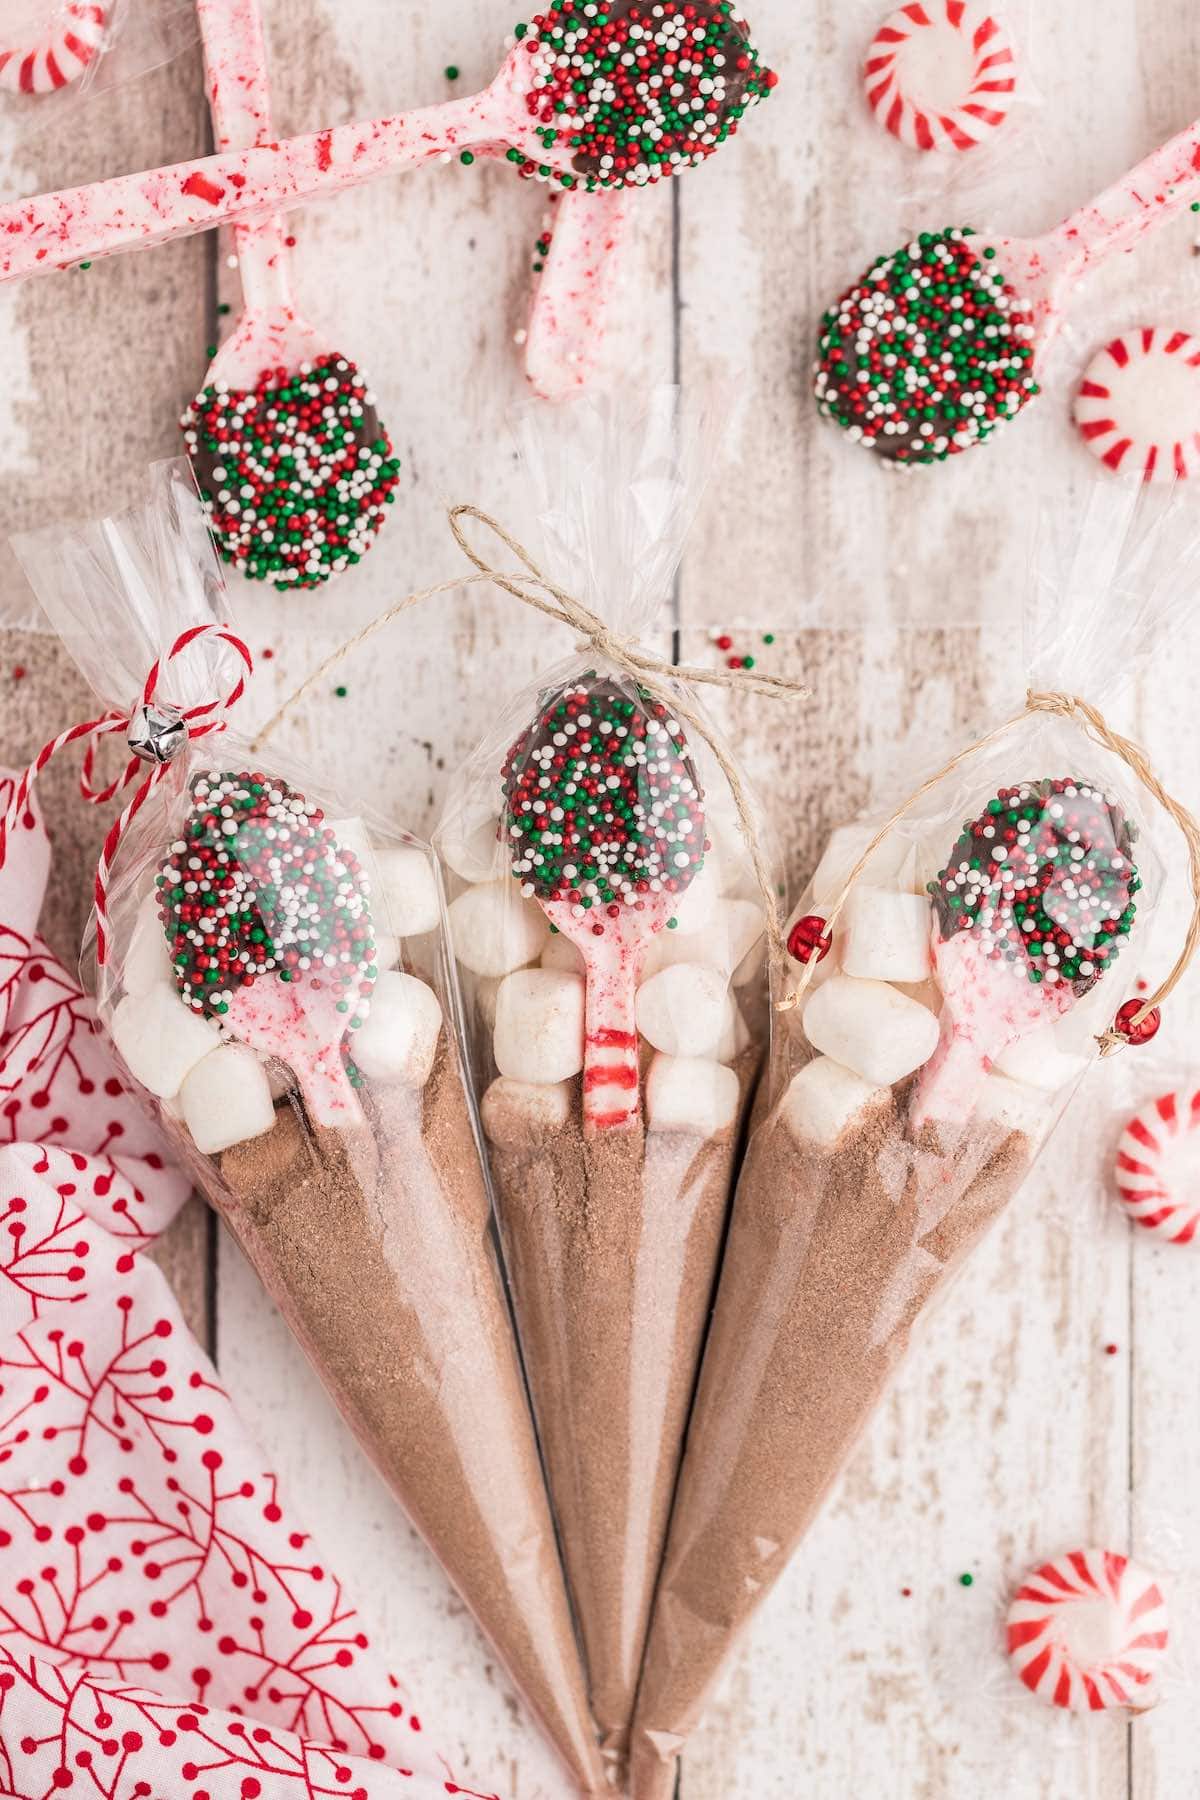
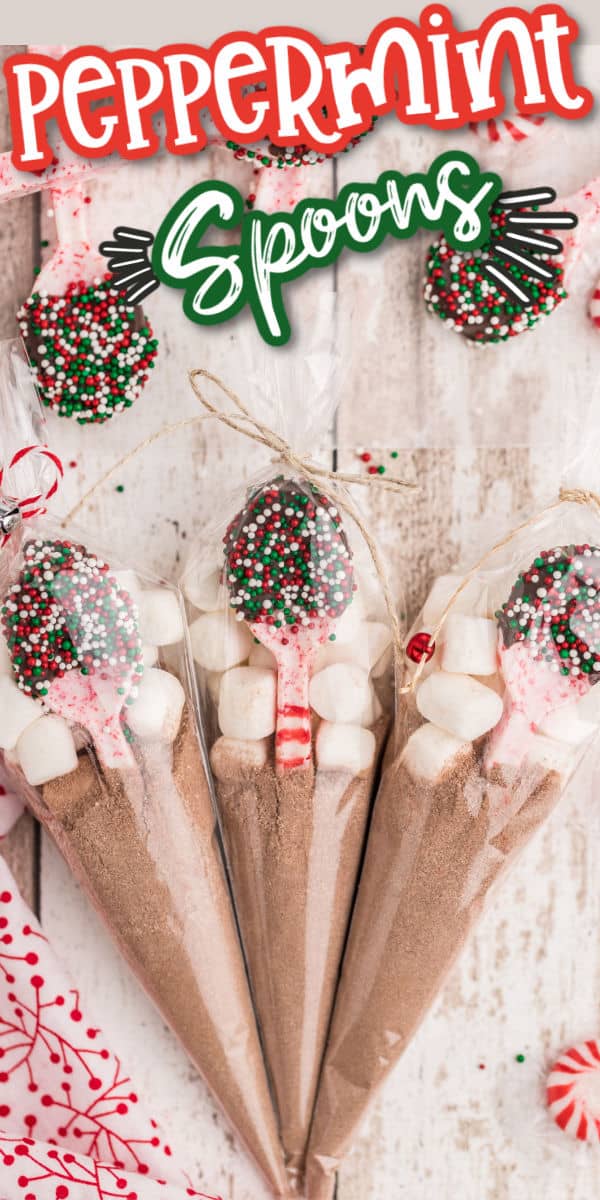
Easy DIY Christmas Gift
Peppermint Spoons, individually wrapped, make the perfect easy DIY gift for Christmas or the holidays! Give them to teachers, friends, family, or keep a stash of spoons in your car in case you find yourself in a gift emergency! (You know what I mean, we have all been there!)
How to Make an easy DIY Christmas Gift
You will need the following to make these into a quick and easy gift:
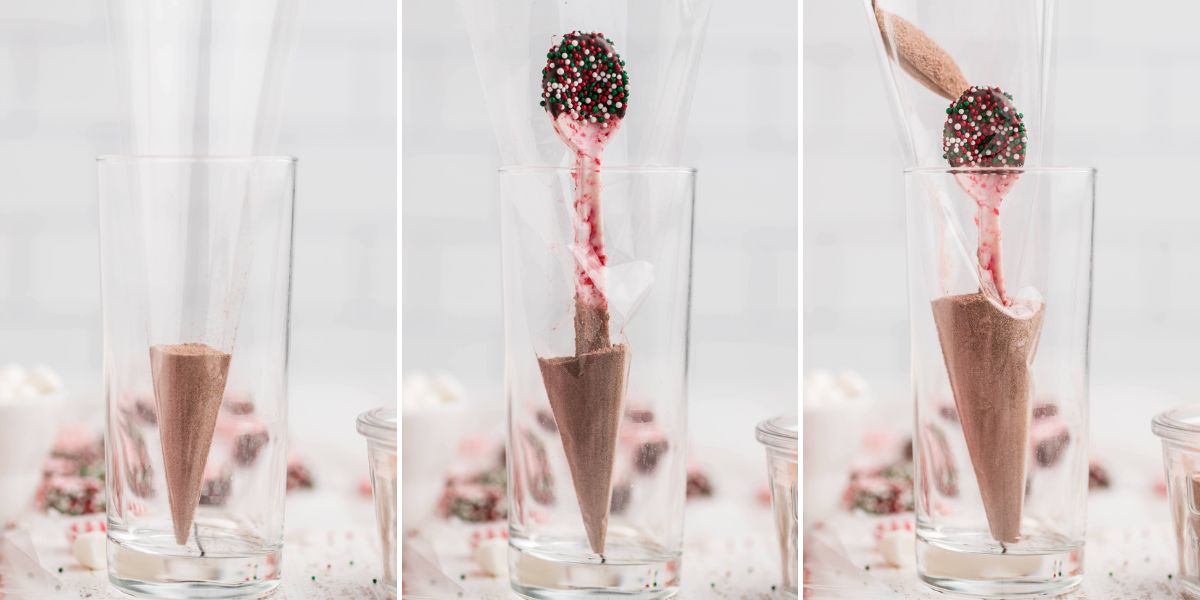
To fill the treat bag:
- Stand the treat bag in a glass.
- Add a spoonful of chocolate mix inside.
- Gently push the spoon down into the hot chocolate mix.
Pro Tip: Remember to face the pretty part of the spoon to the front of the bag. - Either using a spoon or a spoon and small funnel, add more chocolate mix into the bag behind the spoon.
- Add the marshmallows and tie.
How to Store DIY Peppermint Candy Spoons
- To Store: Once cooled, candy spoons can be stored in an airtight container at room temperature for a few months.
More Easy DIY Gift

More Great Peppermint Recipes
- DIY Peppermint Candy Bowls
- Peppermint Shot Glasses
- Easy Peppermint Fudge
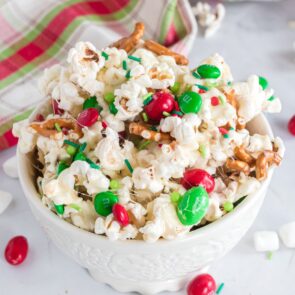
- Peppermint Oreo Popcorn Bark
- Chocolate Pretzel Bites
- White Chocolate Oreo Peppermint Bark
If you tried this DIY Peppermint Candy Spoons Recipe or any other recipe on my website, please leave a 🌟 star rating and let me know how it went in the 📝 comments below. Thanks for visiting!!!

DIY Peppermint Candy Spoons
Ingredients
- 1 bag Starlight Peppermint Candy
- 1 bag Wilton Candy Melts
- Holiday Sprinkles
Instructions
- Preheat oven to 300 degrees.
- In a ziplock bag, crush the peppermints (I used a kitchen mallet).
- Use a teaspoon to fill the spoon mold with the crushed peppermint – be sure to put extra by the top of the spoon part and at the neck of the spoon (where the spoon and handle meet). These are areas that break easy.
- Place in oven and let melt completely. Mine took about 10 minutes, but every oven is different and you just have to watch it. Once it was pretty melts (about 8 minutes in or so) I took mine out and added some additional crushed peppermint wherever it looked thin. (the peppermint melts down a bunch, so you may have to fill it in) – then I let it cook for a few minutes longer.
- Take out of oven and let cool completely.
- Separate the sides from the candy carefully and remove. If one breaks, just add some more crushed peppermint and cook for a few minutes more.
- Optional – Melt the chocolate candy melts according to instructions on package. Did spoon end into the chocolate and immediately dip into sprinkles. Place on wax paper until dry.
Nutrition Info
ORIGINALLY POSTED NOVEMBER 15, 2015 – updated November 16, 2018


Thanks for sharing, they are awesome.
YONGSGIFT
I came from pinterest, and i saw this design, i told myself i need to go check!
And i have to say now, WHAT A CREATIVE DESIGN!! A pinky lovely candy spoon? who doesnt love it?? and they look very easy to make anyway. By the way, also loved the christimas tree design!
PandoraFlora
https://www.pandoraflora.com
I’m making these at the moment. I had some air bubbles in mine, so I took a knife and pushed it down before it hardened. Then I put some more peppermint on top and put them back into the oven. Works good so far, but I have yet to take them out of the mold so we shall see lol! Love this idea!
Hi,
So I finally got to make these today. I had some problems, though, and I was hoping you could help me for next time.
1. I put the candy in a Ziploc, like you did, and used a kitchen mallet to break them into smaller pieces. Only thing is, when I did it, the bag wound up splitting and I had shards of peppermint candy all over my counter/floor. OK, so I double bagged it; same problem. I even used a freezer Ziploc, thinking it’s thicker, might not have the same problem; no dice. I thought maybe I was hitting the candy too hard, so I went lighter; then I couldn’t break the candy. You didn’t seem to have this problem in the video. What am I doing wrong?
2. I put the mold in the oven and like you said in your post, there will be some areas that will be thicker/thinner than others. I watched it as the timer went on, and where I saw there needed more candy, I added it. However, when I took them out of the oven, there seemed to be overflow, for lack of a better word, of candy on the mold. It peeled right off, but when I took them out of the oven and took them out of the mold, all of the extra candy was sitting on the edge of the spoon. Some of it came off easily, but I couldn’t get the sides of the spoons to be smooth as a result. Other times, when I tried to break off the excess, the spoon broke in half. ARGH.
Help? I LOVE this idea, but I want to make sure I’m doing it right. I know I can remelt the stuff that broke off, so at least it won’t go to waste, but… help?
Thanx,
Jamie
Hi Jamie – Okay – so let’s start with the candy crushing….. Mine did make some small holes in the bag and a left a bit of a mess on the counter, but nothing like you described. It may be the candy itself, I used Market Pantry brand from Target, it just may break easier.
As for the overflow, I would just say to clean off the extra around the edges as much as you can. The back side of my spoons were rougher than the front, that’s for sure and I broke off a bit of the run over too.
Just keep it up! You will get it!
Thanx for the quick response! I used the Target candies, too. OK, I’ll have to try again. For the “first draft”, they weren’t terrible, but definitely not like the beauties in your video. 😉 I think I need to clean more of the overflow off the tray before I put it in the oven; that may have been part of the problem. Not sure what to do about the bag issue, though. Might just put the candies in my Magic Bullet. Wonder if that would do the trick.
So is it better to completely pulverize the candy, or to have a mix of powder and chunks? I’d imagine you want SOME chunks so you get the red marble effect in the spoons, no? Looks like you have a mix in the video but it’s hard to tell.
Don’t make it into a total powder. I would get it powder-y-ish. Leave some small pieces – it adds to the look if you have the red showing through a bit.
I love the spoons. What is a good way to package them? My spoons are sticky. :/
Put a few together and wrap them in cellophane and tie a pretty bow around them!
ohhhhhh that sounds good!!!! I would for sure try it!! LMK know how it works! (pictures please!)
This is one of the most creative ideas!!!! Do you think this would work for other candies like coffee flavored hard candies? My family is weird.. They do not like peppermint.
I have metal non-stick spoon molds. Do you know the difference they would have as opposed to using silicone? I’d assume I’d be safe spraying before filling with the crushed candy, but I couldn’t find silicone molds, and don’t exactly trust them yet.
I’m sorry, I am not familiar with those molds 🙁
Happy birthday
Mine are all coming out with a lot of bubbles some very small.. but not nice looking.. any ideas? I am not crushing the peppermints totally is that a problem? anyone have any suggestions?