
This post may contain affiliate links. Please read our disclosure policy.
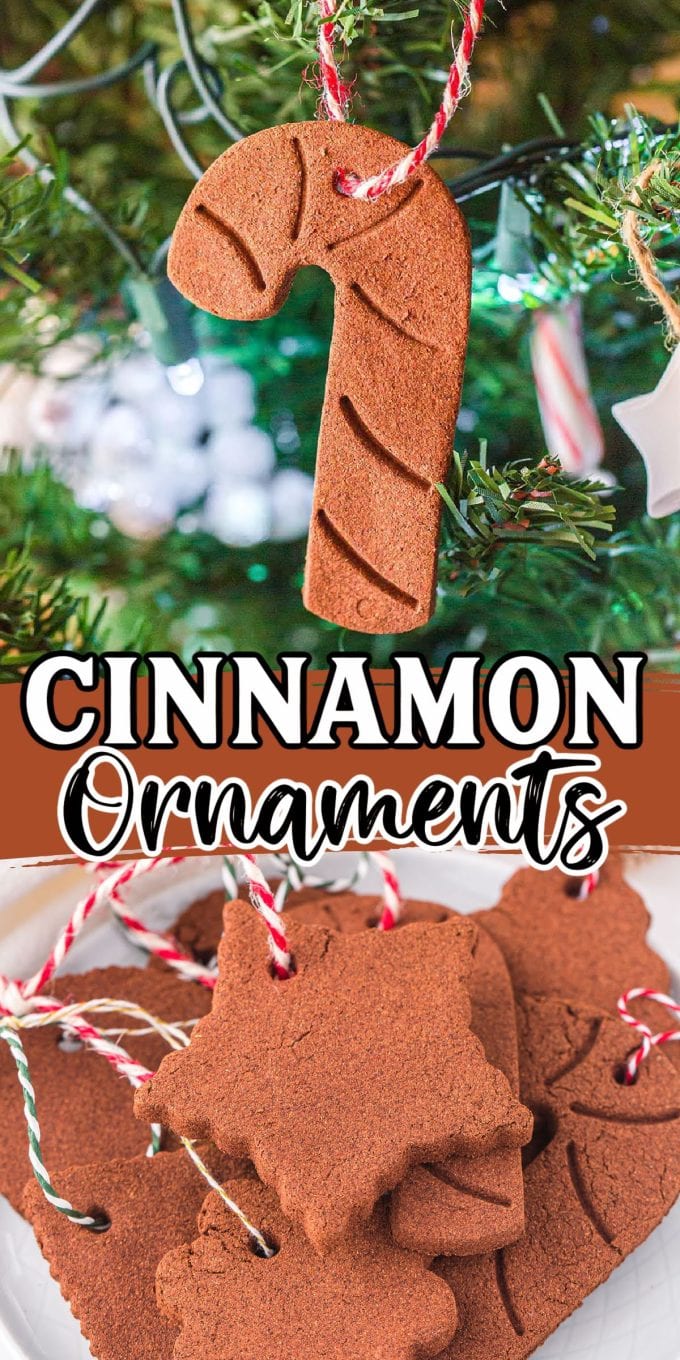
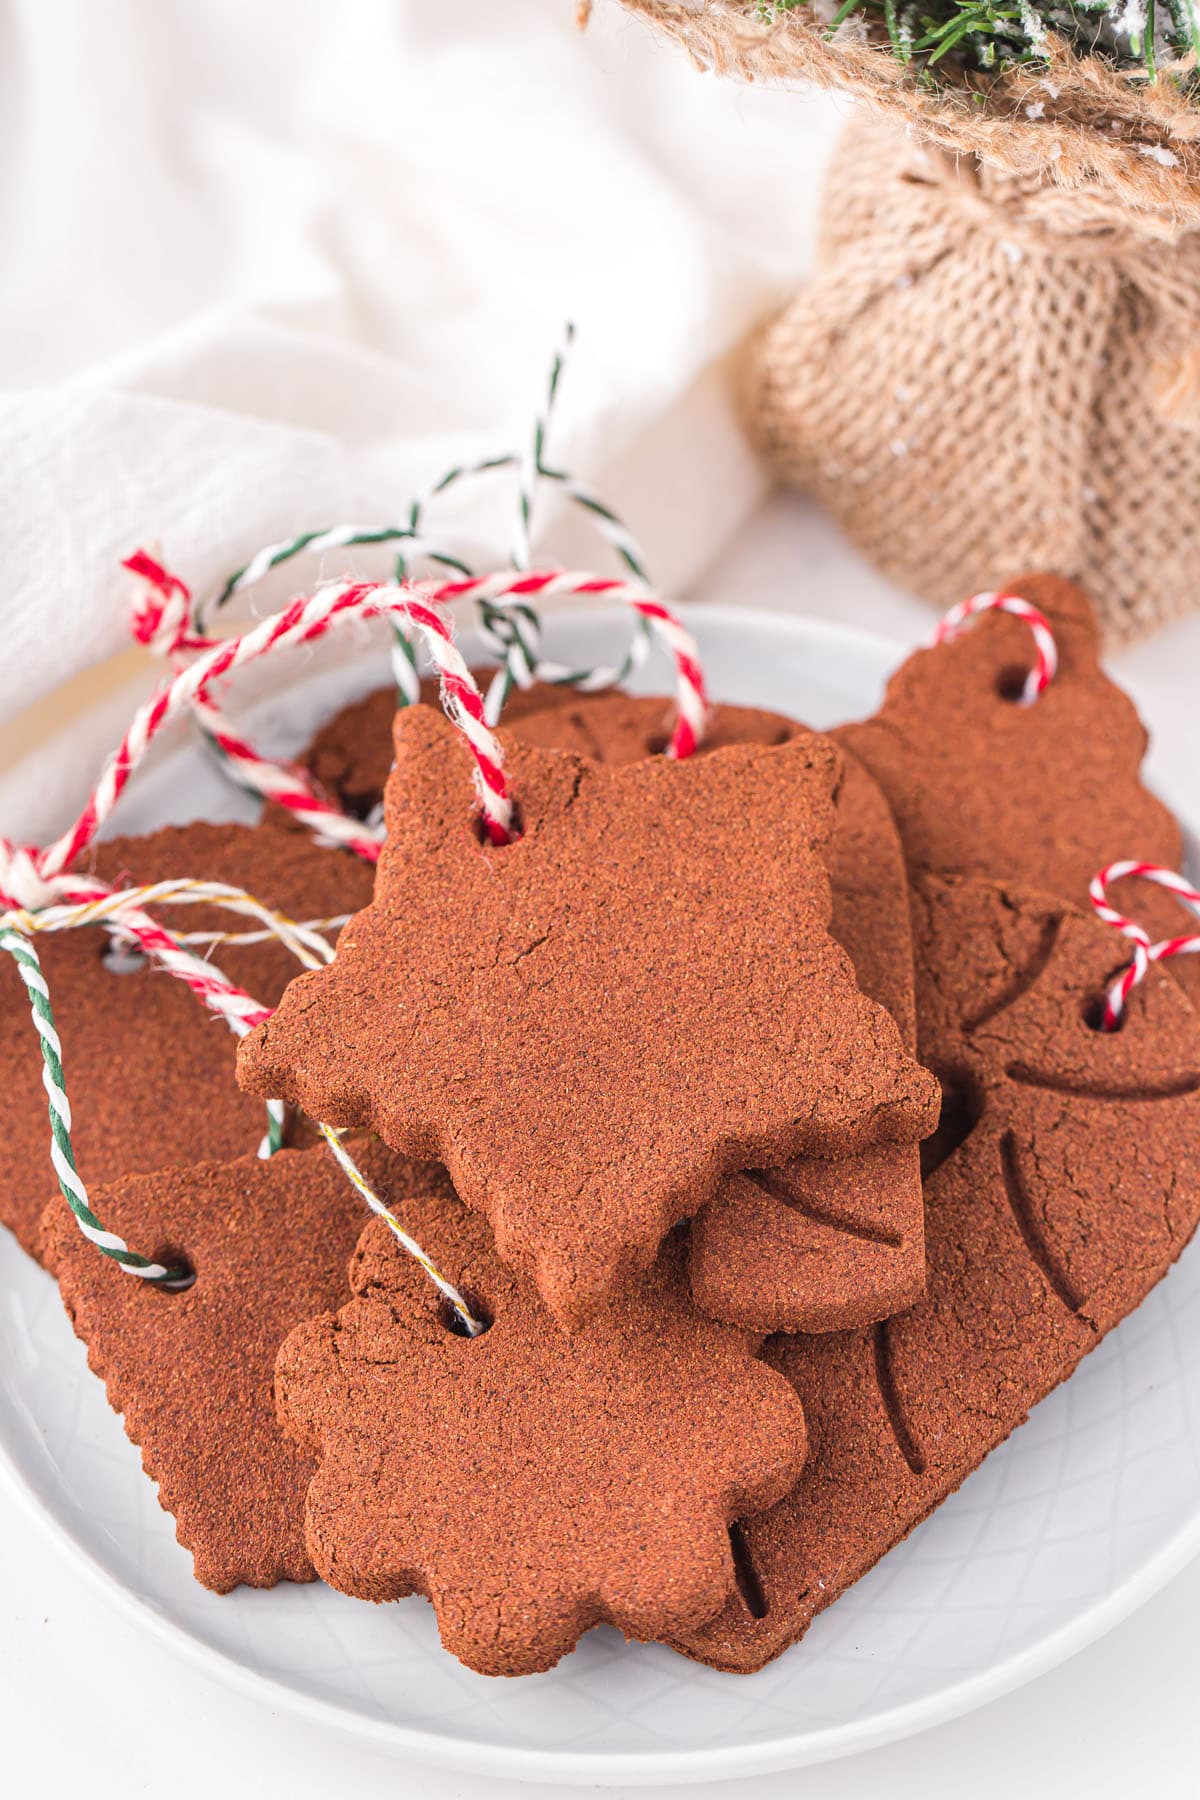
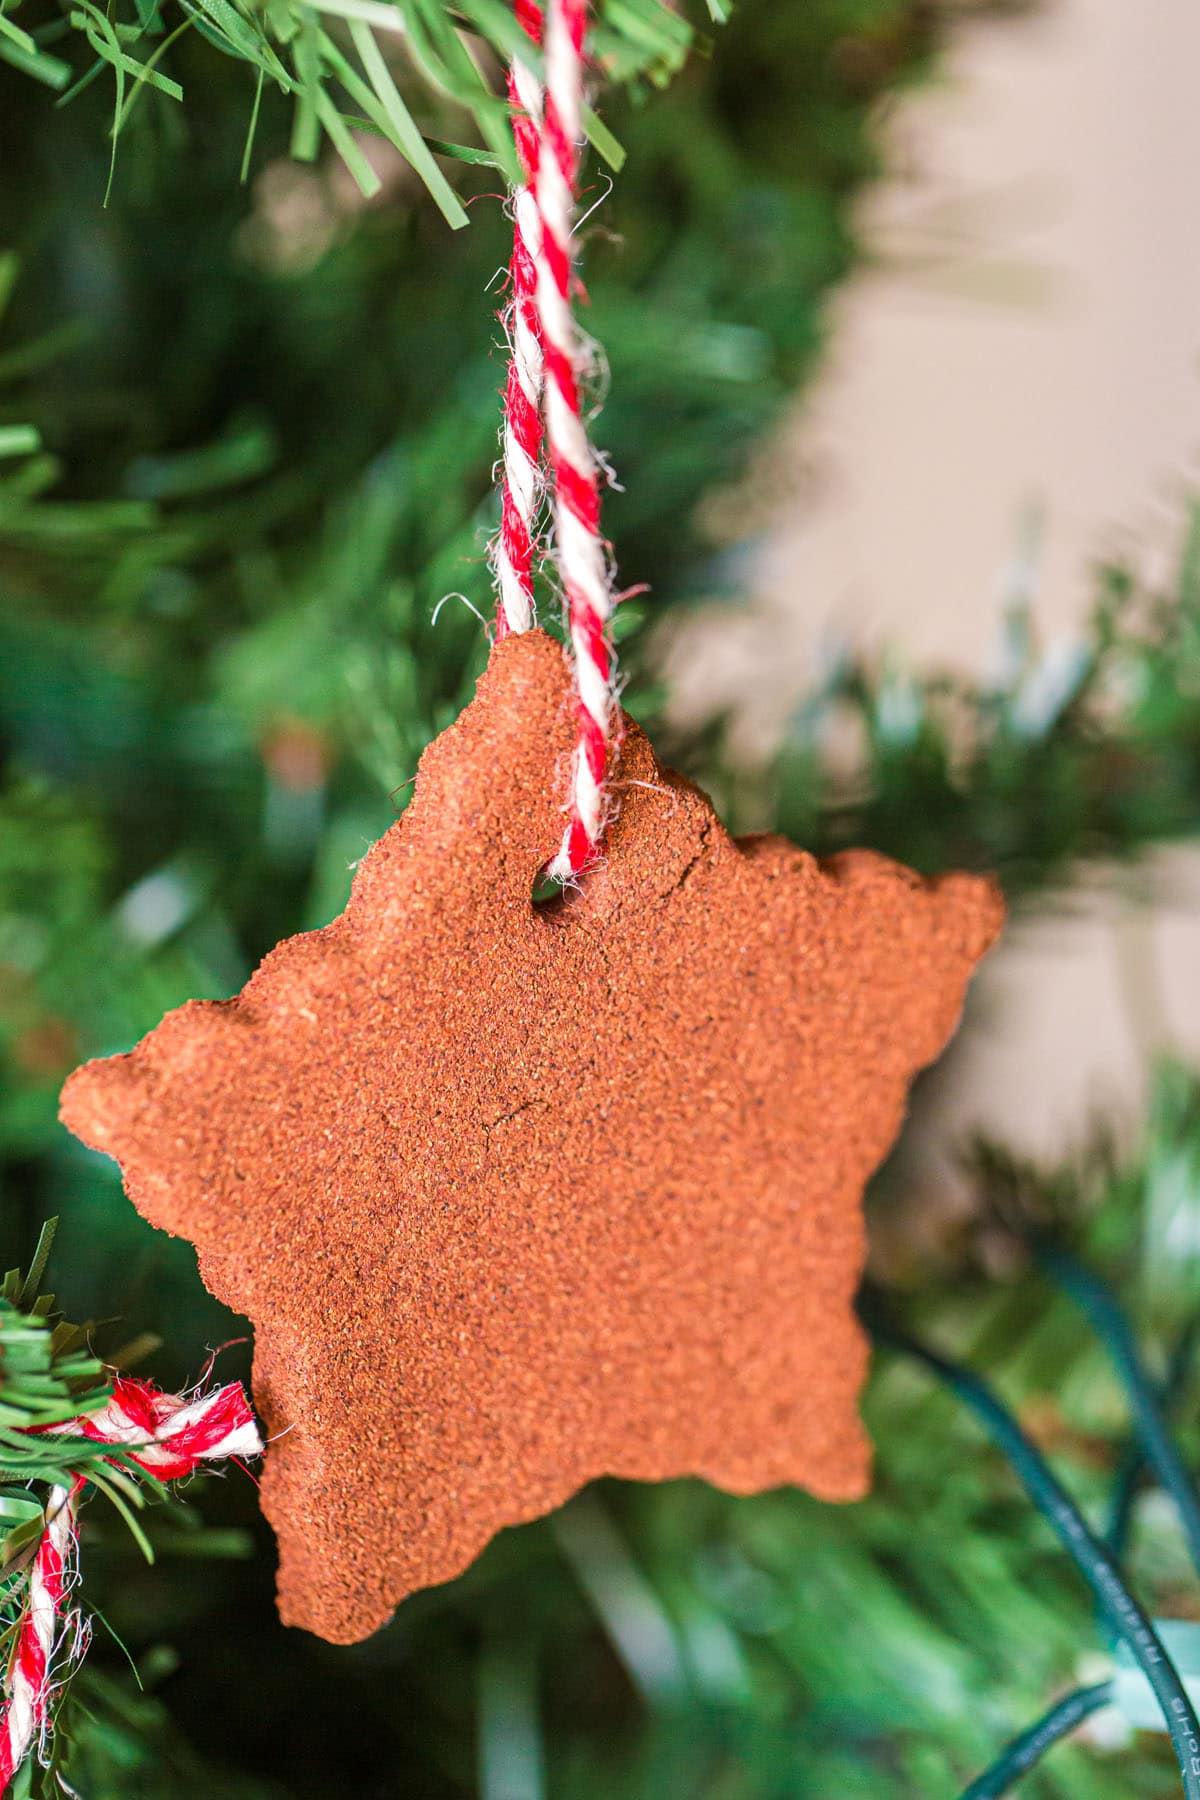
Our Cinnamon Ornaments are a festive holiday craft using a simple combination of ground cinnamon, allspice, and cinnamon applesauce. Made with just 3 ingredients and an easy-to-follow recipe, they are perfect for creating an aromatic holiday decoration that also serves as thoughtful handmade gifts.
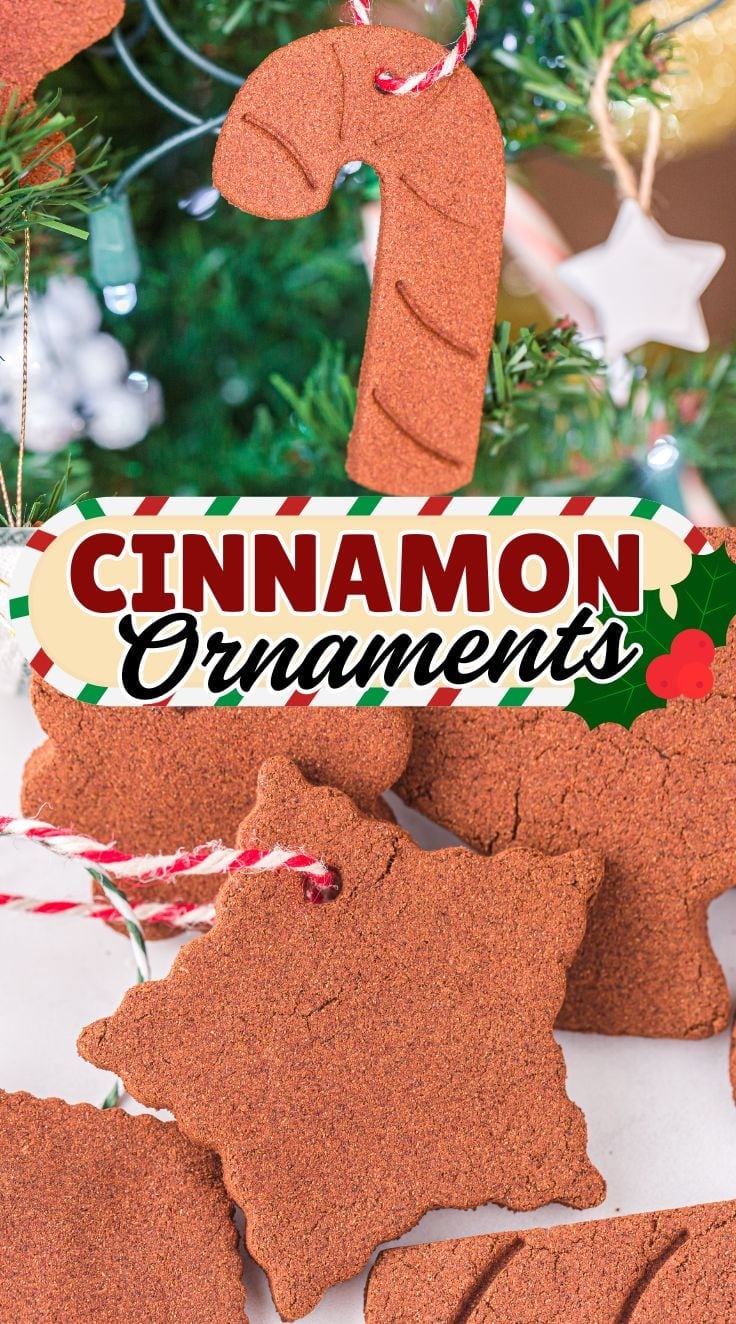
Easy Cinnamon Ornaments
Skip the canisters of scented pine cones and pots of potpourri because this holiday season’s easy must-make recipe is cut-out Cinnamon Ornaments (technically, it is a recipe, but not one for eating)!
These amazing smelling “accessories” are meant to look like gingerbread, but unlike the edible version made with perishable ingredients, this one is simply a combination of applesauce and spices, so they maintain a shelf-life and cinnamon-spiced aroma that lasts long after the holidays are over.
This is a fun craft project for kids (and adults) made with non-toxic ingredients from the kitchen that quickly form a dough that can be cut into shapes and then decorated as desired.
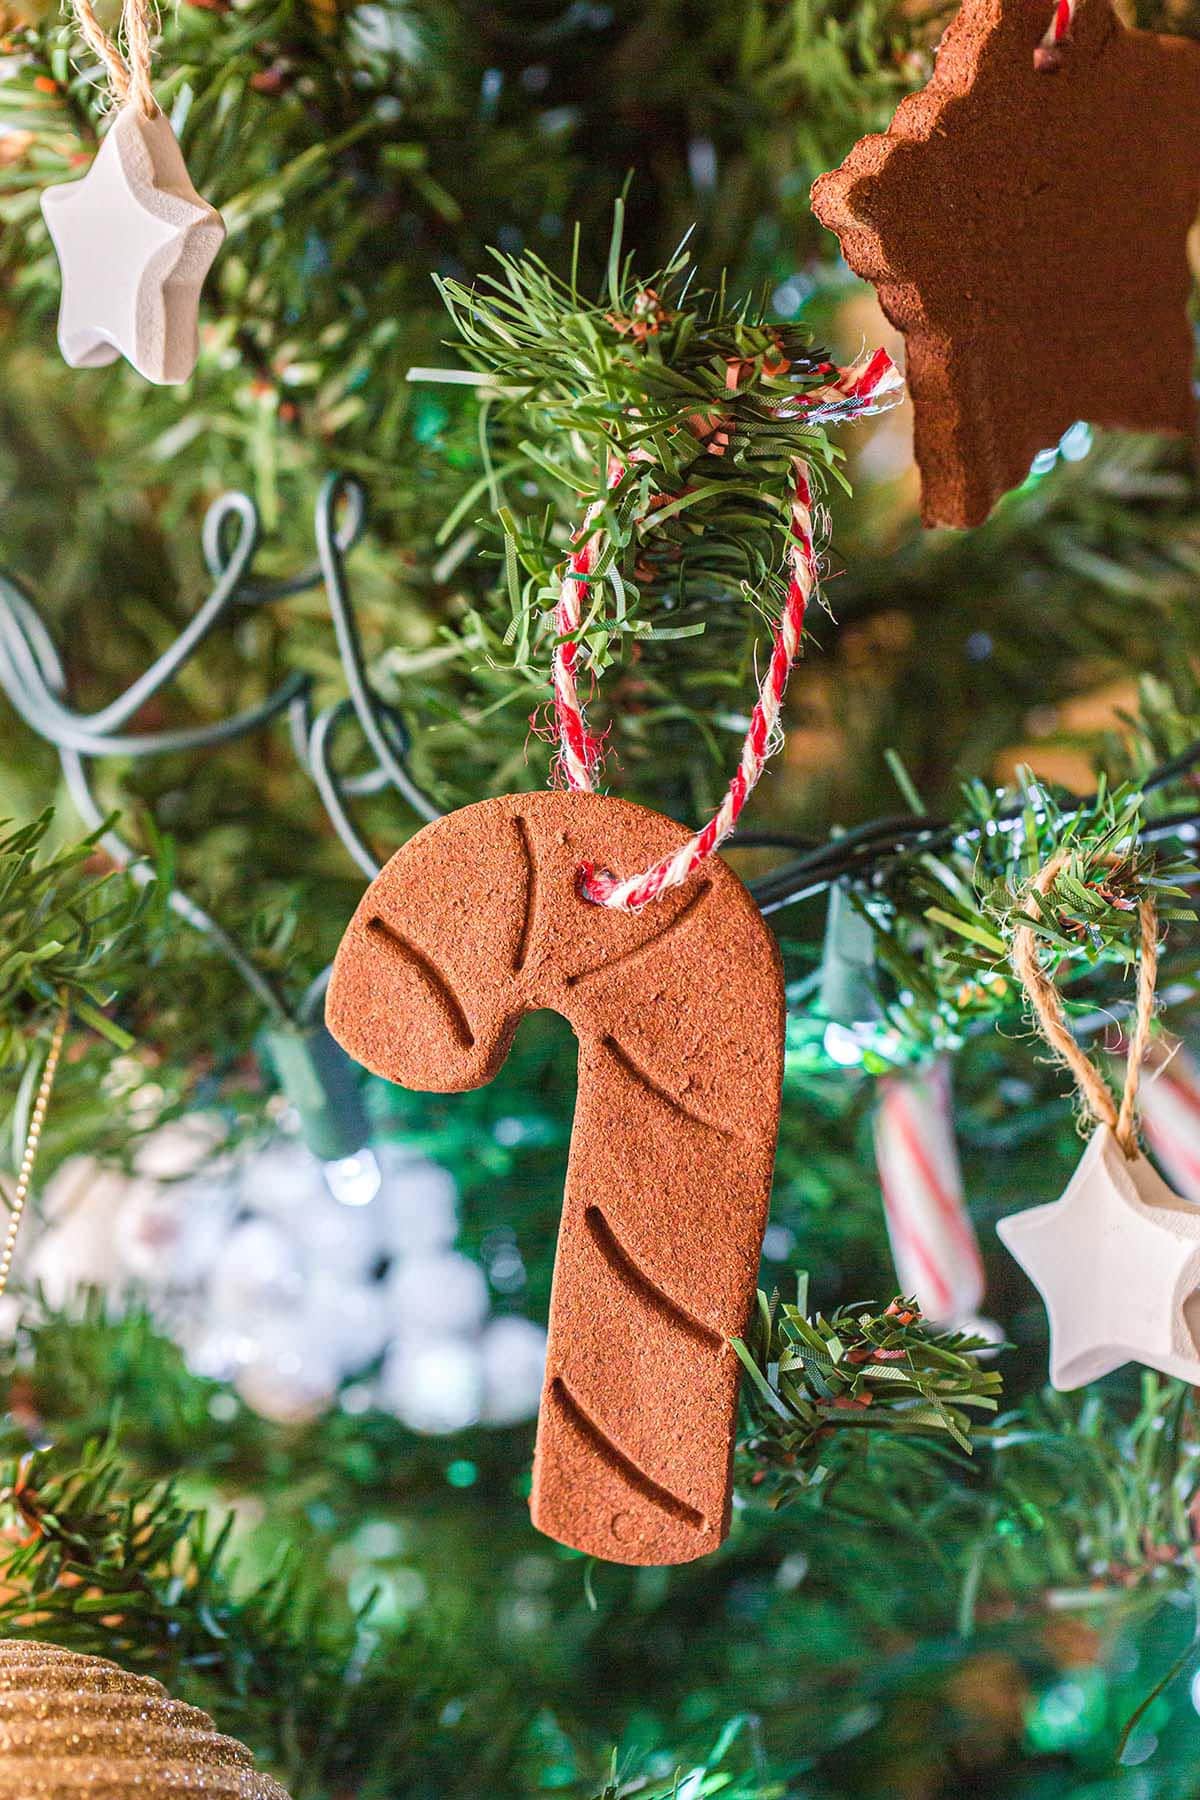
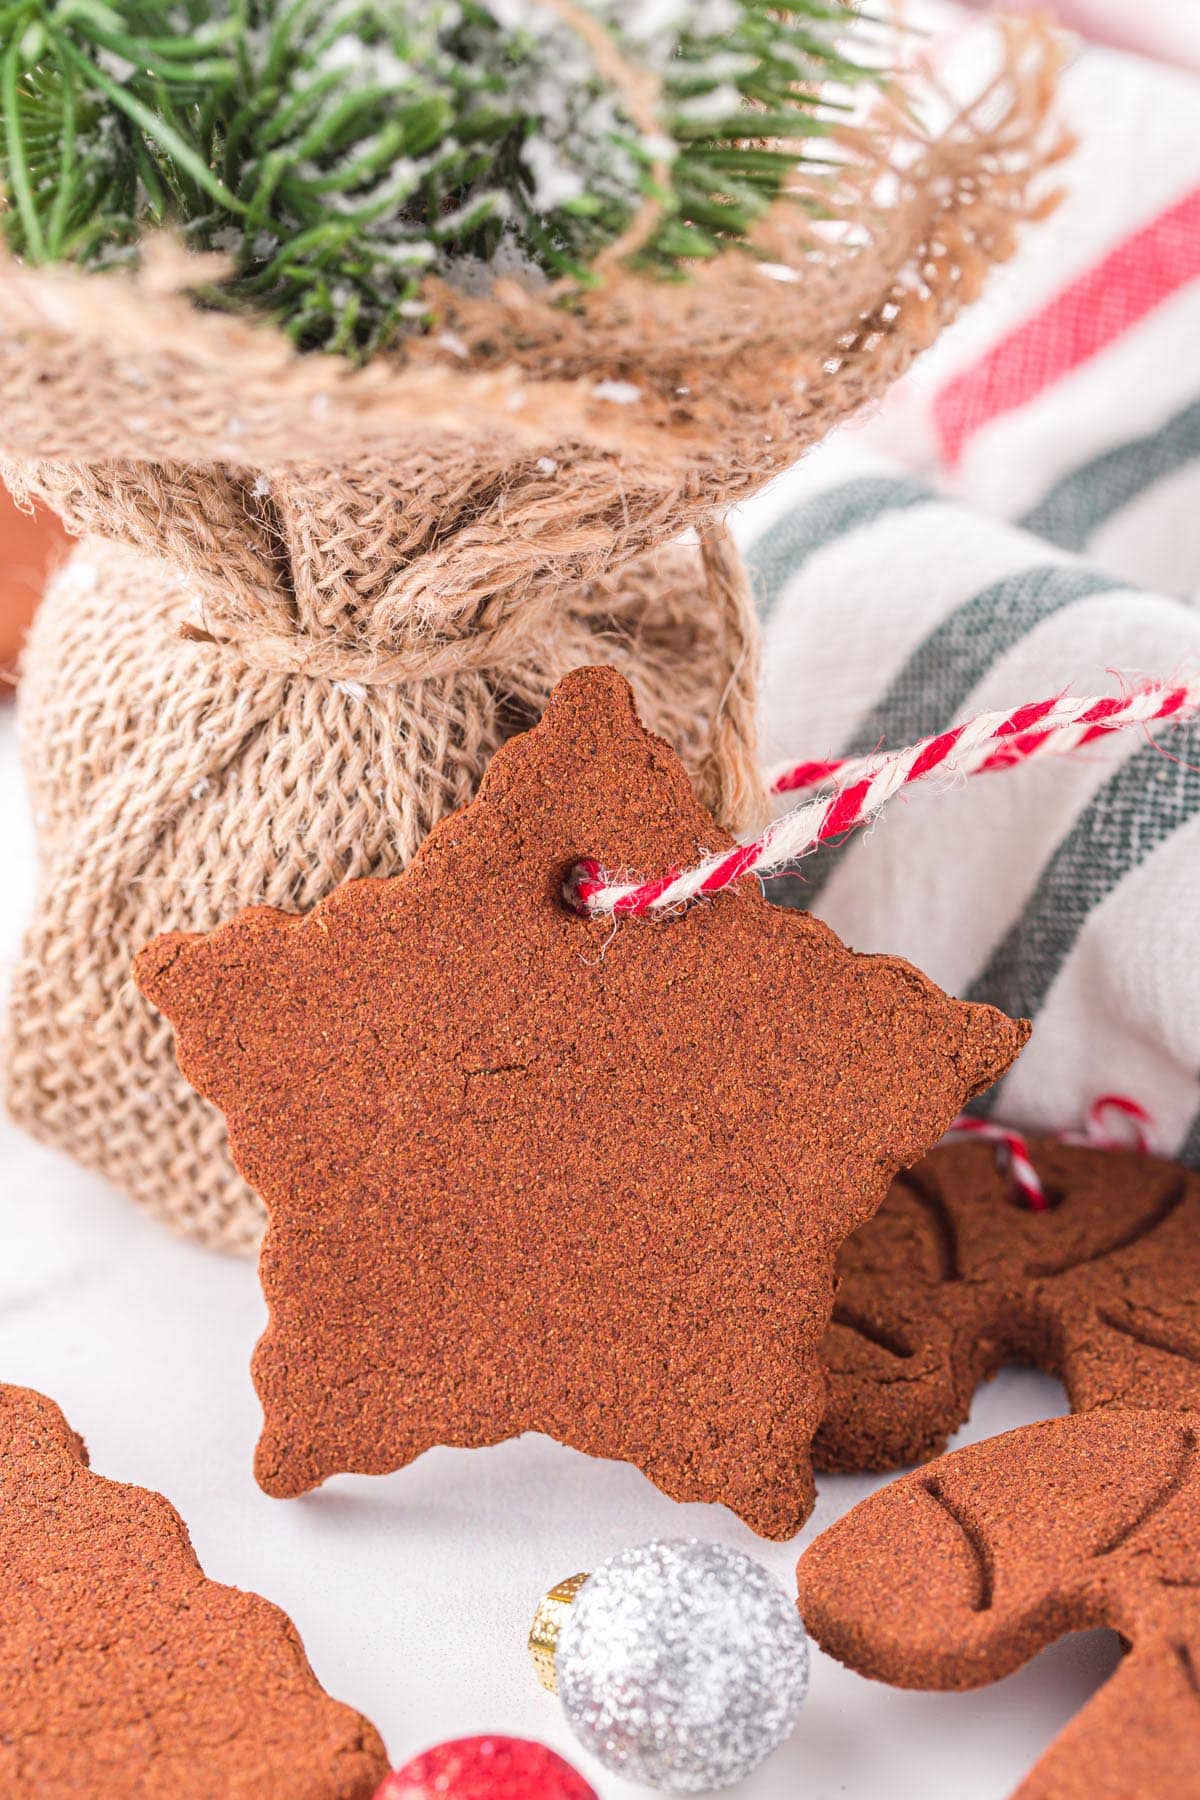
These Cinnamon Ornaments can be as simple as plain dried dough tied on a pretty ribbon or all glammed up with glitter, puffy paint, or glitter glue. Hang them on your Christmas tree or wrap them as a handcrafted gift that you can be proud of giving; these beautiful ornaments are even more meaningful than your traditional tree-trimming accessory because you’ve made them yourself with long-lasting memories!
Warning: your house will smell like cinnamon, and your tummy will begin to growl. Check out our delicious edible dessert recipes that pair perfectly with this project!
Why We Love This Cinnamon Ornaments Recipe
- Quick and easy to make using only simple ingredients.
- Homemade Christmas tree ornament that smells amazing!
- Fun craft project to make and decorate with kids.
- Ornaments can double as gift tags or pretty package toppers.
- Great DIY gift that is practical and thoughtful (and inexpensive).
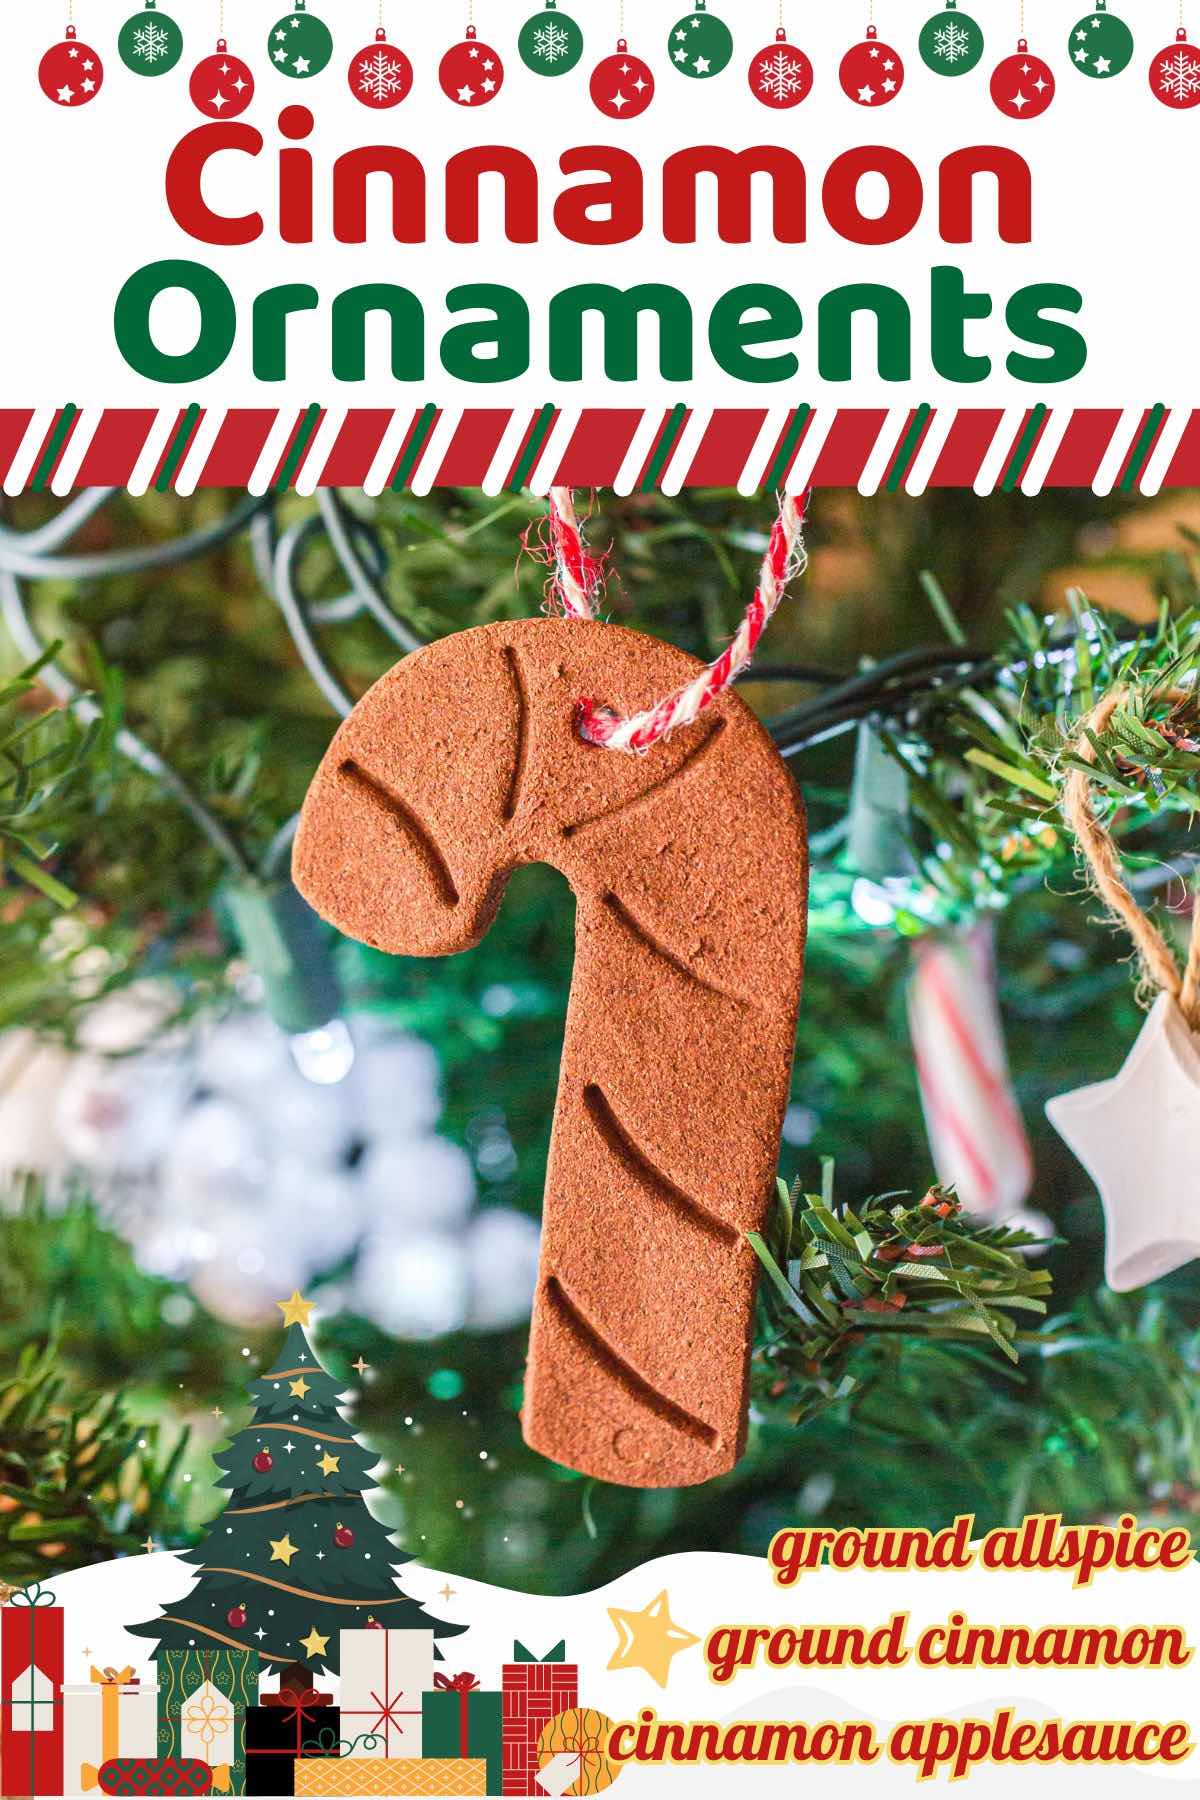
Cinnamon Ornaments Ingredients
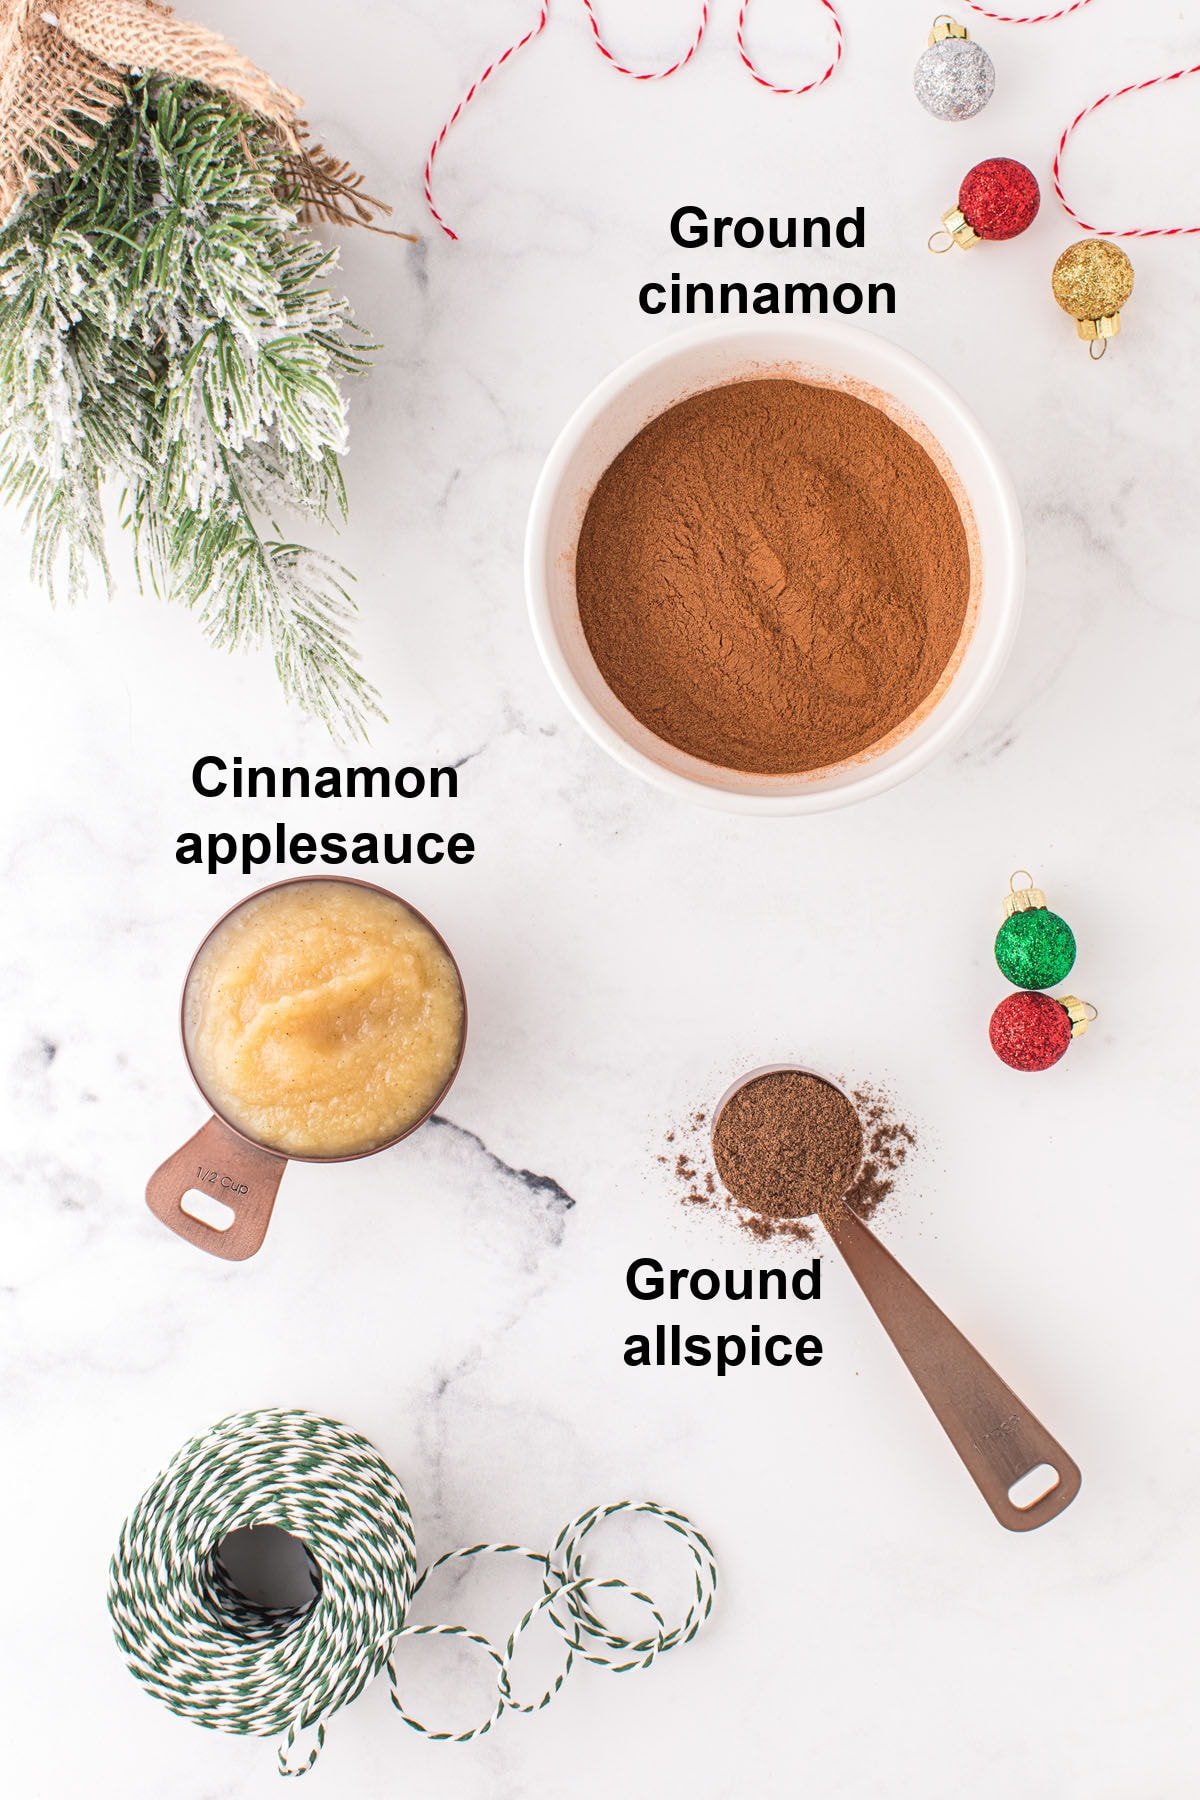
- Ground cinnamon: You can get any generic cinnamon for this recipe. You won’t be eating the ornaments, so it does not need to be expensive.
- Ground allspice: You can replace this with cinnamon if necessary. They won’t have quite as strong of a smell but otherwise will work just fine.
- Cinnamon applesauce: You can replace this with regular applesauce. You may need to add a little more cinnamon to the dough so have it on hand, just in case.
Substitutions and Additions
- Awesome Aroma: For an extra boost of holiday aroma, you can mix ground cloves, nutmeg, and/or pumpkin pie spice with the ground cinnamon. However, it’s important to maintain a balance so the dough’s consistency isn’t affected.
- Add Some Sparkle: Glitter is a great way to dress up your ornaments. You can use glitter glue or spray adhesive to keep the glitter in place. Use a paintbrush for precision. This will allow for detailed designs like outlining or fill in specific areas.
- Puff Them Out: Puffy paint can be used to create 3D effects. Practice on parchment paper first to get a feel for the flow and pressure needed.
- Cookie Cutters: You can use any cookie cutters to create your homemade ornaments. Some ideas include stars, candy canes, Christmas trees, snowflakes, hearts, or your other favorite shapes.
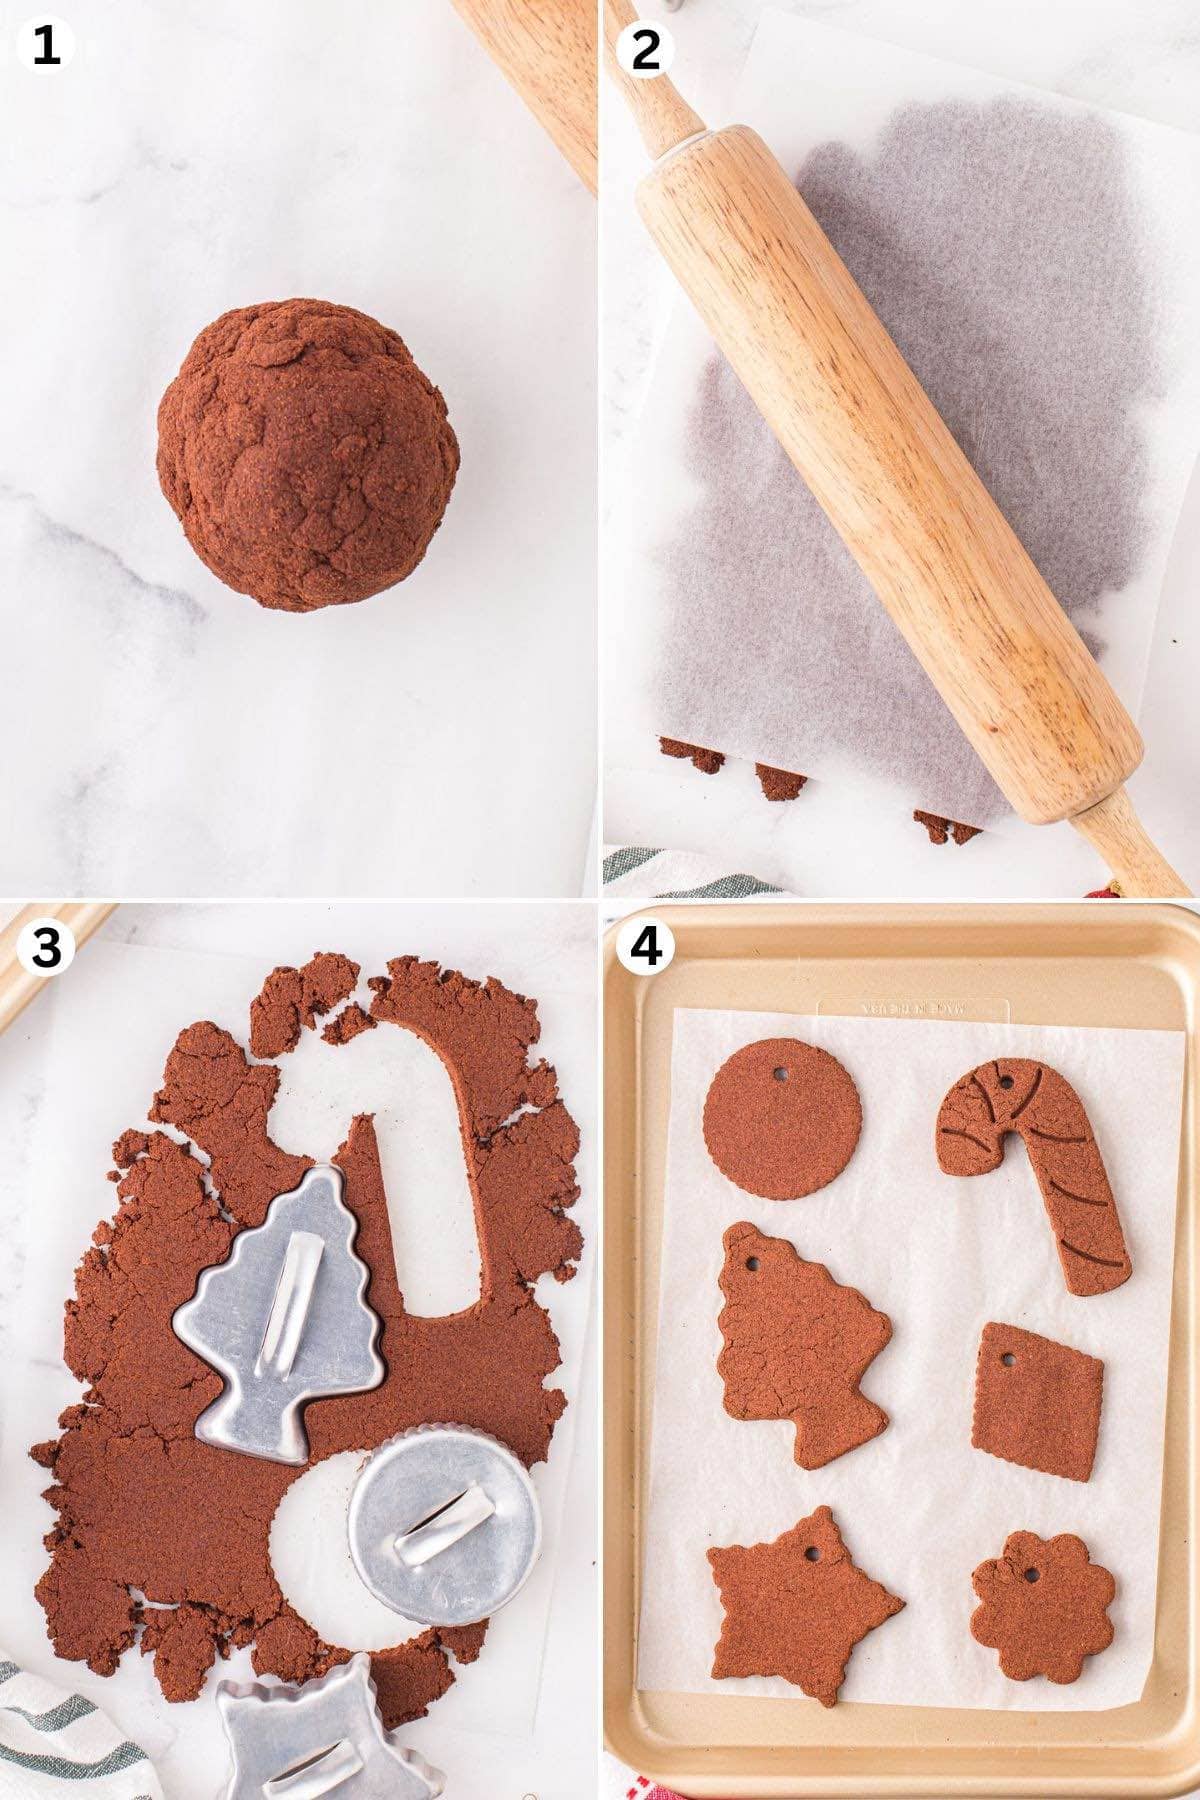
How to Make the DIY Cinnamon Ornaments
- Make Cinnamon Dough: Combine cinnamon and allspice in a bowl, then stir in applesauce until a dough forms. Check for consistency, adding more cinnamon if too wet or crumbly.
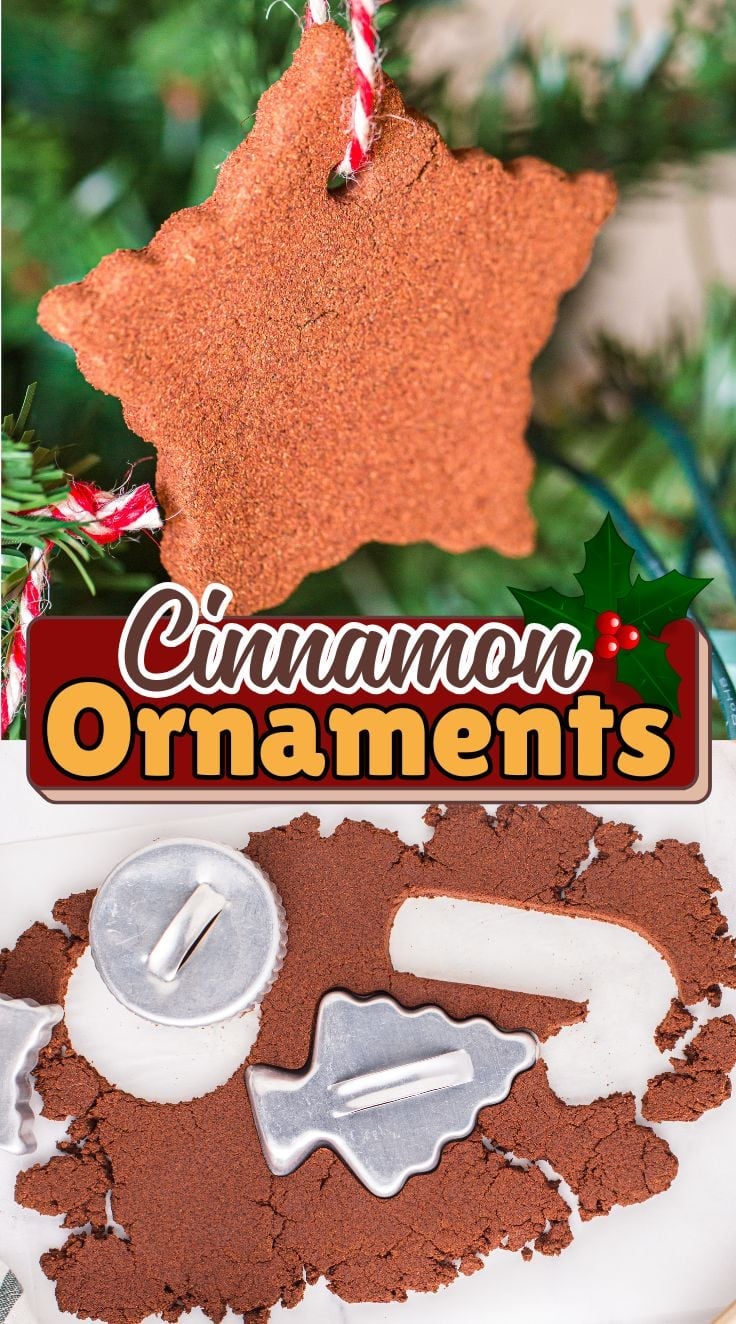
- Roll and Cut: Roll out the dough between two sheets of parchment paper to ¼-½ inches thick. Use cookie cutters to cut out shapes, and make a hole using a straw.
- Bake and Cool: Bake at 200°F for 3-4 hours until hardened. Cool completely on the baking sheet.
- Decorate: String with ribbon and decorate as desired. Enjoy!
How to Make the Best Cinnamon Ornaments
- Please note cinnamon doesn’t act the same way as flour. It doesn’t technically absorb liquid as flour does, so if too much liquid is added to the cinnamon, it just slides together in clumps instead of expanding.
- Please see the directions/FAQs that any extra liquid should be added slowly. A little bit goes a long way!
- If you have made a flour-based ornament in the past, it is going to be a different experience than to make than a cinnamon ornament.
- Also, cinnamon can dry out. So if you make a double or triple batch, you may need to add more liquid because it will dry out more quickly.
Storage Tips
- To Store: Wrap your ornaments in tissue paper or cloth and store them in a cool, dry place. See details below.
How can I preserve and refresh the scent of cinnamon ornaments?
- To preserve the scent, store the ornaments in an airtight container with a piece of fabric or paper towel sprinkled with a few drops of cinnamon oil.
- Avoid storing them in areas with high humidity or direct sunlight, as this can fade the colors and weaken the scent.
- Refreshing the scent annually with a light brush of cinnamon oil can help maintain their aroma over the years.
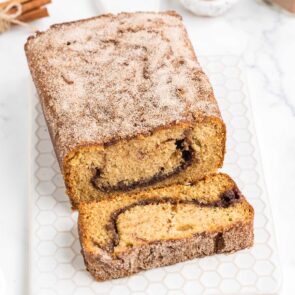
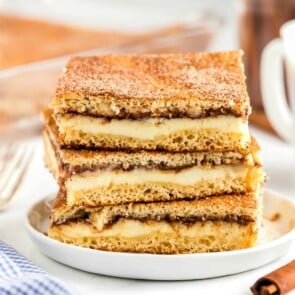
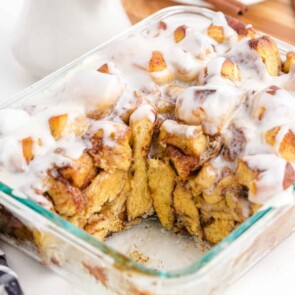
More Cinnamon Dessert Recipes

Other Easy Christmas Recipes
- Christmas Sprinkle Cookies
- Ugly Sweater Cake
- Strawberry Santas
- Christmas Cake Mix Cookies
- Melted Snowman Fudge
- Christmas Potpourri
- Gingerbread
- Christmas Cherry Bombs

Cinnamon Ornaments
Ingredients
- ⅔ cup ground cinnamon divided (plus 1-2 additional Tablespoons, optional)
- 2 tbsp ground allspice
- ½ cup cinnamon applesauce
Instructions
- Preheat the oven to 200 degrees Fahrenheit and cover a baking sheet with parchment paper.
- In a medium sized mixing bowl, whisk together ⅔ cup cinnamon and the allspice until combined.⅔ cup ground cinnamon, 2 tbsp ground allspice
- Add in the applesauce and stir together to get a semi-firm dough. If the dough seems wet, add in 1 Tablespoon of cinnamon and stir together.½ cup cinnamon applesauce
- Test the dough by pinching it between your fingers. You should have a sugar cookie dough consistency that holds together but isn't wet. Add the last Tablespoon of cinnamon if needed.
- Use your hands to knead together the dough and be sure it holds together in a ball. If it is too crumbly you can sprinkle on a few drops of water but you do not want a wet dough.
- Cut out two large squares or rectangles of parchment paper and place one on the counter. Place your cinnamon dough ball on top.
- Place the second piece of parchment paper on top of your dough and use a rolling pin to roll out the dough to about ¼-½ inches thick. You want it to be thicker than most cookie dough so that it can be transferred without breaking but the thicker it is, the longer it will take to bake.
- Use a cookie cutter to cut out Christmas shapes from your dough. Use a spatula to gently transfer the shapes onto the prepared cookie sheet.
- Use a drinking straw to cut out a hole from the shape, being sure to keep the hole far away from the edges.
- Bake for 3-4 hours or until the ornaments have hardened in the middle. You should be able to tap them in the center and not feel them give. For a more uniform color, you can flip them halfway through baking but be very gentle.
- Once fully baked, remove from the oven and allow them to cool completely on the cookie sheet.
- String with Christmas ribbon and decorate, if desired.
Jenn’s Notes
- Use your hands to mix up the dough. I tried all sorts of spoons and whisks but the best way I found of getting an even, consistent dough was to use my hands! It also helped me feel if the dough was too wet and was easier to mix with my hands.
- Don’t be afraid to add more cinnamon! If you’ve mixed up your dough and you feel like it is too wet, don’t be afraid to add another Tablespoon of cinnamon. I struggled more with wet dough than I did with crumbly dough. If the dough is crumbly, it is easy to sprinkle some water or apple sauce on it to get it to stick together. If it is too wet it will just fall apart and be impossible to transfer.
- Roll out a thick dough. With this particular dough, a thick layer is much easier to work with than a thin one. I found that thin ornaments were more prone to breaking, even before I got them in the oven, and they were much more difficult to transfer or fix. Make your life easy and keep the dough thick and solid.
- Be careful where you poke your hole. For shapes such as snowflakes, I found that a hole in the middle of the ornament worked much better than one at the edge. The shapes that are more detailed are also more likely to break so put those holes far away from the edges. Simple shapes, such as stockings or round ornaments, are much less prone to breaking and the hole can go closer to the edges.
- Although the ingredients are non-toxic, it’s advisable to keep the ornaments out of reach of small children and pets. If ingested, they could pose a choking hazard or cause stomach discomfort due to the high spice content.
- Clearly label the ornaments as non-edible if gifting, to avoid confusion.


Can I use ground cloves in place of ground cinnamon?
I don’t recommend swapping the cinnamon for cloves. Cloves are much stronger, and using them as the main spice will completely change the scent and can make the ornaments smell sharp instead of warm. For this recipe, cinnamon works best and gives the classic aroma these ornaments are known for.
can I use shortbread molds to make these? when I tried they got stuck in the molds. advice?
You can use shortbread molds, but they can be a little stubborn with this dough. Cinnamon ornaments don’t have any fat in them, so they don’t release as easily as a cookie would. A couple of tricks help a lot.
Lightly dust the mold with ground cinnamon or cornstarch before pressing in the dough. Then tap the mold gently on the counter to help release it. You can also chill the shaped dough in the mold for a few minutes to help it firm up before popping it out.
They should come out much cleaner with those steps. Hope your ornaments turn out great!
what steps do you need to do if you don’t want to bake the ornaments
Hi! You don’t have to bake them. Just roll and cut the dough the same way, poke a hole for hanging, and let the ornaments air dry for 2–4 days (flip them once a day so they dry evenly). Once hardened, decorate and hang as usual.
How long do these ornaments last?
If stored properly (I would use plastic sealed containers), they can last for years.