
This post may contain affiliate links. Please read our disclosure policy.
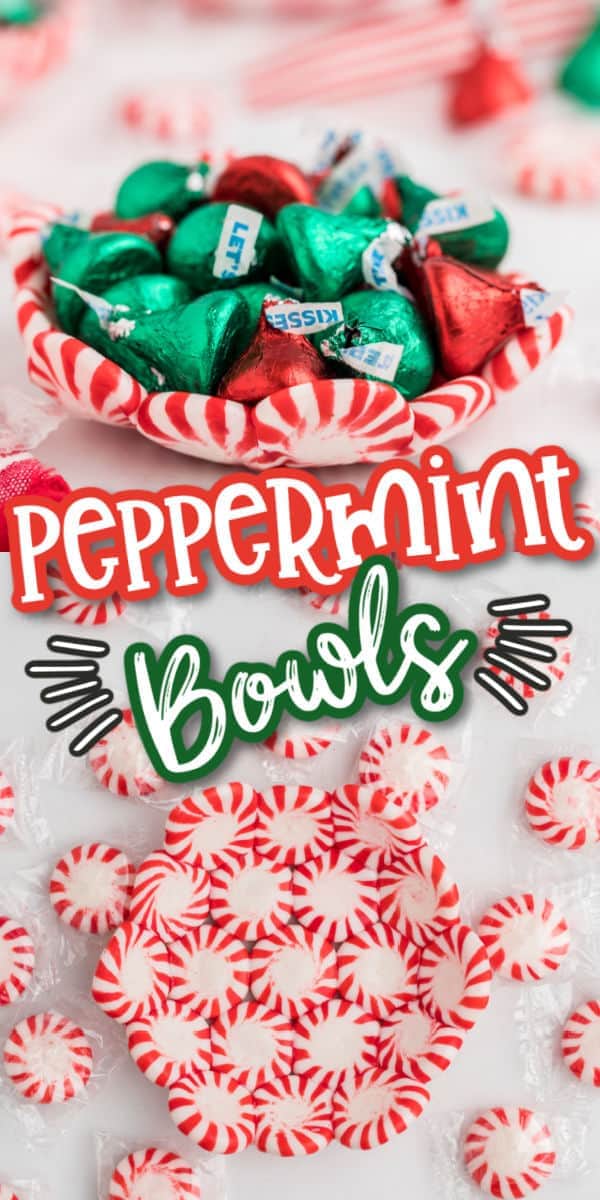
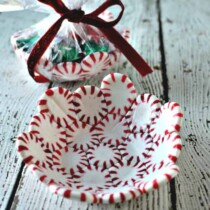
These DIY Peppermint Candy Bowls are the perfect Christmas gift for friends, family, and co-workers. Made from melted peppermint candies in under 15 minutes, see why this original goes crazy viral every year!

DIY Peppermint Bowl
Our easy DIY Peppermint Candy Bowls are the perfect homemade holiday gift and a fun candy craft for kids. One ingredient and a few minutes to melt in the oven is all it takes to turn a handful of mints into an edible Christmas candy dish.
You can stop searching on Pinterest or shopping online for the perfect DIY Christmas gifts, because it’s more fun and even easier to make your very own peppermint bowls (and it costs less than a candy cane or a cup of coffee)!
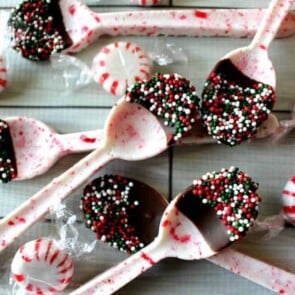
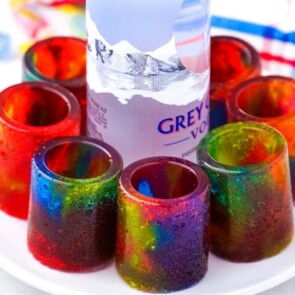
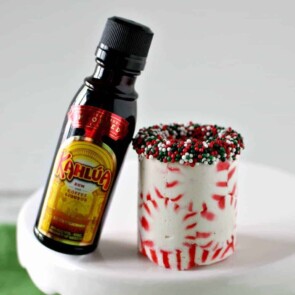
I love making everyday items out of melted peppermint candy, especially when mint is so malleable when heated and can be shaped into edible candy bowls, Peppermint Shot glasses, Peppermint Candy Spoons, and this adorable Peppermint Plate I found from I Gotta Create.
After these peppermint candy projects, I became completely obsessed with all things melting candy. Two of my other favorites are our Candy Cane Christmas Trees and, of course, my famous Jolly Rancher Shot Glasses!
Why We Love This Christmas Candy Bowl
- Quick and easy to make in minutes.
- Uses only one ingredient.
- Fill it with you favorite foods and then enjoy a sweet treat when it’s empty!
- Cute way to add a festive feel to an otherwise boring bowl.
- Fun edible food craft to make with kids in the kitchen.
- Perfect homemade gift for teachers, friends, co-workers, and family.
DIY Peppermint Candy Bowls Ingredients
- Peppermint Starlight Mints – The actual type of mints matter. I found the most success with the Market Pantry brand from Target, but they stopped making them. Do not use the tiny peppermints. Try to find the larger flatter versions.
See the recipe card for full information on ingredients and quantities.

Substitutions and Additions
- Serving Suggestions: You can serve your favorite sweets and snacks, like nuts, pretzels, candies, or even ice cream, in these mint bowls. Or place one in the center of your holiday table and hear how your guests talk about it!
Recommended Tools
- Silicon Baking Liner (or parchment paper)
- Baking Sheet
- Small glass bowl: I used a Pyrex glass dish that was 4.5 inches across the top.
How to make DIY Peppermint Candy Bowls
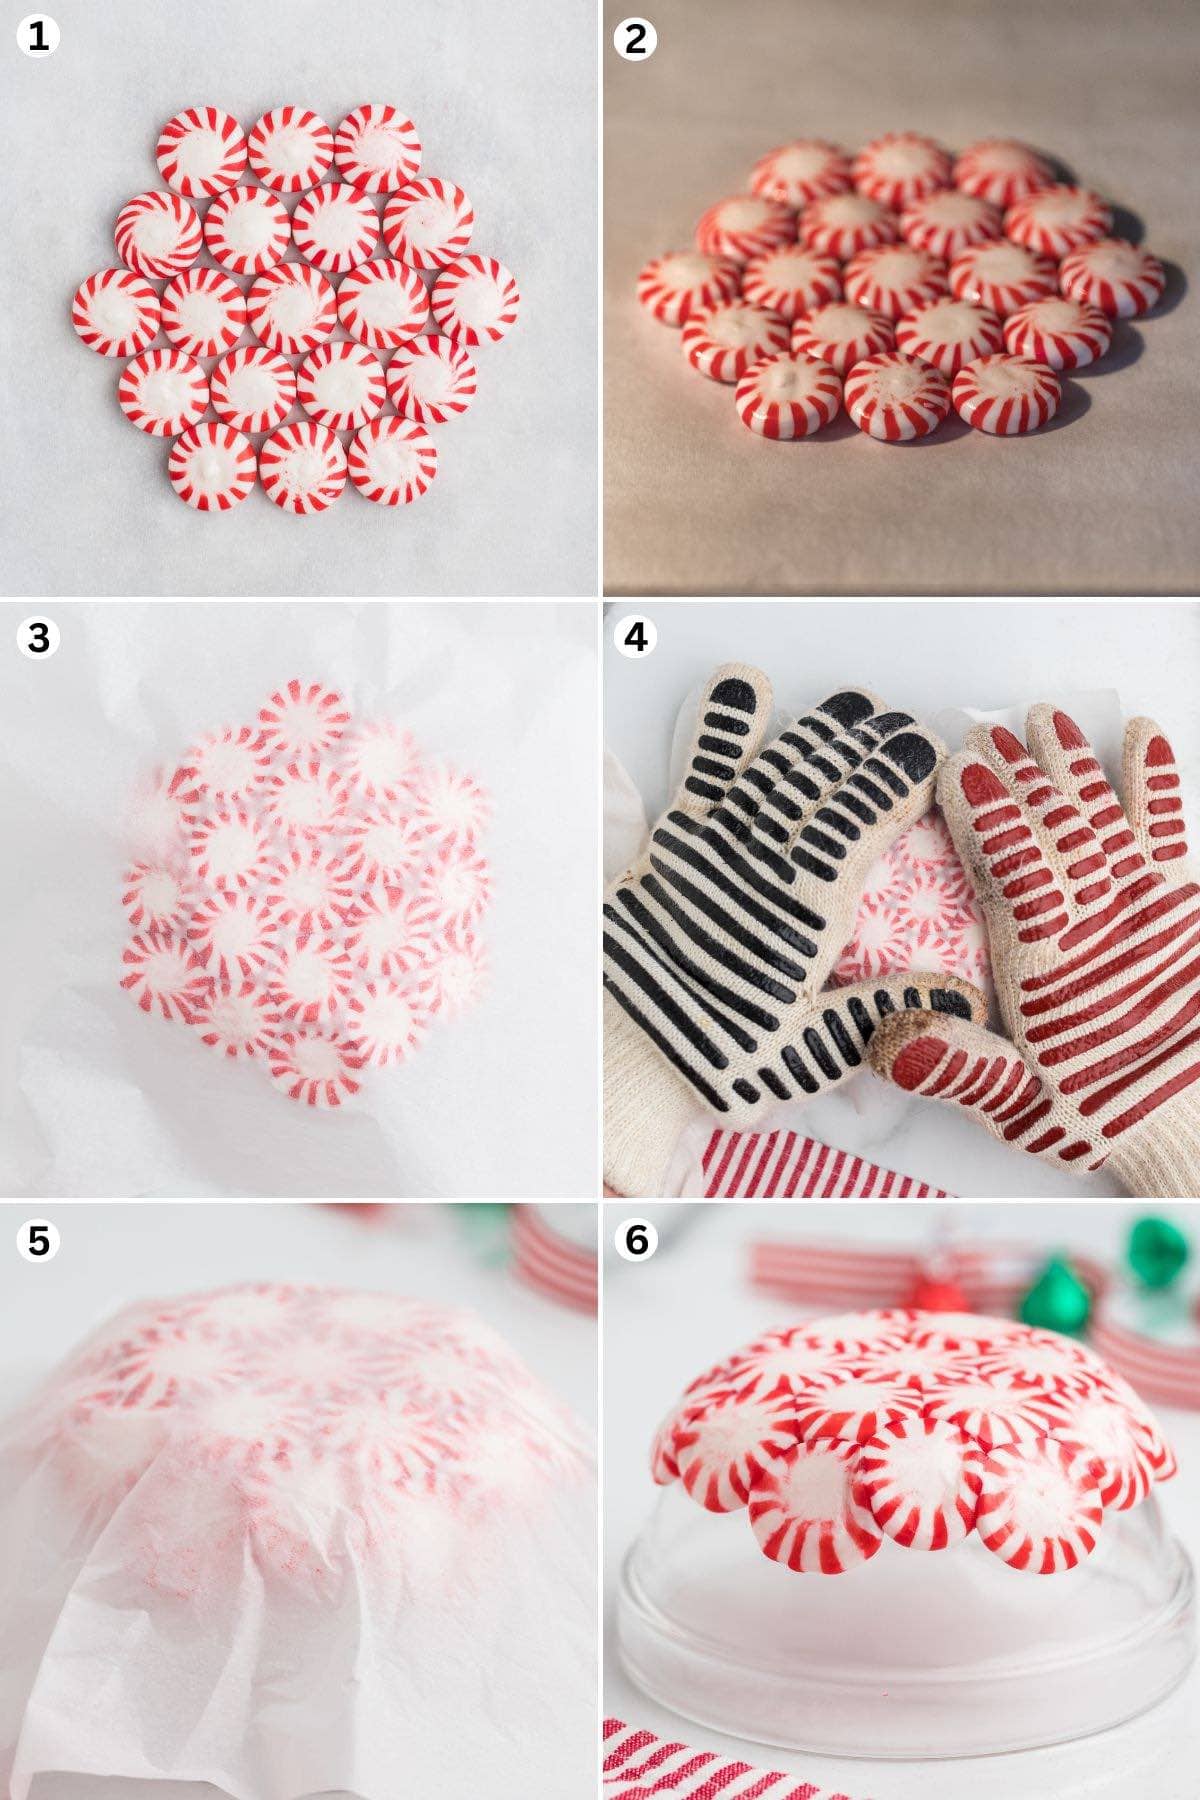
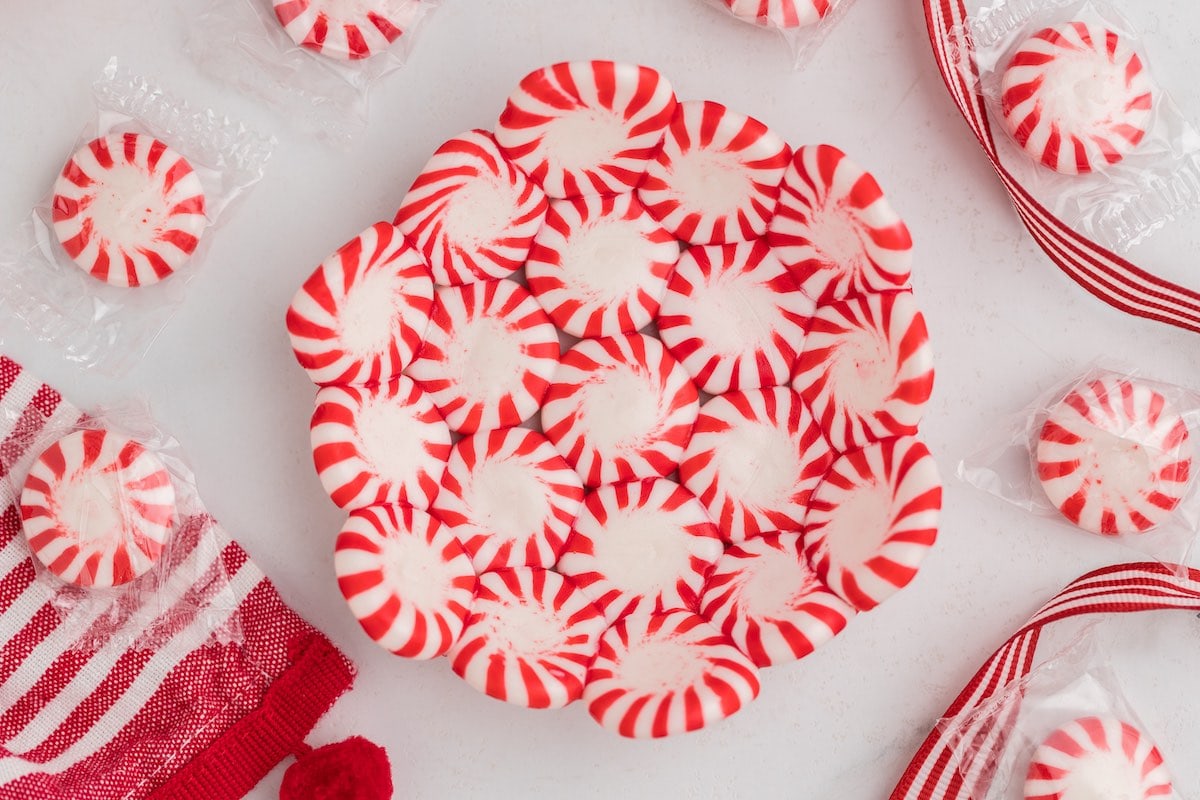
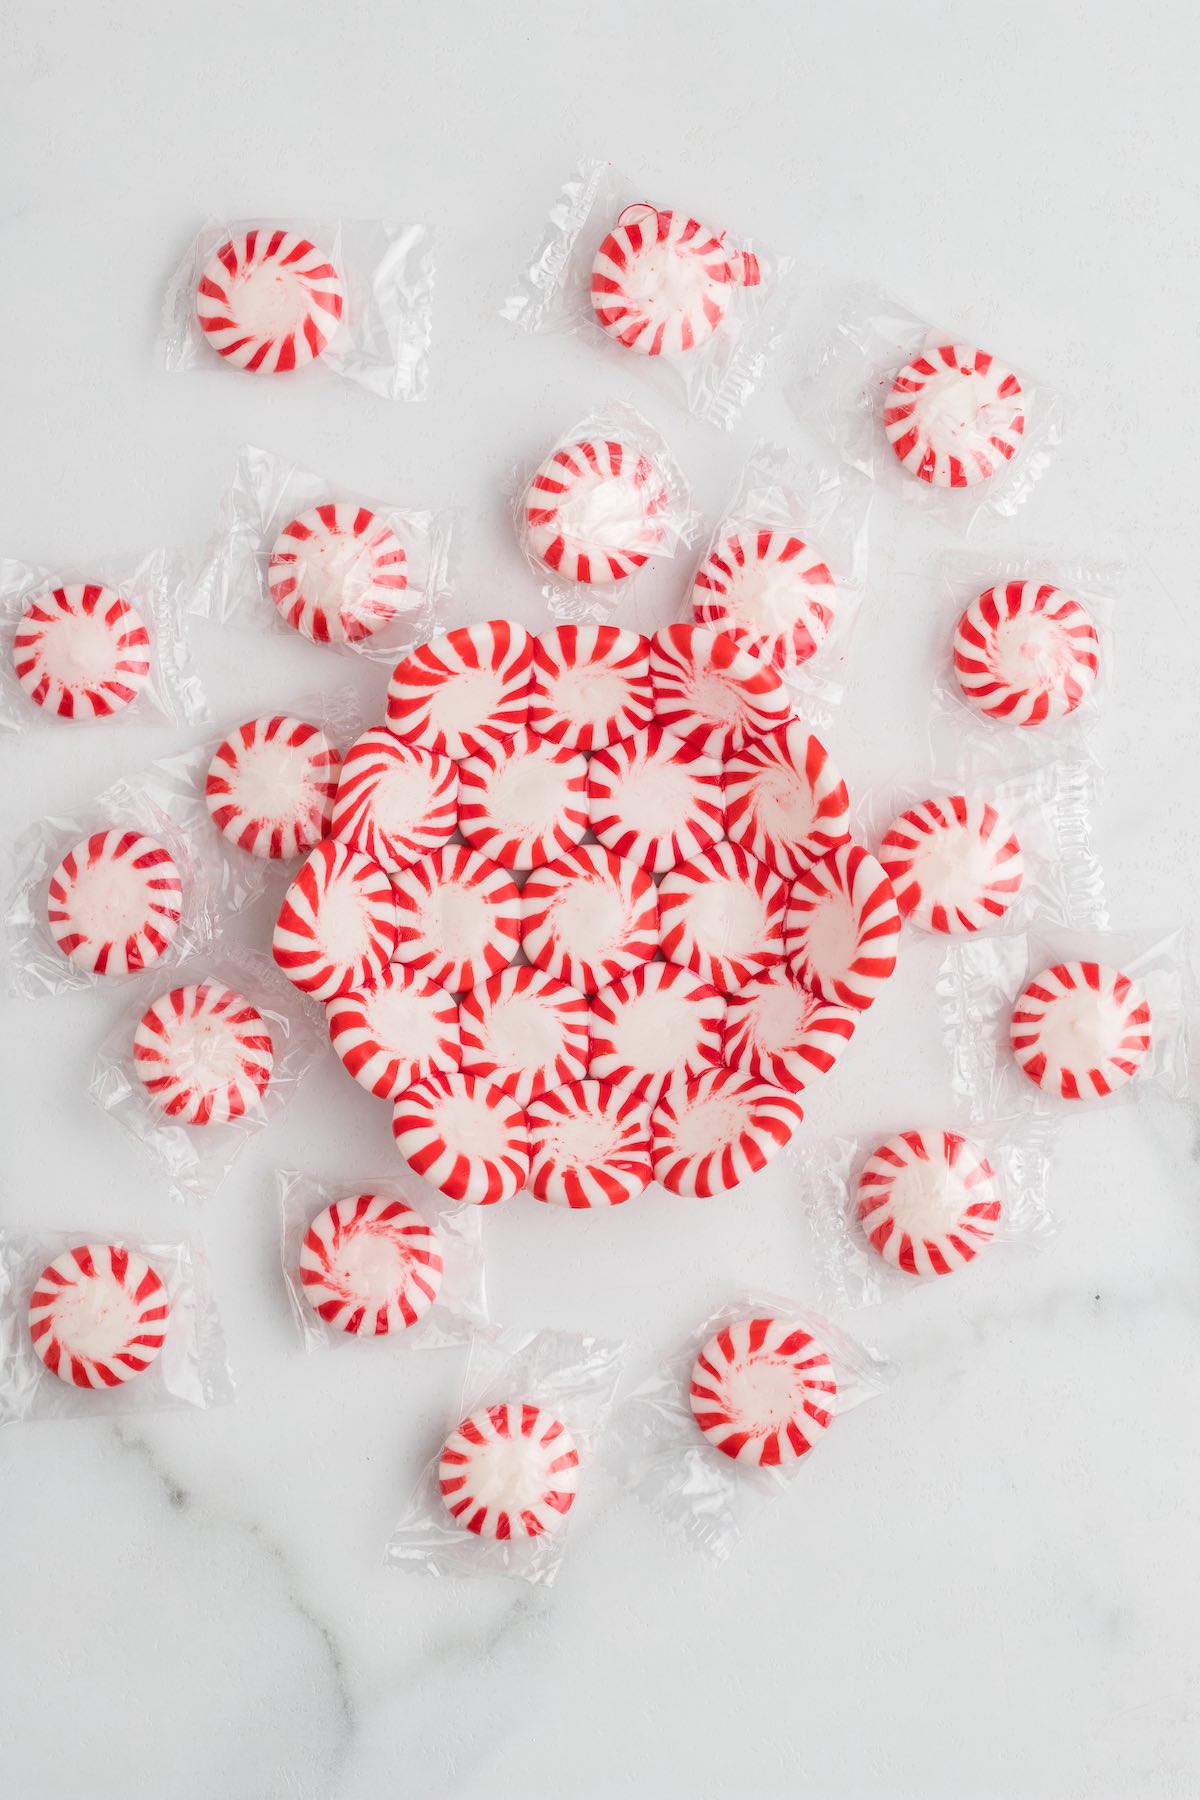
- Assemble: Place one mint in the center of the baking liner. Arrange six more mints around the center mint, making a flower shape. With the remaining 12 mints, form another circle around the others. (Image 1,2 and 3)
Pro Tip: The mints should be touching and as close with as little gap space as possible. - Heat: Place in a 300 degree Fahrenheit preheated oven for about 8 minutes. (Image 4)
Pro Tip: When they become shiny and start to spread out and melt, remove them from the oven. - Mold The Mints: Allow the candy to cool for 30 seconds. Then flip the silicon liner (with the mints in place) on top of an upside down glass bowl (Image 5 and 6). Use your hands (with oven mitts on) to mold the mints around the bowl. (Image 7)
Pro Tip: You will have under a minute before the mints start to harden again. - Cool: Let the candy sit on the bowl until it sets (Image 8). Remove it from the glass bowl and cool completely. Fill with candy and enjoy!
Tips For Making the perfect peppermint candy bowl
- If available, use a silicone baking mat. The peppermints tend to stick to it less, and it protects your hands from the heat!
- IMPORTANT: The BEST peppermints that I have worked with are the Market Pantry brand at Target. I have no idea why, but these melt perfectly and work every time for me. They don’t stick to the bowl ever and anyone who has had issues and then uses these Starlight Mints is successful! note: they have not been available lately. Try to find larger mints that are flatter, those work the best for me.
- To prevent the mints from sticking to the glass bowl, you can use parchment paper on both sides of the peppermints. Lay the mints on top of the parchment paper and then place another piece of parchment paper between the glass bowl and the melted peppermint.
What to do if your peppermint bowl is sticking to the glass?
Advice from readers:
- Thank you to my reader, Jen, for her advice: When you first take them out of the oven, don’t fear; they’ll stay pliable for about a minute or so. Literally, put 30 seconds on a kitchen timer as soon as you lay it down. Then pick it back up (using gloves!), and center it over your bowl or cup. (When I got impatient, they stuck!) Gently press from all sides. When able, take off the silicone mat. Carefully smooth on all sides. What worked for me next was to turn over the cup or bowl, hold the candy, and twist the “mold”. It comes right off! I’d say if it still doesn’t, maybe try a SMALL amount of cooking spray, but very lightly — or try a different type of bowl/cup.
- Toni: Use a little spray of pam on the bowl – came right off!
More Easy DIY ifts
More Easy Holiday Treats
If you tried this Peppermint Candy Bowl Recipe or any other recipe on my website, please leave a 🌟 star rating and let me know how it went in the 📝 comments below. Thanks for visiting!!!
DIY Peppermint Candy Bowls
Ingredients
- 19 Peppermint Starlight Mints 19 per bowl
Instructions
- Preheat oven to 300 degrees
- Place silicon baking liner or parchment paper on baking sheet
- Lay one mint in the center of the baking liner. Take six more mints and lay the mints around the center mint (making a flower type of shape). The mints should be touching and as close with as little gap space as possible. Take the remaining 12 mints and make another circle around the center circles.
- Place in the oven. Now, this is important because all ovens cook differently. Mine took about 8 minutes. You MUST watch them cook. When they start to get shiny and just begin to spread out and melt – they are done! You do not want them so melted that they are bubbling.
- Have your small glass bowl upside down and ready to go – you are going to use this to mold the candy bowl.
- Take them out and let them sit for about 30 seconds – you want them cool enough to handle, but not too cool that they are set.
- Carefully (very carefully – you may want to use oven mitts because the mints are going to be super hot) flip the silicon liner with the mints in place, on top of the upside down glass bowl. Try to place the center mint as close to the center of the glass bowl as possible. Now use your hand (with oven mitts on) to form the mints to the bowl. You will have under a minute before the mints start to harden again.
- Let it sit on the bowl until it sets.
- Remove it from the glass bowl and let cool completely.
- Fill with candy and enjoy!
Jenn’s Notes
- If available, use a silicone baking mat. The peppermints tend to stick to it less and it protects your hands from the heat!
- IMPORTANT: The BEST peppermints that I have worked with are the Market Pantry brand at Target. I have no idea why, but these melt perfectly and work every time for me. They don’t stick to the bowl ever and anyone who has had issues and then uses these Starlight Mints is successful!
- IF your candy dish is sticking, see the advice given in the post above.
Nutrition Info
Post updated: ORIGINALLY POSTED November 4, 2015.


I absolutely love the idea of making peppermint candy bowls! They look so festive and delicious. I wonder how they would hold up in warmer weather—would they melt easily? Thanks for sharing such a fun DIY project!
This DIY peppermint candy bowl idea is honestly so creative—perfect for holiday décor and gifting.
My daughter, grand-daughter and I did this before our annual tea this afternoon. What fun. It is going to make a great teacher gift, and also gift for her brother. We found the spray Pam and a gentle twist of the bowl worked to release the peppermint bowl
Is there anything that I could put on the bowl after it is done to save it and to make it washable?
Unfortunately, there really isn’t. I always use wrapped candy to put in the bowl to keep it from getting dirty
Made these w my grandkids. We put a soda cap on the center mint to make it easier in placing the outer mint circles. Tried making them bigger by adding an extra circle but that didn’t work, too sloppy to scoop. I used a pastry scraper to lift from silicone mat. 👍 So much fun!
So glad you enjoyed making them!! Thanks so much for the great feedback.
It was very easy to understand. I will try this for sure!
Hope you enjoy them! They are always a huge hit!
How far ahead of time can you make these? Thank you!
It really depends on the humidity in your area. I have no issues making them a while in advance, but they can get sticky if left out too long.
I use two different colors of mints. A green mint in center, then the traditional peppermints for bowl. It centers easier on the bowl form.
Such a cute idea! I will have to give that a try!