This post may contain affiliate links. Please read our disclosure policy.
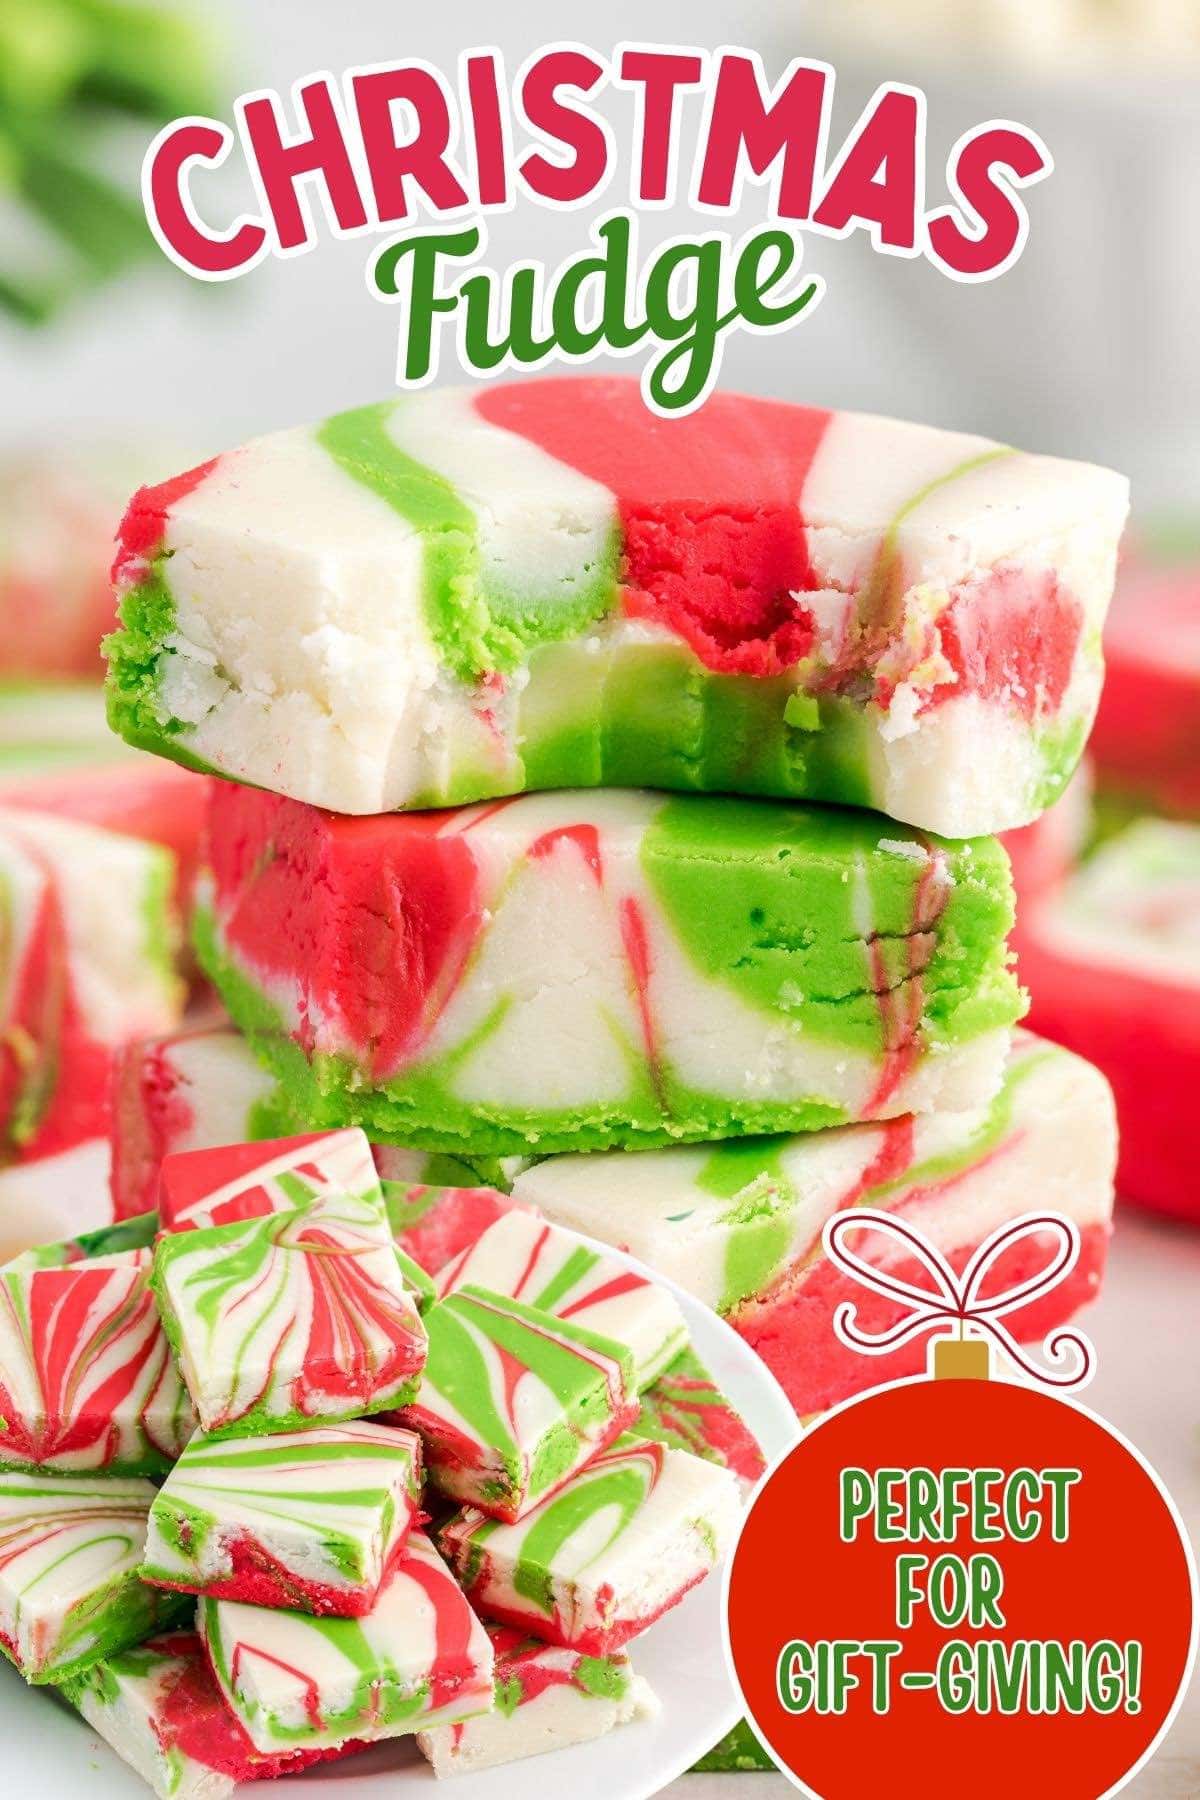
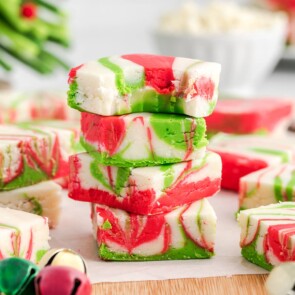
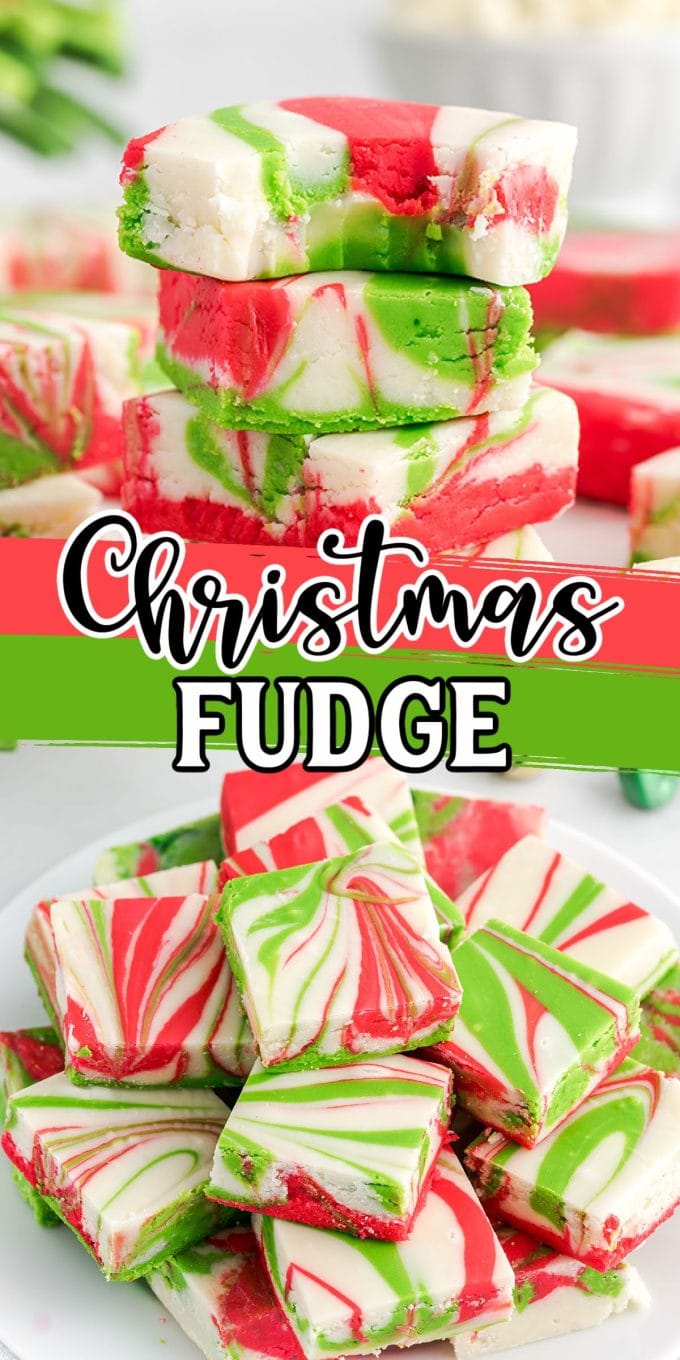
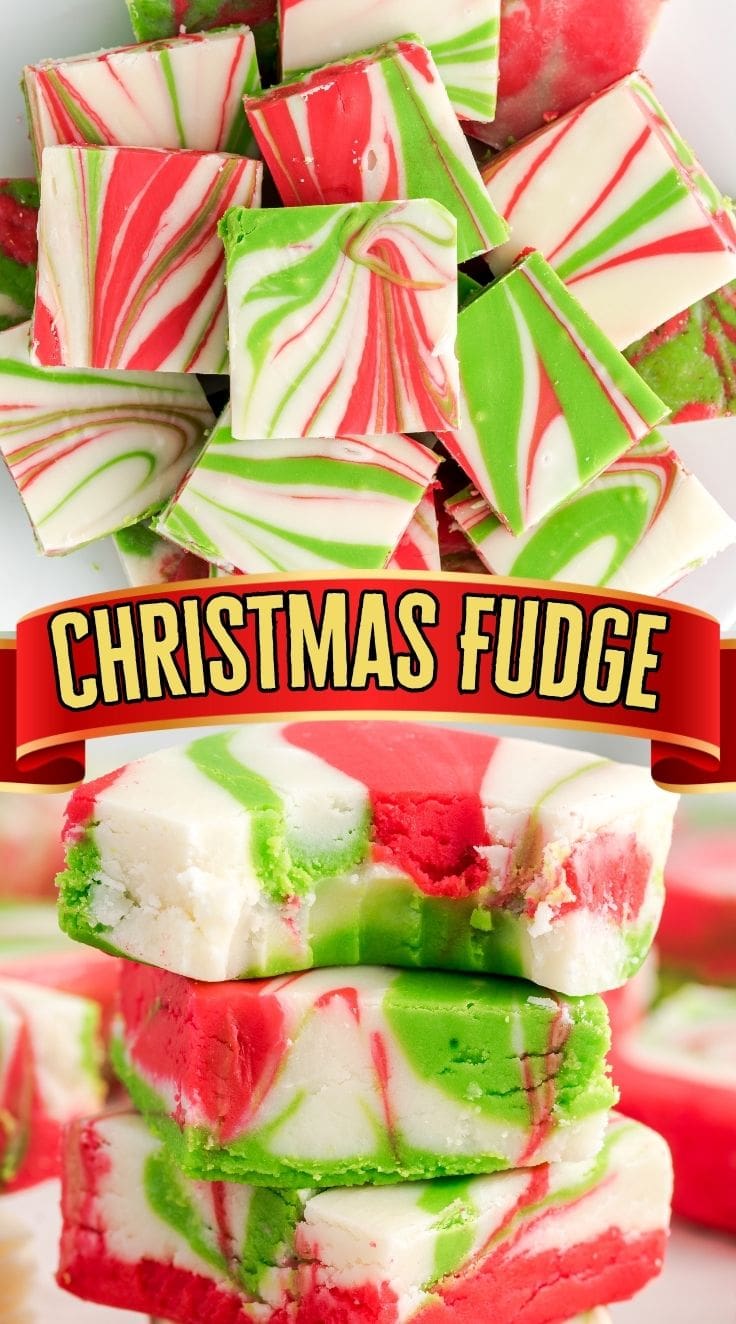
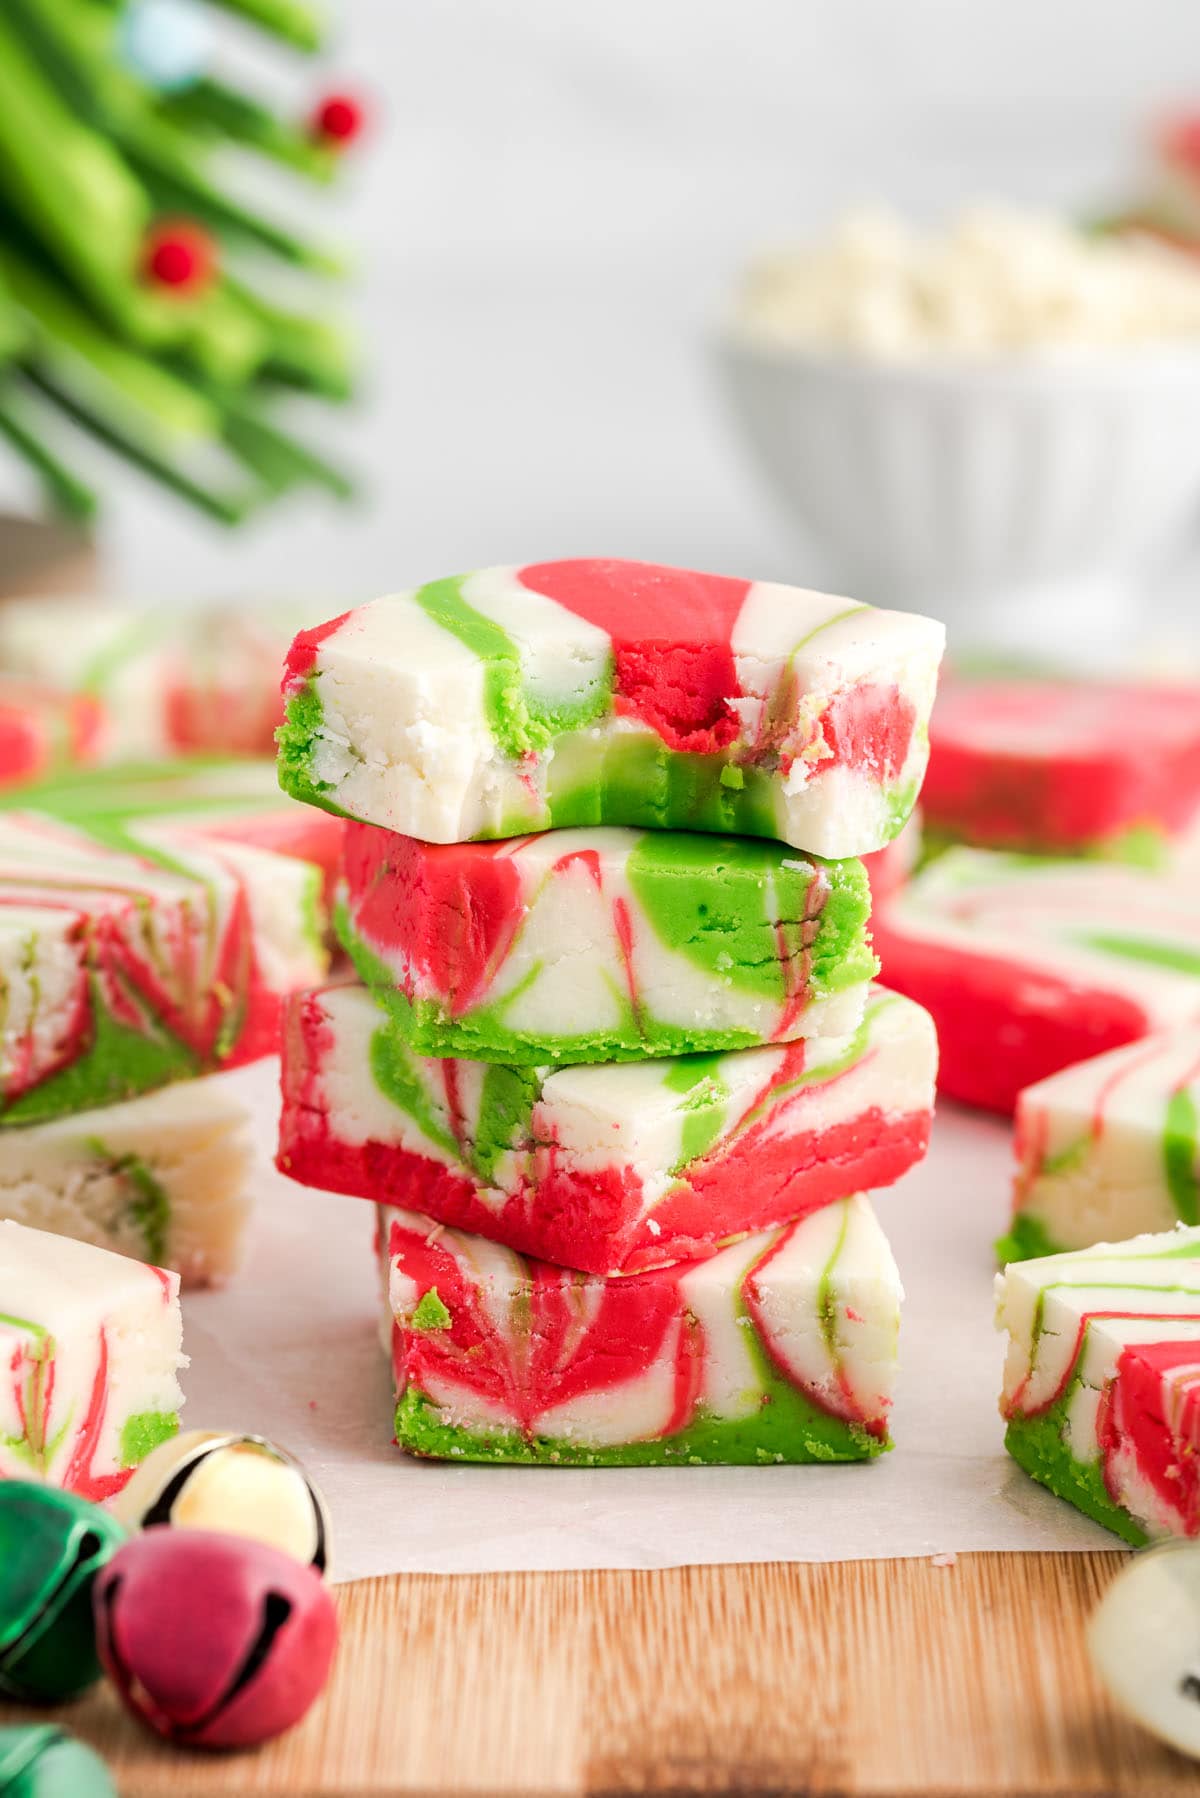
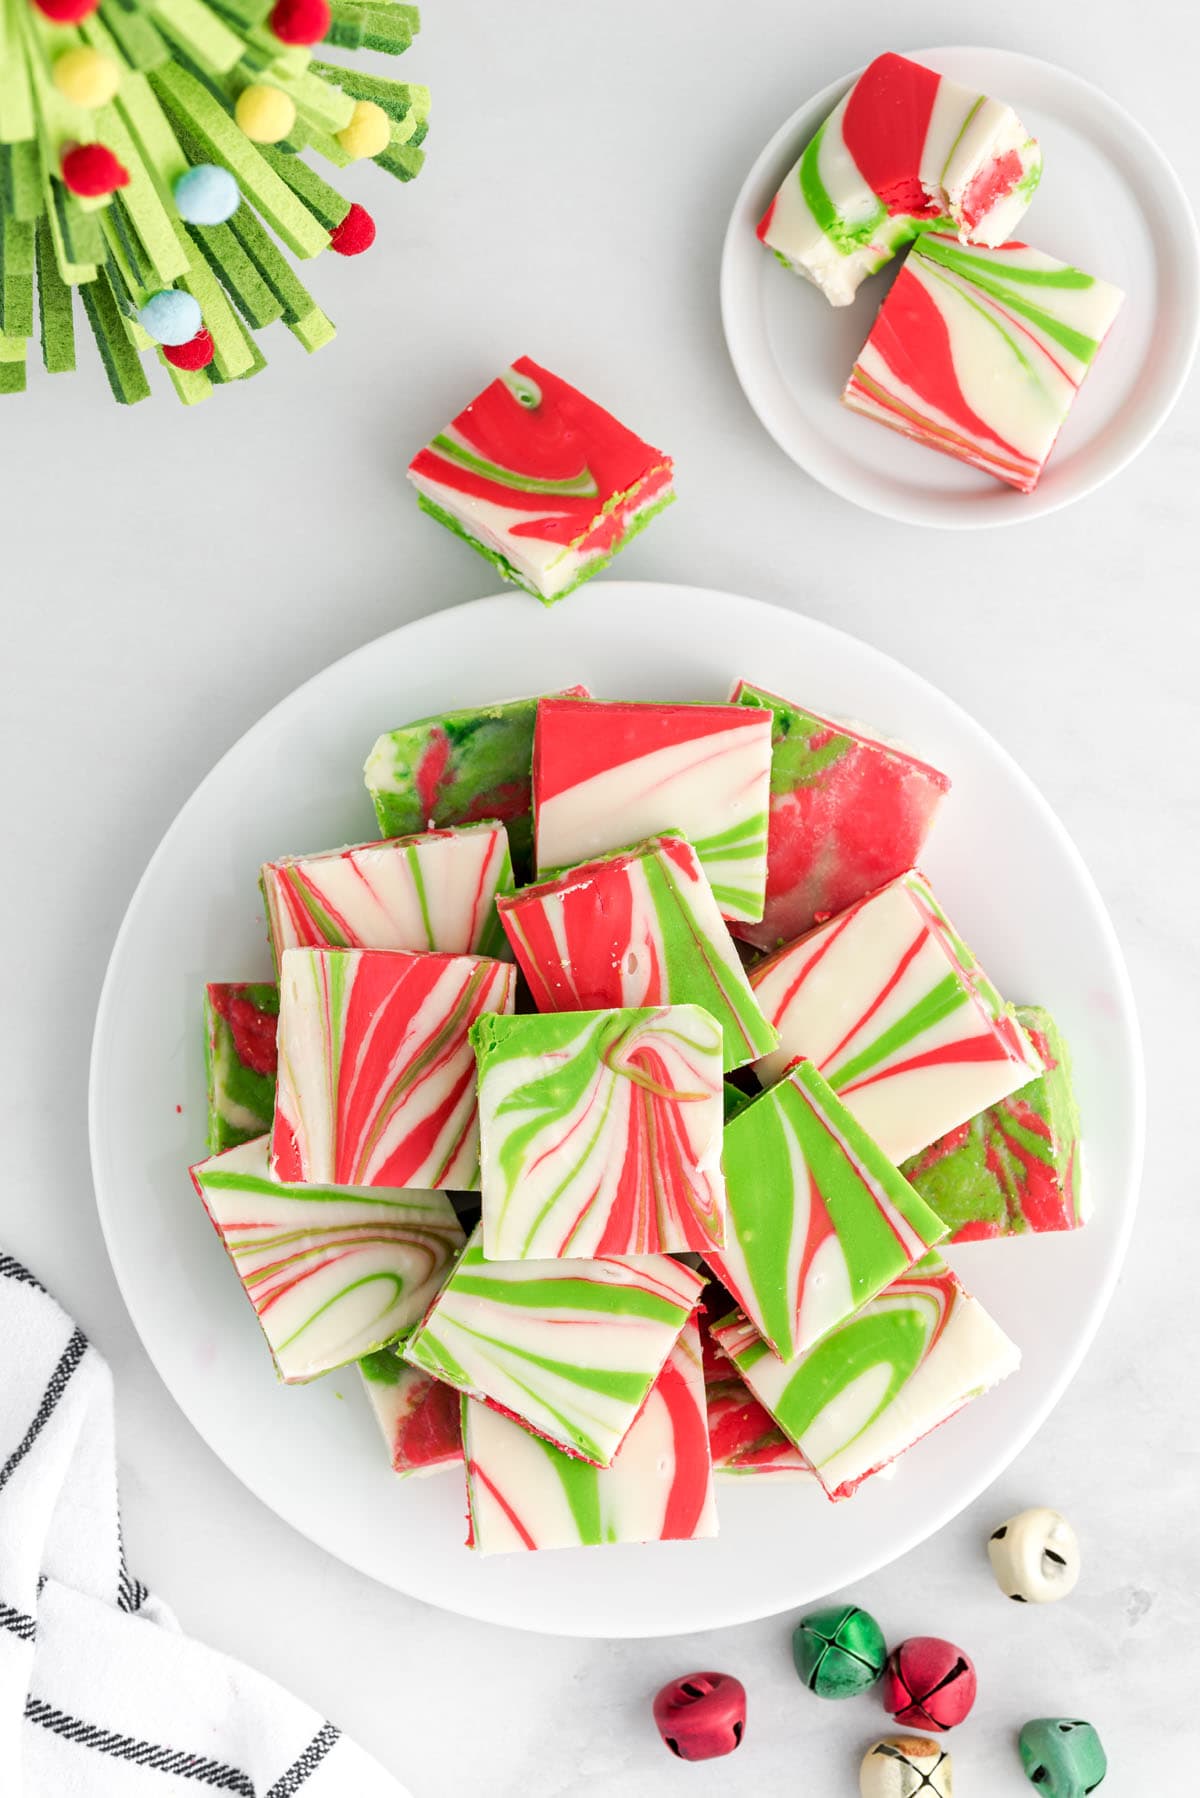
Christmas fudge doesn’t get much easier—or more festive—than this! My simple recipe combines creamy white chocolate with vibrant red and green swirls for a fun holiday twist. It’s quick to make, comes together in the microwave, and is perfect for gifting or serving at your next Christmas gathering.
So rich and colorful, this and our other easy Christmas recipes will quickly become a family favorite during the holiday season!

What Makes Christmas Fudge the Perfect Holiday Treat?
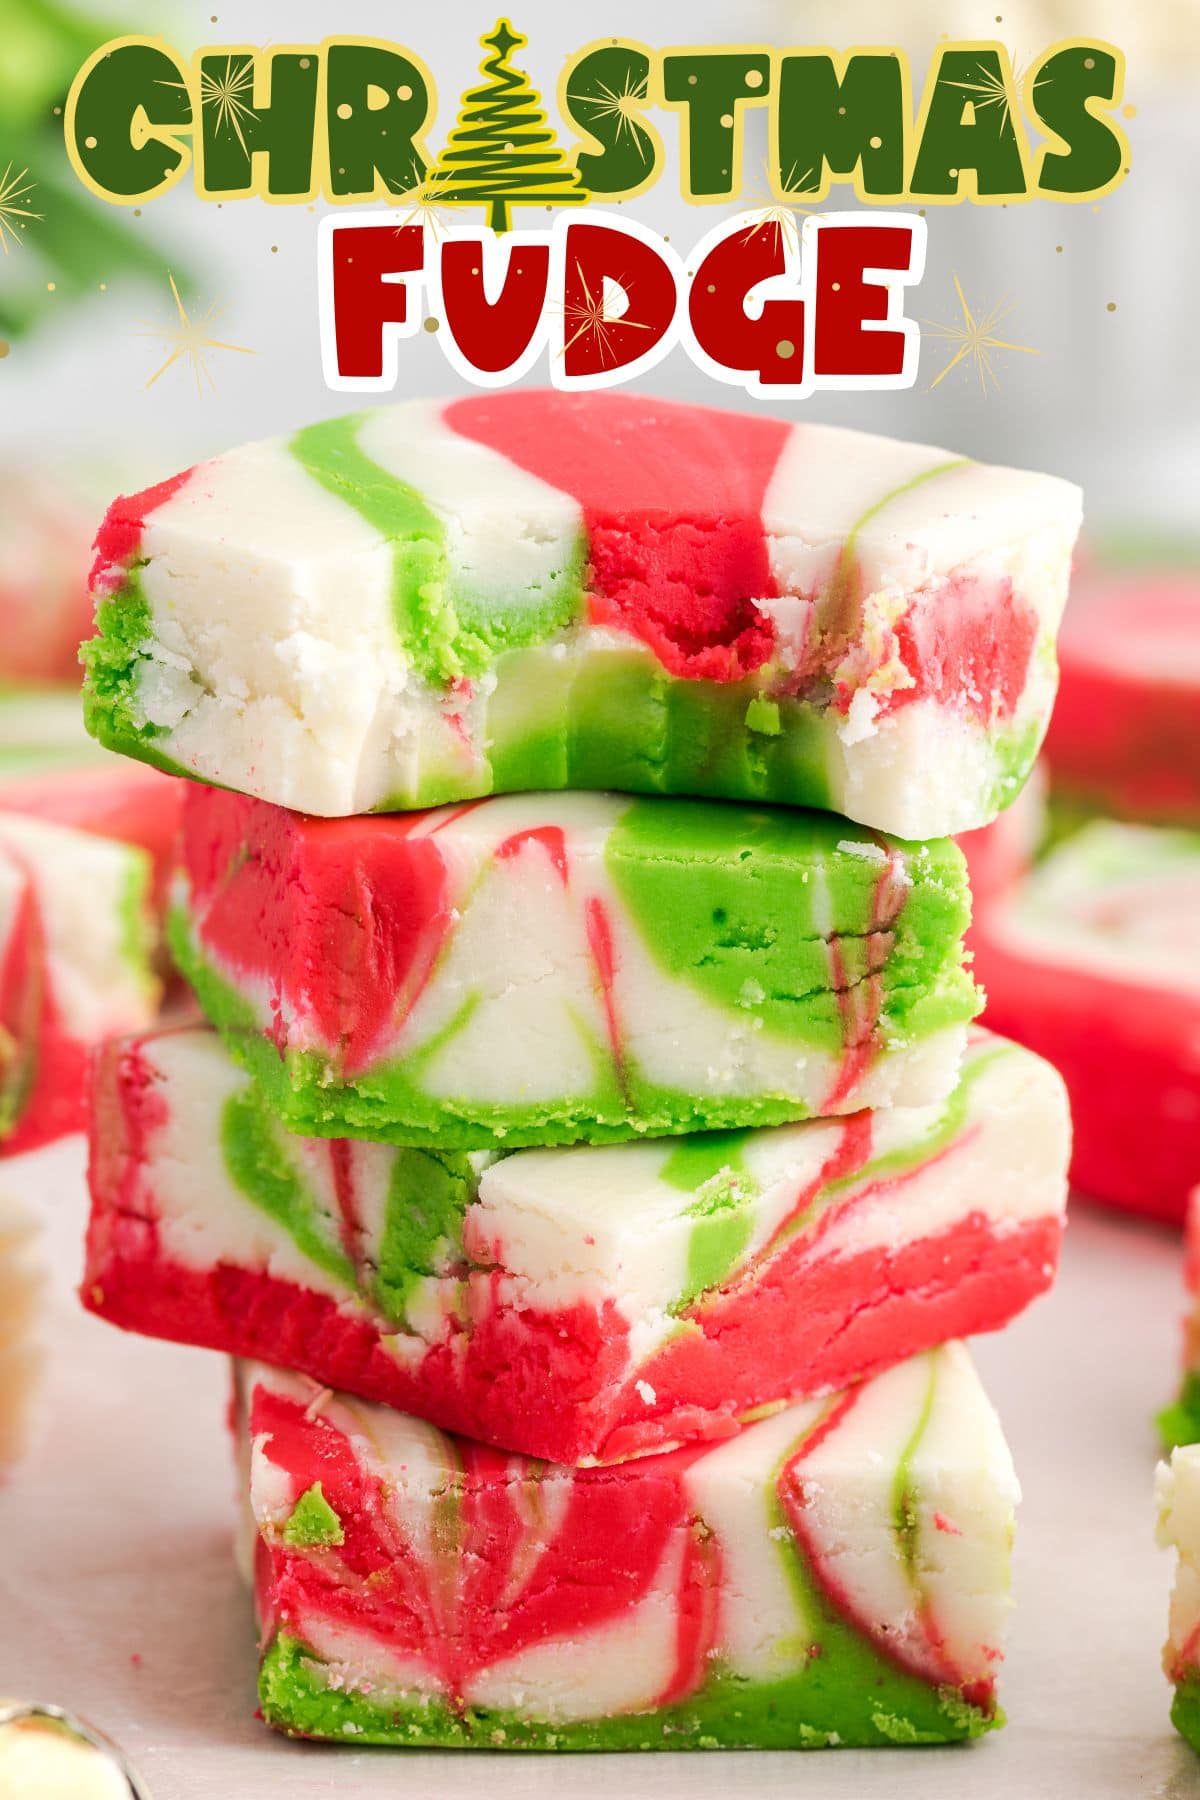
With its smooth and creamy consistency and pretty pattern, Christmas fudge fits the festive feel perfectly and gets you into the holiday spirit. Grab a square and get ready to savor the warmth and indulgence of the season – it’s a great way to add a touch of sweetness to family gatherings, gift exchanges, and cozy winter moments by the fire.
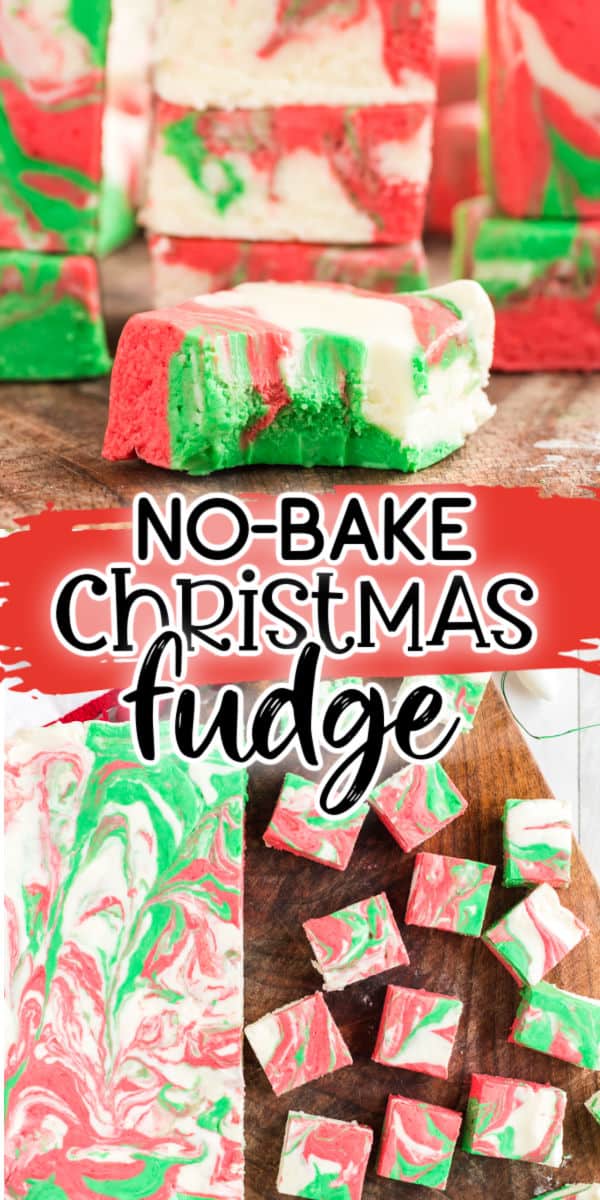
This 10-minute fudge is just as delicious as any long-cooked candy, but it’s even better (and faster) because no candy thermometer or fancy equipment is needed.
Get creative and customize your sweet treat with crushed candy canes, Christmas sprinkles, chopped nuts, crumbled cookies, or any food color you fancy. With a pop of color or added texture, your fudge will look as celebratory as it tastes!
Easy to make and delicious..looks like Christmas 🎄
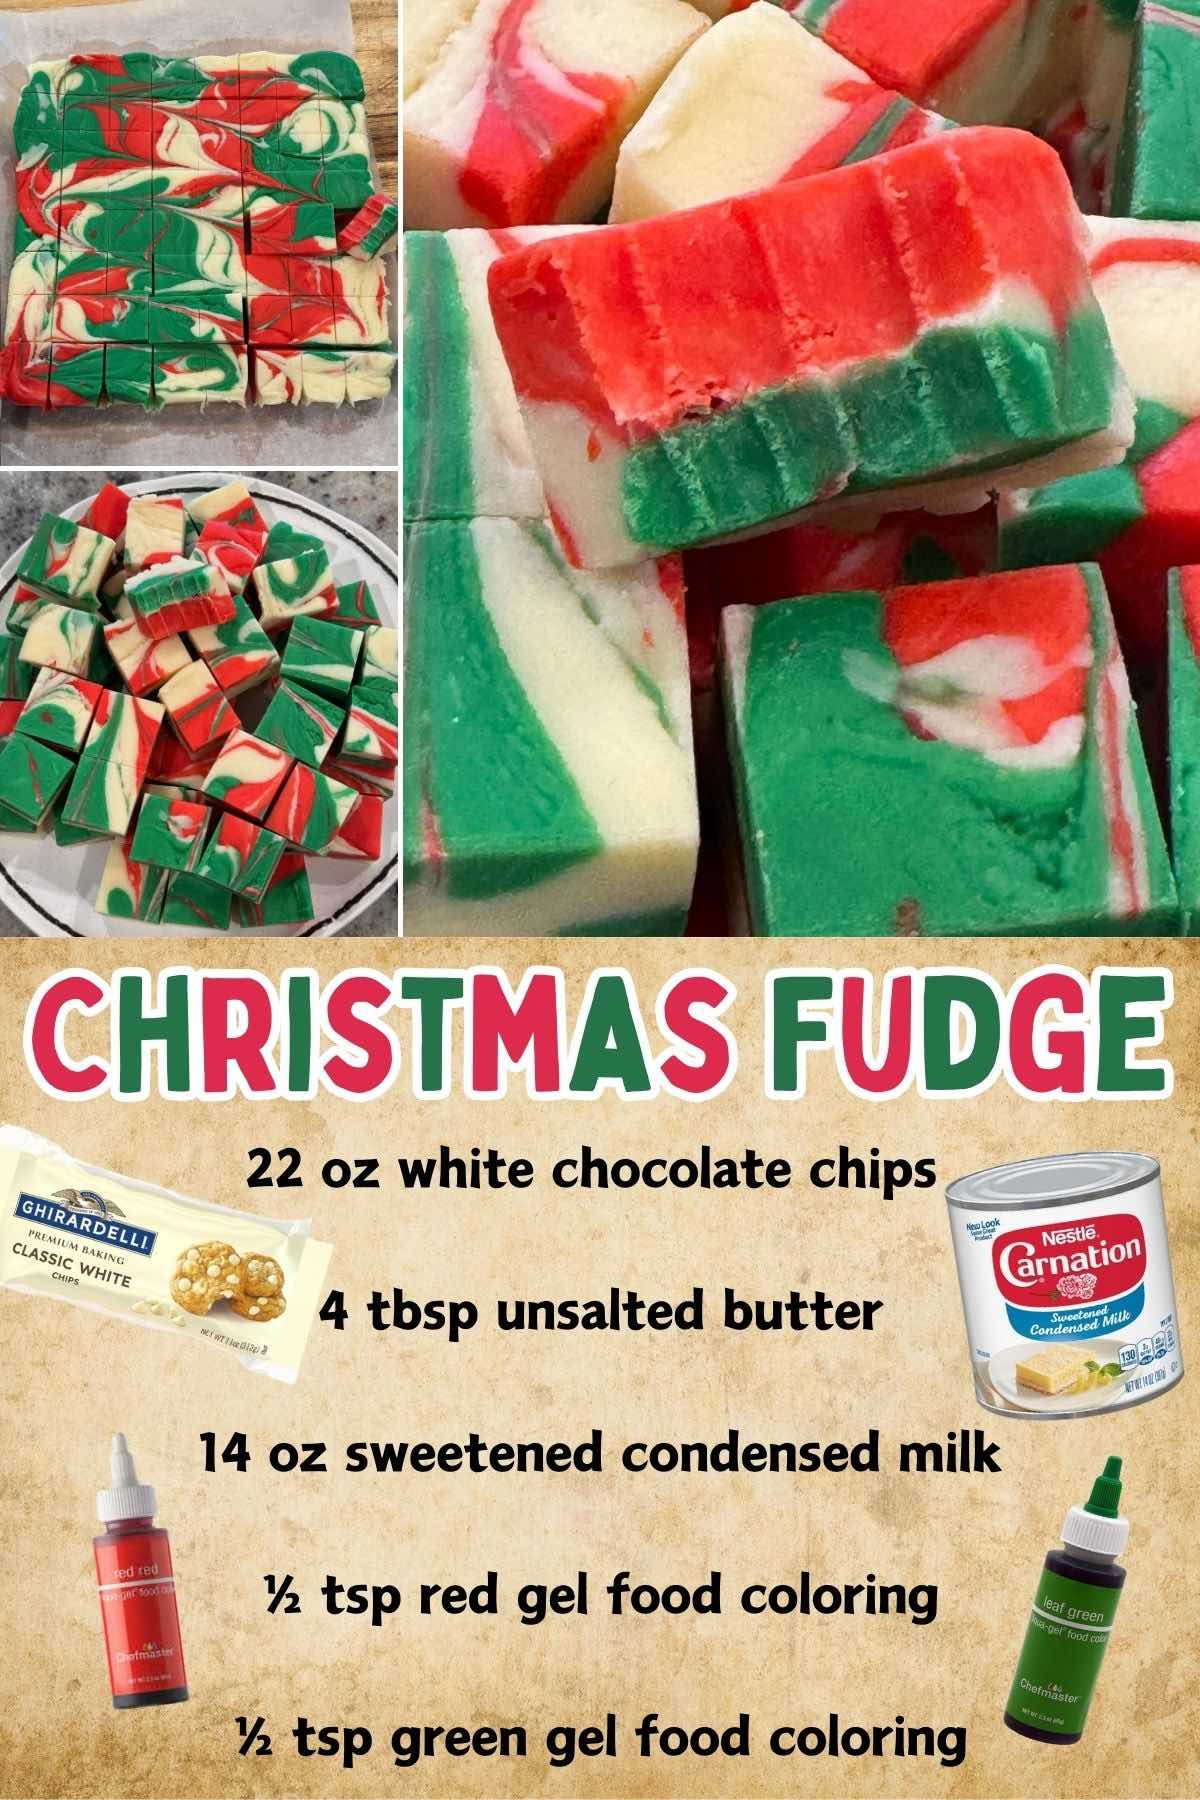
Ingredients for the Best Christmas Fudge
- White chocolate chips: I highly recommend using a good quality white chocolate chip brand for this recipe, like Ghirardelli, as I find they melt much better than the generic or lower quality options. White chocolate can be temperamental when heated and can burn or seize quickly. If this happens, you must start with fresh white chocolate chips.
- Sweetened condensed milk: Be sure that you use sweetened condensed milk and not evaporated milk. The fudge will not thicken up or set with evaporated milk.
- Unsalted butter: Make sure your butter is cold and cut into small cubes.
- Red gel food coloring: Be sure to use a good quality gel food coloring, like the Americolor brand, for best results.
- Green gel food coloring: Do not use liquid food coloring as it can cause the melted white chocolate to seize from the excess moisture.
See the recipe card for full information on ingredients and quantities.
How to Make Christmas Fudge: Step-by-Step Guide
- Melt The Mixture: Stir together the white chocolate chips, sweetened condensed milk, and butter in a medium saucepan over low-medium heat until melted and smooth. Remove from the heat.
- Make The Red Mixture: Add red food coloring to ⅓ of the melted white chocolate fudge mixture and stir until the color is uniform and no white streaks remain.
- Make The Green Mixture: Add green food coloring to ⅓ of the melted white chocolate fudge mixture and stir until the color is uniform and no white streaks remain.
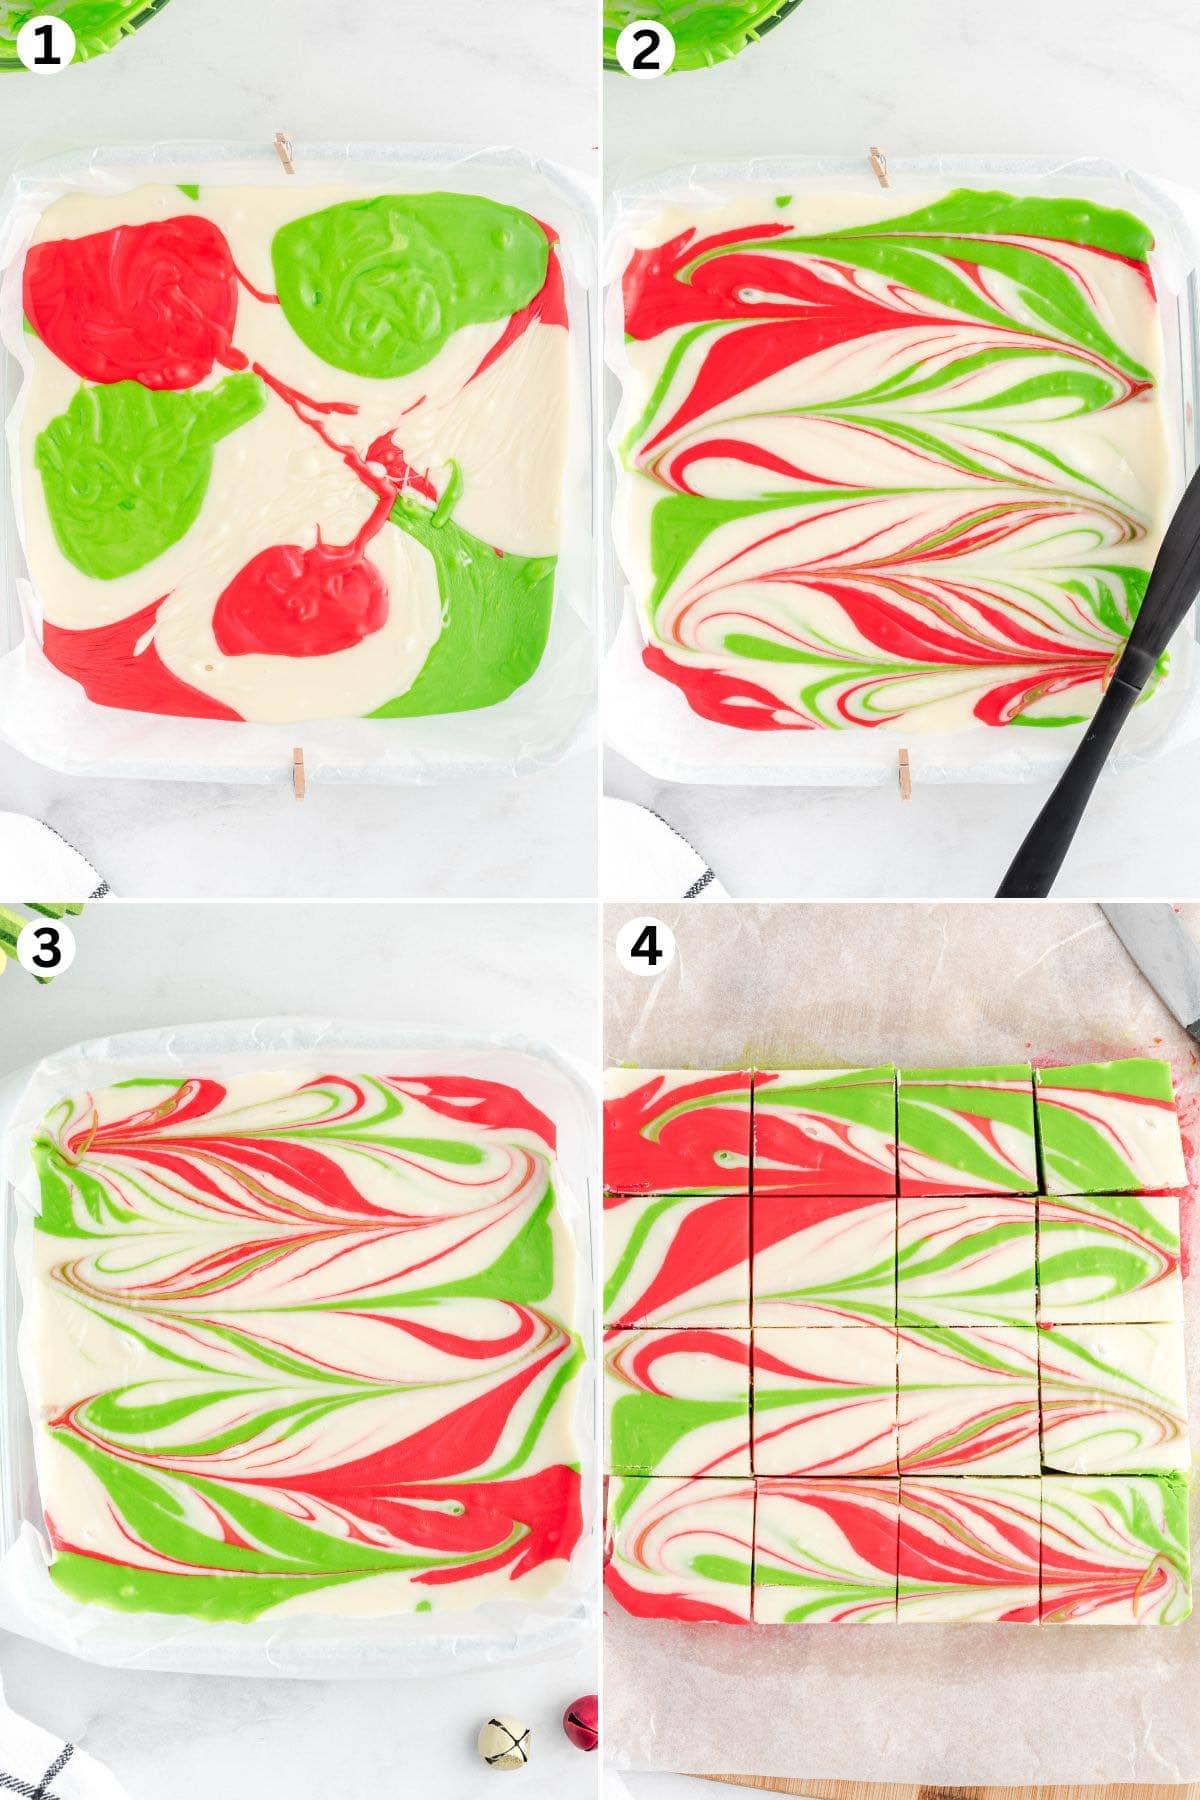
- Decorate The Dessert: Add dollops of white, red, and green colored fudge randomly into the prepared baking dish, then swirl the colors to form a decorative pattern on top.
- Chill: Press down on the top of the fudge while it is still soft to give it a smooth top. Place the fudge in the fridge for 2-3 hours or until set.
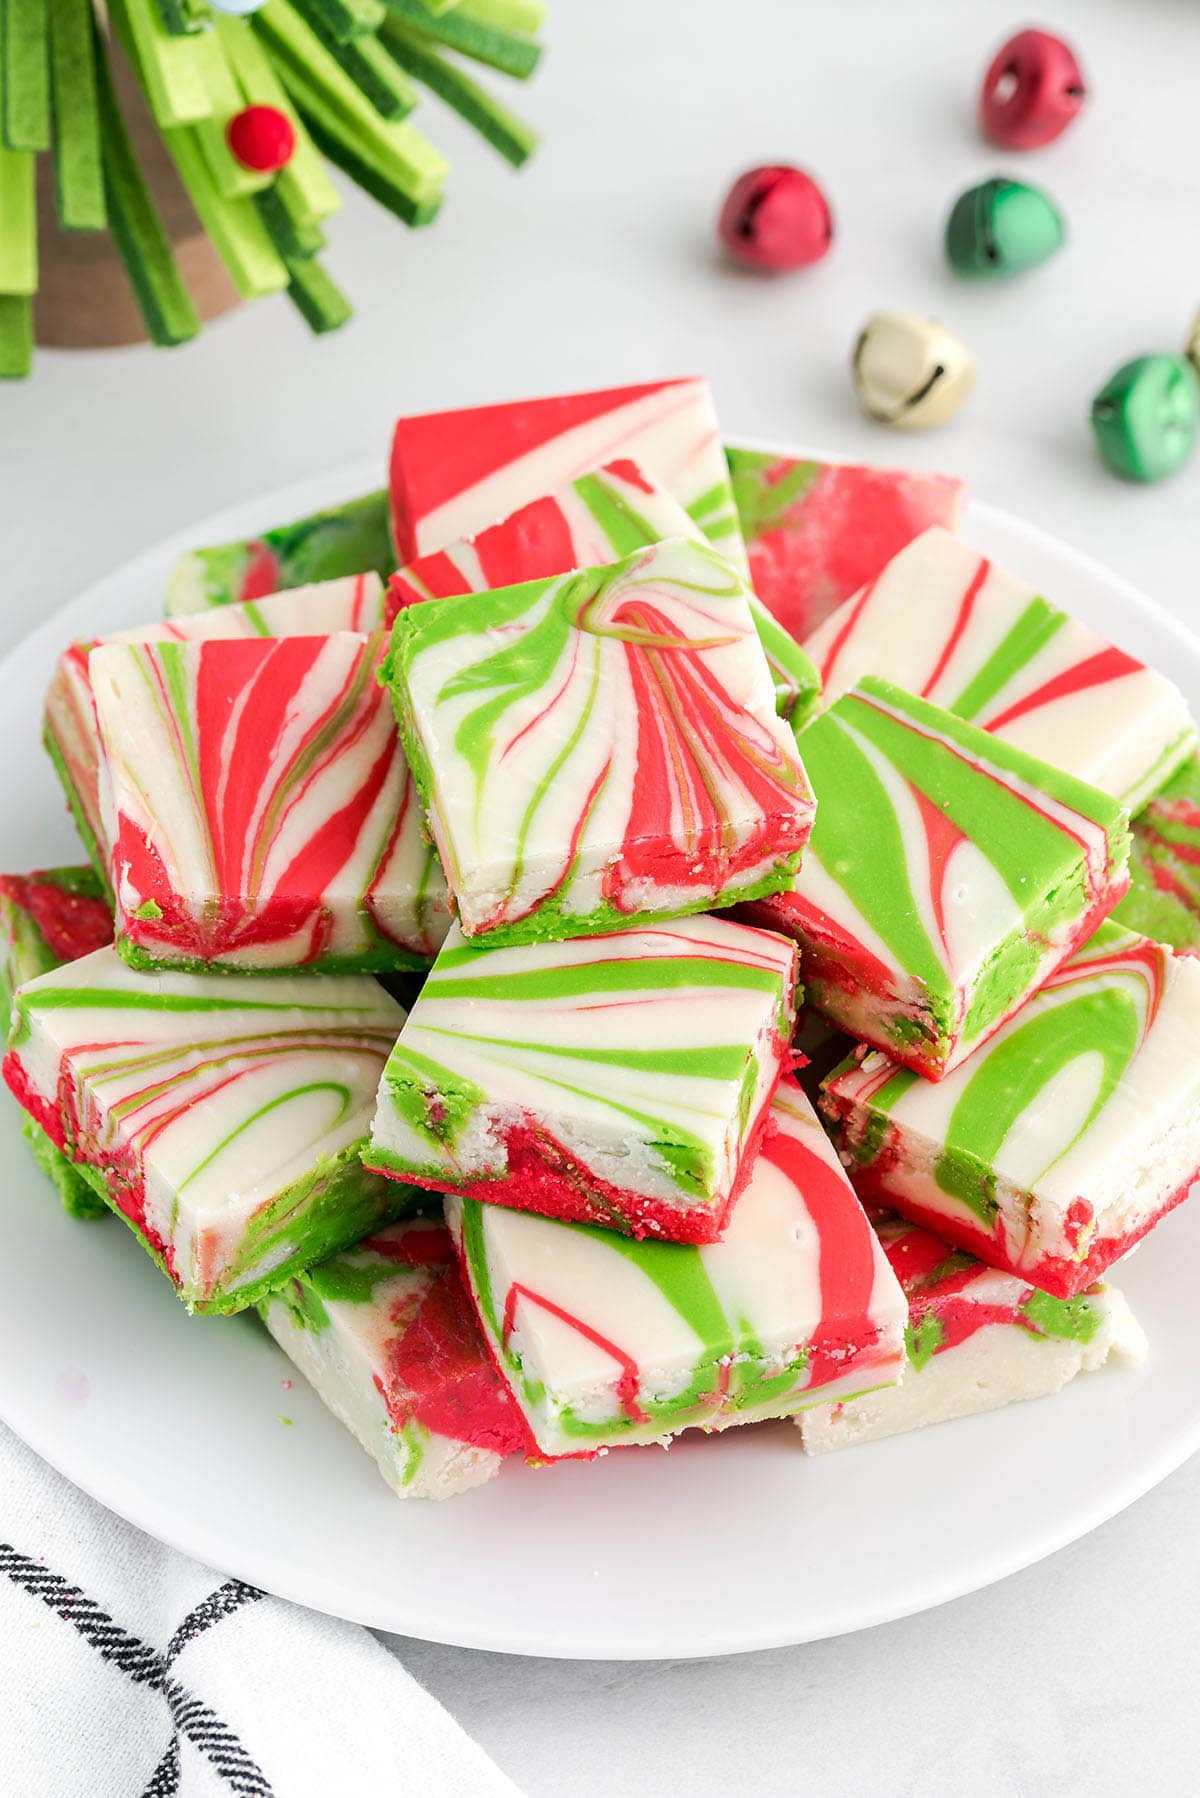
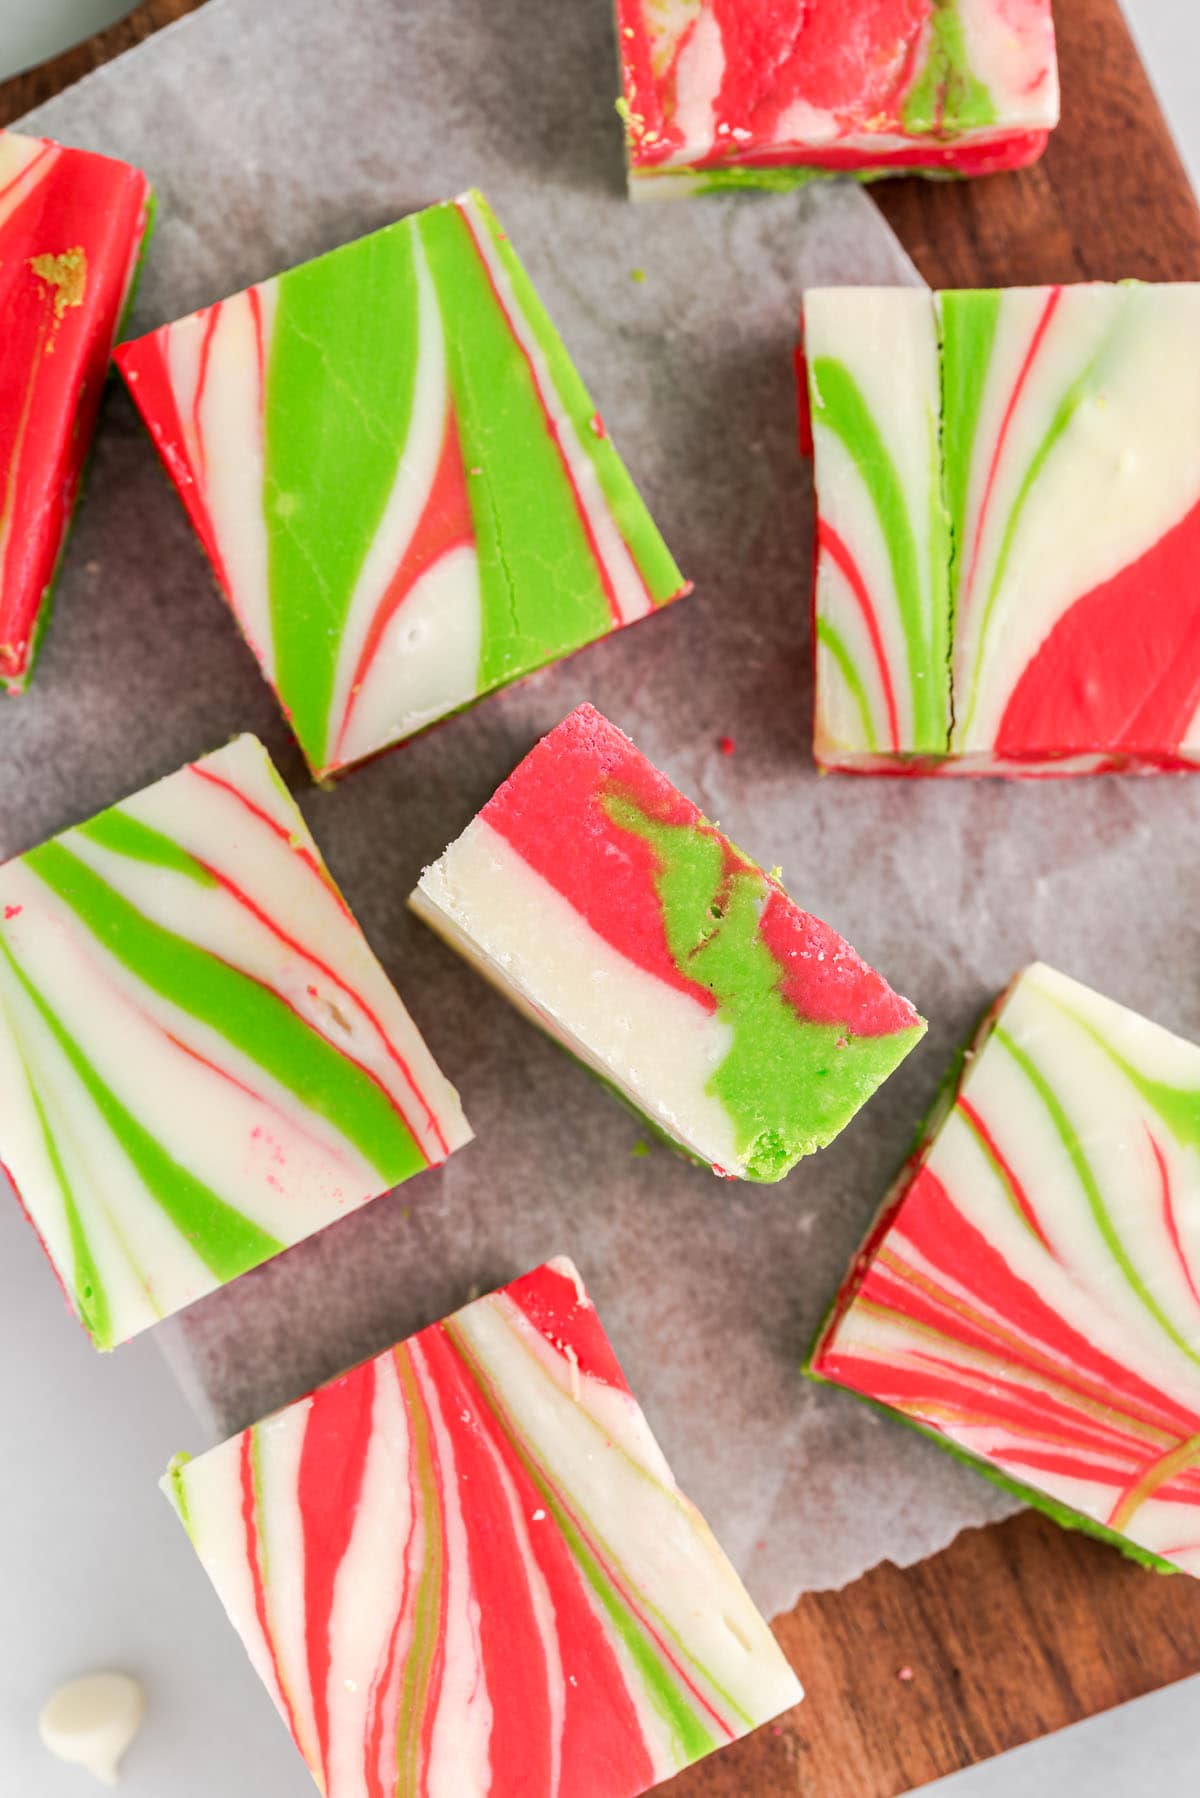
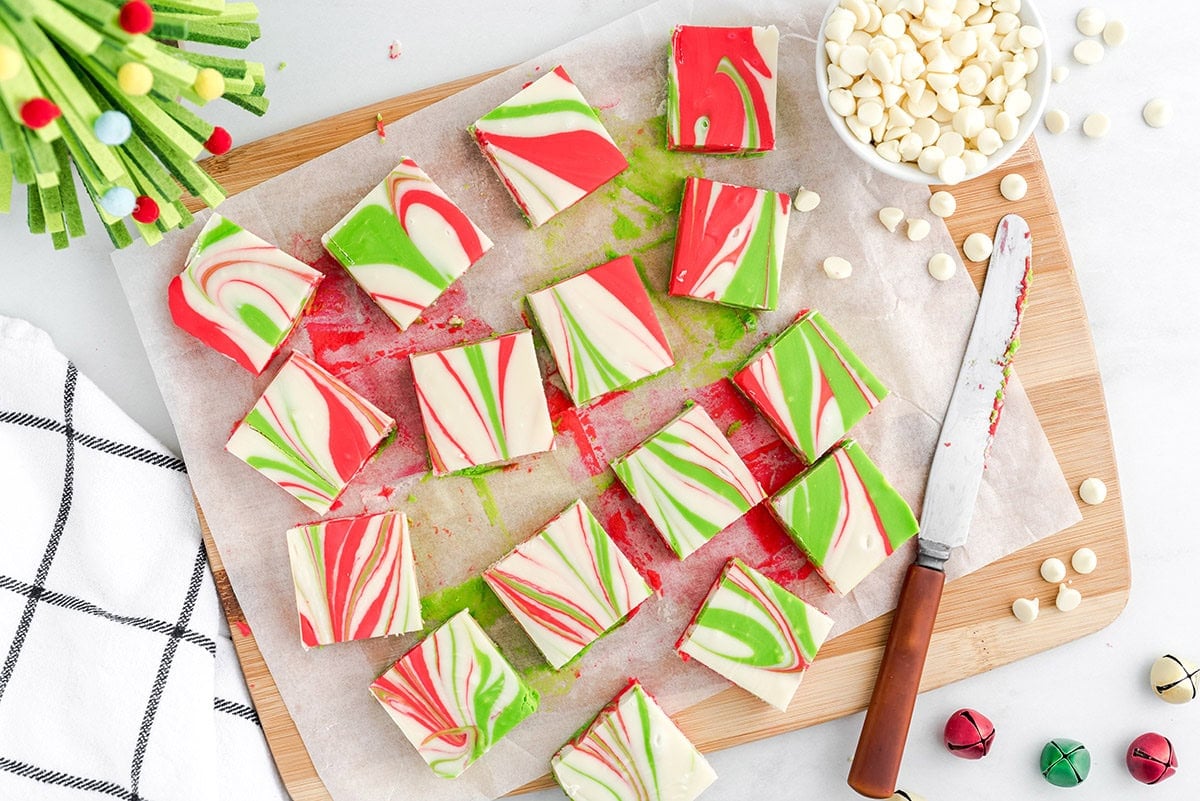
- Slice And Serve: Use a sharp knife to slice the fudge into 64 1×1 inch-sized pieces and serve. (don’t let it sit too long at room temperature)
Creative Ways to Gift Christmas Fudge
Christmas fudge is great for DIY presents and personalized packaging. When wrapped in festive boxes, tins, or parchment paper tied with ribbons, a homemade gift becomes a delicious, heartfelt gesture that shows thoughtfulness and care. Plus, it stays fresh for weeks, making it ideal for shipping or saving for later!
Tips for Perfect Christmas Fudge Every Time
- Prepare The Pan: I recommend you line an 8 by 8-inch straight sided square baking pan with waxed paper or parchment paper (aluminum foil works too). Spray the paper with cooking spray or rub with butter so the fudge doesn’t stick. Be sure to have a long enough piece to allow enough paper to hang over the sides. This will make lifting the fudge out of the pan easier after refrigeration for slicing into individual portions.
- Work Fast Or Re-Warm: Be sure to work fast when adding and mixing the gel food coloring to the melted white chocolate mixture as it will start to firm up quickly once removed from the heat. If you need to loosen up the fudge mixture, you can quickly warm the small bowls for 15-20 seconds, or just until warm enough to finish assembling the fudge.
- Re-Melt In The Microwave: If re-warming the chocolate in the microwave, be sure to stir well and not overheat the mixture, or it can burn or seize up. You will need to start over with the recipe.
- Don’t Overcook The Candy: Be careful not to overcook your fudge, or it will become grainy. Make sure to stir constantly for 4-6 minutes or until all the chips have melted and the mixture is smooth, or the middle of the chocolate will burn before the outside of the chocolate is melted. You will end up with a grainy fudge because the crystals in the chocolate will separate.
- Slice Small Squares: This is a very rich fudge, so I recommend serving them in smaller sizes. I like to use a large chef’s knife to cut my fudge. You can warm the knife by running it under warm water, then drying it off with a towel before slicing.
Variations of Christmas Fudge to Try
- Color Your Candy: Depending on the brand and shade of red and green gel food coloring, you may need to adjust the amounts to achieve your desired colors. Always start with a small amount and add a drop or two at a time until the desired color is reached.
- Customize Your Colors: This easy fudge recipe is so simple to customize for any themed party or holiday. Simply switch up the gel food coloring and make your swirls match your celebration.
- Flavor Your Fudge: Feel free to add vanilla extract, peppermint extract, lemon, coconut, mint or any other flavoring you like.
- Looking for more fun and festive fudge ideas? From Christmas Sugar Cookie Fudge, to Cookie Dough Fudge, Unicorn Fudge, Rocky Road Fudge, Buckeye Fudge, Peanut Butter Fudge, and so many more, I’ve got so many easy fudge recipes for almost any season or occasion!
More Easy Christmas Desserts
- Chocolate Christmas Candy
- Crockpot Candy
- Christmas Jello Balls
- Reindeer Chow Chex Mix
- Christmas Puppy Chow
If you tried this Christmas Fudge Recipe or any other recipe on my website, please leave a 🌟 star rating and let me know how it went in the 📝 comments below. Thanks for visiting!!!

Christmas Fudge
Ingredients
- 22 oz (2 11-oz. bags) white chocolate chips (I used Ghirardelli brand)
- 14 ounce can sweetened condensed milk
- 4 tablespoons unsalted butter cold and cut into small cubes
- ¼-½ teaspoon red gel food coloring start with ¼ teaspoon and add more as needed to achieve desired color (Americolor brand used)
- ¼-½ teaspoon green gel food coloring start with ¼ teaspoon and add more as needed to achieve desired color
Instructions
- Line an 8×8 straight sided baking pan with parchment paper being sure to allow enough parchment paper to overhang the sides. This allows for easily lifting the fudge out of the pan to slice once the christmas fudge has set.
- To a medium sauce pan, over medium-low heat, add the white chocolate chips, sweetened condensed milk and cold cubes of unsalted butter. Stir constantly for 4-6 minutes or until all the chips have melted and the mixture is smooth. Remove the saucepan from the heat.22 oz (2 11-oz. bags) white chocolate chips , 14 ounce can sweetened condensed milk, 4 tablespoons unsalted butter
- Transfer ⅓ of the melted white chocolate mixture to a small bowl and add the red gel food coloring (start with ¼ teaspoon and add more as needed to achieve desired color), stirring until fully combined and the color of the fudge is uniform and no white streaks remain.¼-½ teaspoon red gel food coloring
- To a second small bowl add another ⅓ of the melted white chocolate mixture and add the green gel food coloring (start with ¼ teaspoon and add more as needed to achieve desired color), stirring until fully incorporated and the mixture is uniform and no white streaks remain.¼-½ teaspoon green gel food coloring
- To the prepared baking pan add dollops of the white, red and green colored white chocolate fudge mixture randomly until all the fudge has been added.
- Using a wooden skewer, or butter knife, gently swirl the white, red and green christmas fudge until you have a decorative swirl pattern on the top of the fudge.
- Using a small piece of parchment paper, gently press down on the top of the christmas fudge, while it is still soft, to give the fudge a smooth top. Be careful not to disturb the decorative swirl pattern.
- Place the christmas fudge into the refrigerator for 2-3 hours or until the fudge has set.
- Once set, remove the christmas fudge from the refrigerator and gently lift the hardened fudge from the pan, using the overhanging parchment paper, and place onto a cutting board. Slice the fudge into 64 1×1 inch sized pieces and serve.
Jenn’s Notes
- In The Refrigerator: This Christmas fudge can be stored in an airtight container in the refrigerator for up to 1 week.
- In The Freezer: Freeze the fudge for up to 2 months in an airtight container. Be sure to thaw completely in the fridge before serving from frozen.
- I recommend you line an 8 by 8-inch straight sided square baking pan with waxed paper or parchment paper (aluminum foil works too). Spray the paper with cooking spray or rub with butter so the fudge doesn’t stick. Be sure to have a long enough piece to allow enough paper to hang over the sides. This will make lifting the fudge out of the pan easier after refrigeration for slicing into individual portions.
- Be sure to work fast when adding and mixing the gel food coloring to the melted white chocolate mixture as it will start to firm up quickly once removed from the heat. If you need to loosen up the fudge mixture, you can quickly warm the small bowls for 15-20 seconds, or just until warm enough to finish assembling the fudge.
- If re-warming the chocolate in the microwave, be sure to stir well and not overheat the mixture, or it can burn or seize up. You will need to start over with the recipe.
- Be careful not to overcook your fudge, or it will become grainy. Make sure to stir constantly for 4-6 minutes or until all the chips have melted and the mixture is smooth, or the middle of the chocolate will burn before the outside of the chocolate is melted. You will end up with a grainy fudge because the crystals in the chocolate will separate.
- This is a very rich fudge, so I recommend serving them in smaller sizes. I like to use a large chef’s knife to cut my fudge. You can warm the knife by running it under warm water, then drying it off with a towel before slicing.


This fudge is tasty, but extremely soft.
I’m sorry this one turned out softer than expected, but I’m glad you liked the flavor.
Christmas fudge should be creamy but still firm enough to cut. If it came out very soft, a few things can cause that. Make sure the mixture was heated just until smooth and melted, not overheated. Using full fat sweetened condensed milk, not evaporated milk, is also key. Letting the fudge chill long enough in the fridge helps it fully set, and measuring the chocolate accurately makes a difference too.
You can store it in the fridge to keep it firmer, and thank you for sharing your feedback. It really helps other readers.
Needs more cooking at high heat as doesn’t set