

This post may contain affiliate links. Please read our disclosure policy.
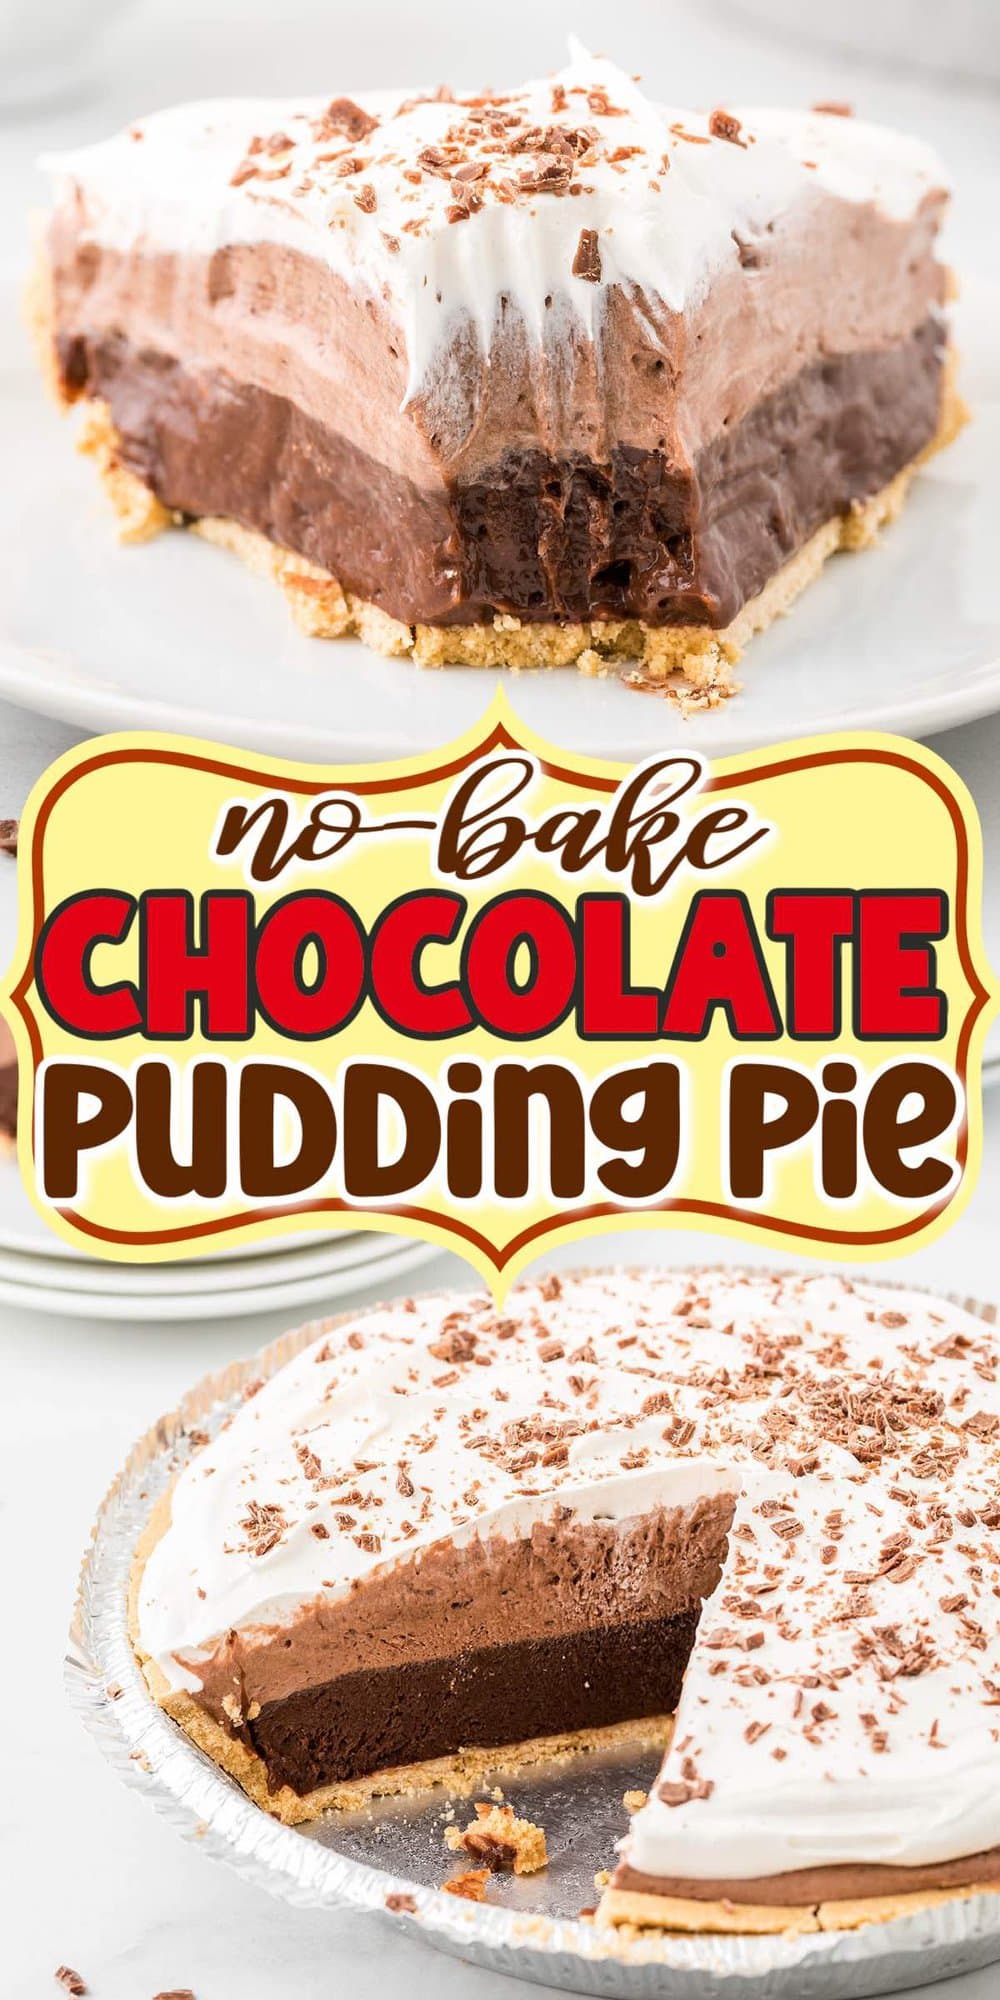
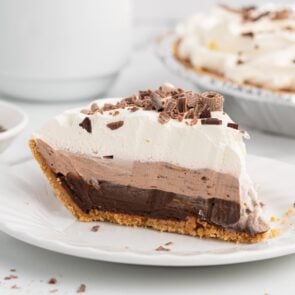
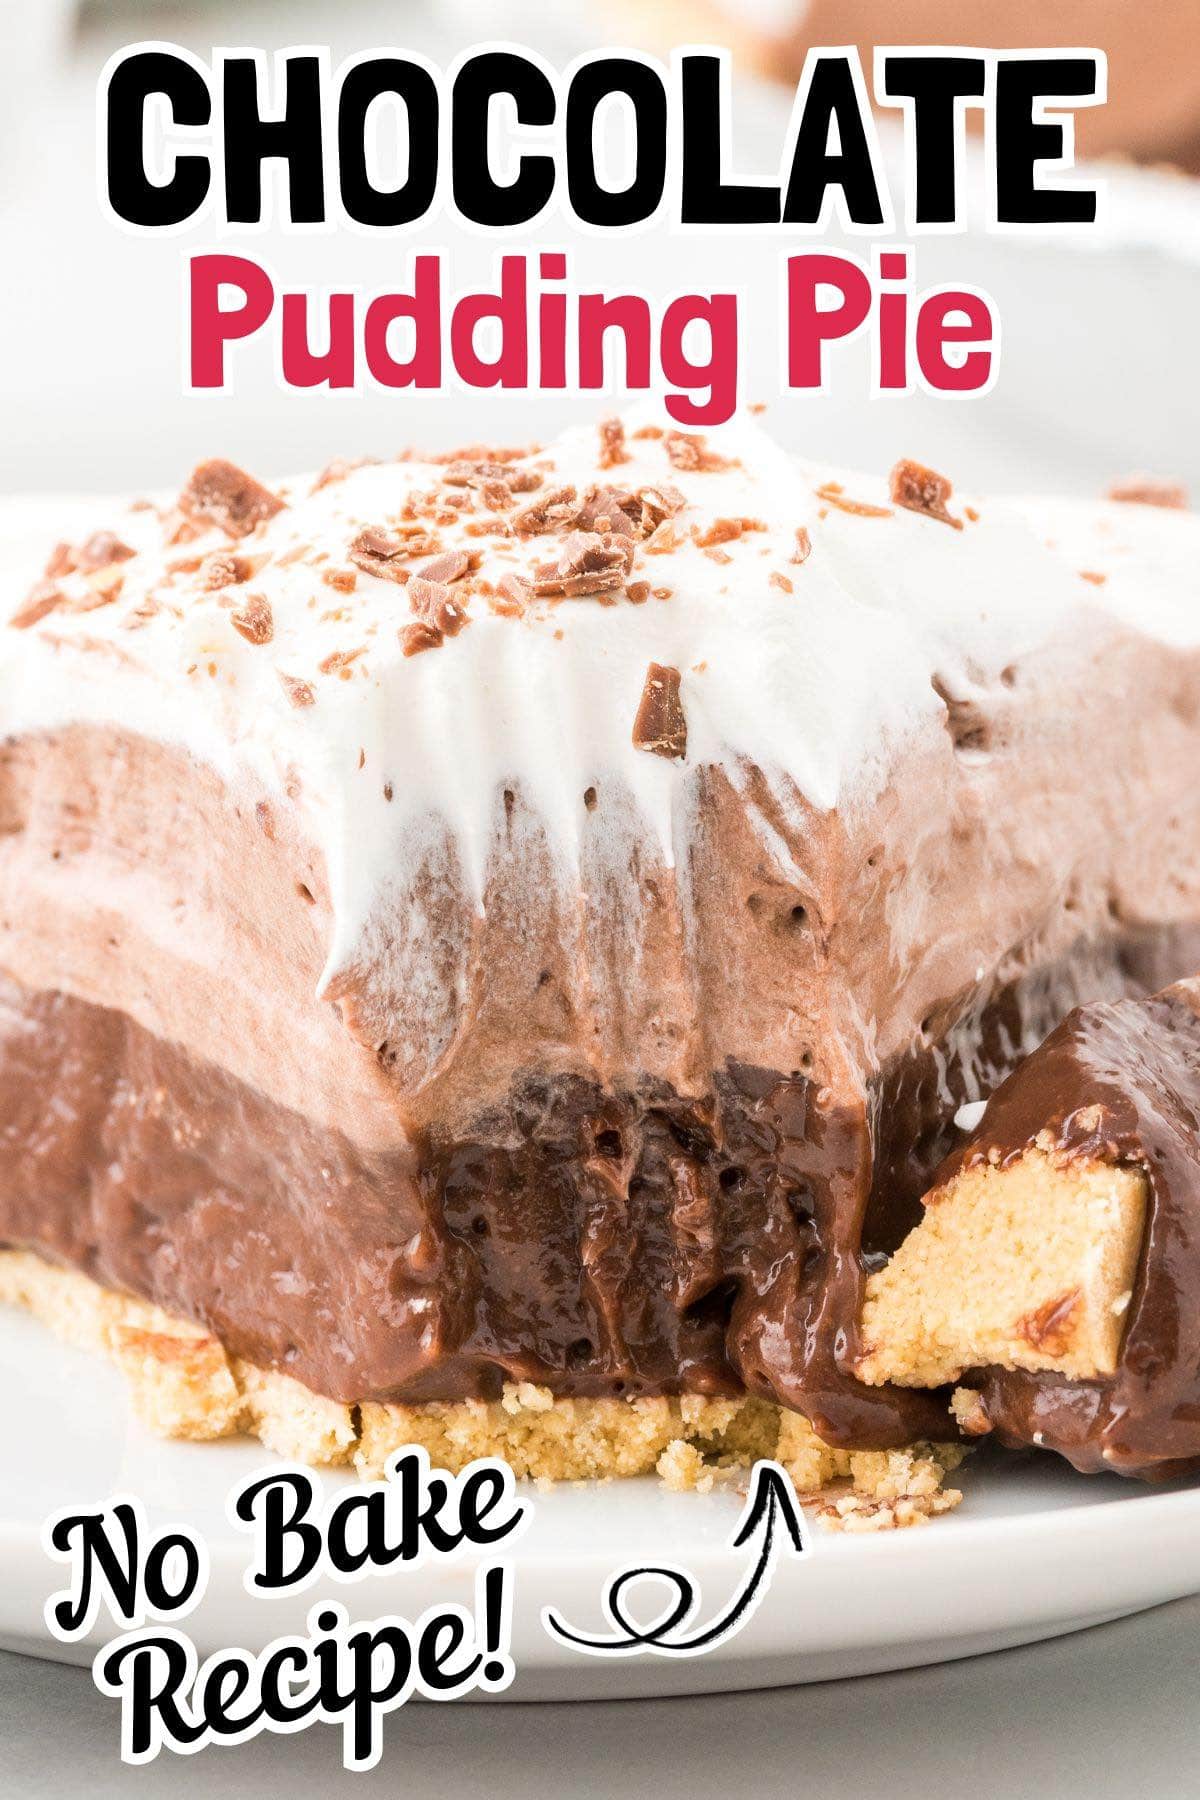
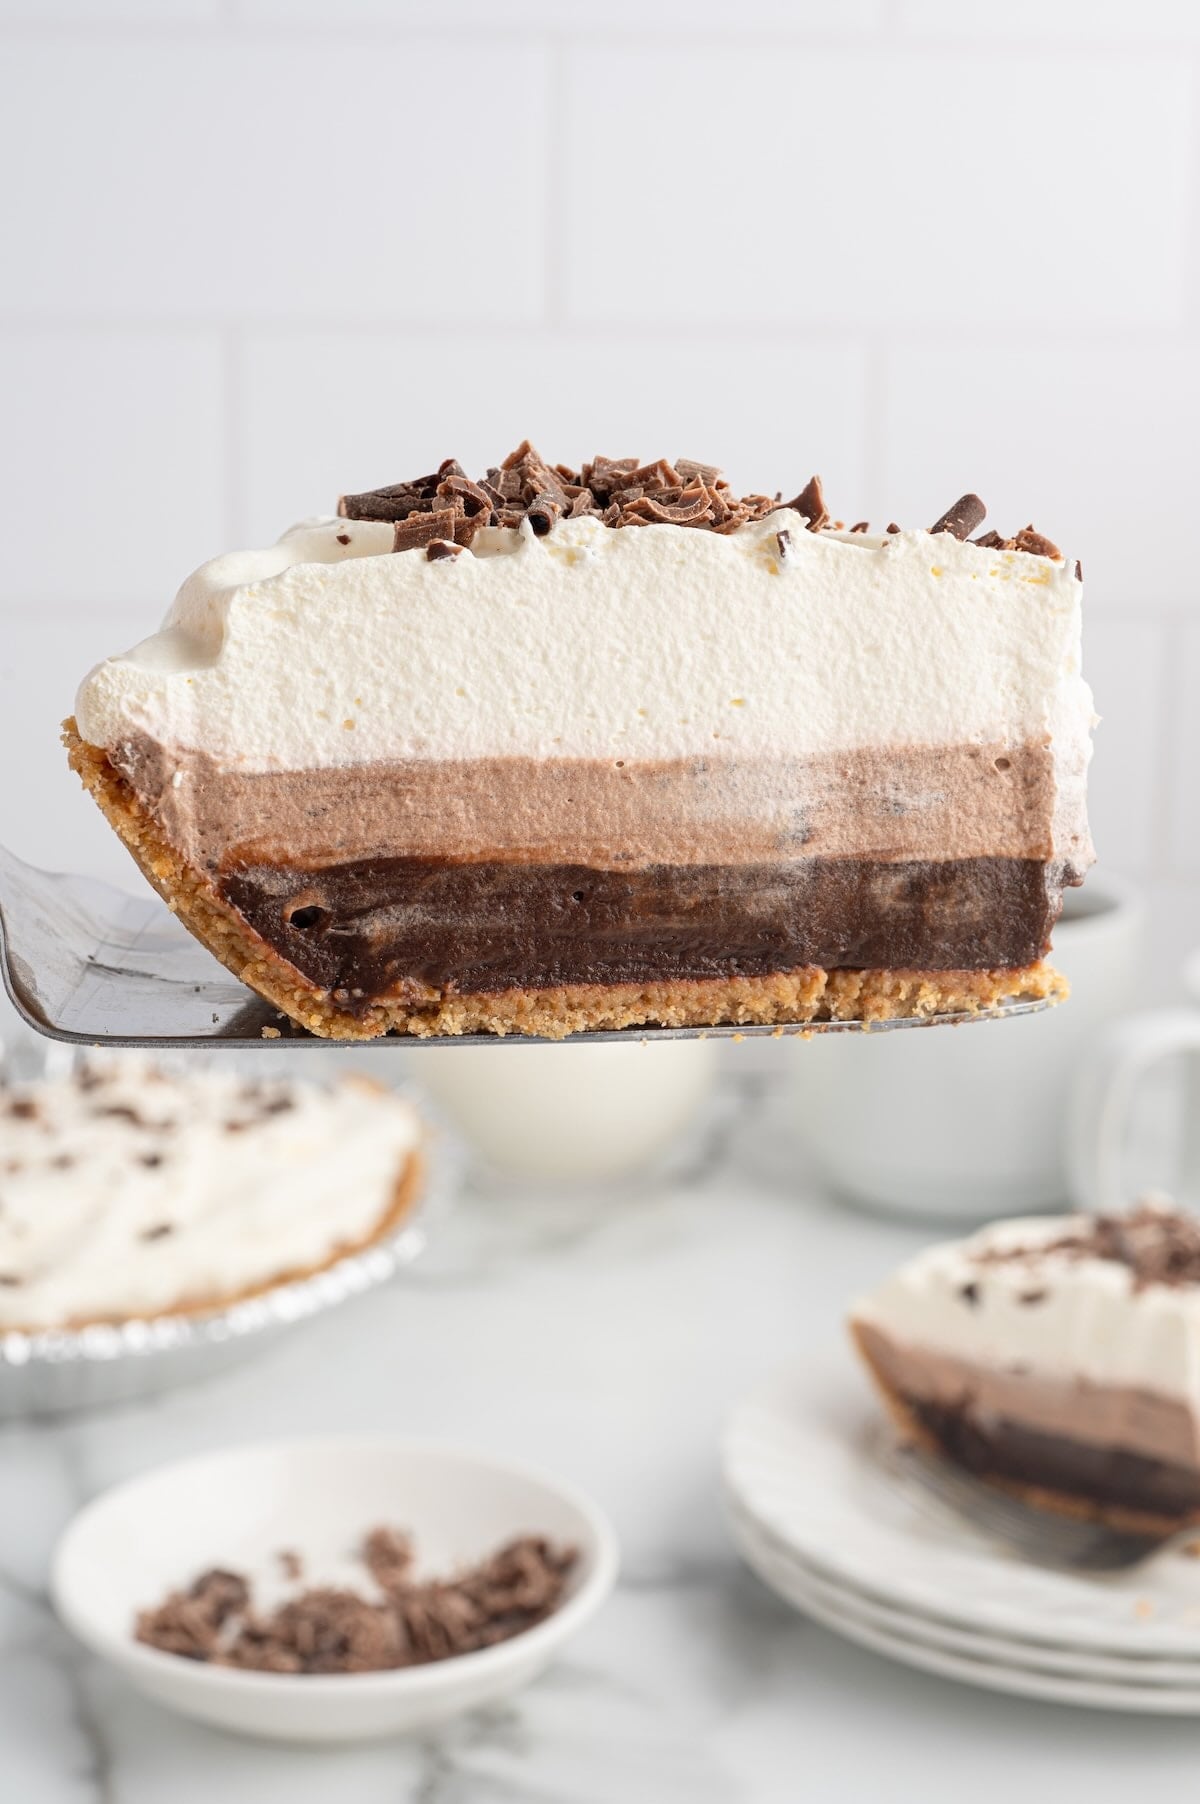
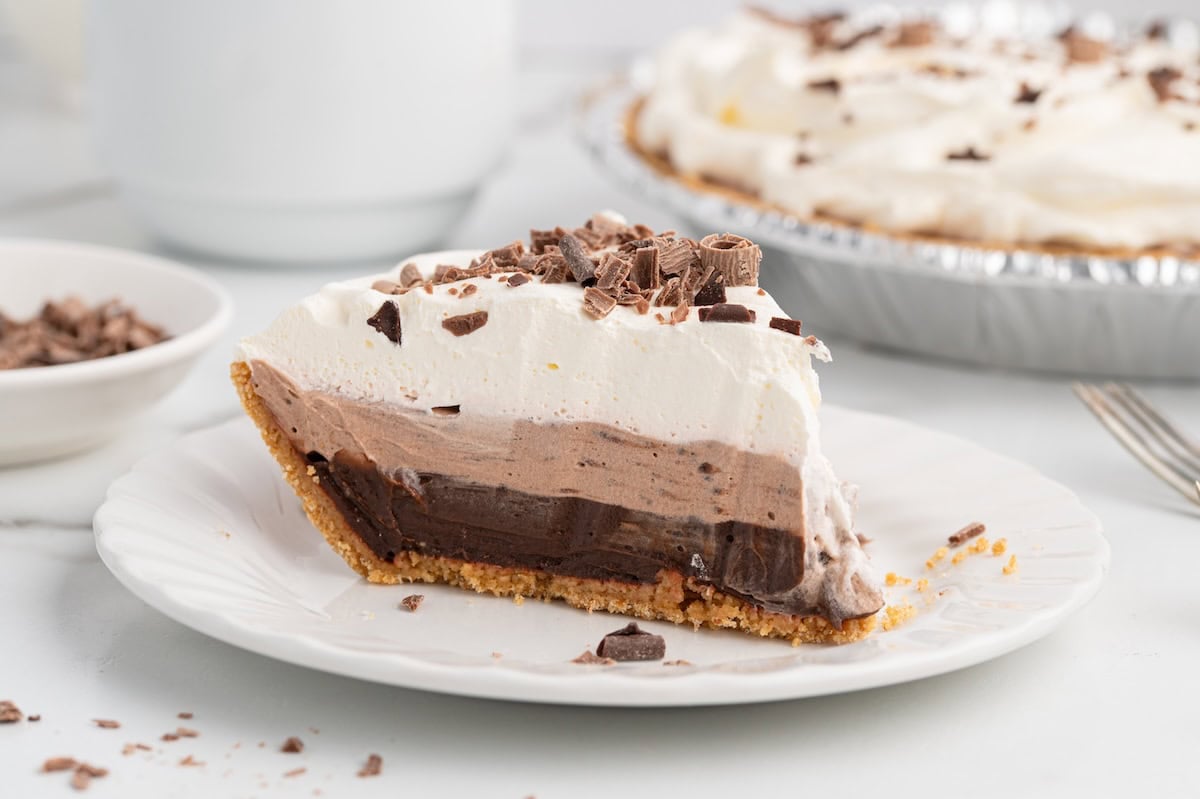
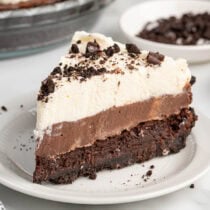
This no bake chocolate pudding pie is the dessert I reach for when I want something cold, chocolatey, and easy. It has a smooth chocolate pudding layer, a lighter whipped chocolate layer, and a fluffy whipped topping, all sitting in a buttery graham cracker crust. Every bite is cool and creamy with a little crunch from the crust.
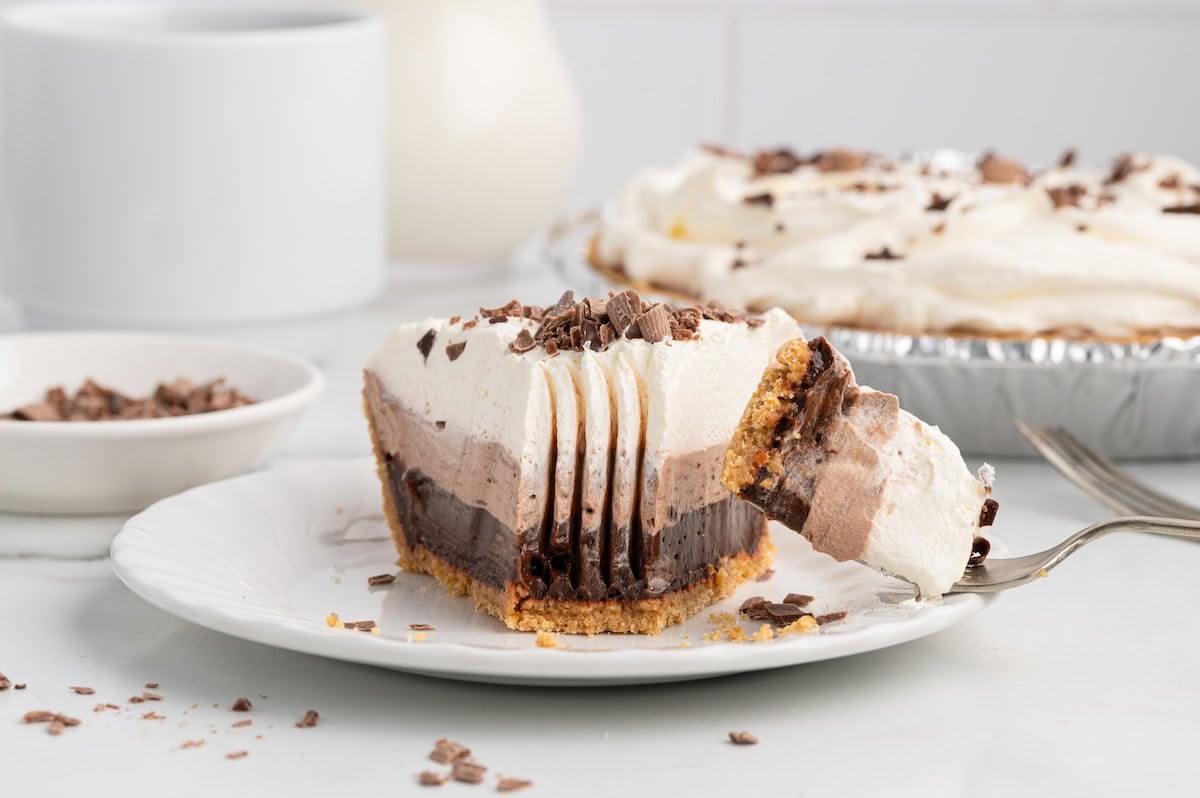

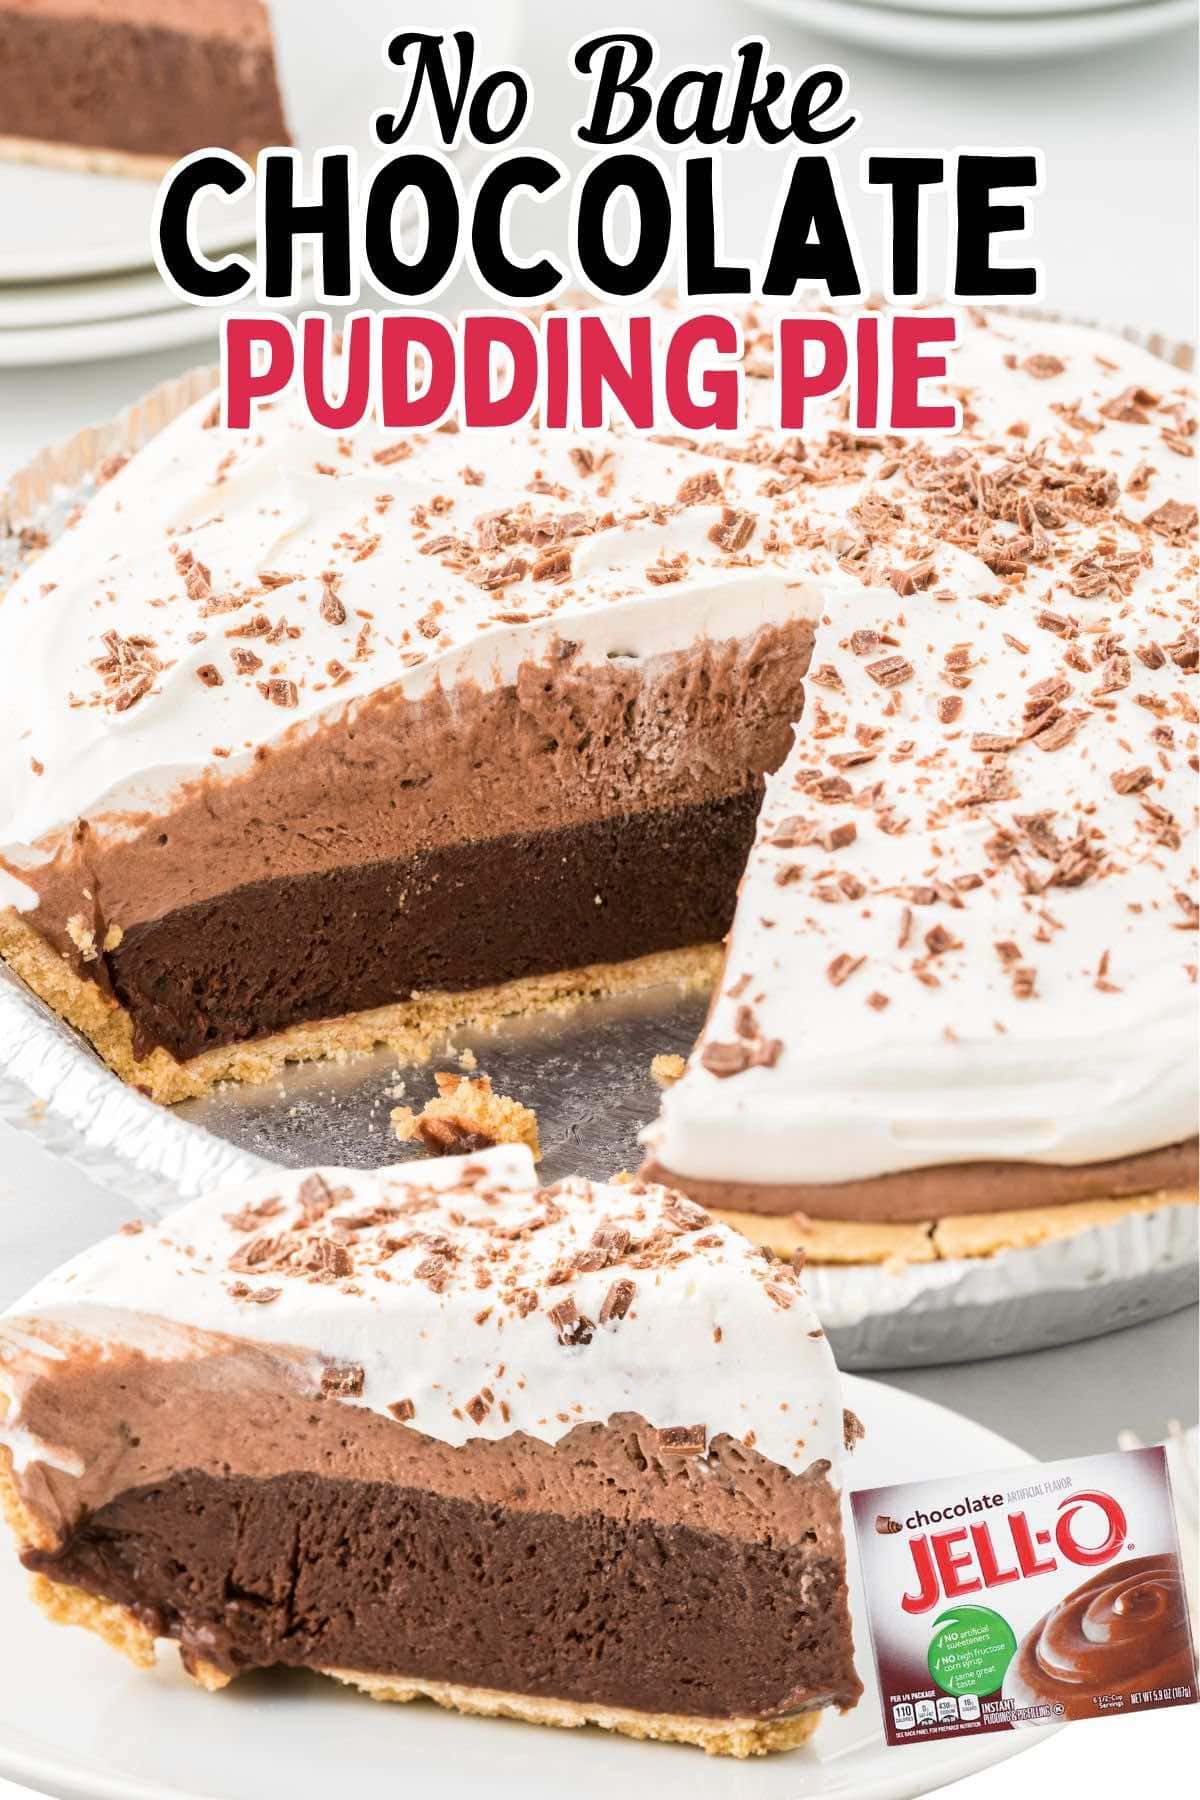
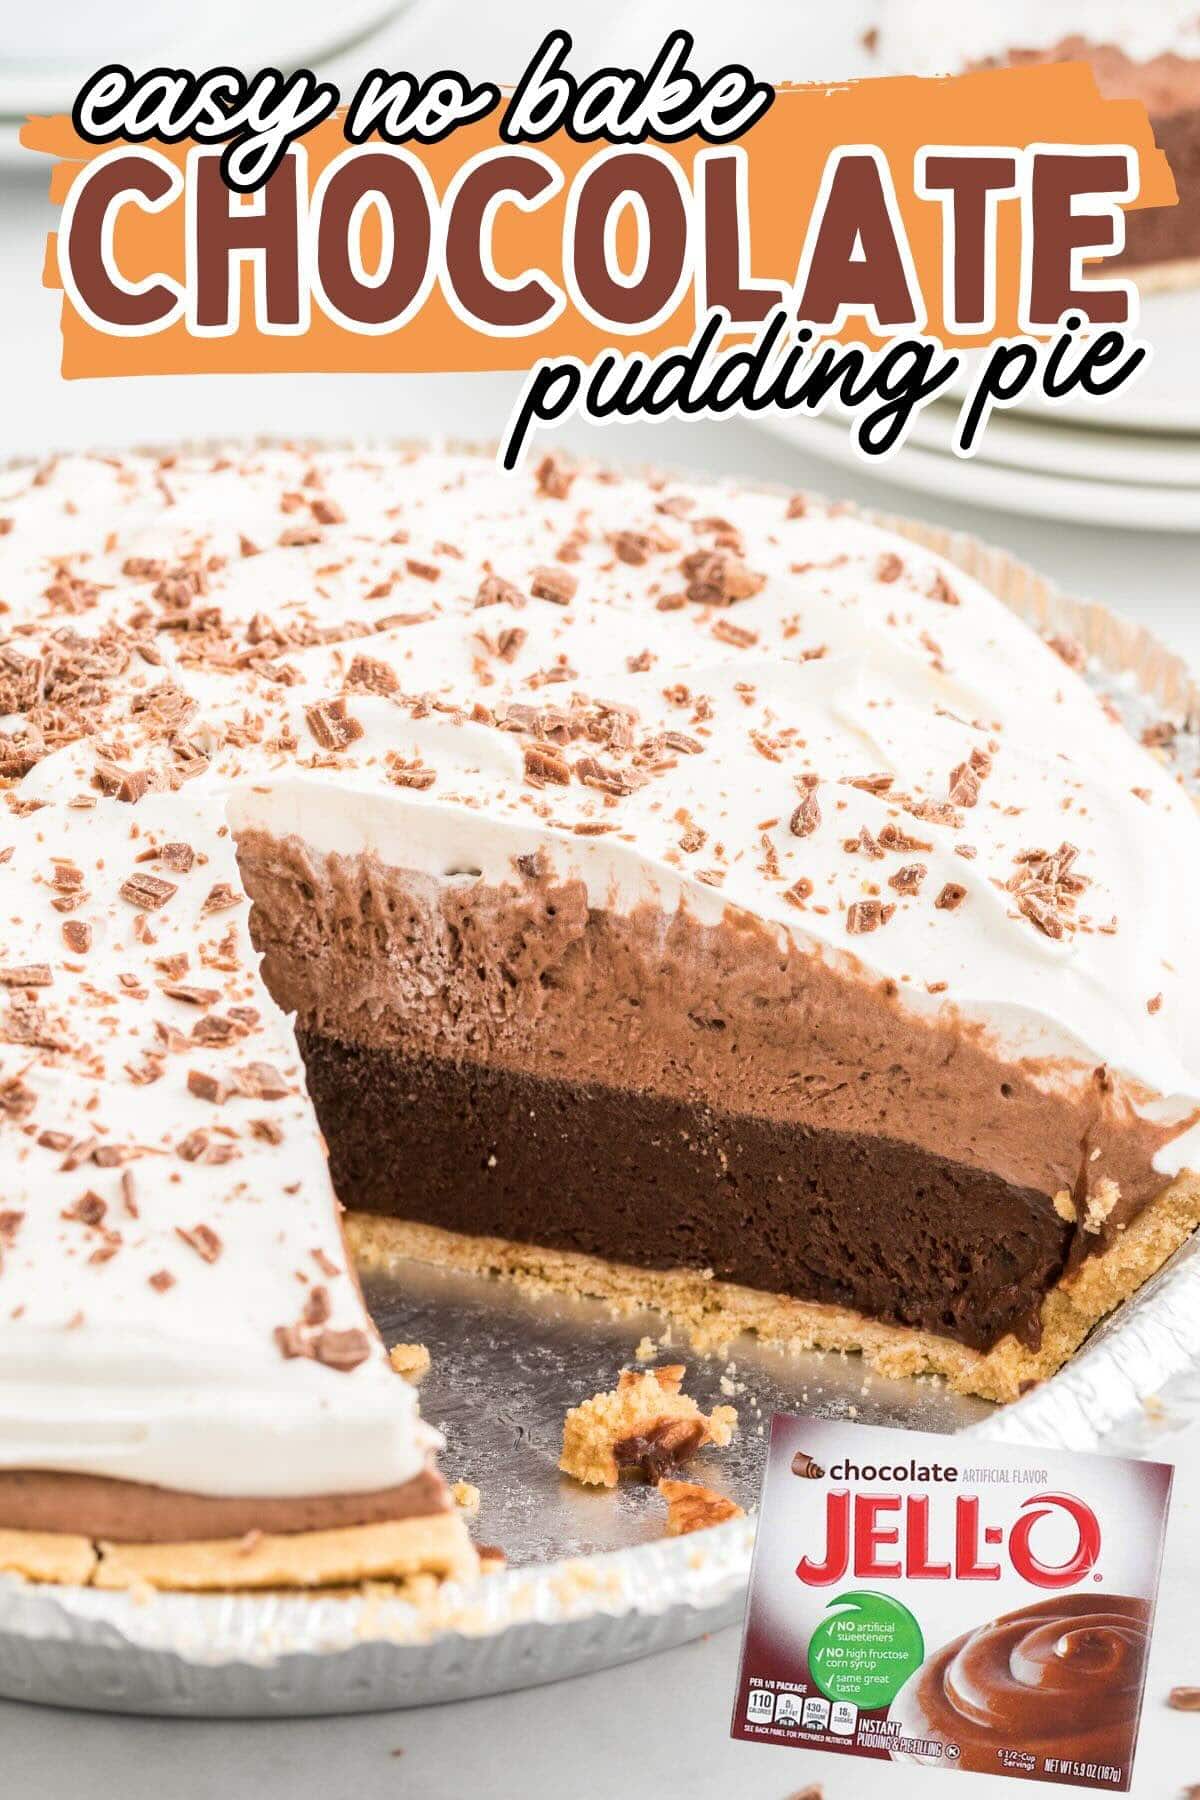
This is one of those desserts I make when I need something I know everyone will eat. It shows up at family birthdays, holiday dinners, and Sunday gatherings because I can make it the night before and keep it in the fridge until dessert time. It reminds me of the chocolate pudding pies I grew up eating at family gatherings, and it still goes fast at my house, from kids going back for seconds to adults who get a little nostalgic with the first bite.
What makes mine hold up is the milk. I use a lot less than the box calls for, so the filling sets firm instead of staying soft. That one change is the difference between a pretty slice and a runny mess.
If you love an easy no bake chocolate dessert, my no bake chocolate lasagna is another one my family asks for on repeat. For more ways to put that tub of whipped topping to work, check out my full roundup of cool whip desserts.
Tested & Perfected
Why I Retested This Pie Until It Sliced Clean
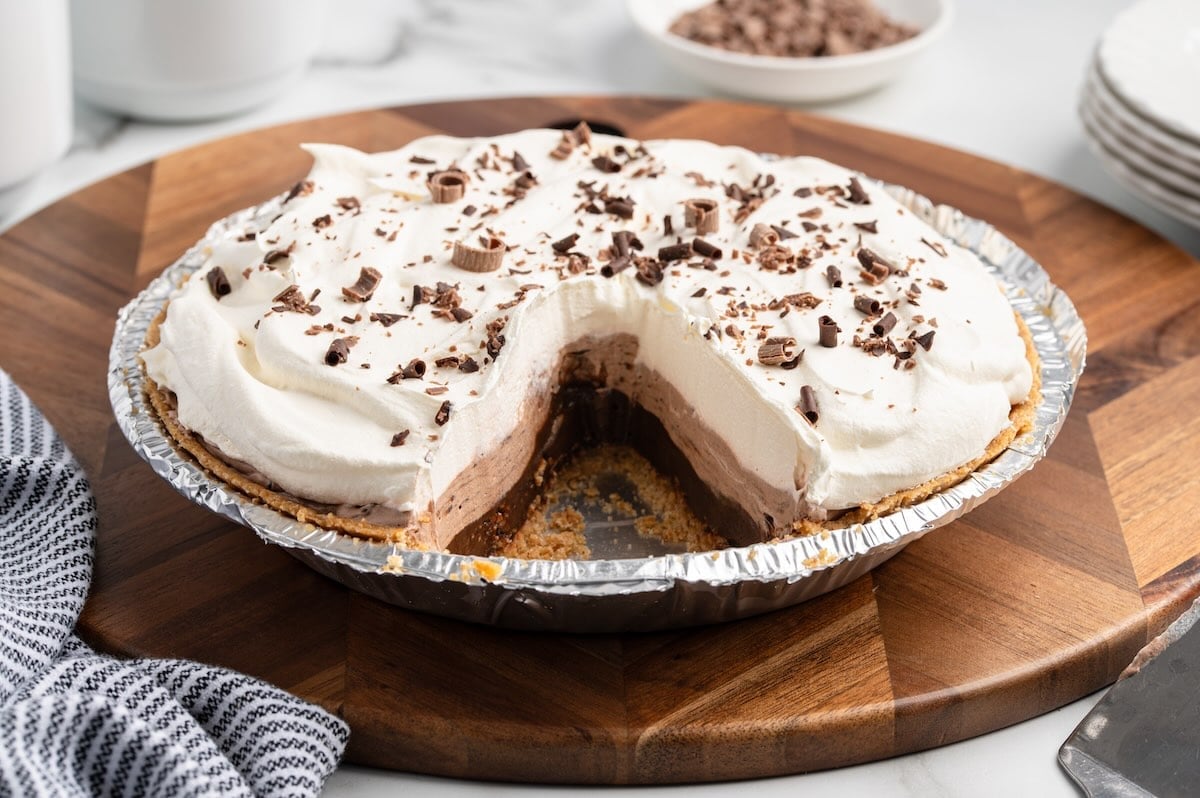
I went back into the kitchen because of the part everyone struggles with, that runny top layer that slides right off when you cut into it. No amount of chill time fixed it. The milk did. I retested this pie with a lot less milk than the box calls for, and now it sets up firm and cuts clean every time.

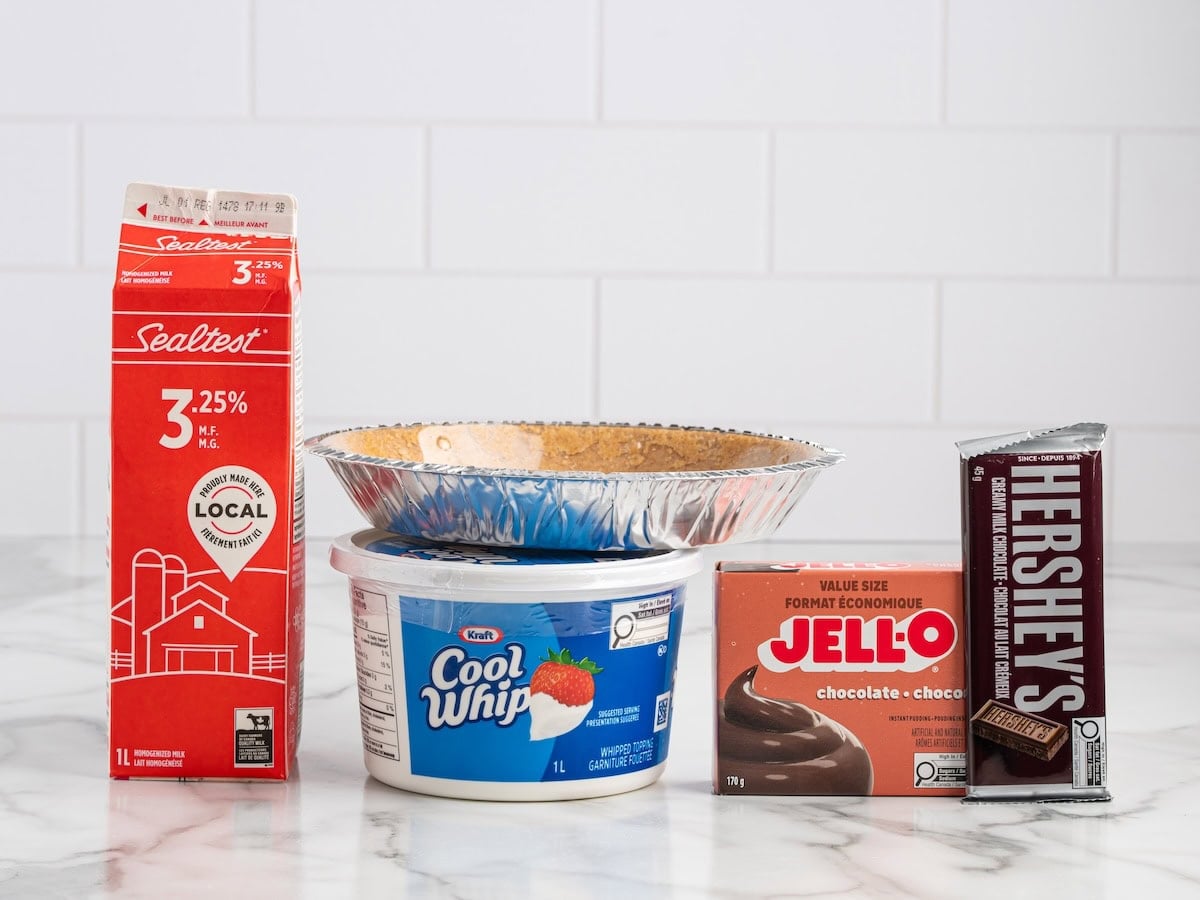
What You’ll Need
Instant chocolate pudding: Reach for the large 5.9 ounce box and make sure it says instant, not cook and serve. Cook and serve sets up differently, and the layering and timing here are written around instant.
Whole milk: Use whole milk, not 2% or skim. I tested this pie on whole milk because the extra fat is what gives you the firmest set and the creamiest filling once it chills. Measure 1¾ cups, which is a lot less than the box calls for.
Graham cracker crust: A store-bought 9-inch graham crust keeps this fast, and the buttery crust is a nice contrast to the rich chocolate. An Oreo crust works too if you want it more chocolatey, the same base I use for my no bake Dirt Pie.
Whipped topping: Cool Whip or whipped cream lightens the second layer into a softer, mousse-like texture and makes the fluffy top. Make sure it is fully thawed before you fold it in.
Hershey’s chocolate bar: A few shavings on top are all the garnish this needs. Chill the bar first and the curls come off cleaner with a vegetable peeler.
How to make Chocolate pudding pie
Step 1: Prep the crust Take the plastic cover off the graham cracker crust and set it aside. Hang on to that cover, because it flips over into a storage lid later.
Step 2: Mix the pudding Add one 5.9 ounce box of instant chocolate pudding and 1¾ cups of cold whole milk to a large bowl. Beat with a handheld mixer on low for 2 minutes, until it thickens to a soft set, then let it rest for 3 minutes to firm up.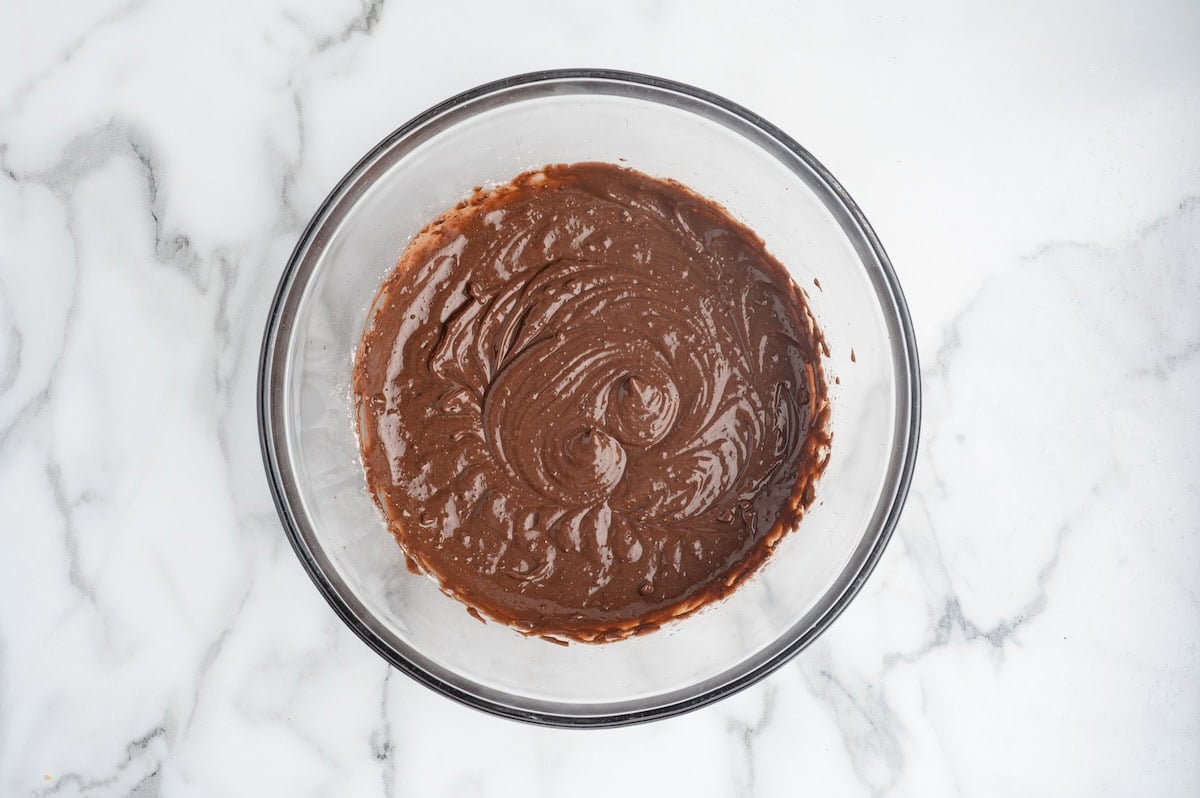
Step 3: Add the first layer Spoon 1½ cups of the thickened pudding into the crust and smooth it into an even layer. This is the firm base that holds everything above it.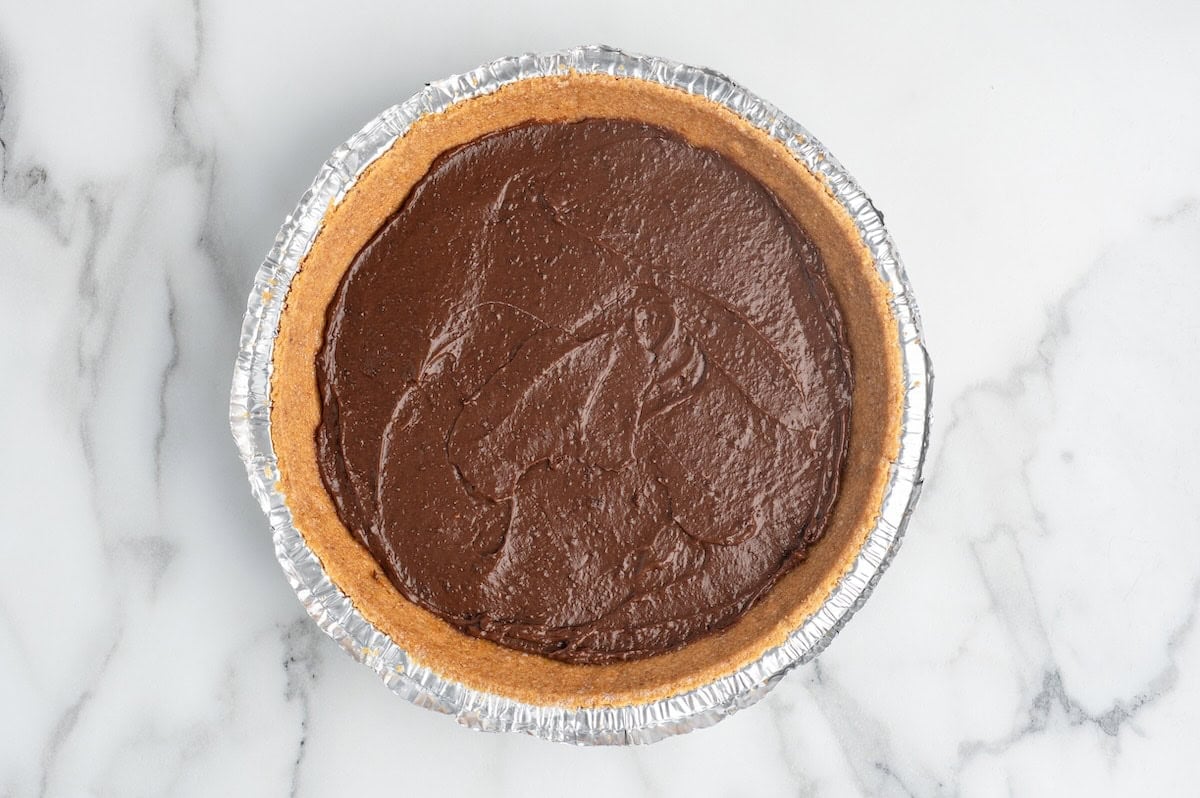
Step 4: Fold the mousse layer Add 1 cup of thawed Cool Whip to the pudding left in the bowl and fold gently until no white streaks remain. It will turn lighter and look like chocolate mousse.
Step 5: Layer it on Spread the chocolate mousse mixture over the plain pudding layer. Go gently so the two layers stay separate instead of blending together.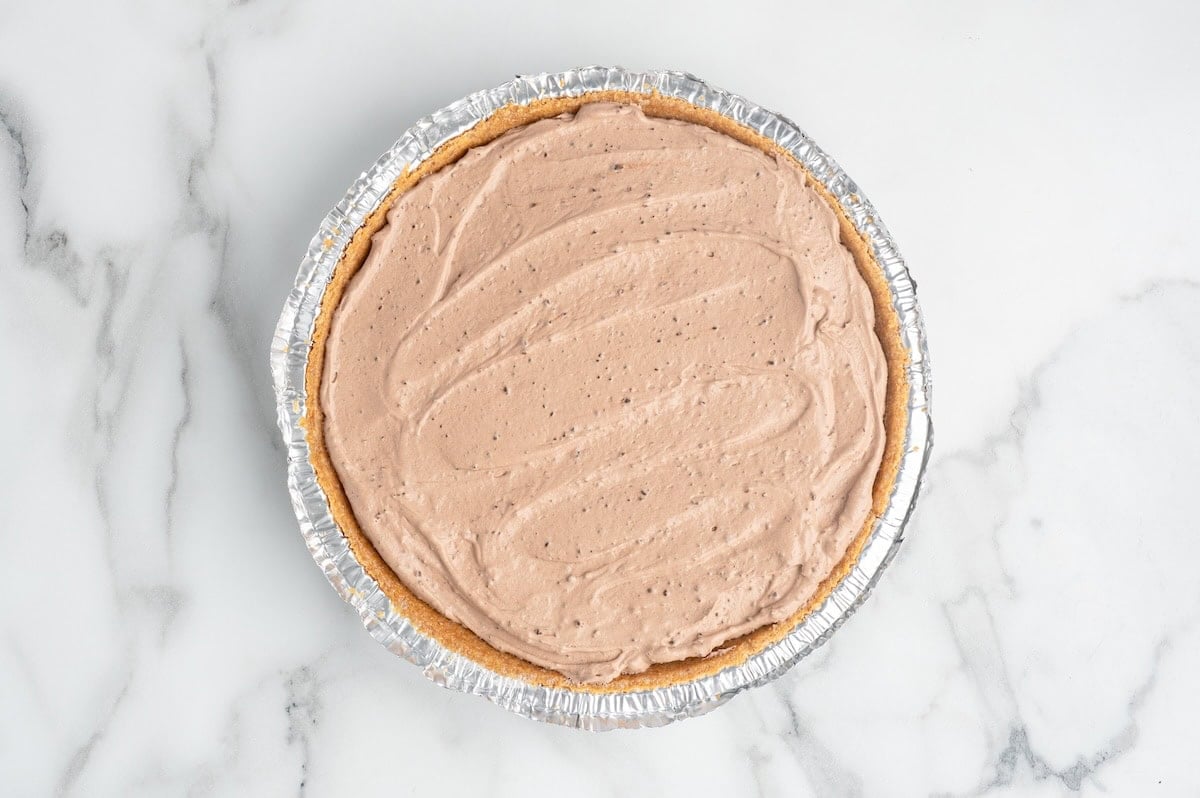
Step 6: Top with Cool Whip Spread the remaining Cool Whip, about 2 cups, over the top all the way to the edges of the crust.
Step 7: Add the chocolate shavings Run a vegetable peeler or the large side of a grater down a Hershey’s bar and scatter the shavings over the top.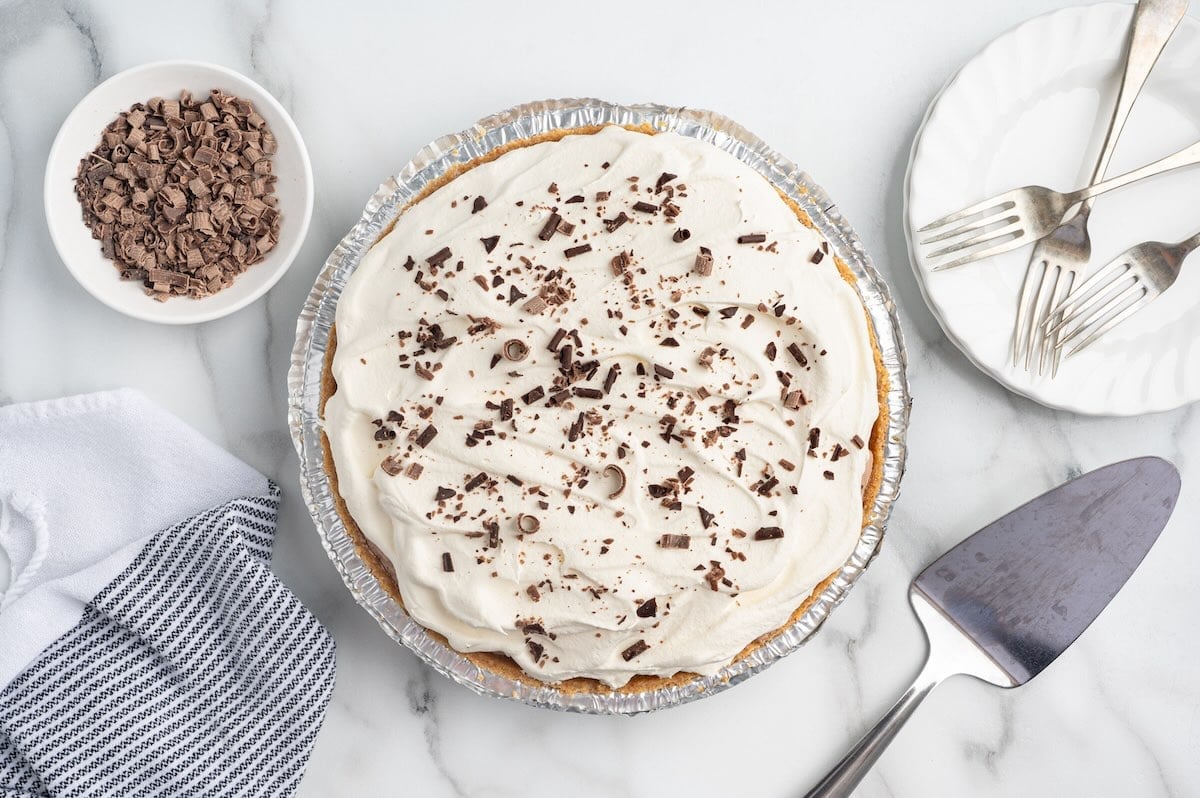
Step 8: Chill Refrigerate the pie uncovered for at least 4 hours, or overnight for the cleanest slices. Once it’s fully chilled, slice and serve.

Thank you so much for sharing this recipe. It was so quick and easy and very delicious. I made it yesterday for Easter dinner and everyone loved it, there was nothing left. Next time I’m gonna have to make at least two.
Make-Ahead and Storage
This is a make-ahead dessert, which is part of why I love it. Make it up to the final whipped topping layer the night before, cover it, and keep it in the refrigerator. Add the chocolate shavings right before serving so they look their best.
Store leftovers tightly covered in the refrigerator for up to 3 days. Keep the pie in its original dish to protect the layers. I do not recommend freezing this one. The pudding and whipped layers lose their creamy texture once thawed.
The crust softens the longer it sits and the whipped topping loosens up, so the slices won’t come out quite as clean on day three as they do the first day.
More No Bake Pie Recipes
- No Bake Oreo Cream Pie
- No Bake Peanut Butter Pie
- Layered Jello Pie
- Mint Chocolate Pie
- No Bake Eclair Cake
No Bake Chocolate Pudding Pie
Ingredients
- 6 ounce 9-inch pre-made graham cracker crust (Keebler brand 6-ounce was used)
- 5.9 ounce box instant chocolate pudding
- 1¾ cups cold whole milk
- 8 ounces container Cool Whip thawed according to package
- 1 standard Hershey’s chocolate bar (garnish)
Instructions
- Remove the plastic covering from a 9-inch pre-made graham cracker crust and set aside.6 ounce 9-inch pre-made graham cracker crust
- Mix together the instant chocolate pudding and milk in a large bowl using a handheld mixer on low speed for 2 minutes or until thickened to a soft set. Allow the pudding to rest for 3 minutes to fully firm up.5.9 ounce box instant chocolate pudding, 1¾ cups cold whole milk
- Transfer 1½ cups of the thickened pudding to the pie crust and smooth to an even layer.
- Add 1 cup of the thawed Cool Whip to the remaining pudding and gently fold together until no white streaks remain. The mixture should be lighter in color and resemble chocolate mousse in texture.8 ounces container Cool Whip
- Spread the chocolate and Cool Whip mixture into an even layer over the solid pudding layer, being careful not to combine the two layers.
- Top the chocolate pudding pie with the remaining Cool Whip (approximately 2 cups), spreading all the way to the edges.
- Using a potato peeler or large grater, shave off chocolate pieces to add to the top of your pie for garnish.1 standard Hershey’s chocolate bar
- Refrigerate the pie uncovered for at least 4 hours, or up to overnight for the cleanest slices. Once fully chilled, slice and serve.
Jenn’s Notes
- The milk ratio is everything here. The pudding box calls for 3 cups, but that keeps the filling too soft to slice. One 5.9 ounce box with 1¾ cups of cold whole milk is what sets up firm, and whole milk gives the firmest set, so I don’t swap it.
- For the cleanest slices, chill for at least 4 hours. Overnight, around 8 to 12 hours, is even better.
- If you see a few tiny lumps when you mix the pudding with less milk, don’t worry about them. They absorb into the pudding after an overnight chill.








This was so yummy, and it disappeared VERY quickly!!!
I liked how easy it was to put together!!