
This post may contain affiliate links. Please read our disclosure policy.
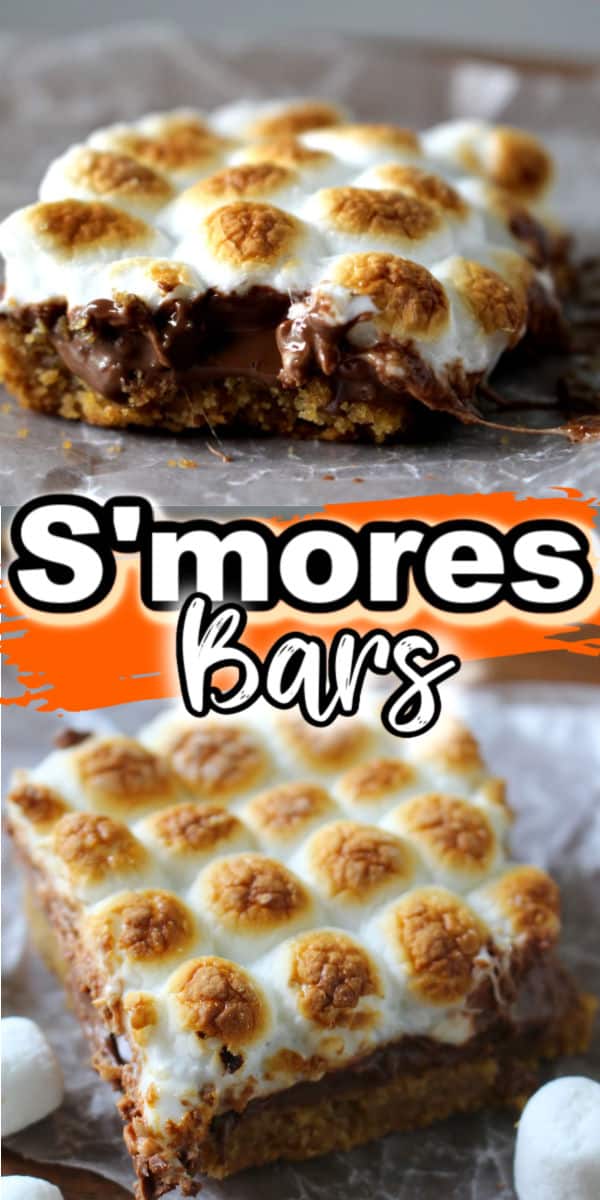
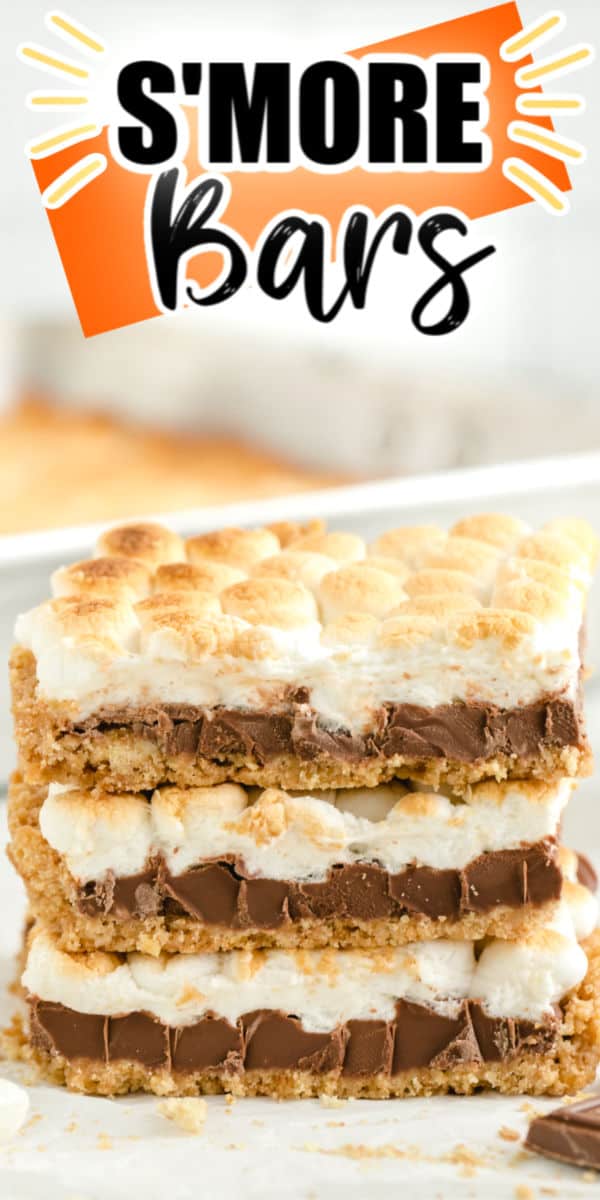
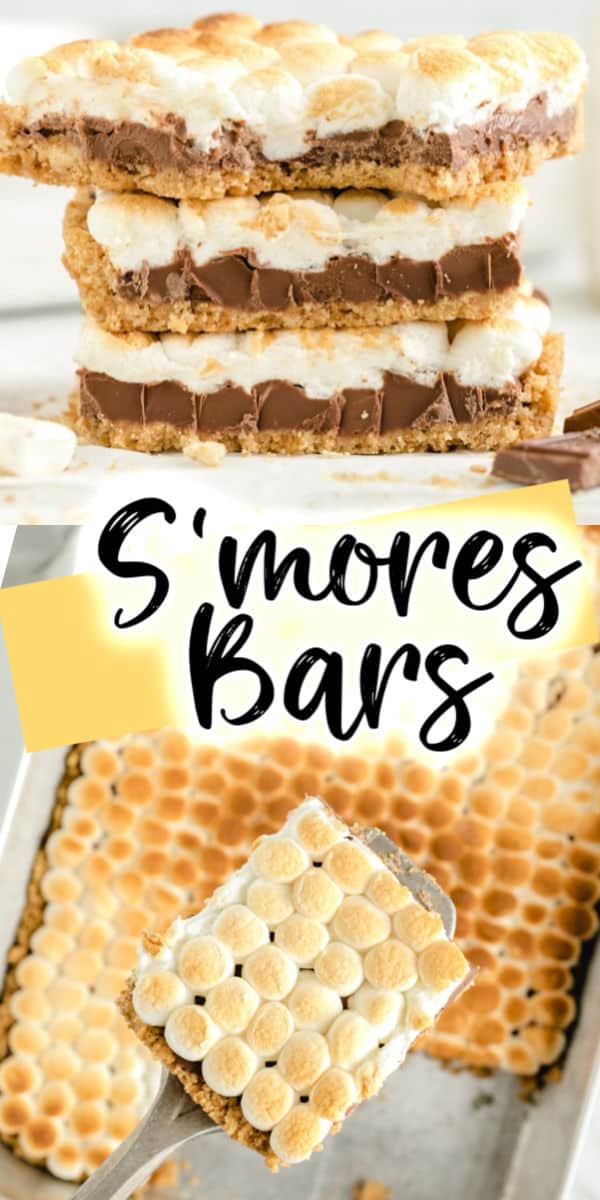
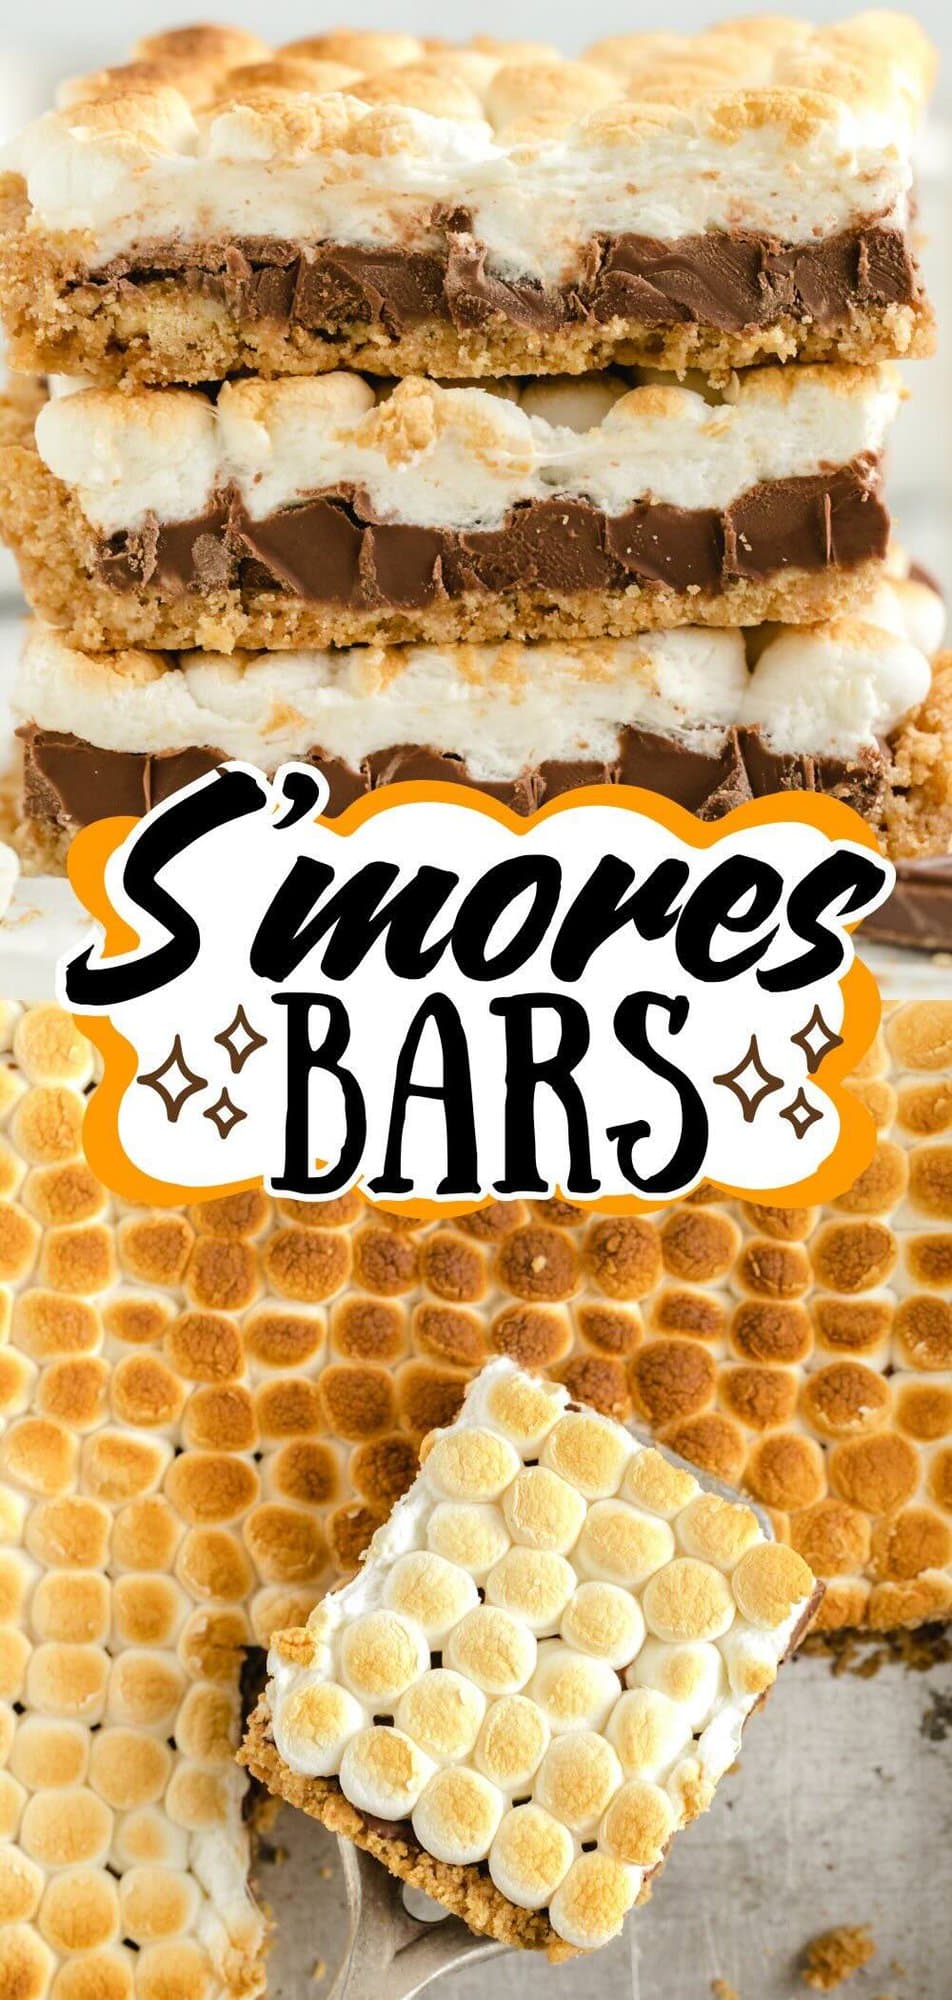
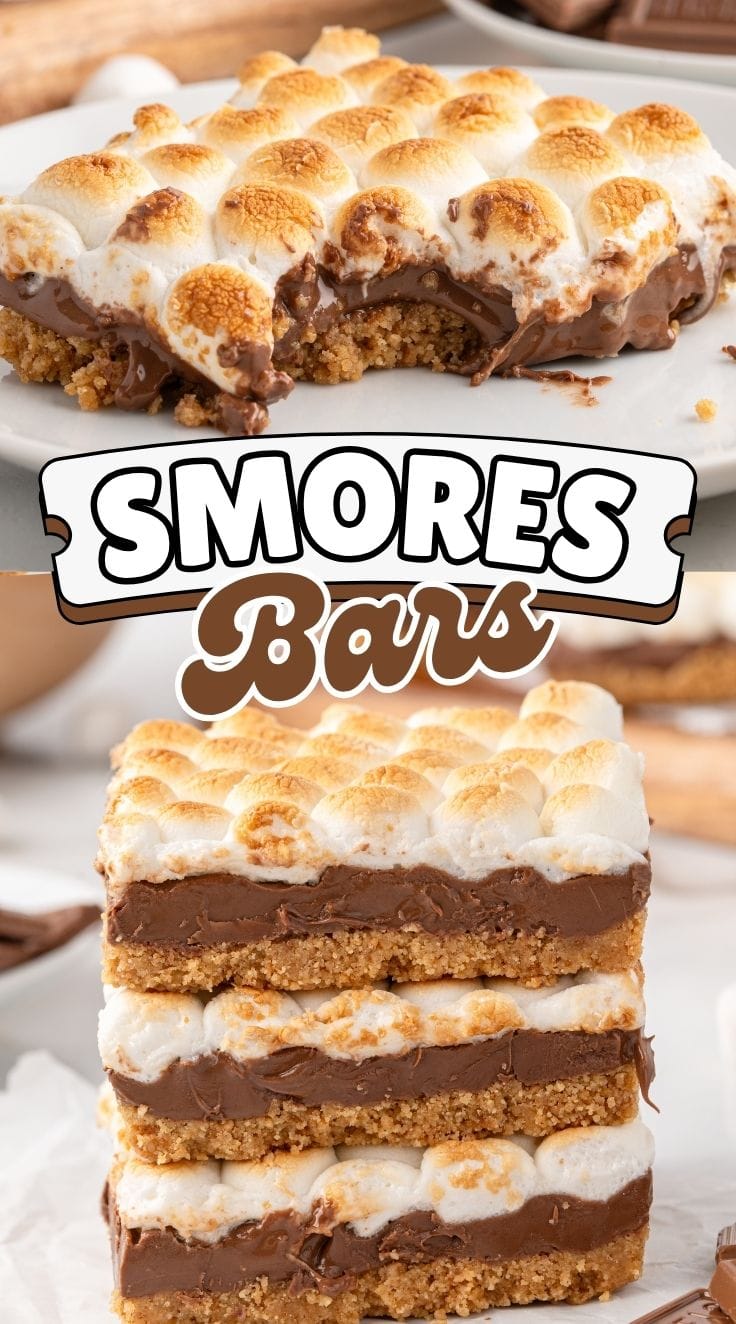
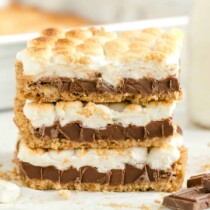
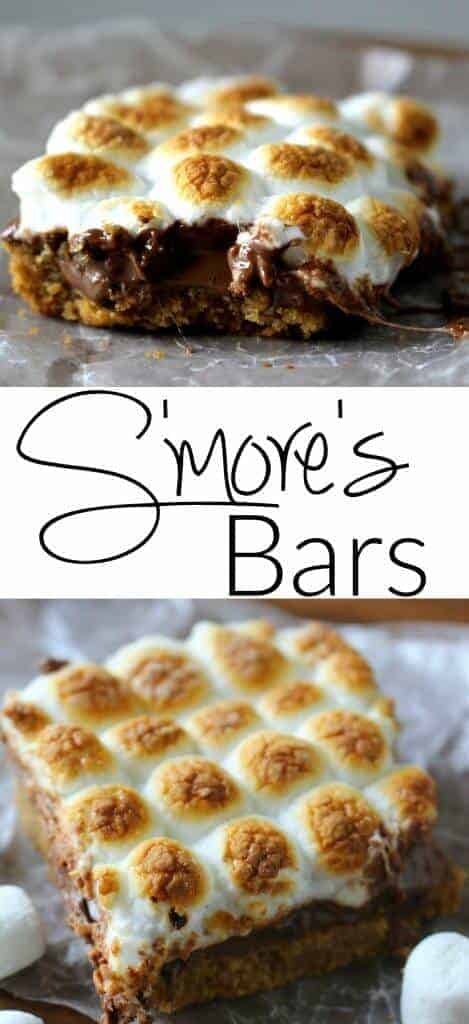
S’mores Bars are the deliciousness of a s’more but the can be enjoyed all year round. The ooey-gooey chocolate on a graham cracker crust and warm toasted marshmallow will give you a taste of your favorite summer dessert all year round!
Our Favorite Smores Bars Recipe
Yep, it’s true… I love s’mores! I am obsessed. They are the perfect dessert! I love them so much that my site is filled with different s’more options, in addition to my S’mores Bars – from S’more Bites to S’more Bark to S’more Ice Cream.
It doesn’t really matter to me, as long as I get that graham cracker, chocolate and marshmallow combination!
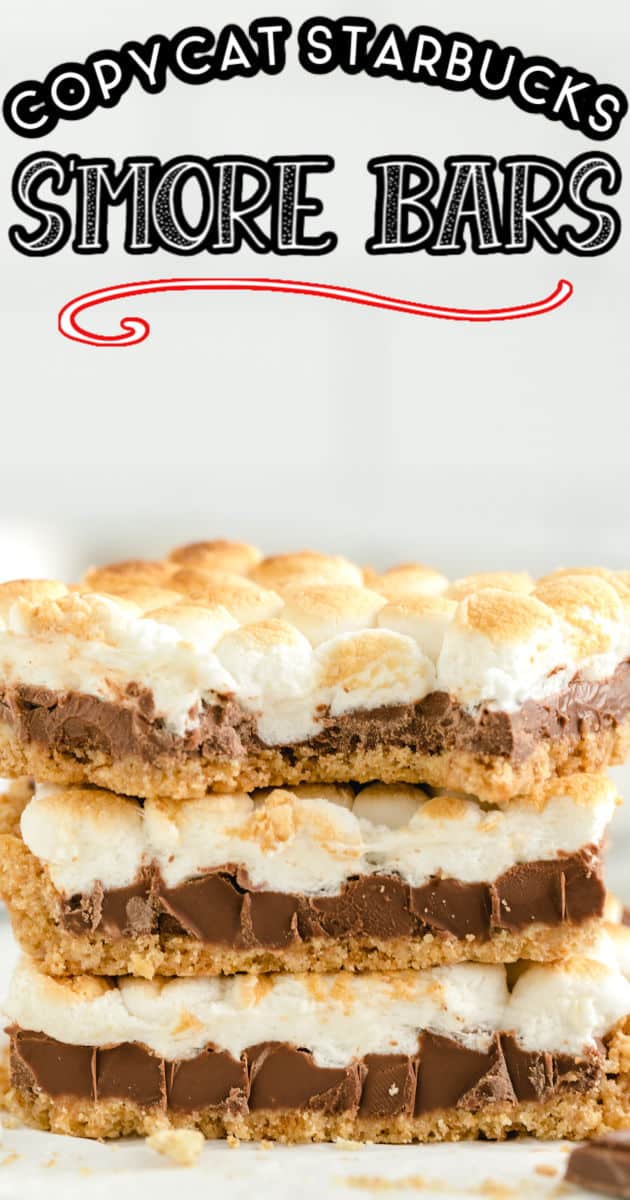
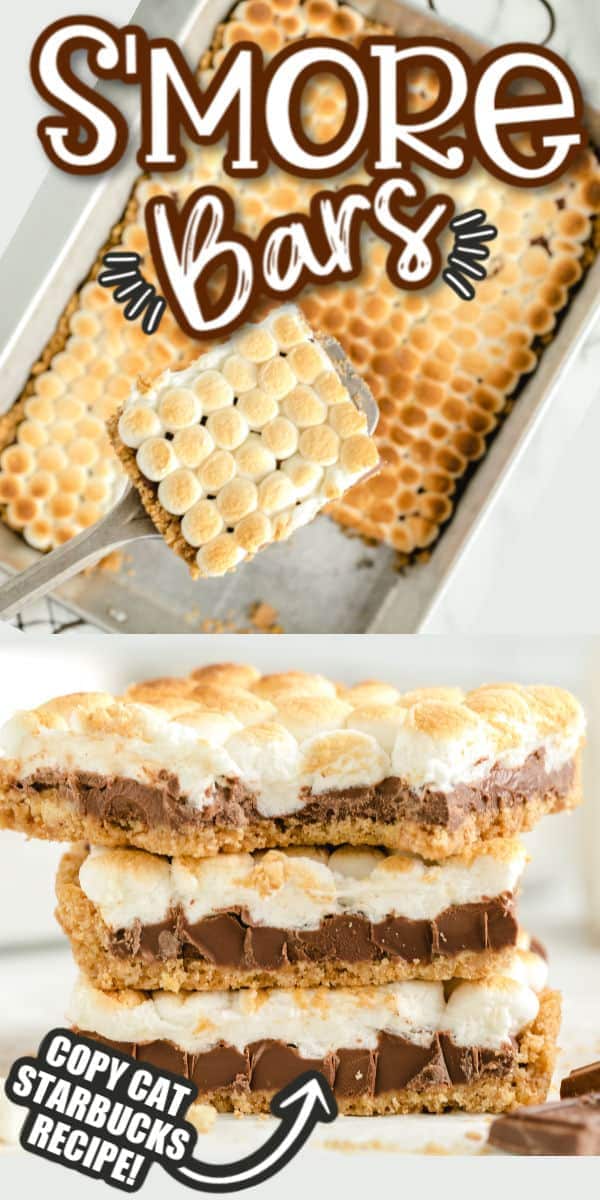
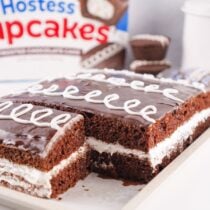
So, I am continually coming up with new s’more creations! This latest one is inspired by the Starbuck’s s’mores bars. I saw this while waiting for my coffee the other day and HAD to try to make my own!
Have you tried them? OMG they are delicious! There is something about the combination of graham crackers, chocolate and marshmallow that I cannot get enough of.
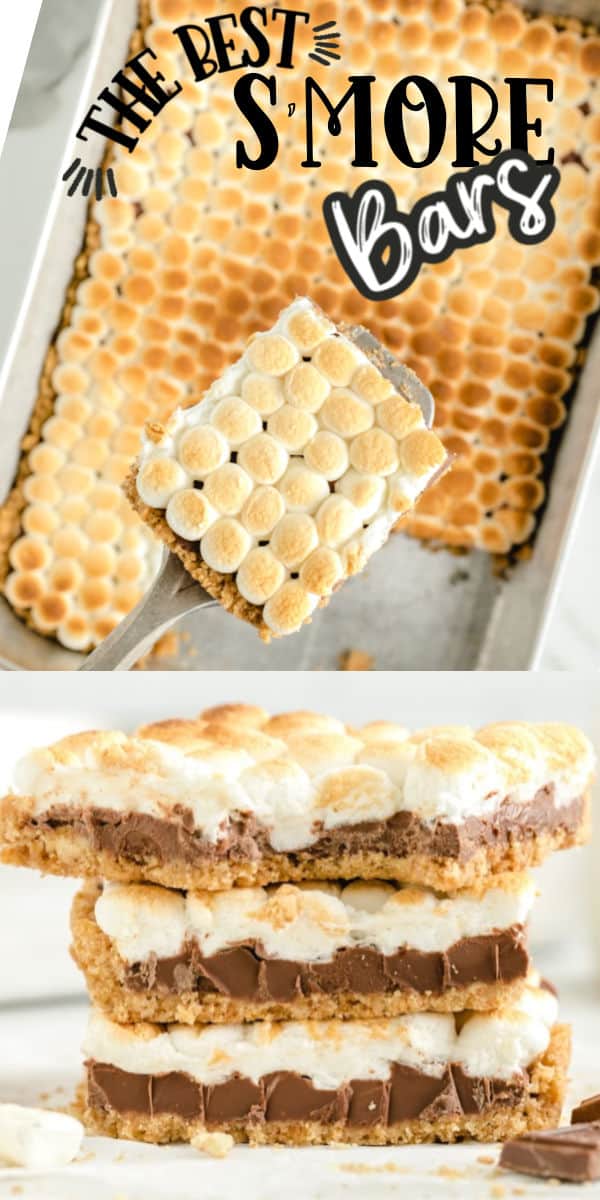
What I love about these S’mores Bars is that you can make them any time of the year and have a little taste of summer, even in the winter!
Smores Bar Ingredients
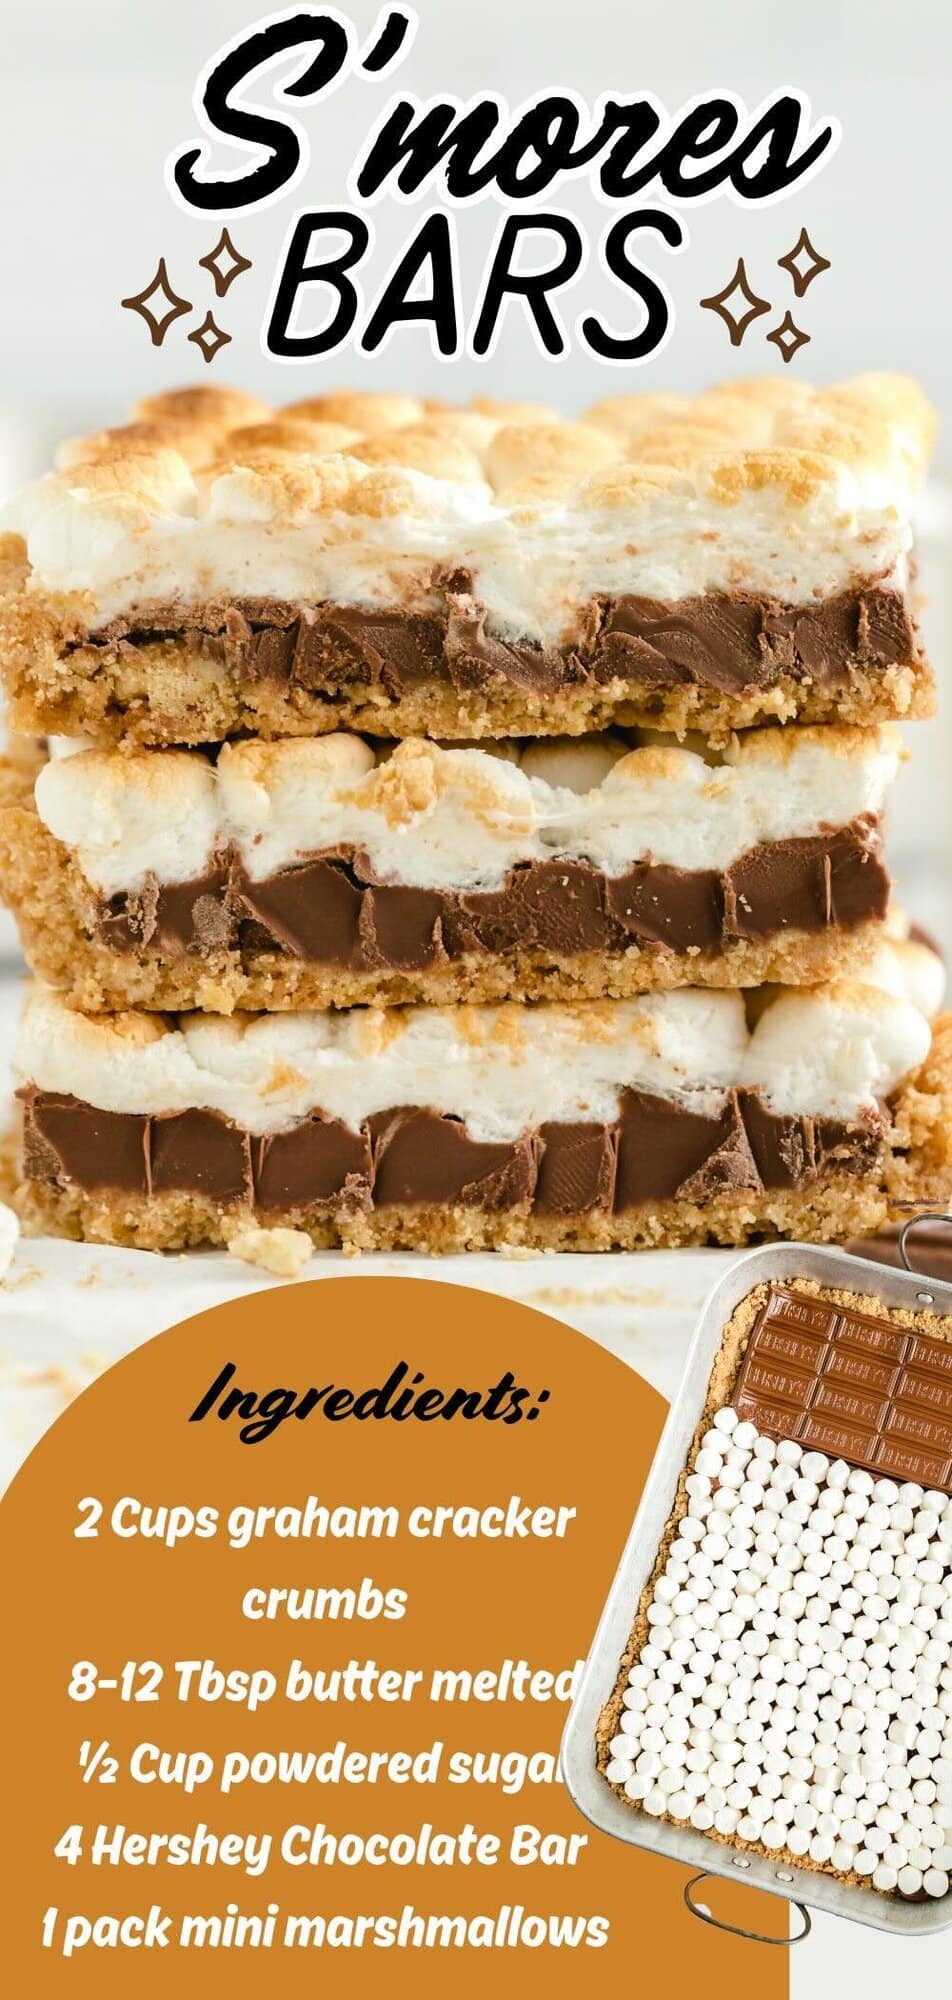
- Graham cracker crumbs
- Melted butter
- Powdered sugar
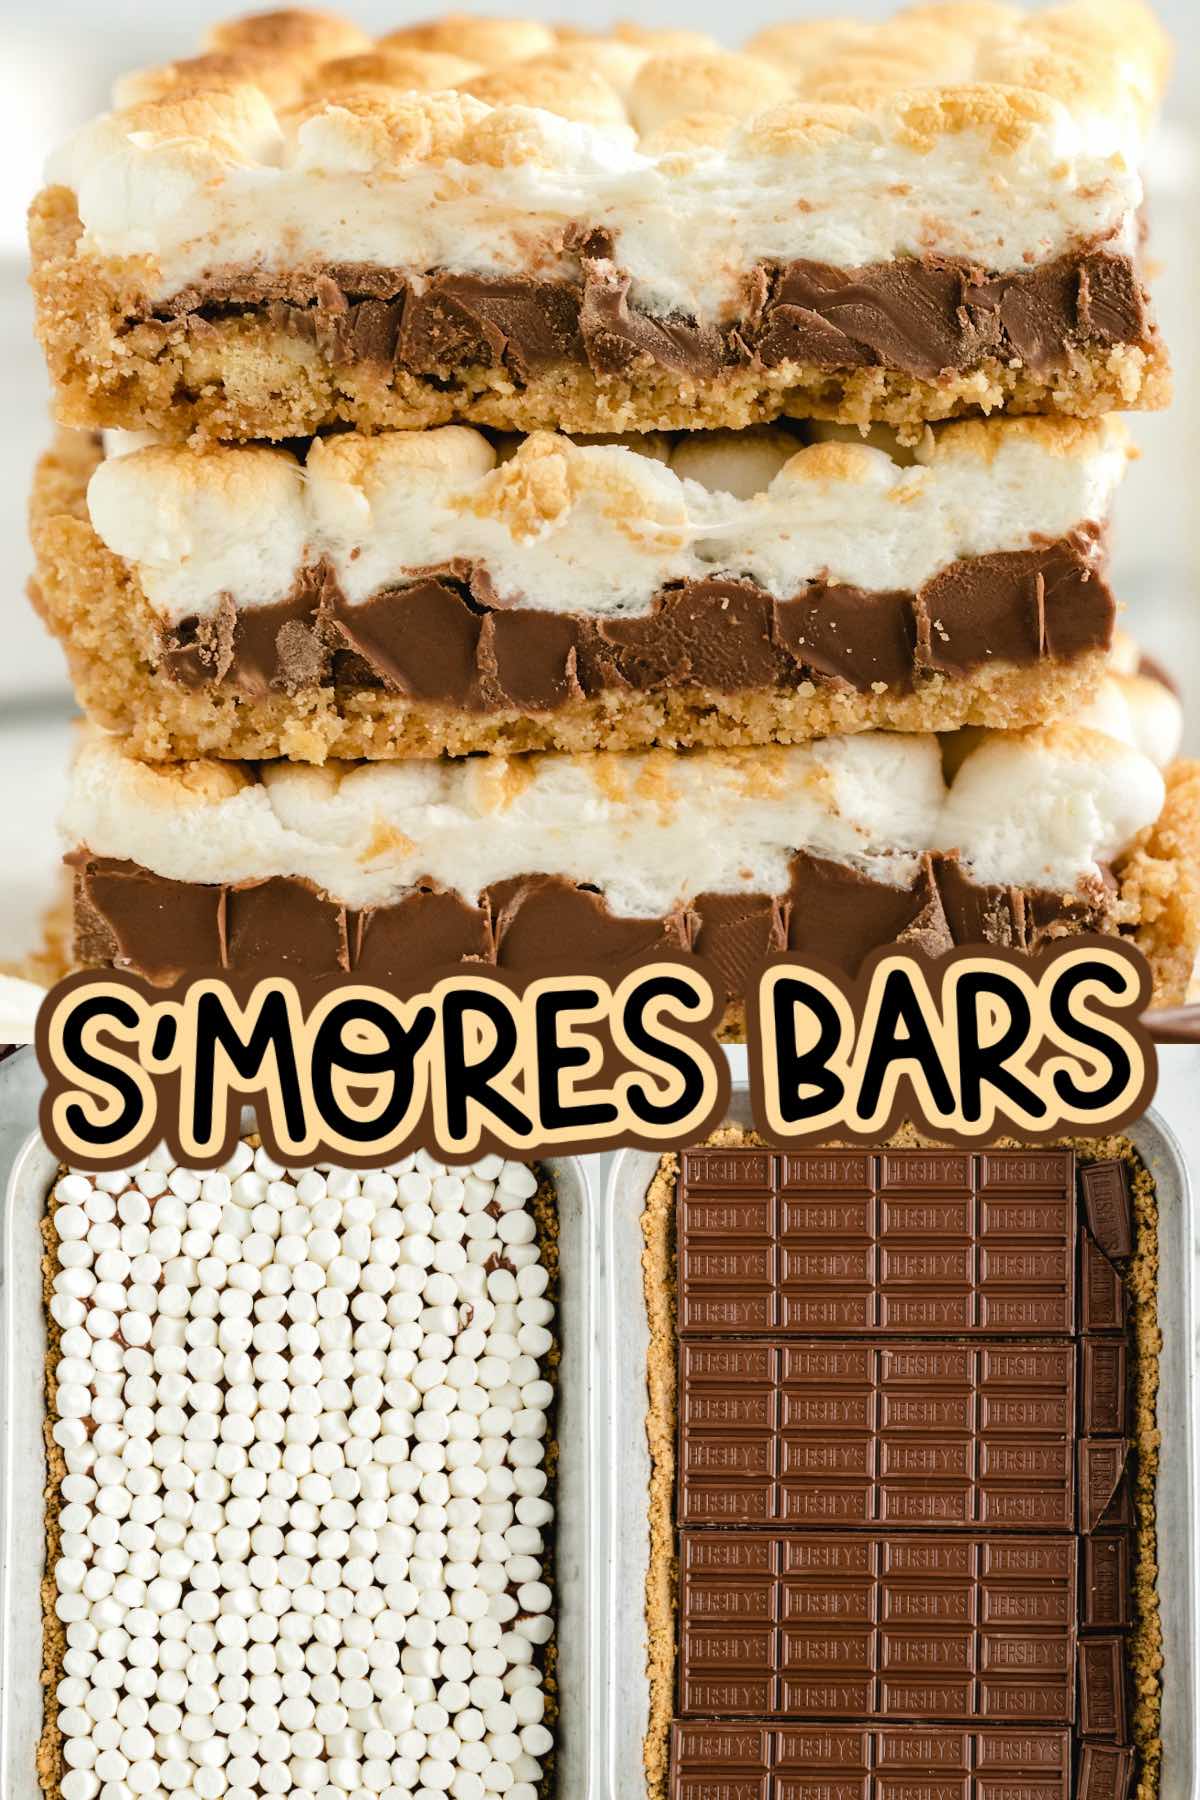
- 4 extra large Hershey Bar (4.4 ounces)
- 1 package mini marshmallows
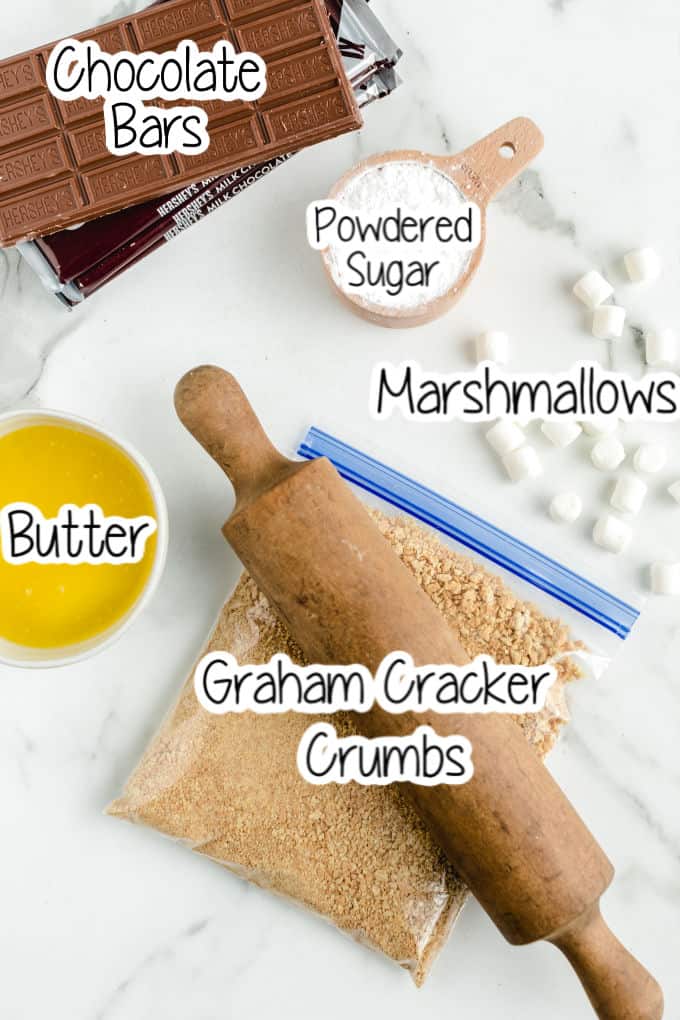
Note: You can use crushed graham crackers rather than buying the crumbs (I actually prefer the store bought crumbs. I like how finely they are crushed.) To make your own graham cracker crumbs you can either use a rolling pin or a food processor. Get them as finely crushed as possible.
How to make S’mores Bars
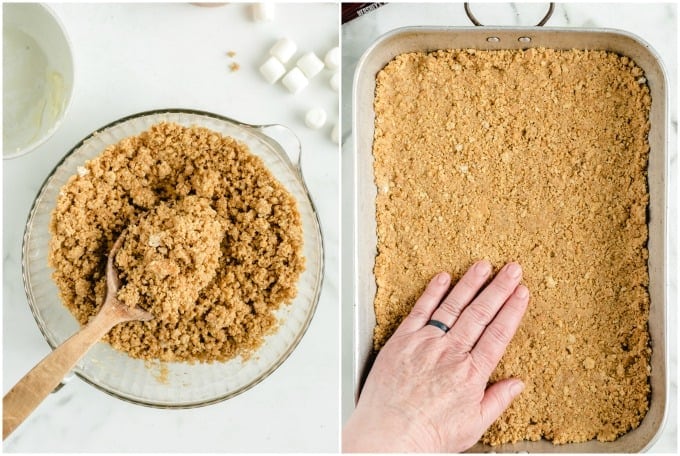
- Mix together graham cracker crumbs, butter, and powdered sugar. (see NOTE below)
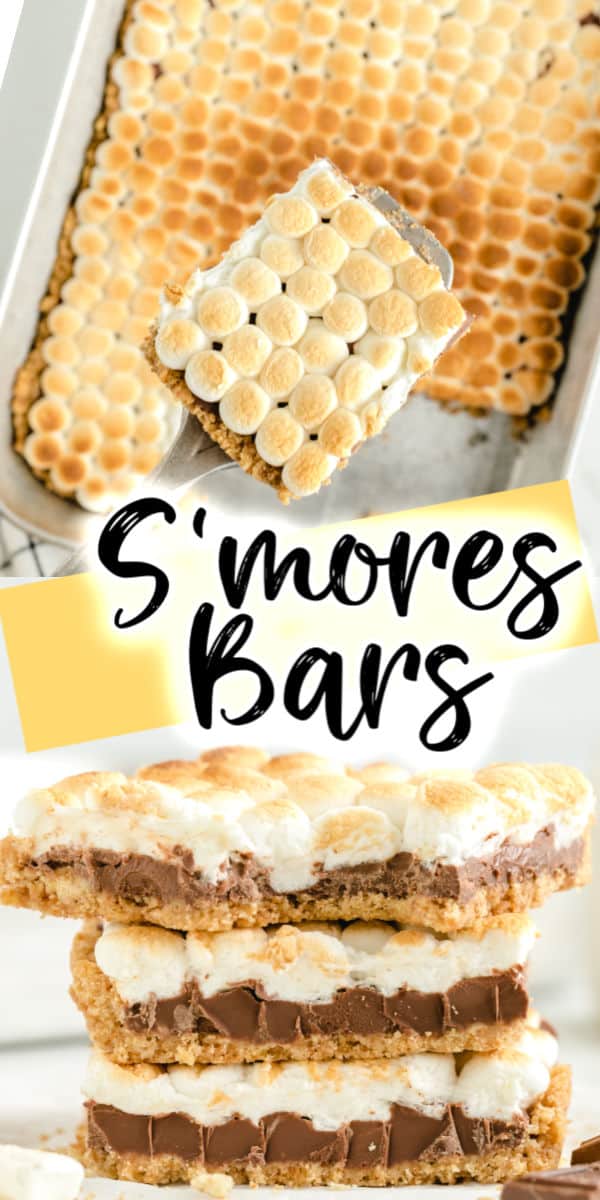
- Press the graham cracker crust into a 9×13 baking pan and bake. (Crust will harden as it cools)
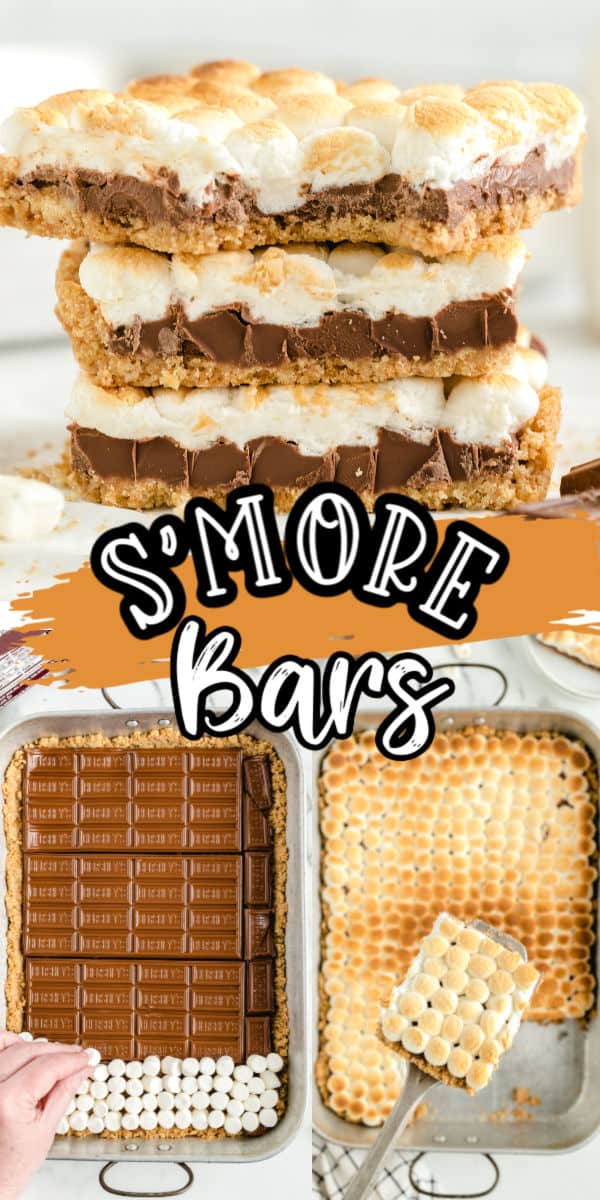
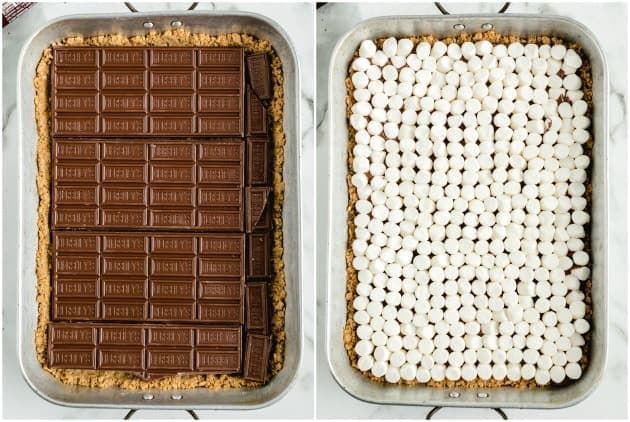
- Lay chocolate over baked crust and bake for about 3 minutes.
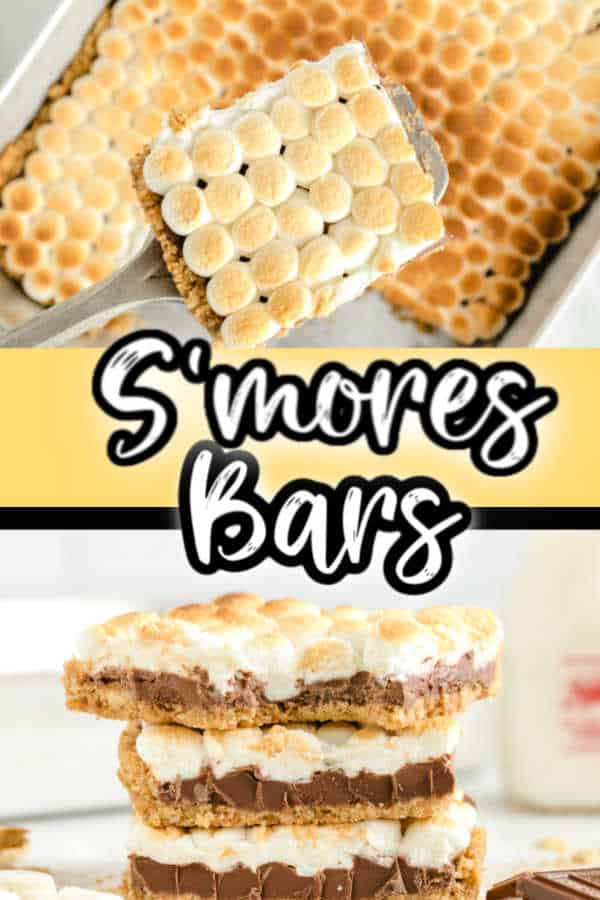
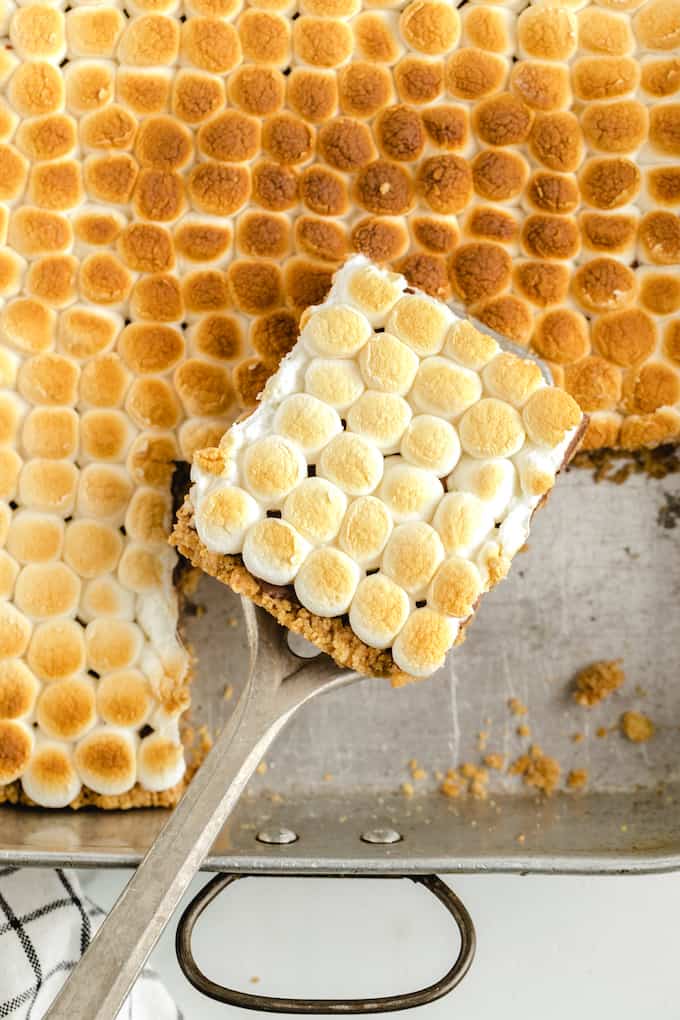
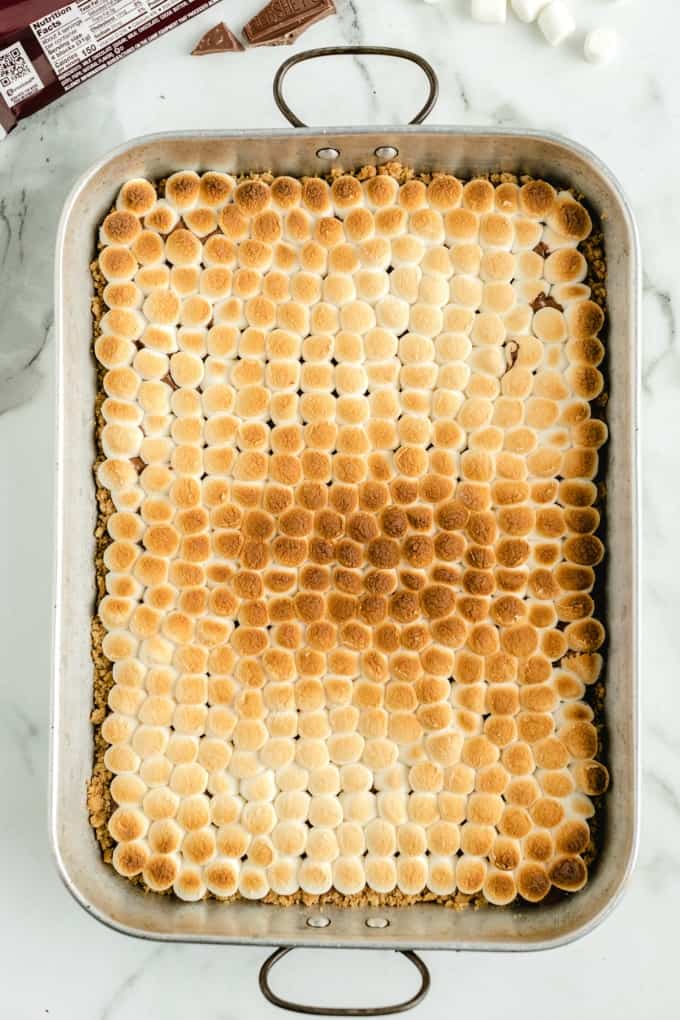
- Gently press mini marshmallows into softened chocolate and broil for about 2 minutes (until golden brown)
Important Note on graham cracker crust:
When adding the melted butter to the crust, some people find that there is too much butter and it pools in the mixture. My recommendation is to slowly add the butter and mix it in a little at a time until your mixture looks like the picture below.
If it does not look like the photo below and you are finding your butter is pooling or it is too wet, you should add some additional graham cracker crumbs and powdered sugar to achieve the consistency as pictured.
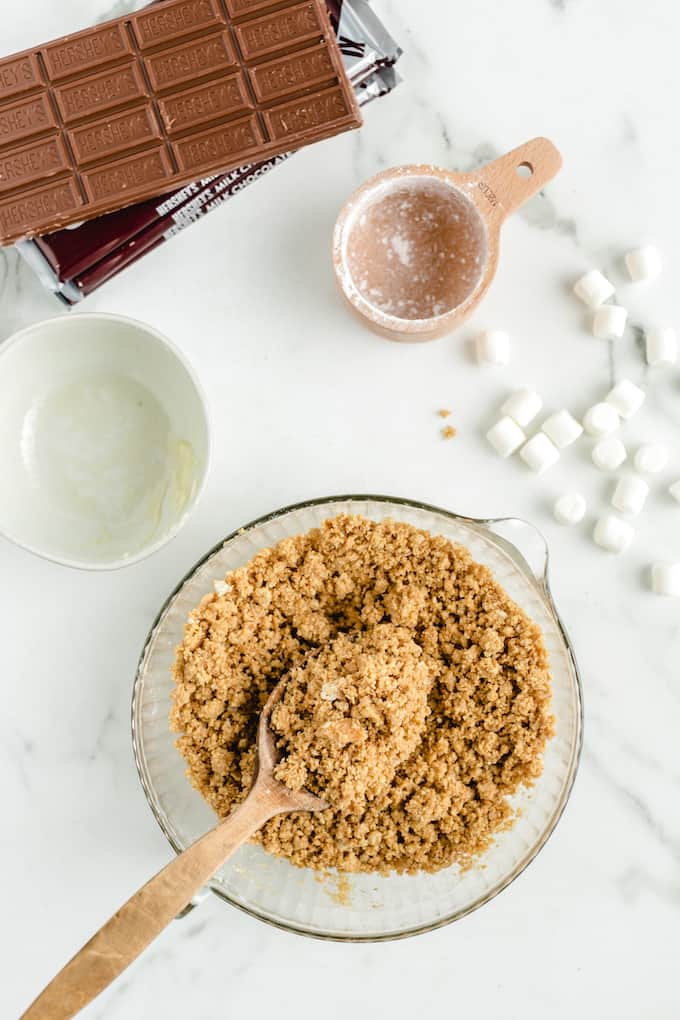
The graham crackers that you use absorb differently and this will determine how much butter you will want to add. You want the mixture to be moist, but not wet.
The butter should not pool, but the mixture should stick together when you press it into the pan for the crust
Tips for the Best Smores Bars
- When you put the bars in with the marshmallows to broil – watch it like a hawk. Seriously, do not take your eyes off of them. When they begin to brown, take them out. Trust me, if you let them go too long, they will catch on fire!
- When you are ready to slice them (after they are cooled off), put them in the refrigerator for a few minutes before cutting them. The marshmallows can get very sticky and can make it difficult to cut, but this, paired with a sharp, warm knife (run it under warm/hot water and dry it off) will make them easier to cut.
How to store S’mores Bars
Store in an airtight container for 3 days. We do not recommend freezing them.
Can S’mores Bars be made ahead?
They are best the day of, but can be made 1-2 days ahead of time.
S’mores Bars FAQs
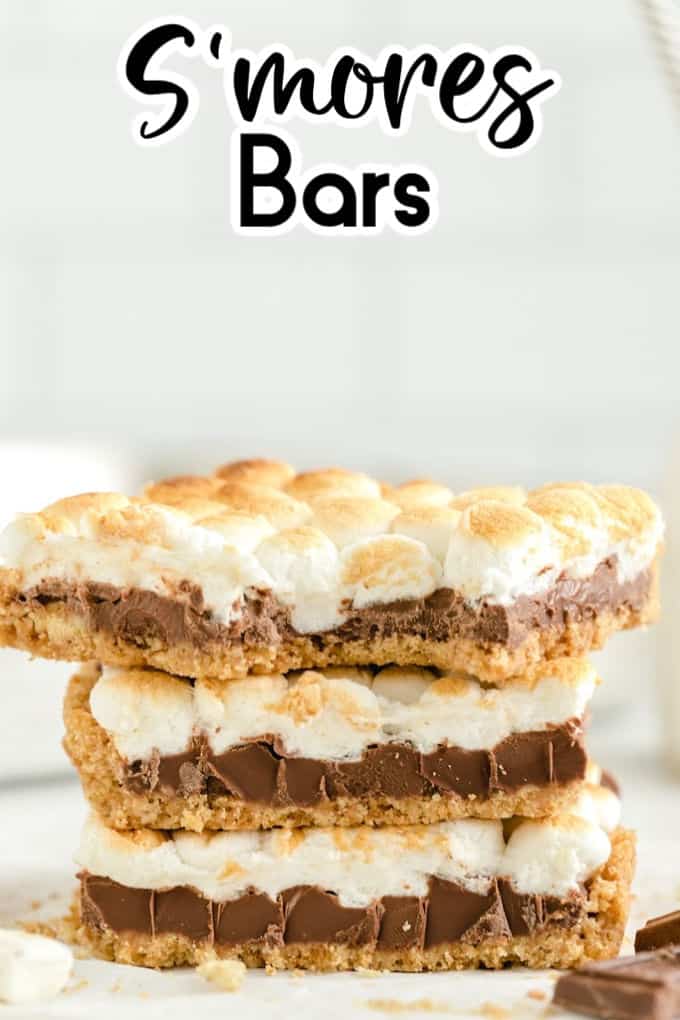
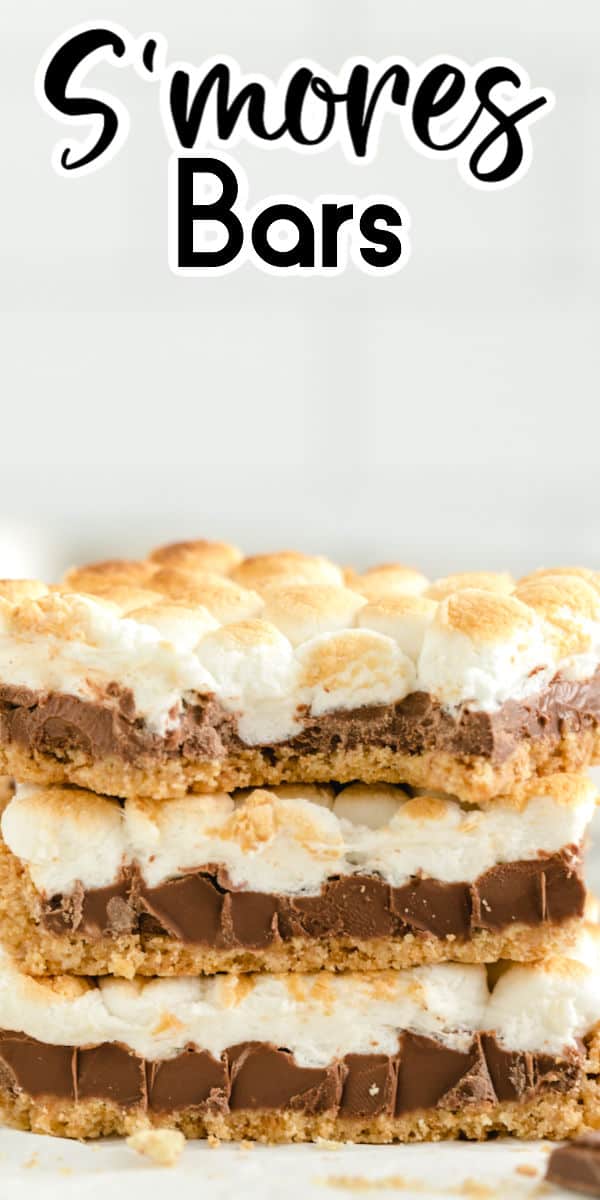
While typical smores are layered and roasted over a fire, these s’more bars can be enjoyed all year round because they are baked in the oven. They are similar to a typical smore with the graham cracker crust, chocolate bars and marshmallows, but easier and not as messy!
Any and all chocolate is delicious in these s’more bars. We love to use a classic Hershey Bar, but feel free to get creative with other types of chocolate bars (Reese’s, Nestle Crunch, Hershey with Almonds, Dark Chocolate bars)
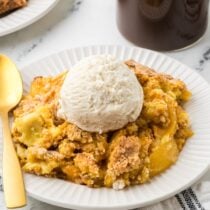
There is no limit to the add-ins. Top with chocolate sauce, caramel sauce, candy or ice cream.
More Great Copycat Recipes
Copycat Olive Garden Fettuccini Alfredo Sauce | DoubleTree Chocolate Chip Cookies | Copycat Neiman Marcus Chocolate Chip Cookies | Copycat Cool Whip Recipe | Copycat PF Changs Mongolian Beef | Better Than Takeout Fried Rice | Copycat Harry Potter Butterbeer Recipe | Dole Whip {Official Disney Recipe} | Lofthouse Cookies | S’mores Cookie Cup | Twix Bars
S’mores Bar Recipe
Video
Ingredients
- 2 Cups graham cracker crumbs
- 8-12 Tablespoons butter melted
- ½ Cup powdered sugar
- 4 Hershey Chocolate Bar use 4.4 ounce bars
- 1 package mini marshmallows
Instructions
- Preheat oven to 350 degrees.
- Grease 9×13 pan with non-stick butter spray.
- In a medium size bowl mix graham cracker crumbs, powdered sugar and butter with a spoon (see note below regarding the melted butter and the crust).
- Place mixture in the bottom of the baking pan. Distribute the mixture evenly and press down and firmly with your fingers to "pack it" along the bottom and sides of the pan.
- Place in oven and bake for approx. 5-8 minutes (just until sides begin to get a bit golden brown) NOTE: Crust will harden as it cools.
- Remove from oven and let cool.
- Lay the Hershey bars on top of the graham cracker mixture – covering up all of the graham cracker as completely as possible.
- Place in oven for approx. 3 minutes (until chocolate just begins to melt and gets shiny)
- Let cool for 1-2 min.
- Place marshmallows on top of the chocolate – pack them in their closely next to each other.
- Turn oven to "broil" – put pan into oven and STARE at them! They only need to be in there for about 2 minutes. BUT, every oven is different! Watch them like a hawk or they will burn and set on fire (I am not kidding here – learn from my experience!!) As soon as they begin to brown, take them out of the oven.
- Let them cool completely (after they initially cooled, I place them in the refrigerator to set even more – this will make them easier to cut)
- Cut and serve – (tip: they can get really sticky to cut, warm a sharp knife under hot water, dry it off and immediately slice them – you may want to repeat this if the knife starts to get sticky!)
Jenn’s Notes
Nutrition Info
Originally published on July 18, 2016


The concept is good and they taste great but there is a component missing in the crust. Too dry and crumbly when you cut them to serve and you end up with a pile of graham dust:crumble.
I am going to tweak the first layer a little and revisit.
Thanks so much for the feedback. We like ours crunchy like a s’more, but I am anxious to hear about your tweaks!
This looks absolutely delicious! 😍 The instructions are clear and easy to follow — definitely adding this to my must-try list. Thanks for sharing!
You do a good job mentioning all the key components that create the flavor of a classic s’more—graham cracker, chocolate, and marshmallow. This sets up clear expectations for the taste.
A complete mess. Taste good though I don’t think the powder sugar in the Graham mix is necessary. Next time I will do a different base, maybe a cookie type base