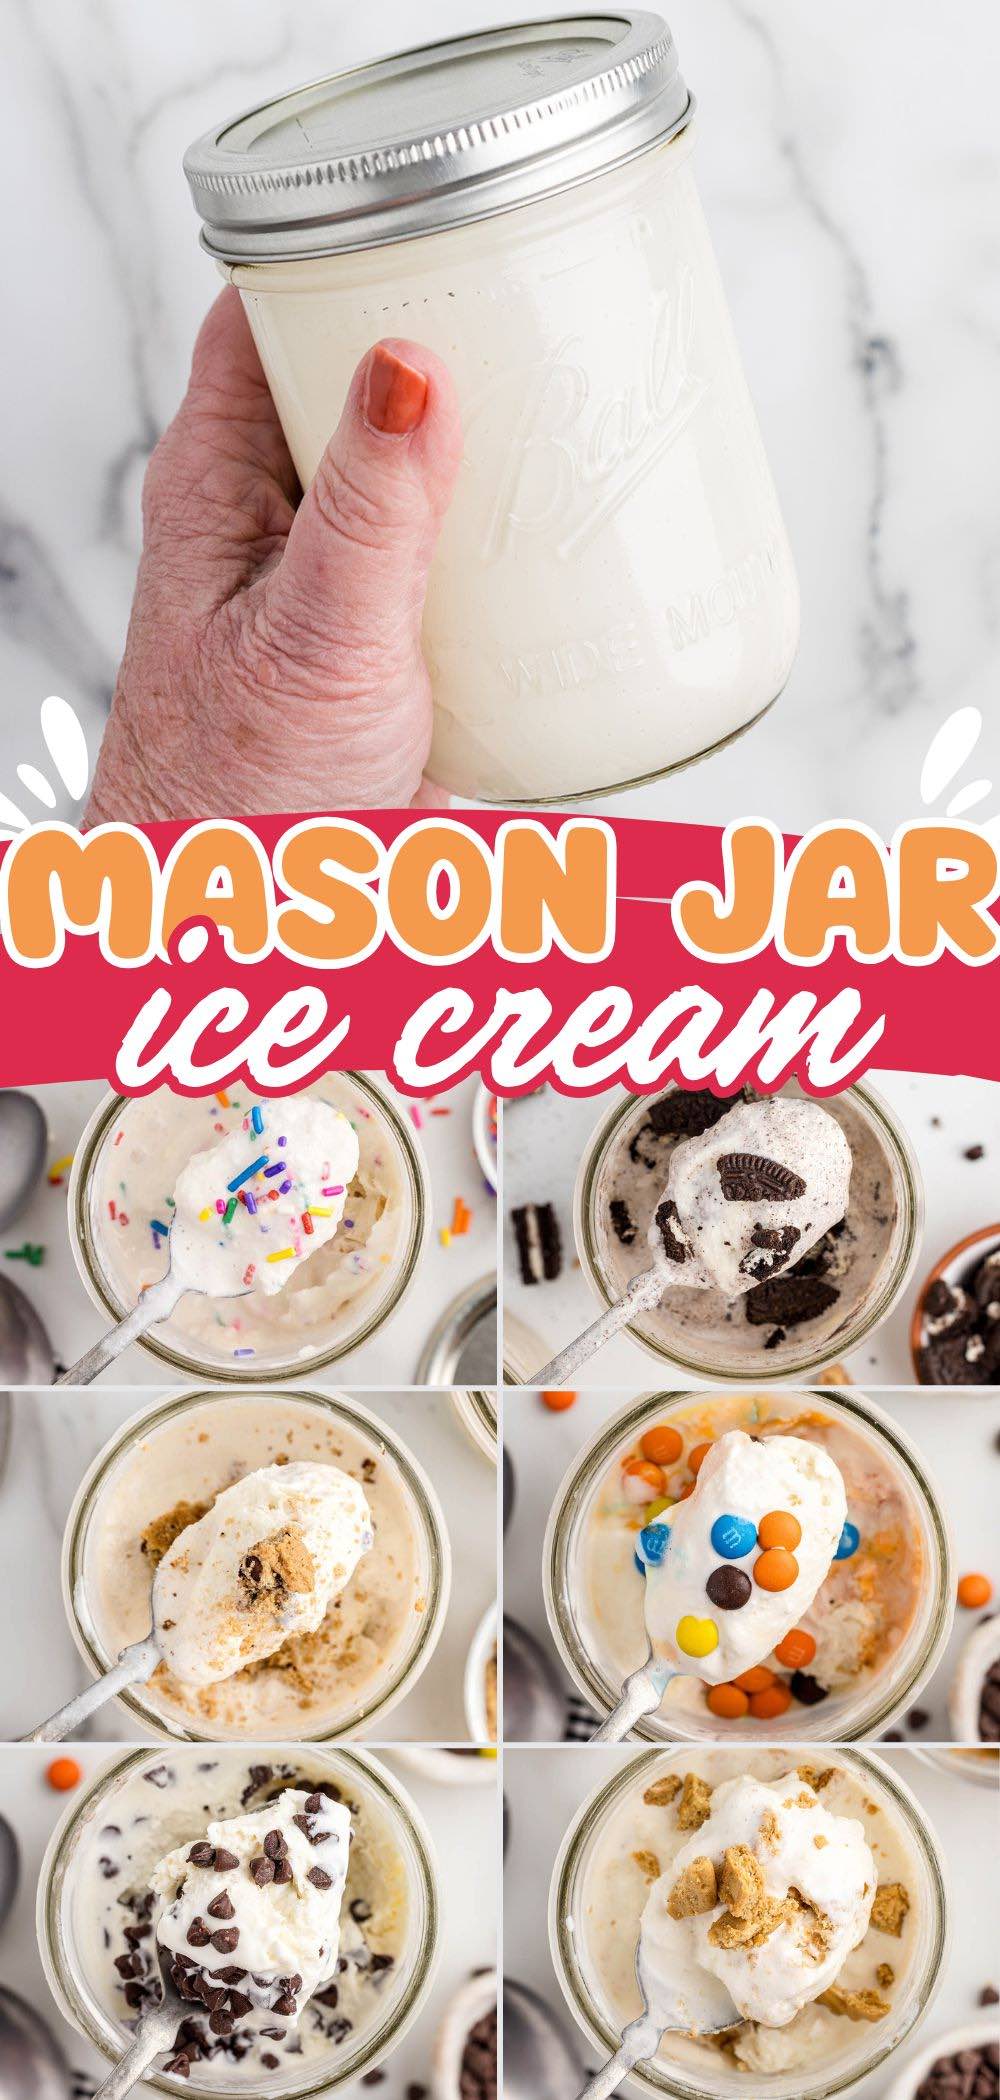
Making Mason Jar Ice Cream means you don’t have to buy multiple pints (or share your scoops)! Let everyone shake up their own soft serve treats and experiment with different flavors, mix-ins, and toppings. Just 5 minutes of prep time, 4 ingredients, a little muscle, and some patience!
Make Ice Cream In A Mason Jar
Our Mason Jar Ice Cream recipe requires no ice cream maker or fancy equipment – just 4 base ingredients create a basic vanilla ice cream flavor, but you can easily add different extracts, fresh fruit, sauces and syrups, or any kind of crushed cookies or candy to create your favorite flavored frozen treat. A fun way to get the whole family involved in the kitchen!
Is Ice Cream Made In a Mason Jar The Same As No Churn Ice Cream?
While both methods of making ice cream offer simplified alternatives to store-bought ice cream without the need for special equipment, the texture and consistency may differ slightly. Mason jar ice cream involves shaking together cream, sugar, and flavorings in a glass jar, then freezing the mixture until it reaches the desired consistency. No churn ice cream typically involves whipping cream until stiff peaks form, then folding in sweetened condensed milk and flavorings. This mixture is then frozen in a loaf pan until set.
Looking for more homemade ice cream recipes? My no churn Vanilla ice cream, Caramel Pretzel Ice Cream, Apple Pie Ice Cream, Cherry Garcia Ice Cream, and S’mores Ice Cream cream are just as easy to make.
Ingredients Notes
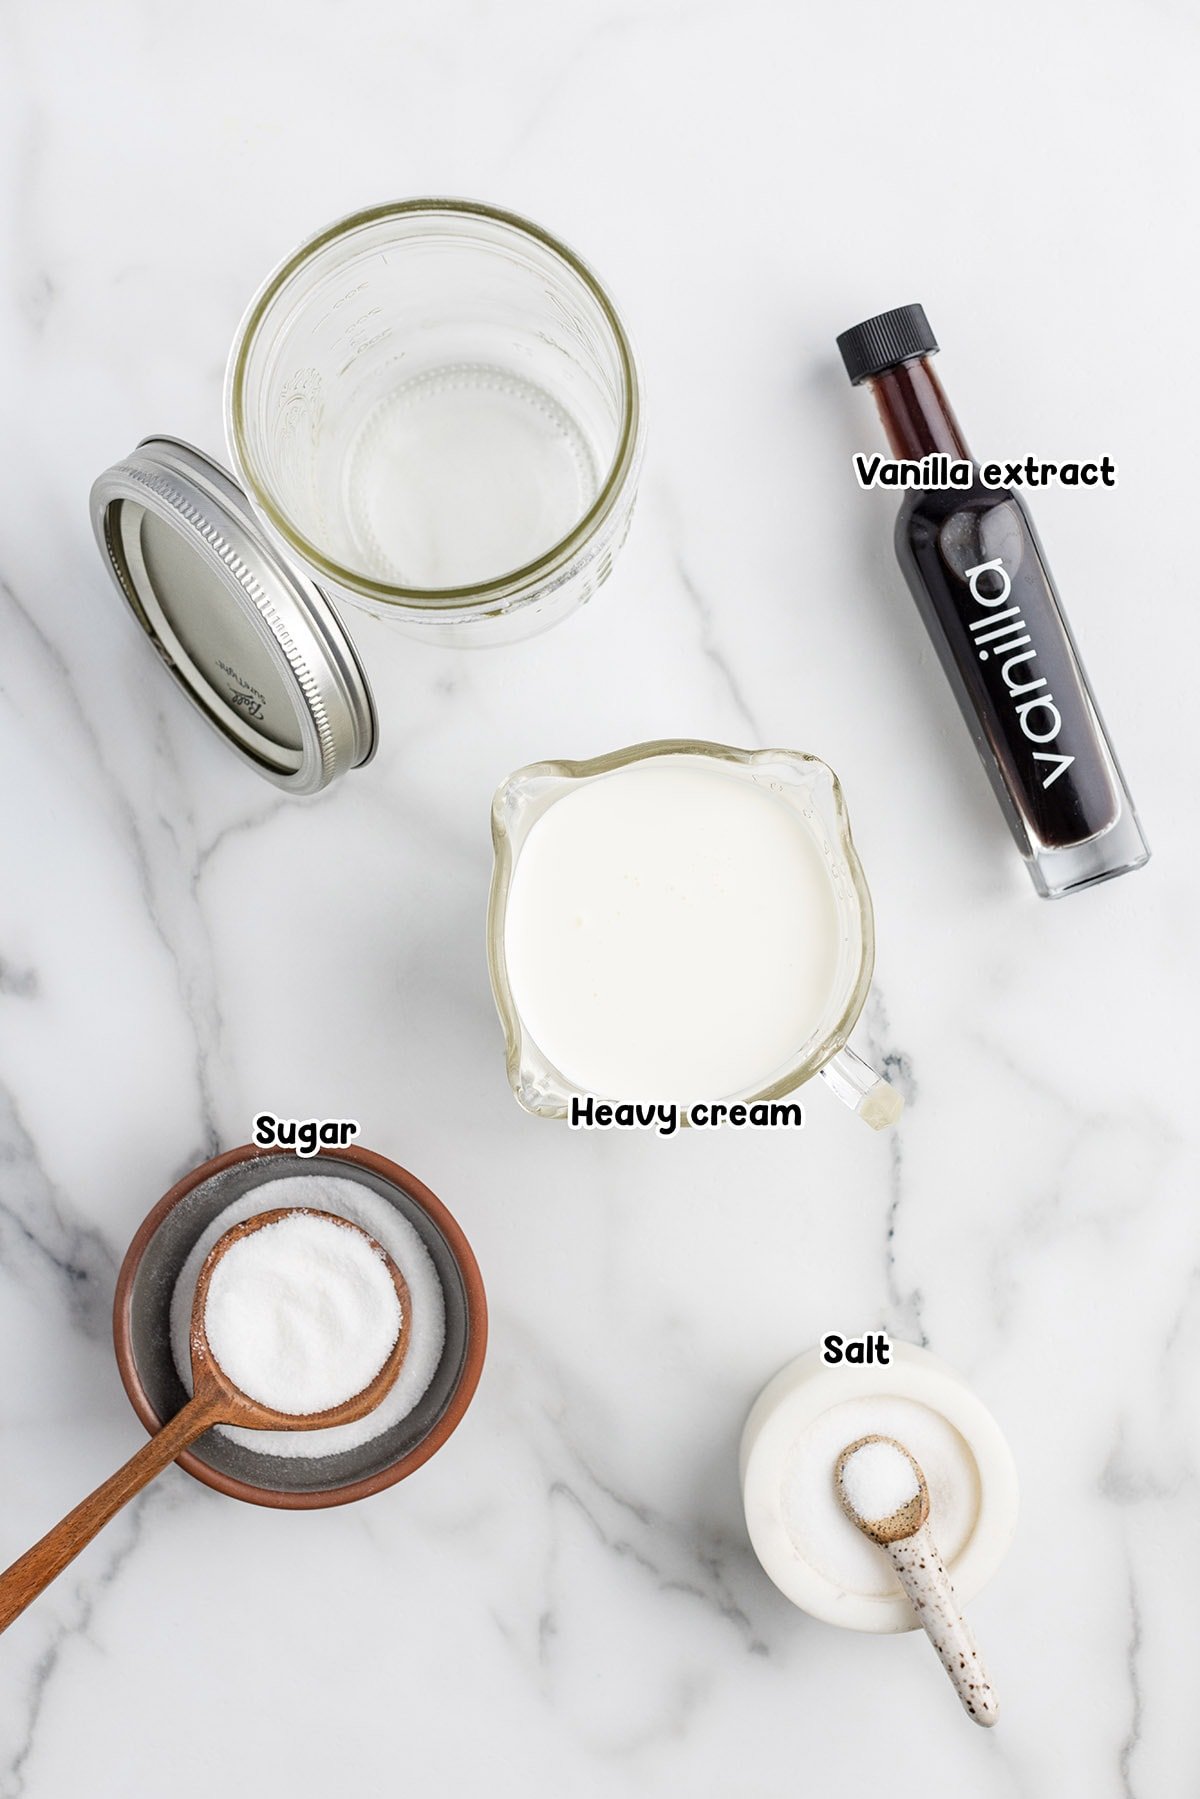
- Heavy cream (also known as heavy whipping cream): This creates a creamy texture and richness in the final frozen treat. It is very important that the heavy cream is cold to achieve the desired thickness. I don’t recommend substituting milk. The fat in heavy cream is what makes this ice cream so creamy and rich. Milk (even whole) does not have enough fat content to create a creamy consistency, and you may end up with icy milk due to the water content.
- Granulated sugar: Sugar is added to sweeten the ice cream base and give it a smoother texture.
- Pure vanilla extract: Vanilla extract gives this ice cream the classic vanilla taste. However, you can substitute different flavors, such as strawberry, lemon, orange and even birthday cake flavorings.
- Table salt: Just a pinch of salt will enhance the flavors and balance the sweetness of the other ingredients. It can also help to lower the freezing point of the ice cream mixture slightly, resulting in a smoother texture.
See the recipe card for full information on ingredients and quantities.
How to Make Mason Jar Ice Cream
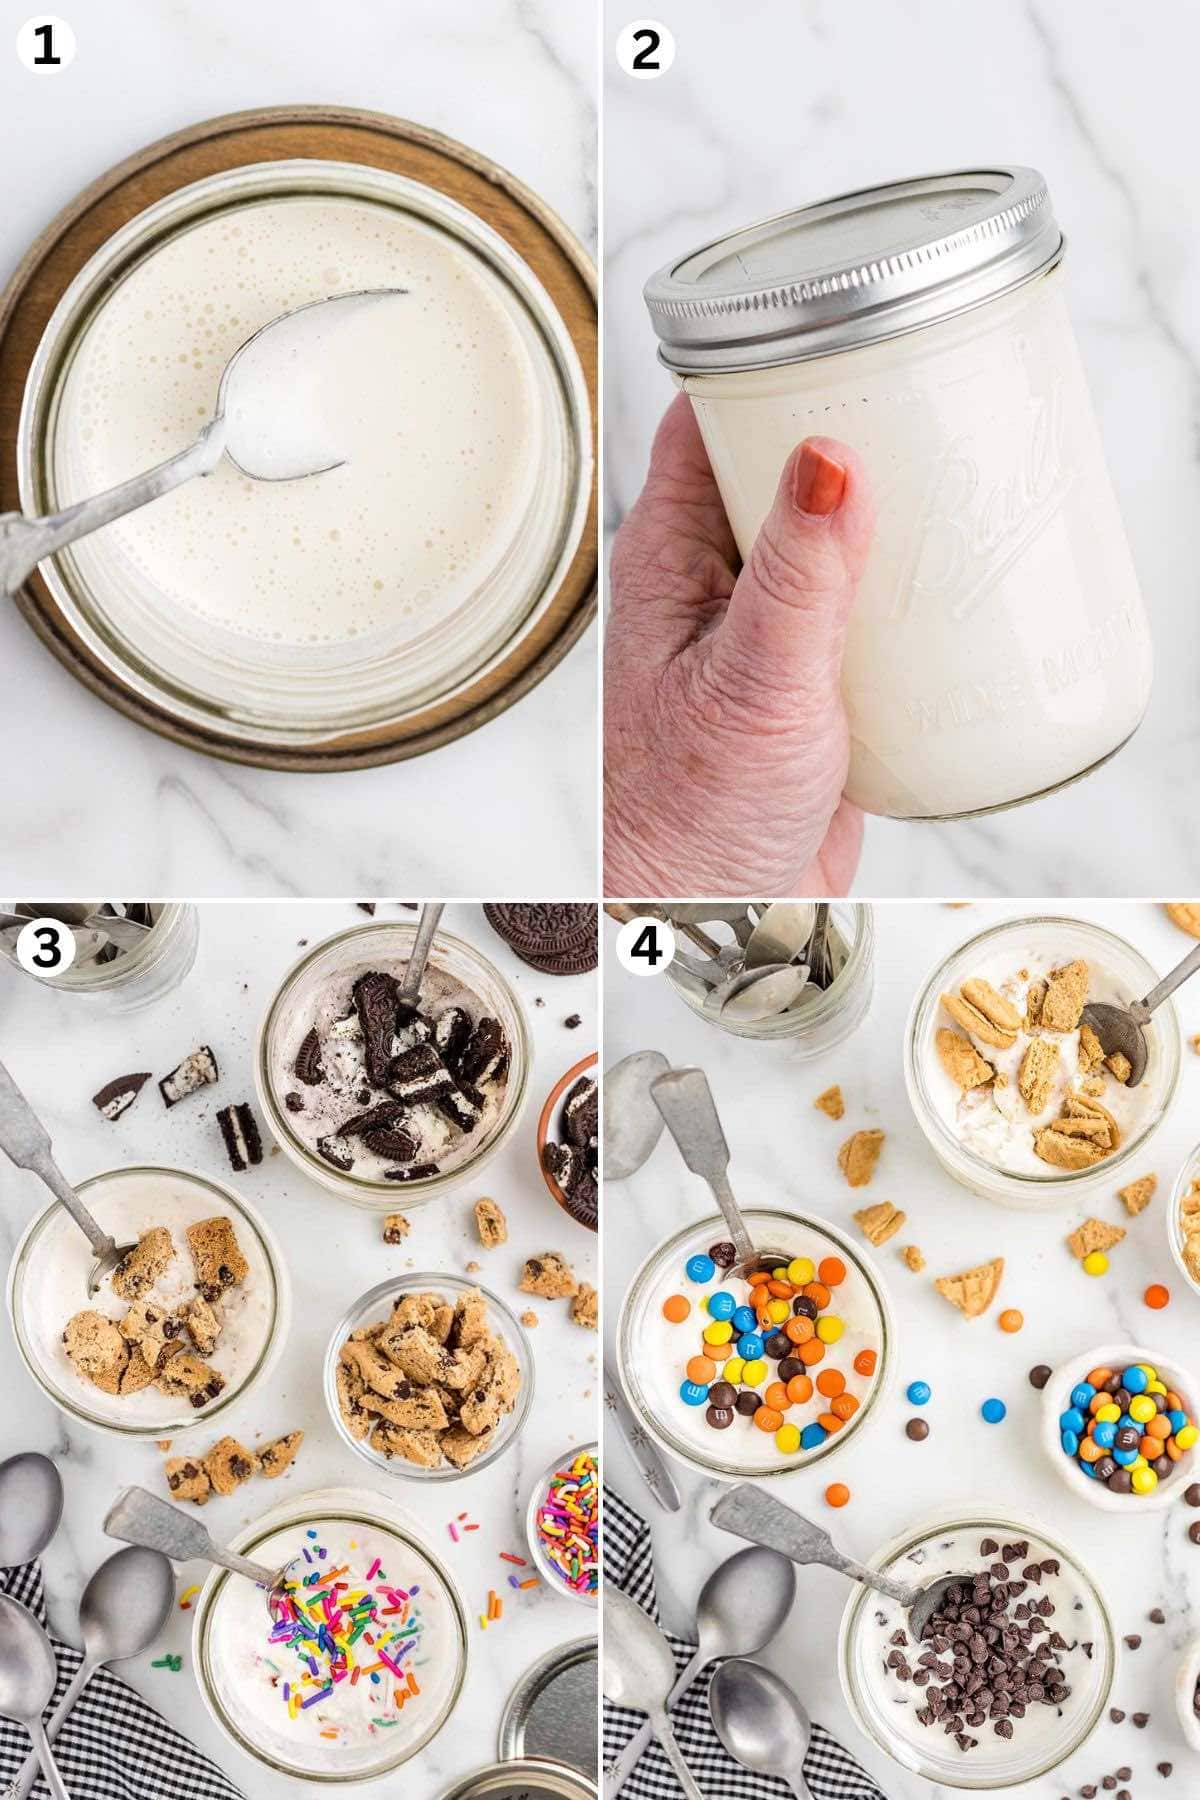
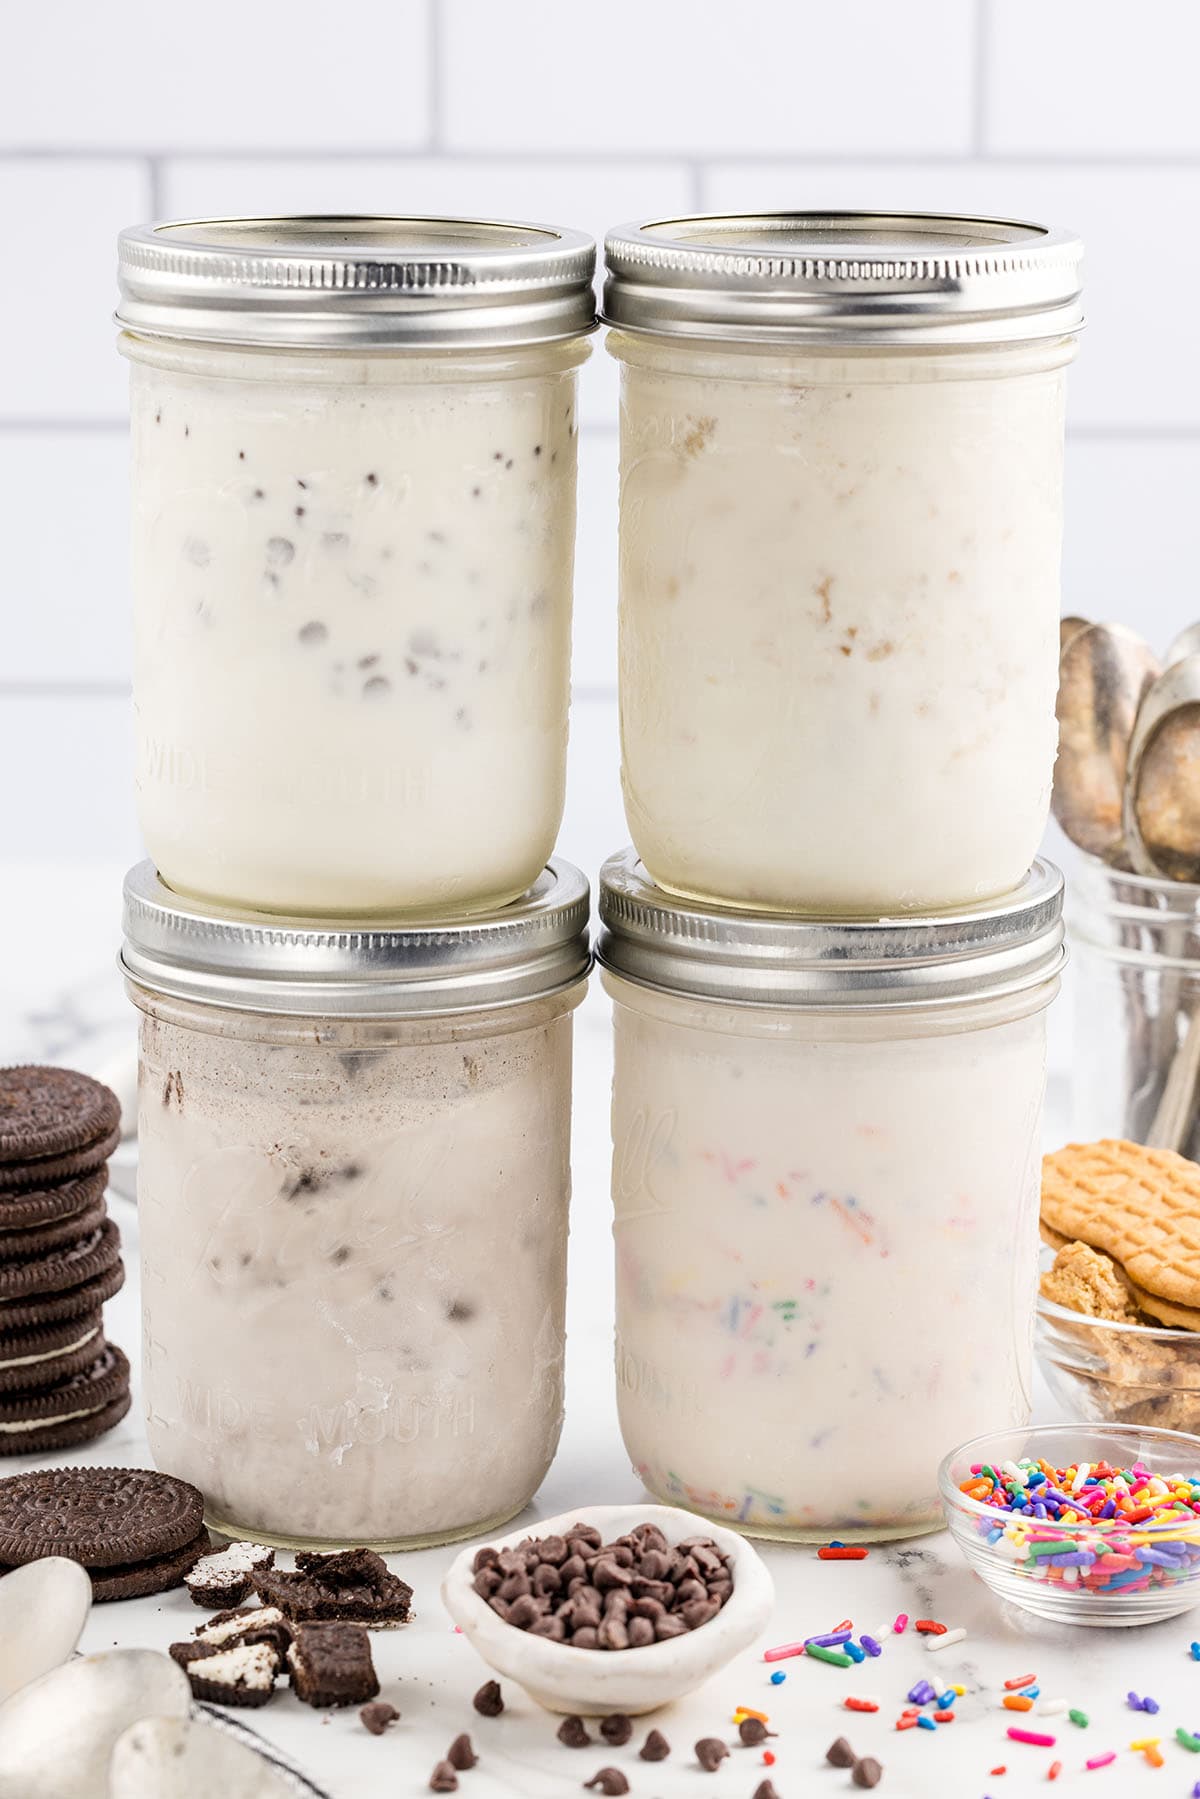
- Make The Mixture: Stir together the heavy cream, sugar, vanilla, and salt you can barely hear the sugar on the bottom of the mason jar.
- Shake: Place the lid on the mason jar and shake for about 5 minutes, until the ice cream base has thickened.
- Freeze: Place the mason jar in the freezer for 3 hours.
- Serve: Once set, remove from the freezer and enjoy!
Serving Suggestions
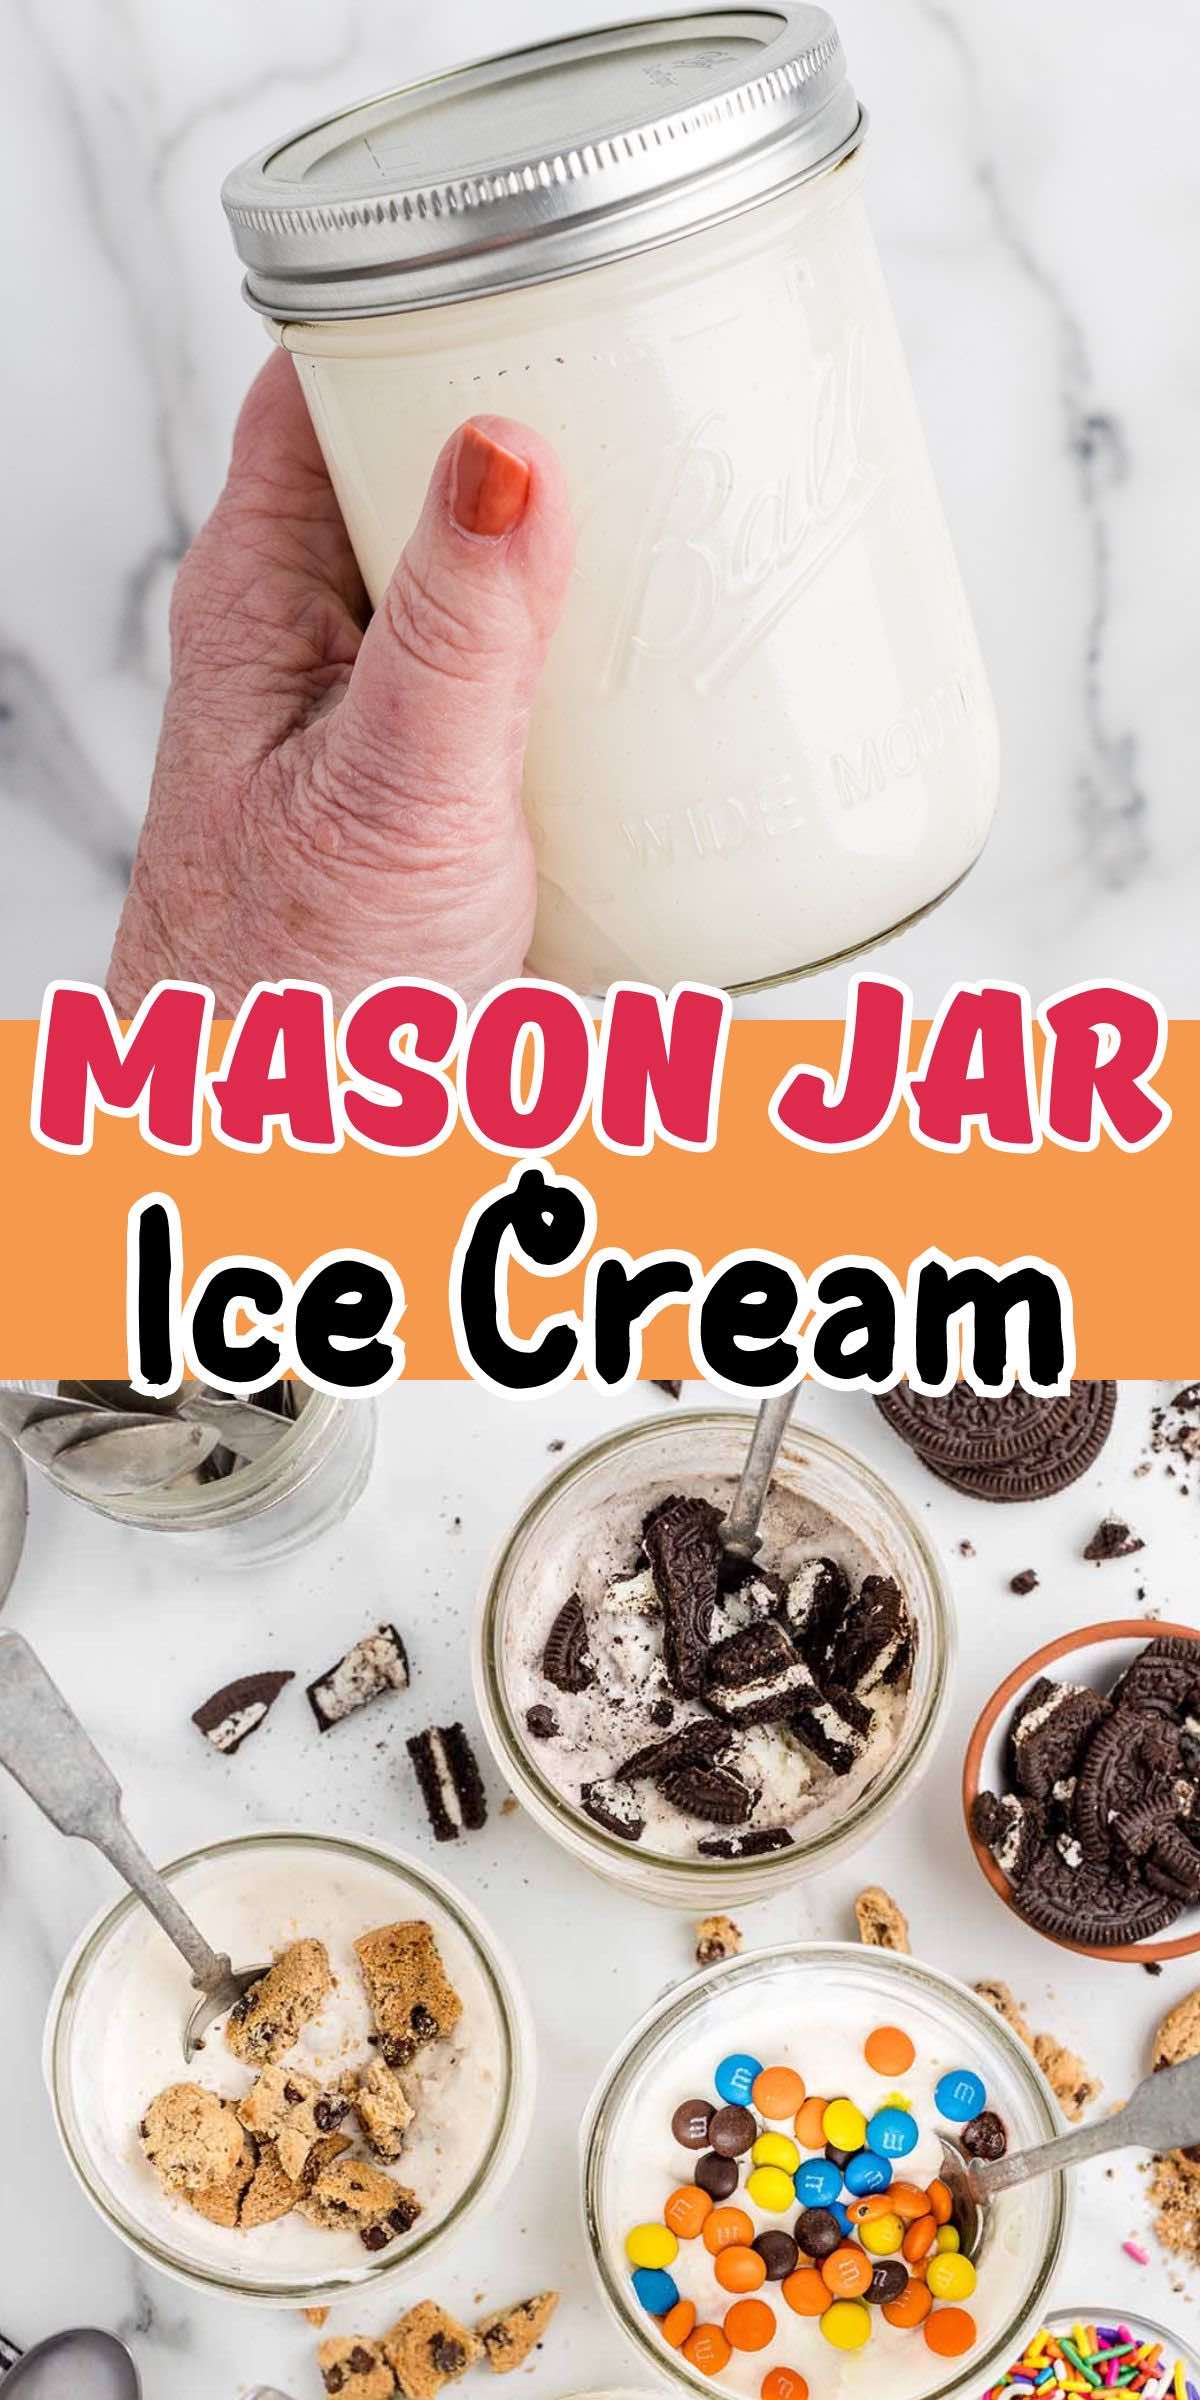
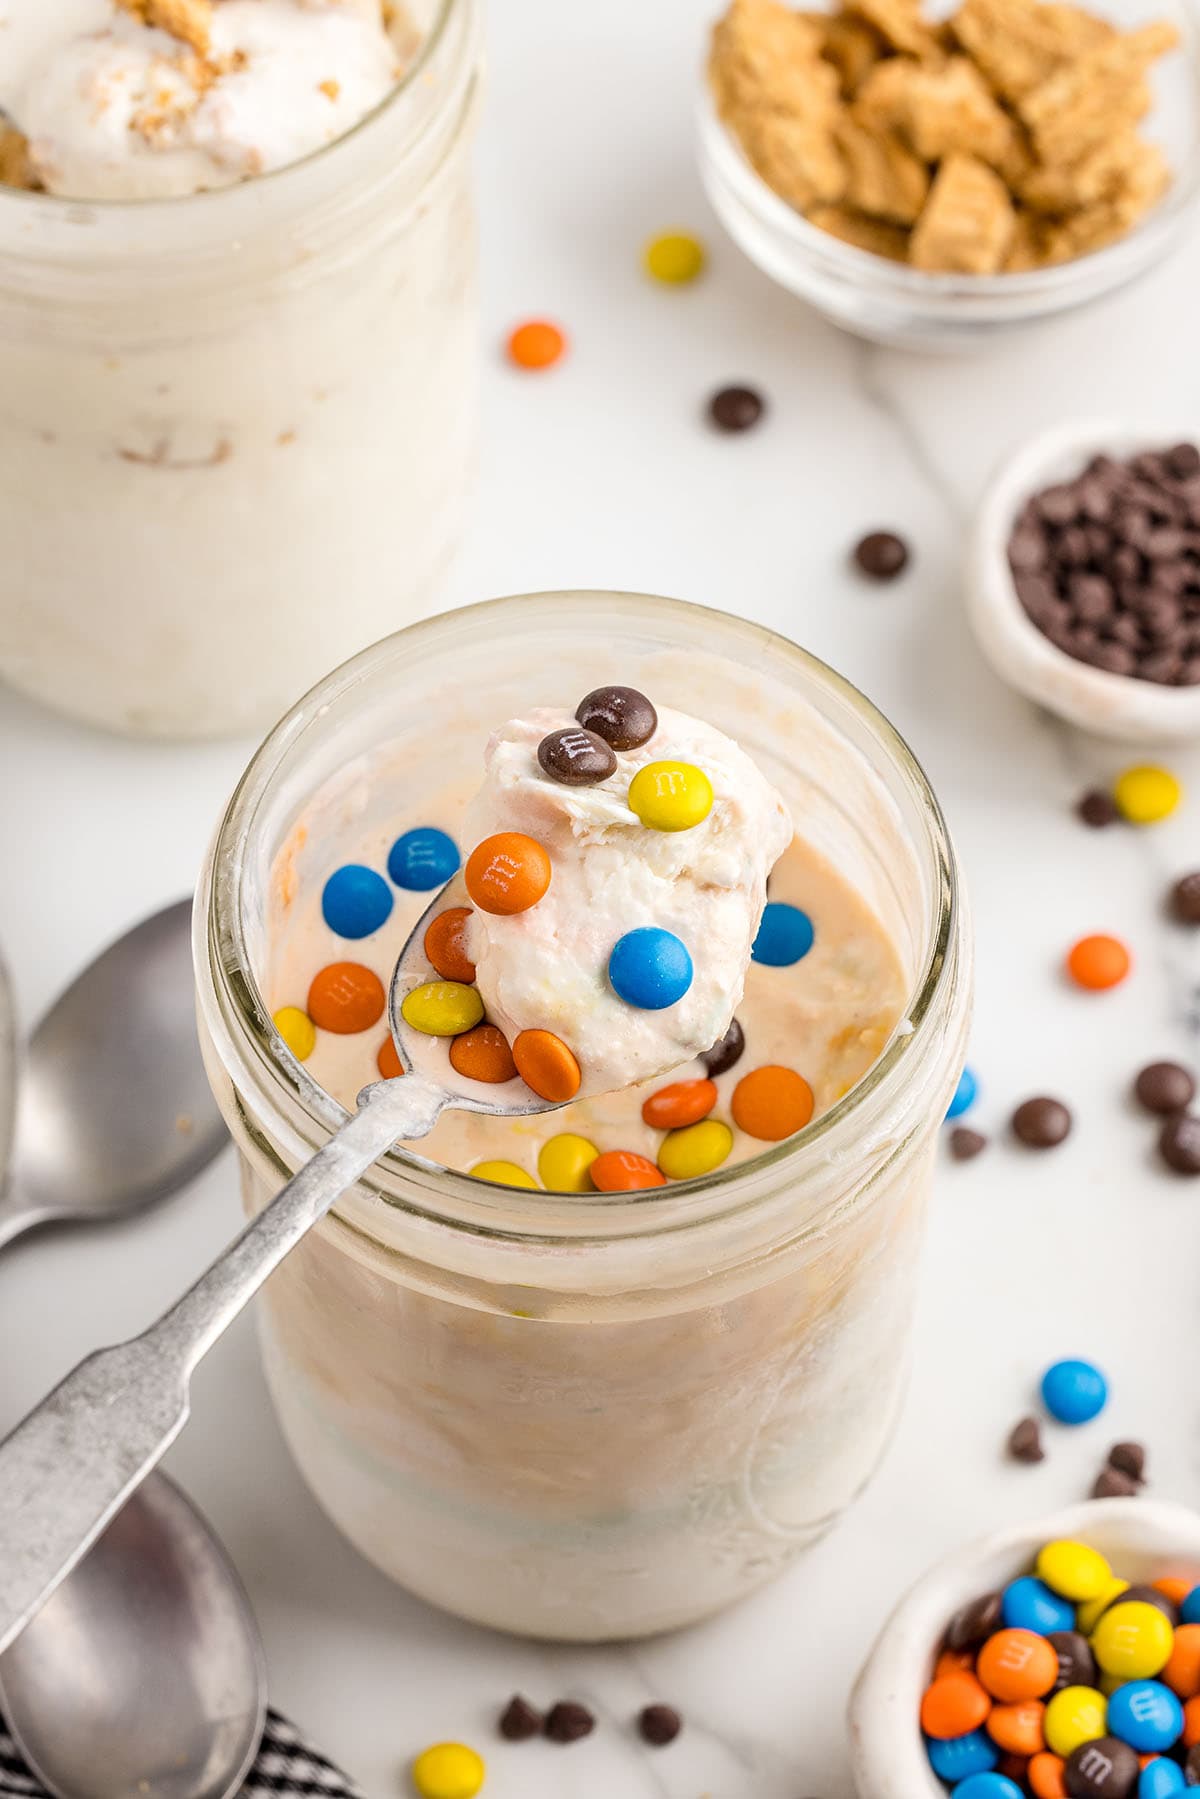
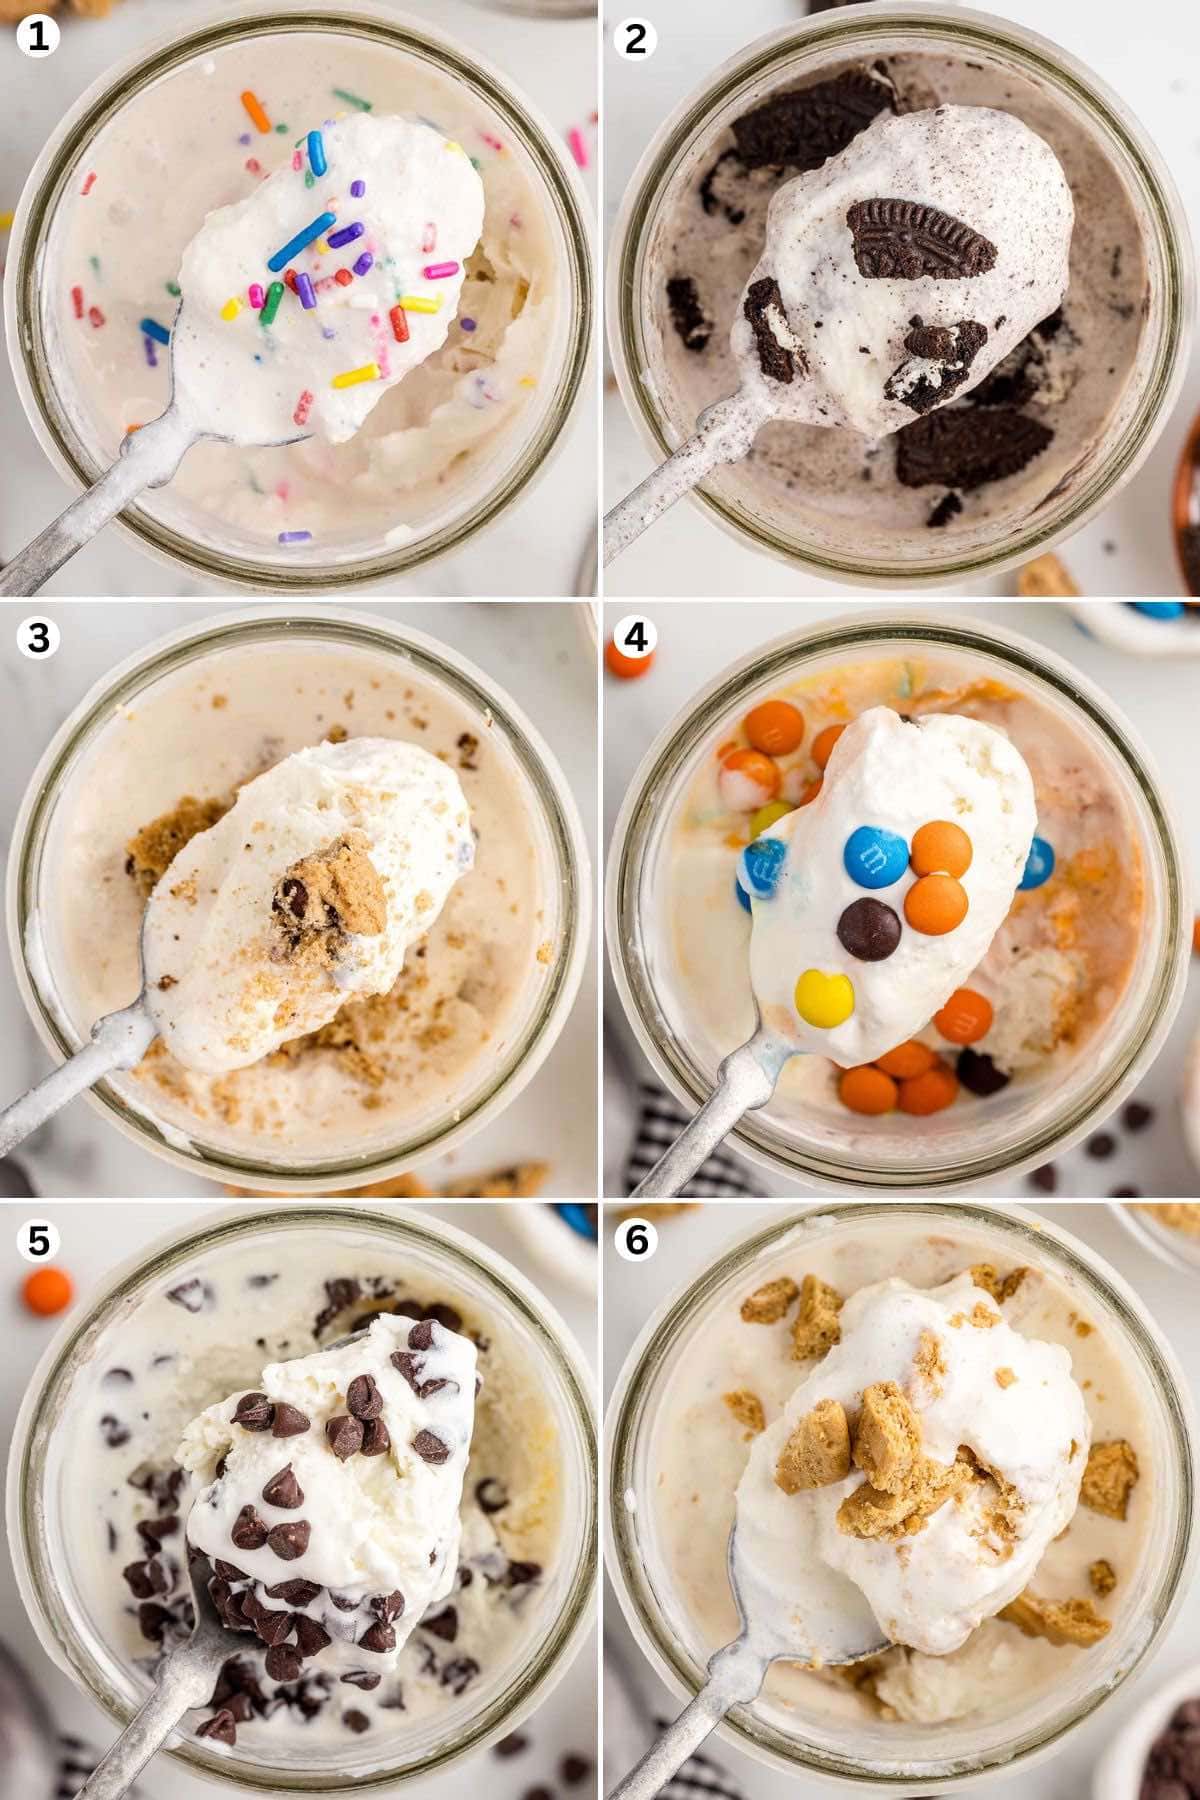
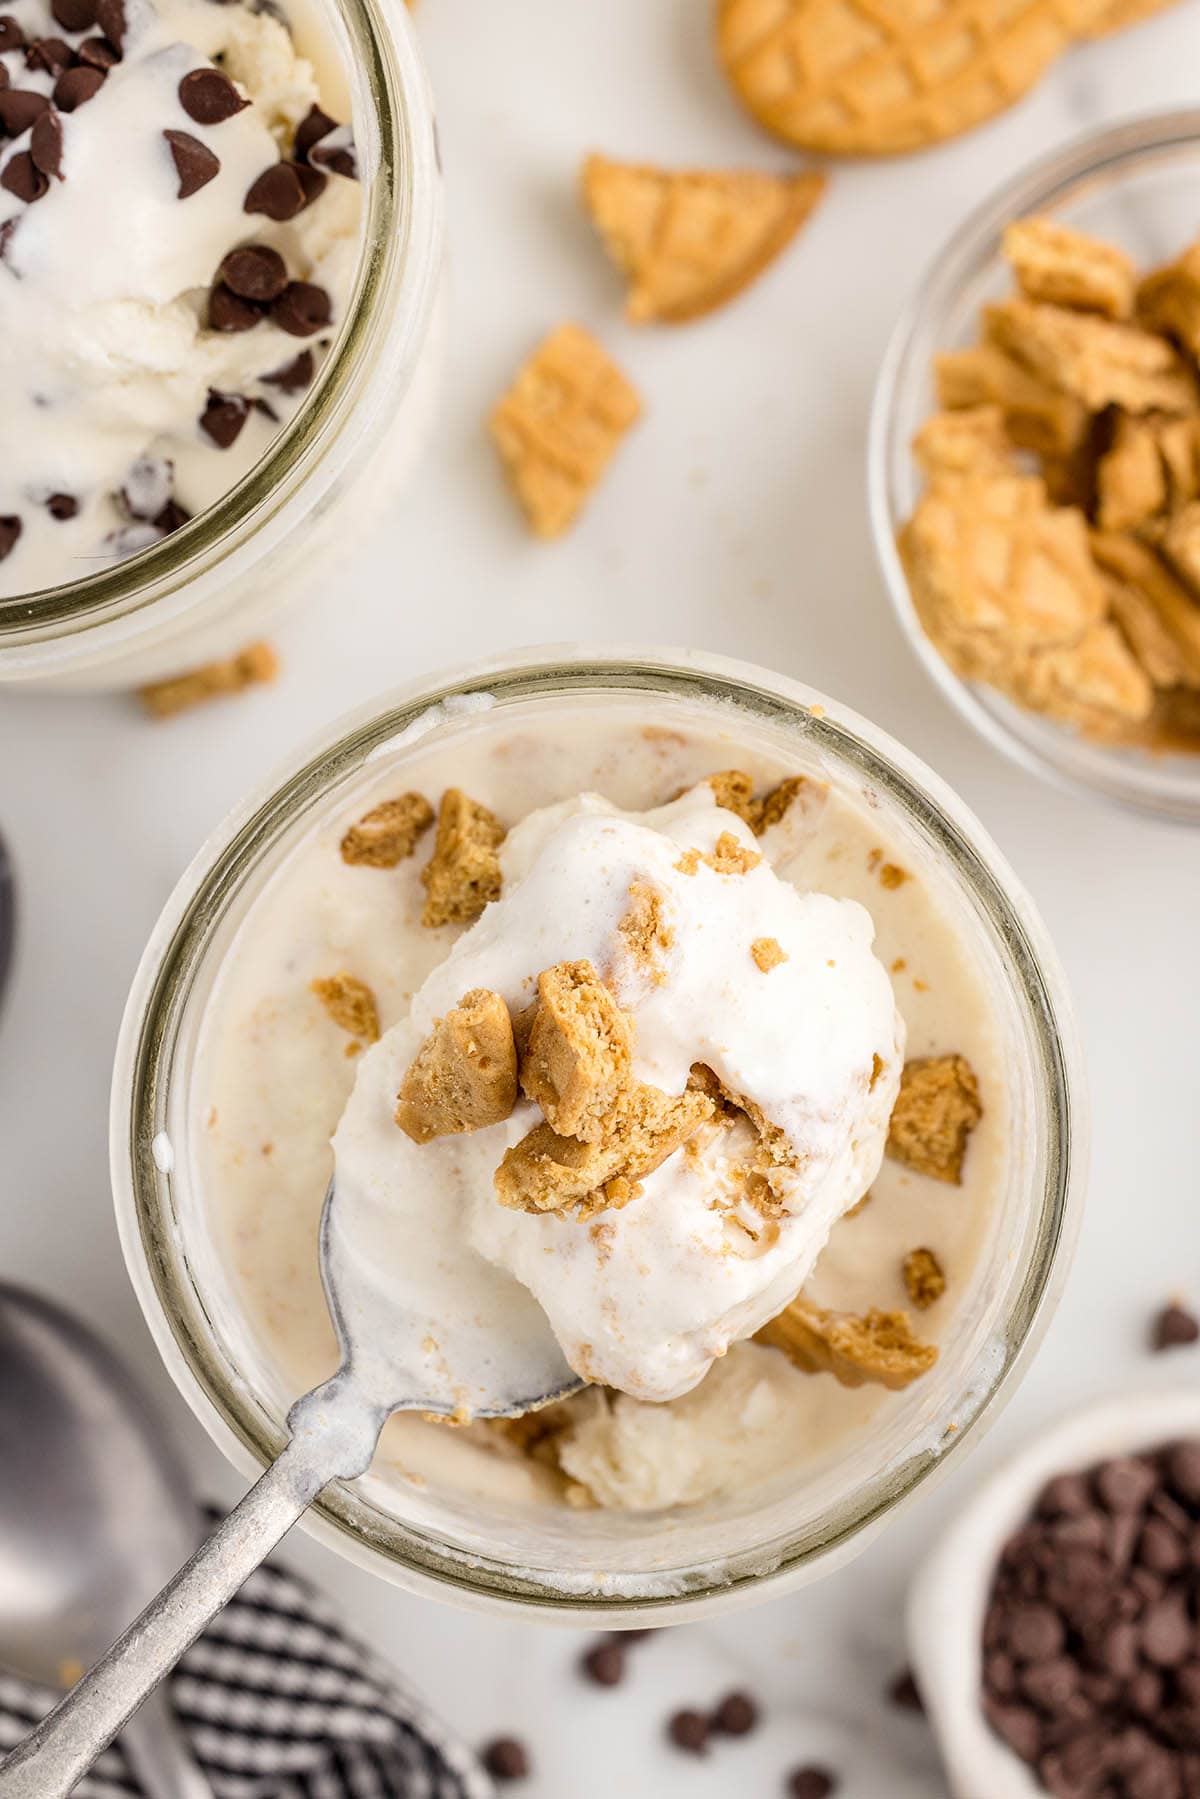
Make With Mix-Ins: You can stir in some crushed oreos, strawberry sundae topping, chocolate syrup, crushed chocolate chip cookies, colorful sprinkles, mini chocolate chips, chopped nuts, or your favorite kinds of candy and cookies. The add-ins can also be used as toppings.
Swirl In Some Sauce: Try swirling in ribbons of salted caramel sauce, melted peanut butter, or brownie batter.
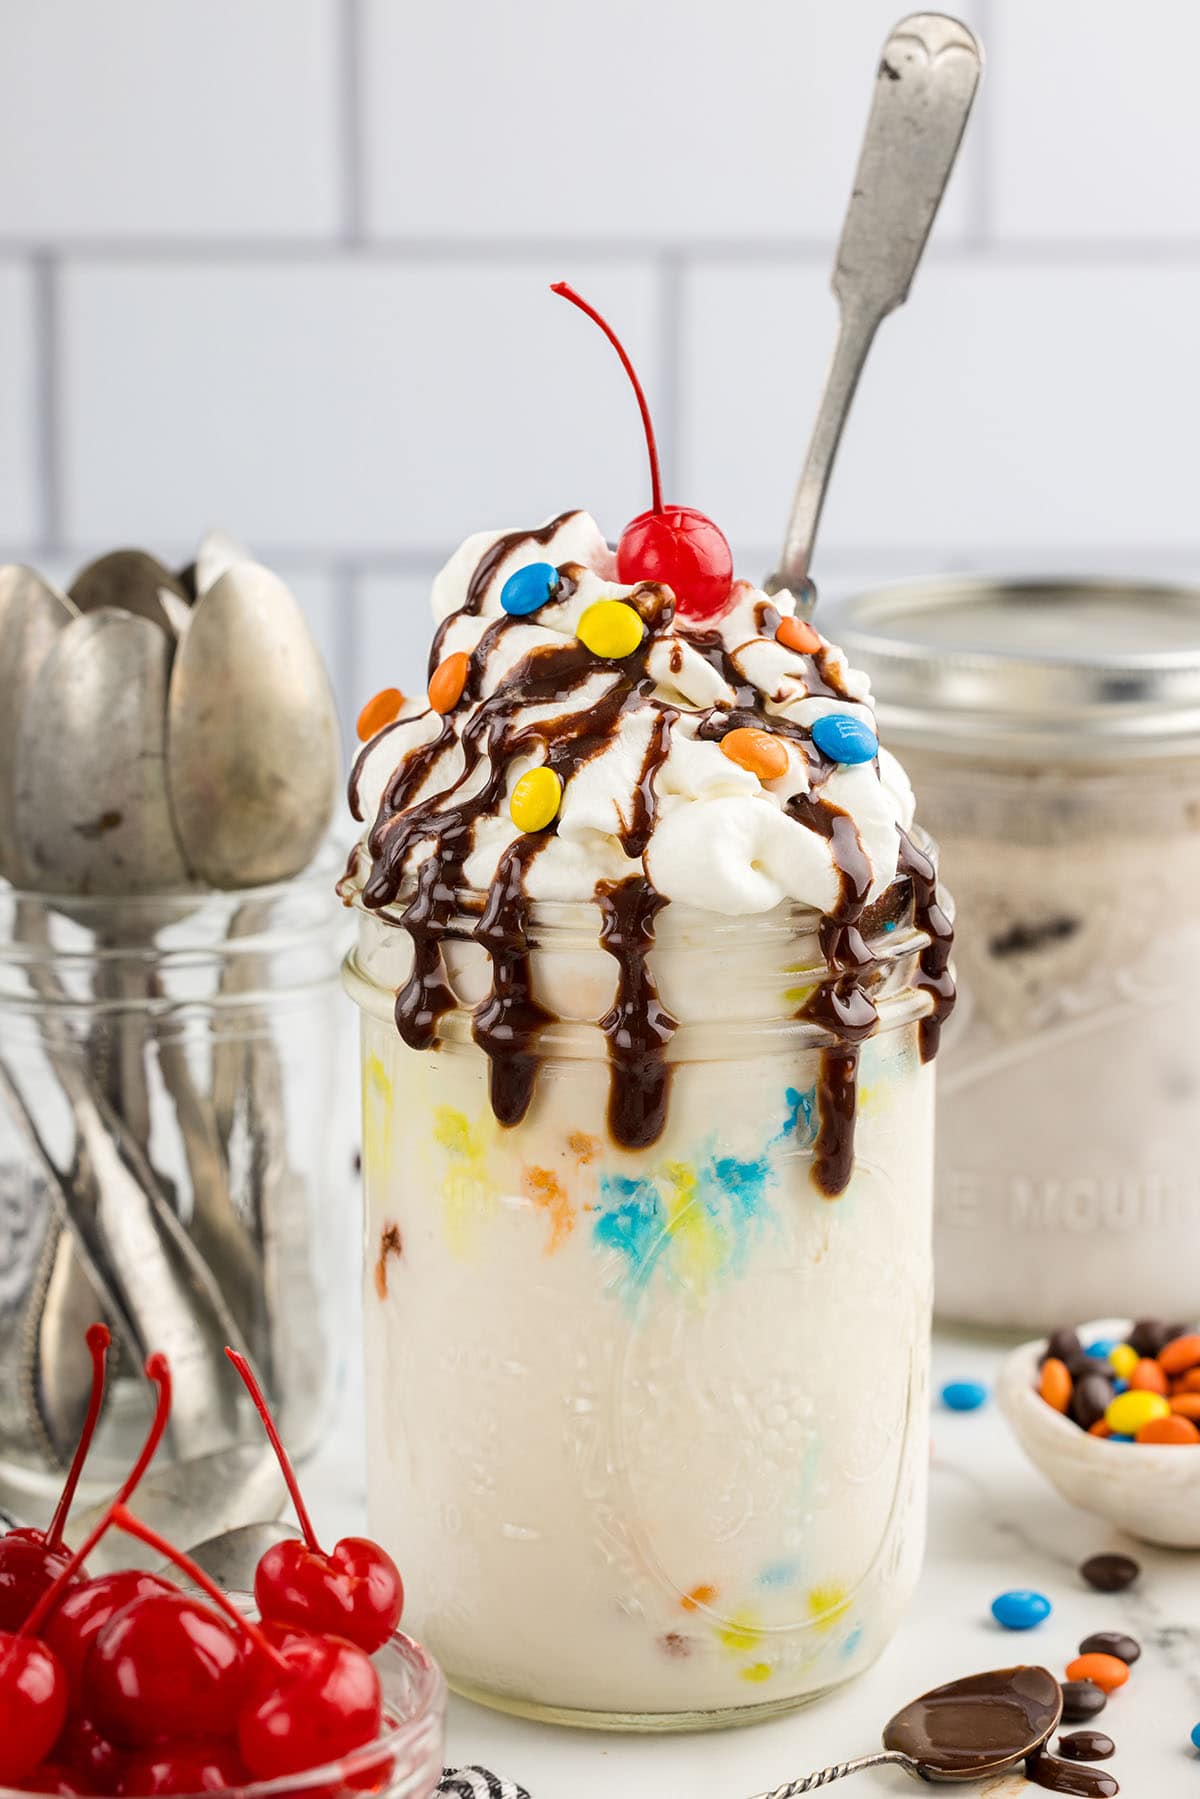
Other Tasty Toppings: Feel free to top your frozen treat with a dollop of whipped cream, a drizzle of chocolate magic shell, or serve it sundae style with a cherry on top!
Tips & Variations
- Make Them Mini: If you prefer a smaller size, you can use a half pint mason jar. Simply reduce the ingredients by half, or use 2 half pint jars.
- Kickstart The Ice Cream: You can place the empty mason jar in the freezer before you add the ingredients to kickstart the ice cream process. If the ice cream is too hard to scoop, let it sit at room temperature for a few minutes before serving.
- Serve It Soft: Don’t freeze your ice cream for more than 3 hours if you want a soft serve consistency. Freezing for longer will result in a harder consistency and you may get ice crystals.
When To Add the Mix-Ins
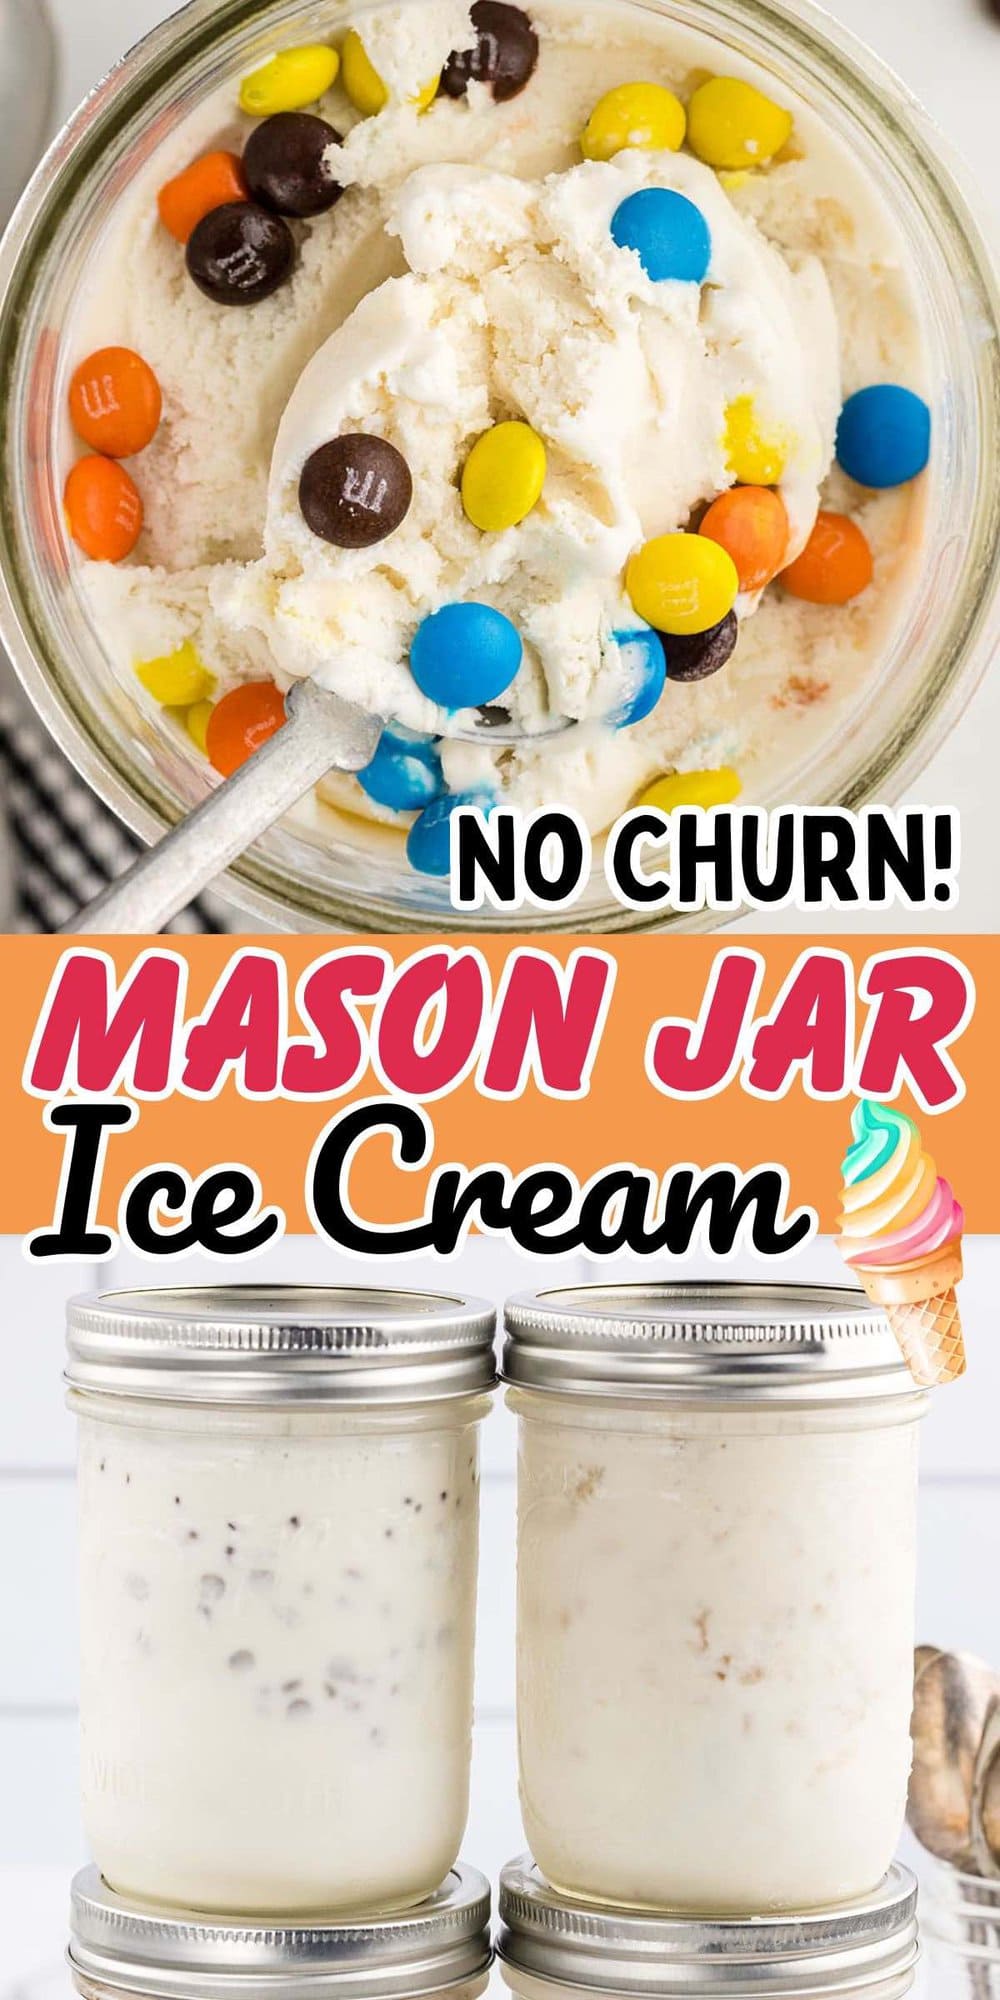
If you are using any of the add-ins, especially the sprinkles and mini chocolate chips, wait for about 1 hour before you remove the lid and add the add-ins. In my experience the sprinkles and mini chocolate chips tend to sink to the bottom. Waiting until the ice cream begins to set will help keep the add-ins from sinking to the bottom. Use a spoon to stir in the add-ins. Return the jars to the freezer.
Proper Storage
For optimal taste, texture, and quality, it’s best to enjoy this ice cream within 3 hours of preparation. However, if you have leftovers, you can safely store them in the freezer and enjoy within a week. Beyond that, it will still be safe to eat but may not taste as good. Allow them to soften at room temperature for approximately 15 minutes.
Other Easy Ice Cream Recipes
- Copycat Dairy Queen Cakes Recipe
- Skrewball Whiskey Ice Cream
- Ice Cream Sundae Trifle
- Easy Ice Cream Cake
- No Bake Ice Cream Sandwich Cake
- Drumstick Ice Cream Cake
- Copycat Dairy Queen Oreo Cookie Ice Cream Cake
If you tried this Mason Jar Ice Cream Recipe or any other recipe on my website, please leave a 🌟 star rating and let me know how it went in the 📝 comments below. Thanks for visiting!!!
Mason Jar Ice Cream
Ingredients
- 1 cup cold heavy cream
- 3 tablespoons granulated sugar
- 1 teaspoon pure vanilla extract
- ⅛ teaspoon table salt
- Optional add-ins – crushed oreos strawberry sundae topping, chocolate syrup, crushed chocolate chip cookies, colorful sprinkles, or mini chocolate chips
Instructions
- Add the cold heavy cream, granulated sugar, vanilla and salt. Use a small spoon to stir until the sugar and heavy cream are mixed well and you can barely hear the sugar on the bottom of the mason jar. (It is very important that the heavy cream is cold to achieve the desired thickness)
- Place the lid firmly and securely on the mason jar. Shake the jar for about 5 minutes, until the ice cream base has thickened. (This will help reduce any possible spills)
- Place the mason jar in the freezer for 3 hours. If you are using any of the add-ins, especially the sprinkles and mini chocolate chips, wait for about 1 hour before you remove the lid and add the add-ins. In my experience the sprinkles and mini chocolate chips tend to sink to the bottom. Waiting until the ice cream begins to set will help keep the add-ins from sinking to the bottom. Use a spoon to stir in the add-ins. Return the jars to the freezer.
- Once the ice cream is solidly set, remove the jar from the freezer and enjoy.
Jenn’s Notes
- For optimal taste, texture, and quality, it’s best to enjoy this ice cream within 3 hours of preparation. However, if you have leftovers, you can safely store them in the freezer and enjoy within a week. Beyond that, it will still be safe to eat but may not taste as good. Allow them to soften at room temperature for approximately 15 minutes.
- Make Them Mini: If you prefer a smaller size, you can use a half pint mason jar. Simply reduce the ingredients by half, or use 2 half pint jars.
- Kickstart The Ice Cream: You can place the empty mason jar in the freezer before you add the ingredients to kickstart the ice cream process. If the ice cream is too hard to scoop, let it sit at room temperature for a few minutes before serving.
- Serve It Soft: Don’t freeze your ice cream for more than 3 hours if you want a soft serve consistency. Freezing for longer will result in a harder consistency and you may get ice crystals.

What size of Mason jar was this recipe designed for?
love too try all kinds of easy recipes
How do I make this into chocolate 🍫 ice cream exactly? 😊 I can’t wait to try this!!!
You could probably add some cocoa powder, but I haven’t tried it yet to truly advise.