
This post may contain affiliate links. Please read our disclosure policy.
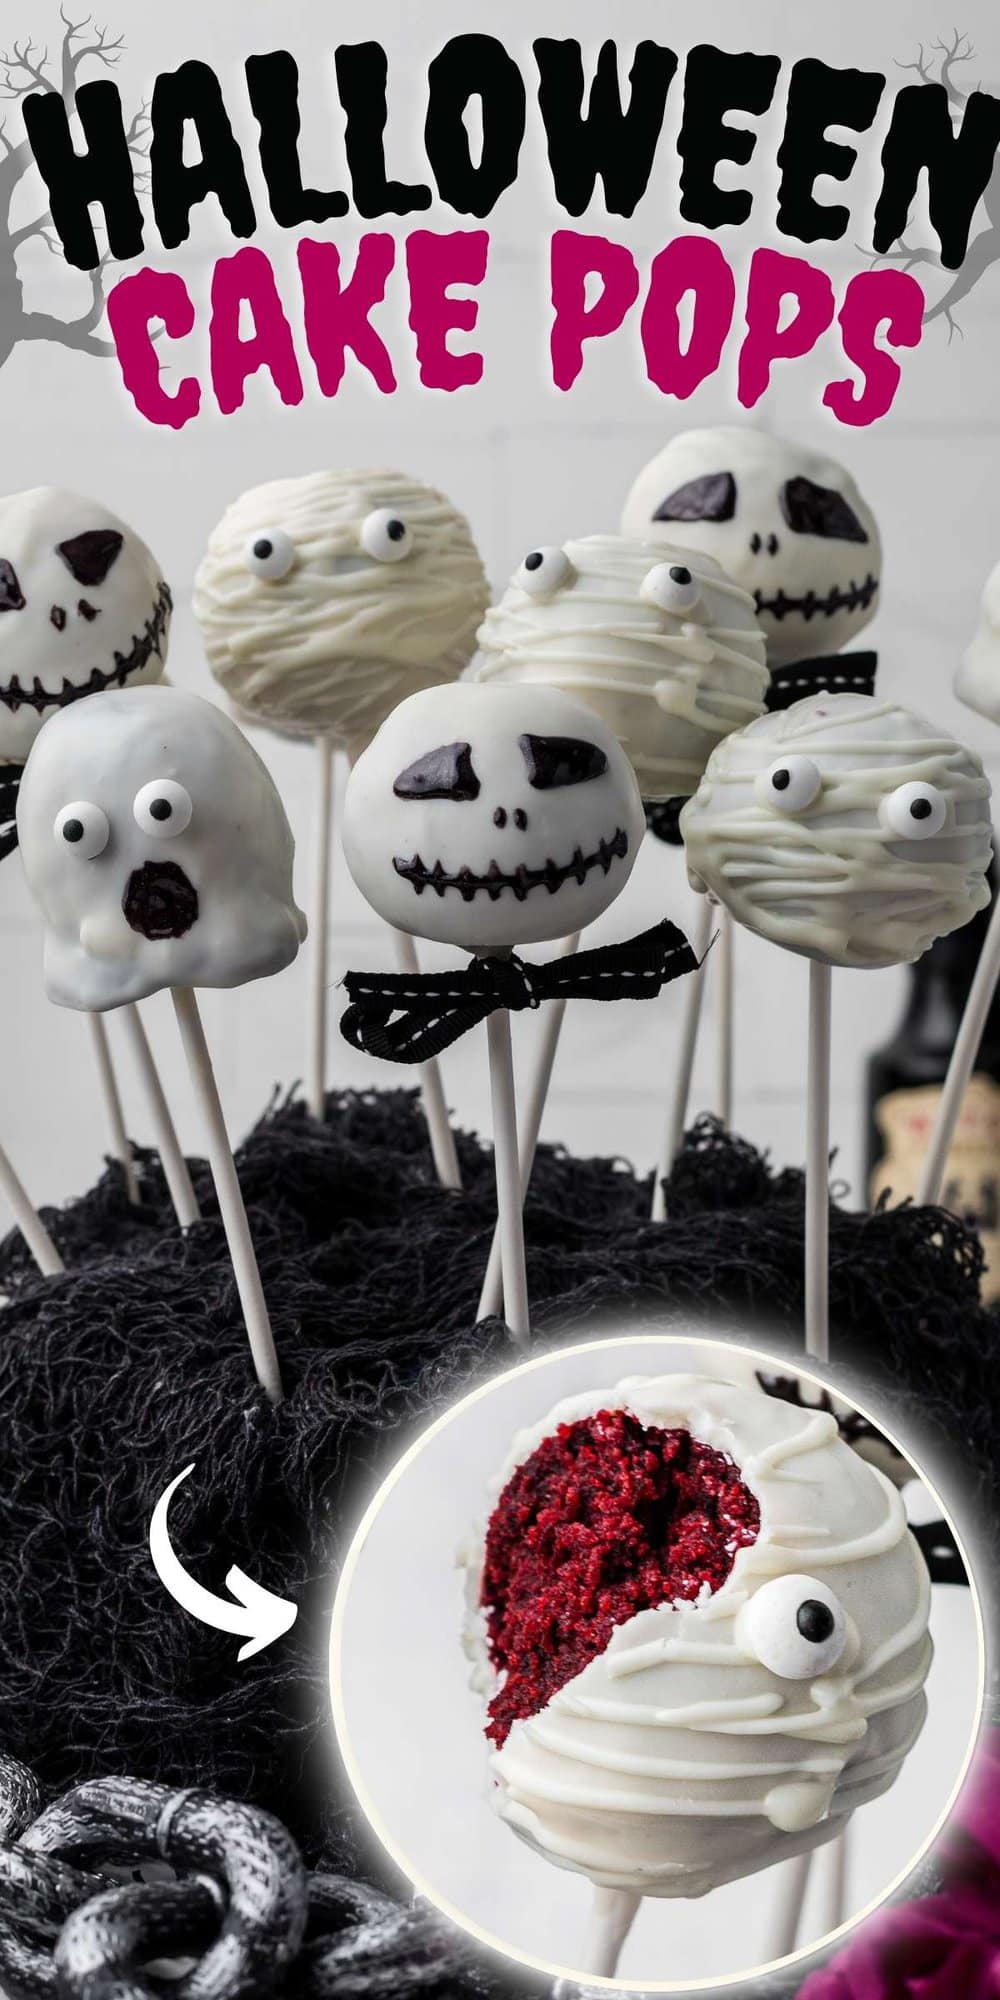
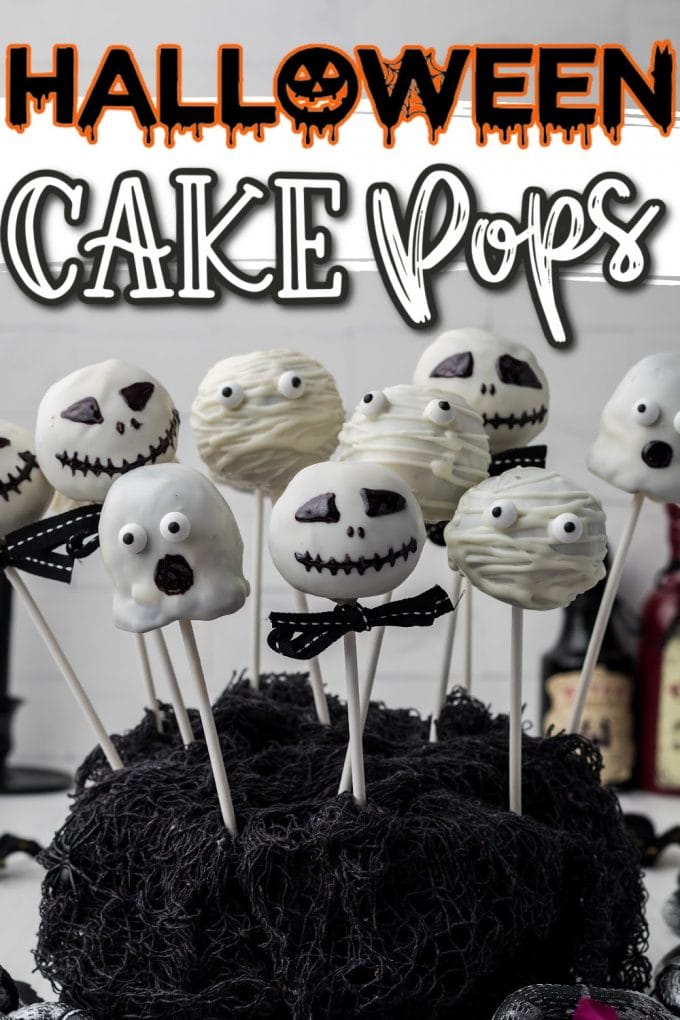
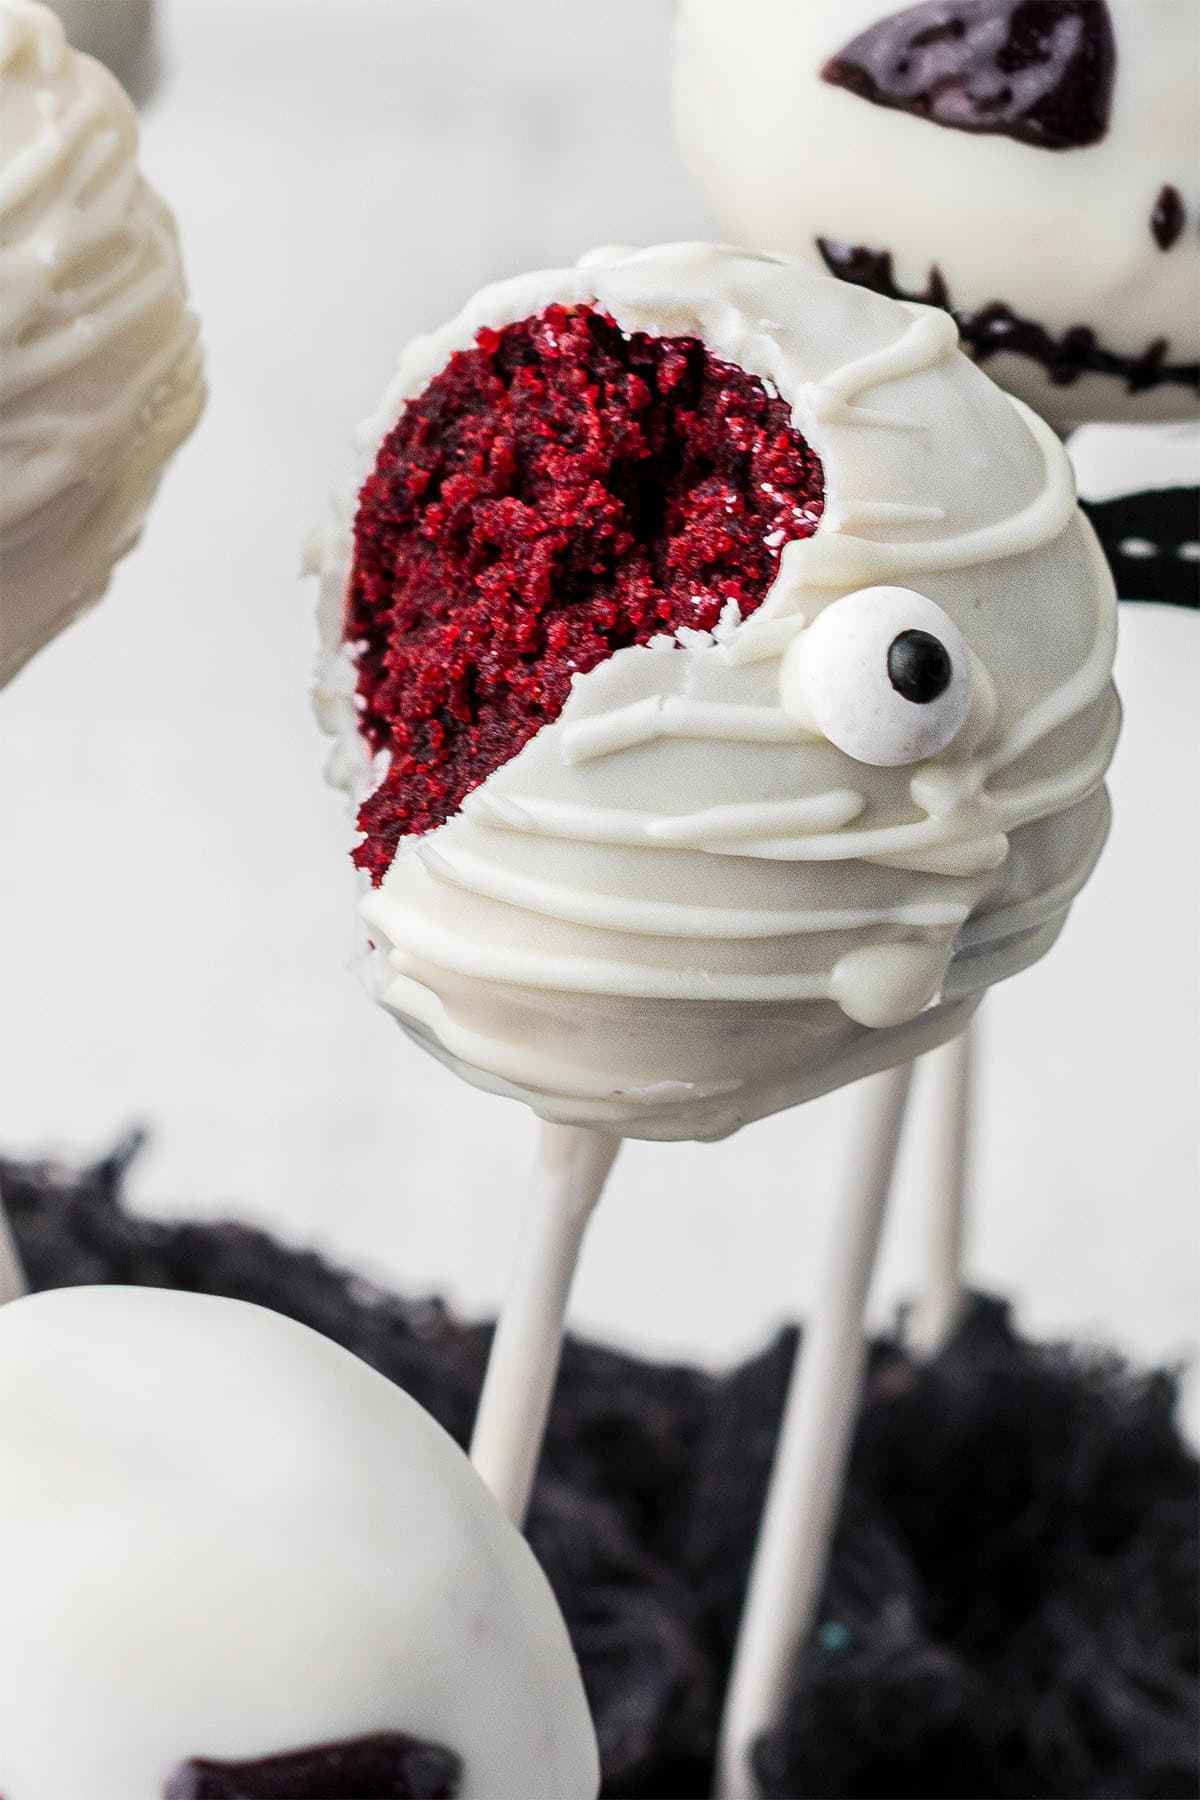
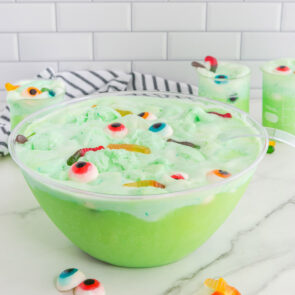
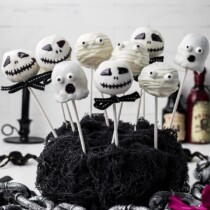
Halloween Cake Pops are fun to decorate and even more fun to devour! These cute and creepy treats bring mummies, Jack Skellingtons, and ghosts to life with cake mix, frosting, and candy melts


the Perfect Halloween Treat!
Making Halloween cake pops may sound scary, but if you follow my simple tips, there is nothing “spooky” about it! Let me tell you my secret for crafting the perfect pop–I use a box of red velvet cake mix combined with store-bought frosting, roll the mixture into balls, and coat them with candy melts.
There is no shame in baking from a box because my mix produces a moist cake crumb that is perfect for dipping and decorating and makes a delicious hand-held dessert that’s a party-pleaser every time.
My step-by-step instructions make it easy to turn a boring cake ball into a more-festive-than-frightful cake pop. Better than a brownie and more portable than pie, these Halloween-themed desserts are cute bites of cake-on-a-stick that will always be more captivating than their cousin, the cupcake (especially for kids)!
What is a cake pop?
A cake pop has the same flavor as a regular cake, but the frosting has been added to the cake crumbs to give it flavor and help the cake hold its shape in a ball. It’s a cross between cake and a lollipop!
Why We Love This Halloween Cake Pops Recipe
- Easy to make and fun to decorate.
- Portable and perfectly portioned bites of cake.
- Festive holiday-themed desert and so adorable.
- Kid-friendly treat that won’t leave messy hands.
- Versatile recipe that lets you get creative with customized fun colors and character creations.
- Perfect handheld, bite-sized party treat, edible gift, or party favor.
Halloween Cake Pops Ingredients
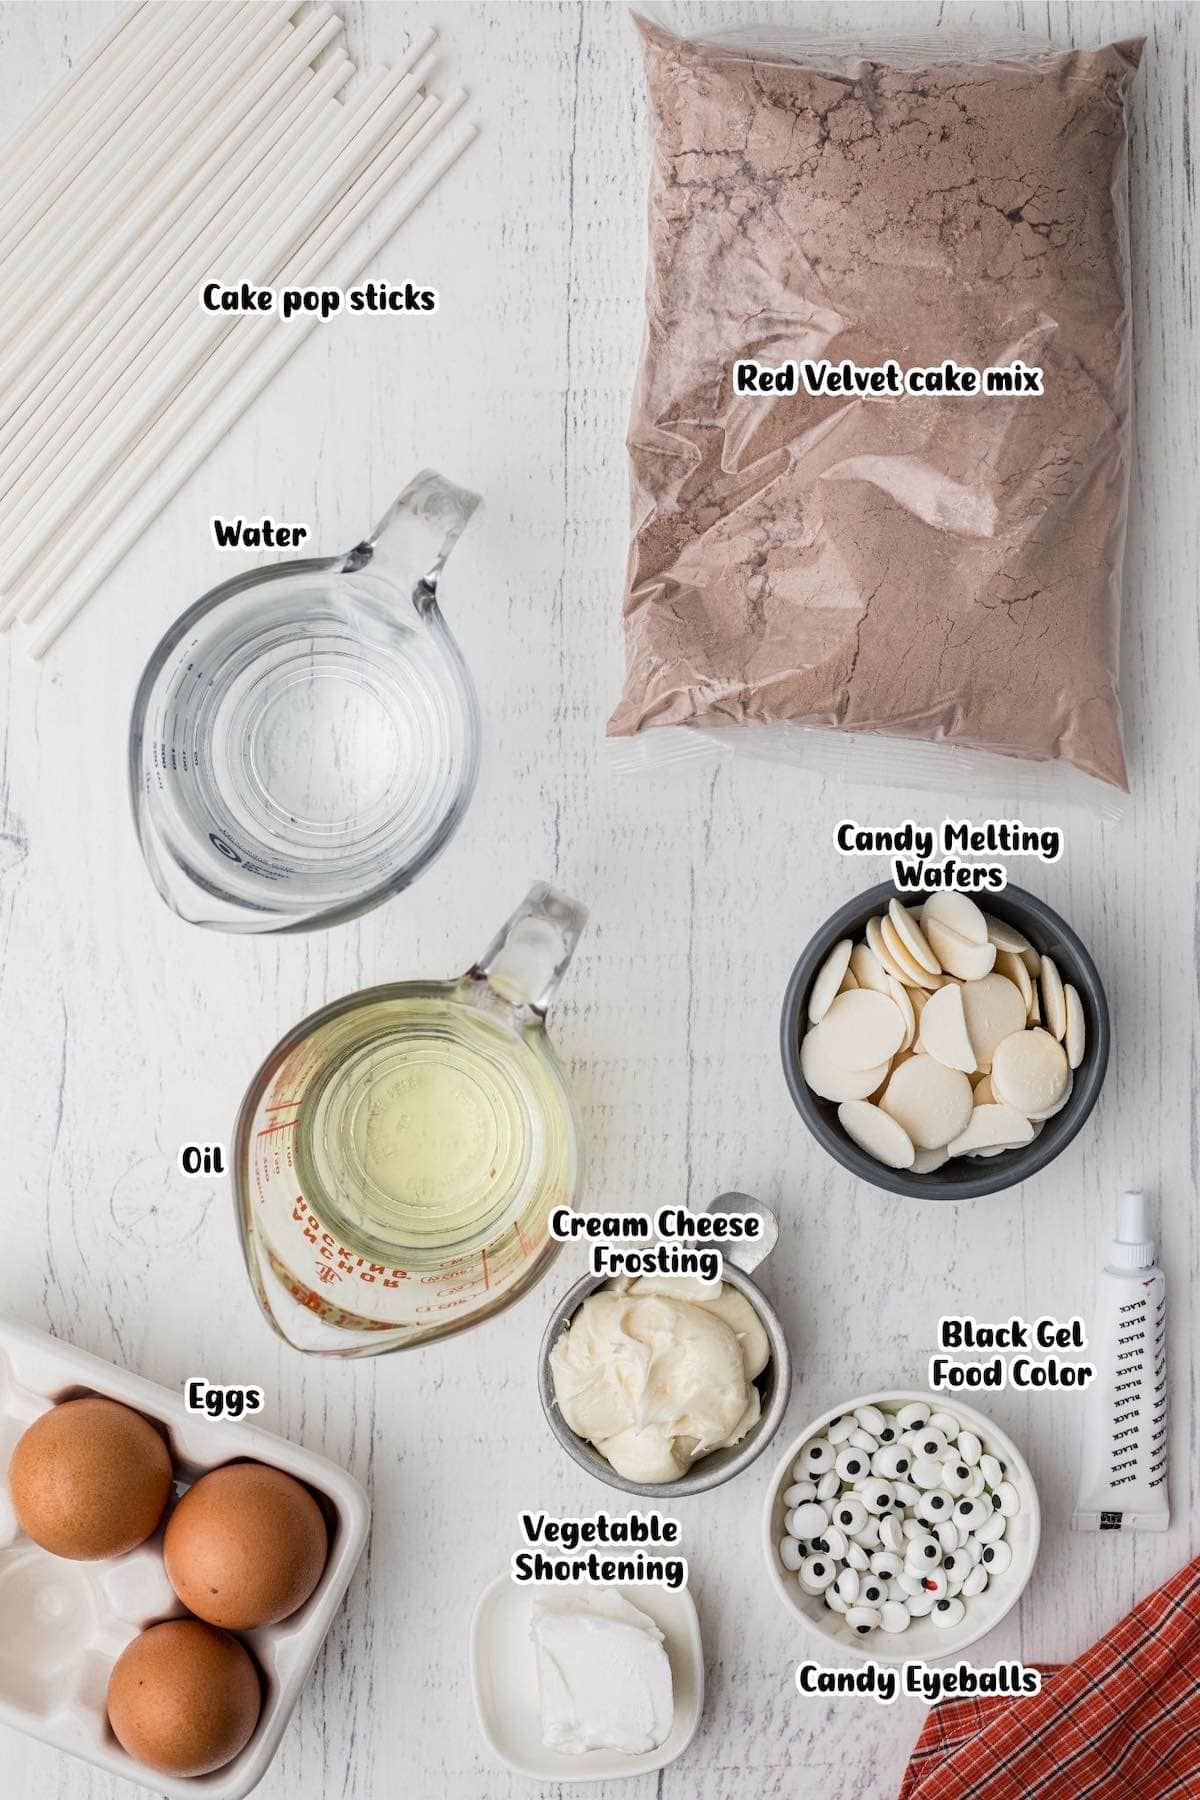
- Red Velvet cake mix – You can use any cake mix you like to make cake pops. You can even use your own cake recipe if you prefer. Just adjust the oil/eggs/water per the box instructions.
- Eggs
- Oil
- Water
- Cream Cheese Frosting
- White Chocolate/Candy Melting Wafers
- Black Gel Food Color
- Vegetable Shortening
- Candy Eyeballs (for decorating)
- 50” Black/white ribbon (for decorating)
- Cake Pop Sticks
Substitutions and Additions
- Fall Flavor: To stay with the Halloween theme, try pumpkin-flavored cake combined with warming spices for the perfect taste of the fall season.
- Flavor Combinations: Some other delicious flavor combinations can include white cake, chocolate cake, or birthday cake with classic buttercream frosting; lemon cake with lemon frosting; carrot cake with cream cheese frosting; angel food cake with chocolate frosting.
- Customize Your Cake: Because this recipe can be a blank canvas for creating your own custom-themed-cake pop, test your decorating skills with crushed cookie crumbs, sprinkles, nuts, candy, multi-colored chocolate melts, or colorful icing. Get creative and have fun!
- Skip the Stick: Serve these treats as cake balls or truffles.
- Create Holiday Happiness: You can use a variety of colored sprinkles to make festive cake pops for any holiday. Add rainbow confetti sprinkles for a birthday-themed party, red and green sprinkles for Christmas, pink and red sprinkles for Valentine’s Day, and pretty pale colors for Easter.
Recommended Tools to Make this Recipe
How to Make Halloween Cake Pops
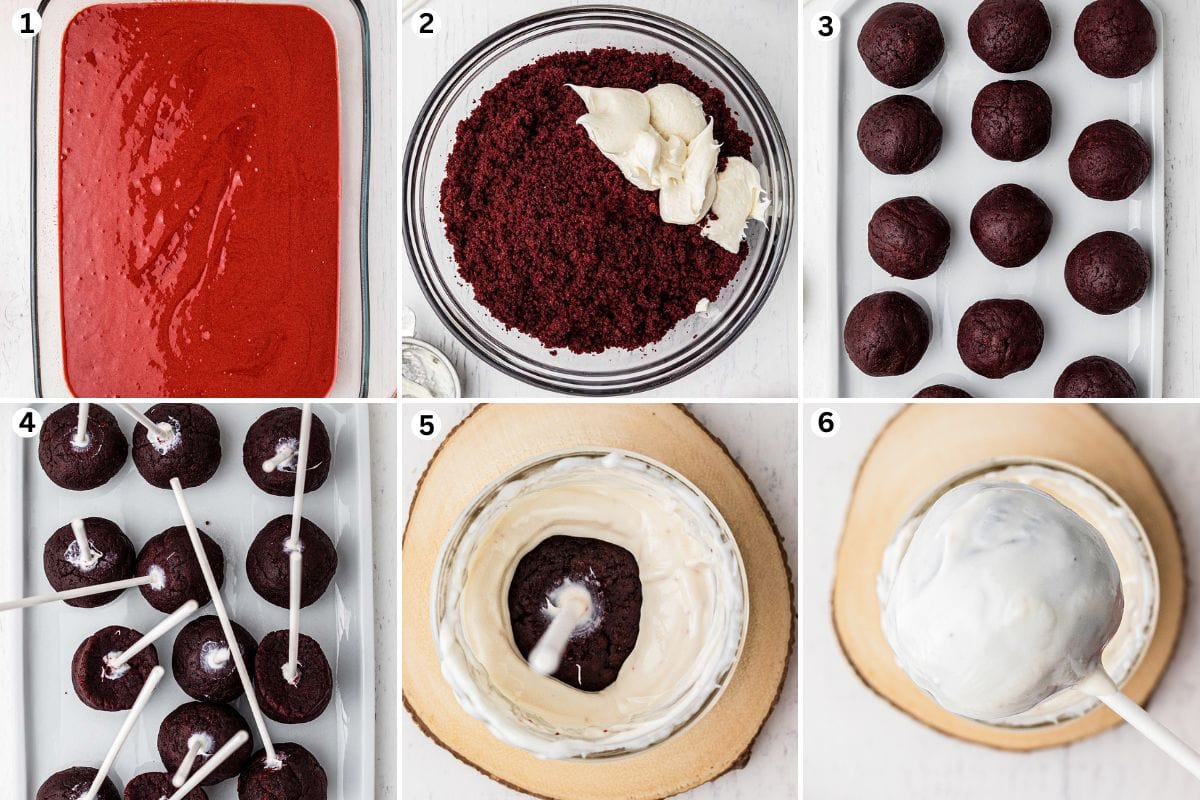
- Beat together the cake mix, eggs, oil, and water. Pour cake mixture into your baking dish, bake, and cool. (Image 1)
- Break cooled cake into pieces and chop them into small crumbs using a food processor. Combine cake crumbs and cream cheese frosting in a mixing bowl. (Image 2)
- Roll cake mixture into 2″ balls and place on a parchment lined baking sheet. (Image 3)
- Insert one end of a cake pop stick into melted candy wafer discs. (Image 4)
Pro Tip: Your stick should submerge about 1″ into the melted chocolate. - Press the wet chocolate end of the stick into each cake ball, about 2/3 of the way in and place tray in the fridge.
Pro Tip: You can use your finger to wipe the excess candy around the stick. - In a narrow jar/cup, melt half the melting wafers and ½ the shortening, stirring every 30 seconds.
- One at a time, dip each cake pop into the chocolate coating. (Image 5)
Pro Tip: Do not move the cake pop around as it may cause the stick to come loose. If you need to, move the jar/cup around to completely coat the cake ball. - Remove cake pop from the coating and continue to hold it upside down so any excess coating can drip off. (Image 6)
- Place coated cake pop into your cake pop holder and continue to dip each pop. Allow candy melt to set before decorating.
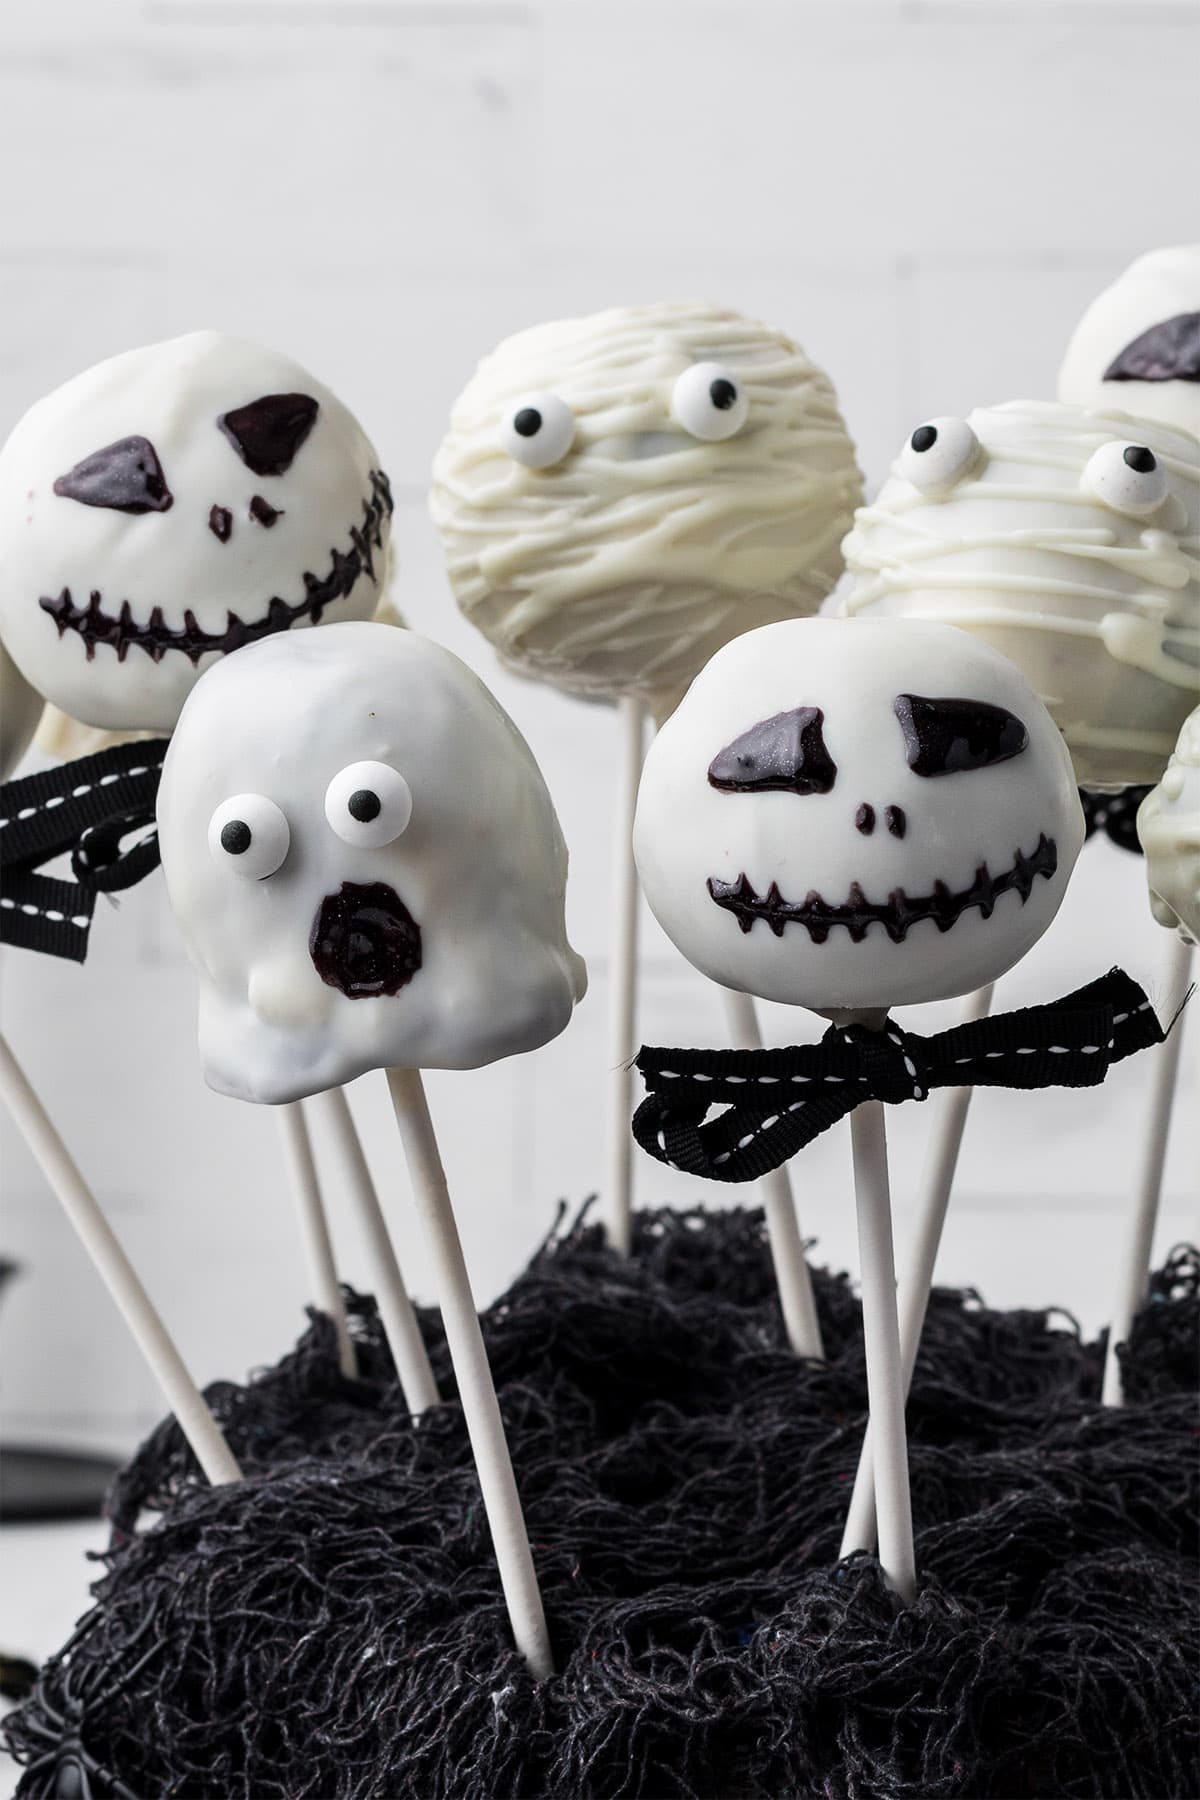
To Make a Mummy Cake Pop
- Pour remaining coating into a piping bag with a #3 tip.
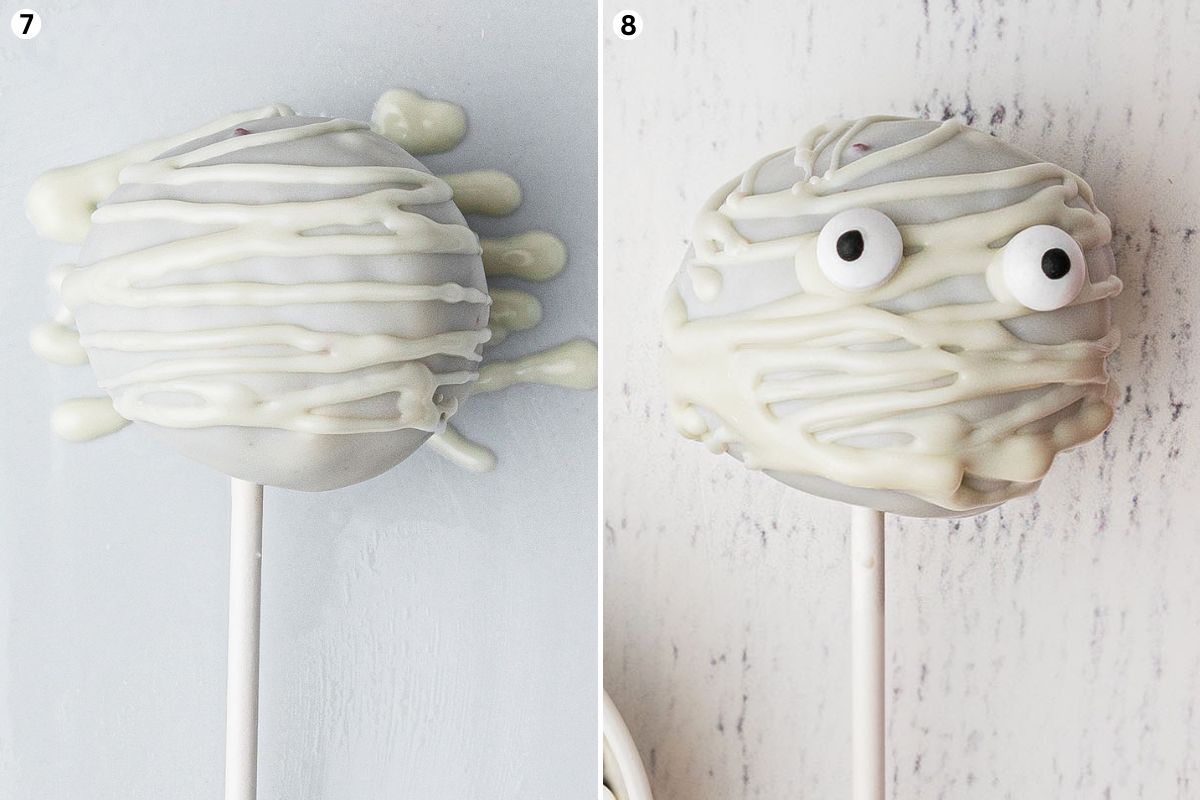
Pro Tip: You can add a little more shortening to the coating if you need to warm it up. - Place 4 cake pops on a plate and pipe straight lines across each, back and forth, to create the mummy bandages. (Image 7)
- Lift the cake pop from the plate and hold it while you pipe the back side of the cake pop. Place each completed pop back into the holder.
- With the remaining icing, place 2 dots where the eyes will be and quickly place a candy eyeball on top of each. (Image 8)
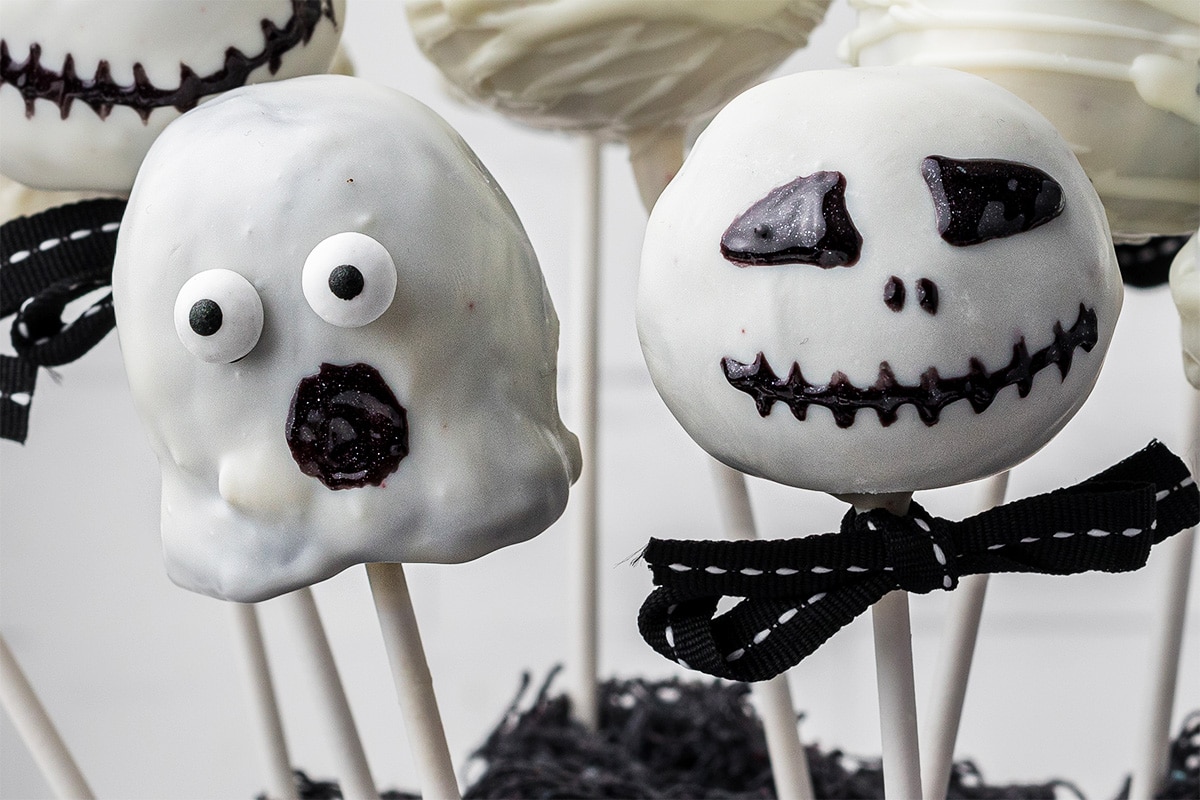
To Make a Jack Skellington Cake Pop
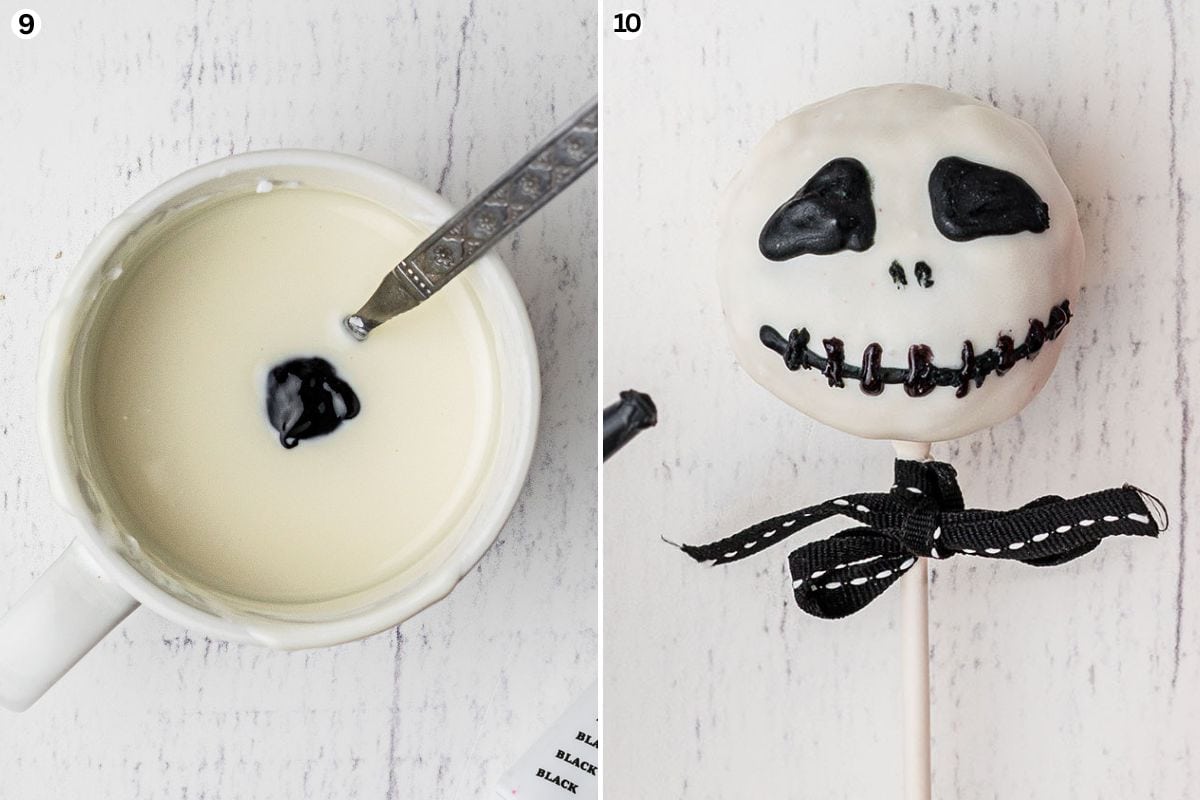
- Melt the remaining candy wafers and shortening, then add the black food color, mix well, and pour into another piping bag. (Image 9)
- Tie ribbon bows on 5 of the undecorated cake pops.
- Decorate the face of Jack Skellington using the black icing and place into the cake pop holder. (Image 10)
To Make a Ghost Cake Pop
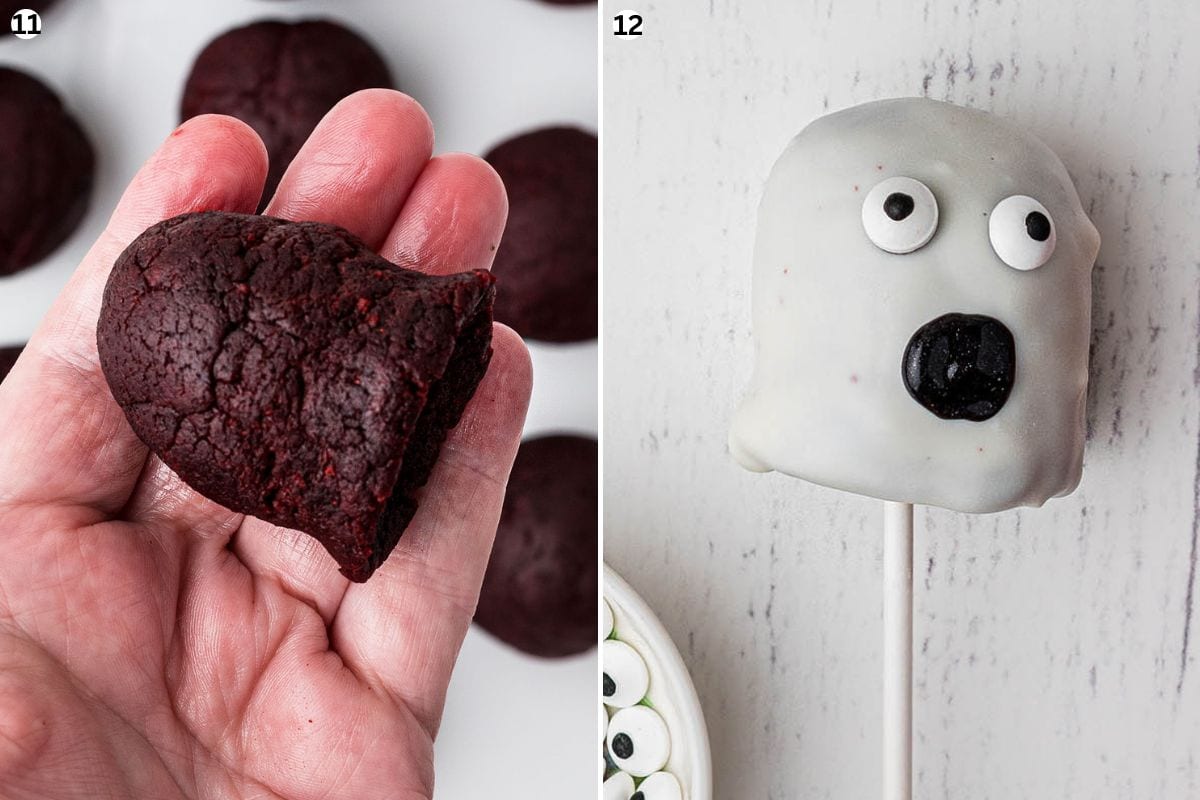
- Roll 4 of the cake balls into a cylindrical shape and then fan out one end to make a ghost shape. (Image 11)
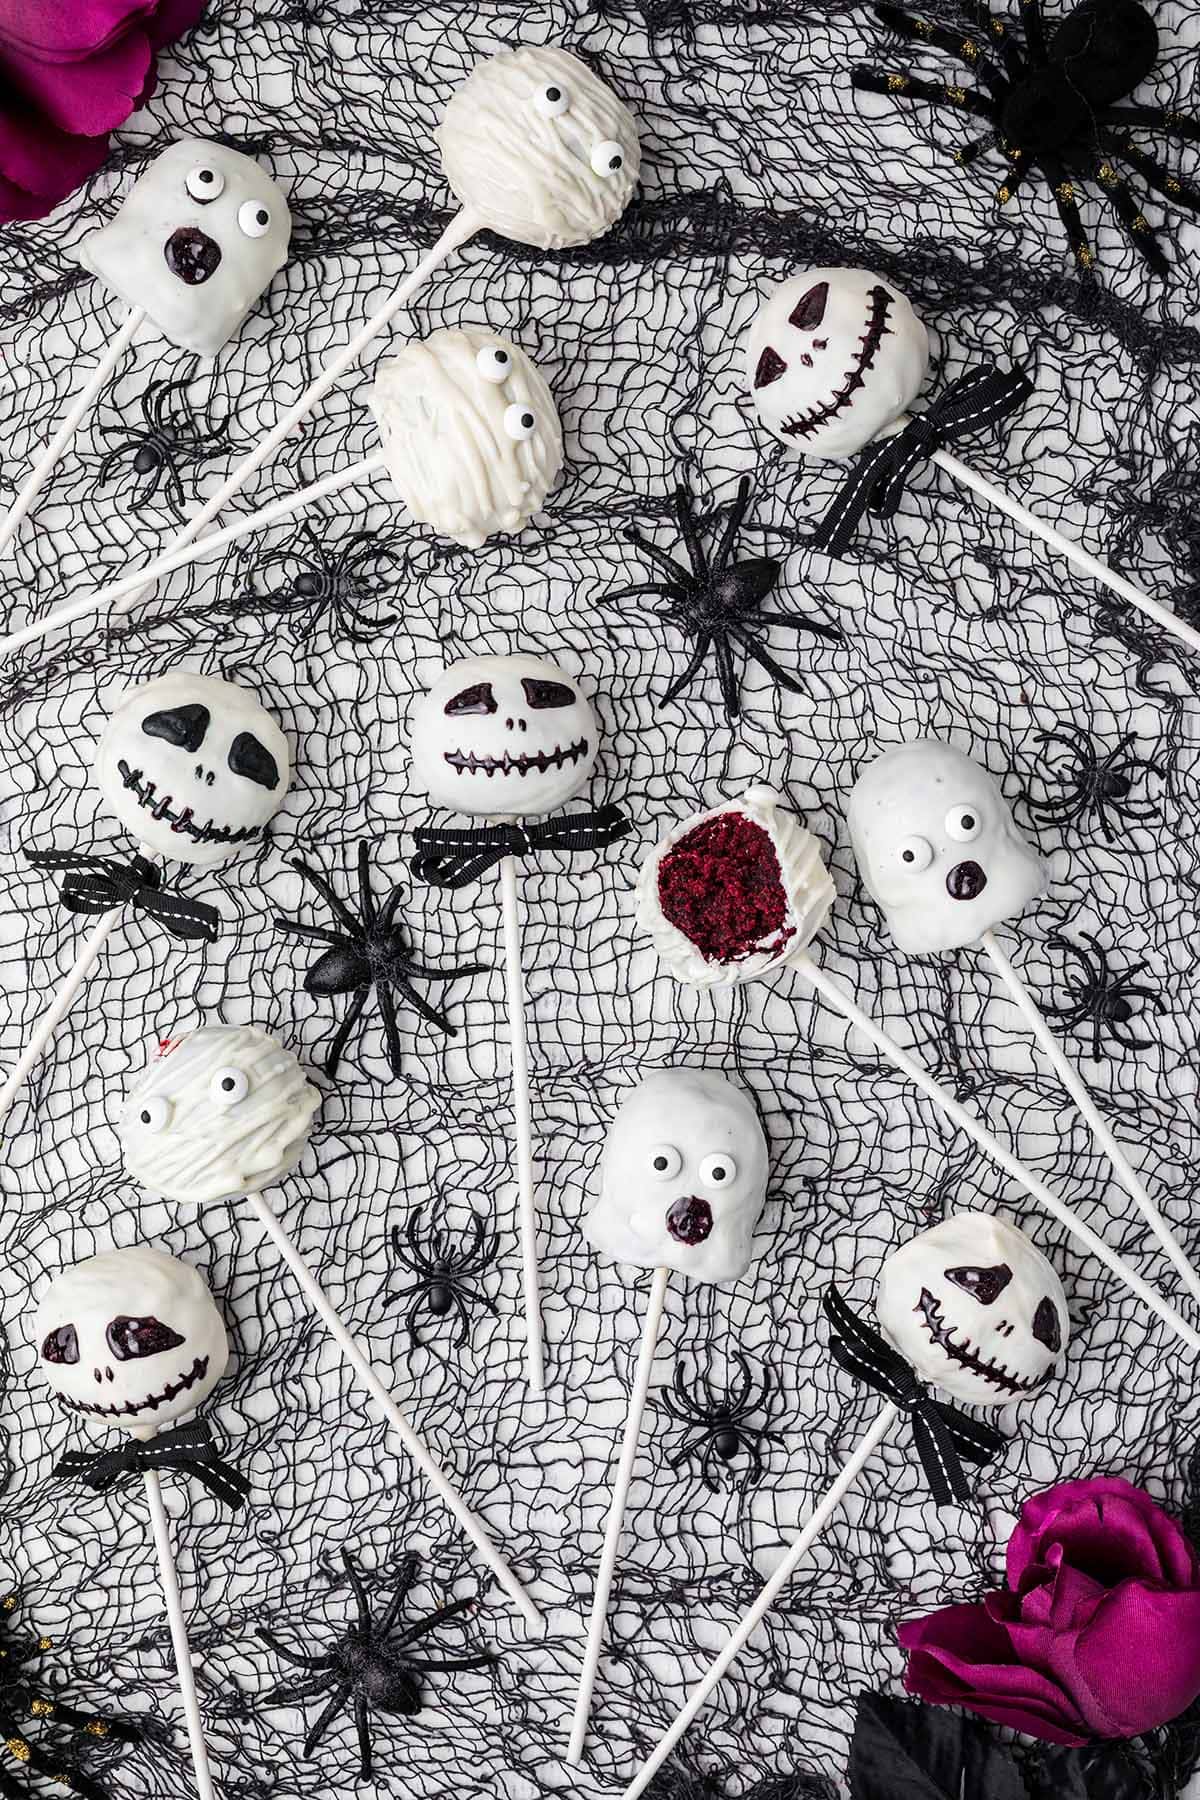
- Place 2 dots of the black icing where the eyes will be and quickly place a candy eyeball on top of each.
- Use black icing to make a big round mouth. (Image 12)
Display cake pops in the cake pop holder at your Halloween party. Enjoy!
Tips for Making the Best Cake Pops
- Use a 2″ cookie scoop to scoop out the dough to have equal portions of cake balls.
- For making well-rounded balls, I find using my hands and gently rolling the dough between my palms works the best.
- Use a soft styrofoam block to place the cake pops into after dipping in the coating while drying.
- Use a deep, narrow cup or tall drinking glass to submerge the cake ball into the coating. It is the perfect depth for dipping the cake pops.
- Don’t add too much frosting, or cake pops will not hold together. Add a bit at a time until the cake holds together.
- Rolled cake pops must be well chilled before coating. I like to work in small batches so cake pops stay chilled.
- Don’t wait until all of your cake pops have been dipped to begin decorating! Melting wafers harden fast, so dip, decorate, and repeat.
Storage Tips
- To Store: Once the cake pops have been constructed, they can be stored in a sealed airtight container at room temperature for 3-4 days. If stored in the refrigerator, they will keep a little longer, for 5-7 days.
- To Freeze: Place cake pops in a freezer-safe container large enough to house them without crowding, and separate each layer with a sheet of wax paper. Seal them and freeze for 6-8 weeks.
More Halloween Treats
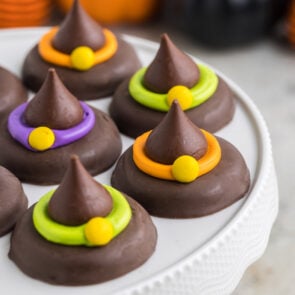
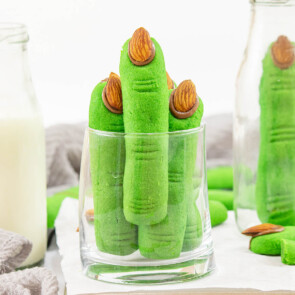
Other Easy Halloween Treats
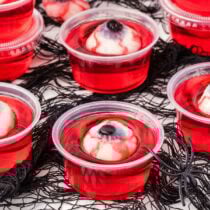
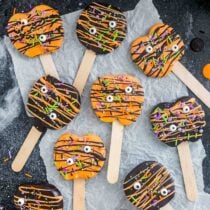
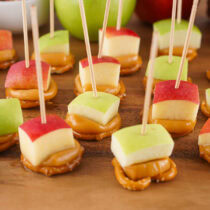
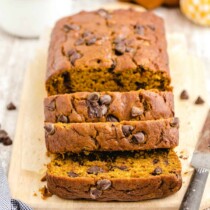
- Spooky & Delicious Halloween Treats (10+ treats you will love)
- Easy Halloween Spider Cookies
- Graveyard Chocolate Cheesecake Dip
- Frankenstein Rice Krispie Treats
- Halloween Chocolate Truffles {easy for any holiday}
- Halloween Puppy Chow Chex Mix
- Halloween Candy Bark
- Halloween Marshmallows
Halloween Cake Pops
Ingredients
- 1 box Red Velvet Cake Mix
- 3 large eggs
- ½ cup oil
- 1¼ cup water
- 5 tbsp cream cheese frosting
- 20 oz white chocolate candy melting wafers
- 1½ tbsp black gel food color
- ⅓ cup vegetable shortening
- candy eyeballs for decorating
- 50 inch black/white ribbon for decorating
- cake pop sticks
Instructions
- Preheat oven to 350°F.
- In a large mixing bowl, beat the cake mix, eggs, oil and water at a medium speed for two minutes.
- Pour into a greased 9×13 baking dish and bake for 25-30 minutes, or until an inserted toothpick comes out clean.
- Allow to cool in the dish for 10 minutes then turn out onto a cooling rack to cool all the way.
- Break up the cooled cake into pieces and put into a food processor to chop into small crumbs.
- Transfer to a large mixing bowl and add the cream cheese frosting. Combine well.
- Using your hands roll 2” balls out of this mix.
- Roll 4 of those balls slightly more to make it more cylindrical. Then fan out one end (this is to make a ghost shape).
- Take about 15 of the wafer discs and melt, then insert one end of the cake pop stick to be about 1” deep into the melted white candy/chocolate.
- While this is still wet press into one of the balls, about 2/3 of the way in. Use your finger and wipe the excess candy to tidy up. Do this with all the shaped balls and then refrigerate for 15 minutes to allow that candy to set.
- While they are in the refrigerator find a narrow jar/cup to dip the cake pops into. Give enough room for the cake pop and the coating to pass but not too wide to where you have to make much more coating.
- Fill the jar with half the melting wafers and ½ the shortening. Melt in the microwave (or a double boiler if you prefer). In the microwave stir between 30 second intervals until you get a good consistency to dip.
- Prepare a place to put the cake pops after they have been dipped. I use a cake pop stand, and reuse it just for this part of the process. You can use a container filled with beans or rice. A piece of foam. Anything that will hold the cake pops upright.
- Start dipping the cake pops into the coating. Push down one time, do not move the cake pop around as it may cause the stick to come loose. If you need to you can move the container around to coat all over, if needed.
- Remove from the dip and hold above to allow the excess to drip off. Do not turn the cake pop around, just hold still and tap the cake pop stick to encourage the excess to drip down. Place into the cake pop holder and move onto the next. Allow 15 minutes to set before moving onto the next stage.
- Once they have all been coated you can begin the decoration phase. Using the remaining coating (warm up again if needed and add a little more shortening) pour into a piping bag with a #3 tip.
- One a plate pipe onto four of the cake pops in straight lines, back and forth, to create the mummy bandages. Turn it over and do the same on the back except hold onto the cake pop so you don’t mess up the back. Place back into the cake pop holder and move onto the next.
- Once all mummies have been done like this take the remaining icing in the bag and place little dots where the eyes will be. Quickly place a candy eyeball on top. The icing/coating will set and hold the eye ball in place. This completes the mummies.
- Melt the remaining candy wafers, shortening and add the black food color. Mix well.
- Put into another piping bag or use a dispensing bottle to decorate.
- Cut the ribbon into 5 pieces of 10” each piece.
- Tie bows on 5 of the round remaining cake pops.
- Decorate the face of Jack Skellington using the black colored icing. Place into the cake pop holder.
- For the ghosts, using the remaining black icing spot two places for the eyeballs to attach. Only a very little is needed.
- Make a big round mouth using the black icing.
- Allow to dry in the cake pop holder.
- Make your cake pop holder and display as preferred for your Halloween Party.
Jenn’s Notes
- To Store: Once the cake pops have been constructed they can be stored in a sealed airtight container at room temperature for 3-4 days. If stored in the refrigerator they will keep a little longer, for 5-7 days.
- To Freeze: Place cake pops in a freezer safe container large enough to house them without crowding, and separate each layer with a sheet of wax paper. Seal them, and freeze for 6-8 weeks.


Haven’t made them yet but they look fabulous. Will make for Halloween definitely.