This post may contain affiliate links. Please read our disclosure policy.
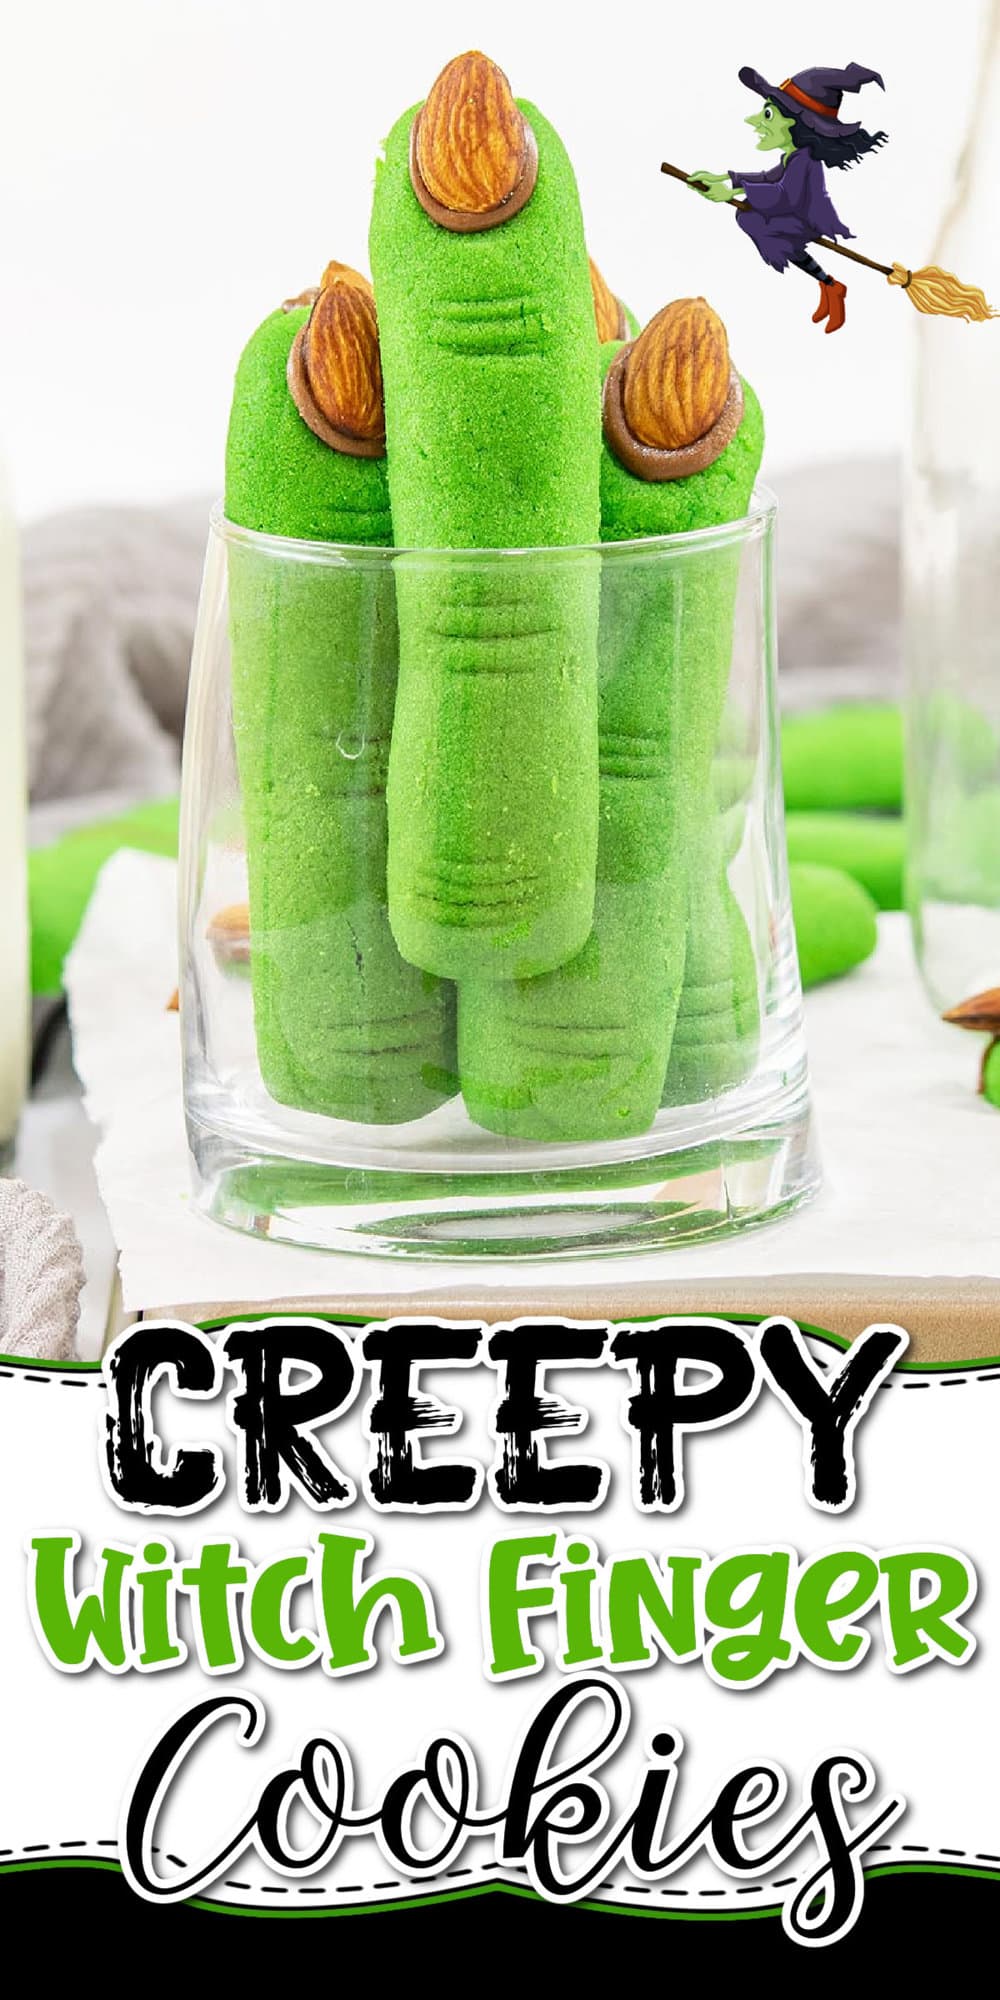
This Creepy Witch Finger Cookies recipe is easy to make and fun to decorate for a Halloween party.
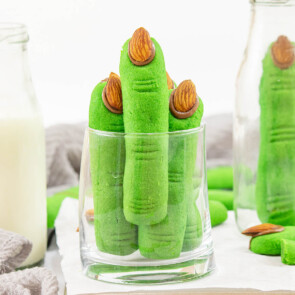
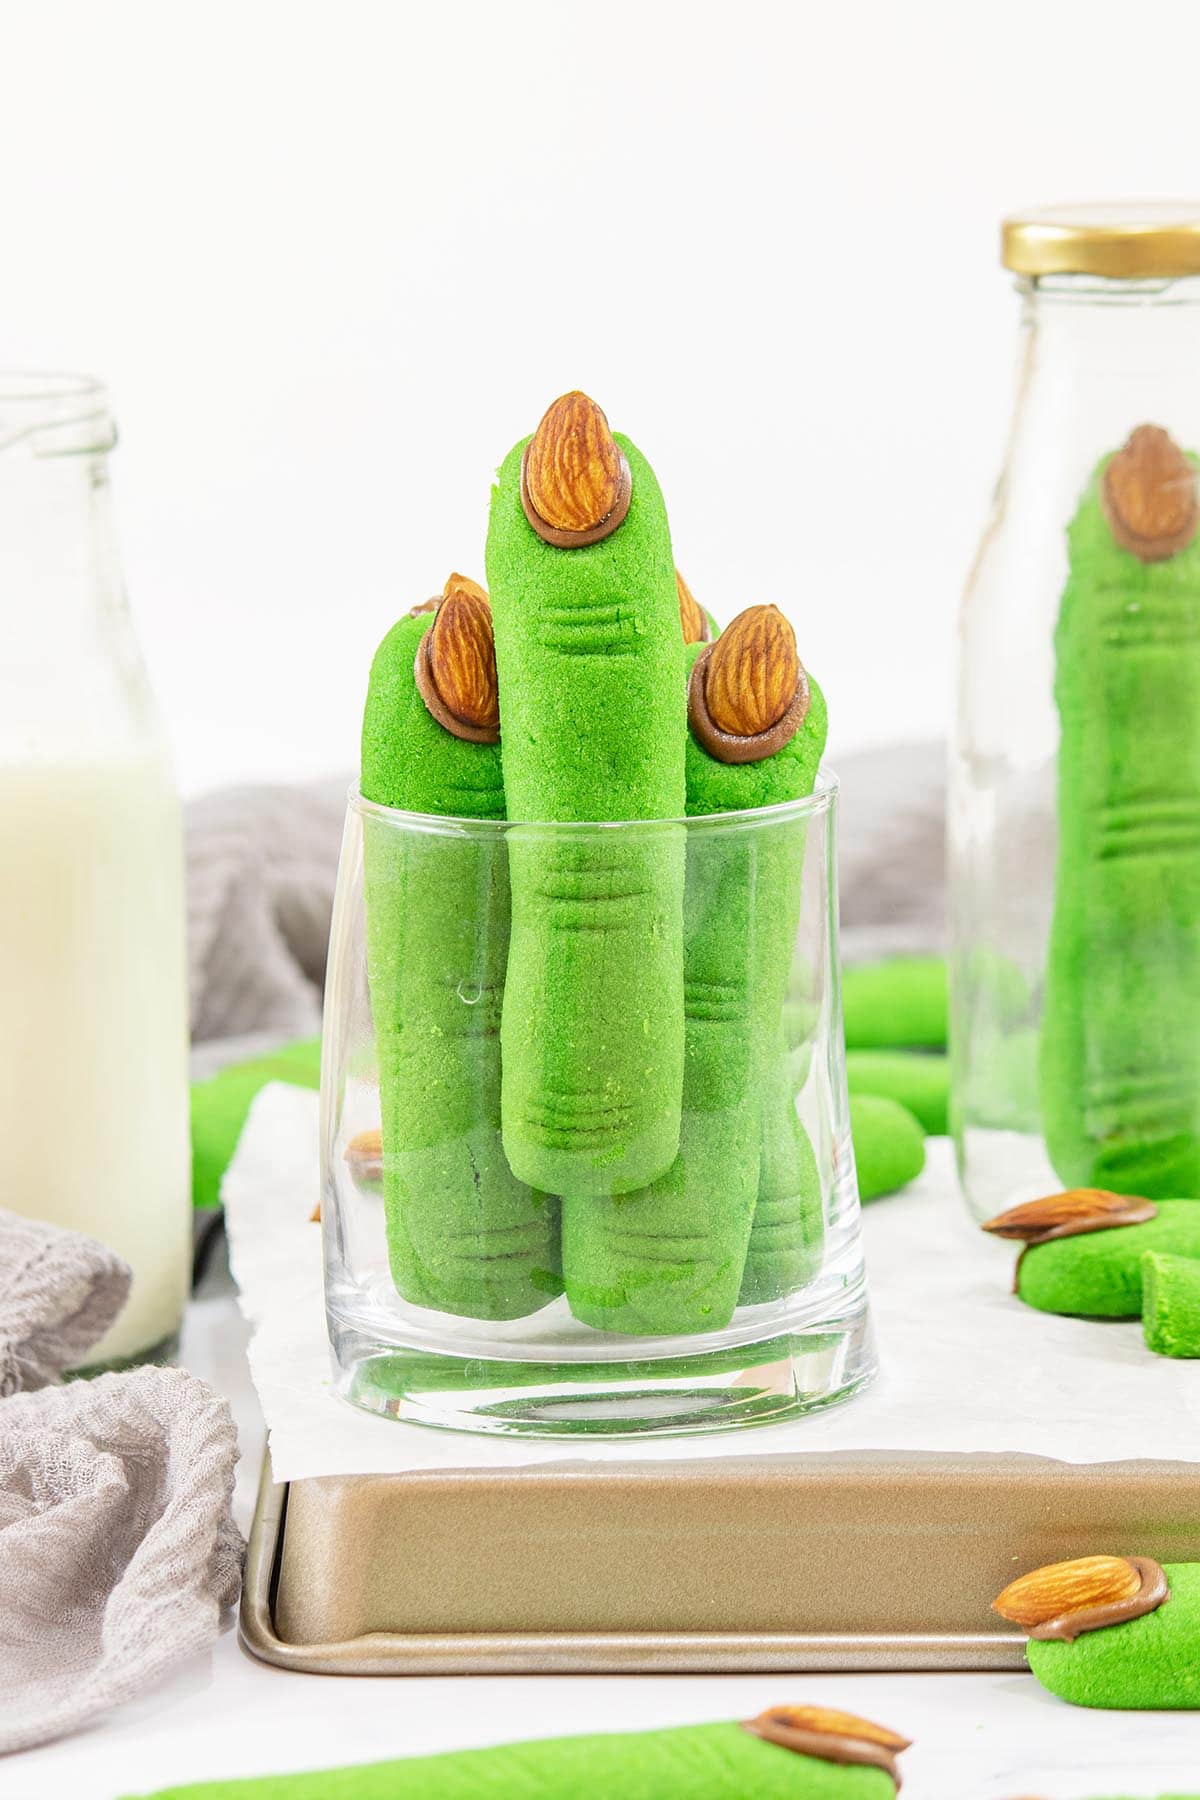
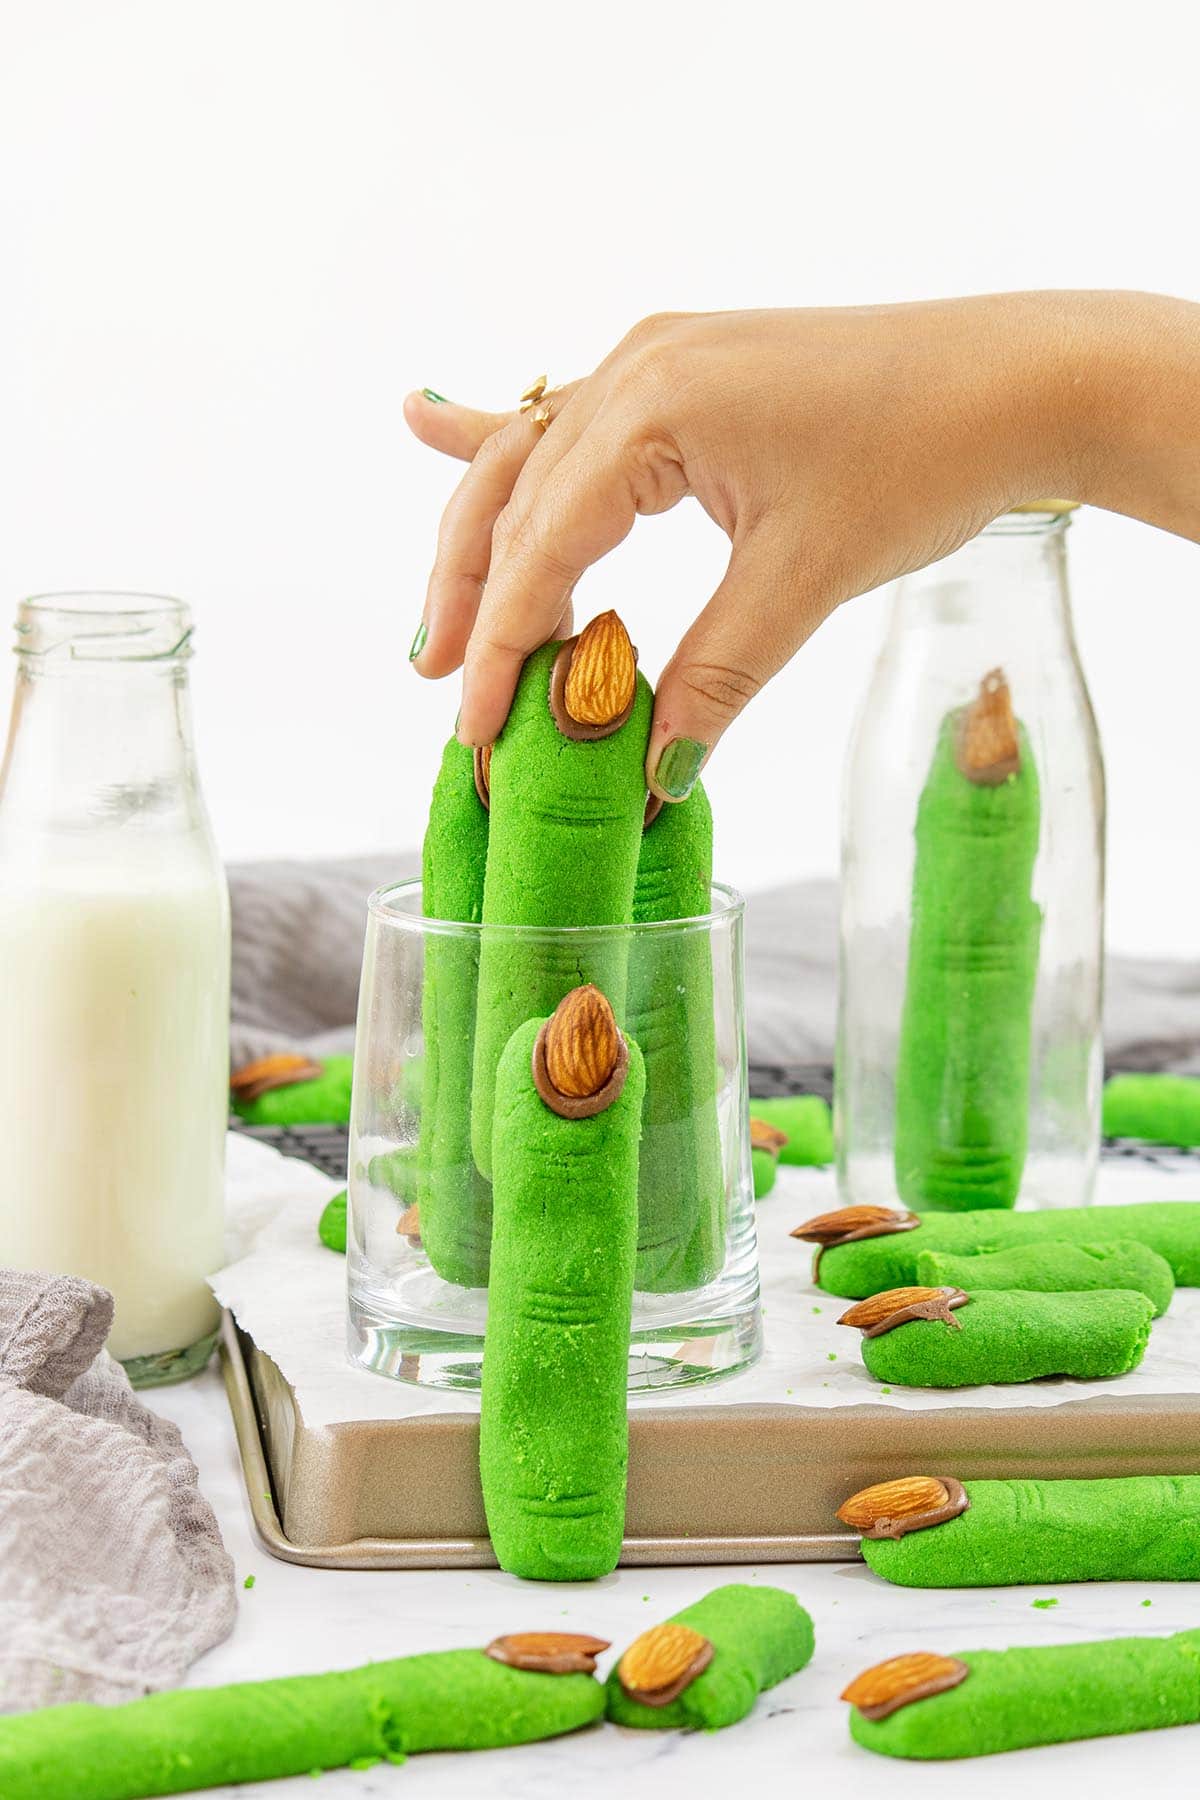
The simple homemade buttery shortbread cookie base is shaped in the form of witch fingers, complete with wrinkly knuckles, gnarly almond nails, and chocolate oozing from the sides.
Witches Finger Cookies for Halloween
Halloween Witch Fingers Cookies are easy to make using kitchen staple ingredients you may already have at home.
These spooky witches’ fingers start with a simple, made-from-scratch shortbread cookie dough base that is colored, rolled, shaped, and baked to resemble the best finger food that almost looks too frightening to eat.
You can attach your almond fingernails to the nail beds using red gel or jam so they appear to be dripping in blood, but my family deemed them too daunting to eat this way and I improvised with melted chocolate instead.
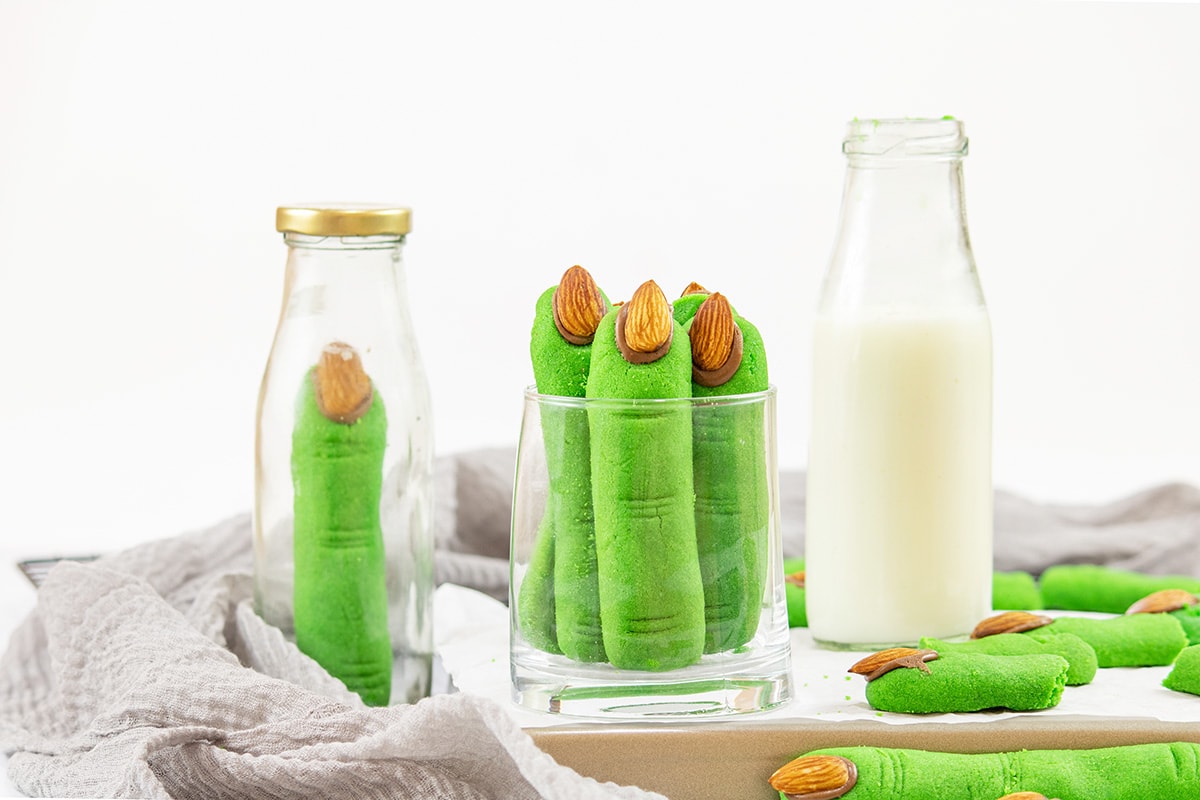
Gruesomely green, yet buttery sweet, these Halloween fingers are fun for snacking and perfect for serving at a holiday or witch-themed party.
Why We Love This Halloween Witch Finger Recipe
- Easy to make and fun activity for the whole family.
- Uses simple kitchen staple ingredients.
- Frightening finger cookies with almond nails are fun to eat.
- Sweet treat that tastes deceivingly delicious.
- Perfect for Halloween parties, playdates, holiday dessert platters, or after school snacks.
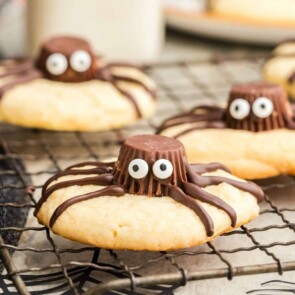
Other Easy Halloween Recipes


Ingredients
- All purpose flour
- Baking powder
- Salt
- Unsalted Butter
- Powdered Sugar
- Egg
- Vanilla extract (you can also use almond extract to enhance the almond flavor)
- Whole Almonds
- Chocolate chips
- Green gel food coloring
- Oil
Substitutions and Additions
- Give It A Gory Look: Instead of using melted chocolate to ooze from the sides of the almond nails, you can opt for red decorating gel, strawberry jam, or raspberry jam to resemble blood.
- Form The Fingernail: While I think whole almonds look best for the witch nails, you could also use sunflower seeds for a nut-free option, pumpkin seeds (pepitas), peanut halves, or blanched whole or sliced almonds.
Recommended Tools
- Baking sheet
- Parchment paper
- Mixing bowl
- Electric hand mixer
- Spatula
How to Make Creepy Witch Finger Cookies
- Make The Flour Mixture: Combine the flour, baking powder, and salt and set aside.
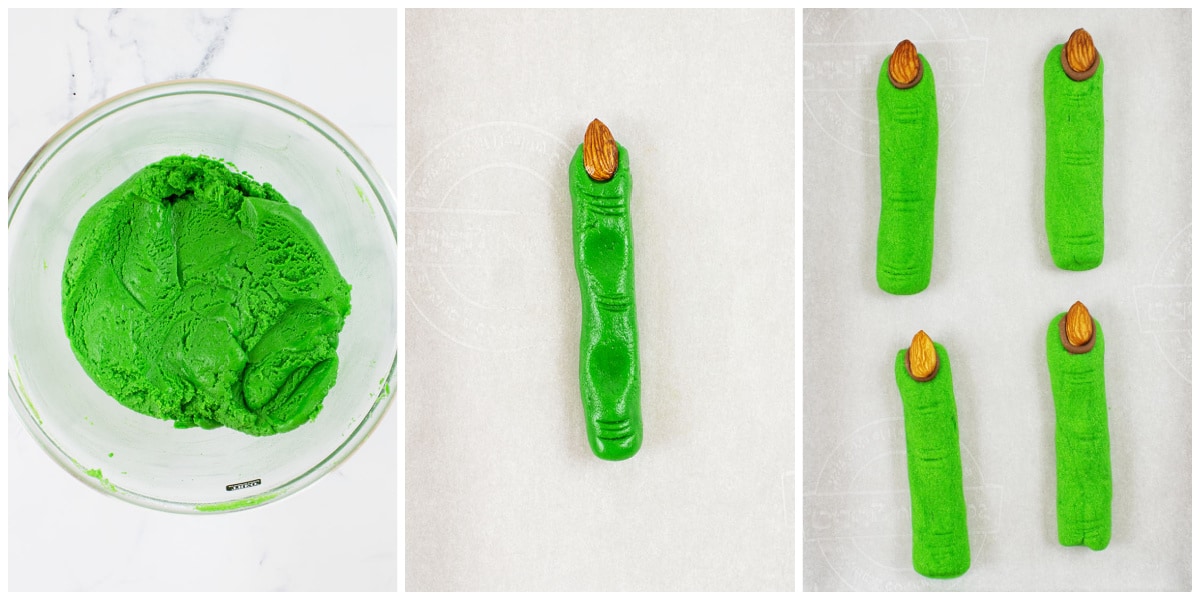
- Create The Cookie Dough: Beat the butter and powdered sugar until smooth and creamy. Add the egg and vanilla extract, beat together, and mix in the flour mixture and green food color.
- Chill: Cover and refrigerate the dough for an hour.
- Form The Fingers: Roll the dough into a finger shape. Press an almond into one end to make the nail. Squeeze the center to create knuckles and make lines using a fork, knife, or toothpick to make wrinkles.
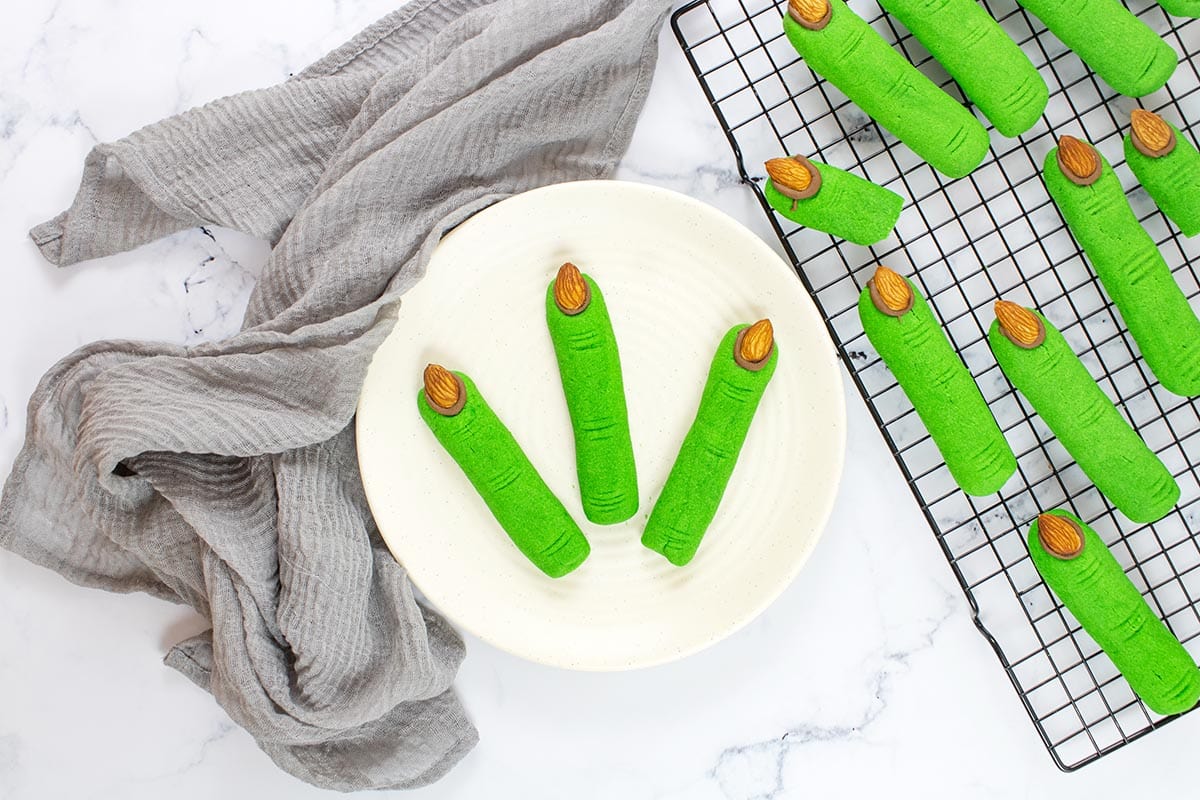
- Bake: Bake at 325 degrees Fahrenheit for 18-20 minutes. Cool for 3-4 minutes on the baking tray before transferring to a wire rack to cool completely.
- Add Chocolate: Microwave the chocolate chips and oil in 20-second intervals, stirring in between until melted. Lift the almond, add a dab of chocolate in the indent, and then press the almond down so that extra chocolate oozes from the sides.
- Serve: Chill in the fridge until the chocolate sets completely. Serve and enjoy! Happy Halloween!!
Tip From Our Recipe Developer
- If possible, roll the witch fingers on the same baking sheet that you’re going to use to bake the cookies. This will help prevent your cookies from becoming damaged or deformed while transferring surfaces.
- You can adjust the intensity of the green food coloring until you get your desired bright shade in the dough.
- Make sure to bake the cookies with the almonds pressed at the top; don’t remove them.
Storage
- To Store: Witch Finger Cookies will stay fresh for 2-3 days when stored in an airtight container in the refrigerator.
- To Freeze: You can freeze the cookie dough or the baked cookies without the almond nails for up to a month in a freezer-safe container or bag.
Other Easy Halloween Recipes
- Harry Potter Butterbeer Fudge
- Halloween Monster Sprinkle Cookies
- Pumpkin Delight
- Halloween Pretzels Monster Eyeballs
- Halloween Donut Hole Cake Pops
- Monster Oreo Eyeballs

Creepy Witch Finger Cookies
Ingredients
- 2¼ cups all-purpose flour
- ¾ teaspoon baking powder
- ¼ teaspoon salt
- ¾ cup unsalted butter softened
- ¾ cup powdered sugar
- 1 egg
- 1 teaspoon vanilla extract
- ½ cup whole almonds
- ⅓ cup chocolate chips
- 4-5 drops green gel food color
- 1-2 teaspoon oil
Instructions
- Preheat the oven to 325 F / 160 C and line your baking tray with parchment paper; set aside.
- Mix flour, baking powder, and salt in a large bowl and set aside.
- Add softened butter and powdered sugar to a large bowl and beat them using an electric hand mixer on medium-high speed for 2-3 minutes or until smooth and creamy.
- Add egg and vanilla extract to the butter mixture and beat until fully incorporated.
- Add the flour along with the green food color into the butter mixture and mix properly using a spatula until the flour disappears and the dough forms.
- Cover and refrigerate the dough for an hour.
- Roll 1 ½ tablespoon of dough into a finger shape using your hands and a parchment paper-lined flat surface. Press an almond firmly at one end to make the nail. Squeeze gently in the center to create knuckles and make little lines using a fork, knife, or toothpick for knuckles.
- Bake for 18-20 minutes in a preheated oven. Let them cool for 3-4 minutes on the baking tray before transferring them to a wire rack to cool completely.
- Melt the chocolate chips with 1 ½ tsp of oil in the microwave at 20-second intervals; stirring properly after each interval and reheating as necessary.
- Now, lift up the almond, apply a good dab of the chocolate in the indent and then press the almond again so that extra chocolate oozes from the sides.
- Put the cookies in the fridge to let the chocolate set completely.
- Serve and enjoy! Happy Halloween!!
Jenn’s Notes
- To Store: Witch Finger Cookies will stay fresh for 2-3 days when stored in an airtight container in the refrigerator.
- To Freeze: You can freeze the cookie dough or the baked cookies without the almond nails for up to a month in a freezer-safe container or bag.
- If possible, roll the witch fingers on the same baking sheet that you’re going to use to bake the cookies. This will help prevent your cookies from becoming damaged or deformed while transferring surfaces.
- You can adjust the intensity of the green food coloring until you get your desired bright shade in the dough.
- Make sure to bake the cookies with the almonds pressed at the top; don’t remove them.


this is an absolute fn for all ages you have to get it a try. kids and family of all ages absolute loved them.
I made these with my granddaughter using the red jelly around the fingernails. We used almond slices because I had them on hand. They were fun to make and turned out perfectly.
The amount of each ingredient would be helpful
Just scroll to the recipe card at the bottom of the page – or hit the “jump to recipe” button and it will take you to the recipe card
If you look at the recipe card they are all listing in there with the how to make steps
What would be a good substitute for the almond?? nut allergies
Maybe a yellow peanut M&M?
oooops – you said peanut allergy. try just a regular m&m