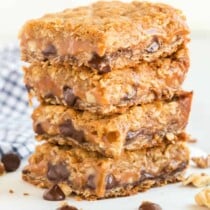
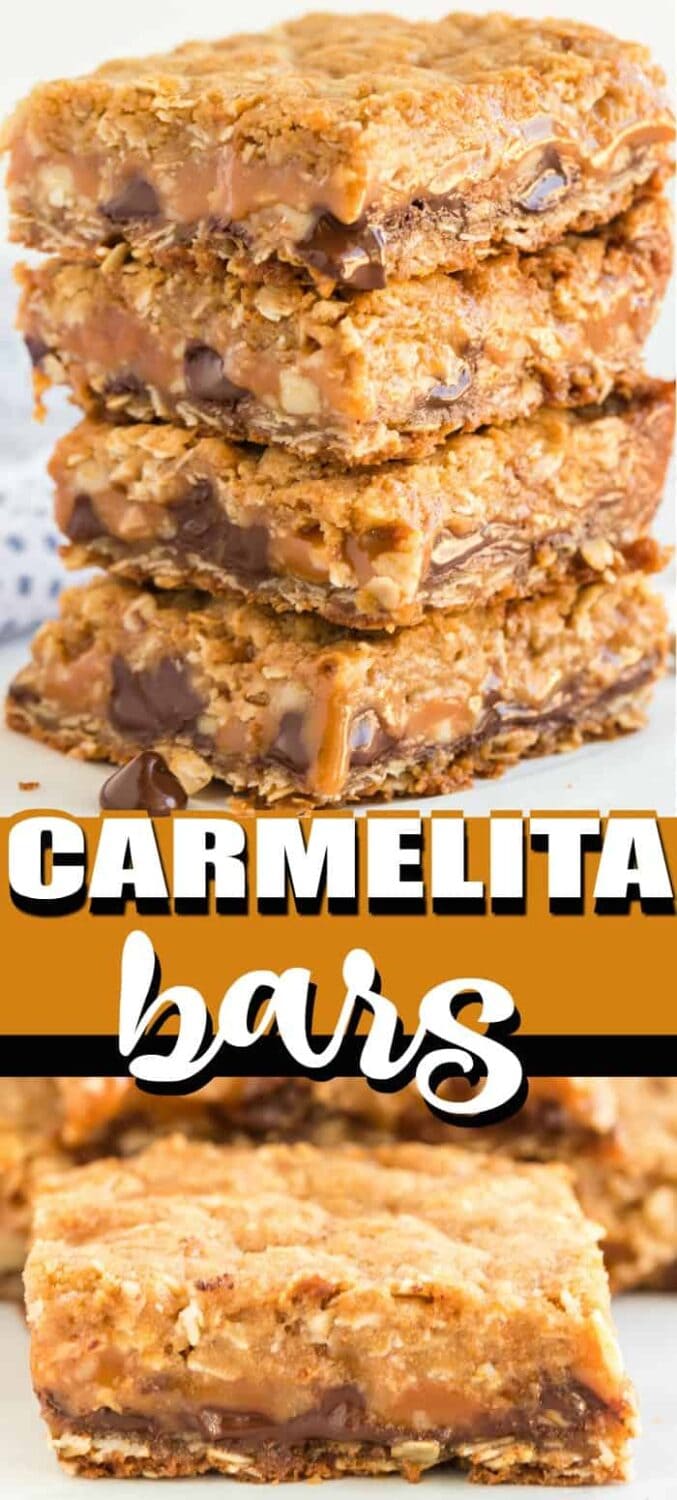
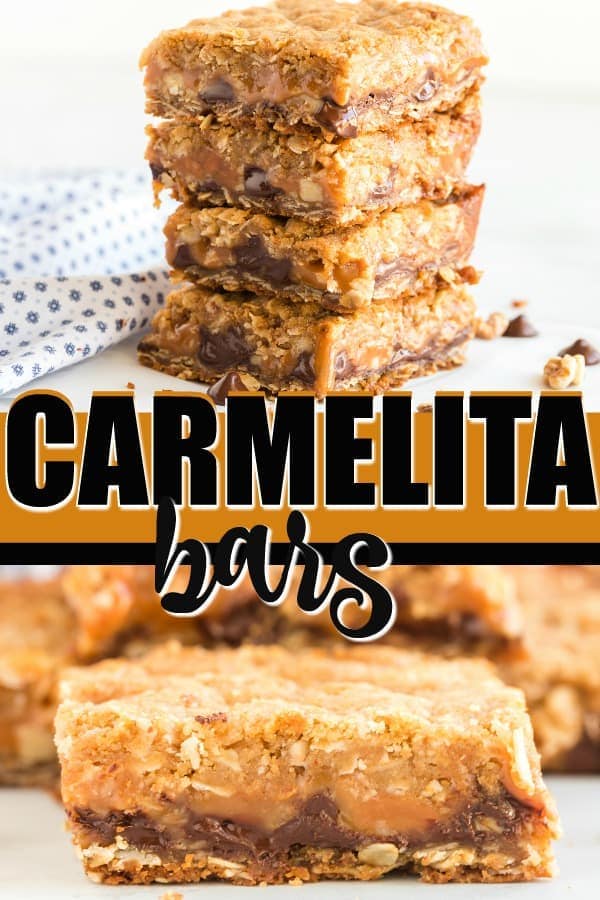
Our Carmelita Bars are a gooey mixture of chocolate, caramel, and oats. They literally melt in your mouth and they are oozing with rich flavor in every bite!
Carmelita Bars
Imagine the softest gooey-est oatmeal and chocolate cookie you’ve ever had. Now imagine if that cookie was filled with rich, buttery caramel. Is your mouth watering yet? That is exactly what these Carmelita bars taste like!
These bars are like cookies on crack. I can’t ever have just one. They are so delicious and creamy and oozing with sweet caramel, nuts and chocolate.
They are a great thing to bring for a group get together or holiday party (perfect for a holiday cookie exchange or pot luck)! They are always a favorite.
Plus, like I said above, I have no self control when it comes to these things. So, I usually like to bring them to share to save myself from finishing off a whole pan!
Making these bars is quite a bit easier than you might think! Another reason why they are one of my favorites. For the rich flavor they pack, you might think you’d spend loads of time in the kitchen slaving away, but it’s actually the opposite!
How to Make Carmelita Bars
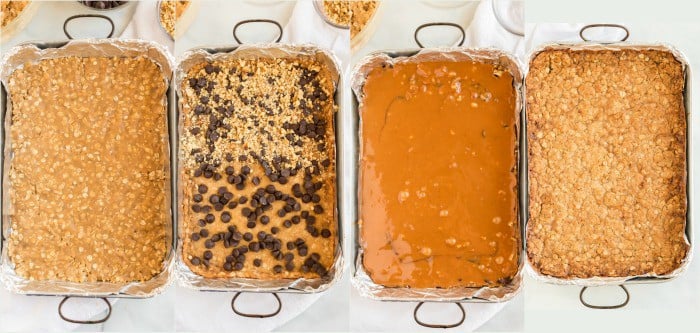
There are three main steps to putting these bars together.
STEP 1: Make the Crust.
I love the crust on these bars because it’s seriously like an oatmeal cookie crust! It’s the perfect crunch, but it’s still soft and gooey at the same time. After mixing your crust you’ll press half of it into the pan and bake it until lightly browned (let it cool slightly.)
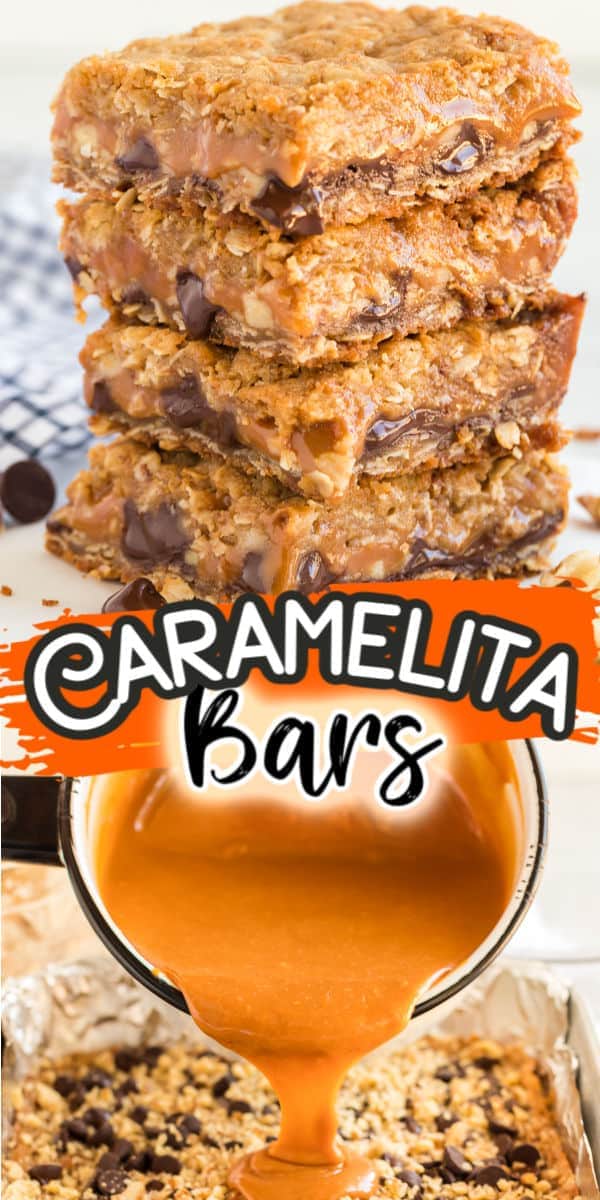
STEP 2: Mix the Filling.
This is the ooey-est and gooey-est filling ever! It’s full of melty chocolate chips and rich, buttery caramel!
STEP 3: Layer and Bake
Layer the filling over the crust and then the remaining crumb mixture. Bake at 350 until golden brown. And just like that, you have some amazing Carmelita bars that everyone is going to go crazy for!
PRO TIP: Be sure to line your 9×13 baking dish with aluminum foil and spray the foil with nonstick cooking. This will prevent them from sticking to the pan for easy serving!
They are perfect for any occasion, whether it’s a birthday, potluck, or holiday get together!
What are the Ingredients to Make Carmelitas
Here are the ingredients you’ll need to put together your Carmelita bars!
I usually have most of the baking essentials on hand. But, if I am planning on making a batch (which is pretty much a regular thing these days, I try to make sure I have the caramel bits and heavy cream.
- Two bags of Kraft Caramel Bits
- ½ cup of heavy cream
- 2 cups of flour
- 2 cups of oats (I used quick oats)
- 1 ½ cups brown sugar
- 1 teaspoon vanilla
- 1 teaspoon baking soda
- ½ teaspoon salt
- 1 ½ cups butter (melted)
- 1 cup dark chocolate chips
- ¾ cups walnuts (chopped)
What are Caramel Bits?
I am obsessed with these caramel bits. They are pea-sized caramel morsels that are perfect for baking. They meltdown to make a wonderful smooth and creamy caramel sauce (I use them in tons of recipes). 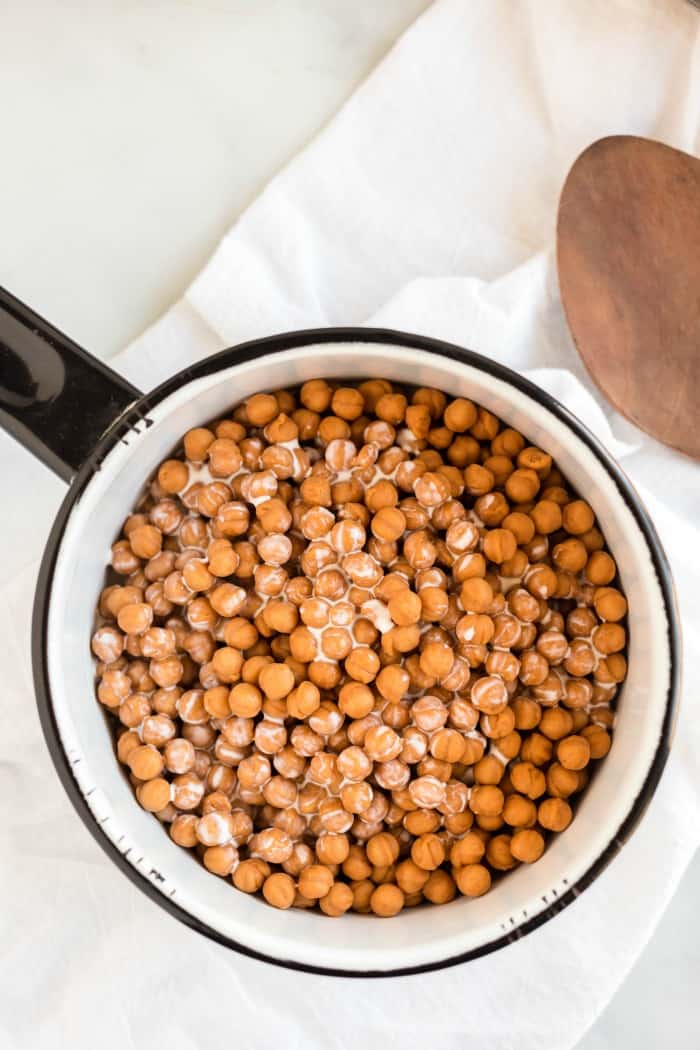
Can I substitute caramel squares for caramel bits or vice versa?
Yes, you can substitute caramels for caramel bits if you are having trouble finding them. Basically 1 cup Caramel Bits = 24 Caramel squares. We use 2-11 ounce bags (1 bag is about equivalent to 39 squares, so you would need 78 caramels.)
Some recipes use caramel sauce rather than melting caramels. I haven’t tried this, but you will get an oozier bar (not sure if that is technically a baking term or not, but I am going with it.)
Ohhhh – I think it would be great to also try a salted caramel sauce… that is next time. Stay tuned! 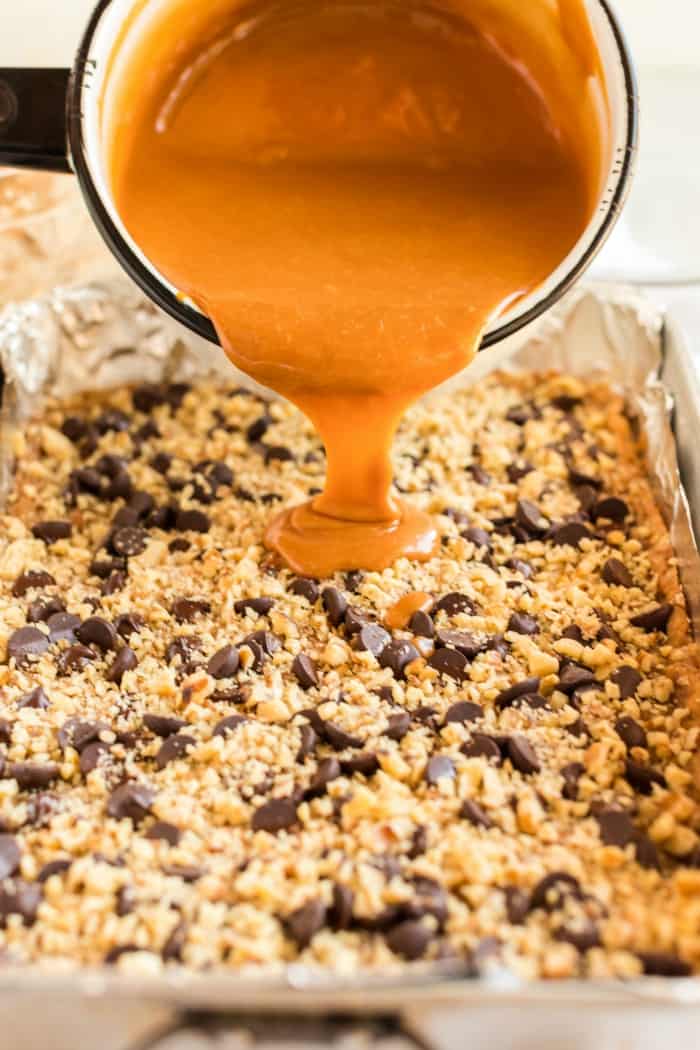
Quick Oats versus Rolled Oats
We used quick oats for our recipe, but you can use rolled oats as well.
Rolled oats will provide you with a more nutty and chewy texture and flavor. Quick-cooking oats give you a moist and softer baked good! Typically you can use either in most baking recipes, it just depends on what type of end result and taste you are looking for!
PRO TIPS for Making Carmelita Bars
This recipe is really straight-forward and easy to make! But, there is a few heads up that I like to give to anyone who I recommend this recipe to.
- If you are not a lover of sweets, chocolate, and/or caramel… then these are not the bars for you! They are very sweet and oozing with caramel and chocolate!
- Be prepared that these bars can be a tad bit messy! I don’t find this a problem, because I tend to think that the messier, the more delicious, and it rings true for carmelitas! Just make sure that you have some extra napkins nearby!
- Do not forget to spray your pan! These can be really sticky and they are hard to get out of the pan if you forget to spray it.
- It is super important to let them cool completely before you cut them. Otherwise, they will melt all over and lose their shape! Make sure to let the cool at least to room temperature.
How to Store Carmelitas
In the unlikely event that you have leftovers, just store your carmelitas in an airtight container!
More Caramel Recipes
- Caramel Apple Crisp Bites
- Caramel Apple Pie Cookies
- Caramel Stuffed Chocolate Chip Cookies
- Caramel Apple Nachos
- Caramel Apple Chips
- Slow Cooker Apple Bread Pudding with Salted Caramel Drizzle
- Salted Caramel Brownies
Carmelita Bars
Ingredients
- 2 11-ounce bags Kraft caramel bits
- ½ cup heavy cream
- 2 cups flour
- 2 cups oats
- 1 ½ cups brown sugar
- 1 teaspoon vanilla
- 1 teaspoon baking soda
- ½ teaspoon salt
- 1 ½ cups butter melted
- 1 cup dark chocolate chips
- ¾ cup chopped walnuts
Instructions
- Line a 9x13 pan with foil and spray the foil with nonstick spray.
- Preheat oven to 350 degrees
- In a medium bowl stir together the flour, oats, brown sugar, baking soda, and salt.
- Stir in the melted butter until well blended.
- Press HALF of this oat mixture into the bottom of the foil-lined 9x13 pan. Set the other half of the oat mixture aside.
- Bake the crust in the oven for 8 minutes.
- While the crust is baking, in a medium pan over low heat, melt the caramels and cream, stirring occasionally until smooth, then add in vanilla
- Remove the pan that has been baking in the oven and sprinkle with chocolate chips and walnuts.
- Pour the caramel mixture evenly over the top of the chips and walnuts.
- Crumble the remaining oat mixture evenly on top of everything and press down gently on the oat mixture.
- Return to the oven and bake for an additional 20 minutes.
- Let the bars cool completely to room temperature before slicing.
Nutrition Info
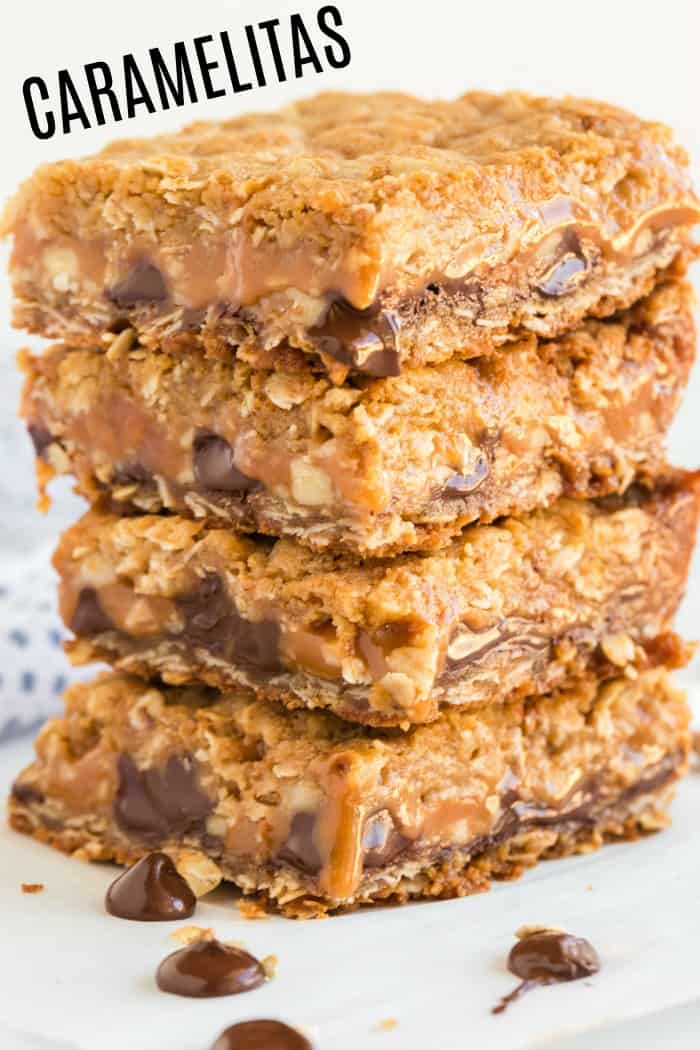
If you haven’t ever tried these carmelitas, then you are truly in for a treat! They are the richest, buttery, caramel and chocolate oatmeal bars that you’ll ever have.
They make for a game-changer when it comes to easy and delicious dessert bars. You, and everyone you share them with is going to go absolutely crazy for these!


We are not nut fans in my family, can I leave them out? Do I need to adjust anything if I do? Thank you, can’t wait to try these!
For sure – just leave them out – you shouldn’t need to change anything
Do you use all-purpose flour and can you use Splenda blend brownsugar
I’ve never left a message on a recipe before, but I had to for these. Your recipe is AMAZING!! The only adjustment I made was adding some coconut flakes to it. Delicious! Thank you!
The recipe calls for vanilla but I don’t see where in the recipe you add it. Also, after 20 mins in the oven, it was very loose. Is this normal?
Oh gosh! I just fixed it! Thank you so much for letting me know! You add the vanilla in on step 7. While they are really firm and crunchy, the shouldn’t be falling apart!
Yes, they set as they cool.