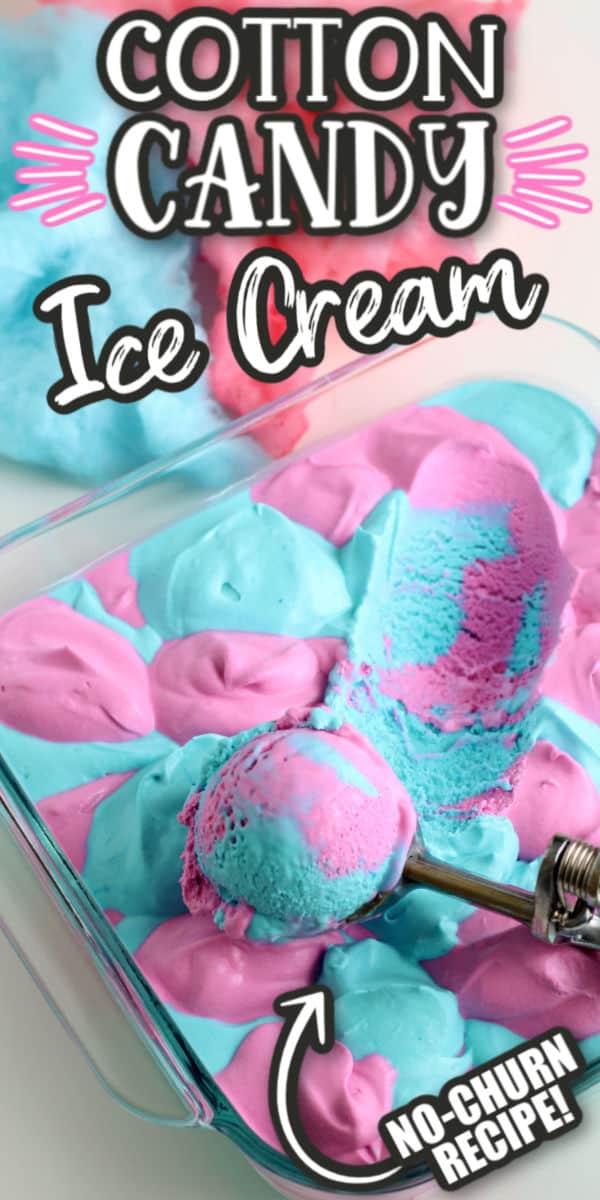
This easy No-Churn Cotton Candy Ice Cream is the perfect treat for a hot day! It only takes four simple ingredients to make this deliciously creamy dessert!
Easy to Make Cotton Candy Ice Cream
I had no idea how easy it was to make my own ice cream! Sure, you could go to the grocery store and buy some ice cream in a carton, but isn’t it much more fun to make your own!
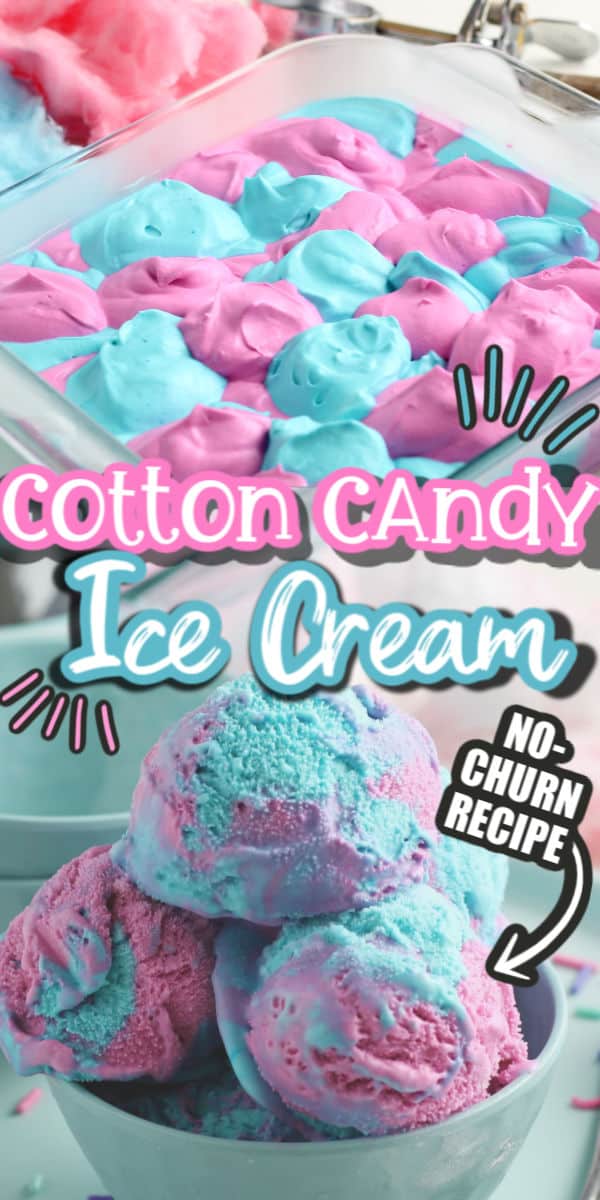
That’s why we came up with this super easy no-churn cotton candy ice cream. The flavor makes you feel like you are visiting a carnival and the colors are just so much fun!
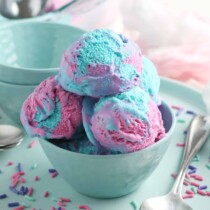
All you need are a few simple ingredients and a couple of hours to freeze it up (about 8-12) to make our ice cream recipe. Scoop up into a sugar cone, waffle cone, or even your favorite ice cream dish topped with whipped cream! No ice cream machine needed!
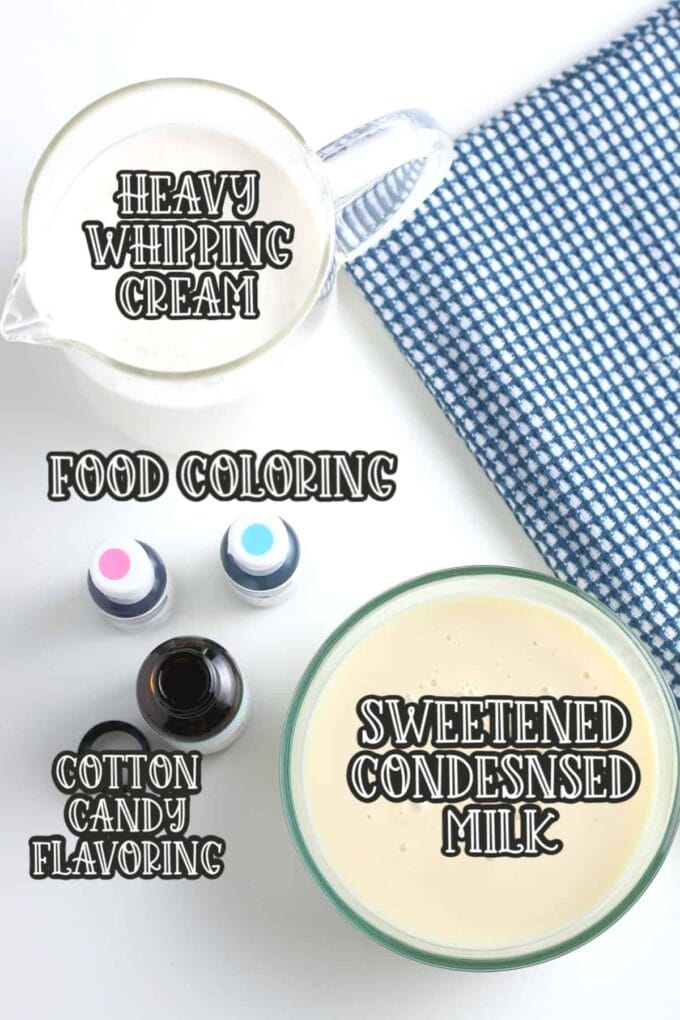
Ingredients
- 2 cups very cold heavy whipping cream
- 1 can (14 oz) sweetened condensed milk, cold
- 2 teaspoons cotton candy flavoring ** see notes
- Food coloring in pink and blue, optional
Notes
- This homemade ice cream is very soft and melts quicker than store-bought ice cream. Don’t leave it out for too long!
- Cotton Candy Flavoring can be found in the baking section at most craft stores, on Amazon, or in the candy making area.
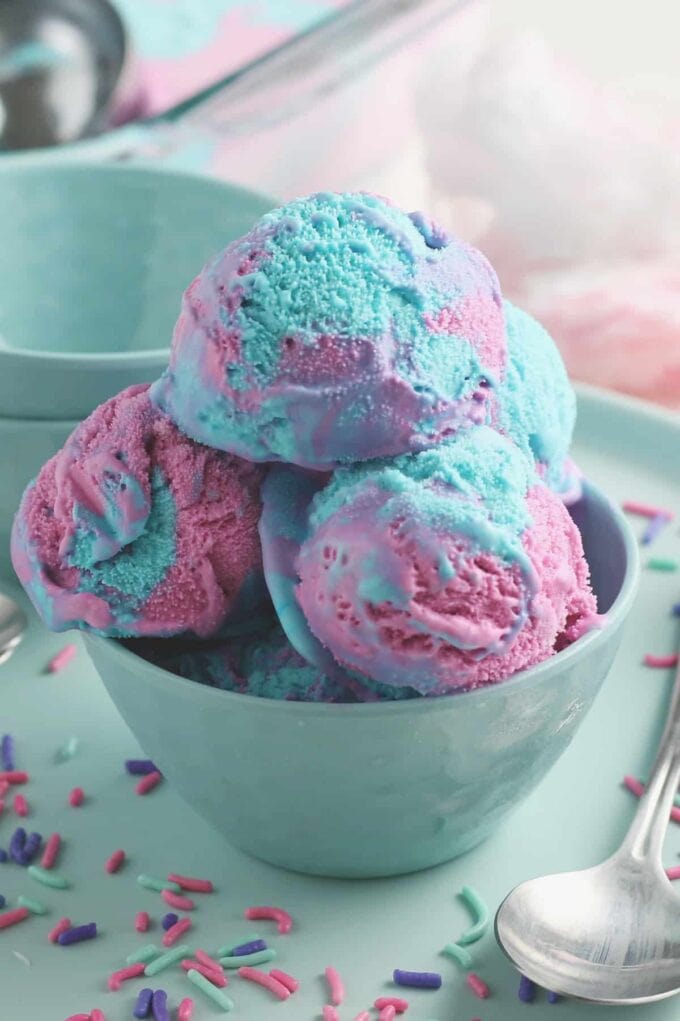
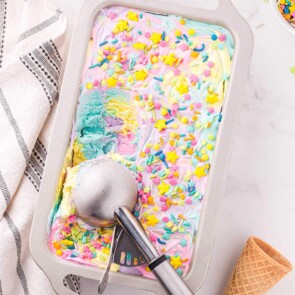
- You can also add sprinkles if you like.
- If you are not using a glass loaf pan or container you may want to line it with parchment paper
How to Make Cotton Candy Ice Cream
Step One: You want your container or loaf pan, as well as your large bowl and whisk to be cold when you make this. So put it in the freezer for about 30 minutes prior to starting. Also, make sure that the whipping cream and condensed milk are also very cold!
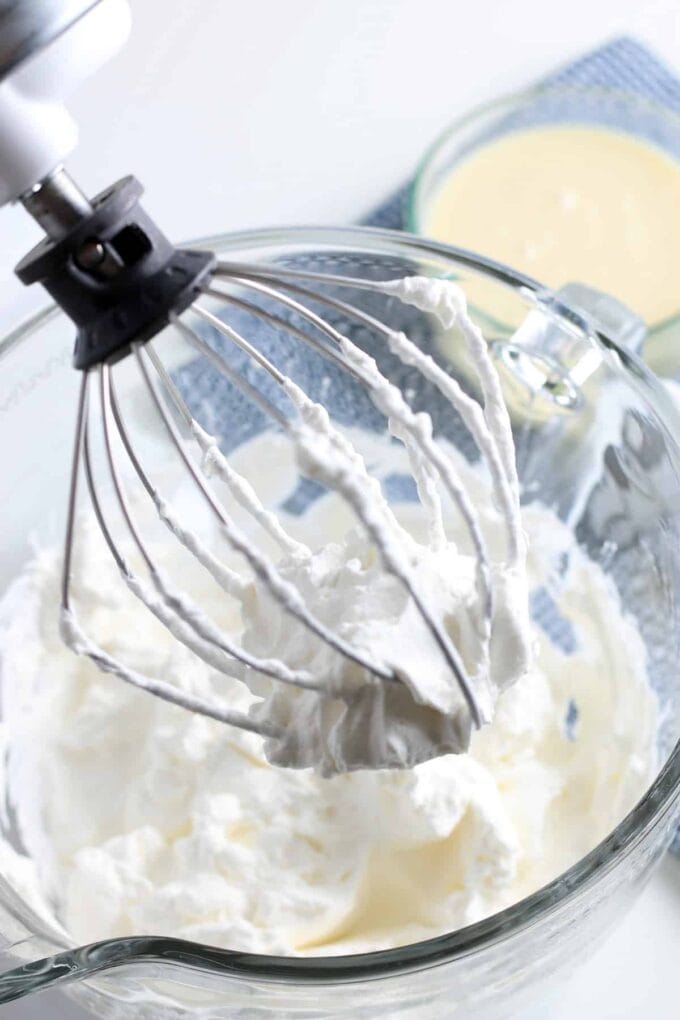
Step Two: Take your large cold bowl and using either your whisk, hand mixer or standing mixer, beat the whipping cream until stiff peaks are formed (approximately 4 minutes).
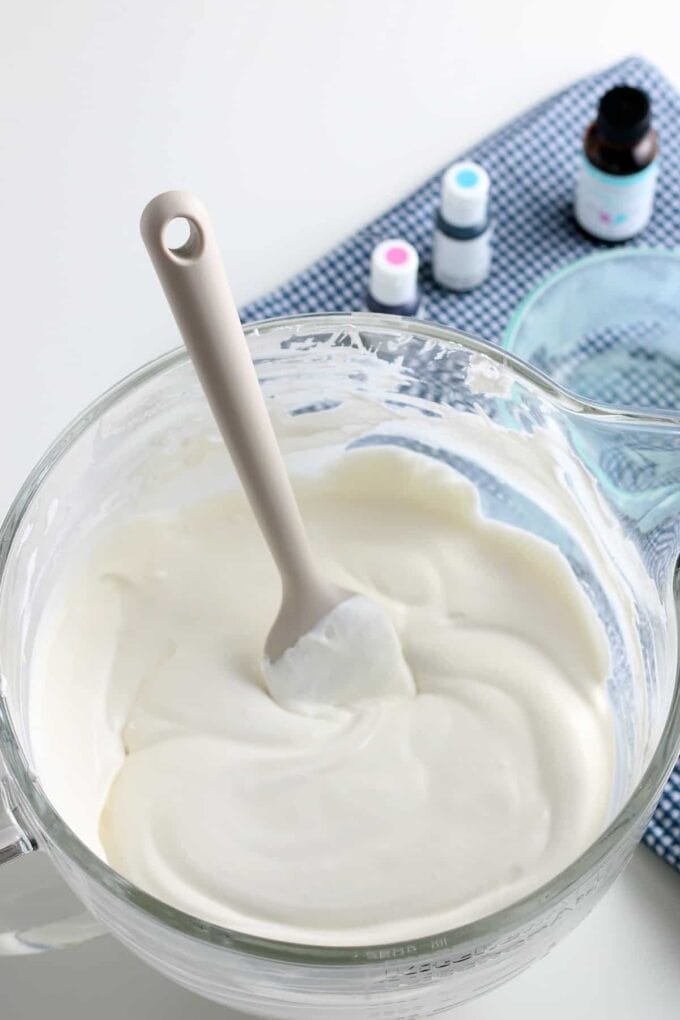
Step Three: In a medium bowl, stir together the sweetened condensed milk and cotton candy flavoring until smooth. Gradually add condensed milk mixture to the whipping cream by GENTLY folding into whipped cream.
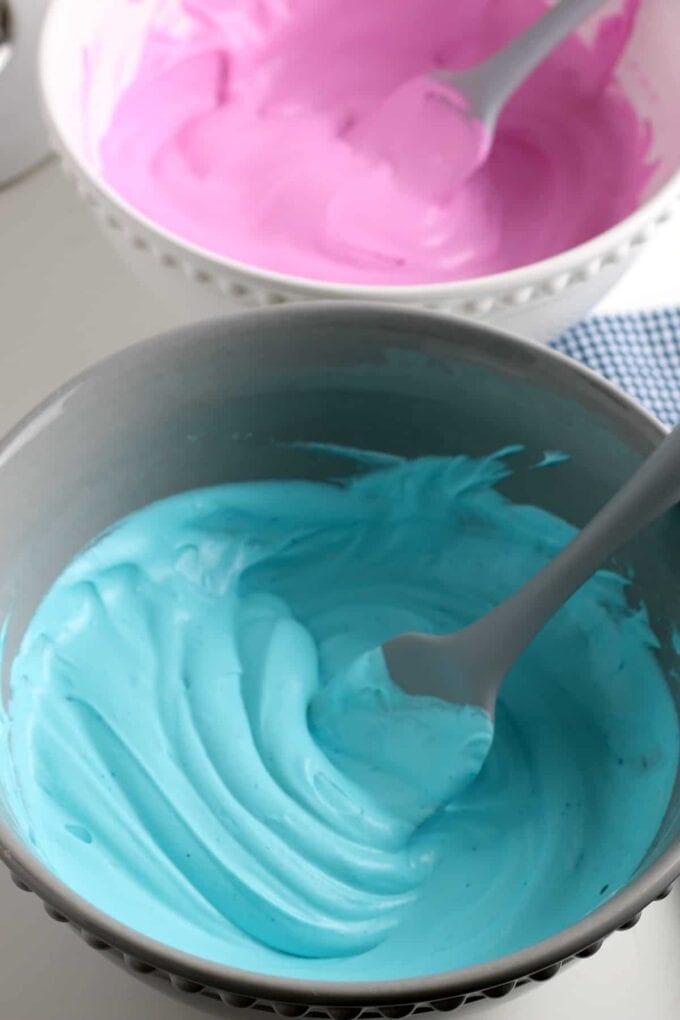
Step Four: Divide the mixture into 2 separate bowls (it will be about 3 cups in each bowl). Color one bowl of the mixture with pink food coloring and one with blue food coloring. (I prefer food coloring gel.)
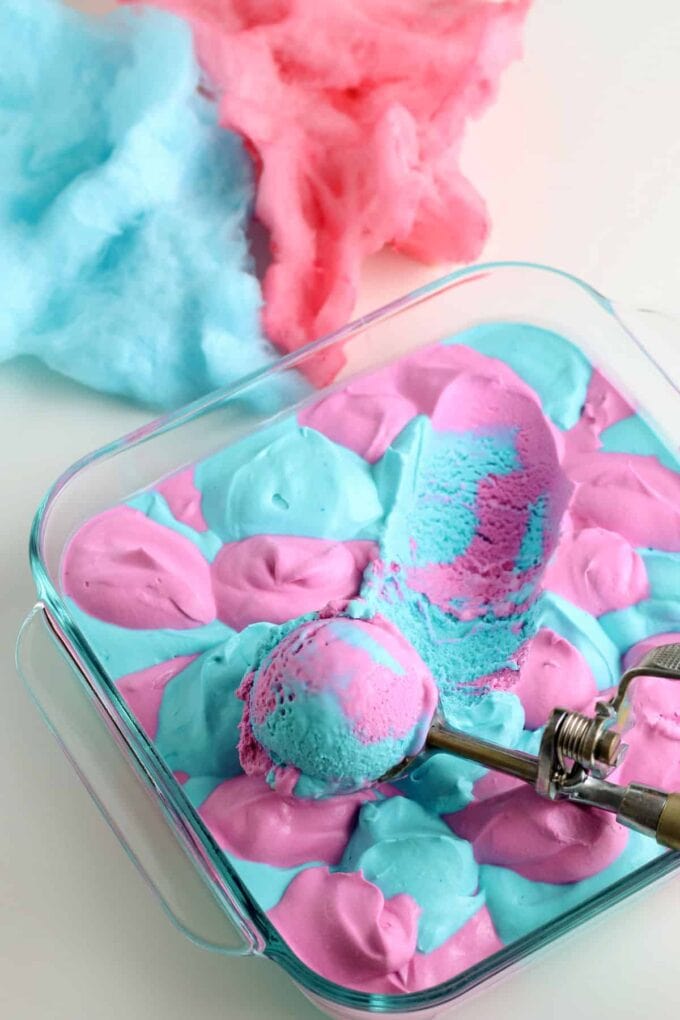
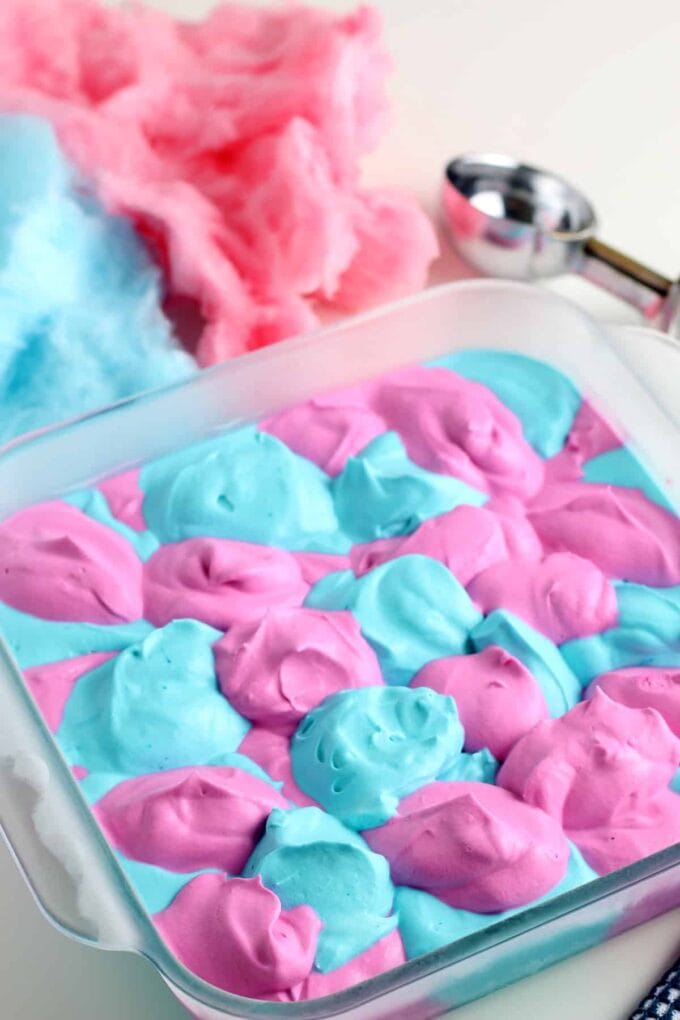
Step Five: This is the fun part! Remove the loaf pan or container from the freezer and drop the ice cream mixture by spoonfuls into the container randomly around and alternating colors.
Optional: Sprinkle the top of the pan with fun sprinkles or jimmies. We love these!
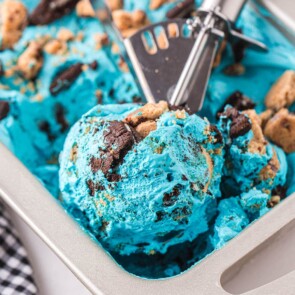
More Homemade Ice Cream Recipes


Freeze overnight and serve. We love to serve this with some actual cotton candy on top for extra fun!
Storage
Store leftover homemade ice cream in an airtight container in the freezer. Since it does not contain any preservatives, like store-bought ice cream, keep it in the freezer for up to one month.
More Easy Desserts
Watergate Salad | Dole Whip | Broken Glass Jello | Lofthouse Cookies (Copycat Recipe) | Chocolate Lasagna Recipe | Vanilla Ice Cream {No-Churn Recipe) | Homemade Rolled Ice Cream | Fruit Popsicles | No Bake Ice Cream Sandwich Cake
No-Churn Cotton Candy Ice Cream
Ingredients
- 2 cups very cold heavy whipping cream
- 1 14-ounce can sweetened condensed milk cold
- 2 teaspoons cotton candy flavoring
- Food coloring in pink and blue optional
Instructions
- Place your loaf pan, large bowl, and whisk in the freezer for about 30 minutes before you are ready to use them and be sure whipping cream and condensed milk are very cold.
- In the large bowl or stand-mixer bowl beat whipping cream until stiff peaks are formed (approximately 4 minutes).
- In a medium bowl, stir together the sweetened condensed milk and cotton candy flavoring until smooth.
- Gradually add condensed milk mixture to the whipping cream by GENTLY folding into whipped cream.
- Divide the mixture into 2 separate bowls (it will be about 3 cups each). Color one bowl of the mixture with pink food coloring and one with blue food coloring.
- Remove the loaf pan or container from the freezer and drop ice cream mixture by spoonfuls into the container.
- Optional: Sprinkle the top of the pan with fun sprinkles or jimmies. We love these!
- Freeze overnight.


Went online to the amazon link for the cotton candy flavoring, a little concerned by all the negative reviews of the flavoring. When making your no churn ice cream does it actually taste a little like cotton candy? It’s not a cheap item to purchase and be disappointed if the flavor isn’t there. Have you ever tried any other flavor in your recipe. Love the simplicity and fun look but concerned of taste.
I liked the flavor, but I guess that could be up to personal preference! There are a few different brands out there, you could really use any of them. I have made ice cream with tons of other flavors – any flavor you like will work (and any colors too!)
Super, thanks for reply. I’m going to give it a go, looks so fun!