


This post may contain affiliate links. Please read our disclosure policy.

My cherries in the snow is one of the creamiest, most delicious no-bake desserts I make, and it tastes like a lighter cherry cheesecake. Sweet red cherries sit on top of a tangy cream cheese filling with soft pieces of angel food cake folded all through it. People always want to know what’s under all those cherries.


I make cherries in the snow for Christmas, Easter, summer barbecues and potlucks, and people love it every time because it’s sweet without feeling heavy after a big meal. Christmas is my favorite time to make it, since those bright red cherries against the white filling look so festive. There’s no baking involved, so it’s one less thing fighting for oven space on a holiday.
I don’t skimp on the cream cheese filling or the cherries. The angel food cake soaks up some of that creamy filling and still stays soft and fluffy, and the cherries cover the whole top, so you get all three layers in each serving.

OLD-FASHIONED FAVORITE
The Potluck Dessert I Grew Up On, Ready Before the Party
Cherries in the snow reminds me of the dishes you’d see at family gatherings and potlucks growing up, and bringing back simple, old-fashioned recipes like this is one of my favorite things to do.
I mix it up the night before, cover it and keep it in the fridge, so dessert is already done before the rest of the holiday cooking starts.

What Is Cherries in the Snow?
I love that the name tells you exactly what you’re getting: bright red cherries sitting on a fluffy white layer that looks like fresh snow. Underneath the cherries is angel food cake folded into a sweet cream cheese and whipped topping filling, and you scoop it out of the dish instead of slicing it.
I’d never call this a cheesecake, because there’s no crust and the cake is folded right into the filling. My cherry yum yum has a graham cracker crust and cuts into neat squares, and my no bake cherry cheesecake has a real cheesecake filling. My Strawberry Pretzel Salad is another old-fashioned layered dessert, with a salty baked pretzel crust under the cream cheese and strawberry gelatin.
If you love old-fashioned recipes like this one, I keep a whole collection of my favorite no bake desserts for every occasion.
Key Ingredients

- Cream cheese: I use full-fat block cream cheese and let it sit out until it’s completely soft, because cold cream cheese leaves little lumps all through the filling.
- Cool Whip: I’ve only made this with thawed Cool Whip, so that’s the one I can vouch for. If you’d rather use real whipped cream, my homemade whipped cream is an option.
- Angel food cake: I use a store-bought angel food cake, and anything from 13 to 15 ounces works without changing how this comes out. If you bake your own, let it cool completely before you tear it into pieces.
- Cherry pie filling: I always buy a good-quality cherry pie filling with plenty of whole cherries, because it makes a difference in both the flavor and how it looks on top. I use Comstock for its deep red color and all the fruit in every can. I haven’t tested other pie fillings in this one, so cherry is the one I’d stick with.

How to Make Cherries in the Snow
Step 1: Beat the Cream Cheese Filling Beat the softened cream cheese until it’s light and fluffy with no lumps, then beat in the powdered sugar. Add the milk and vanilla and beat until smooth, scraping the bottom of the bowl so nothing gets left behind.
Step 2: Fold In the Cool Whip and Cake Fold in the Cool Whip, then the torn angel food cake, the way I explain above, until every piece is coated.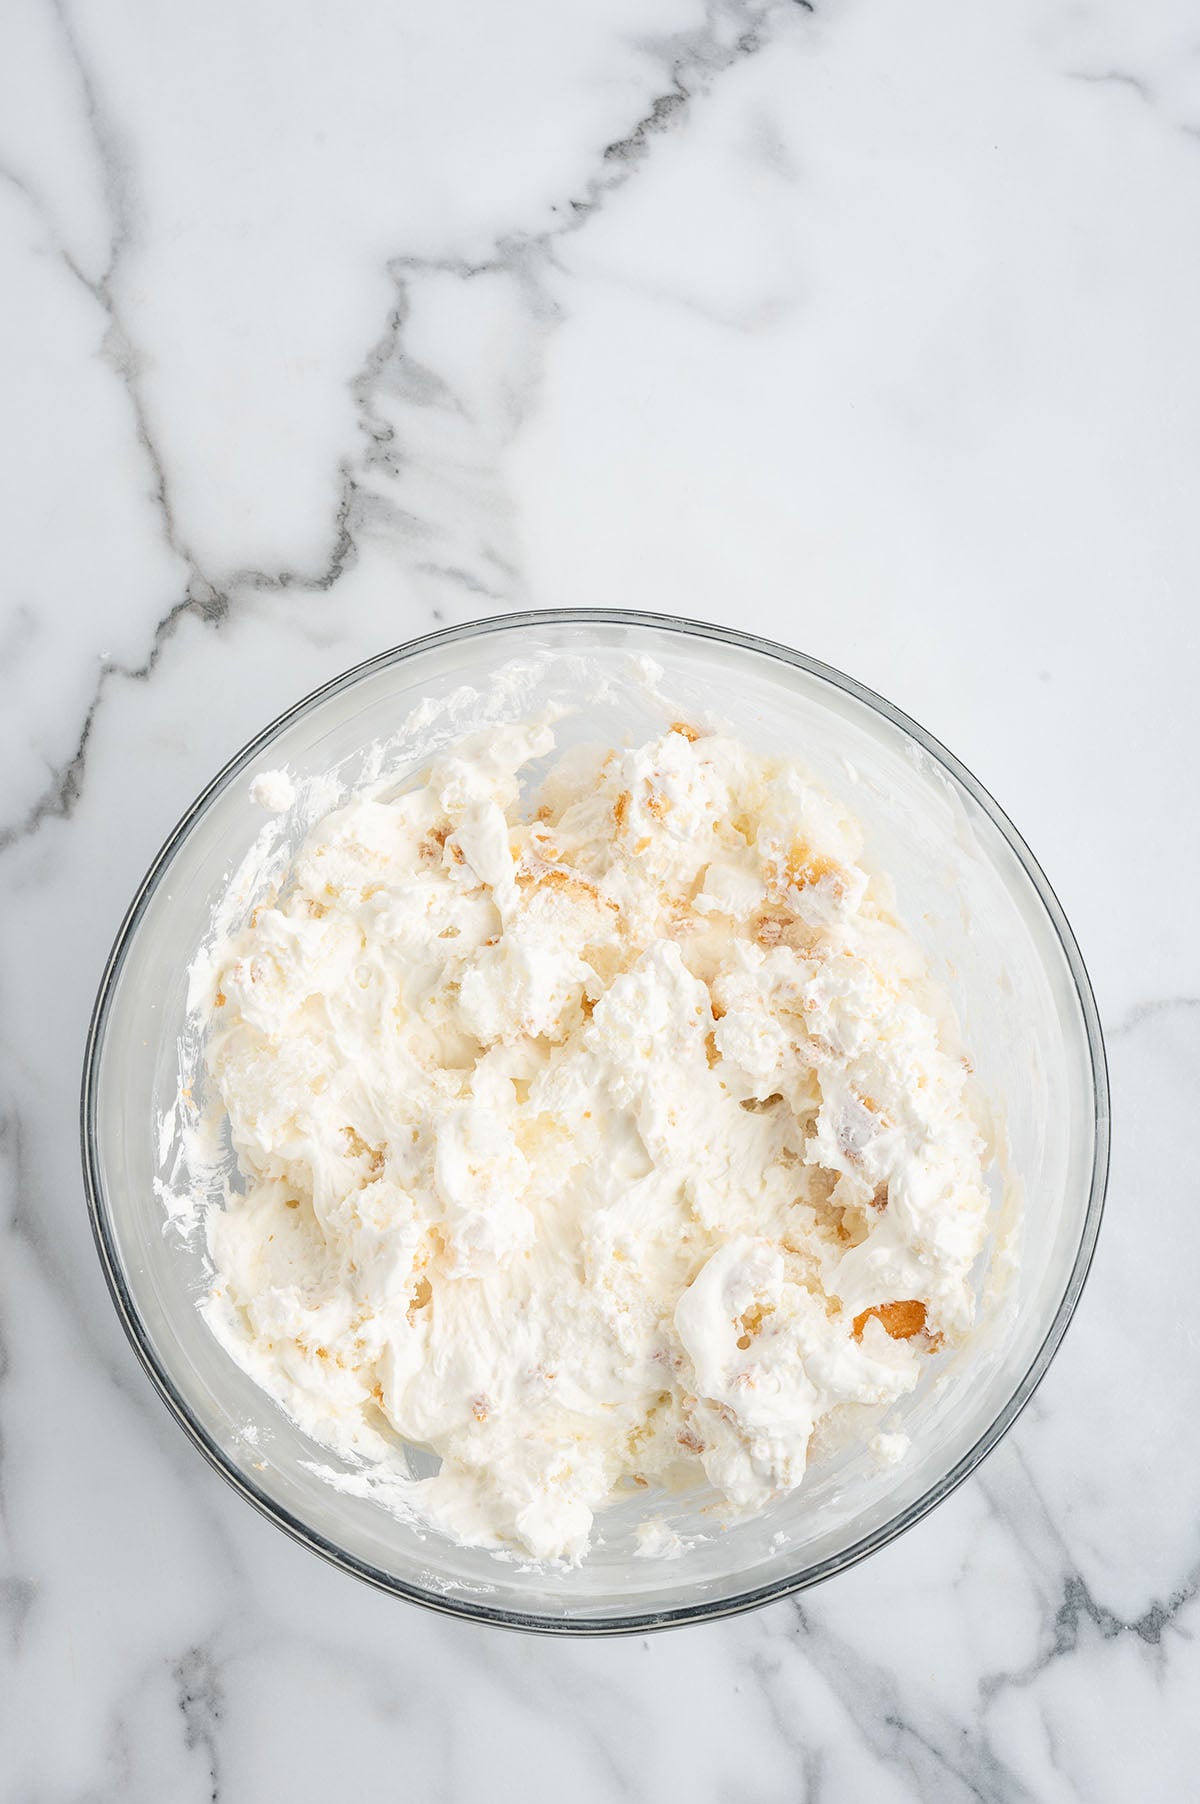
Step 3: Spread, Top and Chill Spread the mixture in an even layer in the dish.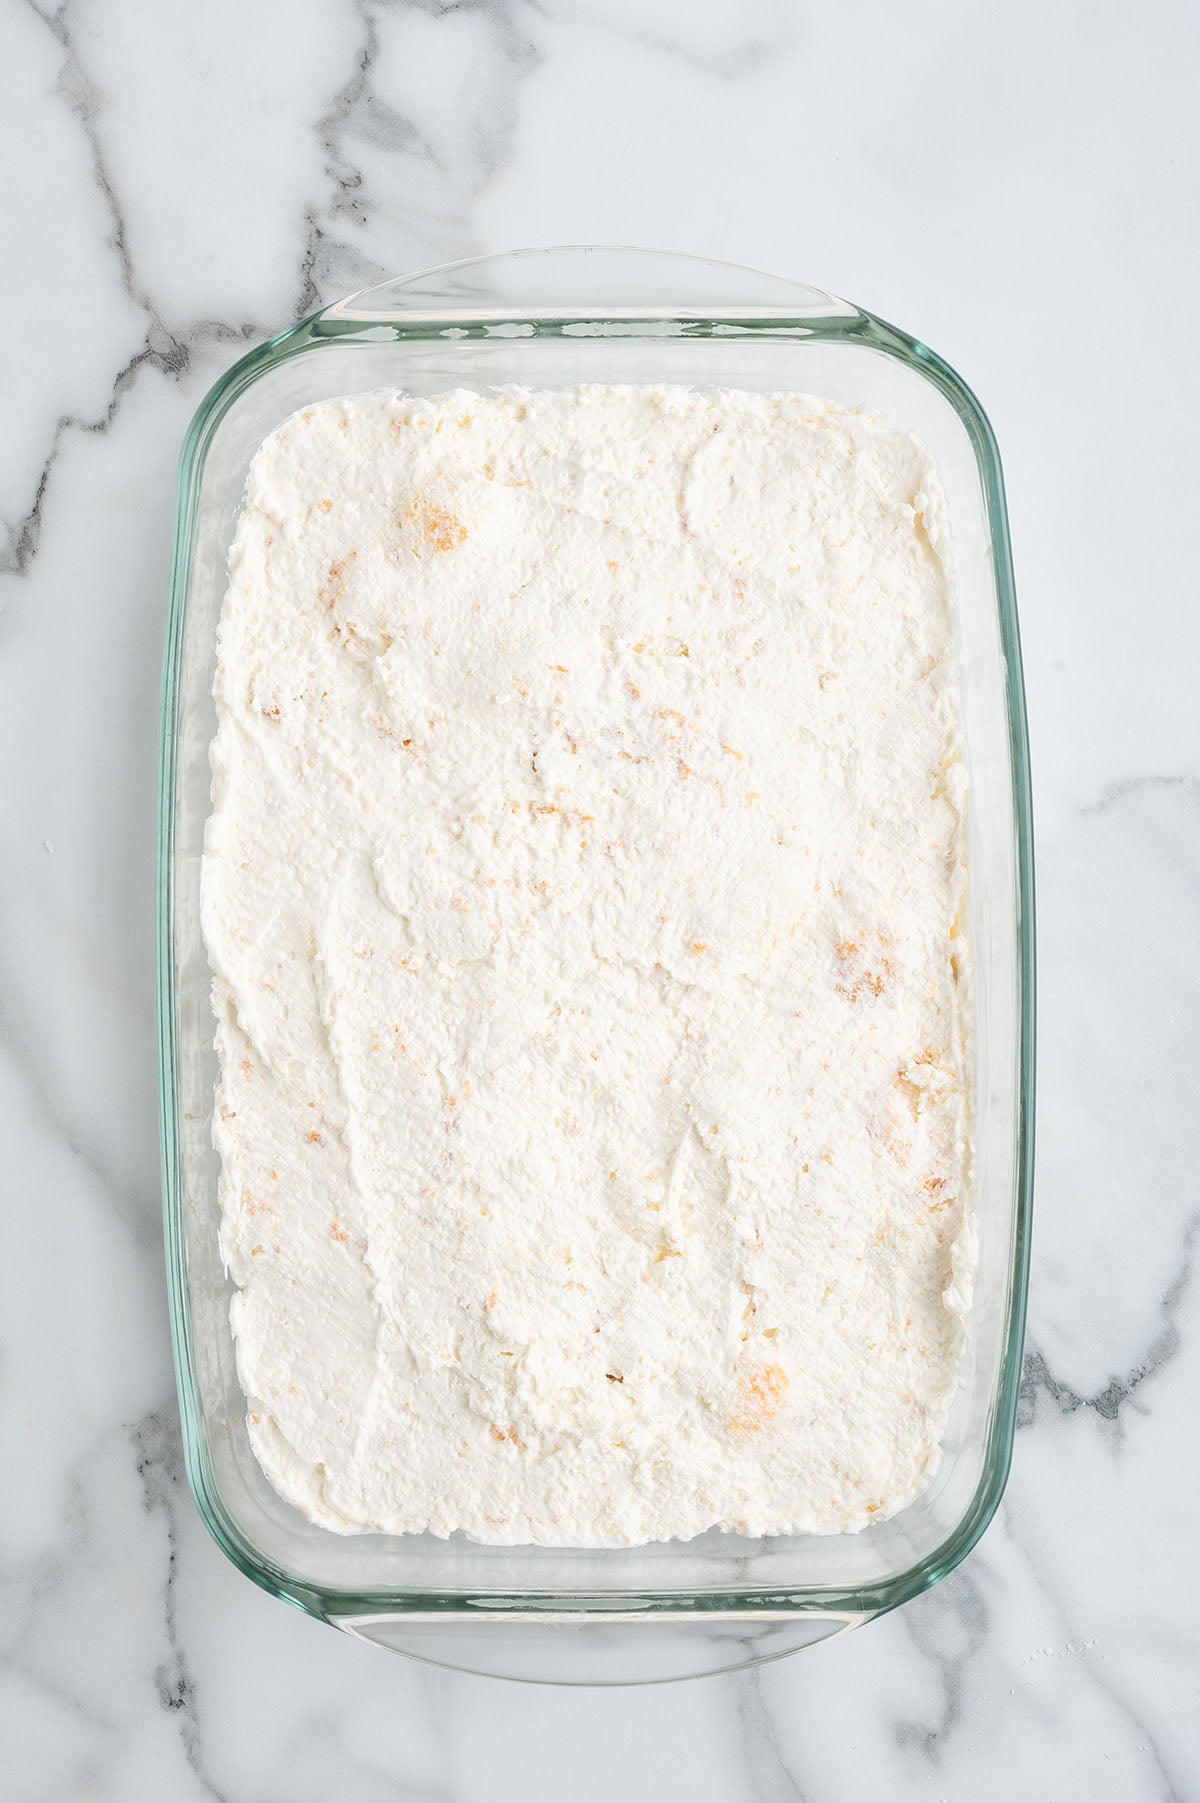
Step 4: Top and Chill Spoon both cans of cherry pie filling over the top. Chill it for at least 30 minutes, or up to 2 hours, until the cream cheese layer has set.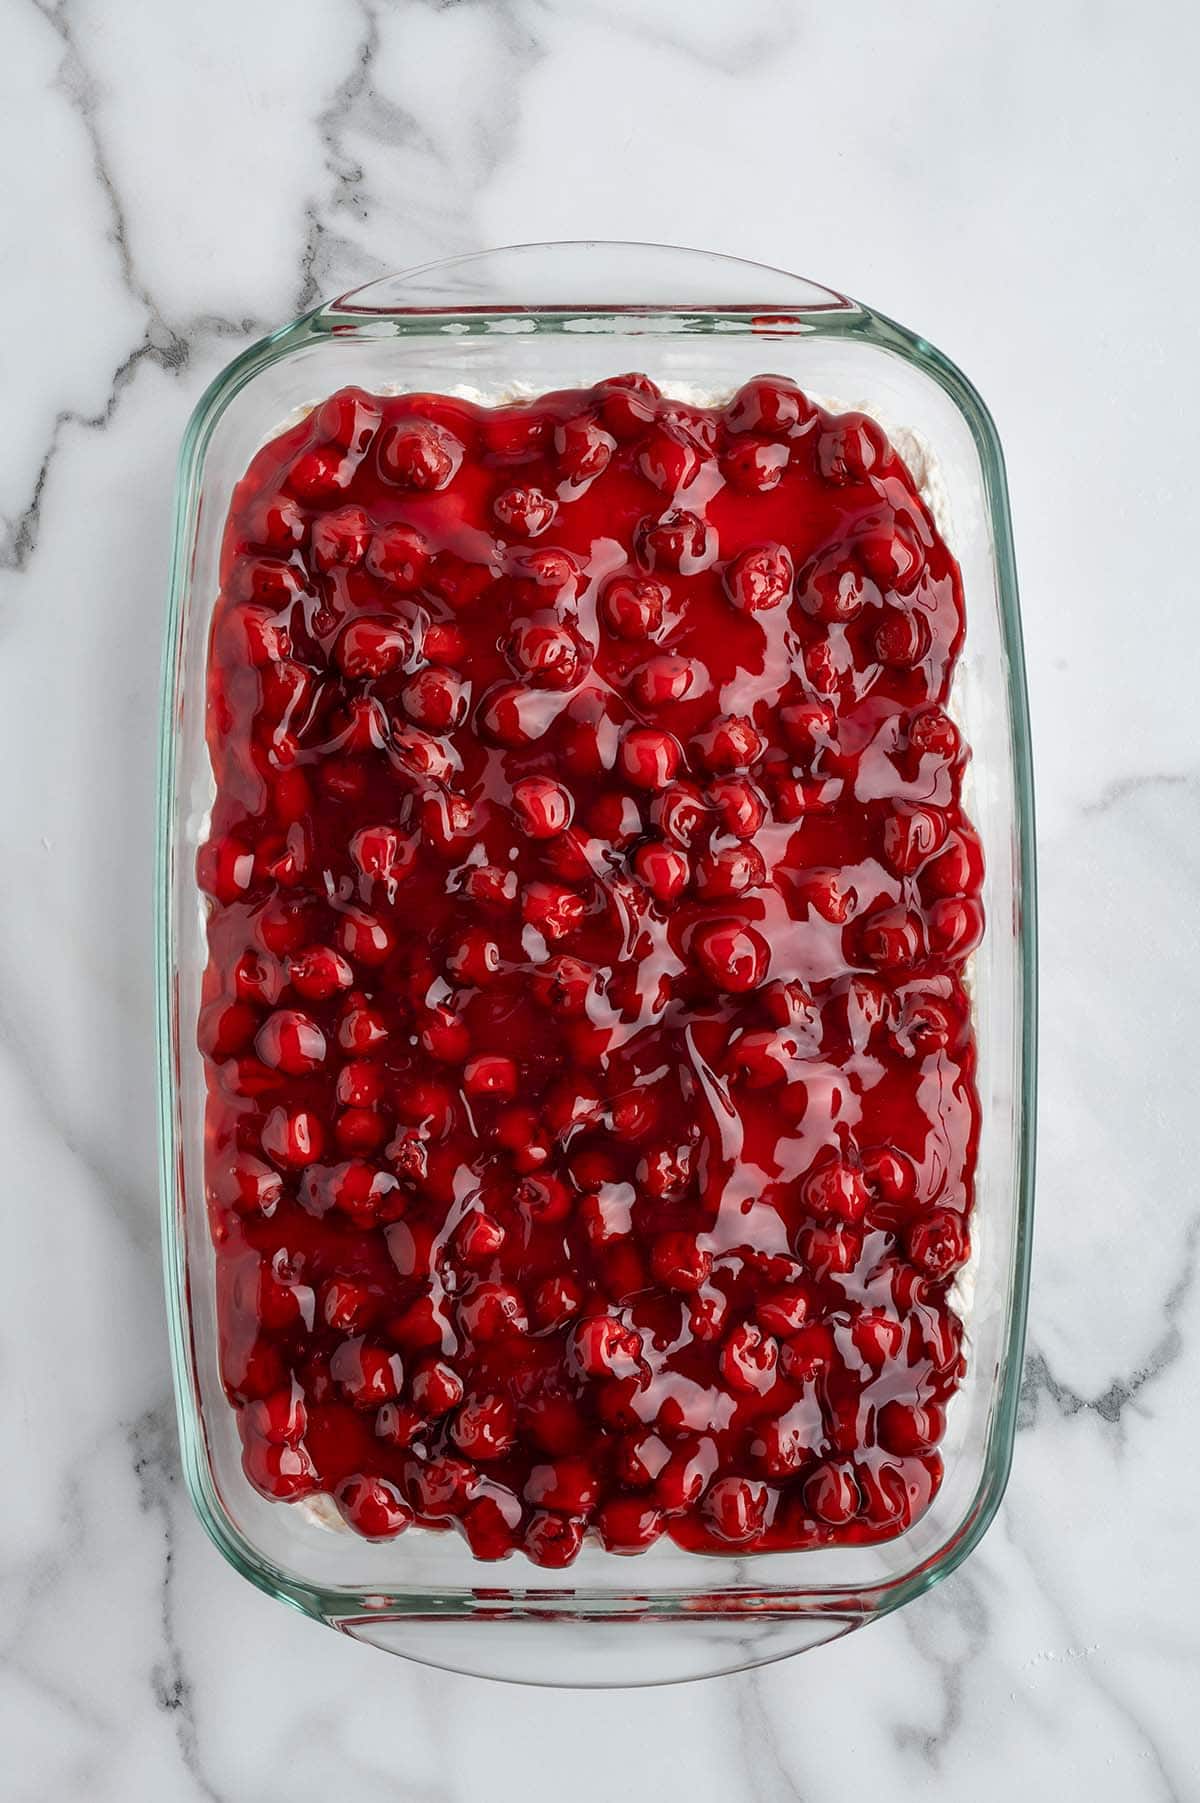

Amazing dessert! Easy and delicious!

How Long It Keeps in the Fridge
I keep cherries in the snow covered with plastic wrap in the fridge for up to 2 days. The angel food cake keeps soaking up the filling and gets softer as it sits, so it’s at its best inside that window.

More Cherry and Potluck Desserts
Cherries in the Snow
Ingredients
- 12 ounces block style cream cheese room temperature
- ¾ cup powdered sugar sifted
- ⅓ cup whole milk
- ½ teaspoon vanilla extract
- 8 ounces frozen whipped topping thawed, cool Whip brand used
- 1 pre-baked angel food cake torn into ¾-1 inch pieces, a 15 ounce, 9-inch, store bought cake was used
- 42 ounce (2 – 21 ounce) cans cherry pie filling Comstock brand used
Instructions
- Beat the cream cheese in a large bowl, on medium-high speed with an electric mixer, for 1-2 minutes or until light and fluffy with no lumps remaining.12 ounces block style cream cheese
- To the beaten cream cheese, add the powdered sugar and beat again until fully incorporated.¾ cup powdered sugar
- Add the whole milk and vanilla extract to the bowl and beat on medium speed until the cream cheese mixture is smooth and fluffy. Be sure to scrape the sides and bottom of the bowl to ensure all the ingredients are well blended.⅓ cup whole milk, ½ teaspoon vanilla extract
- Fold the thawed whipped topping into the cream cheese mixture until no white streak remains and the whipped topping is fully incorporated.8 ounces frozen whipped topping
- Very gently fold the torn pieces of angel food cake into the cream cheese mixture until completely incorporated, being careful not to break up the angel food pieces too much as you combine all the ingredients.1 pre-baked angel food cake
- Transfer the cream cheese mixture to a 9×13 baking dish and spread to an even layer.
- Spoon the cherry pie filling evenly over the cream cheese mixture.42 ounce (2 – 21 ounce) cans cherry pie filling
- Refrigerate the cherries in the snow for a minimum of 30 minutes, up to 2 hours, or until the flavors have combined and the cream cheese layer has set before scooping and serving.
Jenn’s Notes
- Let the cream cheese soften completely before you start, so the filling comes out smooth with no lumps.
- Fold the whipped topping and cake in gently instead of stirring, so the filling stays fluffy and the cake pieces stay whole.
- A store-bought angel food cake anywhere from 13 to 15 ounces works. If you bake your own, let it cool completely first.
- Buy a good-quality cherry pie filling with plenty of whole cherries for the best flavor and the prettiest top.




Amazing dessert! Easy and delicious!
Love this dessert!
It really is a keeper! So glad you enjoyed it!
Will be making this soon. Looks delicious
thank you and make sure to let us know what you think when you try it!
Haven’t made this but I will. It sounds delicious!!
Haven’t made this yet, but all the ingredients are my favorites, how could it not be delicious!
Great recipe
love angelfood cake so this would be the perfect desert.
sounds delicious and looks great!