

This post may contain affiliate links. Please read our disclosure policy.
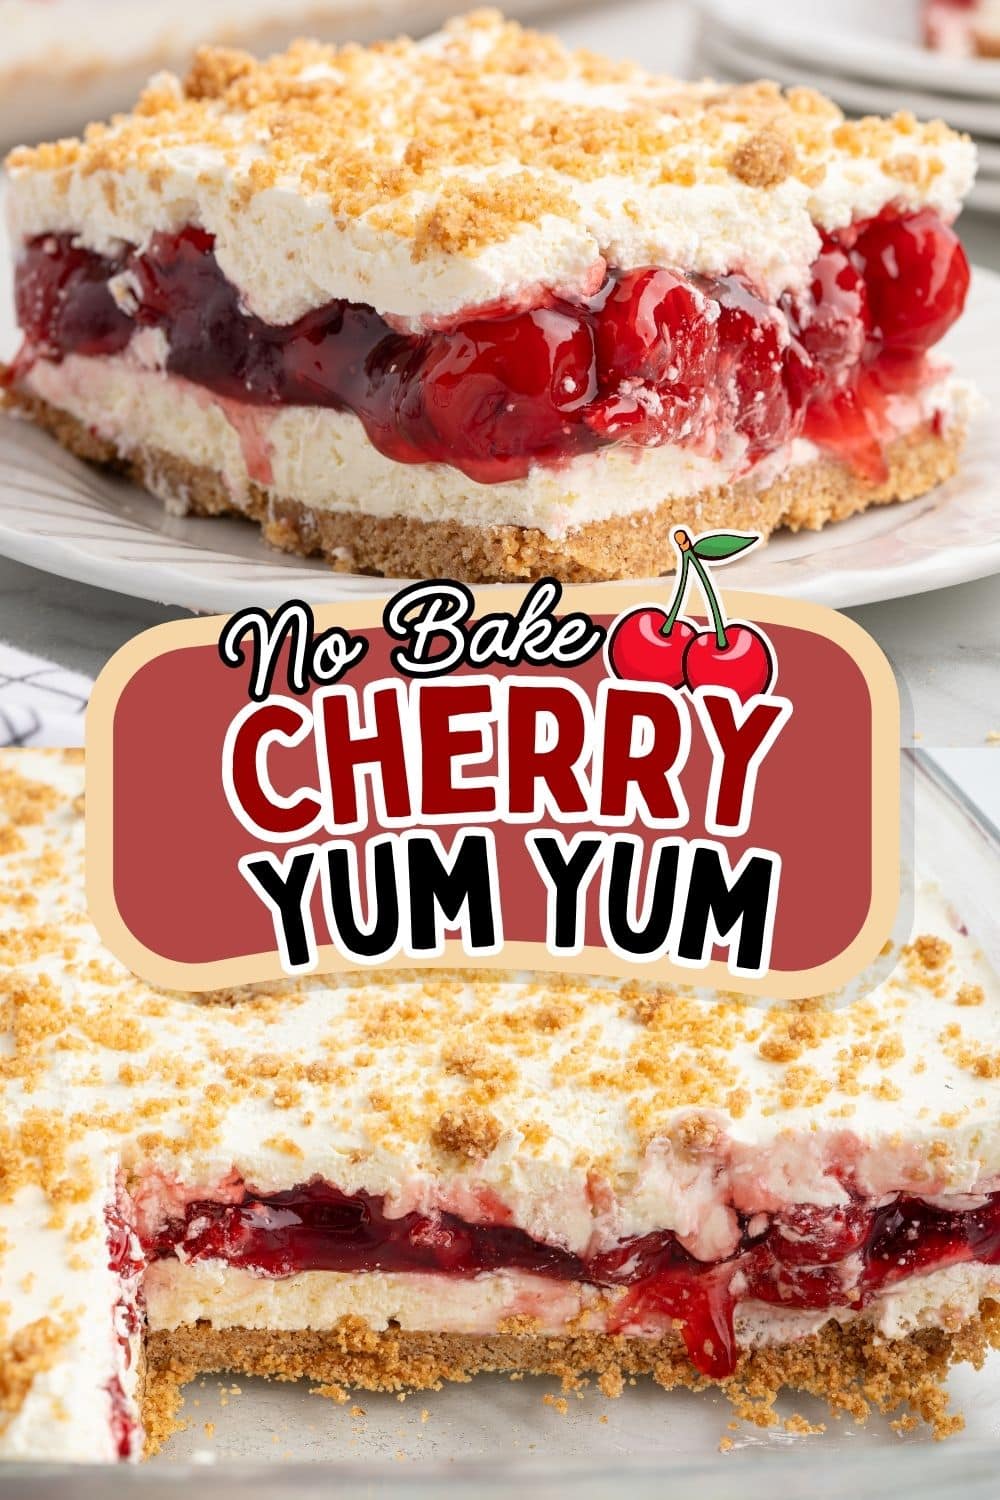
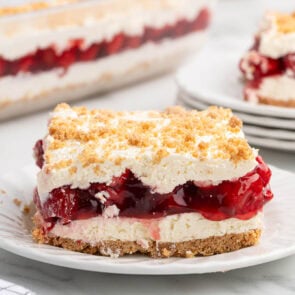
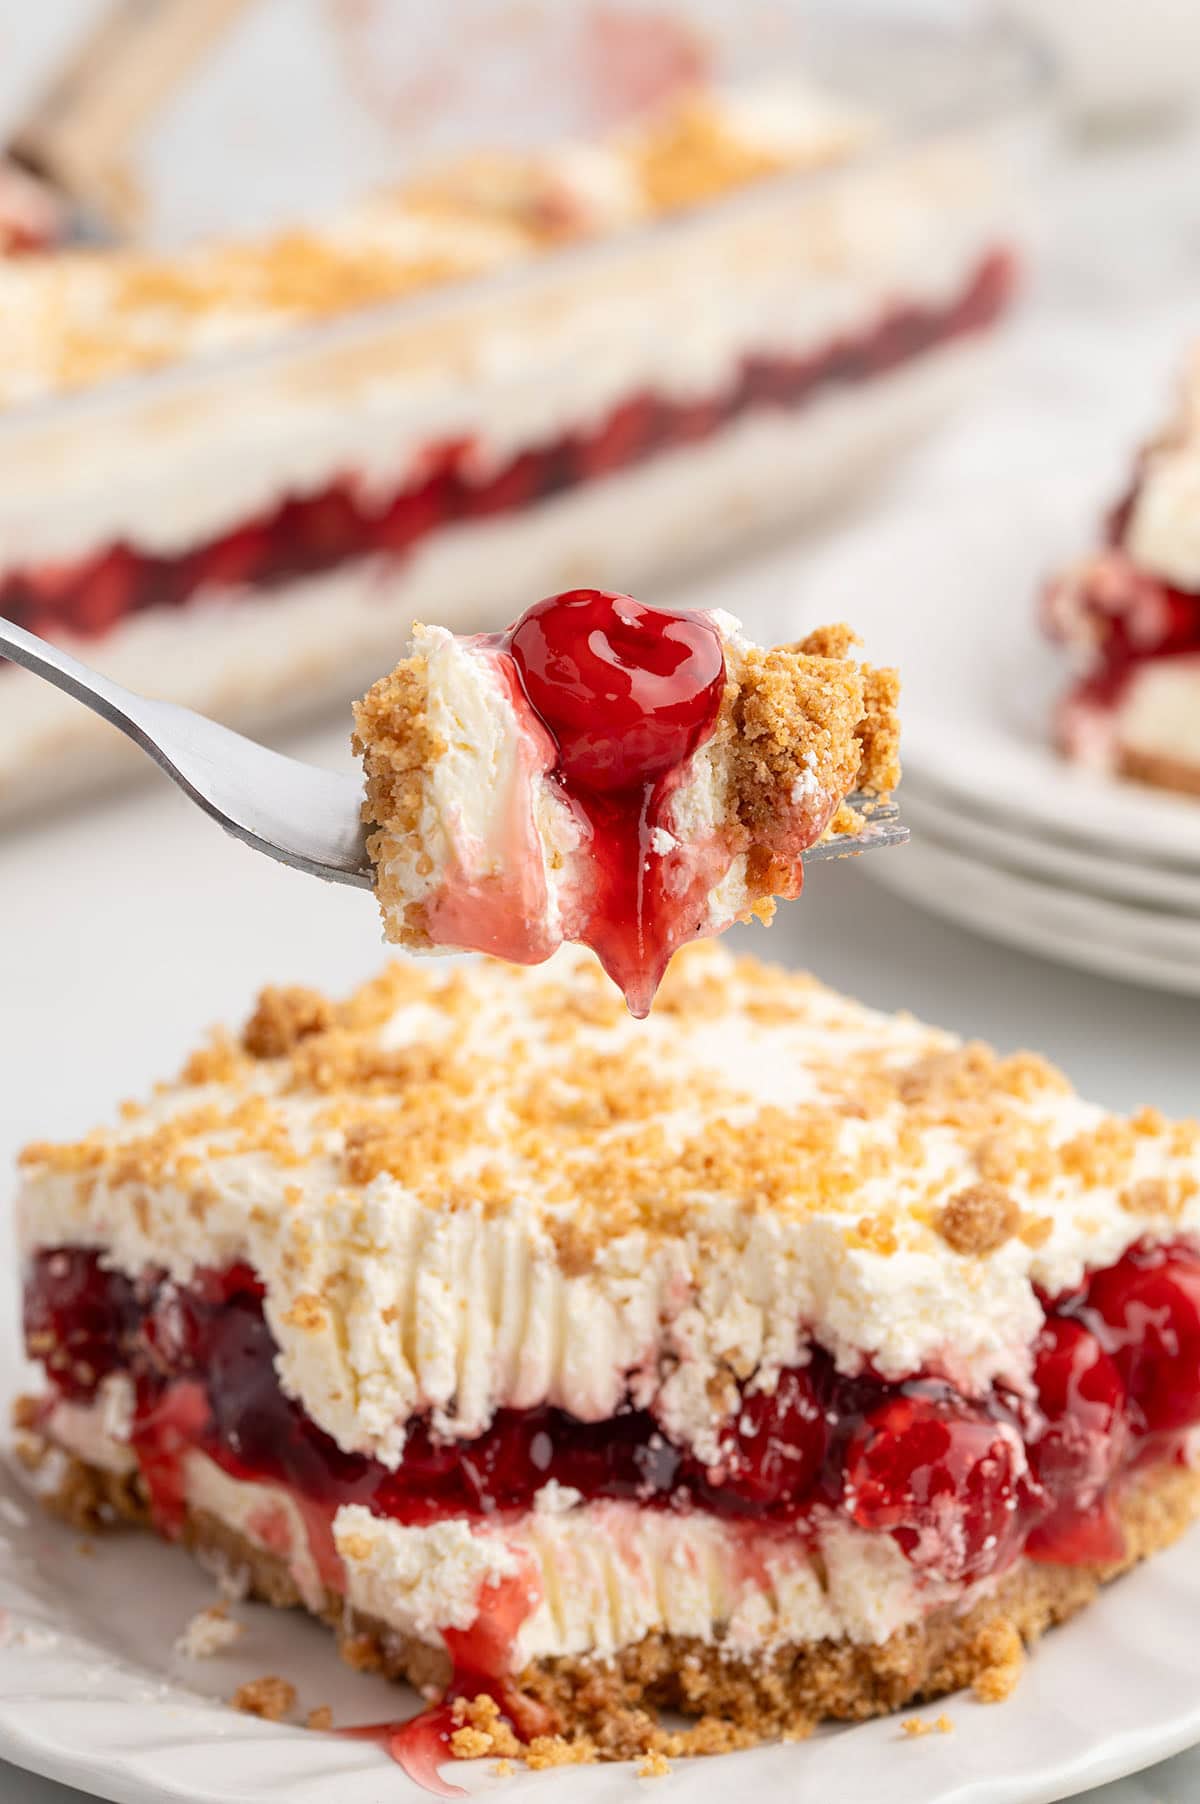
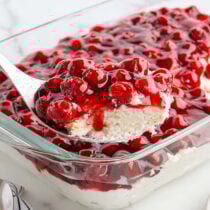
My cherry yum yum is cold, creamy, and stacked with sweetened cream cheese and bright cherry pie filling over a graham crust. Every bite is somewhere between a no-bake cheesecake and an old-fashioned cherry dessert. One pan never lasts long at my house.
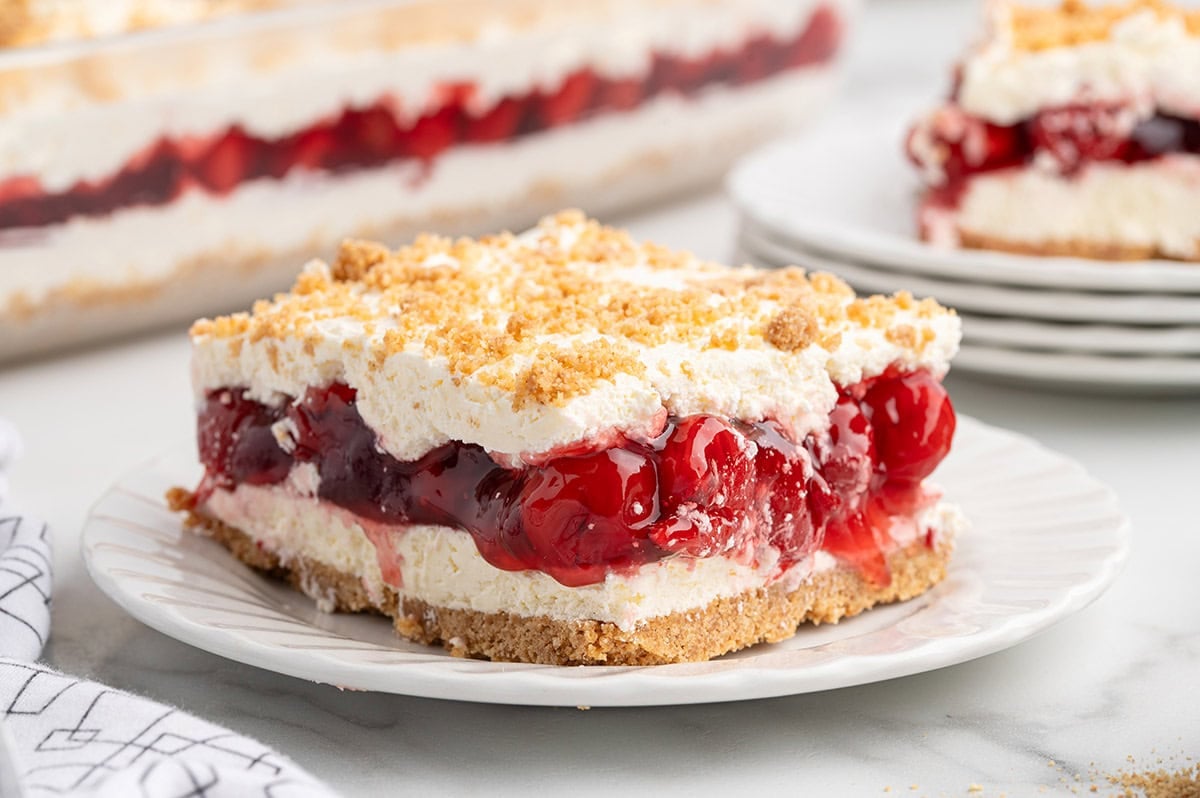
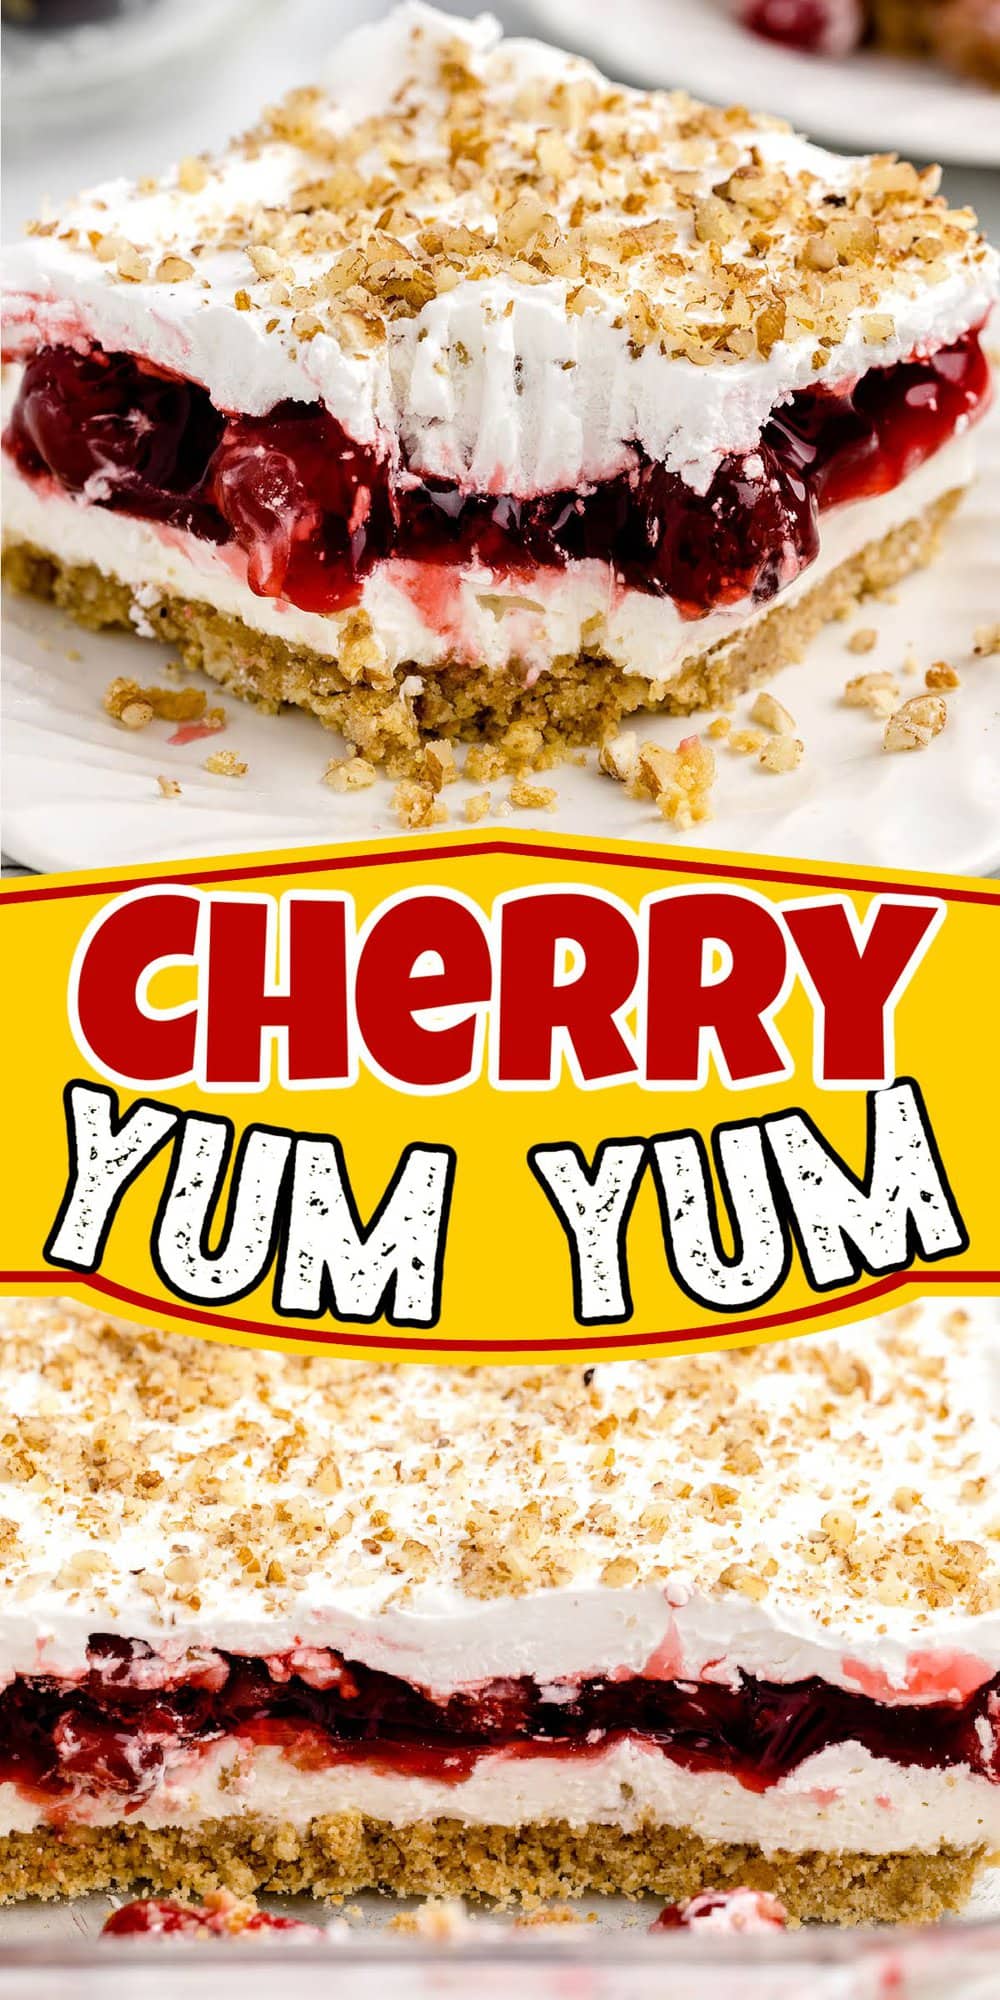
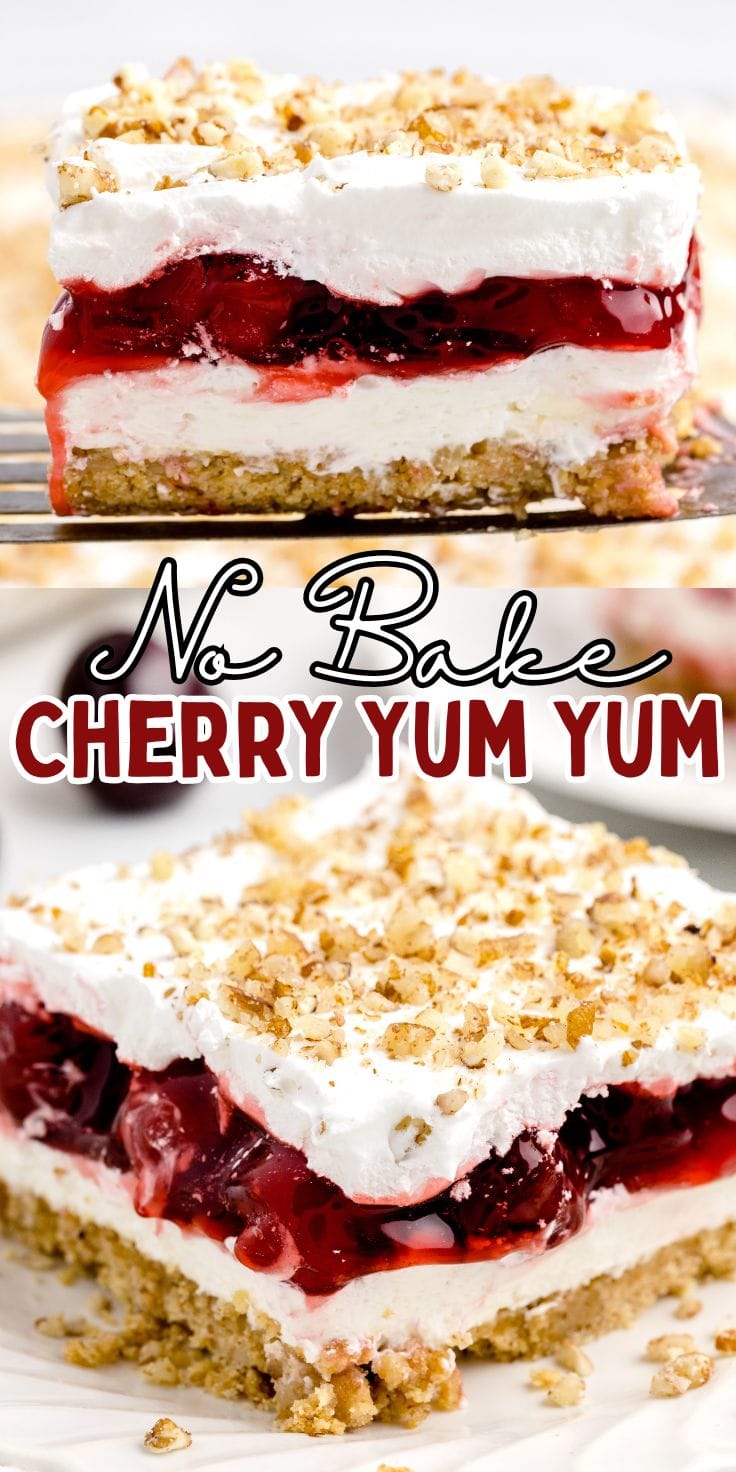
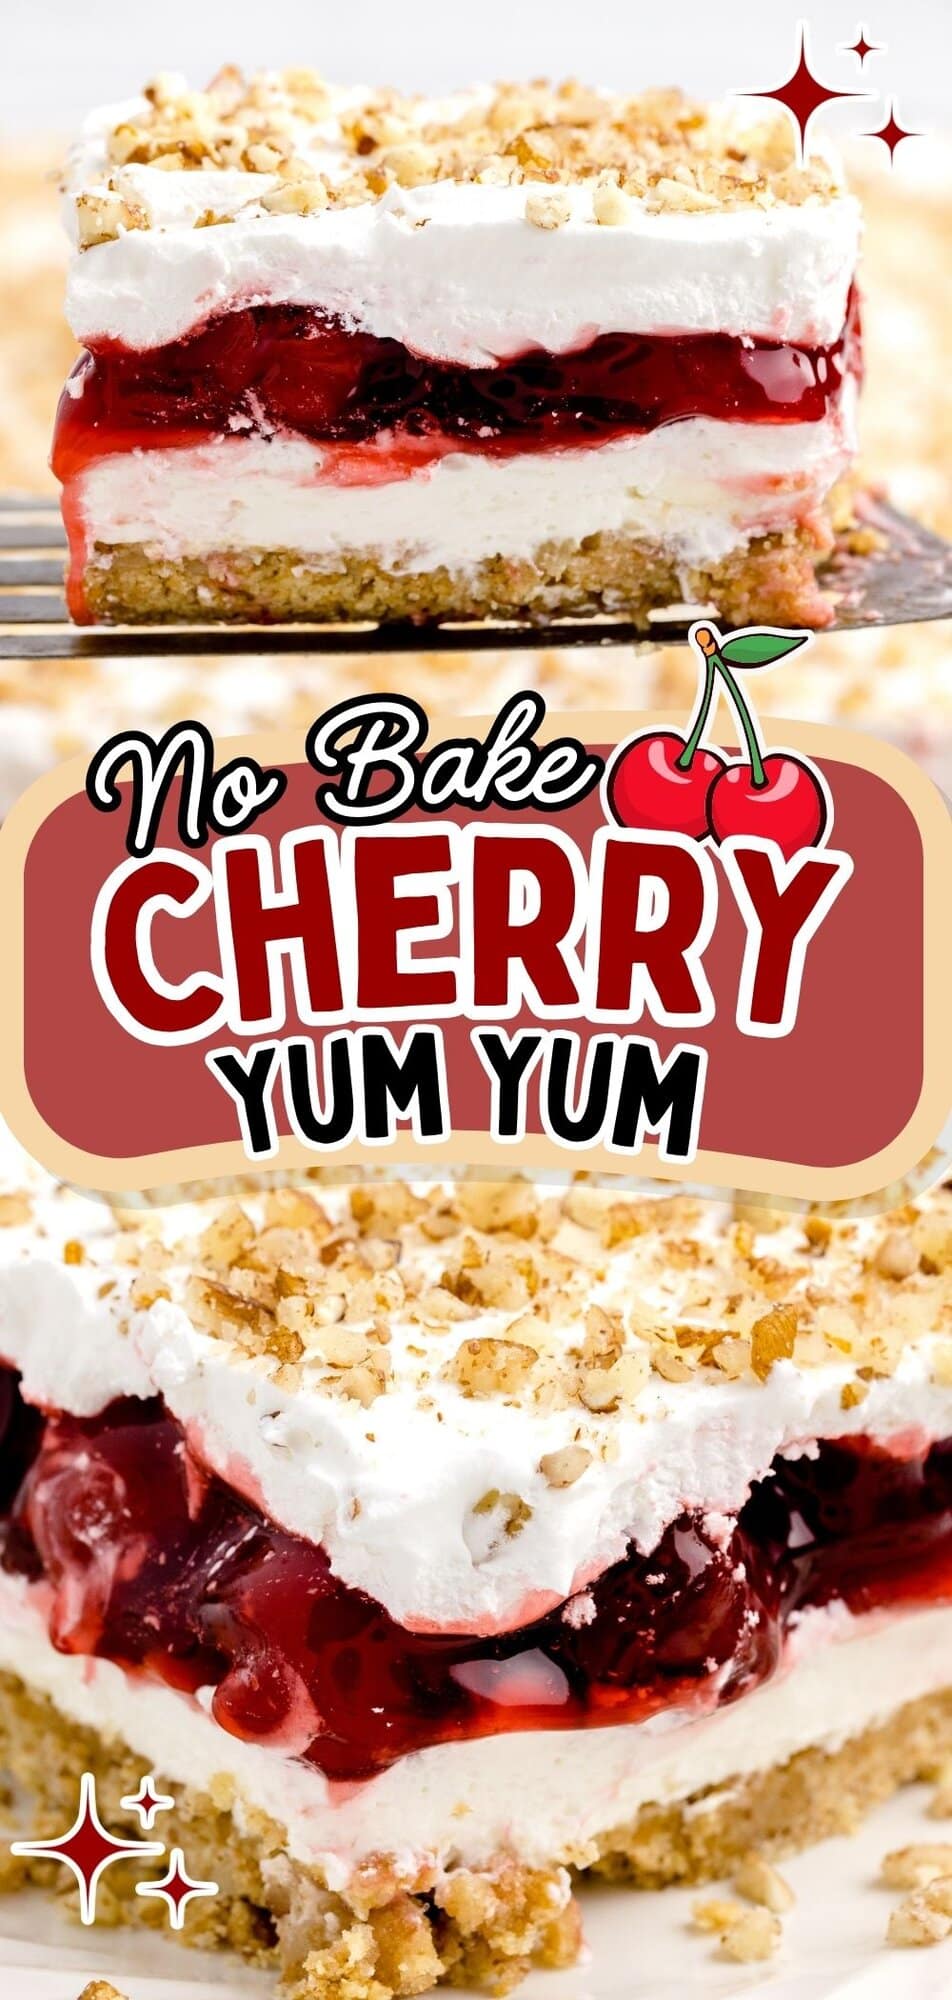

I make this all summer long, because it feeds a crowd and it perfect for making ahead. I tested the chill time at three different marks to find the one that slices clean instead of collapsing, and I landed the cream cheese and whipped topping at a ratio that holds its shape cold. I bring it when I want to show up with something that looks fussy but only took twenty minutes of real work.
This is the thicker, richer version, and it is the one I make every time now. Most cherry yum yum recipes use a single block of cream cheese and one can of cherries, so you end up with a thin, slippery layer. I use a full sixteen ounces of cream cheese and two cans of cherries, so the slice stands tall and the cheesecake layer actually tastes like something.
If you love a cold cherry dessert with a cream cheese layer, you will also love my Cherries in the Snow, another no-bake one I pull out on hot days.

TESTED & PERFECTED
Why I Went Back Into the Kitchen and Retested This One
I went back in to fix the two things that always bugged me about the old version. I pulled the pecans so the crust is simpler and safe for anyone with a nut allergy, and I dropped the sugar from the crust, which actually made it hold together better without baking. I also doubled the cream cheese so the layers are thick and creamy instead of thin, and I dialed in the chill so it slices clean every time. It tastes like a lightened no-bake cherry cheesecake now, and it is the version I stand behind.

What Is Cherry Yum Yum
Cherry yum yum is an old-school no-bake dessert with a graham cracker crust, a thick layer of sweetened cream cheese, and cherry pie filling, all chilled until it sets into neat squares.
You might also see it called cherry delight, and nobody quite agrees where either name came from, but it has been passed around Southern church cookbooks and potluck tables for decades. Mine is the layered, sliceable kind you cut and lift out, not the scooped kind you spoon into a bowl.
Key Ingredients
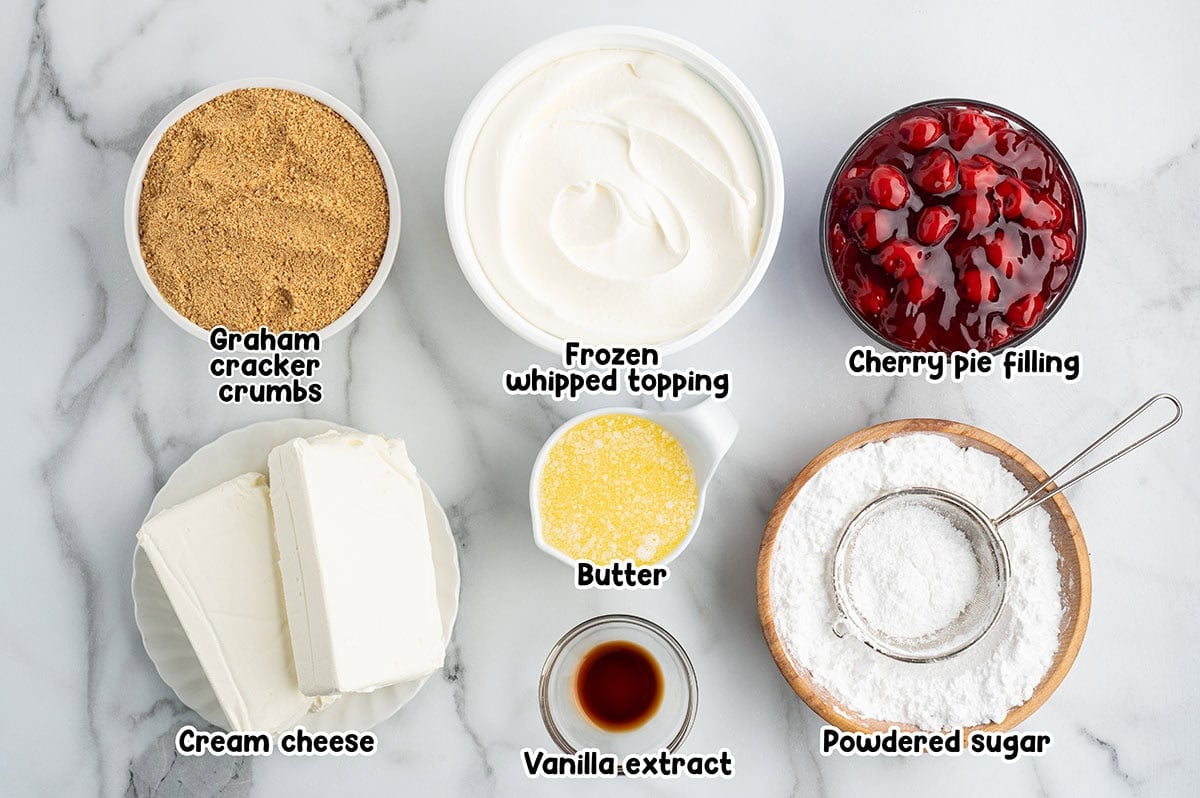
- Cream cheese: Use two full blocks, softened to room temperature. The doubled amount is what makes this version thick and cheesecake-like instead of thin, and room temperature is what keeps it from staying lumpy when you beat it. Cold cream cheese never fully smooths out.
- Graham cracker crumbs: I leave the sugar out of the crust entirely. Testing the sugared version, the crust stayed crumbly and wanted to fall apart when I cut it. Without the sugar, the buttered crumbs press into a base that holds together with no baking at all.
- Whipped topping: You need a full sixteen ounces to match the sixteen ounces of cream cheese. When I used less, the filling turned thin and would not hold its shape. I use Cool Whip here because it stays light and fluffy and holds its structure cold better than homemade whipped cream does.
- Cherry pie filling: Reach for a can labeled “more fruit” or “premium.” The regular cans run heavy on the gooey glaze and light on actual cherries, and this dessert is better with more fruit and less goop. I build this around canned filling on purpose, because it sets into a clean, sliceable layer that fresh cherries will not give you.
How to Make Cherry Yum Yum
Step 1: Make the No-Bake Crust Lightly spray a 9×13 baking dish with nonstick spray and set it aside. Stir the graham cracker crumbs and melted butter together until they look like wet sand. Reserve two tablespoons of the crumbs for the top, then press the rest firmly into the bottom of the prepared dish. Freeze the crust for 15 minutes to set while you make the filling.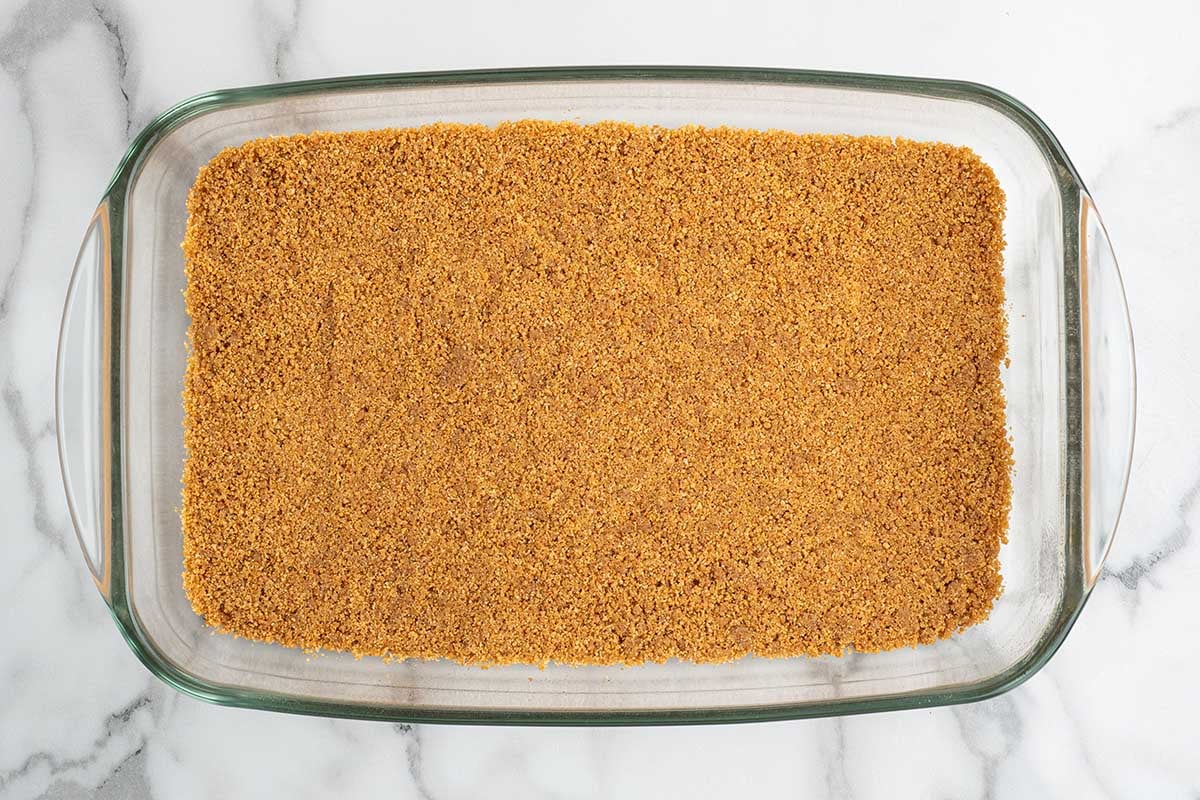
Step 2: Beat the Cream Cheese Base Beat the softened cream cheese on medium-high for 2 to 3 minutes, until there are no lumps left. Add the powdered sugar and vanilla and beat another 1 to 2 minutes, until it is smooth and creamy.
Step 3: Fold in the Whipped Topping Gently fold the thawed whipped topping into the cream cheese mixture until it is evenly combined and light. Fold, do not beat, so you keep it fluffy.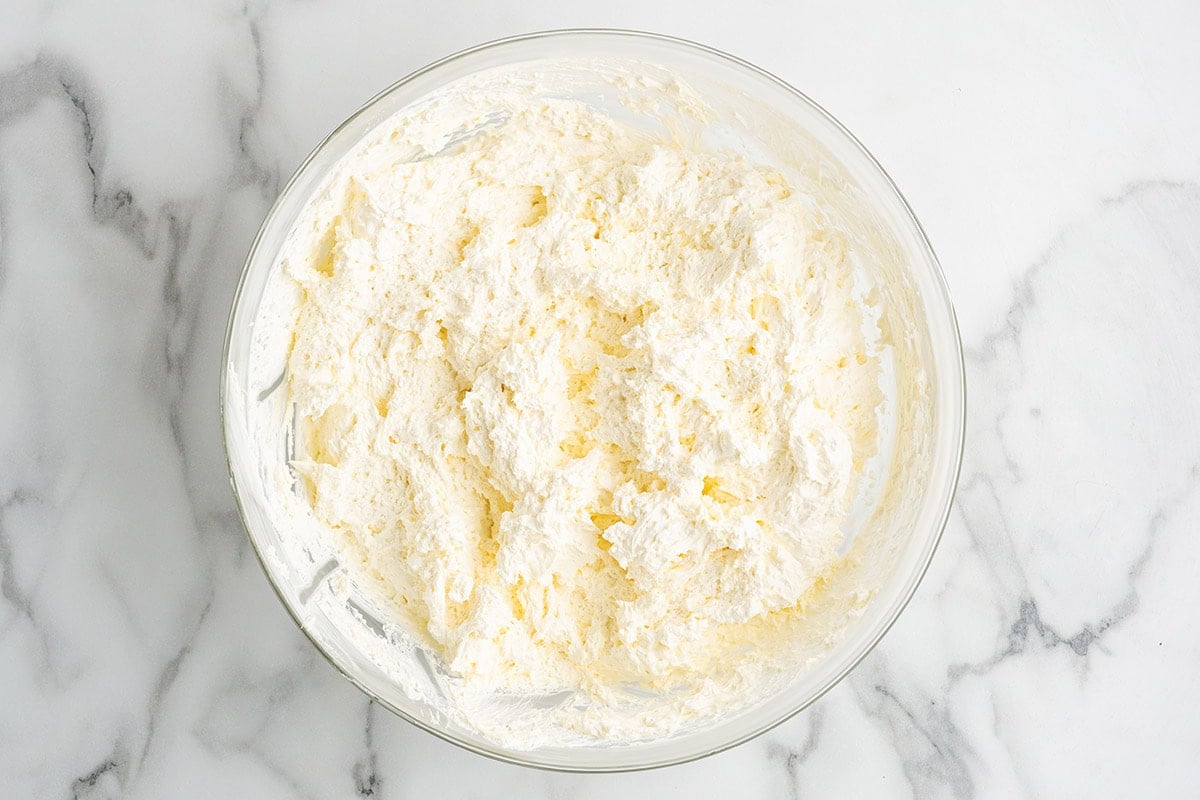
Step 4: Add the First Cream Cheese Layer Take the crust out of the freezer. Spread half of the cream cheese mixture over the crust in an even layer, right to the edges.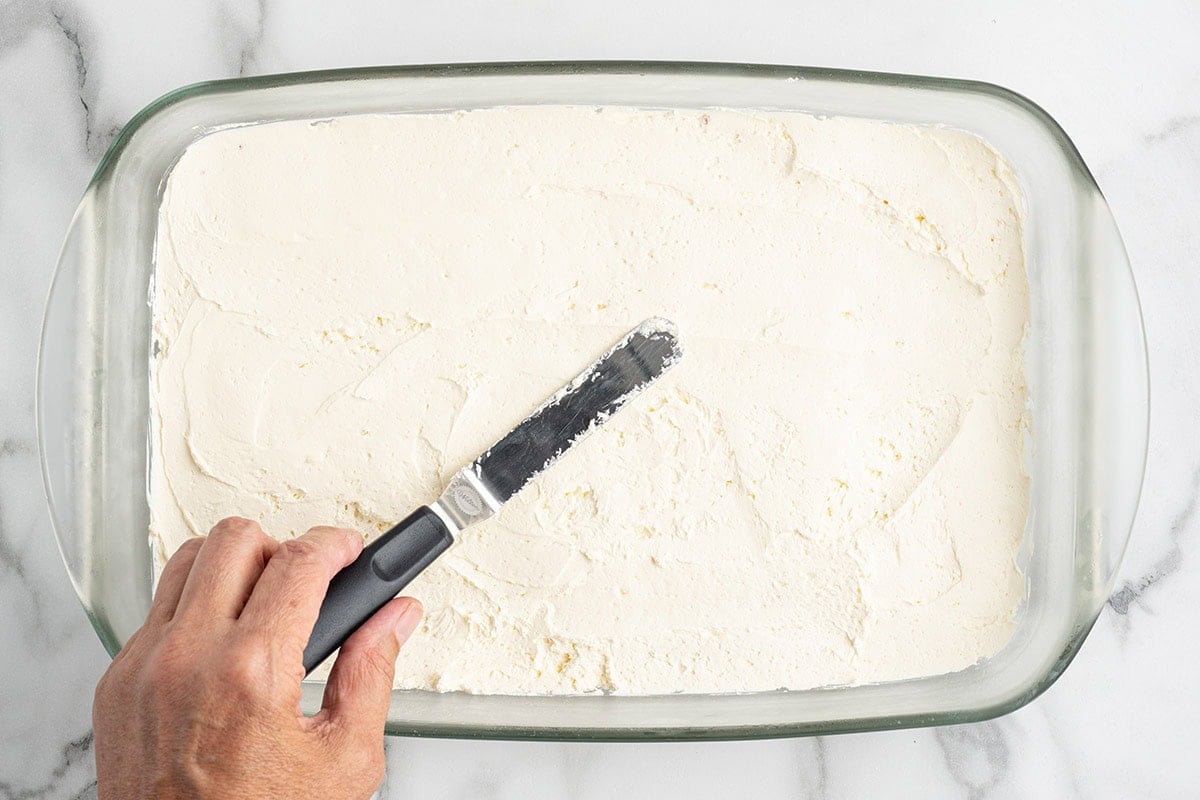
Step 5: Layer the Cherries and Dollop the Top Spoon both cans of cherry pie filling over the cream cheese and spread it even. Then dollop the remaining cream cheese mixture over the cherries in small spoonfuls and gently connect them with an offset spatula. Sprinkle the reserved two tablespoons of graham crumbs over the top.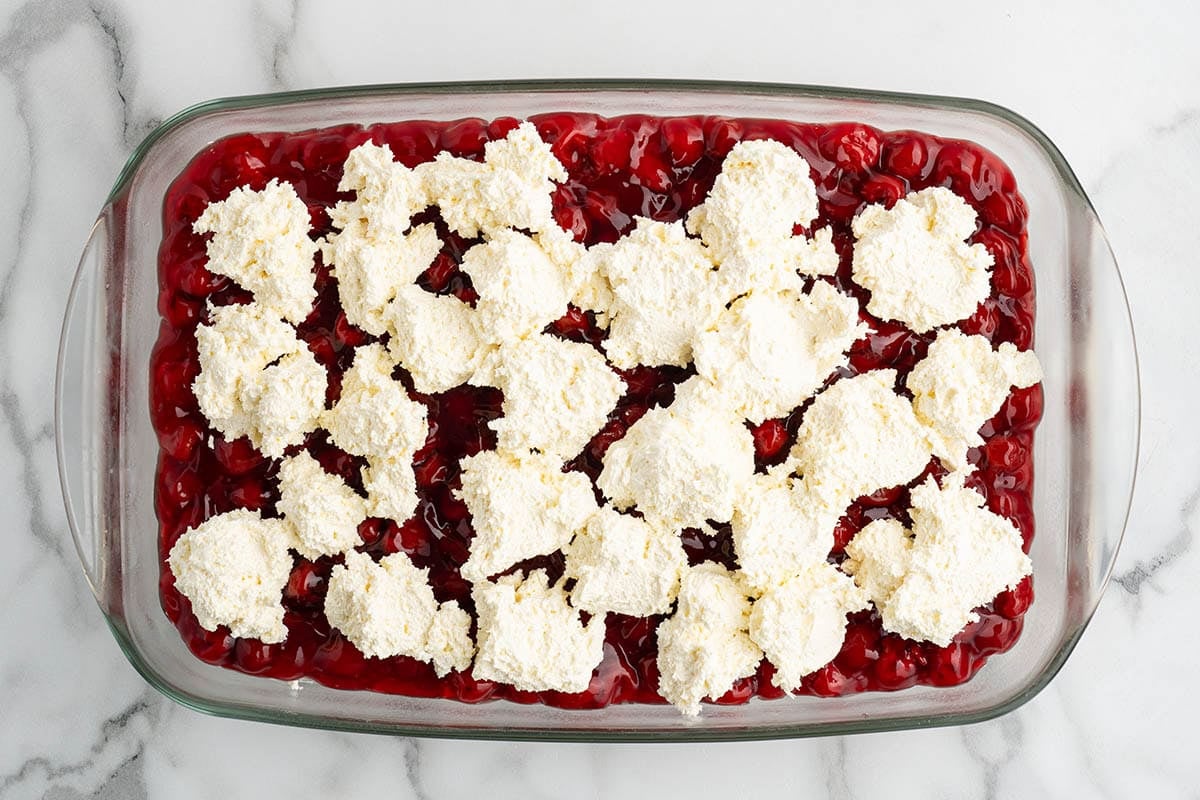
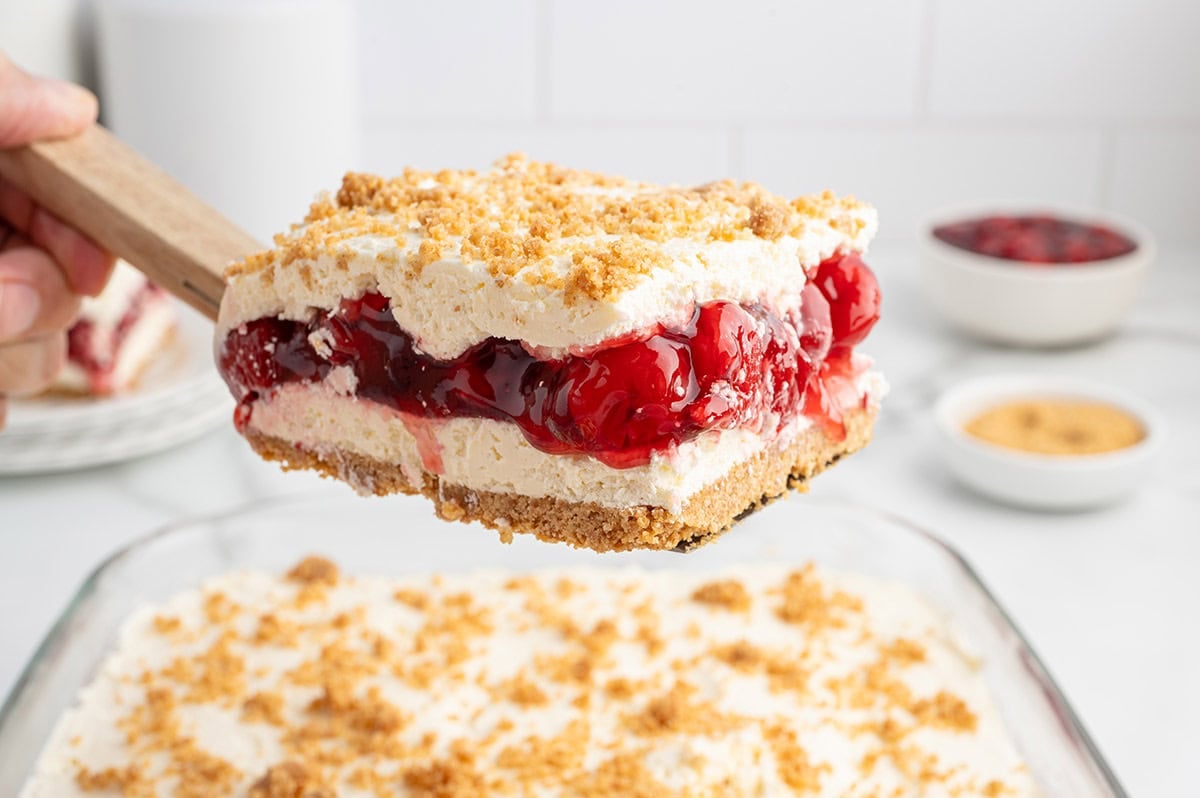
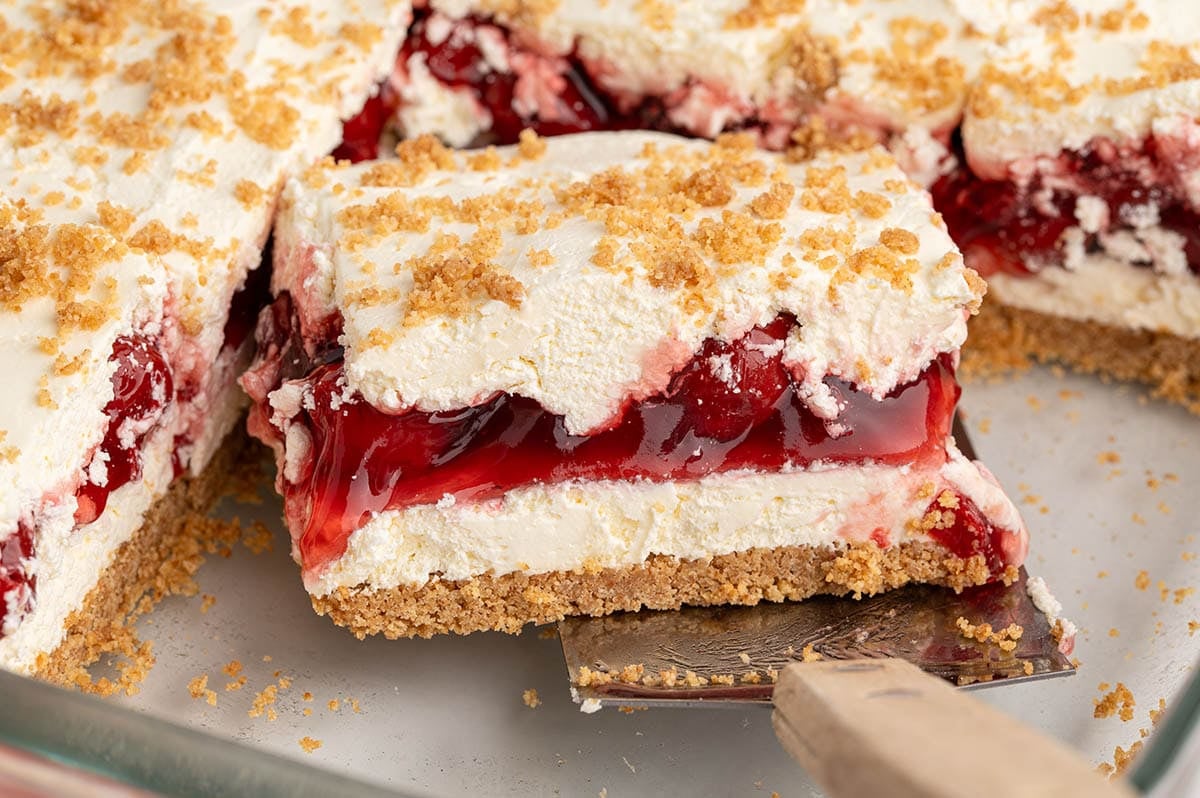
Step 6: Chill Until It Slices Clean Cover and refrigerate for at least 6 hours, or overnight. At 4 hours it is still too soft to cut cleanly, but by 6 hours a knife goes through in straight lines. Overnight is the cleanest of all.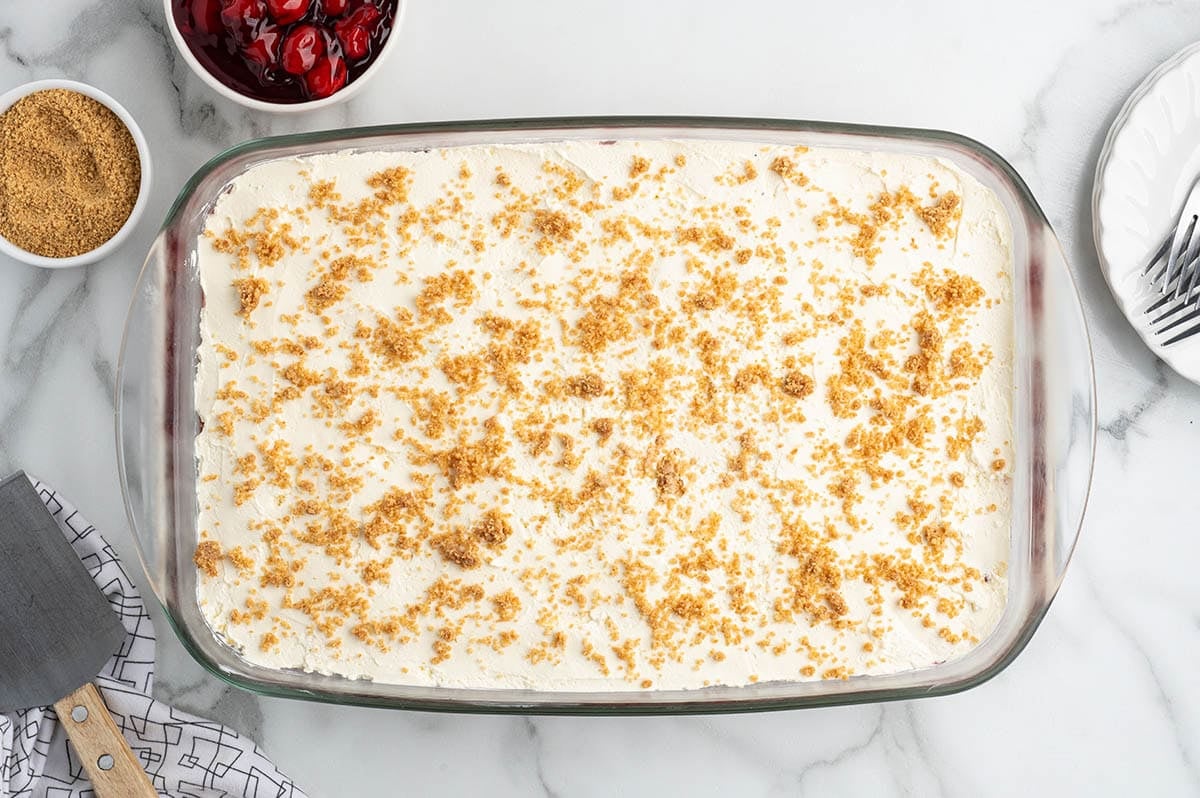

“Came out great. Great summer dessert.”
How to Store the Leftovers
Keep cherry yum yum covered in the refrigerator for up to 3 days. It is a make-ahead dessert by nature, so the day-before version is the one I recommend.
To freeze it, cover the pan well or move the squares to a freezer-safe container and freeze for up to 3 months. Thaw it overnight in the refrigerator before serving so the layers set back up.
You can find this in my full collection of no-bake dessert recipes if you want more that skip the oven.
More Cherry Recipes
Cherry Yum Yum
Ingredients
- 2 cups graham cracker crumbs (Kellogg's brand used)
- ½ cup unsalted butter melted and cooled
- 16 ounces (2 8-ounce) blocks cream cheese softened to room temperature
- 1 cup powdered sugar sifted
- 1 teaspoon vanilla extract softened
- 16 ounces (2 8-ounce) containers frozen whipped topping thawed (Cool Whip brand used)
- 42 ounces (2 21-ounce) cans cherry pie filling (Duncan Hines COMSTOCK More Fruit brand used)
Instructions
- Lightly spray a 9×13 baking dish with nonstick spray and set aside.
- To a medium bowl, add the graham cracker crumbs and melted butter, then stir to combine. The mixture should resemble wet sand. Reserve 2 tablespoons of the buttered graham cracker crumbs for the topping.2 cups graham cracker crumbs , ½ cup unsalted butter
- Press the graham cracker crumb mixture (minus the reserved 2 tablespoons) firmly into the bottom of the prepared 9×13 baking dish to form a crust. Place the crust into the freezer for 15 minutes to harden while preparing the remaining ingredients.
- In a large mixing bowl, beat the cream cheese for 2-3 minutes using a handheld mixer on medium-high speed until no lumps remain.16 ounces (2 8-ounce) blocks cream cheese
- Add the powdered sugar and vanilla extract, then beat for an additional 1-2 minutes or until smooth and creamy.1 cup powdered sugar, 1 teaspoon vanilla extract
- Gently fold in the thawed whipped topping until evenly combined and the mixture is light and fluffy.16 ounces (2 8-ounce) containers frozen whipped topping
- Remove the crust from the freezer, top the crust with half the cream cheese mixture, and gently spread to an even layer.
- Spoon the cherry pie filling over the cream cheese layer, spreading into an even layer, then add small dollops of the remaining cream cheese mixture over the cherries. Using a small offset spatula, carefully spread the cream cheese mixture in an even layer, being careful not to mix the layers.42 ounces (2 21-ounce) cans cherry pie filling
- Sprinkle the reserved 2 tablespoons graham cracker crumb mixture evenly over the top of the final cream cheese layer for garnish.
- Cover with plastic wrap and refrigerate for a minimum of 6 hours (up to overnight) or until well chilled for clean cuts when sliced and served.








I use half cheery pie filling and half blueberry and make half with cherry (1xan) and half with blueberry (1 can)
That way guests can choose which they want.,cherry or blueberry
What a great idea
Came out great. Great summer dessert.
can’t wait to try it. Sounds delicious. Cherries got me.