
This post may contain affiliate links. Please read our disclosure policy.
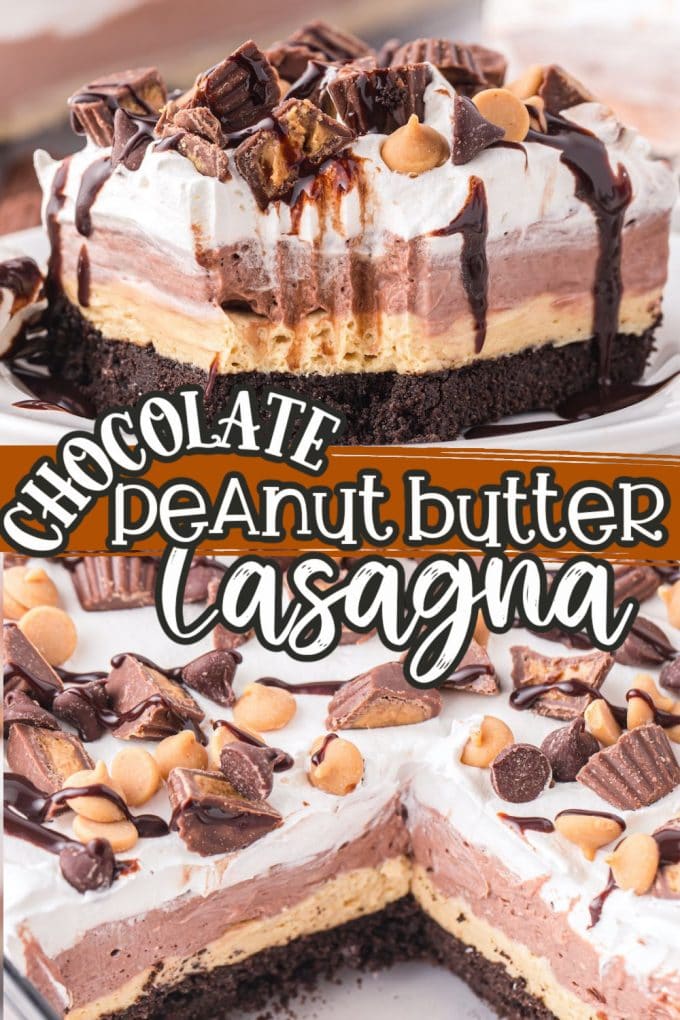
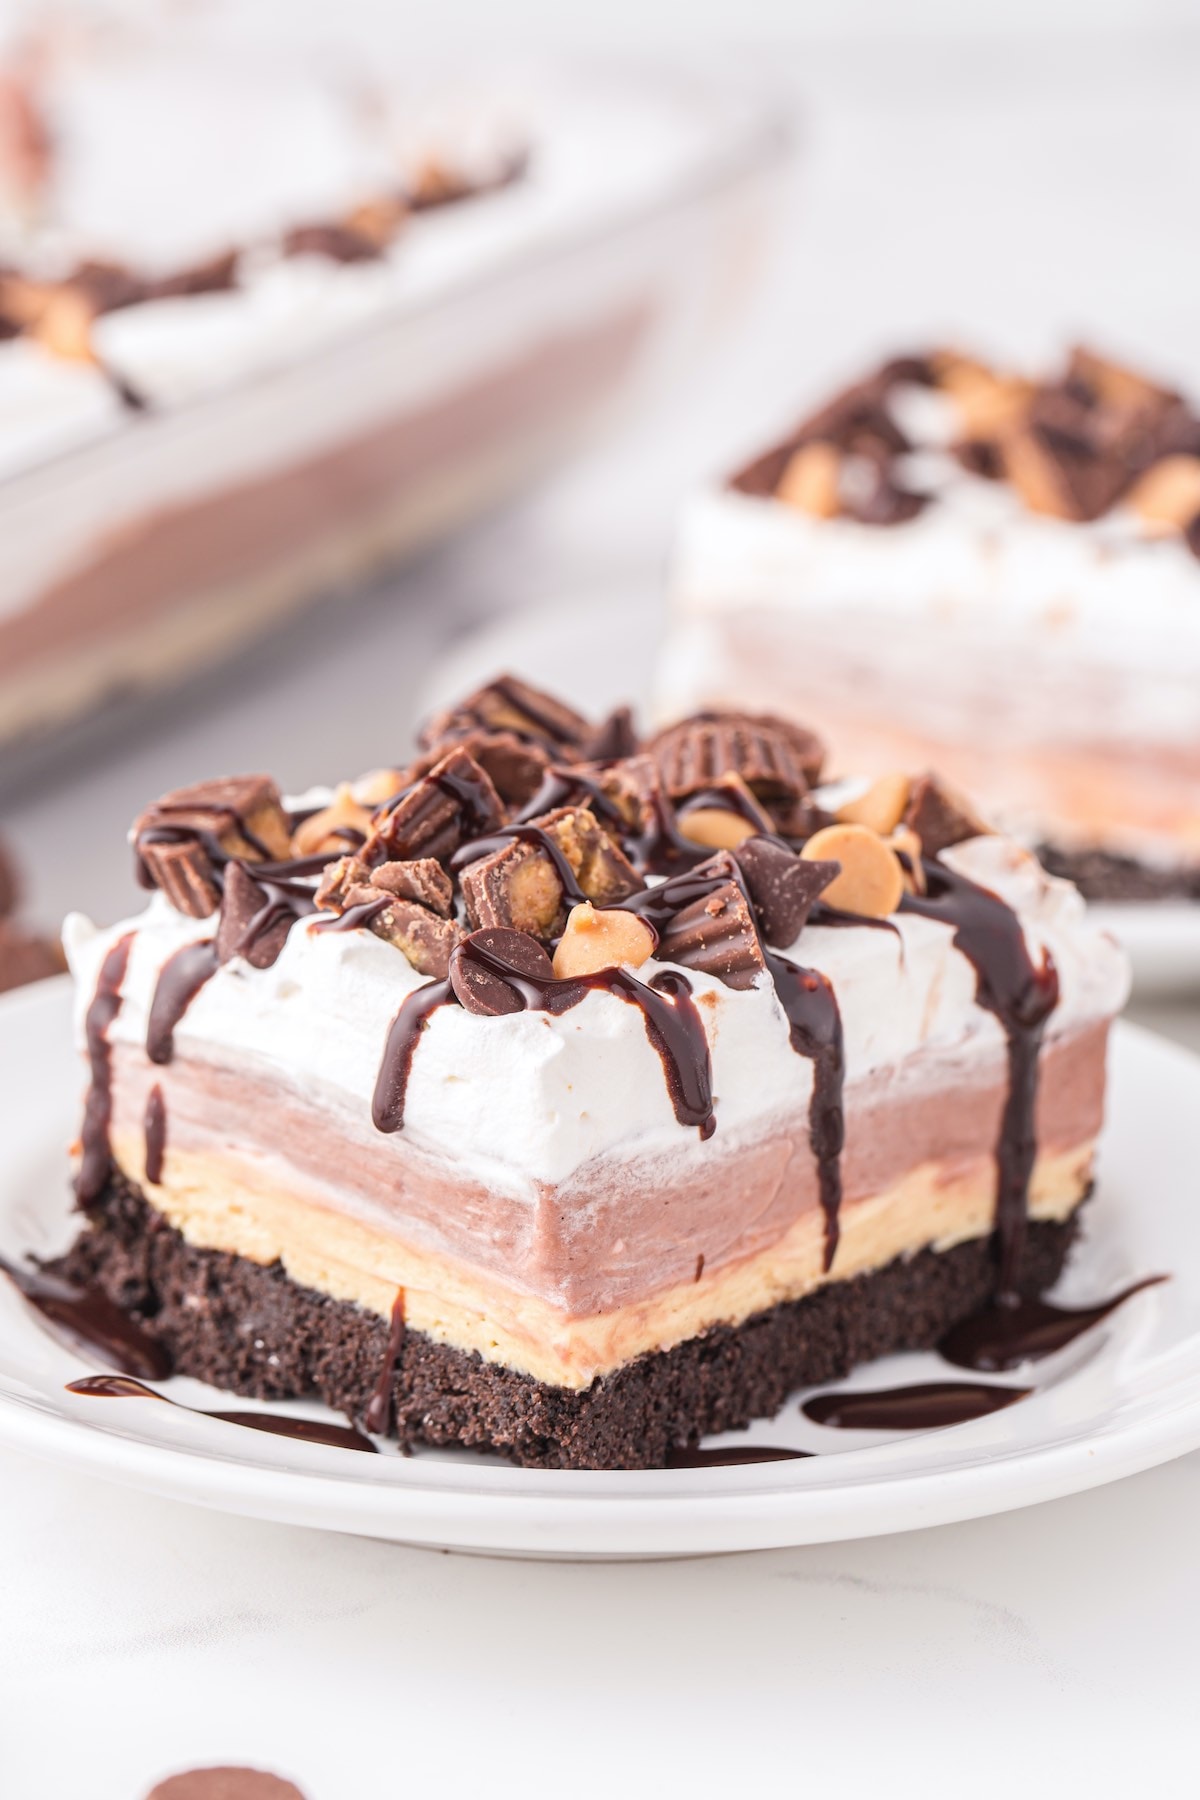
Our Chocolate Peanut Butter Lasagna is a peanut butter lover’s dream dessert. Creamy layers of peanut butter cheesecake filling, vanilla and chocolate pudding all on top of an Oreo crust! They will be begging for more of this easy-no bake dessert!
Chocolate Peanut Butter No Bake Dessert
Whether it’s the dead of summer and you’re trying to avoid turning on the oven or it’s last minute and you need a quick dessert, it’s always a good idea to have a few no-bake dessert recipes on hand. This Chocolate Peanut Butter Lasagna is one of my absolute favorite no bake desserts! It’s so delicious and super quick and easy to make.
It only takes about 30 minutes to prep this recipe, and then it needs to chill in the fridge before serving. The layers that make up this dish are what make it like a lasagna, only better because instead of noodles and sauce, it’s filled with rich chocolate, creamy peanut butter, and sweet whipped cream. You are going to love this sweet treat!
Why We Love This Recipe
- Quick and easy to make
- Easy dessert recipe
- Great for potlucks or gathering
- No bake dessert
- Chocolate peanut butter dessert recipe
- 30 minutes prep time
- Delicious, creamy filling flavors
- Can be made ahead and chilled overnight
- Homemade Oreo cookie crust
- Rich & creamy
Ingredients/Shopping List
- Oreos
- Salted butter
- Cream cheese
- Peanut butter
- Half & half
- Vanilla & chocolate pudding mix
- Whipped topping/Cool Whip
- Peanut butter chips
- Chocolate chips
- Mini Reese’s Peanut Butter Cups
- Chocolate syrup
SEE FULL PRINTABLE RECIPE CARD BELOW
How to Make This Chocolate Peanut Butter Lasagna Recipe
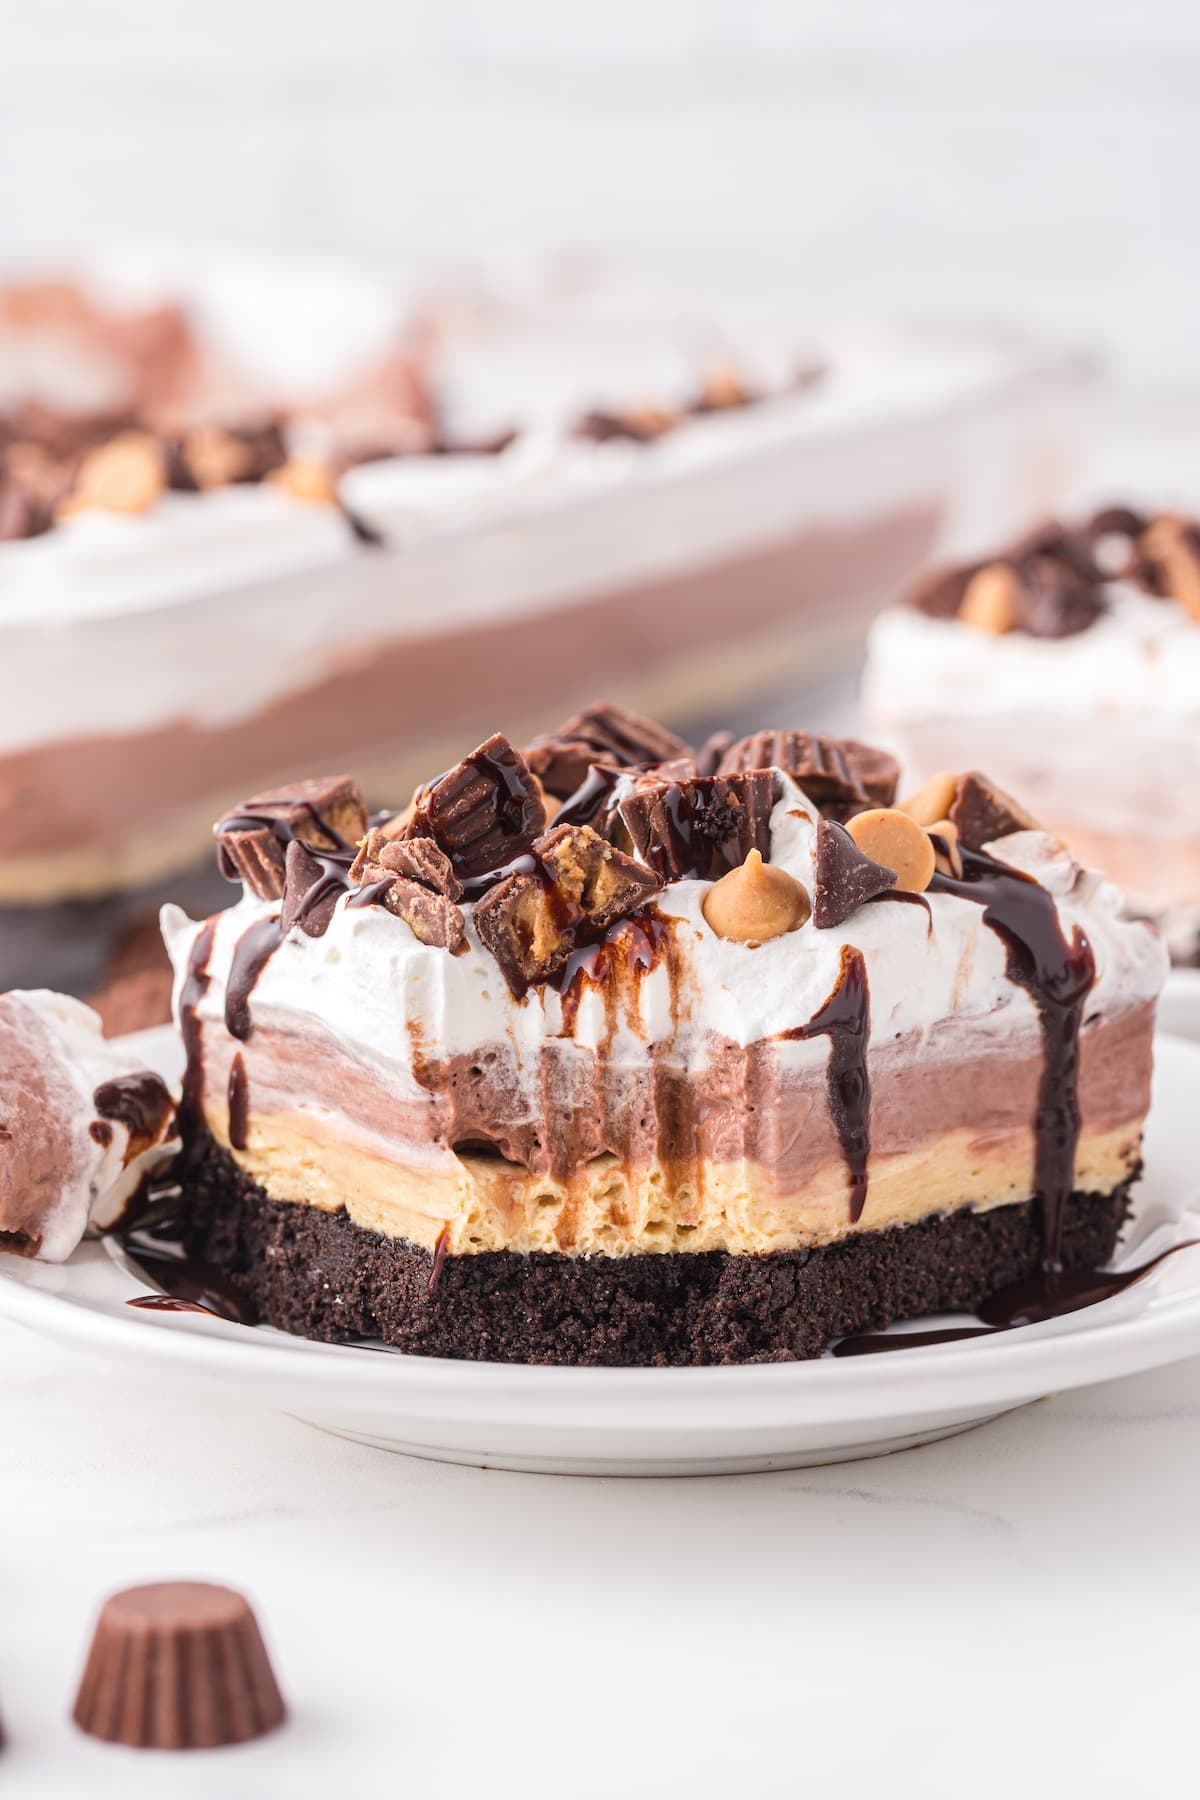
This layered dessert comes together in quick steps for each of the four layers. Starting with the Oreo crust, then the peanut butter layer, chocolate layer, and finally the whipped topping and garnish. It will be ready for chilling in the fridge in just 30 minutes!
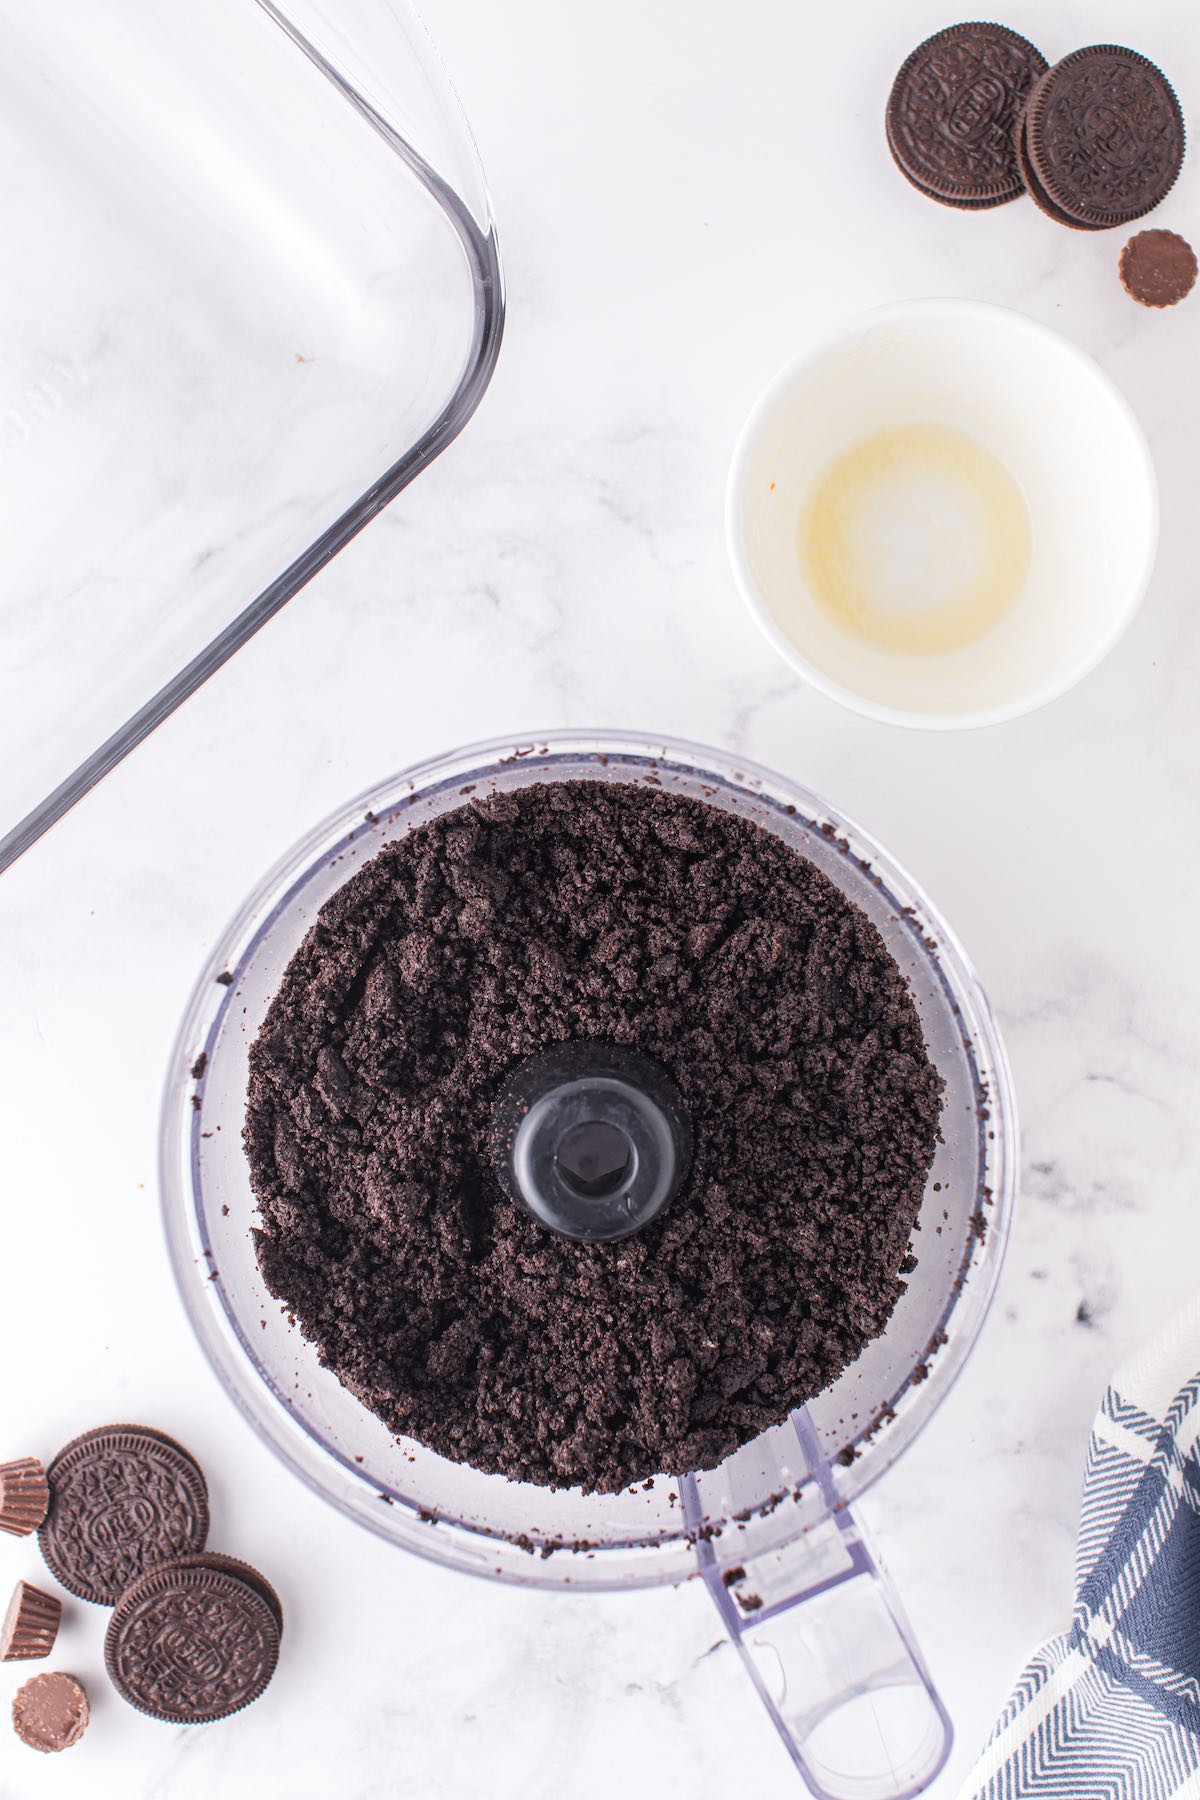
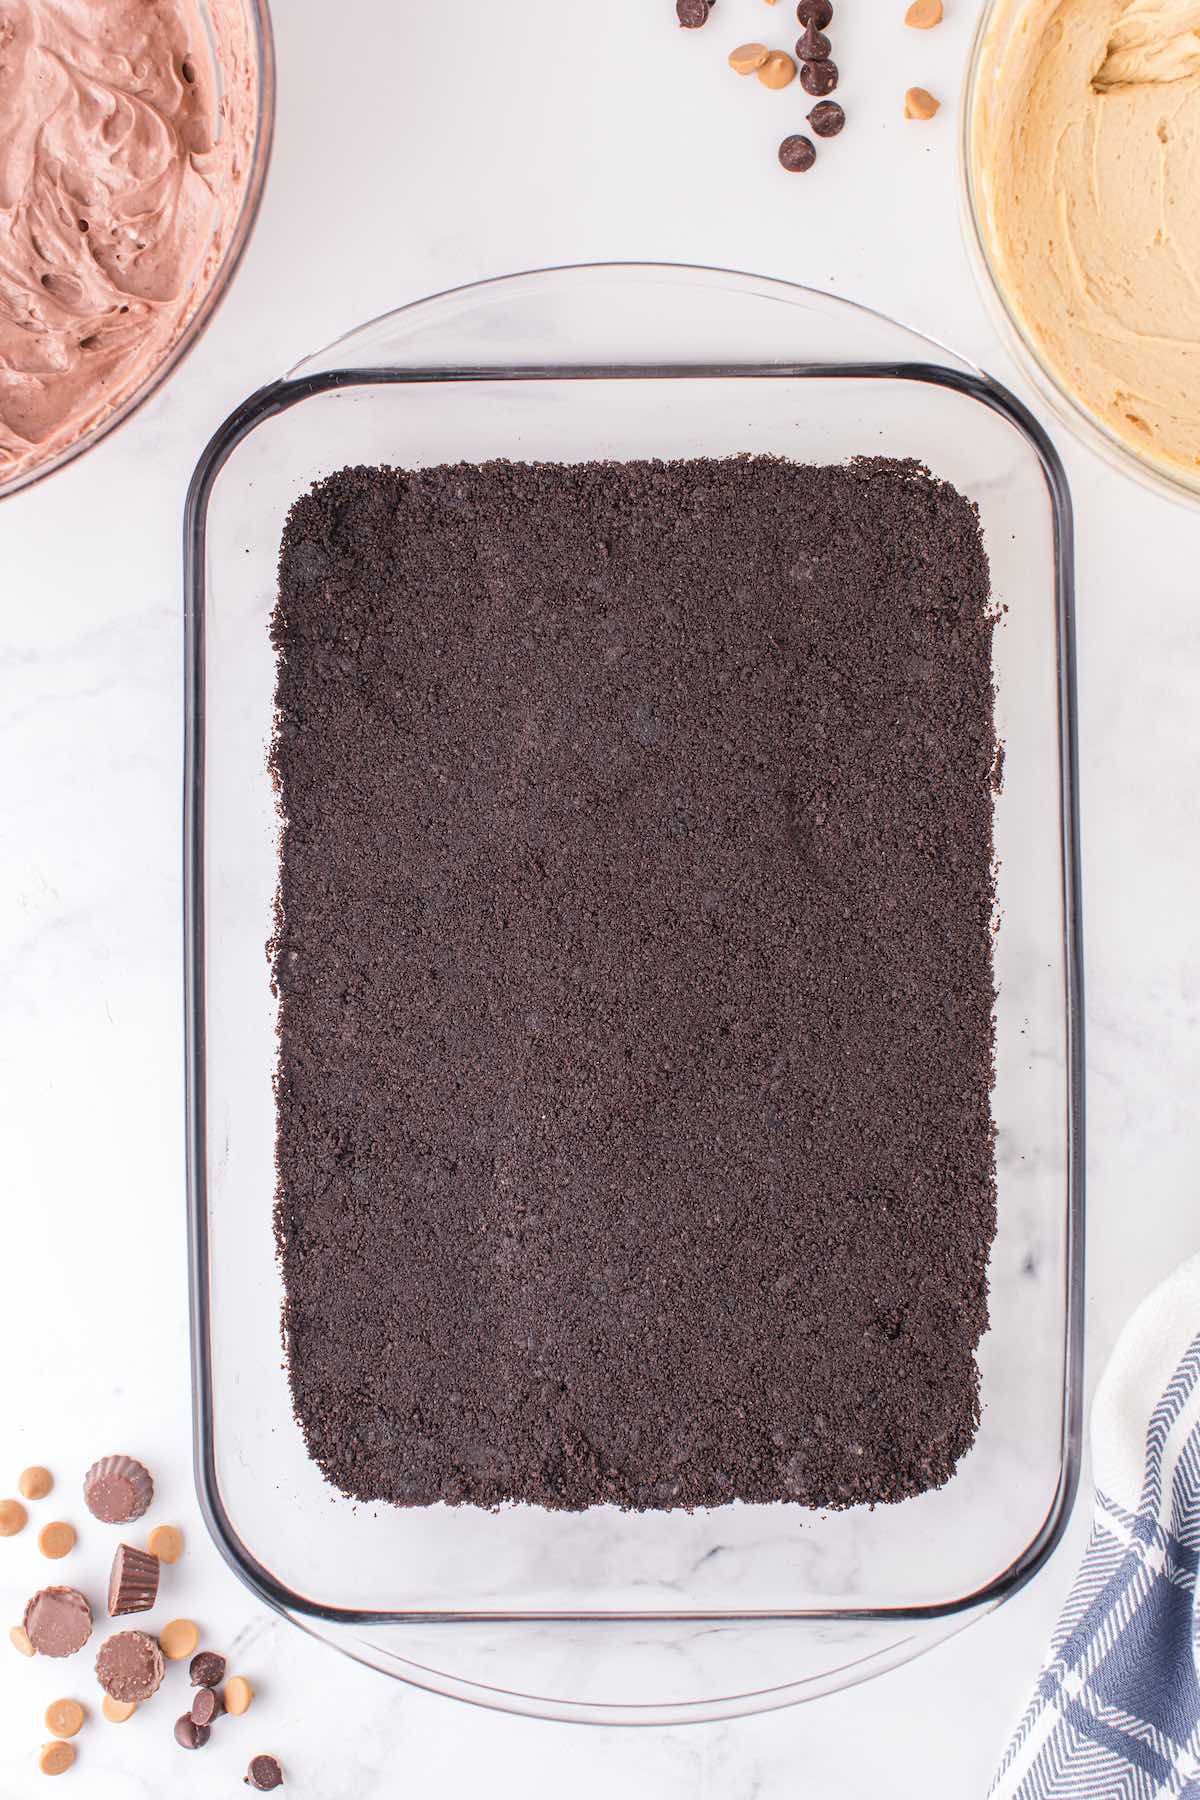
Pulse Oreos and butter in a food processor to make crumbs.
Press the mixture into the bottom of your baking pan.
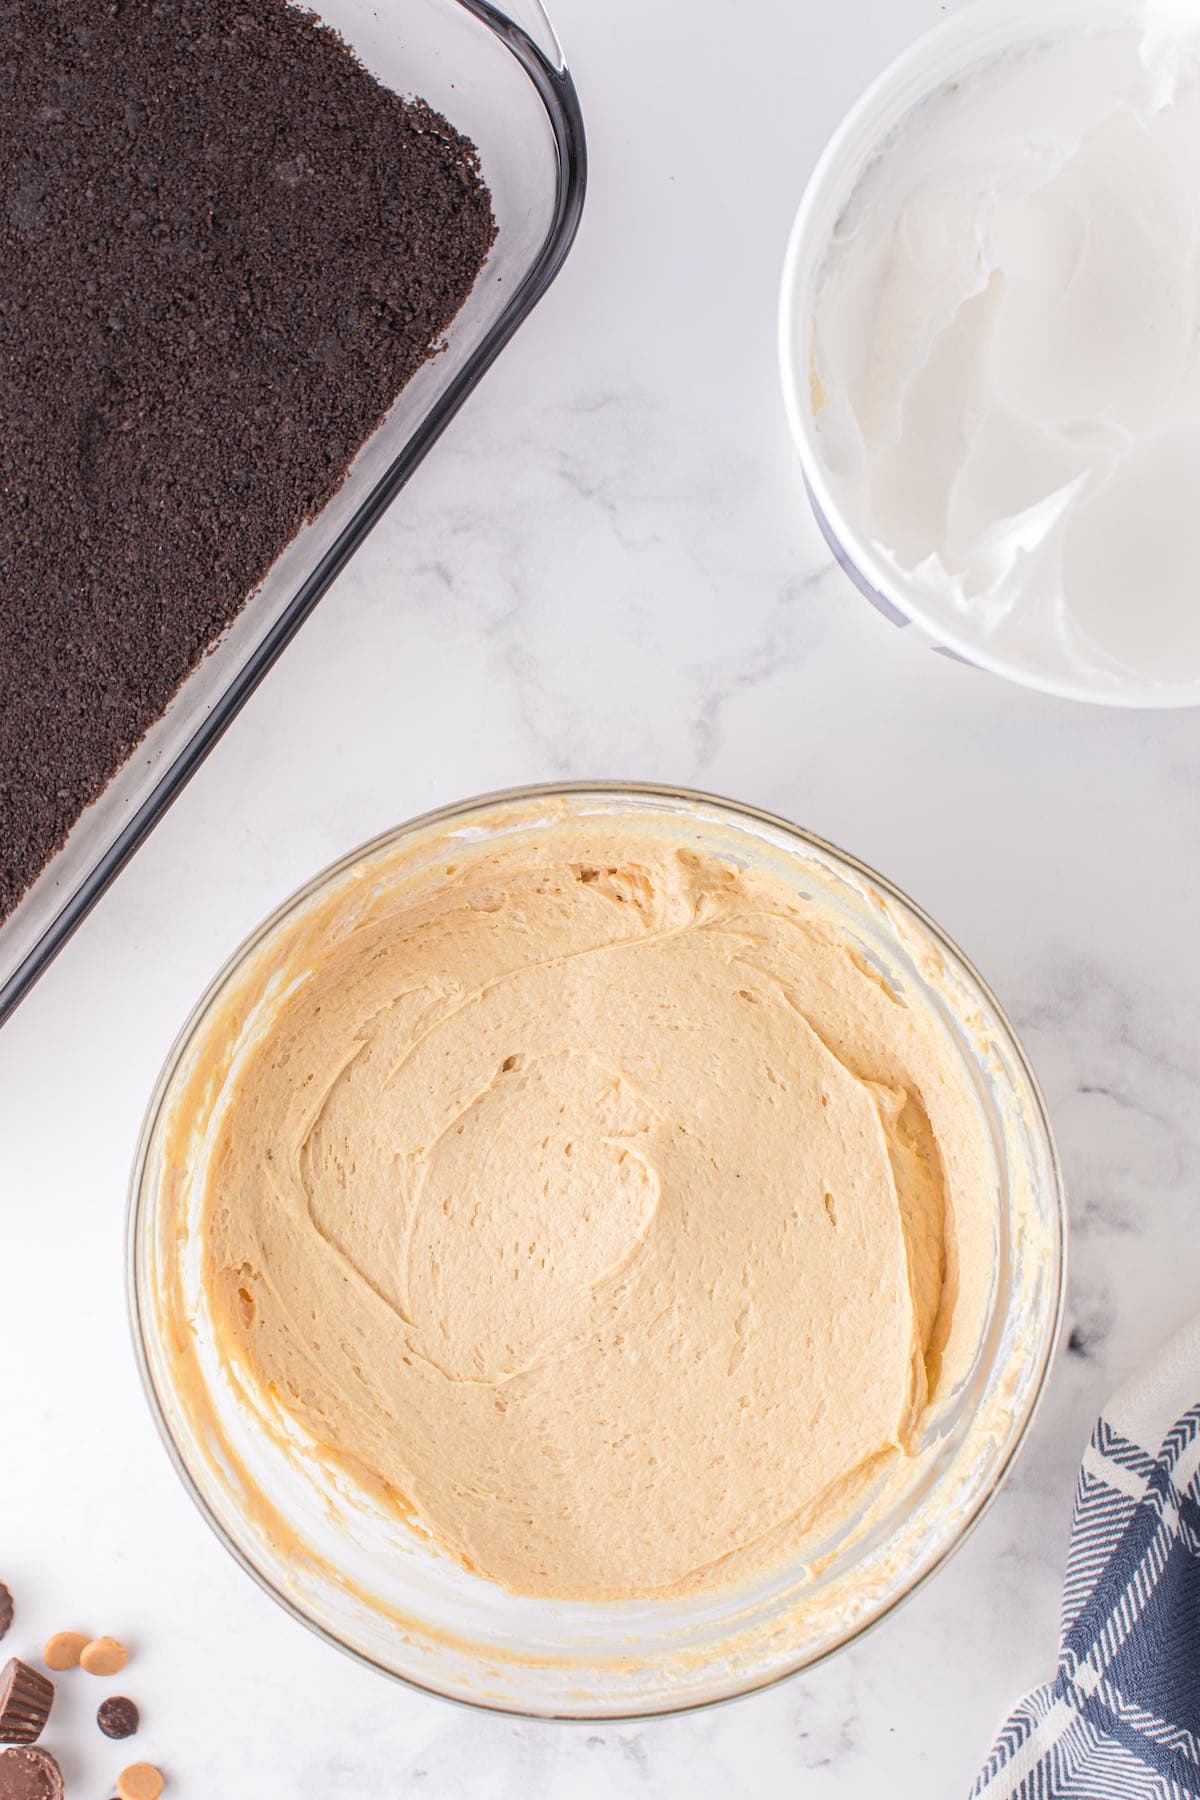
Beat cream cheese and peanut butter until light and fluffy. Combine half & half and vanilla pudding mix. Fold in the whipped topping.
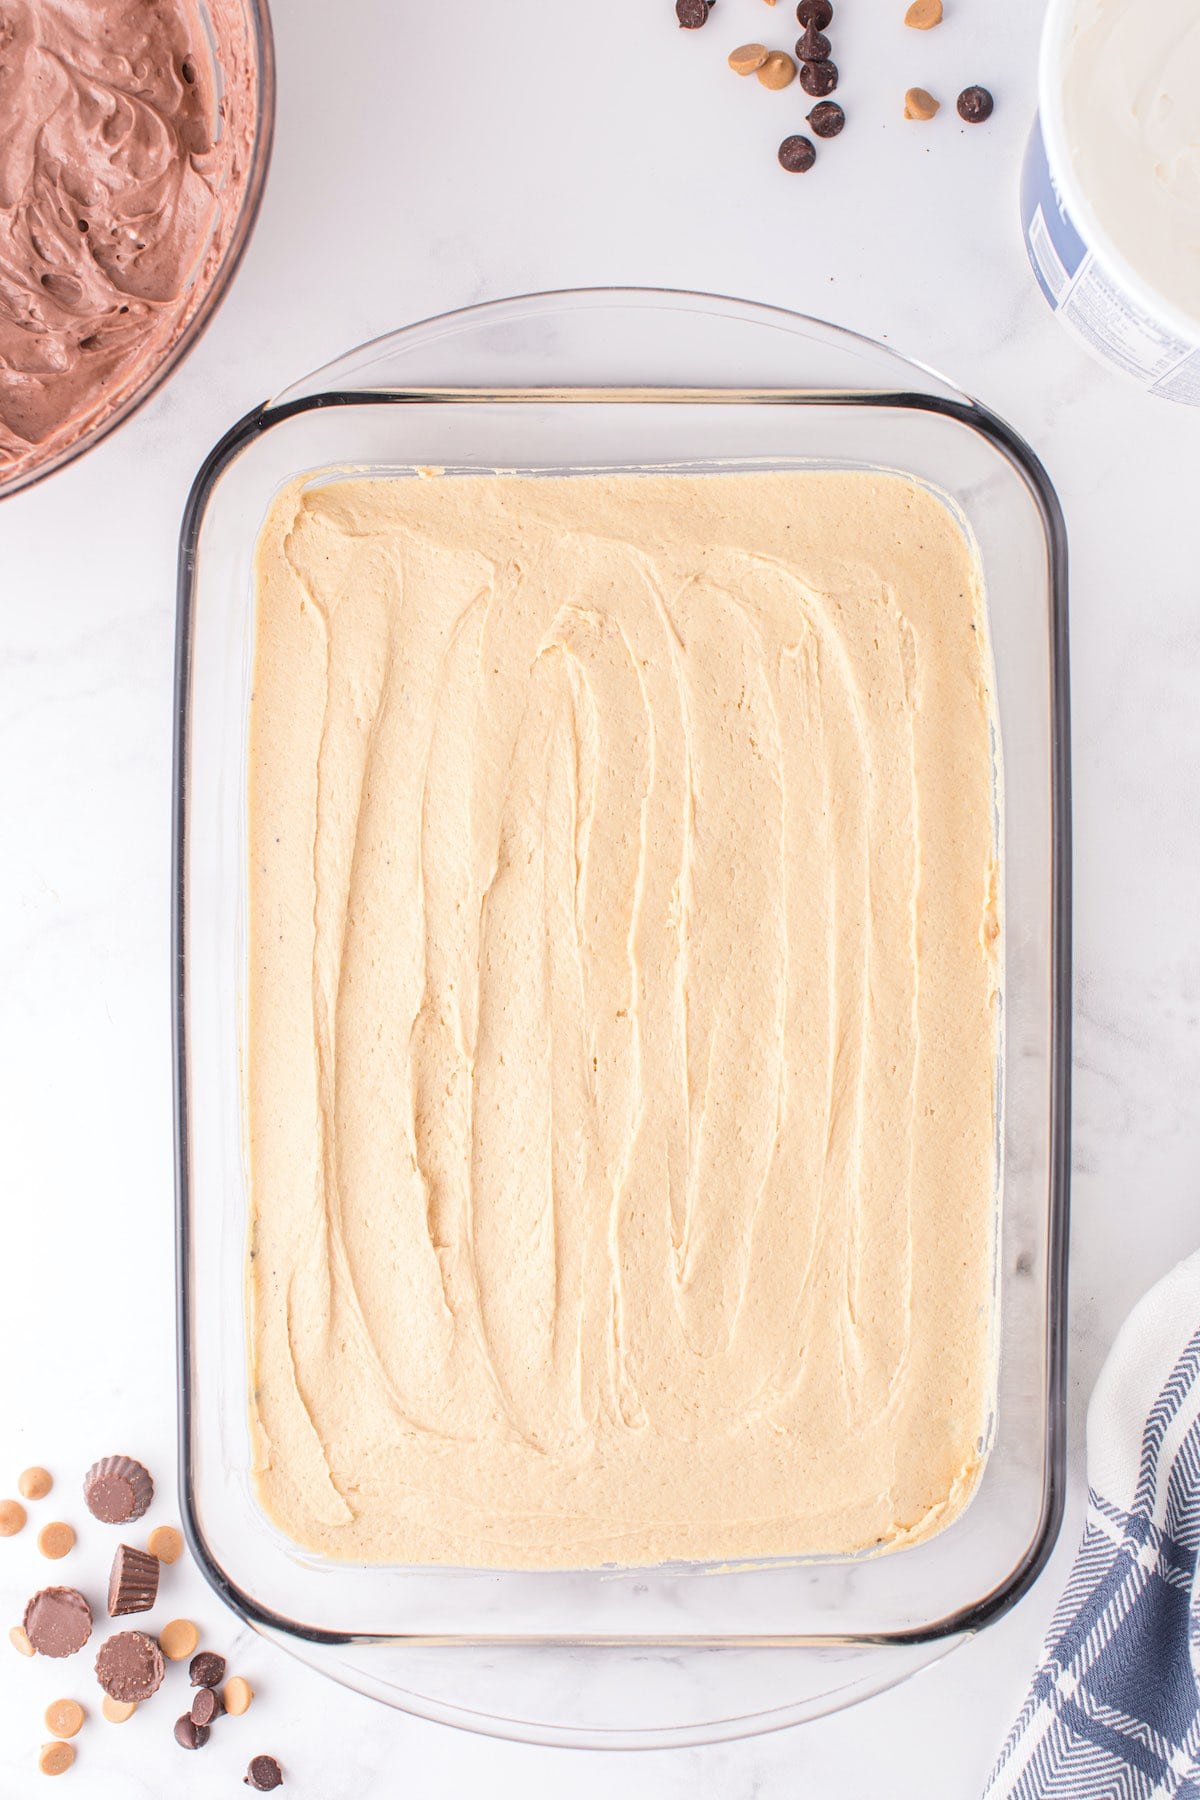
Pour mixture on top of the crust layer.
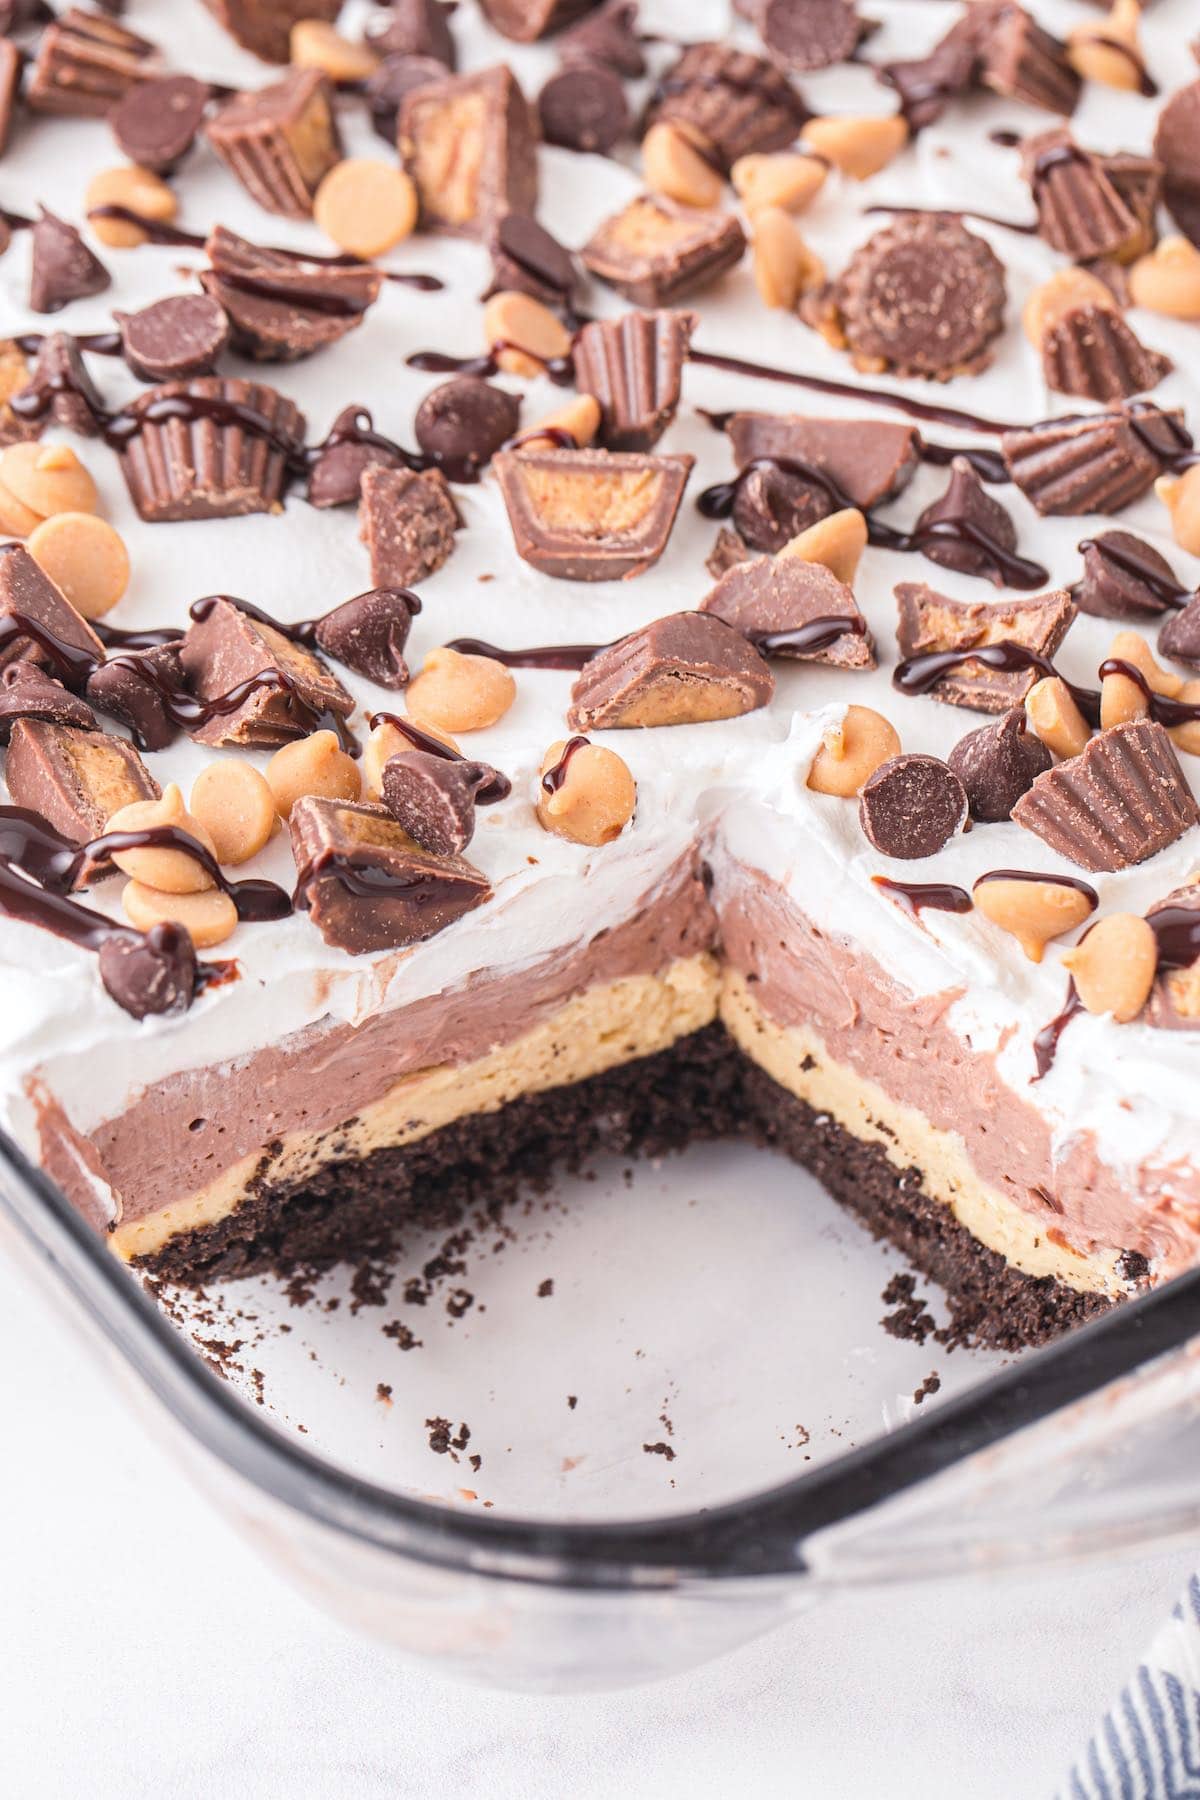
Pro-tip: When making your layers, be sure to smooth them out evenly so that they are about the same thickness. I have found it helps to use a glass baking dish so that you can see the layers as you make them.
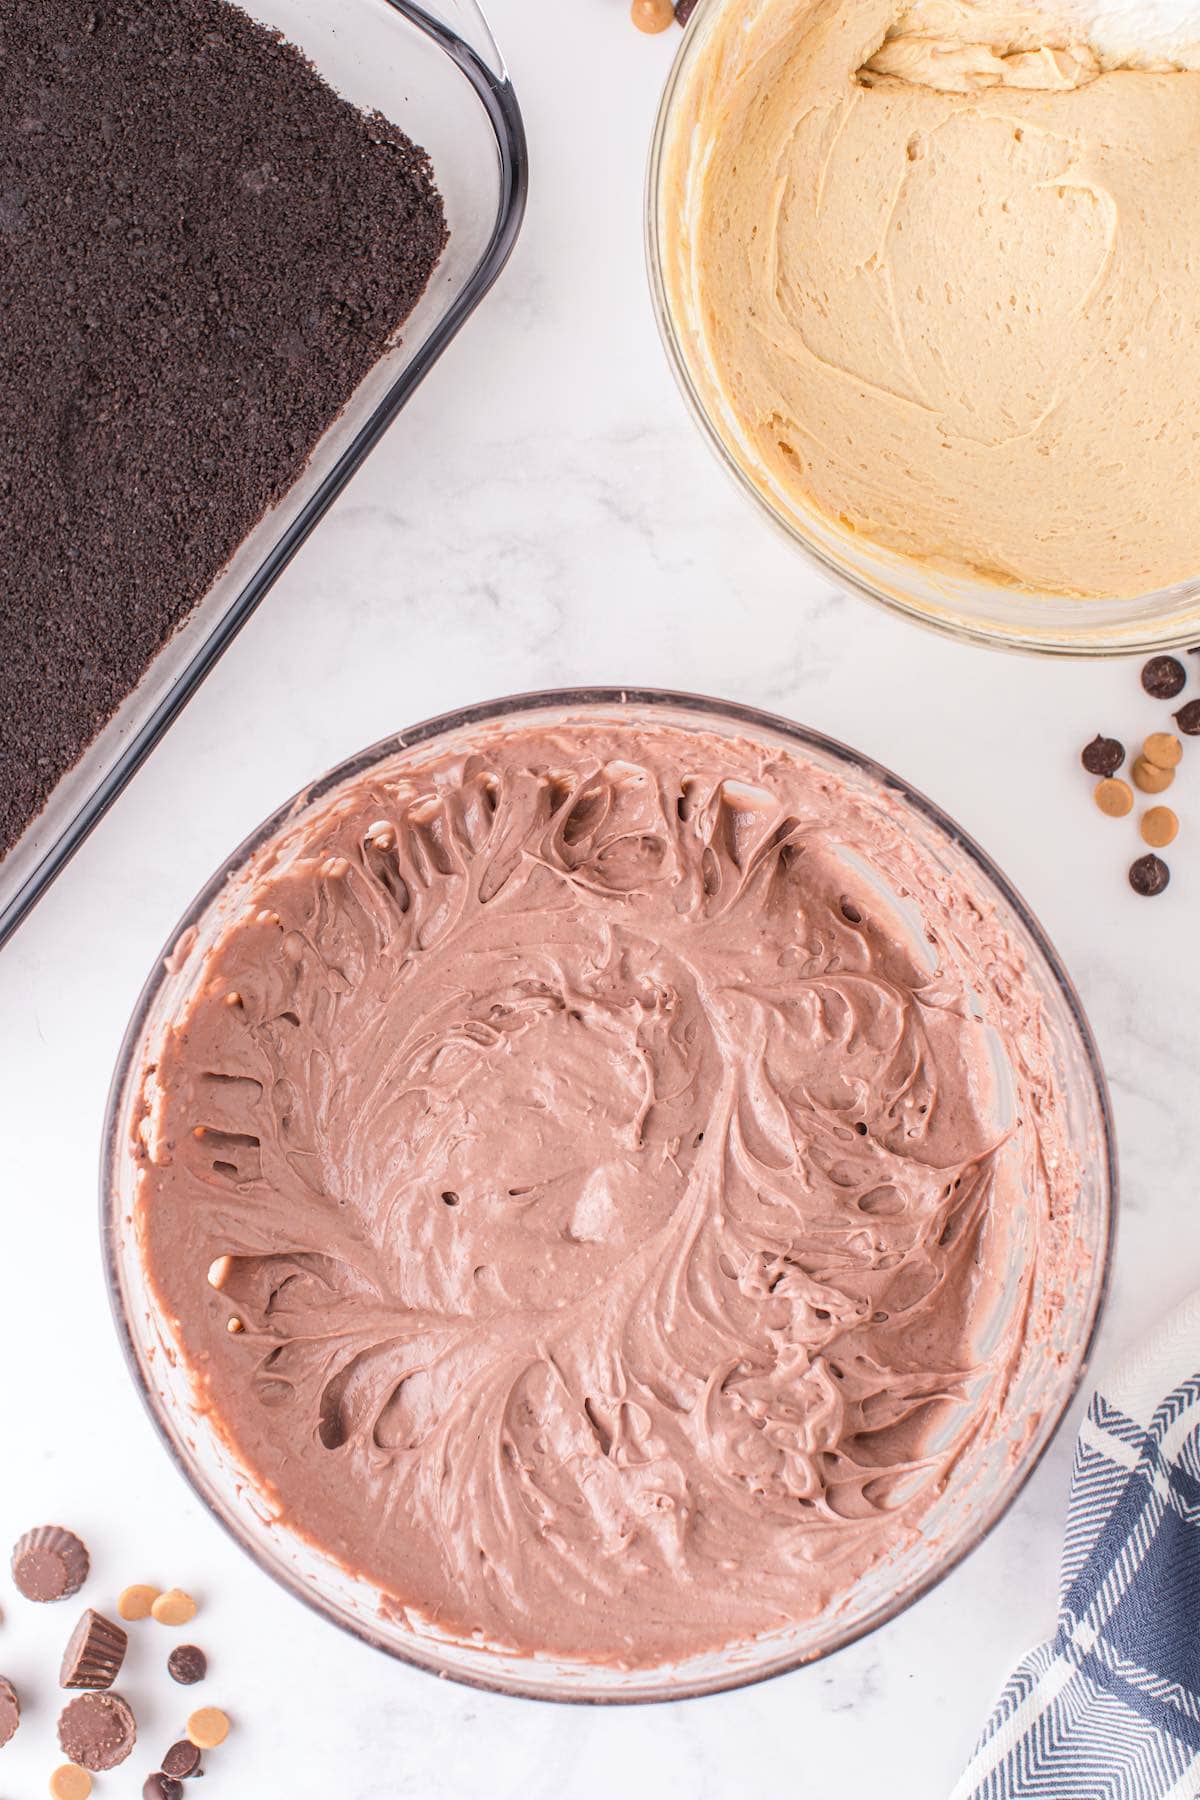
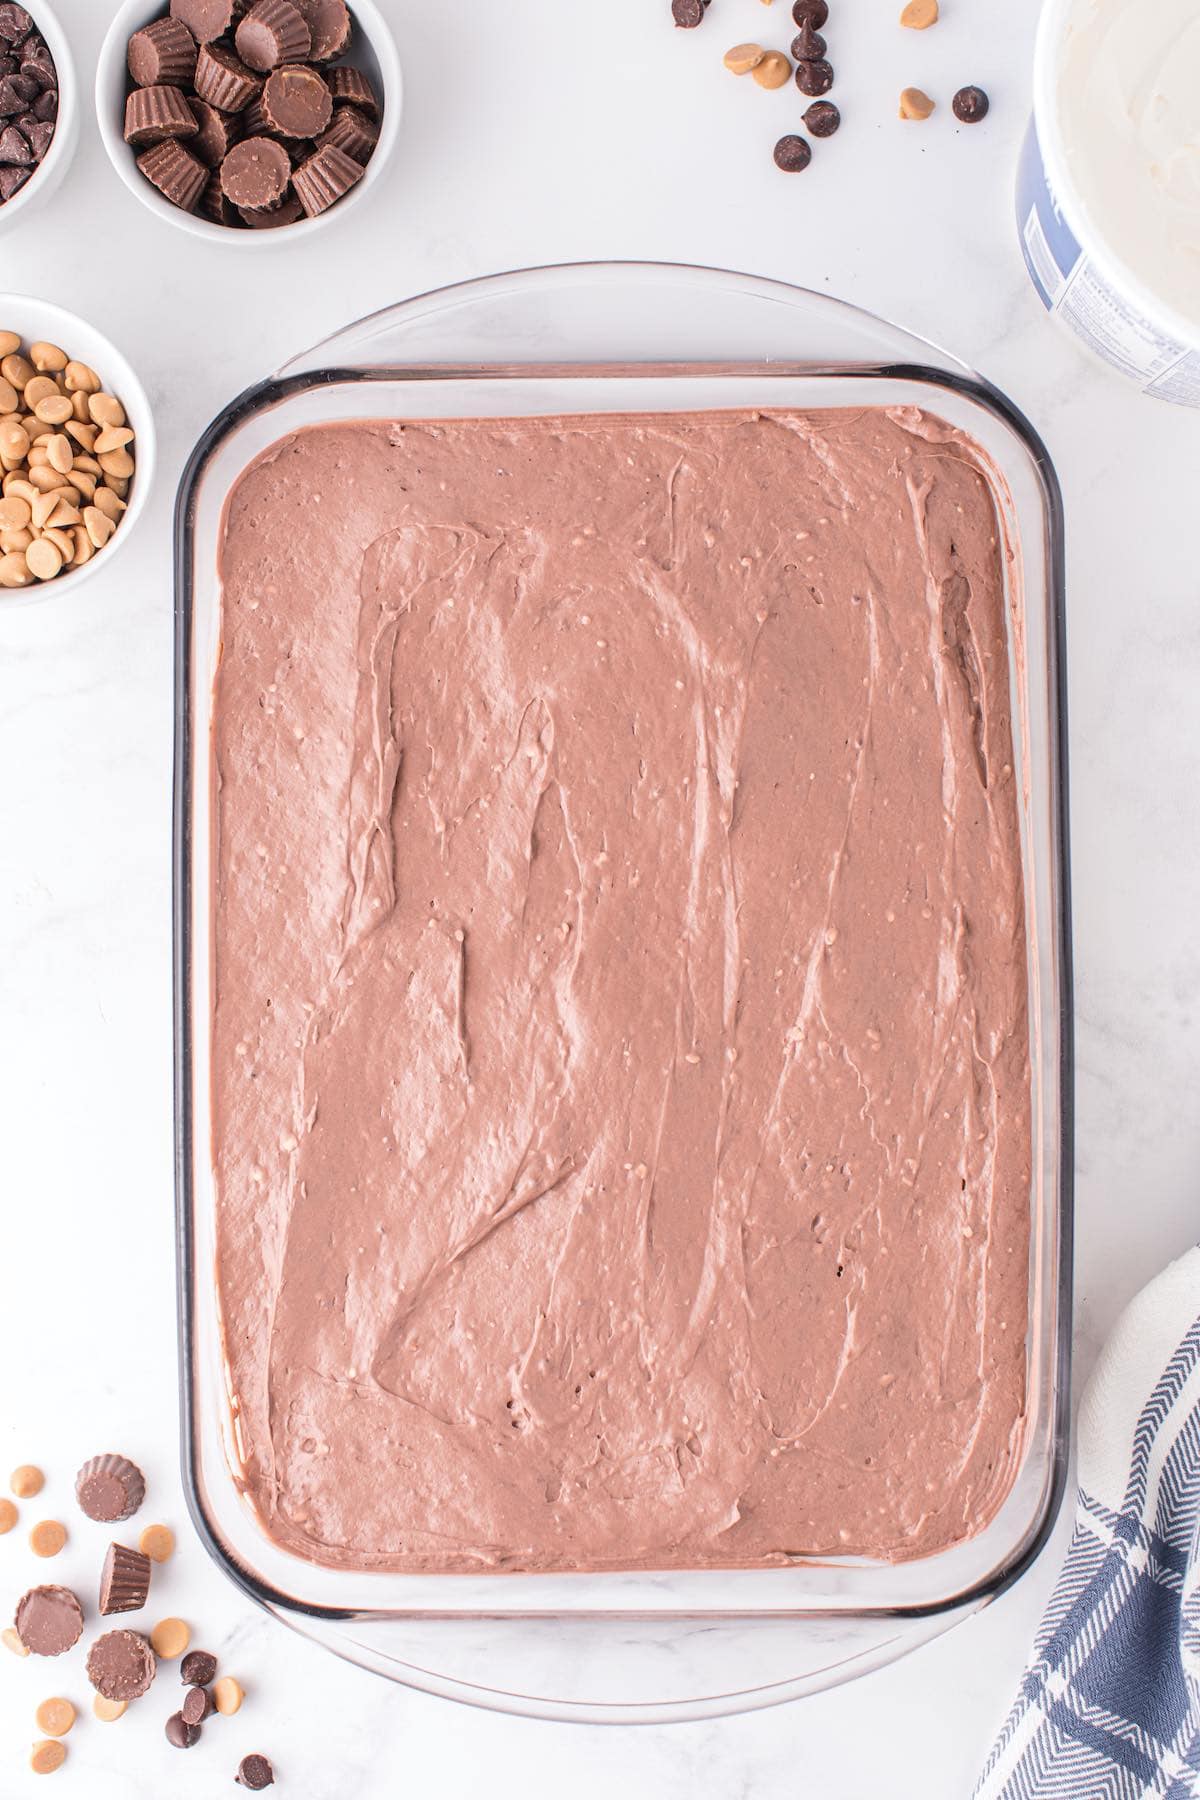
Beat cream cheese until smooth. Add half & half and instant chocolate pudding and mix well.
Pro-tip: Refrigerate your dish after each layer, while you are preparing the next layer. This will help the individual layers to set and make the end result of the dessert even better!
Pour mixture on top of the peanut butter layer.
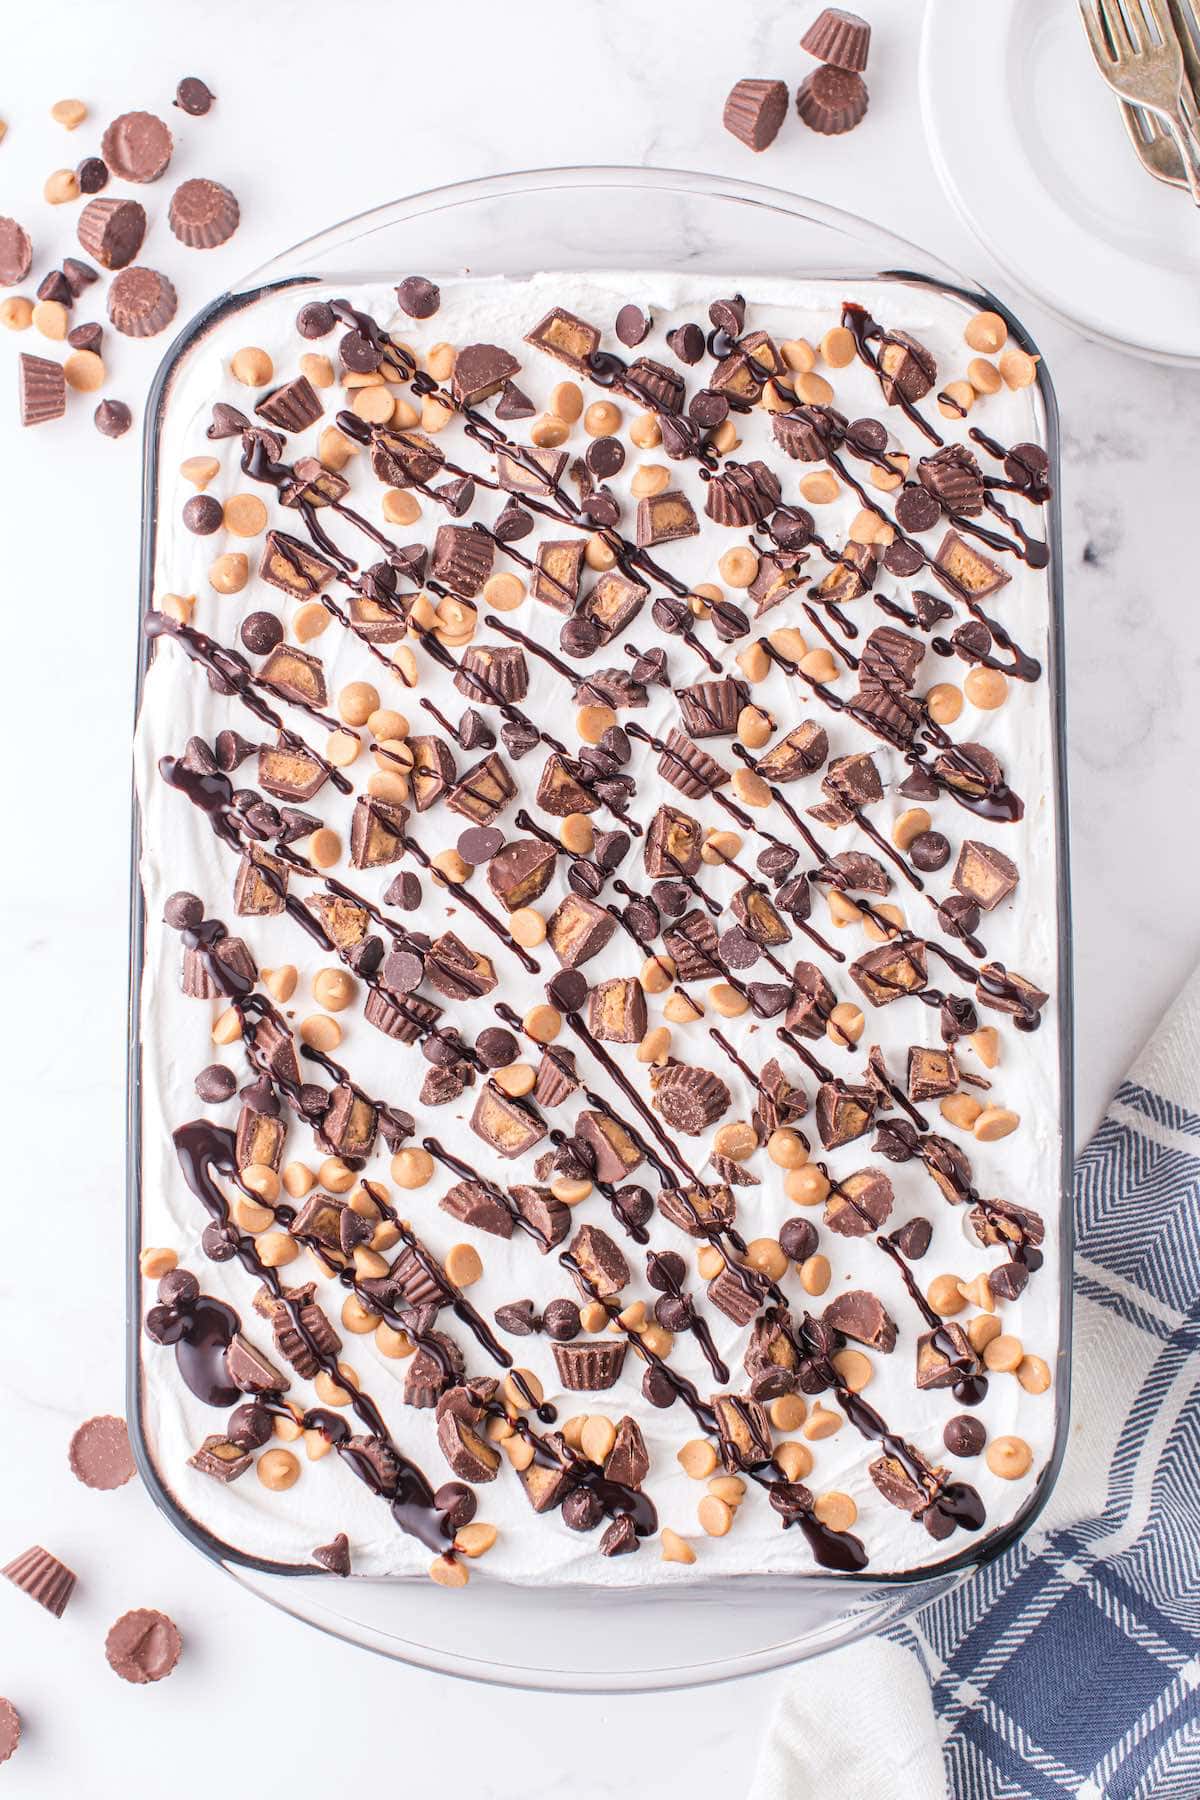
Top with whipped topping, peanut butter chips, chocolate chips, Reese’s cups and syrup.
Refrigerate 1-2 hours before serving.
Variations / Options / Add-ins
- OREOS: Use regular oreos, not double stuffed. You can also use the Peanut Butter Oreos for a little extra PB flavor if you would like.
- SALTED BUTTER: Feel free to use unsalted butter if you prefer. However, I like the extra salt that helps balance out the sweetness.
- CREAM CHEESE: You will need a total of two 8 ounce packages of cream cheese.
- HALF & HALF: Milk is a good substitute to use instead. However, it might be a little runnier if you do so.
- WHIPPED TOPPING: You will need an 8 ounce container of whipped topping. You may not use all of it unless you like a thick top layer of whipped topping. If you prefer to make your own whipped cream, you can do so with heavy whipping cream and some powdered sugar (use our Homemade Whipped Cream Recipe!).
- CHOCOLATE CHIPS: Dark chocolate chips or milk chocolate chips are an alternative here.
- REESE’S PEANUT BUTTER CUPS: You can use the mini peanut butter cups or chopped full-sized peanut butter cups.
- CHOCOLATE SYRUP: You can also use caramel syrup for an added flavor.
Frequently Asked Questions
A dessert lasagna needs to be stored in the refrigerator. It will be good for up to 3 days if it is covered well, but is best to be enjoyed on the day it is made. Do not freeze this dessert.
In place of Oreos, you can also use graham crackers, vanilla wafers, or other sandwich type cookies for the crust on the bottom. You could also try adding some caramel to this recipe with caramel bits added to the top, or caramel syrup drizzled everywhere instead of chocolate. Sprinkle chopped walnuts or peanuts on the top, or mix them into some of the layers of the lasagna.
Other Easy No-Bake Dessert Recipes
The Easiest Eclair Cake | No-Bake Peanut Butter Balls | Cheesecake Bites | Chocolate Lasagna Recipe | Cheesecake Stuffed Strawberries | No-Bake Orange Creamsicle Cheesecake | Berry Icebox Cake | Orange Creamsicle Lush | Chocolate Trifle | Peanut Butter Banana Pudding | Birthday Cake Oreo Balls | Chocolate Peanut Butter Dessert Cups | Reese’s Peanut Butter Cup Pie
Chocolate Peanut Butter Lasagna
Ingredients
The Crust:
- 19.1 ounce package regular Oreos (39 Oreos)
- 6 tbsp salted butter melted
Peanut Butter Layer:
- 8 ounce package cream cheese softened
- ¾ cup creamy peanut butter
- ⅔ cup half and half
- 3.4 ounce package instant vanilla pudding mix
- 1¾ cups whipped topping
Chocolate Layer:
- 8 ounce package cream cheese, softened
- 2½ cups half and half
- 5.9 ounce package instant chocolate pudding mix
For the Toppings:
- 4 cups Cool whip
- ½ cup peanut butter chips
- ½ cup semi-sweet chocolate chips
- 7.6 ounce bag Reese's peanut butter mini cups roughly chopped
- Chocolate syrup (optional garnish)
Instructions
- Put the Oreos and melted butter in a food processor and pulse until they turn into fine crumbs.
- Firmly press Oreo mixture into the bottom of a 9×13 inch baking pan to create a crust layer. Set aside in the refrigerator to chill.
- To make the peanut butter layer: use a mixer to beat the cream cheese and creamy peanut butter until light and fluffy, about 1-2 minutes.
- Beat in the half and half and the instant vanilla pudding mix until combined.
- Fold in the whipped topping until you get a smooth, creamy mixture. It should be a thick mixture.
- Pour the peanut butter layer onto the chilled crust in the 9×13 pan and carefully smooth to the edges. Set back in the refrigerator to chill while you make the next layer.
- For the chocolate layer, beat the cream cheese until smooth, about 1 minute.
- Add in the half and half and instant chocolate pudding and beat until fully combined.
- Pour the chocolate mixture on top of the peanut butter layer.
- Top with whipped topping, peanut butter chips, semi-sweet chocolate chips, Reese's peanut butter mini cups, and chocolate syrup (optional).
- Refrigerate for 1-2 hours or until completely set. Best when served cold.
Jenn’s Notes
- When making your layers, be sure to smooth them out evenly so that they are about the same thickness. I have found it helps to use a glass baking dish so that you can see the layers as you make them.
- Refrigerate your dish after each layer, while you are preparing the next layer. This will help the individual layers to set and make the end result of the dessert even better!


I made this and shared it with my family and friends. Needless to say, everyone loved it and raved about it!😄
So glad you enjoyed it!
I made this exactly as written for our Easter dessert. it was AWESOME! Thank you for the delicious dessert!
Yay! so glad you enjoyed it Katie!
What do fou me an n’y half ans Hale?
What do you mean by half and half ?
It should a good taste cake and will prepare and try out.If goes well will present it for my son birthday.
Thanks for sharing the steps.