

This post may contain affiliate links. Please read our disclosure policy.
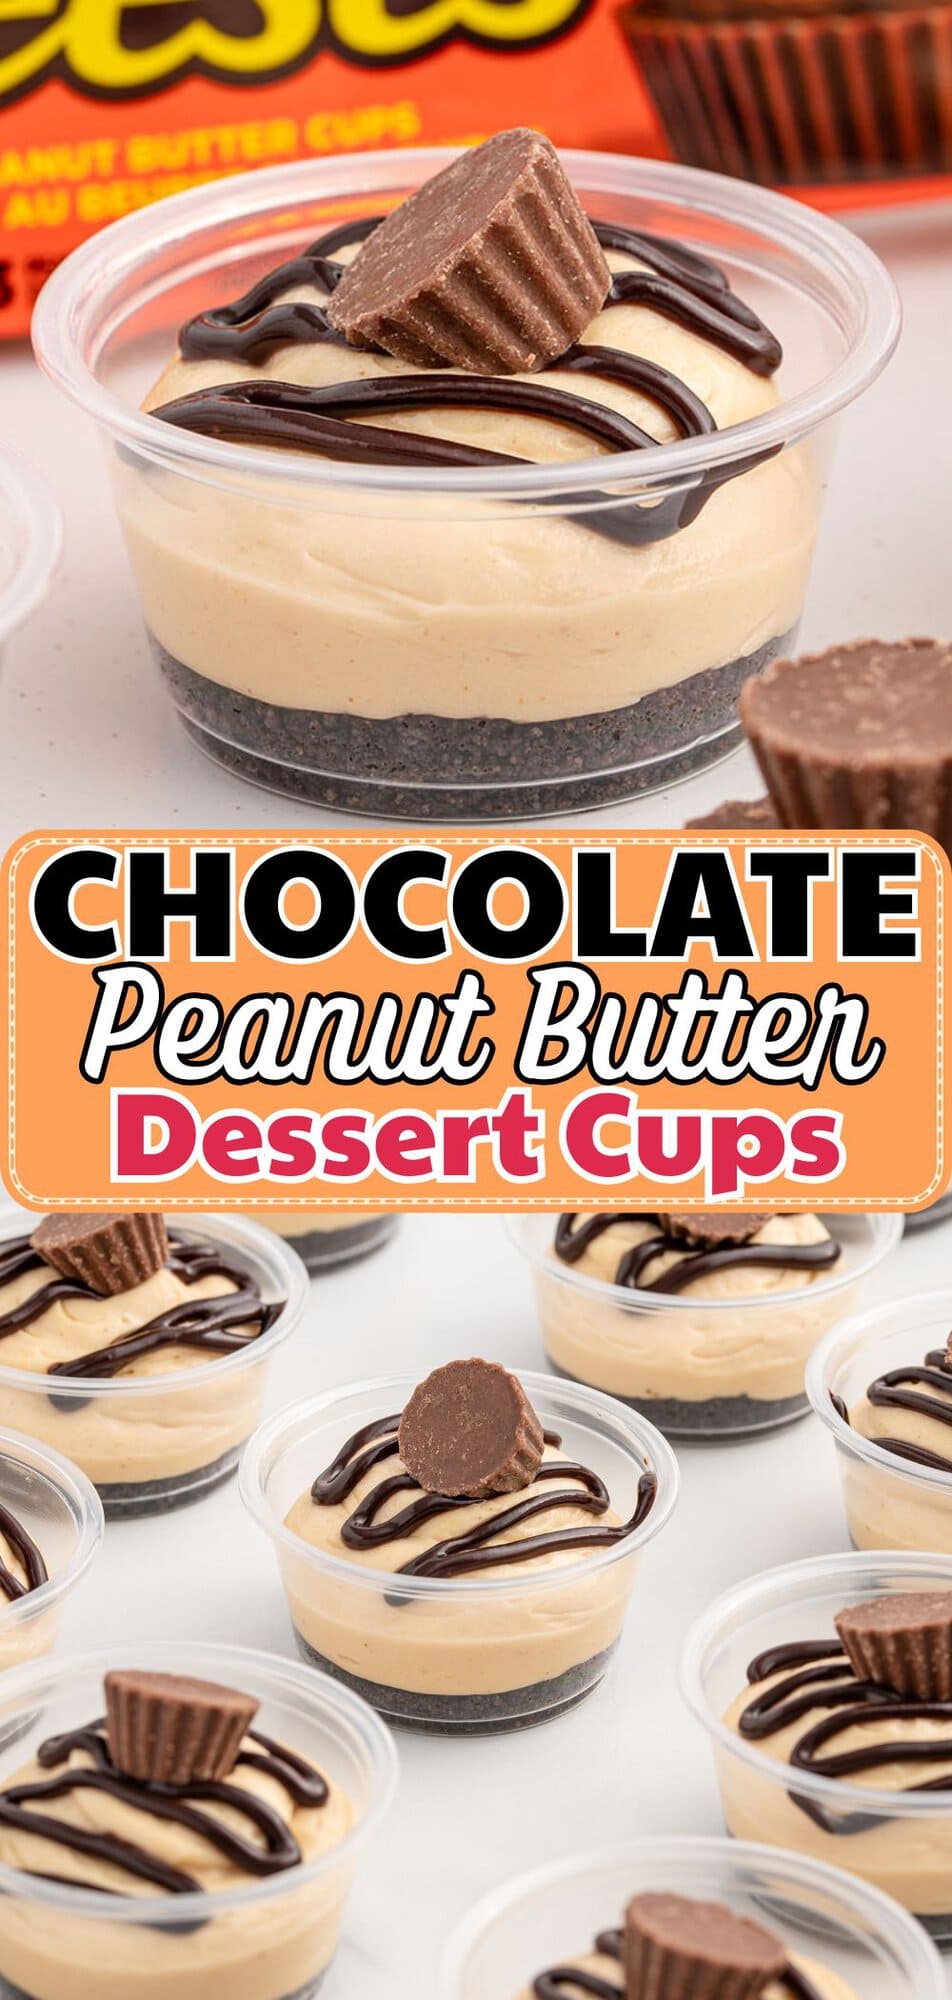
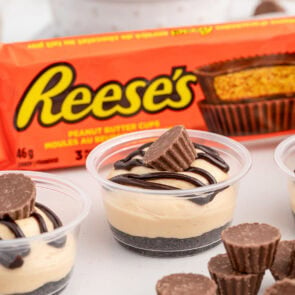
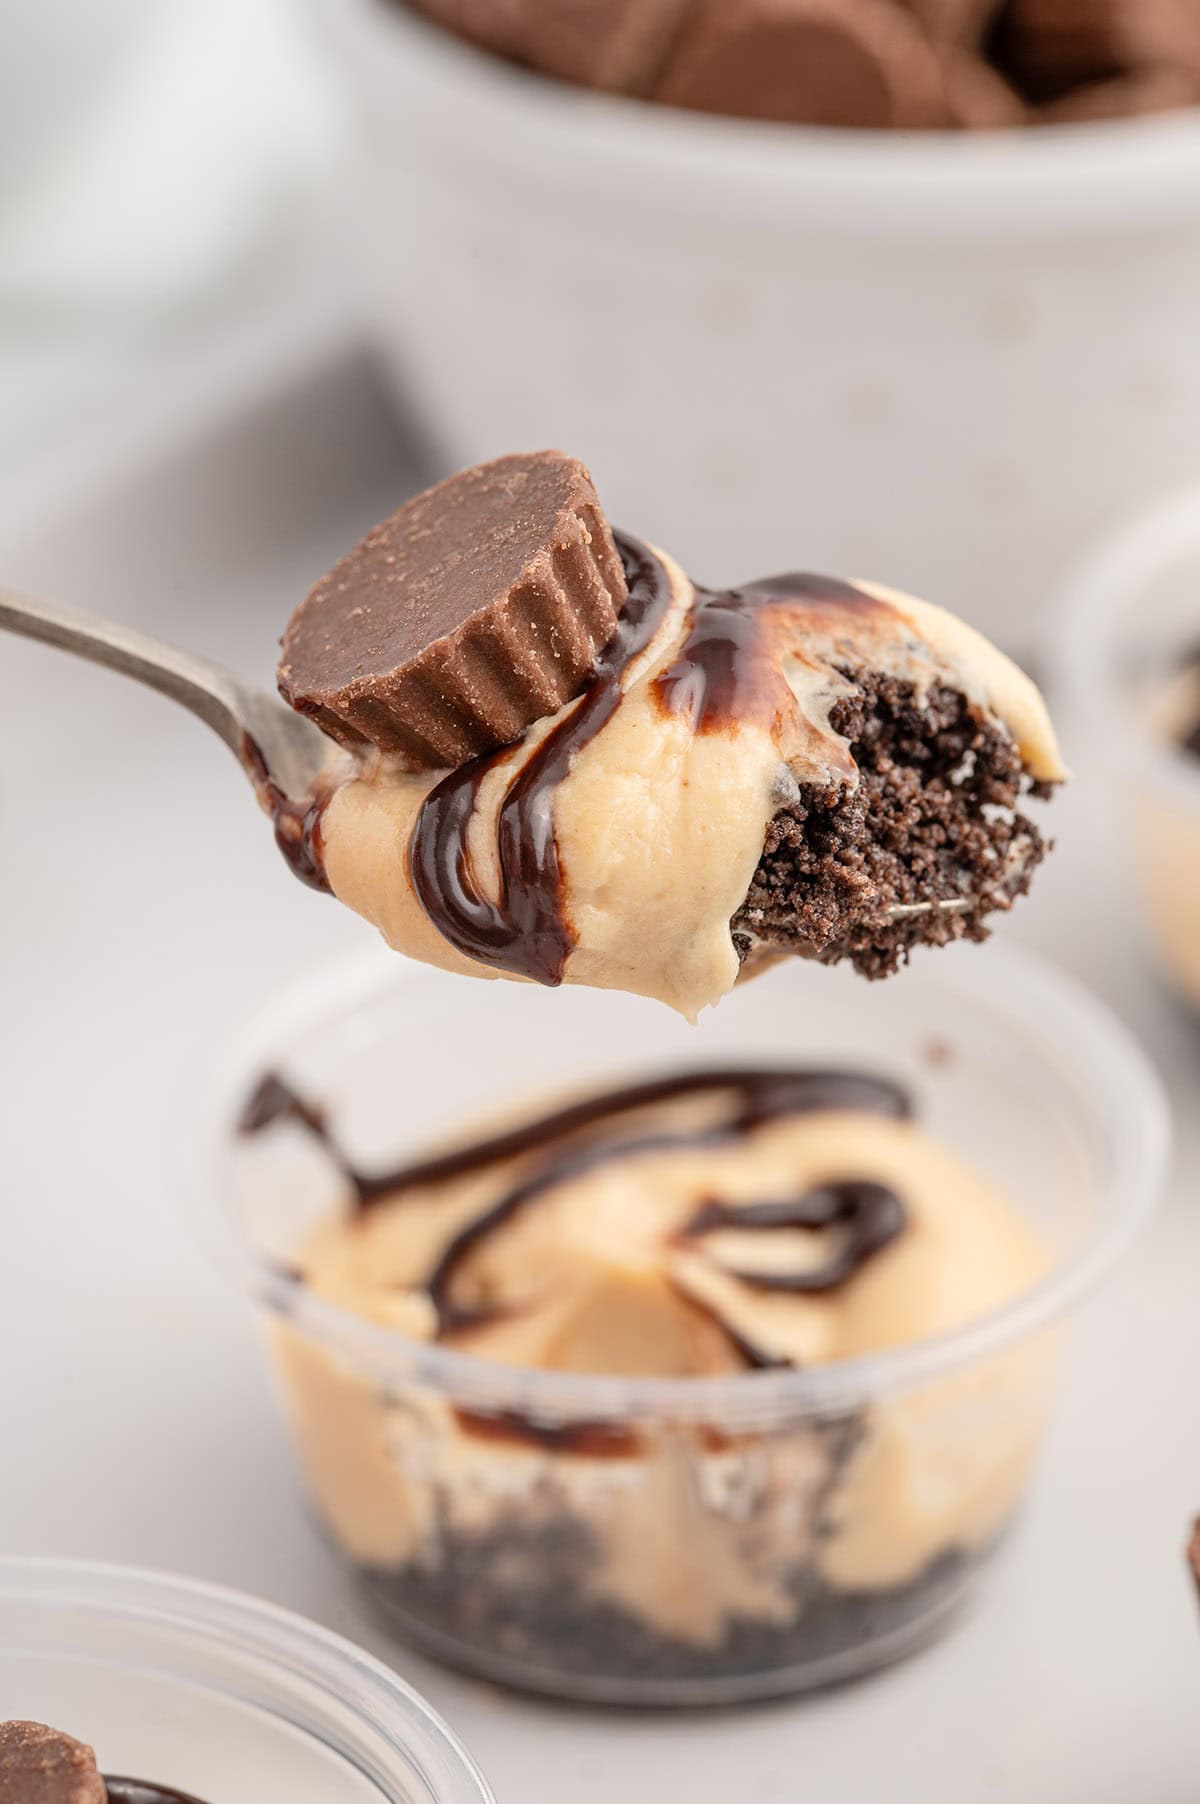
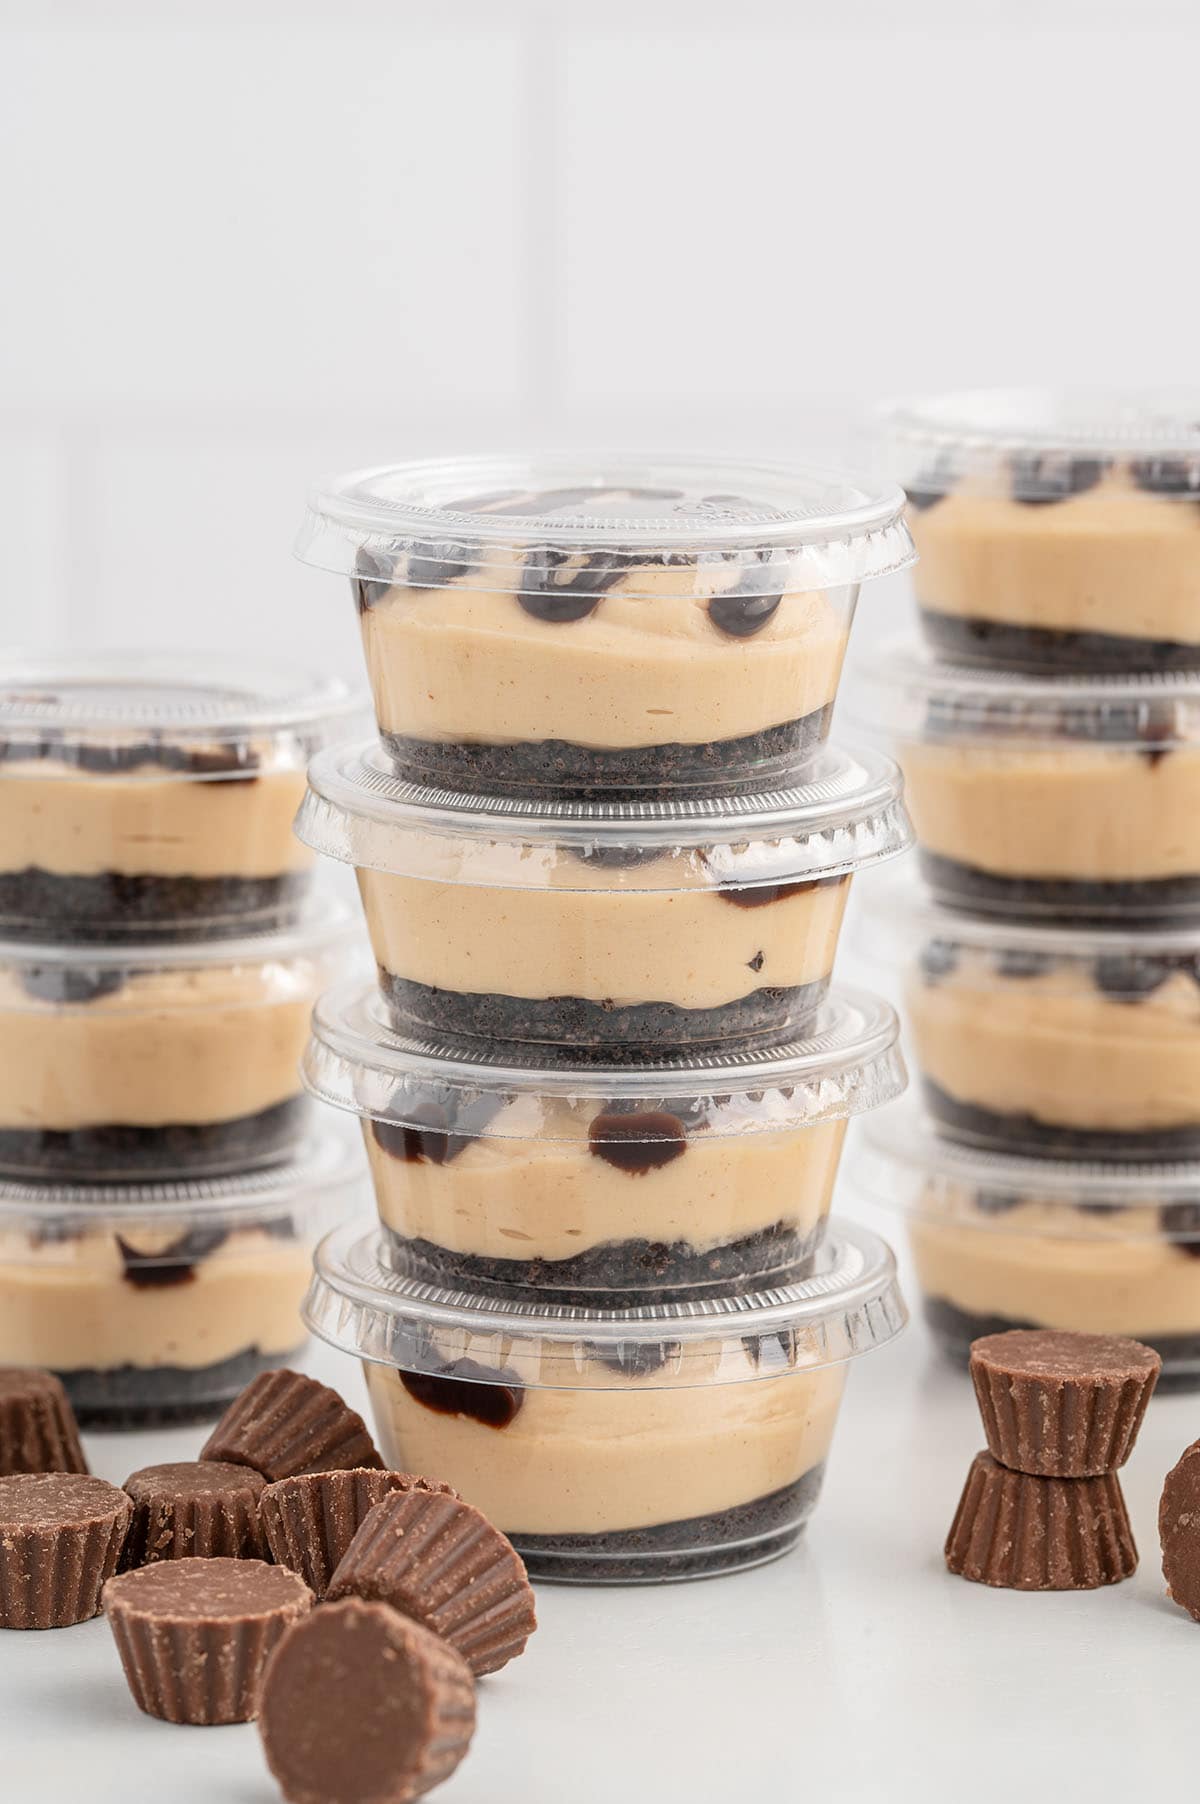
I make these chocolate peanut butter dessert cups whenever I want a no-bake dessert that everyone gets to keep all to themselves. Each little cup has a crunchy Oreo base, a light peanut butter filling that tastes like the inside of a peanut butter cup, a zigzag of chocolate, and a mini Reese’s right on top. The filling is fluffy and mousse-like instead of dense, so every bite is creamy peanut butter and chocolate from top to bottom.
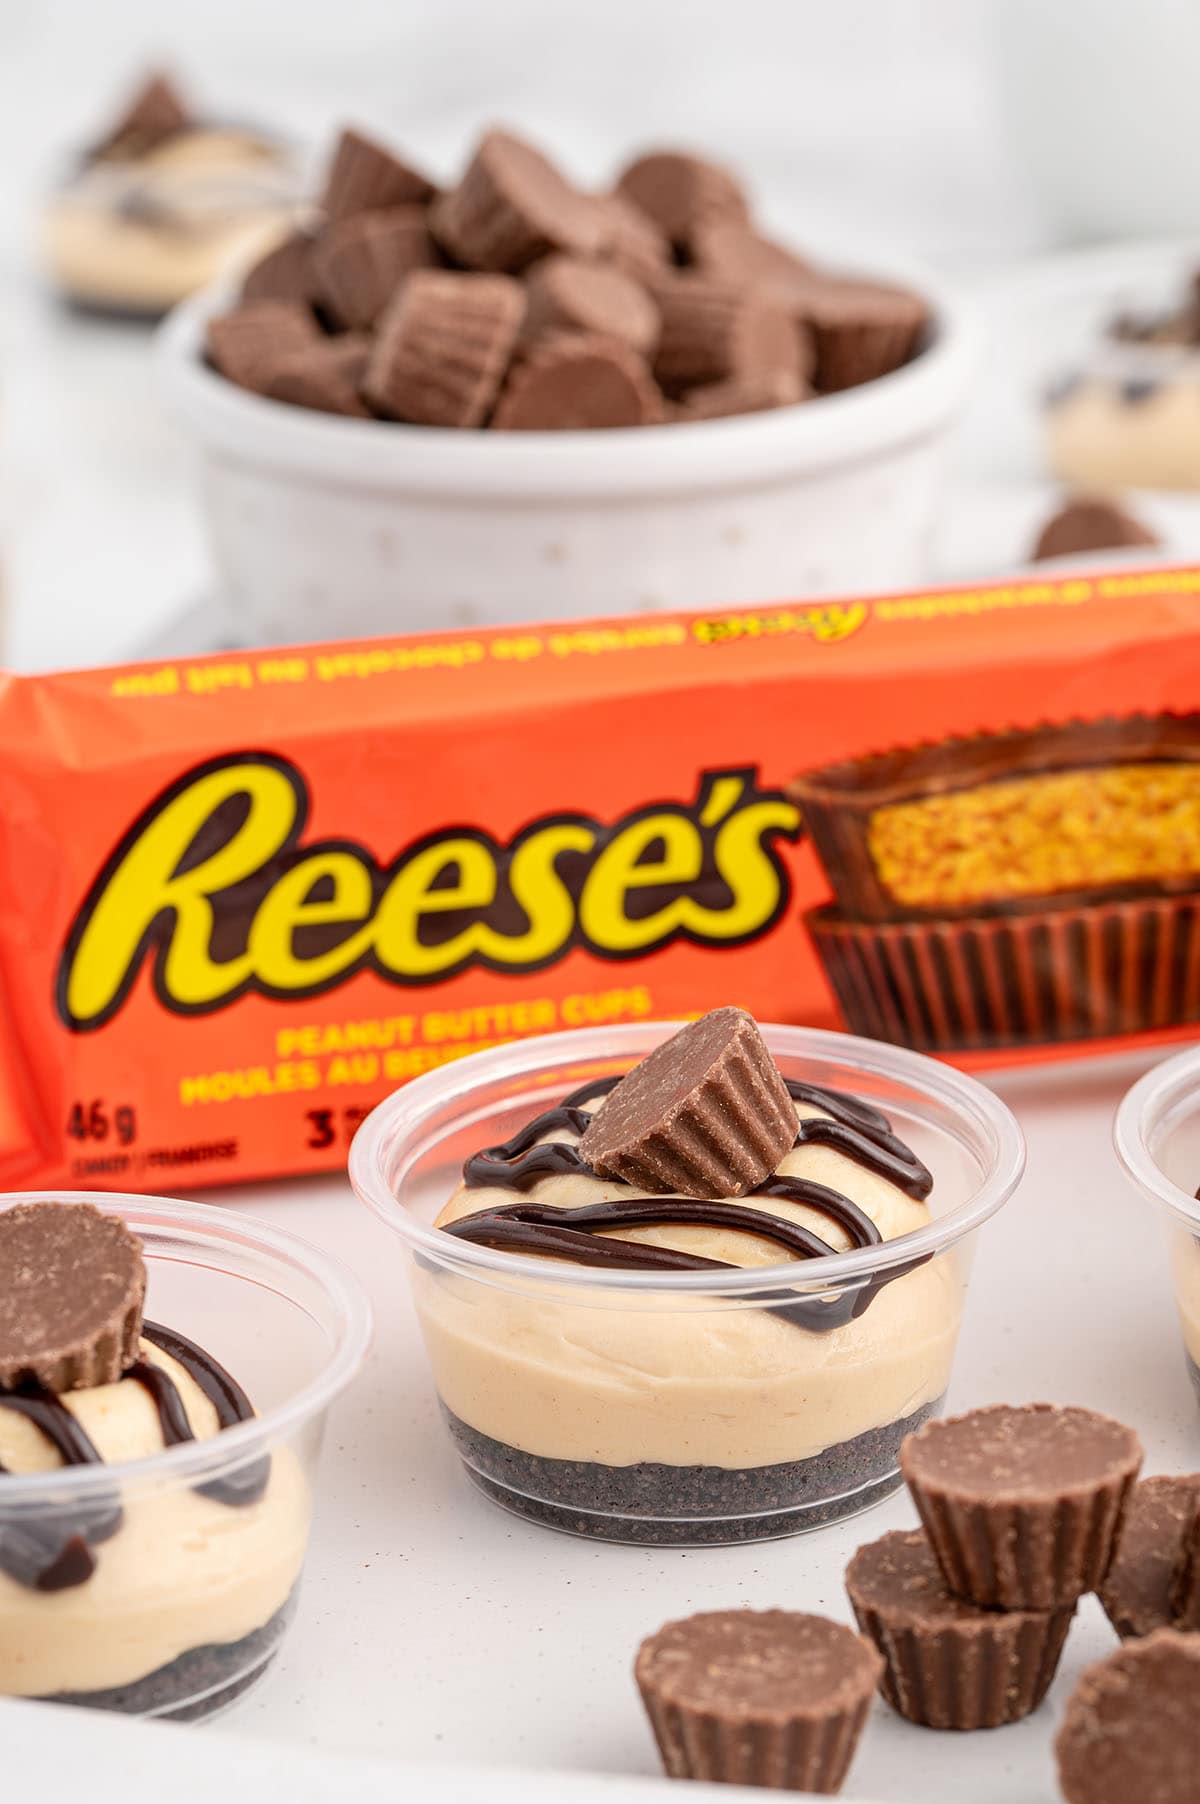

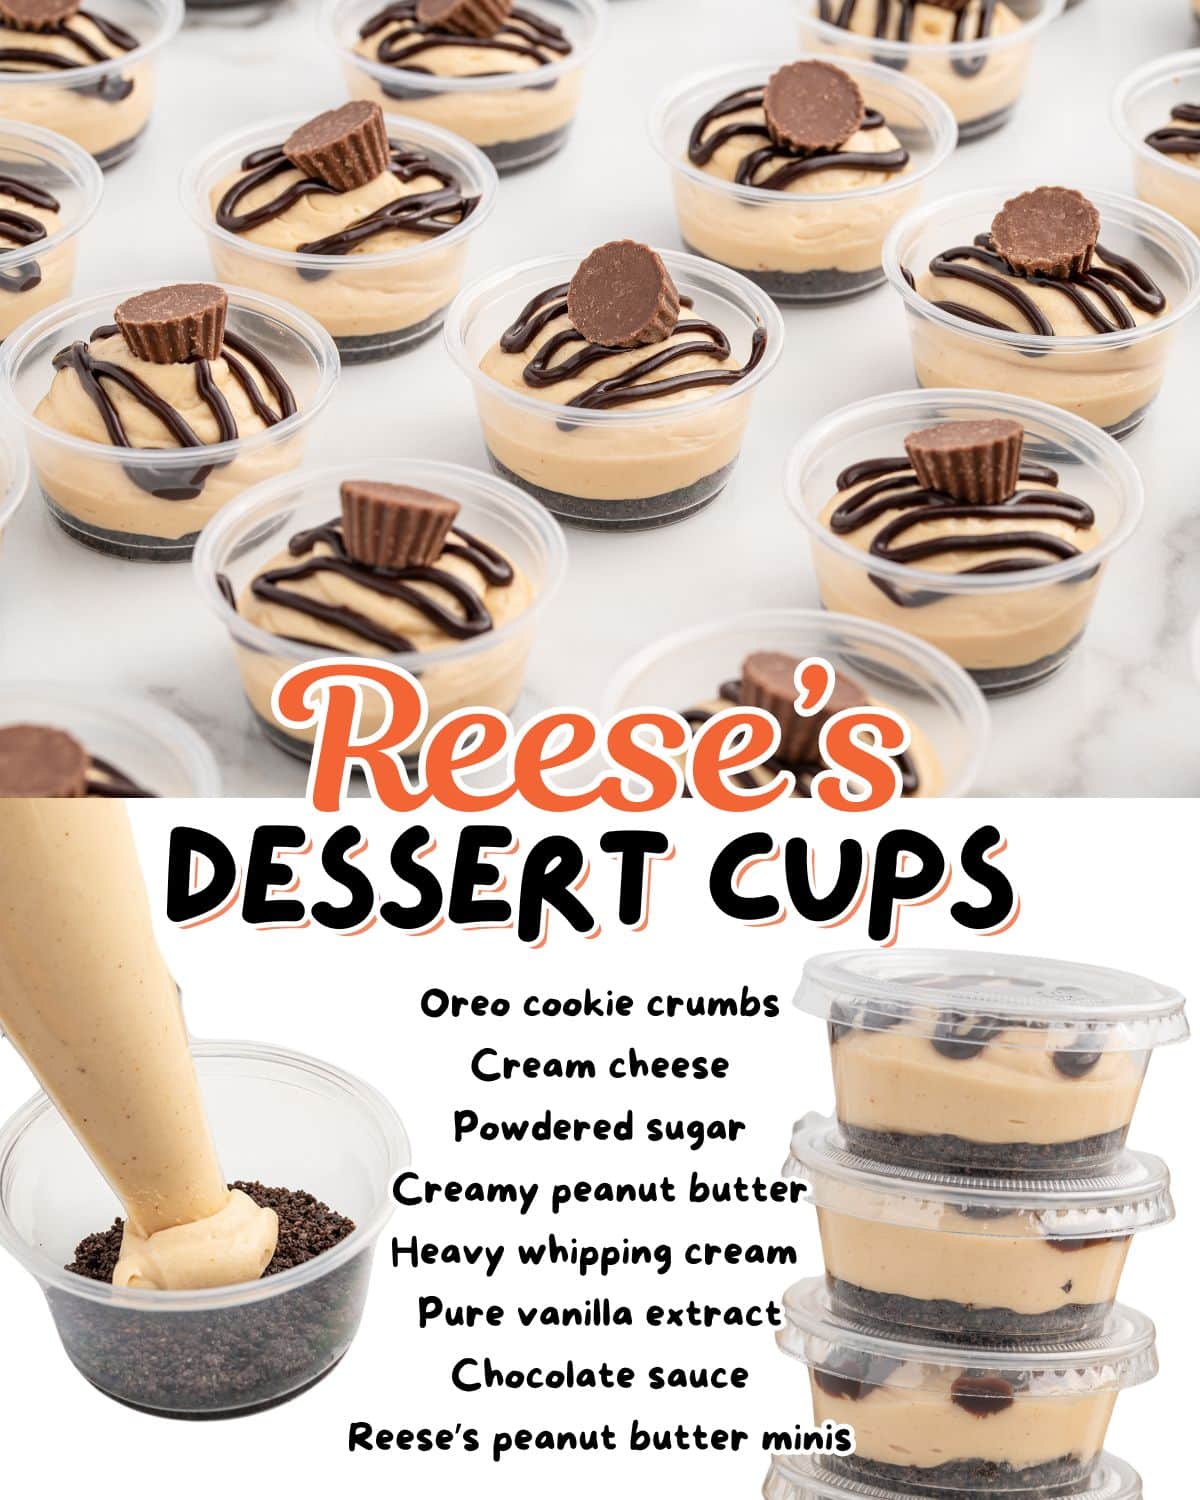
These are one of my favorite desserts to make when we’re hosting friends or I need to bring a treat to a casual get-together. I love that everyone gets their own cup, which keeps serving easy and the layers looking pretty. There is something about a personal-sized dessert that makes people grab one the second they spot them in the fridge.
The piece most recipes get wrong is the filling. Under-whip it or use the wrong peanut butter and you end up with a soupy layer that never sets, no matter how long it chills. I built this version around a cold, fully whipped filling that holds its shape when you pipe it, so the cups look clean and stay that way. If you like easy individual desserts like this, my Oreo dessert cups and my Reese’s peanut butter cup pie are two more crowd favorites.
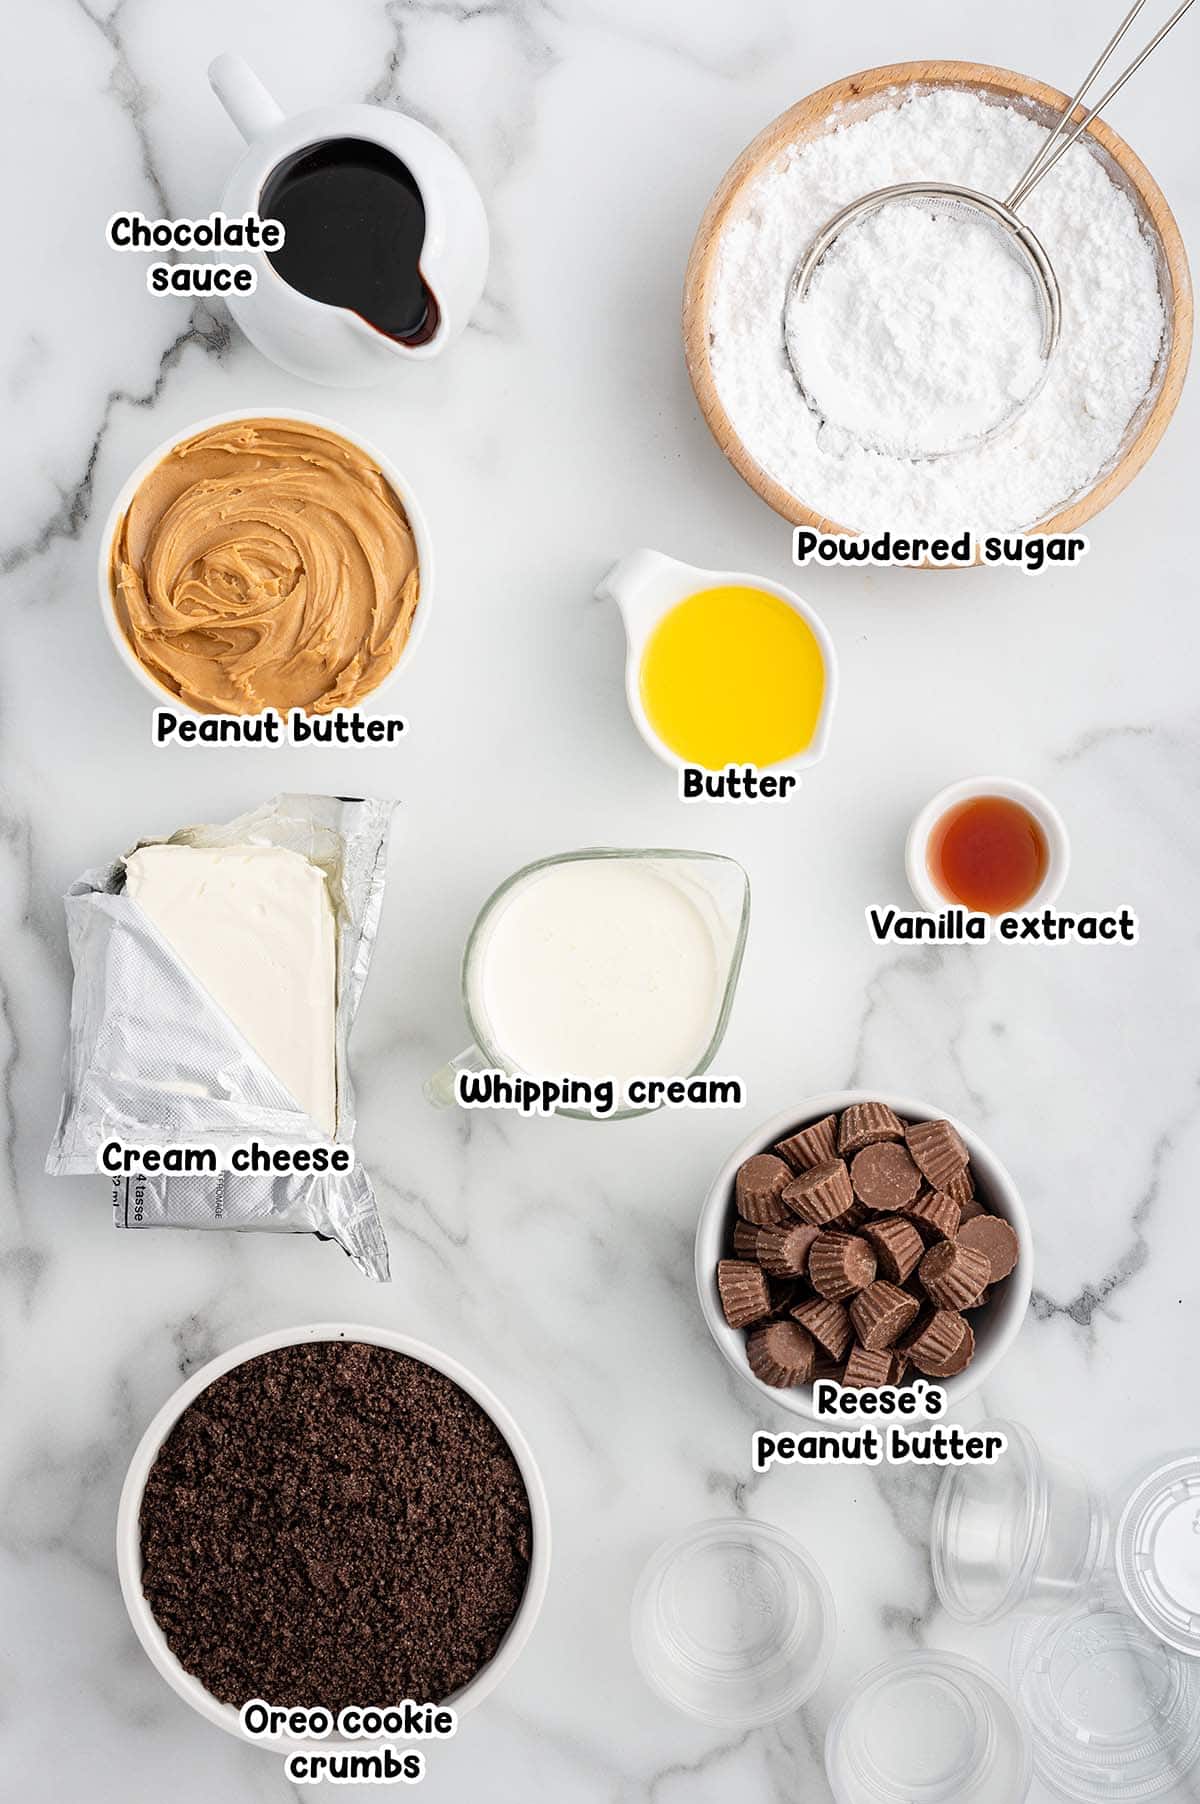
Key Ingredients
- Cream cheese: This is the base that gives the filling body and a slight tang against all that peanut butter. Soften it to room temperature first. Cold cream cheese never fully breaks down and you get little lumps you can’t whip out.
- Creamy peanut butter: Use a no-stir creamy peanut butter. I use Reese’s. Natural peanut butter has too much oil and keeps the filling from setting, so this is one place I don’t recommend swapping.
- Cold heavy whipping cream: This is what makes the filling light and mousse-like instead of dense. It has to go in cold, straight from the fridge, or it won’t whip thick enough to hold its shape.
- Oreo cookie crumbs: The crushed cookies with the cream filling left in make the crunchy base. Generic chocolate sandwich cookies work fine if that’s what you have.
- Mini Reese’s: One on top of each cup is the finishing touch and tells everyone exactly what they’re about to eat. I sometimes add two per cup for the peanut butter fans in my house.
How to Make Chocolate Peanut Butter Dessert Cups
Step 1: Make the cookie base Add the crushed Oreo crumbs to a small bowl, then pour the melted and cooled butter over them. Stir until every crumb is coated.
Step 2: Press the crumbs into the cups Add about 2 teaspoons of the buttered crumbs to each 2-ounce cup. Use a spoon or an extra cup to tamp them down into a firm, even layer.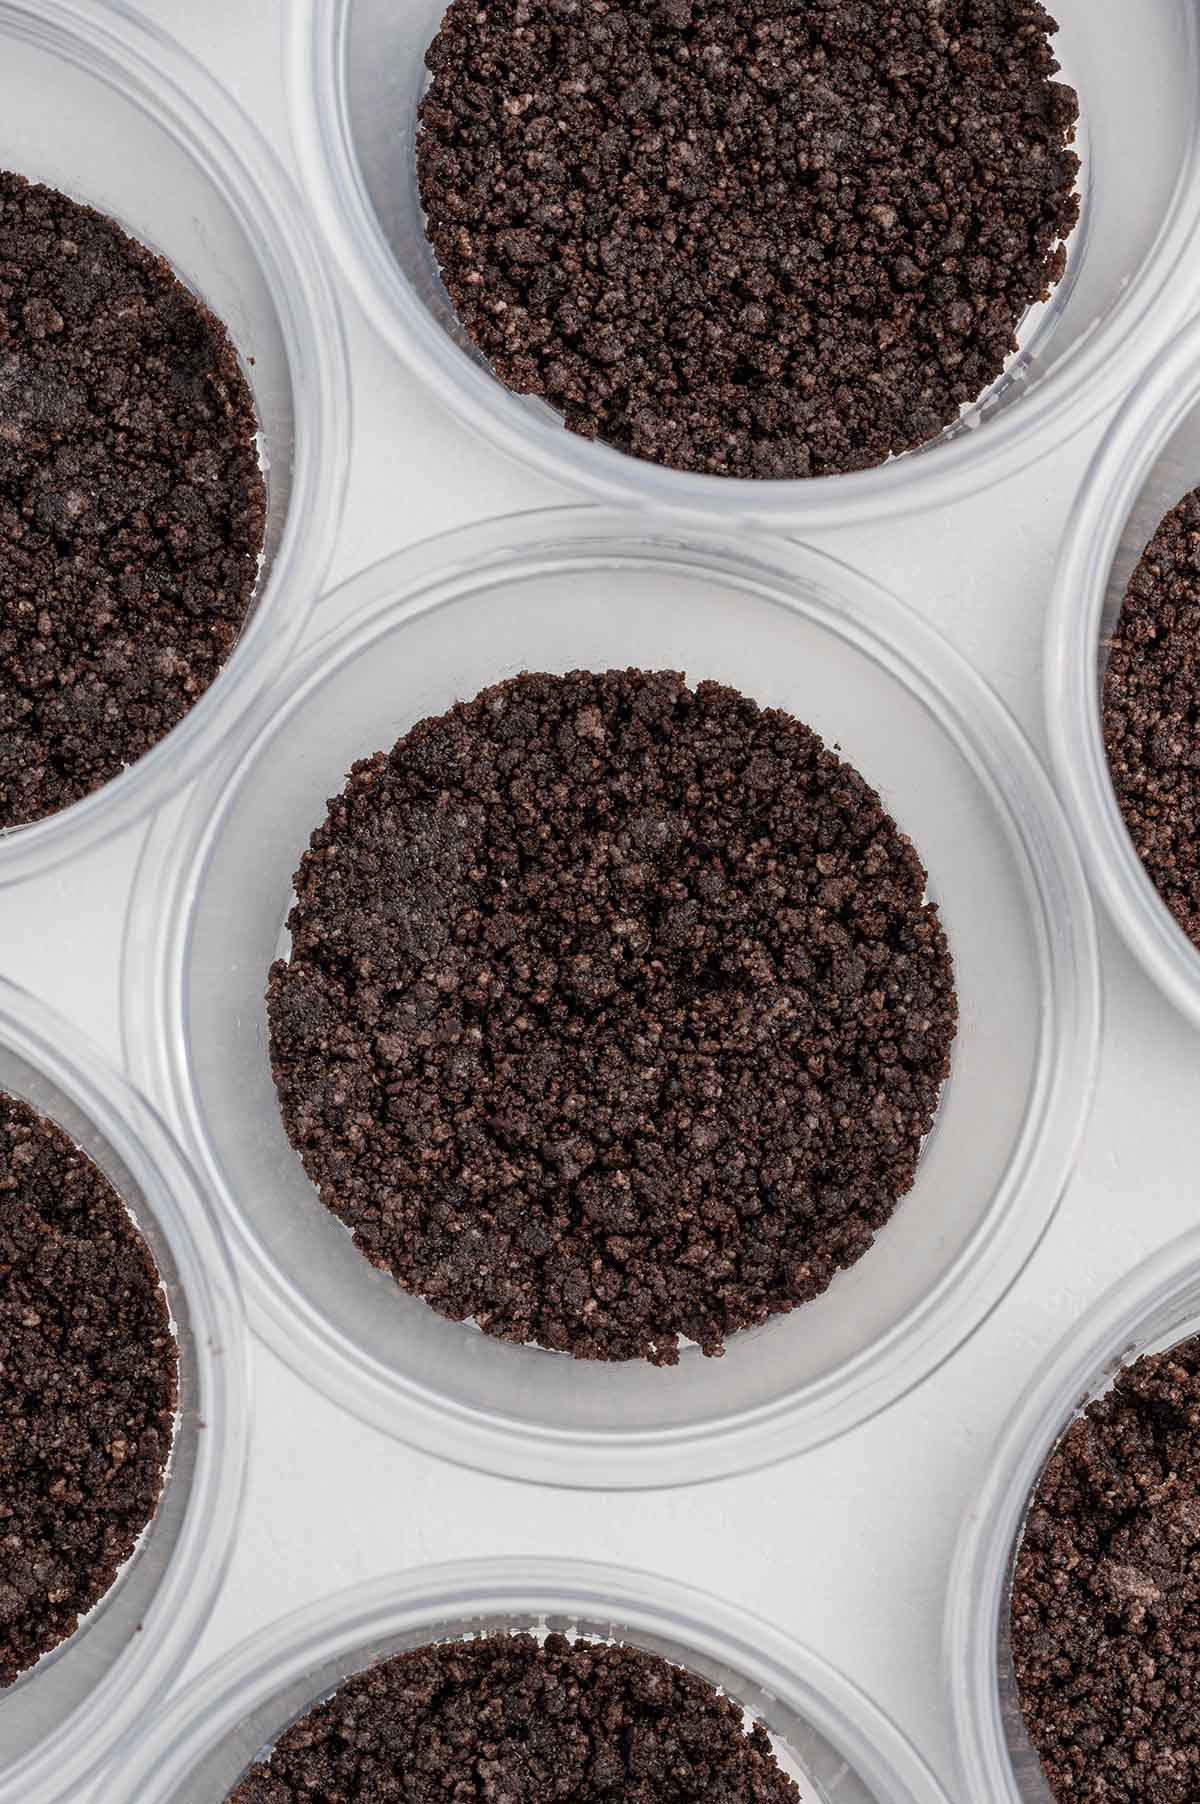
Step 3: Beat the cream cheese and sugar Using a stand mixer with the whisk attachment or a hand mixer, beat the softened cream cheese and powdered sugar on medium for 1 to 1 1/2 minutes until smooth. Scrape down the sides as you go so there are no lumps.
Step 4: Add the peanut butter Add the peanut butter to the cream cheese mixture and mix until smooth and fully blended.
Step 5: Whip in the cream and vanilla Pour in the cold heavy cream and vanilla. Mix for another 2 to 3 minutes until thickened. You want it thick enough to hold its shape when piped.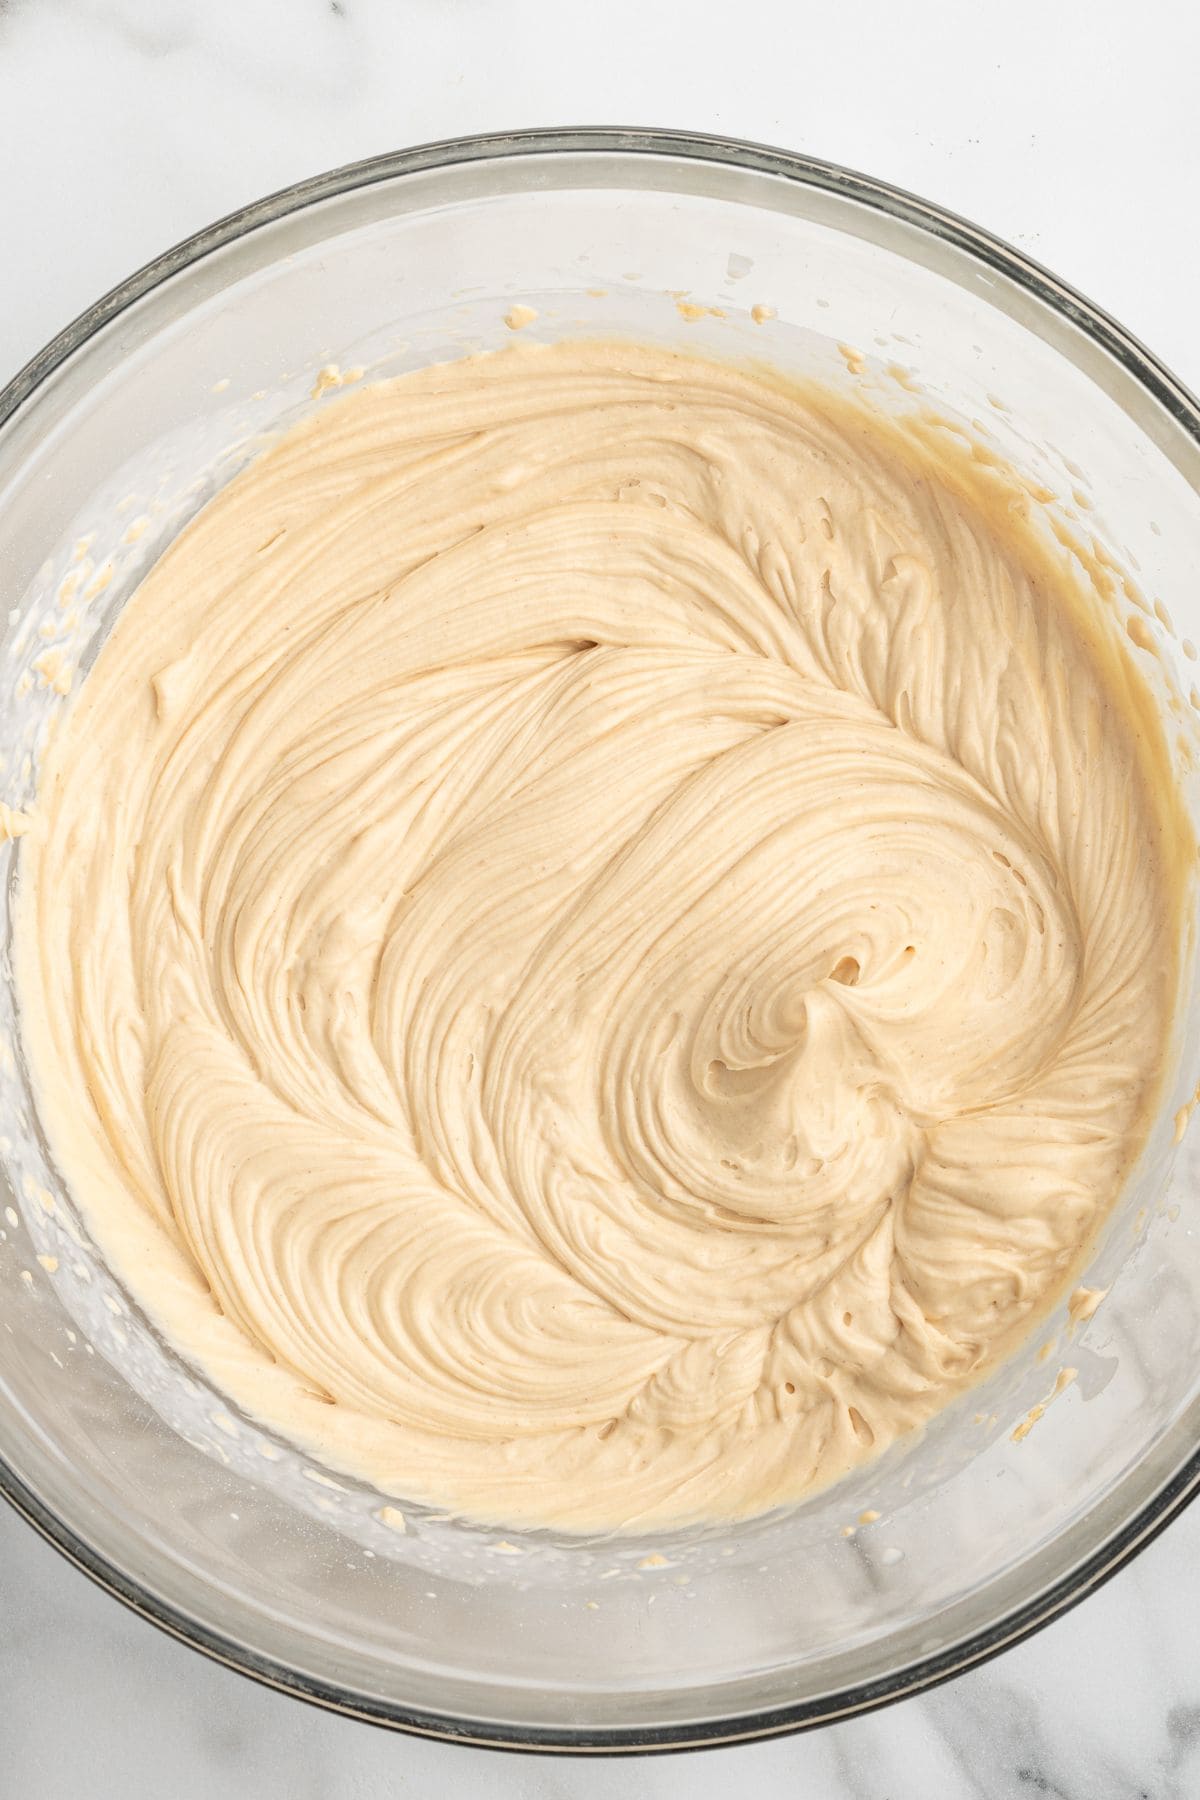
Step 6: Fill the cups Spoon the filling into a piping bag or a gallon ziplock with a corner snipped off. Pipe it over the cookie crumbs, filling each cup about 3/4 full.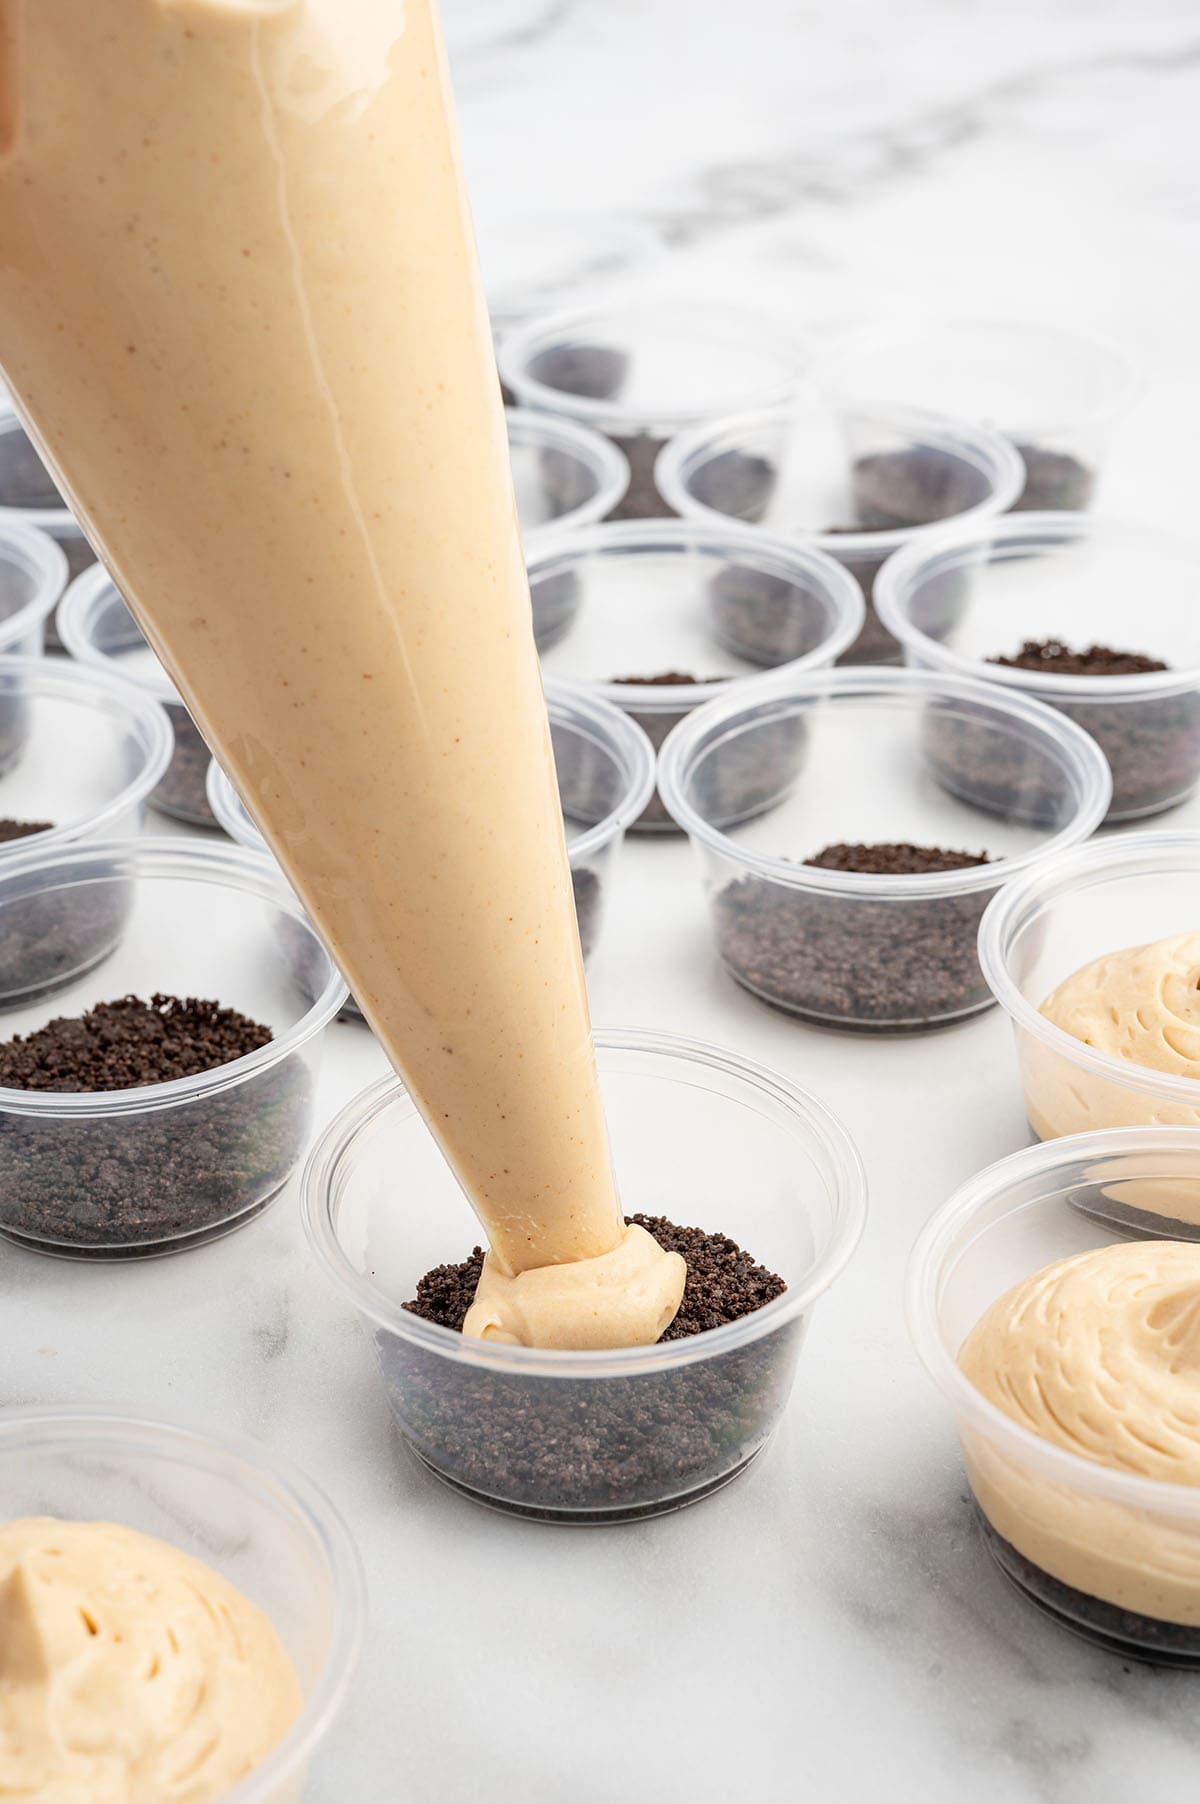
Step 7: Drizzle and top Drizzle chocolate sauce in a zigzag across the filling, then set one mini Reese’s on top of each cup.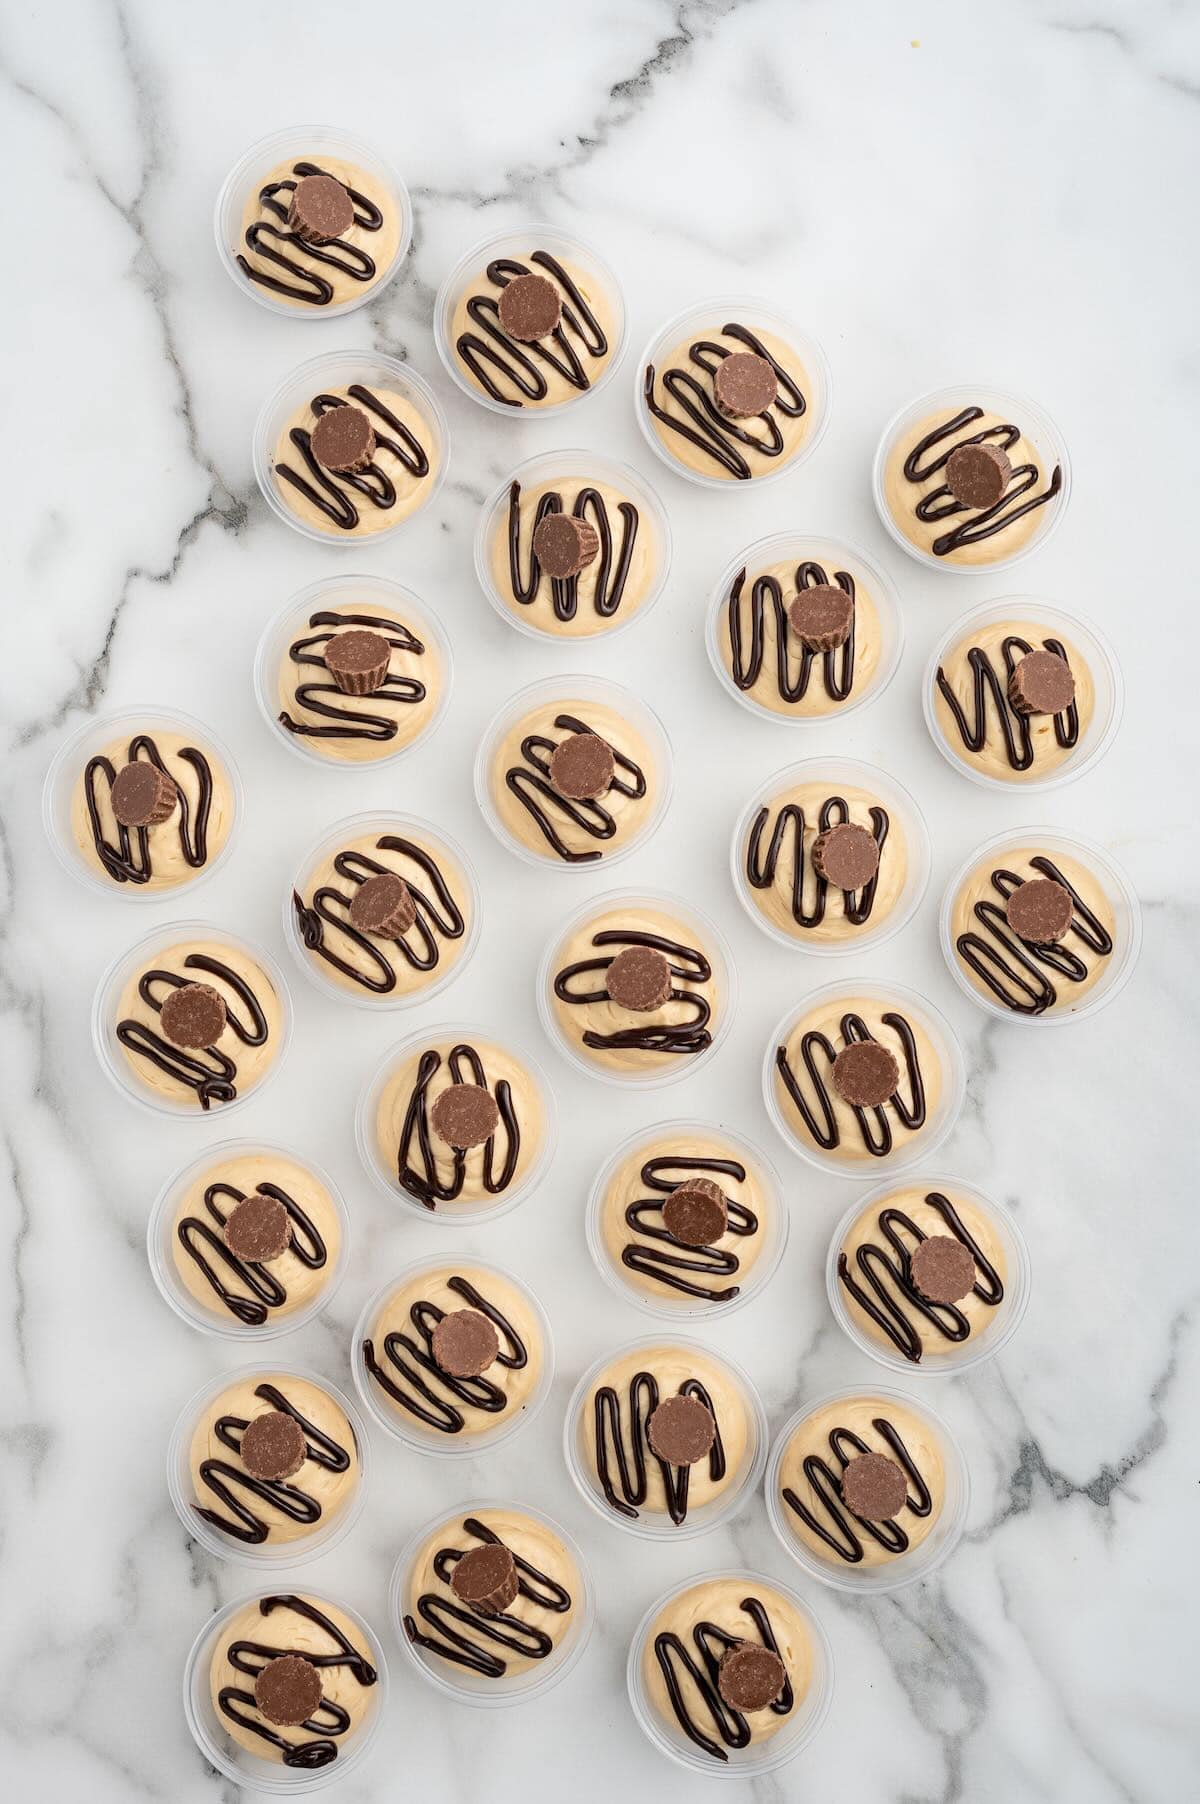
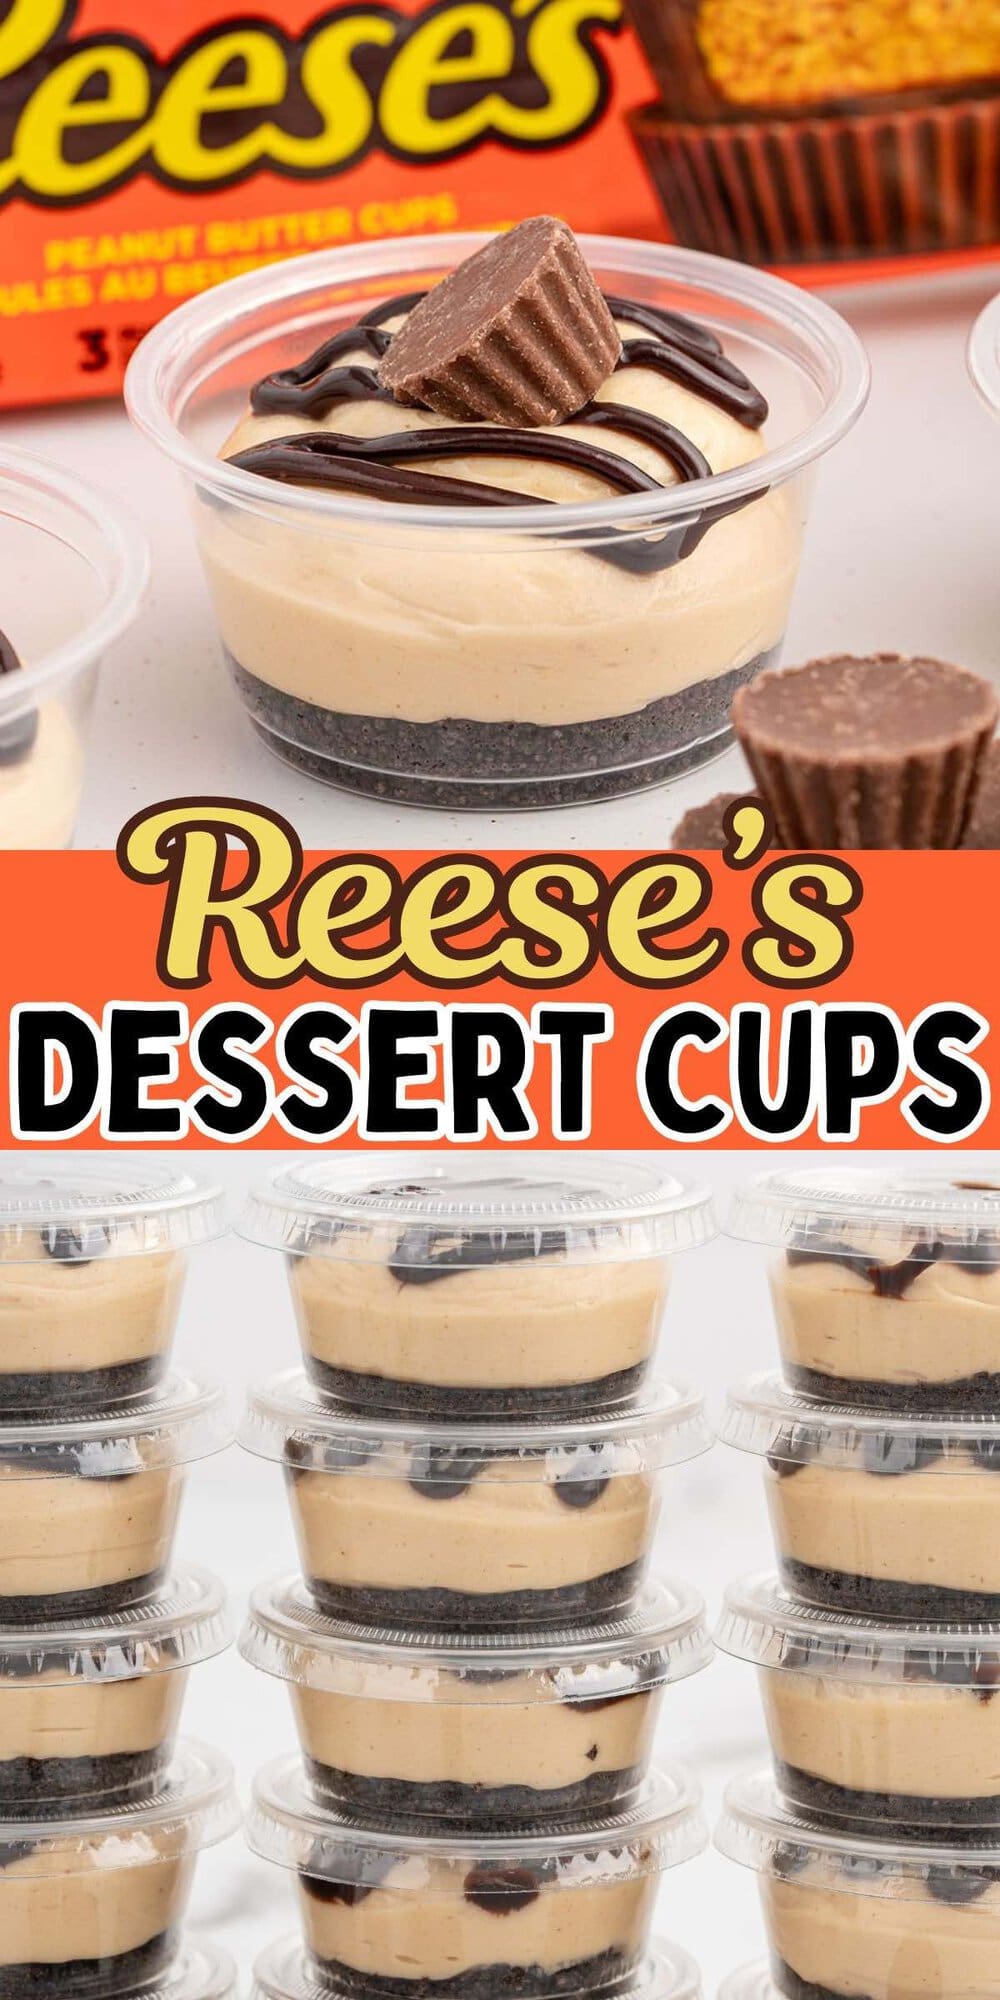
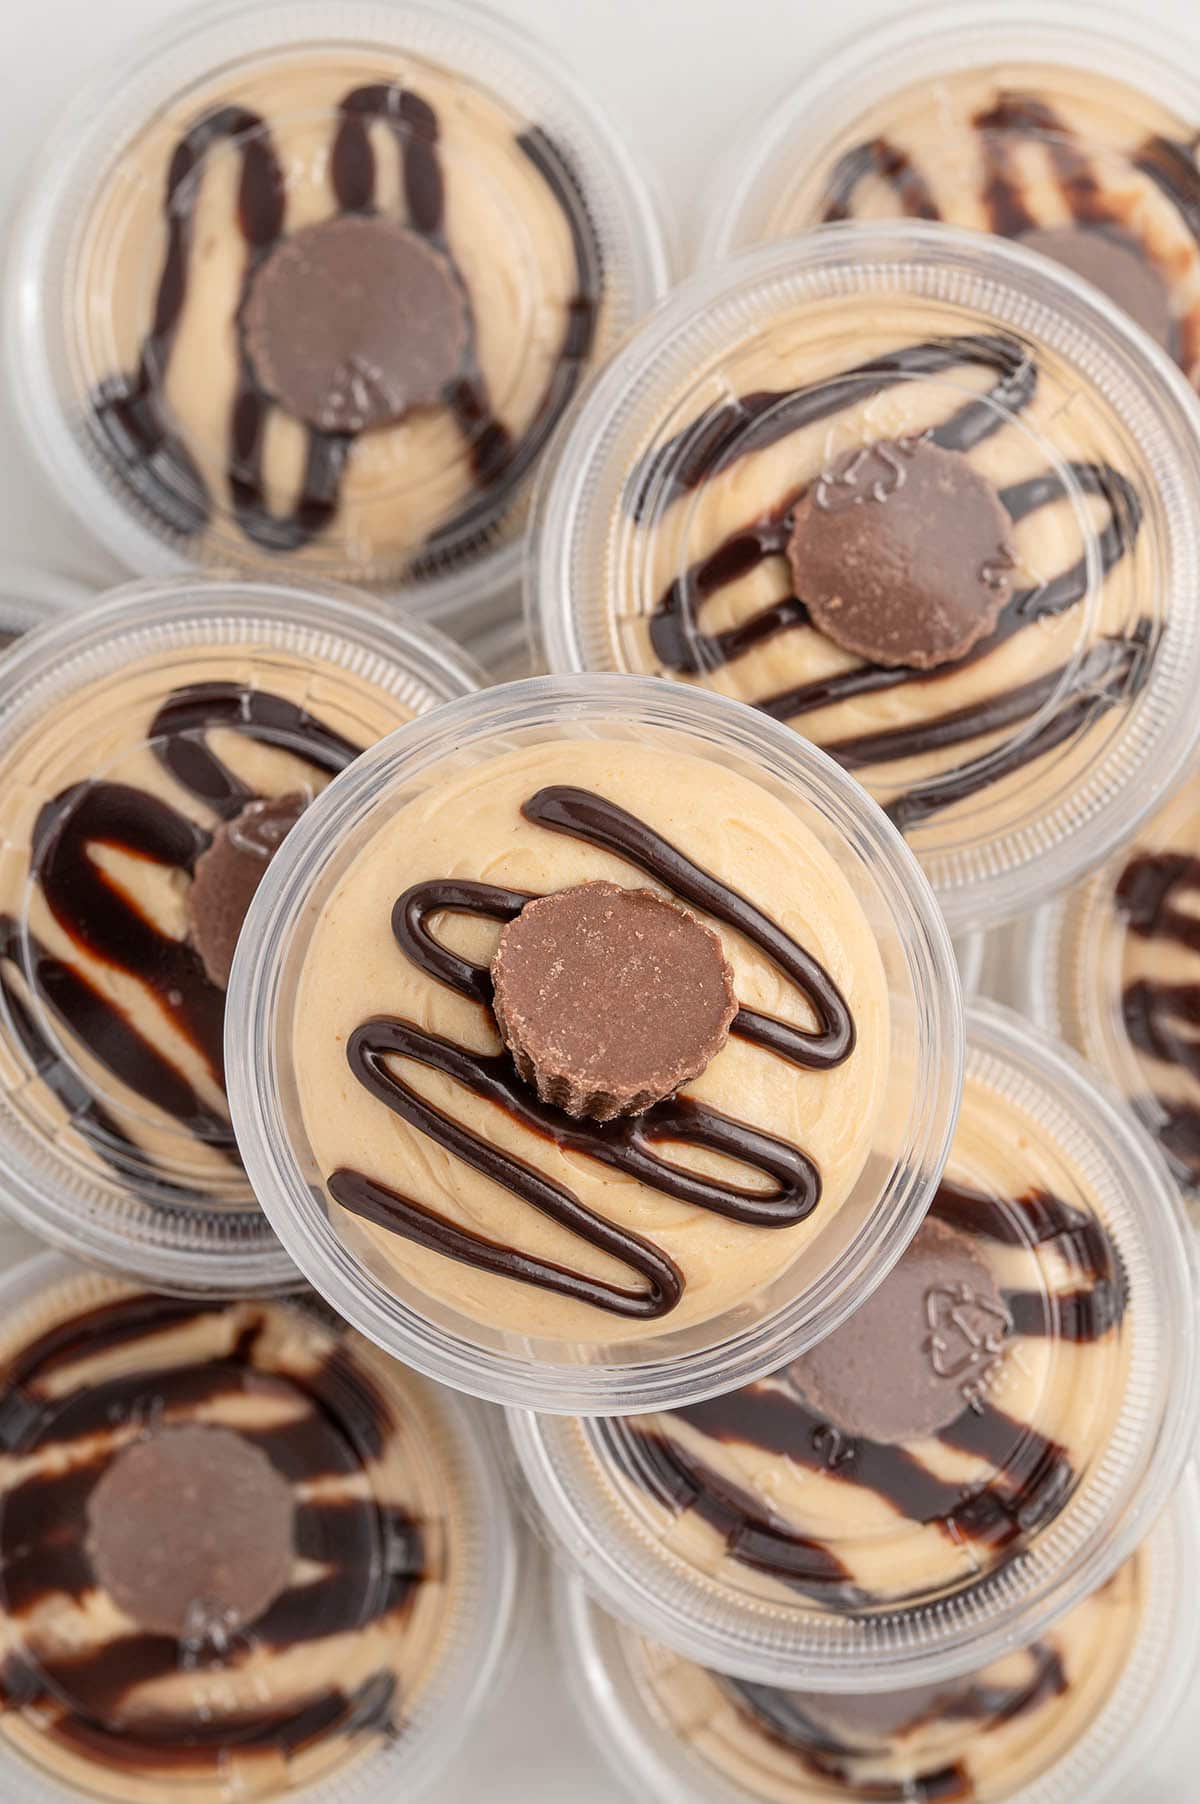
Step 8: Lid and chill Top the cups with their lids and chill in the refrigerator until ready to serve. They taste even better the next day once the flavors settle.

Very easy. Everyone at church loved them.
Storage
Keep the cups in the refrigerator with their lids on for up to 3 days. They hold their texture the whole time, so you can prep early in the week.
To freeze, store them for up to 1 month. Thaw them in the fridge before serving so the filling comes back to that creamy consistency.
More No-Bake Desserts You May Enjoy
- Peanut butter no-bake cookies
- No-bake peanut butter pie
- Individual dirt cake cups
- No-bake chocolate eclair cake
Reese Dessert Cups
Ingredients
- 2 cups crushed Oreo cookie crumbs, with cream (you can substitute generic chocolate sandwich cookies for the Oreo brand)
- ¼ cup salted butter melted and cooled
- 8 ounces package cream cheese softened
- 1 cup powdered sugar
- 1 cup creamy peanut butter I used Reese’s brand
- 1½ cups cold heavy whipping cream
- 1 teaspoon pure vanilla extract
- Chocolate sauce for drizzling
- 28 Reese’s peanut butter minis You can add 2 peanut butter minis per cup – 56 peanut butter minis
Instructions
- Add the crushed Oreo cookie crumbs to a small mixing bowl (3-4 cups) Pour the melted and cooled butter over the crushed cookies. Stir to completely coat the crumbs.2 cups crushed Oreo cookie crumbs, with cream, ¼ cup salted butter
- Add 2 teaspoons of the buttered crumbs to the cups. Use either a spoon or an extra cup to tamp down the buttered crumbs.
- Using either a stand mixer with a wire whisk attachment, or a large mixing bowl with a handheld mixer on medium speed, beat together the softened cream cheese and the powdered sugar for 1 – 1 ½ minutes until smooth. (It’s important that the cream cheese is softened to room temperature for smoother blending and no clumps are visible) Be sure to use a silicone spatula to scrape down the sides of the mixer as you go.8 ounces package cream cheese, 1 cup powdered sugar
- Add the peanut butter to the cream cheese mixture and continue to mix until the mixture is smooth.1 cup creamy peanut butter
- Add the cold heavy cream and vanilla. Continue to mix for another 2-3 minutes until the mixture has thickened. (The mixture should be thick enough to hold its shape when piped)1½ cups cold heavy whipping cream, 1 teaspoon pure vanilla extract
- Add the peanut butter filling to a disposable piping bag. (You can also use a gallon size ziplock with a corner snipped off)
- Snip the end of the piping bag off. Squeeze the peanut butter filling on top of the buttered cookie crumbs. Fill the cup about ¾ of the way full.
- Drizzle the chocolate sauce in a zigzag pattern across the top of the peanut butter filling. Place 1 of the peanut butter minis on top of the chocolate sauce layer. Top the cups with the lids and chill in the refrigerator until ready to serve. The dessert cups will keep in the refrigerator for up to 3 days. You can also freeze the cups for up to 1 month.Chocolate sauce for drizzling, 28 Reese’s peanut butter minis
Jenn’s Notes
- To Store: Covered dessert cups will keep in the refrigerator for up to 3 days.
- To Freeze: You can freeze the covered cups for up to 1 month.
- Crush The Cookies: You can crush your Oreo cookies in a blender or food processor if you want them to have a fine crumb consistency or you can place the cookies in a Ziploc bag and crush them with a rolling pin. Make sure you crush the entire cookie and do not remove the filling!
- Transfer On A Tray: I like to line up my plastic cups on a flat, firm, moveable surface like a tray or cookie sheet. This makes it easier to move them back and forth from the fridge.
- Use Other Oreos: Choose your favorite flavor or type of Oreo cookies. Chocolate creme Oreos, birthday cake Oreos, and peanut butter Oreos pair perfectly with the peanut butter mousse mixture. You can even substitute gluten free Oreo cookies for regular Oreo cookies.








Absolutely delicious! I layered mine with magic shell and chopped peanuts. So you get a nice crunch with that amazing peanut butter filling. 😋
Love those additions!!
Delicious!!
fun to make
looks good i would eat it
Love it!!!
Would the pre-made cheesecake mixture work?
Hi Crystal – I don’t see why not, but I have not tried it to advise.
very good 👍
Definitely trying again
So glad you enjoyed them!
What size dessert cups did you use?
Hi Linda, I use 2 ounces cups – here are the ones that I used https://amzn.to/3YTHqhd
Very easy. Everyone at church loved them.
Hi Tina! So glad it was a hit!