This post may contain affiliate links. Please read our disclosure policy.
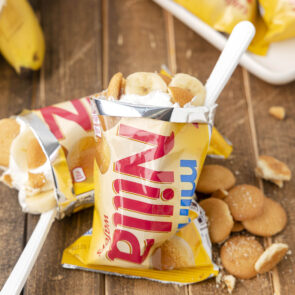
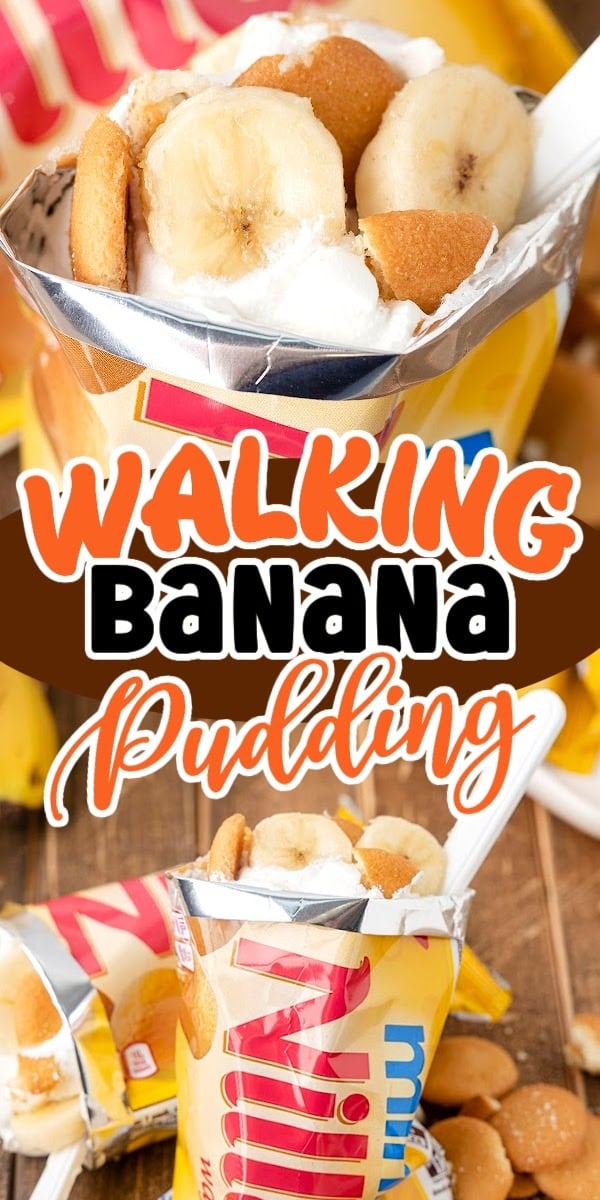
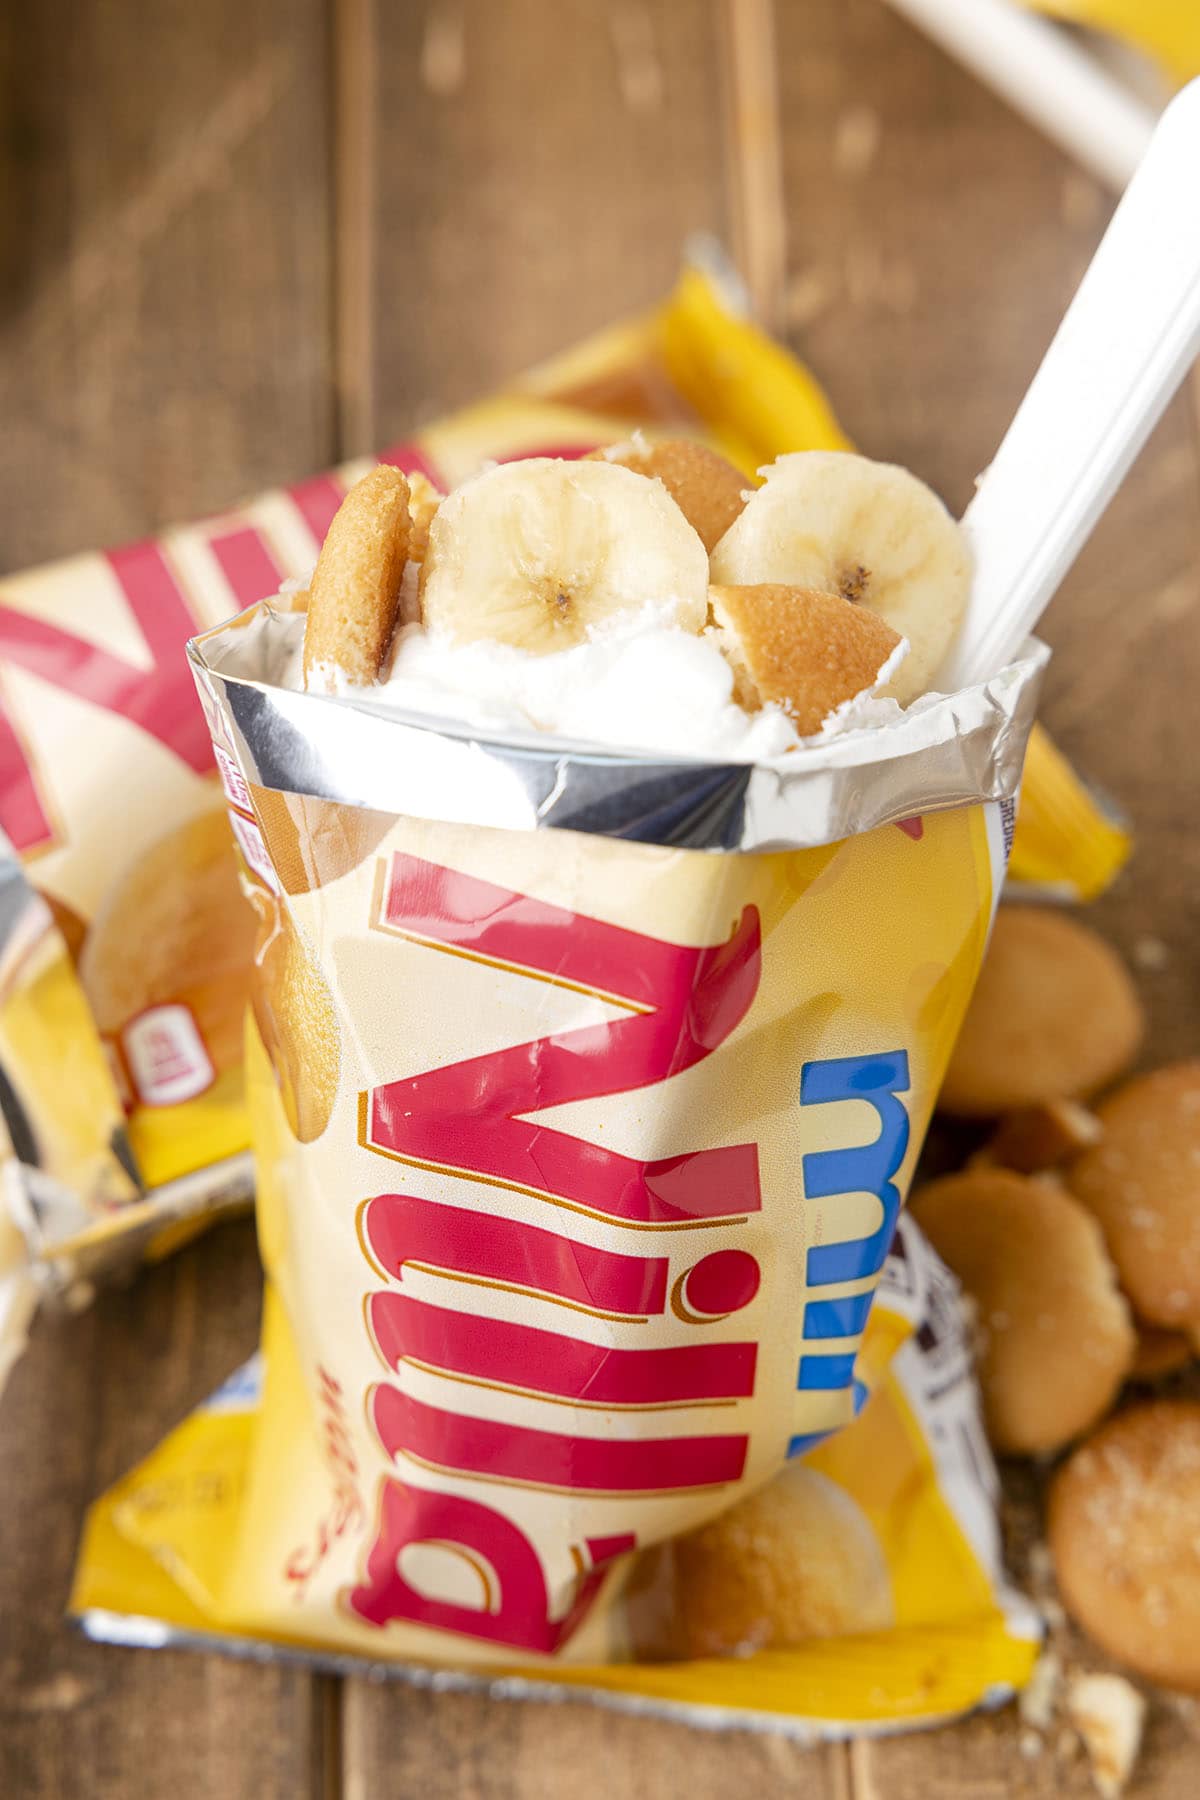
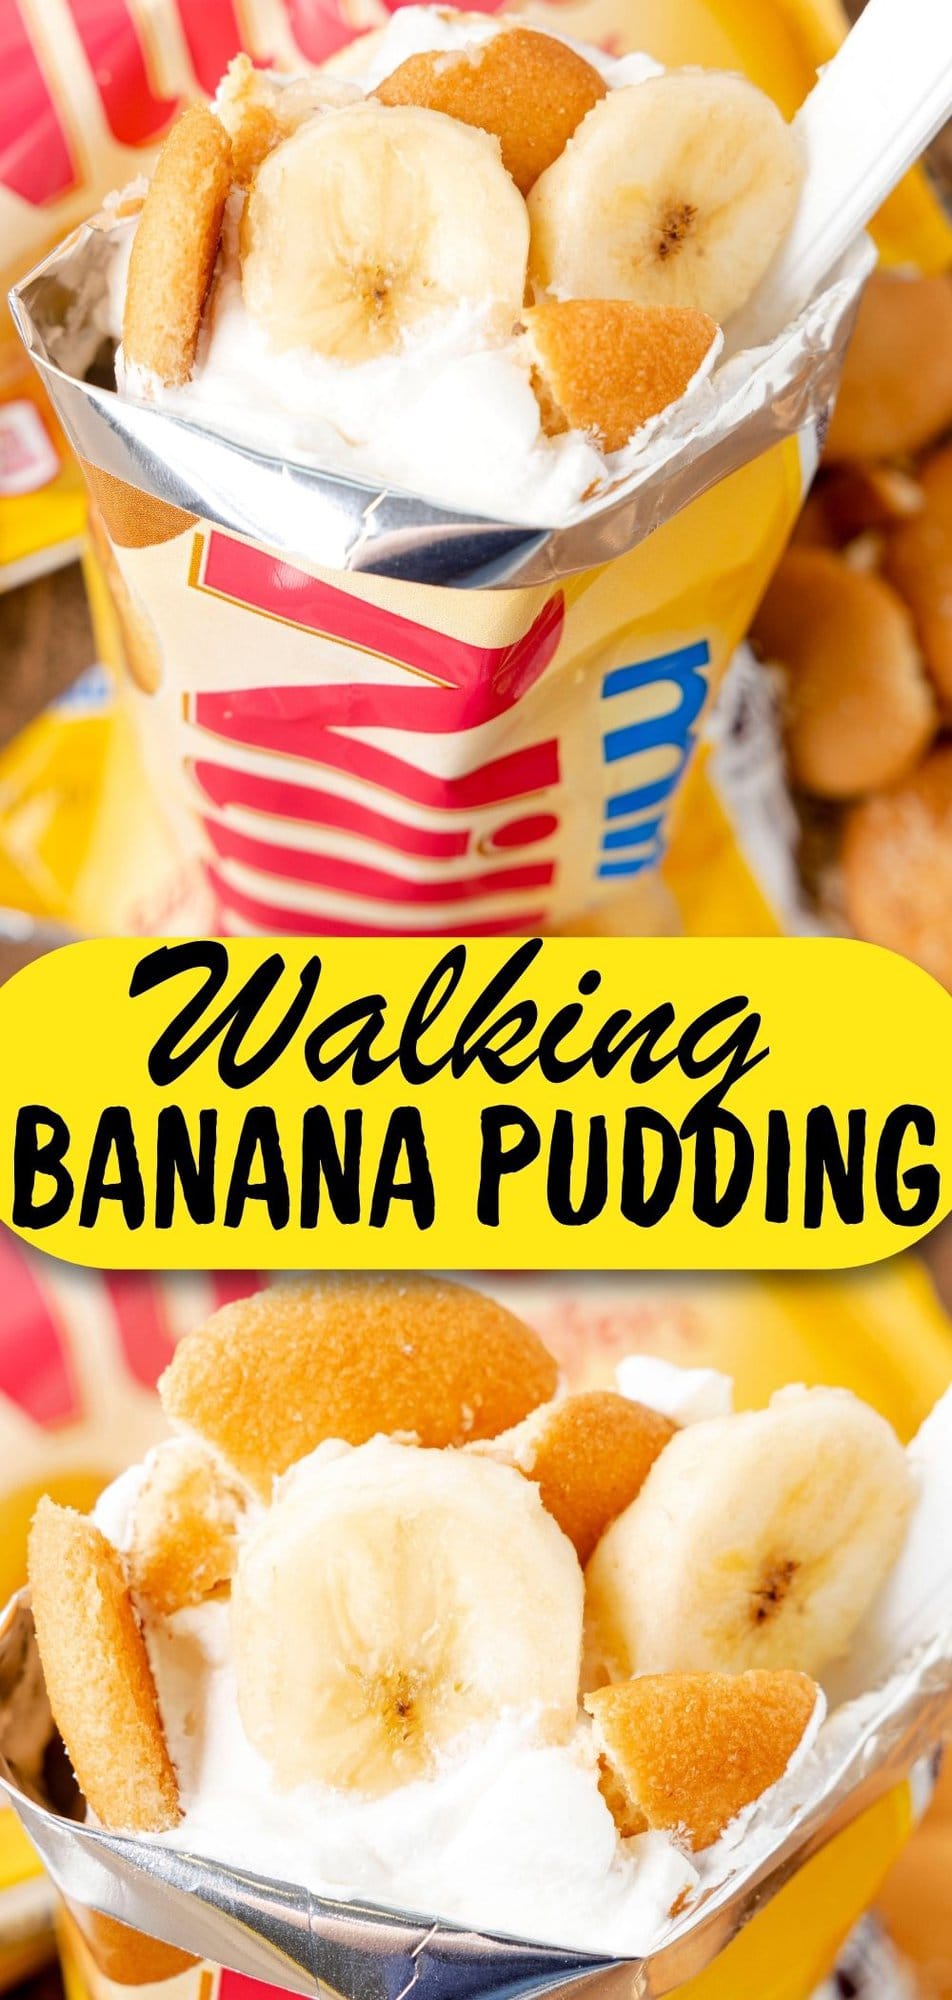
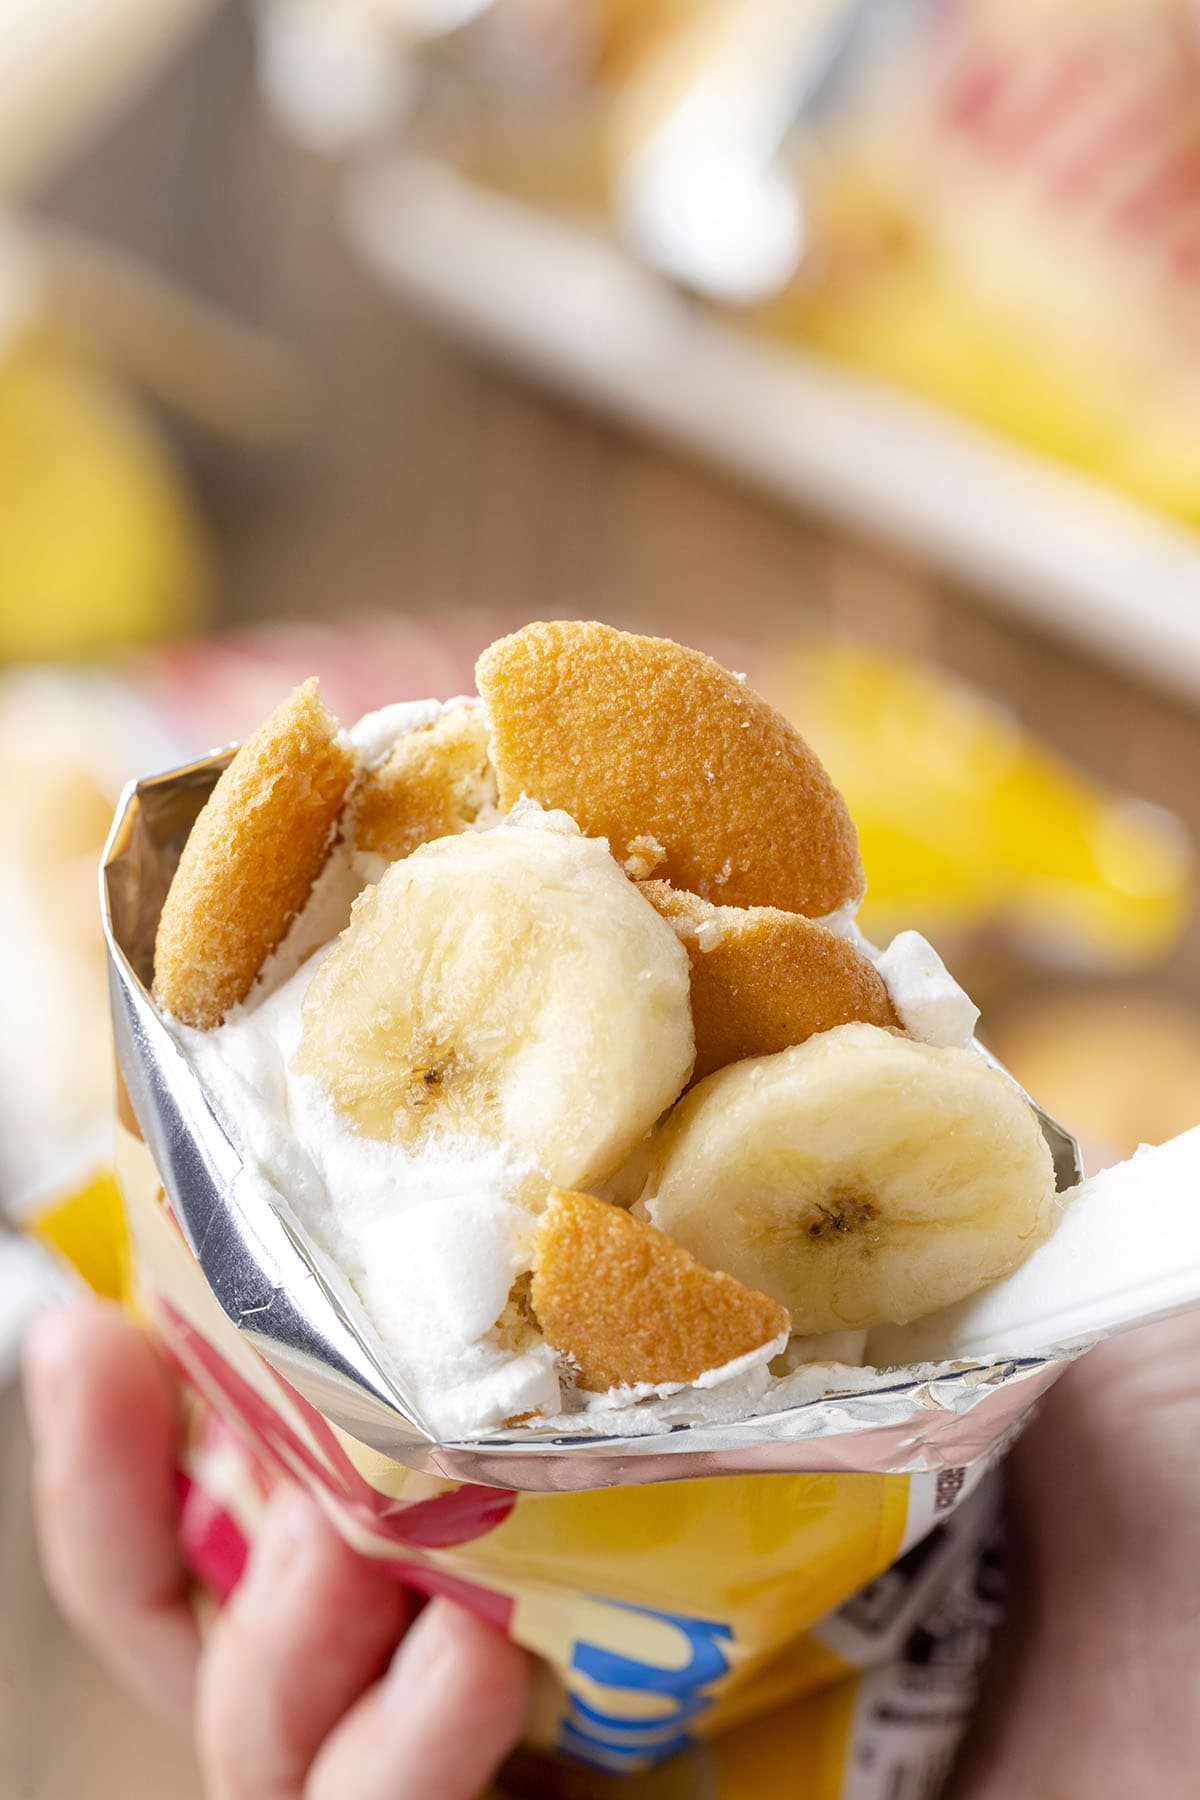
Walking Banana Pudding is a delicious way to pack creamy pudding, fresh banana slices, and whipped topping into snack-sized Nilla Wafer cookie bags. Prepared in 10 minutes using only 5 simple ingredients – it’s a fun way to feed a crowd!
Walking Banana Pudding Snack Bags
Our Walking Banana Pudding recipe uses the same concept as my walking tacos, but it’s prepared in a sweet dessert version rather than serving it savory-style.
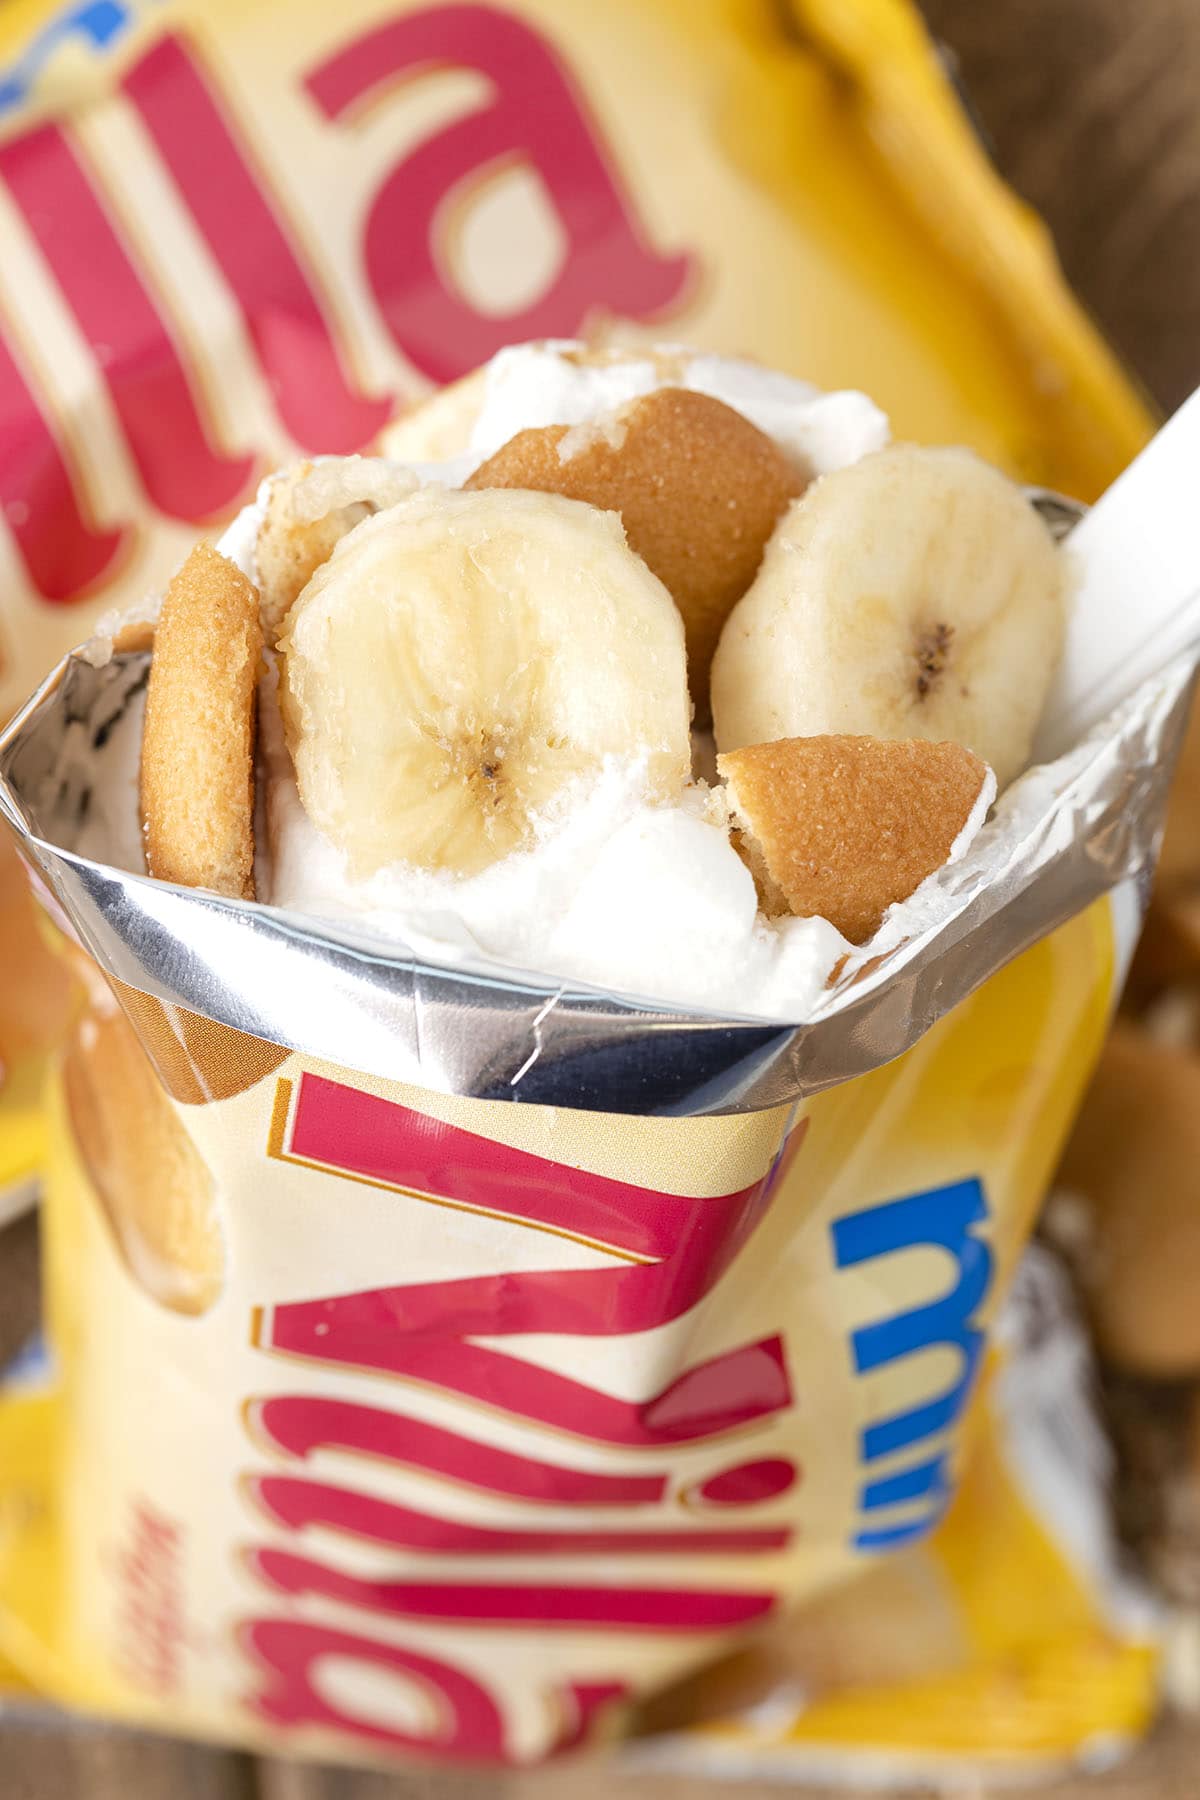
Our banana pudding in a bag couldn’t be any easier to make; it takes all of the ingredients and piles them into a portable package of mini nilla wafers.
If you like your cookies crunchy, serve your walking desserts immediately, but if you prefer your wafers a bit on the softer side, like the traditional sweet treat, you can store them in the fridge for a few hours.
What I love most about preparing individual banana pudding bags for a party is that I can place all of the snack packs on a platter or in a tub filled with ice and serve them with disposable plastic spoons, so there’s virtually no cleanup (and the mini size means you don’t have to share).
Why We Love Walking Banana Pudding Recipes
- Quick and easy to make in 10 minutes.
- Uses only 5 simple ingredients.
- Portable, individually portioned, handheld snacks.
- You can make a walking banana pudding bar so guests can fill their bag with what they like.
- Prepared like a walking taco but served dessert-style.
- Perfect for pool parties, birthday parties, potlucks, backyard BBQ’s, tailgating, and summer picnics.
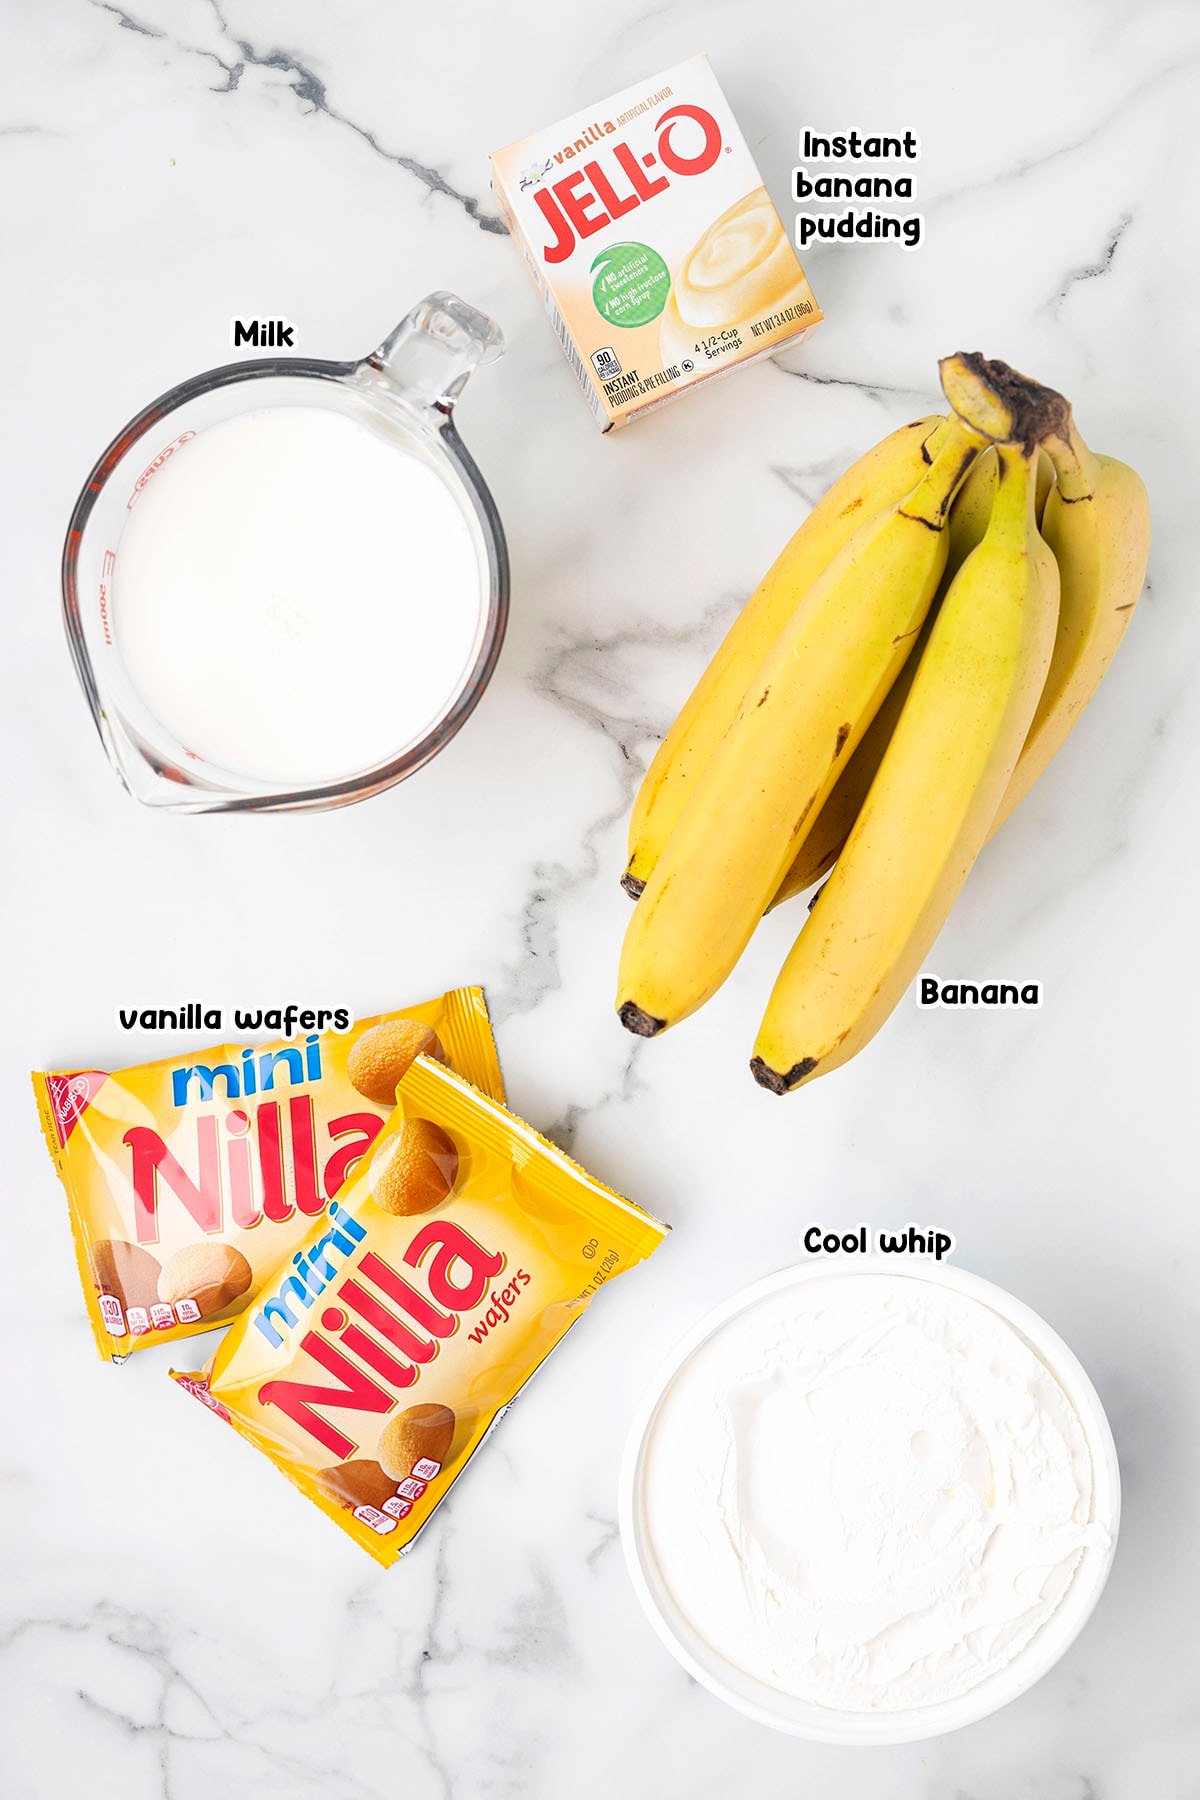
Walking Banana Pudding Ingredients
- Instant banana pudding
- Milk
- Single-serving mini vanilla wafers
- Banana
- Cool whip
Substitutions and Additions
- Pick Your Pudding: You can use instant vanilla pudding, banana cream pudding, cheesecake pudding, or use chocolate pudding for a chocolate-covered banana flavor. You can also use the pre-made pudding snack cups to make this even easier to assemble.
- Tasty Toppings: Top your treats with a maraschino cherry, some sprinkles, mini chocolate chips, or chopped nuts for extra crunch.
Recommended Tools
- Mixing bowl
- Spoon
How to Make Walking Banana Pudding
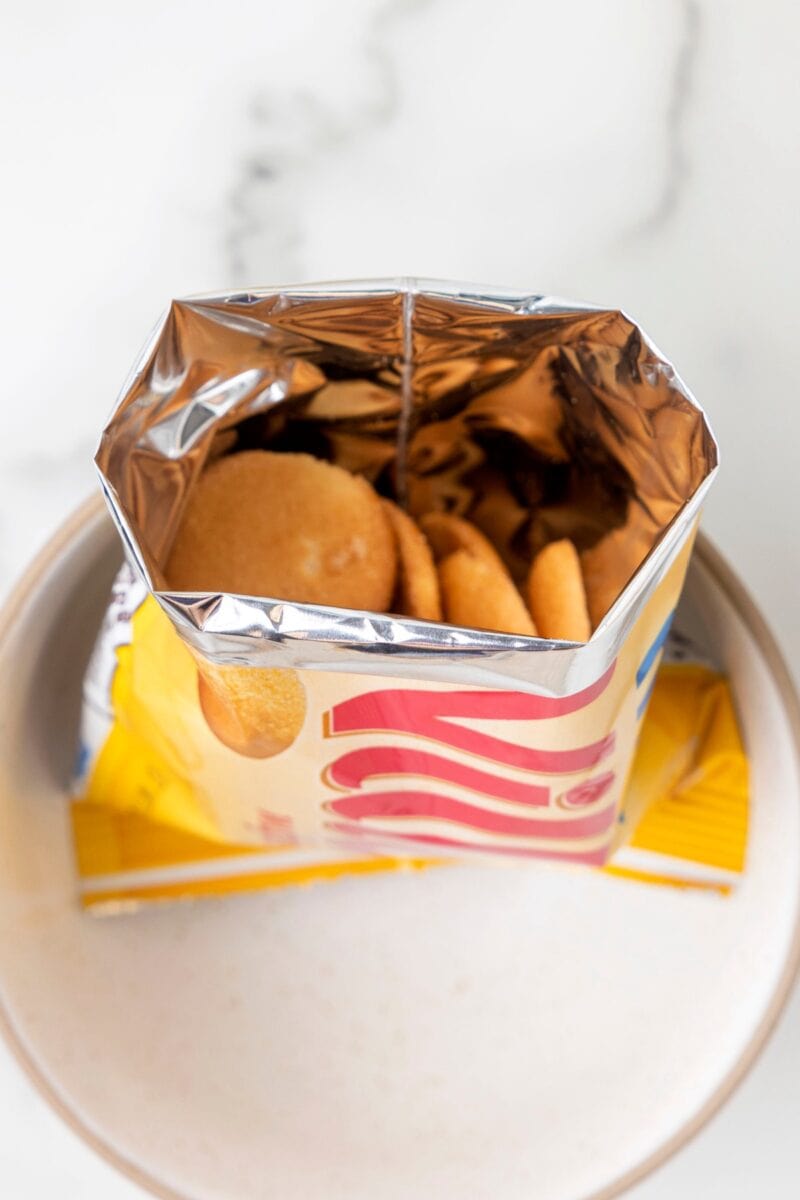
- Prepare The Pudding: Combine the pudding mix and milk and let it set for 5 minutes.
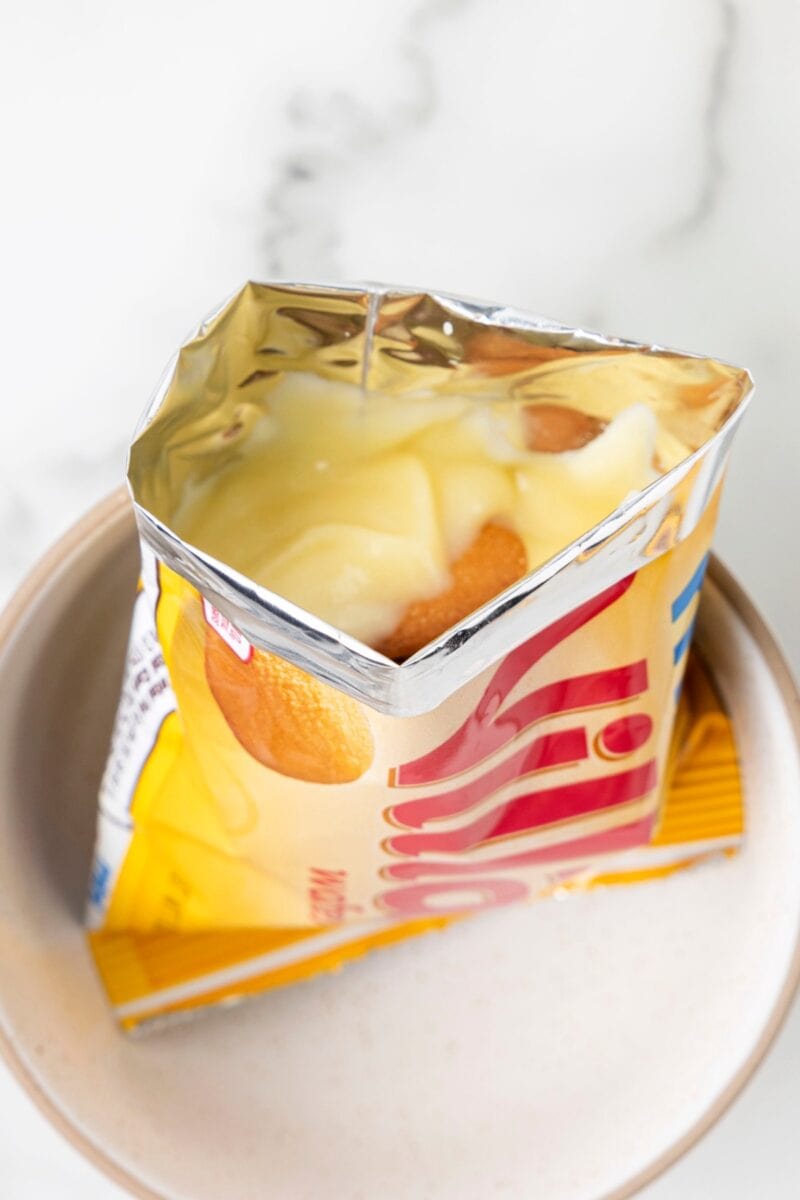
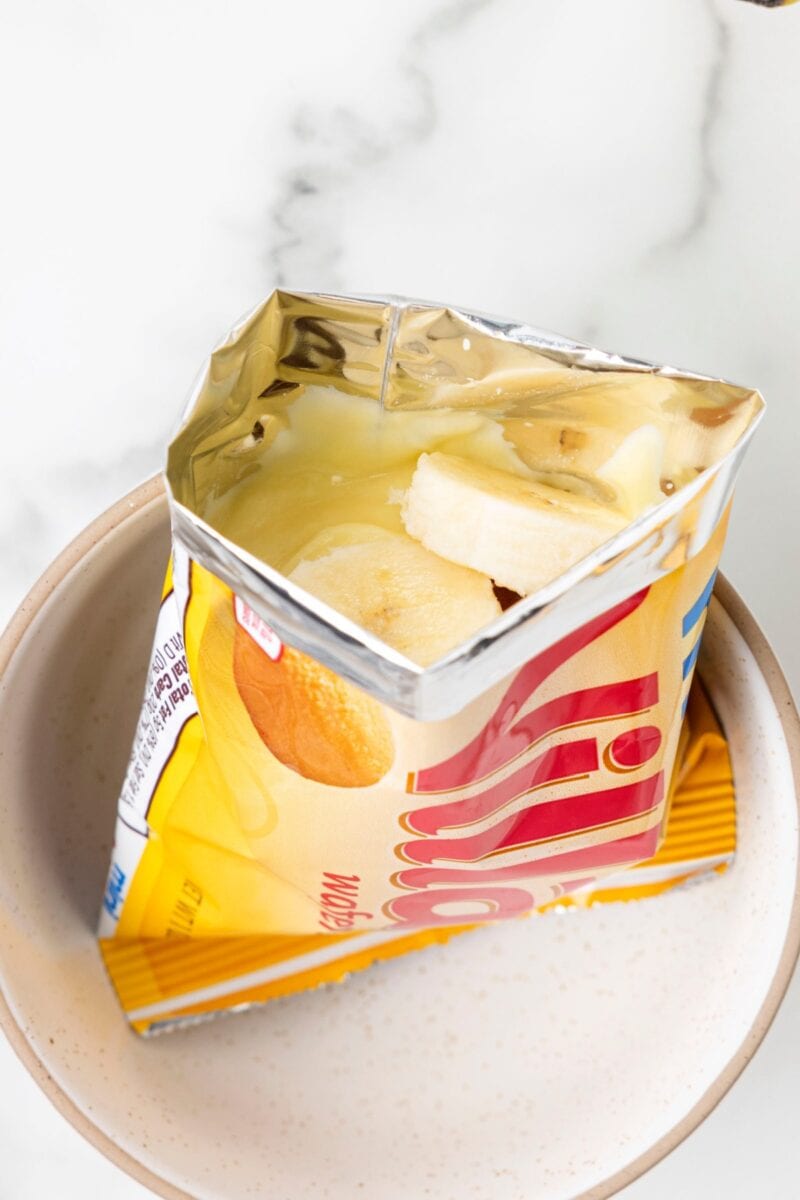
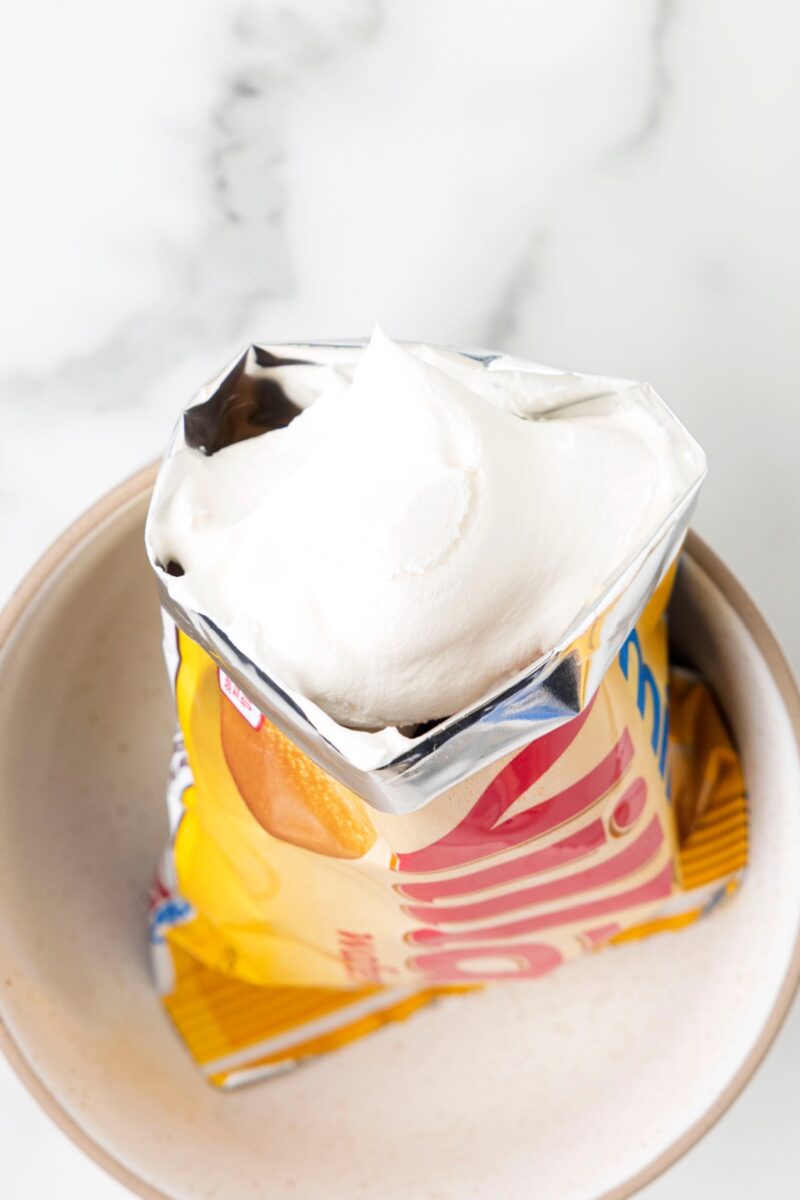
- Assemble: Fill each cookie bag with pudding, bananas, and top with a dollop of cool whip.
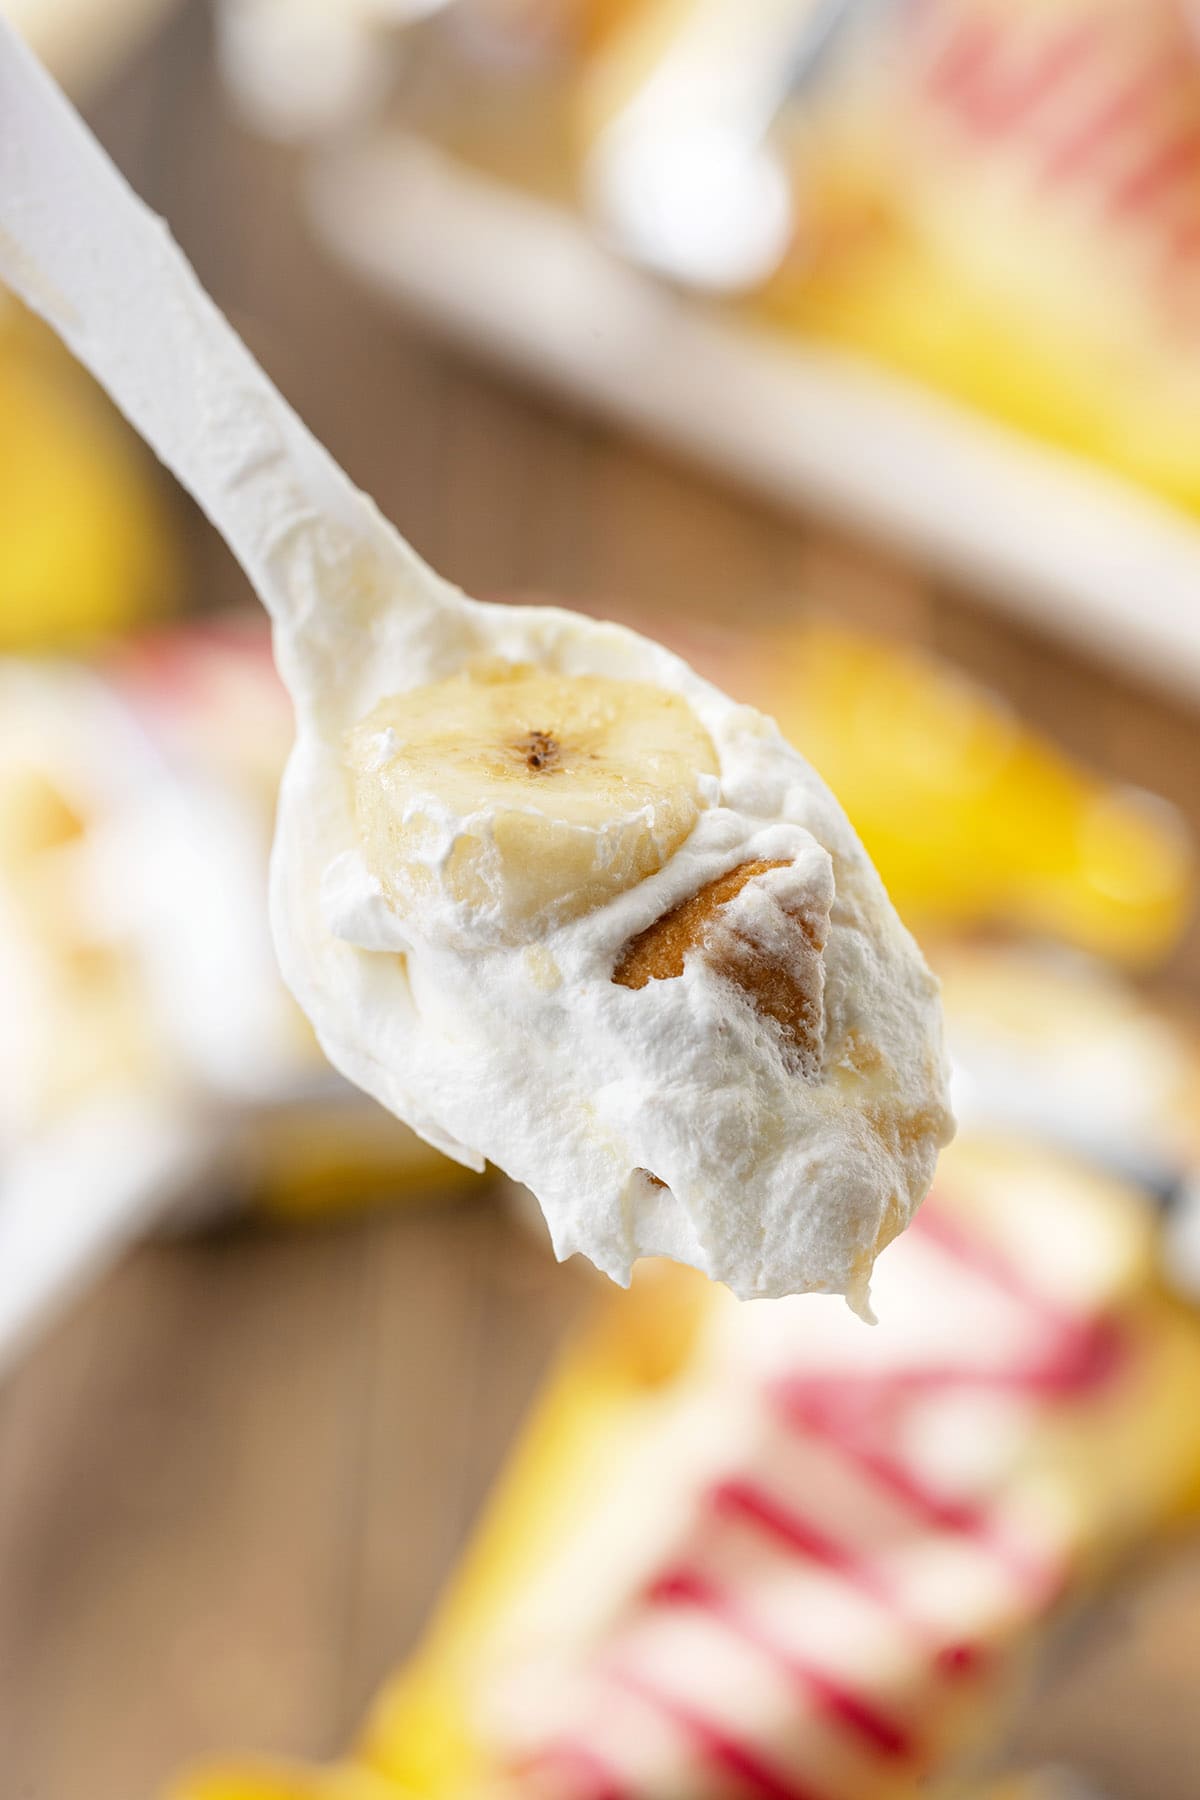
- Serve: Serve with a spoon and enjoy!
Tips For Making The Best Walking Banana Pudding Dessert
- You can use mini teddy graham bags if your store only carries that kind of cookie. It will change the flavor but will work well in this recipe.
- Feel free to use homemade banana pudding if you have a favorite recipe.
- You can top each treat with a cherry to make them extra cute — the color matches the bright red “Nilla” on the front of the bag.
- To slow the browning of sliced fresh bananas, squeeze some lemon juice on the fruit.
- Make sure to fold the top of each bag down after cutting to allow for easier eating.
How to Store Banana Pudding
- To Store: I don’t recommend storing after they have been assembled. You can store all the ingredients separately and the assemble when you are ready to eat.
More Easy Dessert for a Crowd Recipes
Other Easy Banana Recipes
- Banana Pudding Poke Cake
- Not Yo Mama’s Banana Pudding
- Copycat Magnolia Banana Pudding Recipe
- Banana Split Fluff
- Banana Pudding
- Banana Pudding Cookies
Walking Banana Pudding
Ingredients
- 5.1 ounces box instant banana pudding
- 2 cups milk
- 8 packages single serving mini vanilla wafers
- 1 banana sliced
- 8 ounces tub cool whip
Instructions
- In a medium mixing bowl, combine the pudding mix and milk. Allow the pudding to set for 5 minutes.
- Cut open the tops of the bags of vanilla wafers and flip over the edges of the bag.
- Spoon the pudding into each bag of vanilla wafers.
- Add the bananas to the bags and top with a dollop of cool whip.
- FAQ Questions:
- Can I make these with the mini teddy graham bags?
- Yes, it will change the flavor, but if your store only carries those, you could use those.
- Can this be made with another type of instant pudding?
- Yes, a classic banana pudding is made with vanilla, so you can use that or make it extra special and use chocolate pudding for a chocolate-covered banana flavor.
- Is there any way to put these together without making instant pudding?
- If you’re camping, you don’t have to bring mixing bowls or something like that. You can purchase vanilla pudding cups and use that as your pudding base.
- Can these be made up ahead of time?
- Yes, but the vanilla wafers will get softer and softer the longer it sits, giving you more of a traditional banana pudding texture. If you want that on-the-go texture where the vanilla wafers are still crunchy, I recommend not adding the ingredients to the wafer bags until you’re ready to serve.
Jenn’s Notes
- To Store: I don’t recommend storing after they have been assembled. You can store all the ingredients separately and the assemble when you are ready to eat.
- You can use mini teddy graham bags if your store only carries that kind of cookie. It will change the flavor but will work well in this recipe.
- Feel free to use a homemade banana pudding if you have a favorite recipe.
- You can top each treat with a cherry to make them extra cute — the color matches the bright red “Nilla” on the front of the bag.
- To slow the browning of sliced fresh bananas, squeeze some lemon juice on the fruit.
- Make sure to fold the top of each bag down after cutting to allow for easier eating.


Yummy goodness in a bag!