This post may contain affiliate links. Please read our disclosure policy.
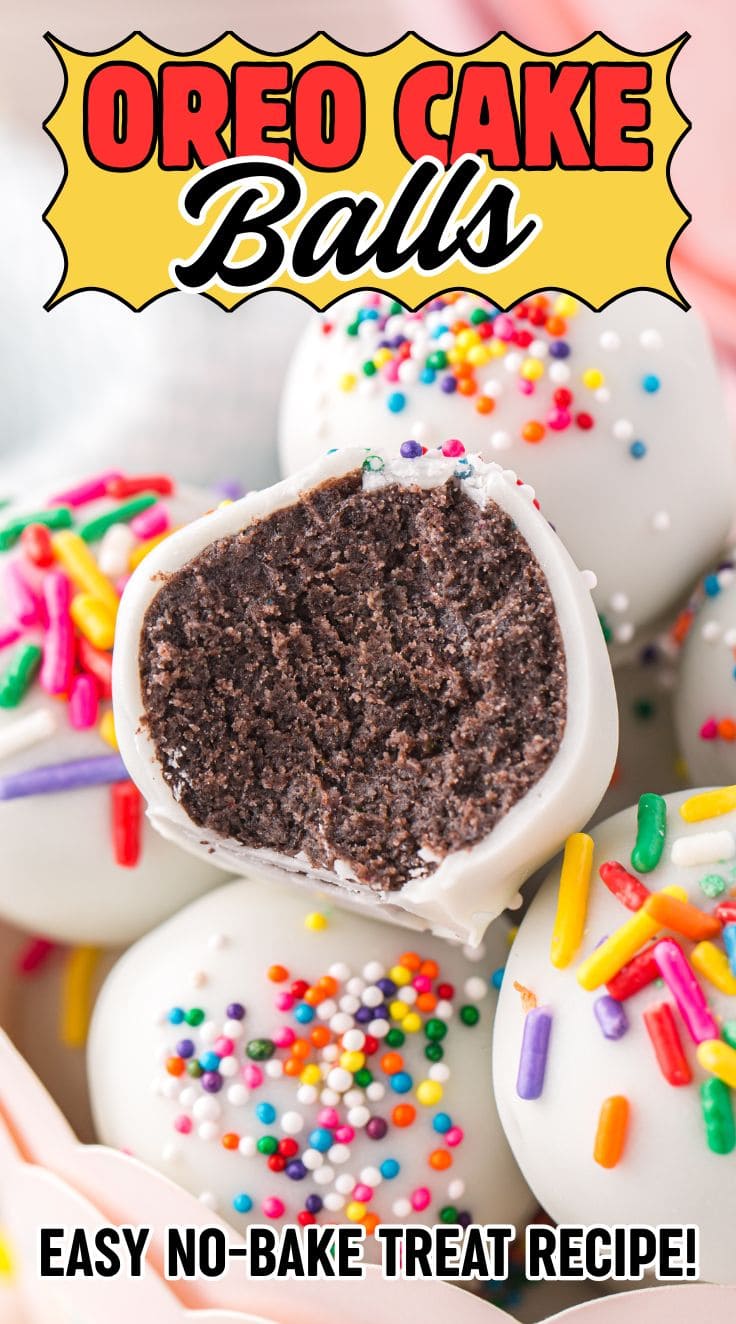
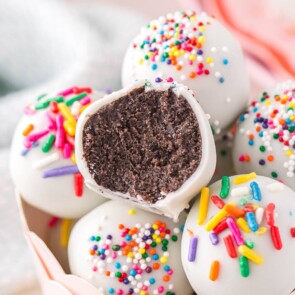
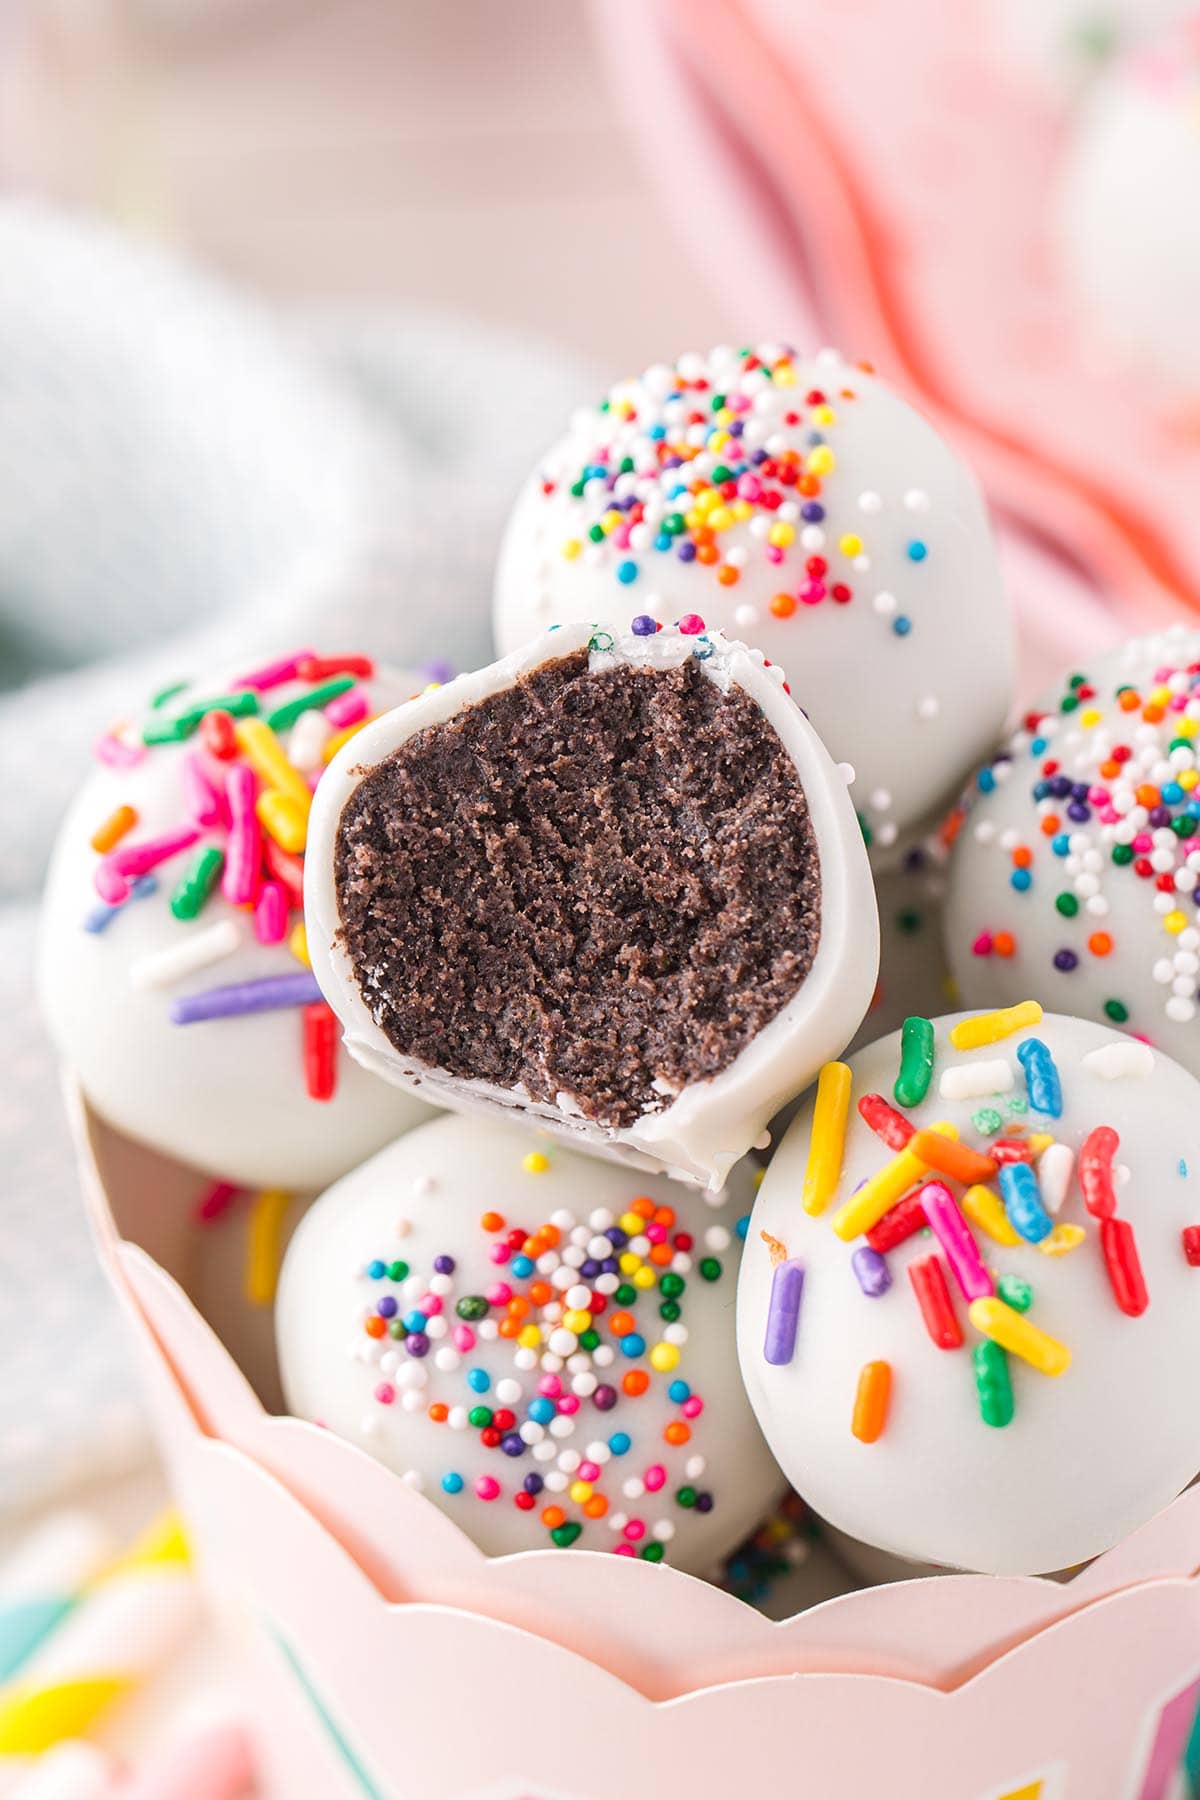
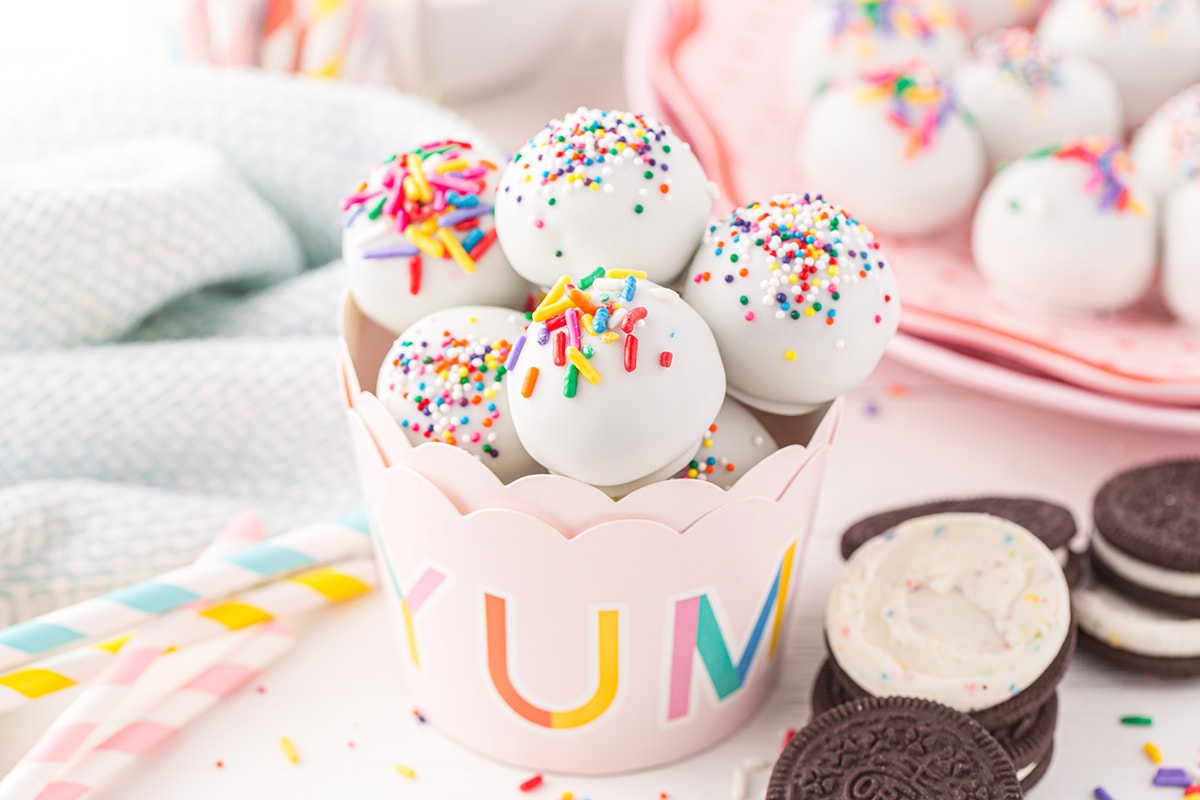
Oreo Balls always feel like a party to me. I love how the chocolatey center, sweet coating, and sprinkles make them look so festive, and nobody ever guesses how simple they are to make. Since they’re no-bake, I can throw them together whenever I want something fun and special without spending hours in the kitchen.
If you love turning Oreos into decadent desserts, you’ve got to try my Oreo Dip, my viral Oreo Dessert Cups, and my family’s favorite, No Bake Oreo Dessert. Each one is easy, fun, and irresistibly delicious!
Ingredients Notes
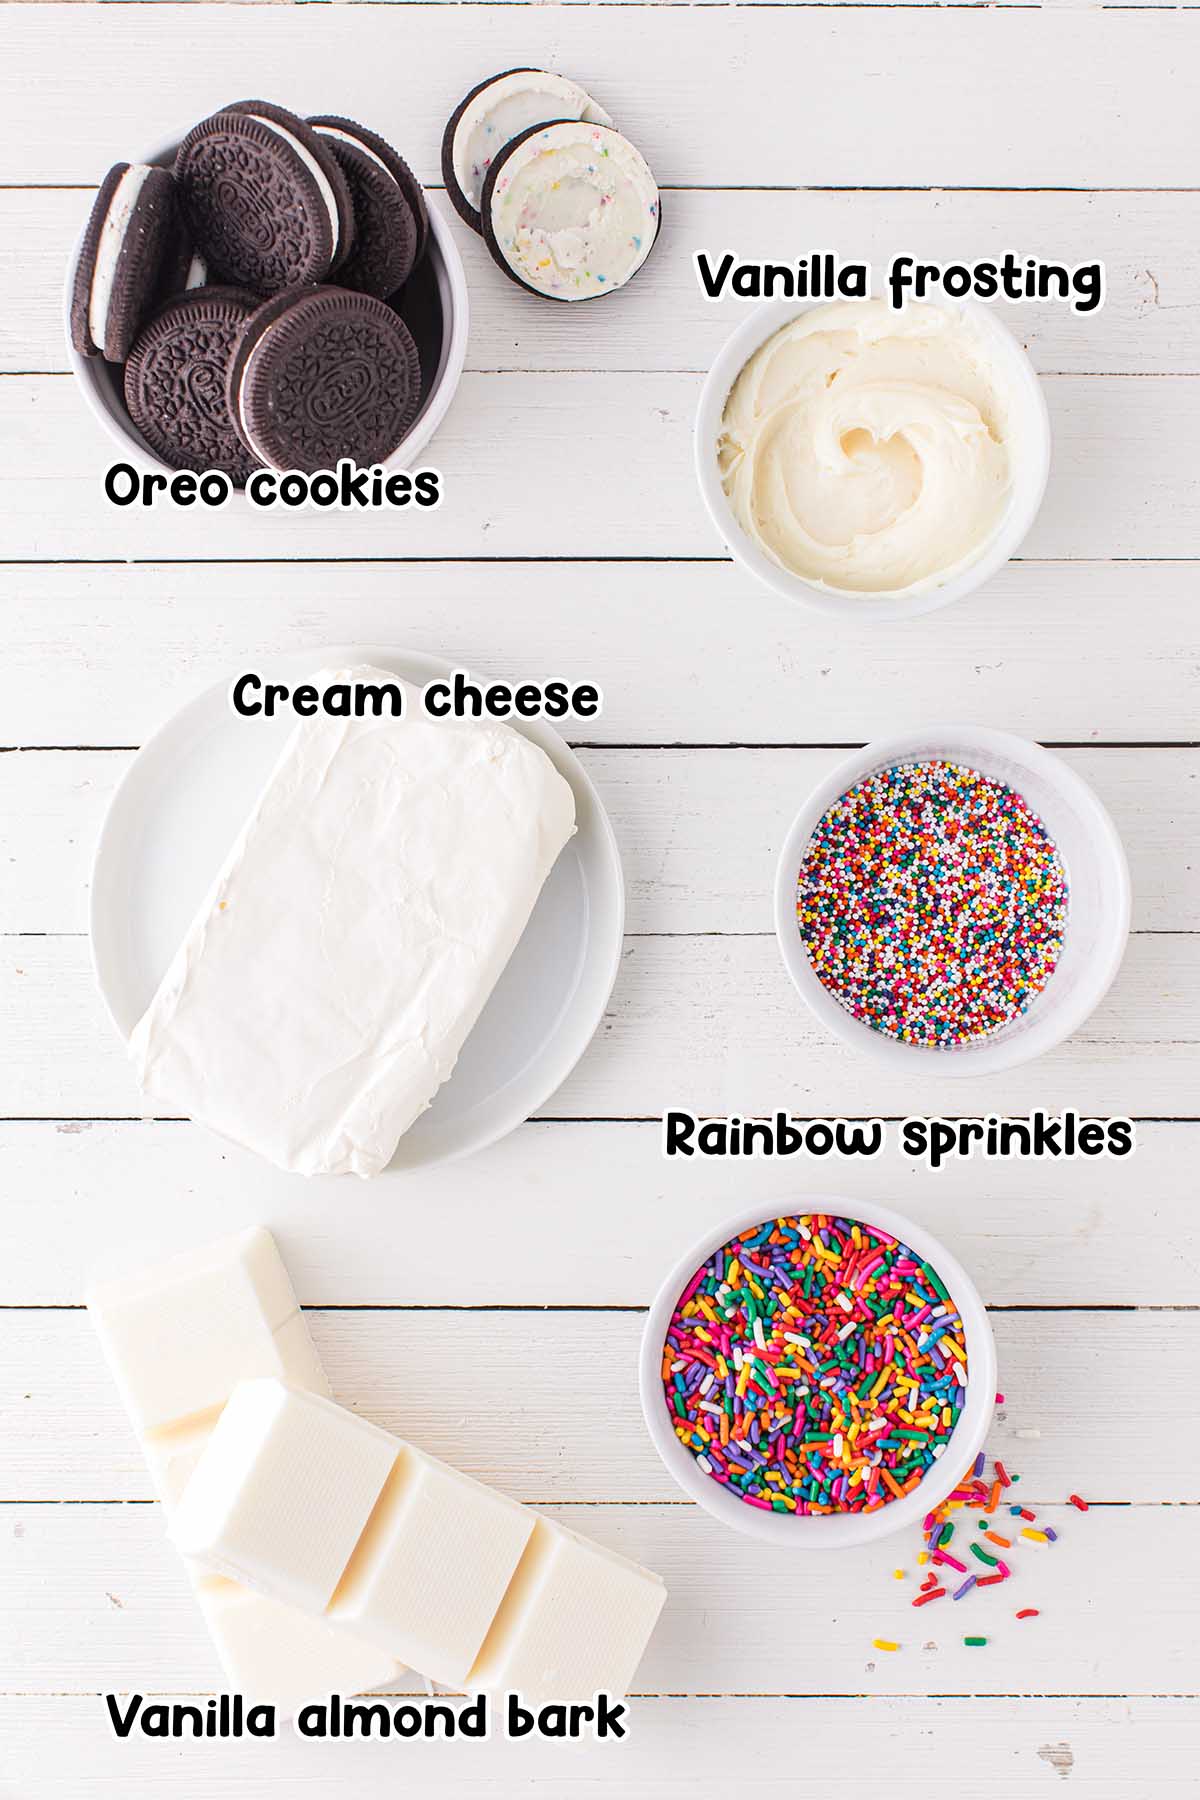
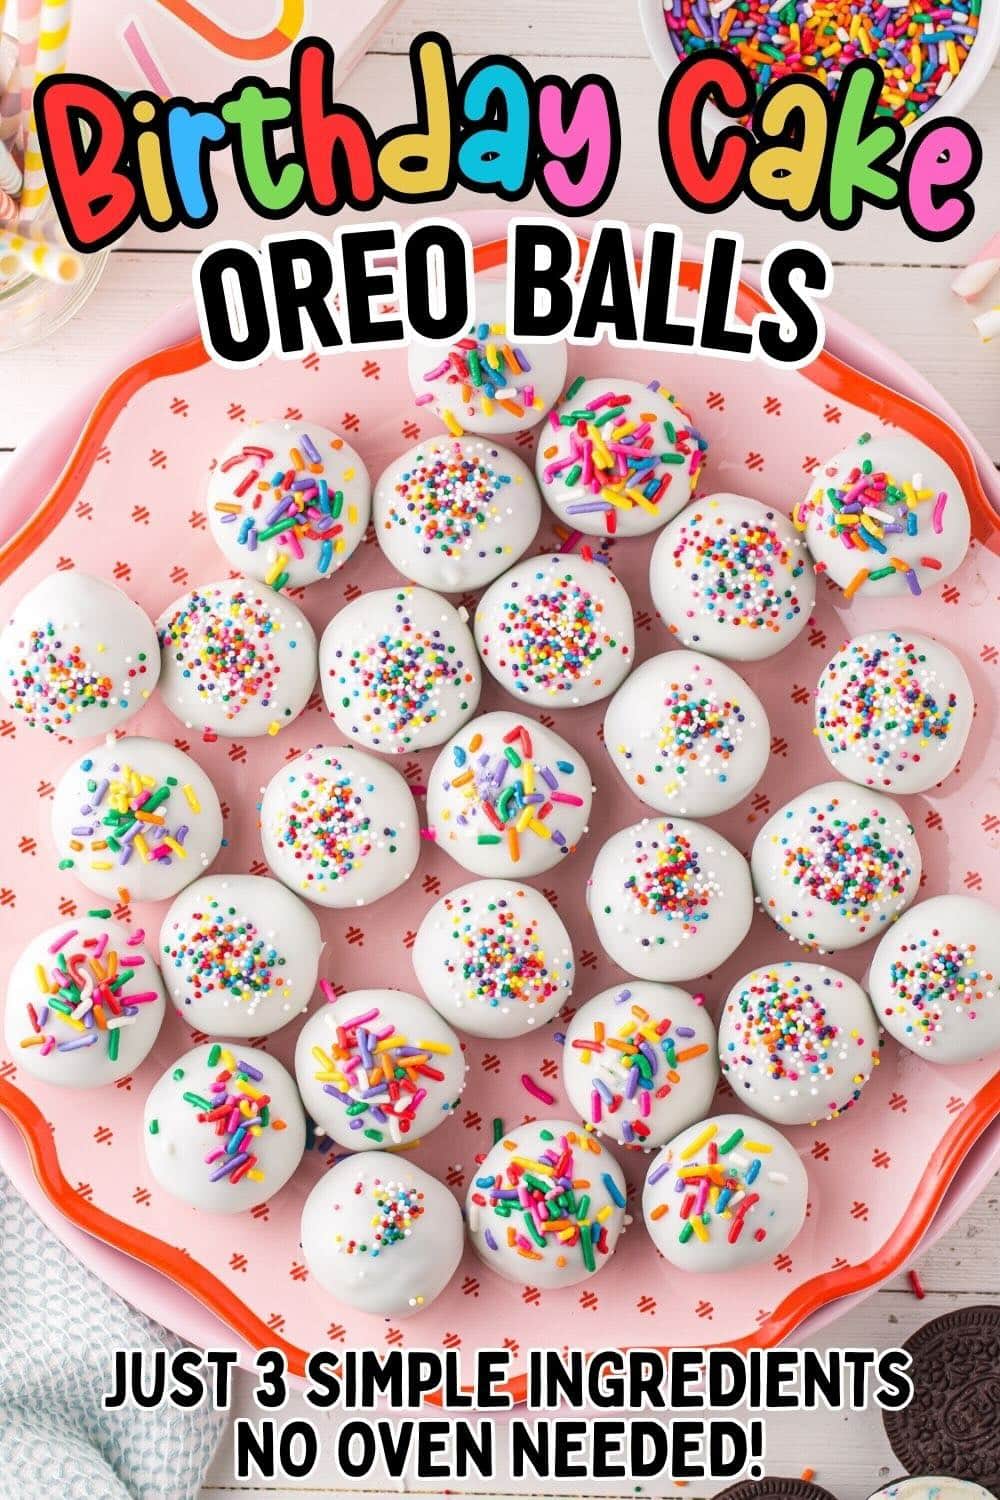
You only need a handful of simple ingredients to make these Oreo Balls with cream cheese:
- Oreo cookies – Classic stuffed Oreos work great, but you can swap in seasonal flavors like mint, red velvet, or caramel coconut for a fun twist.
- Cream cheese – Gives the filling its creamy texture and helps everything bind together. If you don’t have any on hand, you can use extra frosting instead.
- Vanilla frosting – Adds sweetness and holds the filling together.
- Vanilla almond bark – My favorite choice for dipping because it melts smoothly and sets beautifully. White chocolate chips, candy melts, or baking bars also work; just stir in a little shortening if the coating feels too thick.
- Rainbow sprinkles – I used a mix of rainbow jimmies and nonpareils, but you can easily switch them out for holiday or party-themed colors.
See the recipe card for full information on ingredients and quantities.
Recipe Variations
Oreo Cookie Cake Balls are super easy to customize-just swap the Oreo flavor, candy coating, or sprinkles to fit any occasion:
- Mint Oreo Balls – Use mint Oreos and top with green sprinkles for Christmas. For even more minty inspiration, try my Mint Oreo Truffles.
- Different Coatings – Try milk chocolate, dark chocolate, or colorful candy melts instead of almond bark. Add a drizzle of contrasting chocolate for a bakery-style finish.
- Topping Mix-Ins – Roll in crushed nuts, shredded coconut, graham cracker crumbs, or mini chocolate chips for extra crunch.
- Themed Oreo Cake Balls – Decorate with sprinkles to match the holiday-red and green for Christmas, pastel for Easter, or orange and black for Halloween. They make adorable edible gifts, too. For a winter twist, check out my Melted Snowman Oreo Balls.
- Oreo Ball Cake Pops – Insert lollipop sticks before chilling and serve them like Oreo cake pops-kids love them!
- Frozen Oreo Cake Balls – Pop them in the freezer and enjoy straight from the cold for cool, ice-cream-like summer sweet treats.
How to Make Oreo Cake Balls
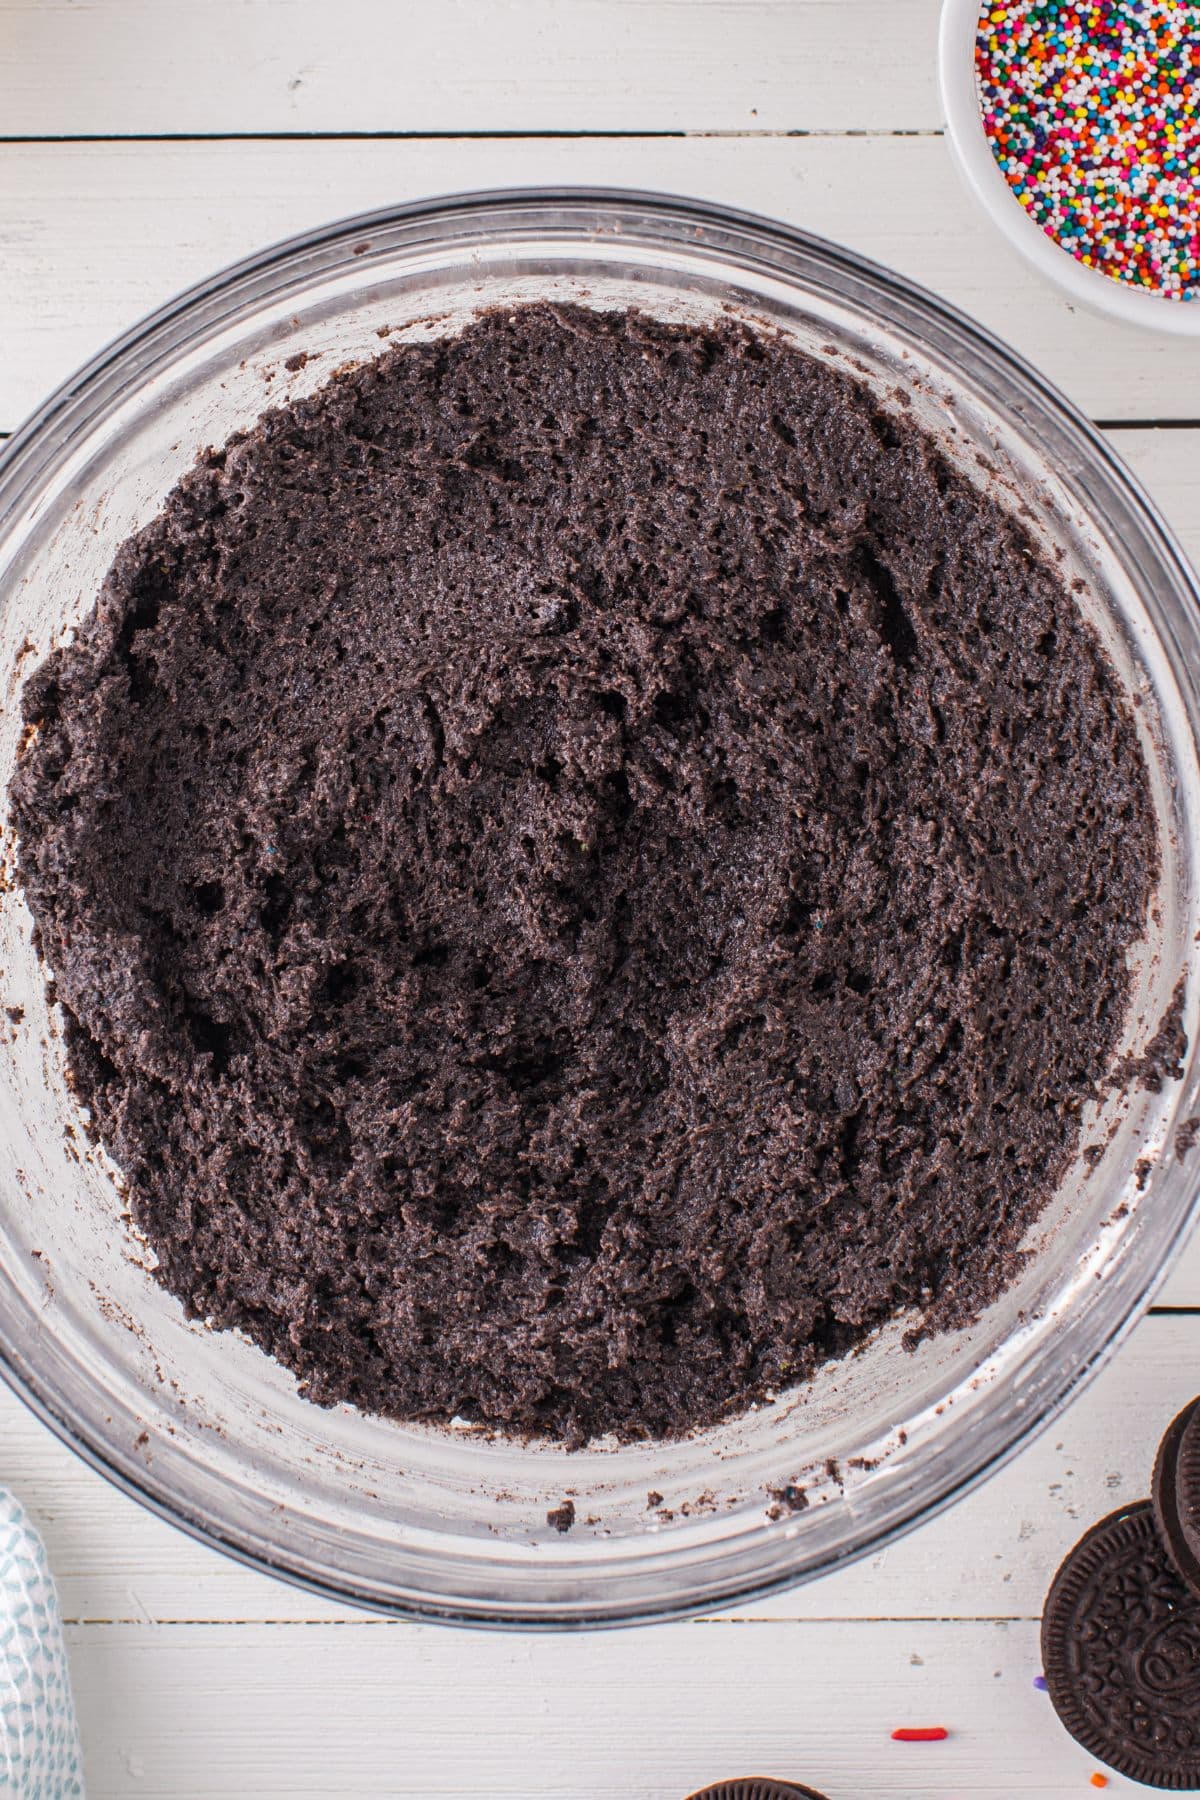
- Crush cookies: Pulse whole cookies (filling and all) in a food processor or blender until fine Oreo crumbs form.
- Mix the filling: In a large bowl, stir together the Oreo cookie crumbs, room-temperatureCake softened cream cheese, and (optional) frosting until the mixture is smooth and well combined.

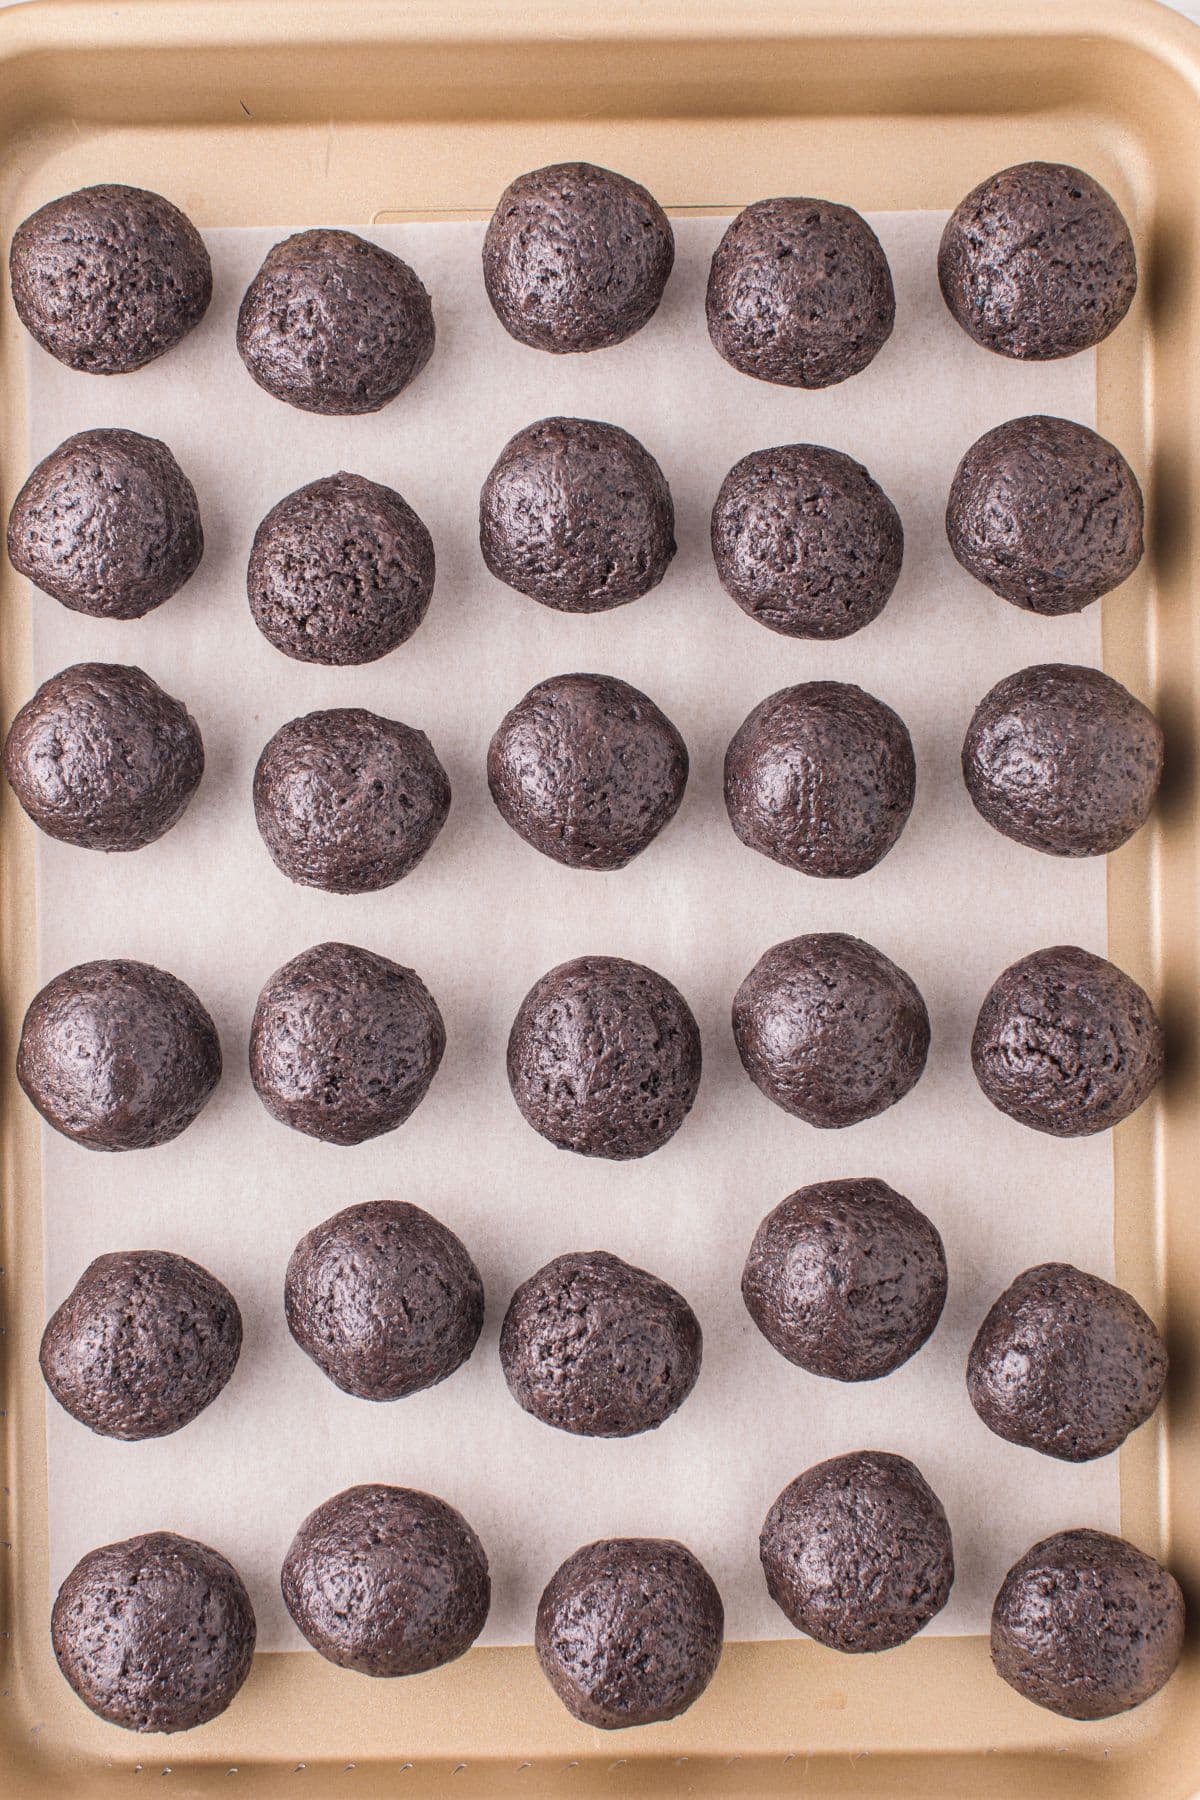
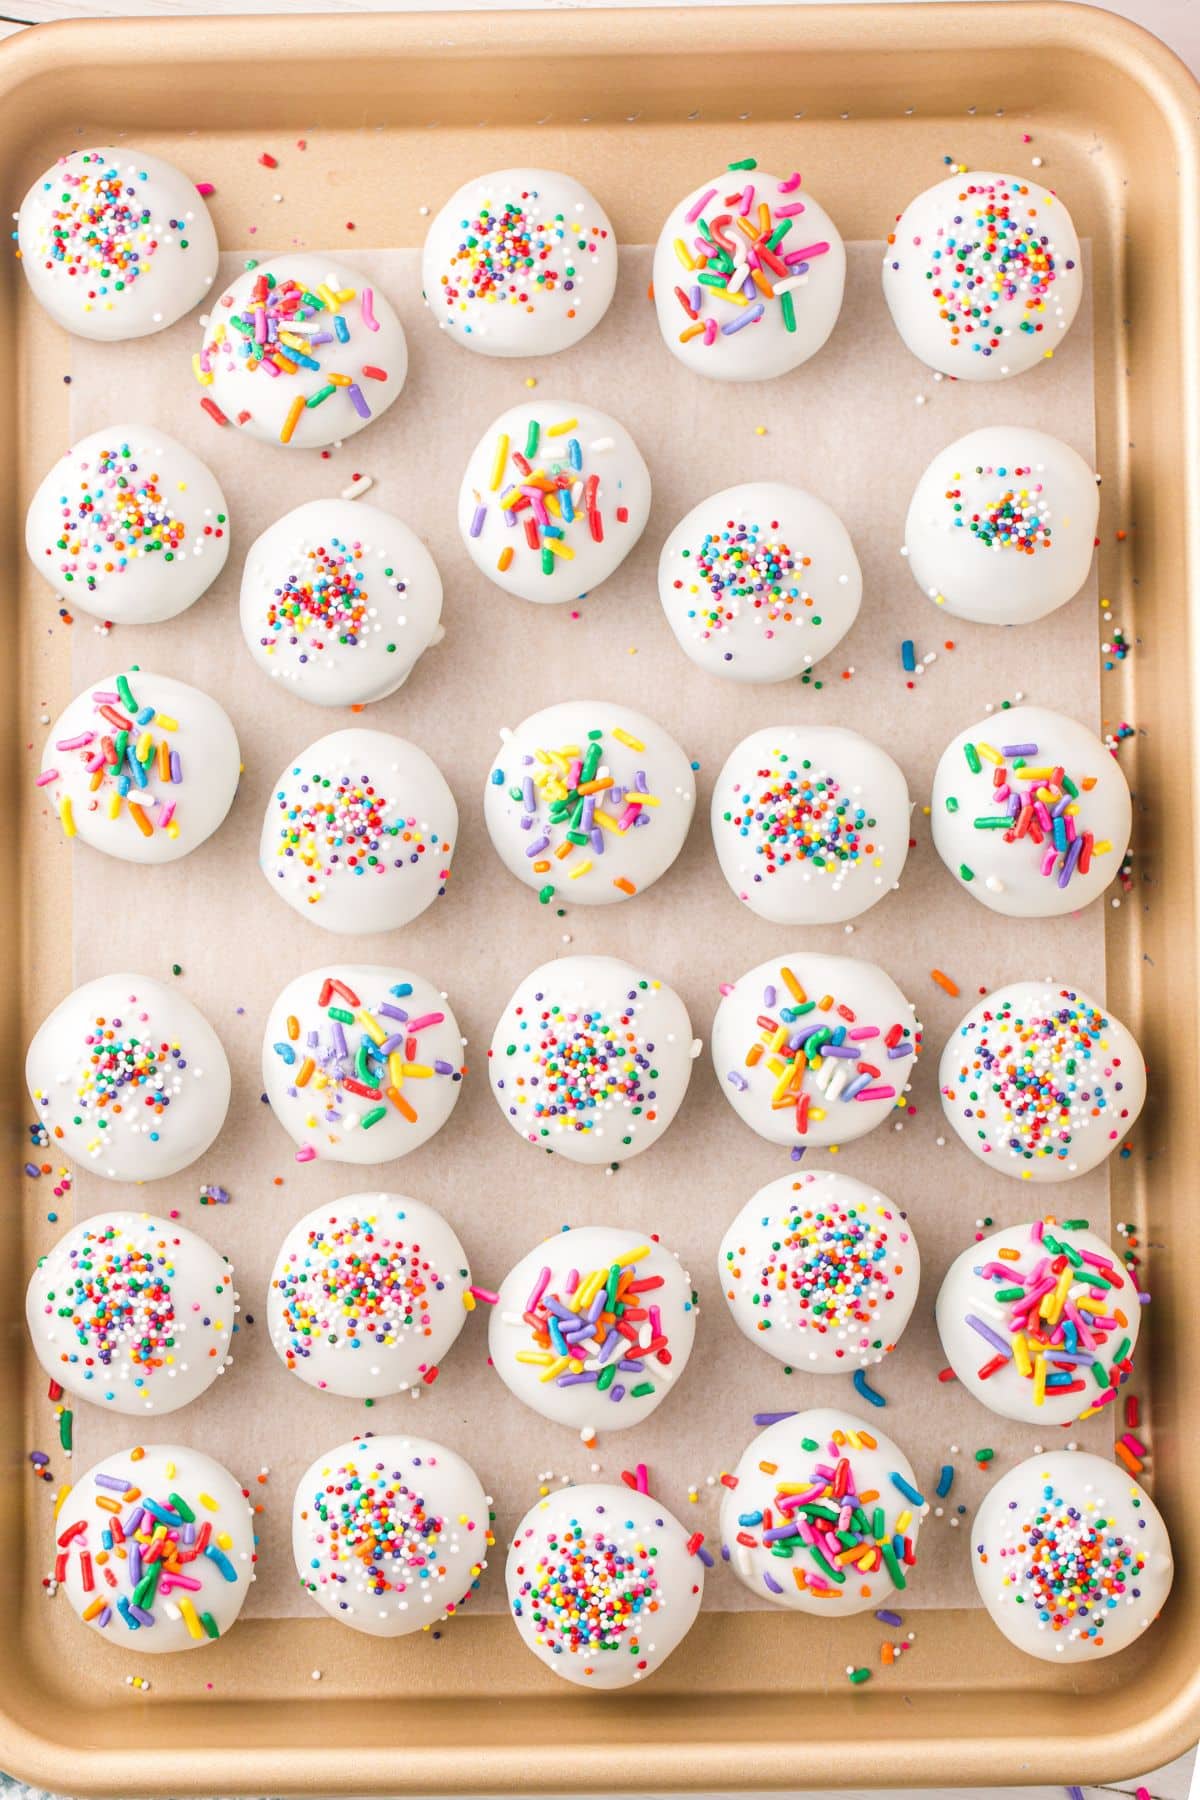
- Shape balls: Roll into 1-inch balls (a 1-inch cookie scoop works great), place onto the prepared baking sheet lined with parchment paper or wax paper and chill for 30 minutes.
- Melt coating: Microwave almond bark in 30-second intervals, stirring until smooth.
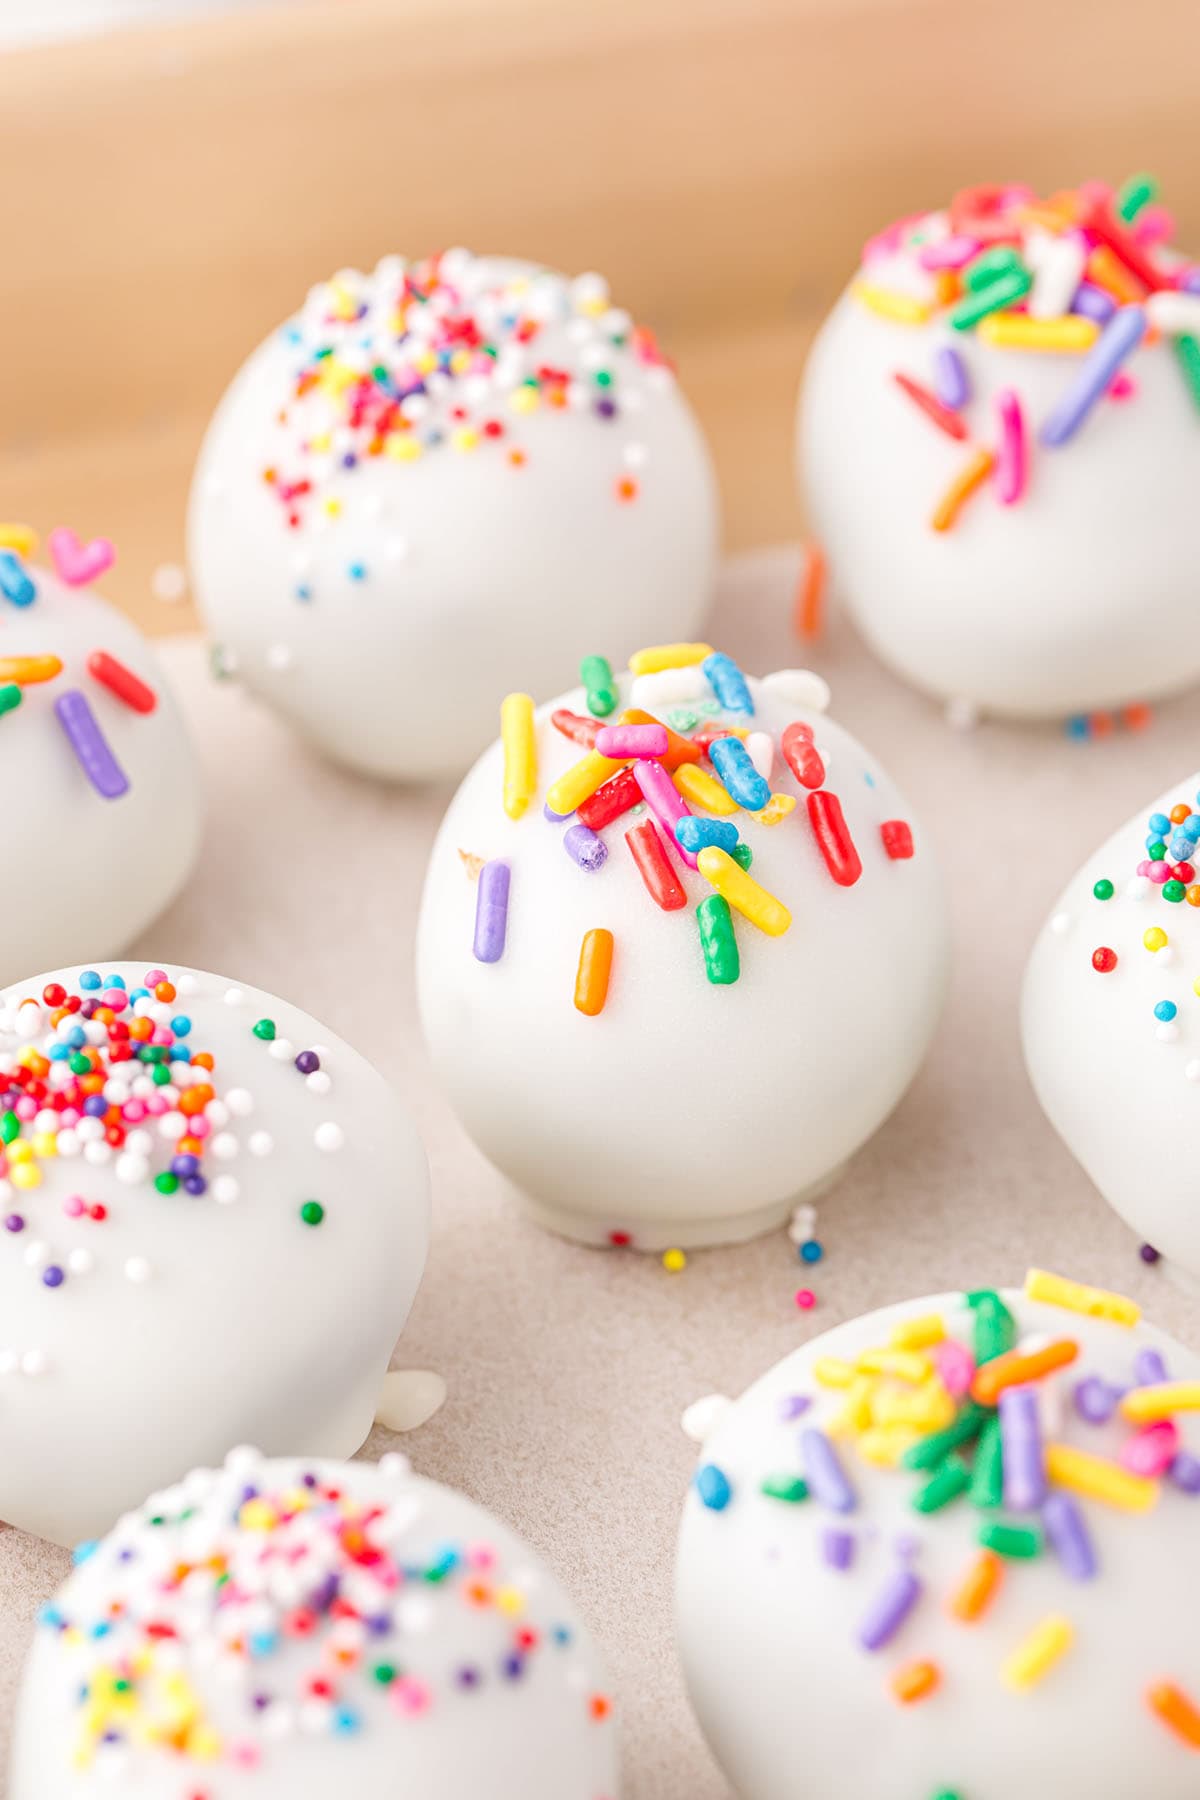
- Dip & decorate: Coat the cookie balls in almond bark, then top with sprinkles before the coating sets.
- Chill again: Refrigerate until firm, then serve and enjoy your Oreo ball cake bites!
Recipe Tips
- No food processor? Place Oreos in a ziplock bag and crush them into fine crumbs with a rolling pin or mallet.
- Dipping made easy: Use a fork or dipping tool, dip, spoon chocolate over the top, then lift and let the excess chocolate drip off.
- Work in batches: Dip a few balls at a time so the almond bark stays warm and smooth.
- Decorate: Add a drizzle of melted chocolate for an extra-pretty finish, and switch up the sprinkles for holidays, birthdays, or themed parties.

Make Ahead & Storage Instructions
- Store: Keep Oreo balls in an airtight container in the refrigerator for up to 1 week.
- Freeze: Place in a freezer-safe container for up to 6 weeks. Thaw in the fridge before serving.
- Make Ahead: Great for prepping in advance since they hold up beautifully in both the fridge and freezer.
More Oreo Dessert Recipes to Try
If you can’t get enough Oreo desserts, here are a few more reader favorites that are just as fun (and delicious) to make:
- Oreo Fluff
- Oreo Poke Cake
- Dairy Queen Oreo Cookie Ice Cream Cake
- Oreo Milkshake
- Oreo Mug Cake
- Oreo Cheesecake Cookies
If you’ve tried this Oreo Cake Balls Recipe or any other recipe on my website, please leave a star rating and let me know how it turned out in the comments below.

Oreo Cake Balls
Ingredients
- 30 Oreo cookies
- 4 ounce package cream cheese softened
- ½ cup vanilla frosting
- 18 ounces vanilla almond bark (about 9 squares or 2 ½ cups)
- Rainbow sprinkles
Instructions
- Line a sheet pan with parchment paper and place in the refrigerator or freezer to chill.
- Pulse the Oreo cookies in a food processor or blender until they turn into fine crumbs.30 Oreo cookies
- Mix the Oreo crumbs, cream cheese, and vanilla frosting together in a large bowl until well combined.4 ounce package cream cheese, ½ cup vanilla frosting
- Roll the Oreo mixture into 1-inch balls and place them on the chilled sheet pan (I used a 1-inch cookie scoop for this step).
- Once all the balls are formed, place them in the refrigerator or freezer to set for 30 minutes.
- In the meantime, melt the vanilla almond bark in the microwave. Make sure to stir after 30 second increments for even heating.18 ounces vanilla almond bark
- Dip each ball into the vanilla almond bark one at a time and coat thoroughly. Remove and place back on the parchment paper.
- Sprinkle each ball with rainbow sprinkles while the vanilla almond bark is still warm. I used a combination of rainbow jimmies and nonpareils.Rainbow sprinkles
- Place the sheet with the coated and decorated Oreo balls in the refrigerator or freezer for 30 minutes or until the chocolate hardens. Plate and serve and then transfer to the refrigerator for storage.
Jenn’s Notes
- Store: Keep Oreo balls in an airtight container in the refrigerator for up to 1 week.
- Freeze: Place in a freezer safe container for up to 6 weeks. Thaw in fridge before serving.
- Make ahead: These are perfect for making in advance since they hold up well in both the fridge and freezer.
- Use a fork or dipping tool for easier coating.
- Work in small batches when dipping so the chocolate stays warm and smooth.
- Add a chocolate drizzle on top for extra decoration.
- Switch up the sprinkles for holidays or themed parties.


Really looking forward to trying your recipes. Hoping I can learn to eat just one… and not the whole plate!
Hah!! The struggle is real! Can’t wait to get your feedback on our recipes!! Hope you love them.