

This post may contain affiliate links. Please read our disclosure policy.
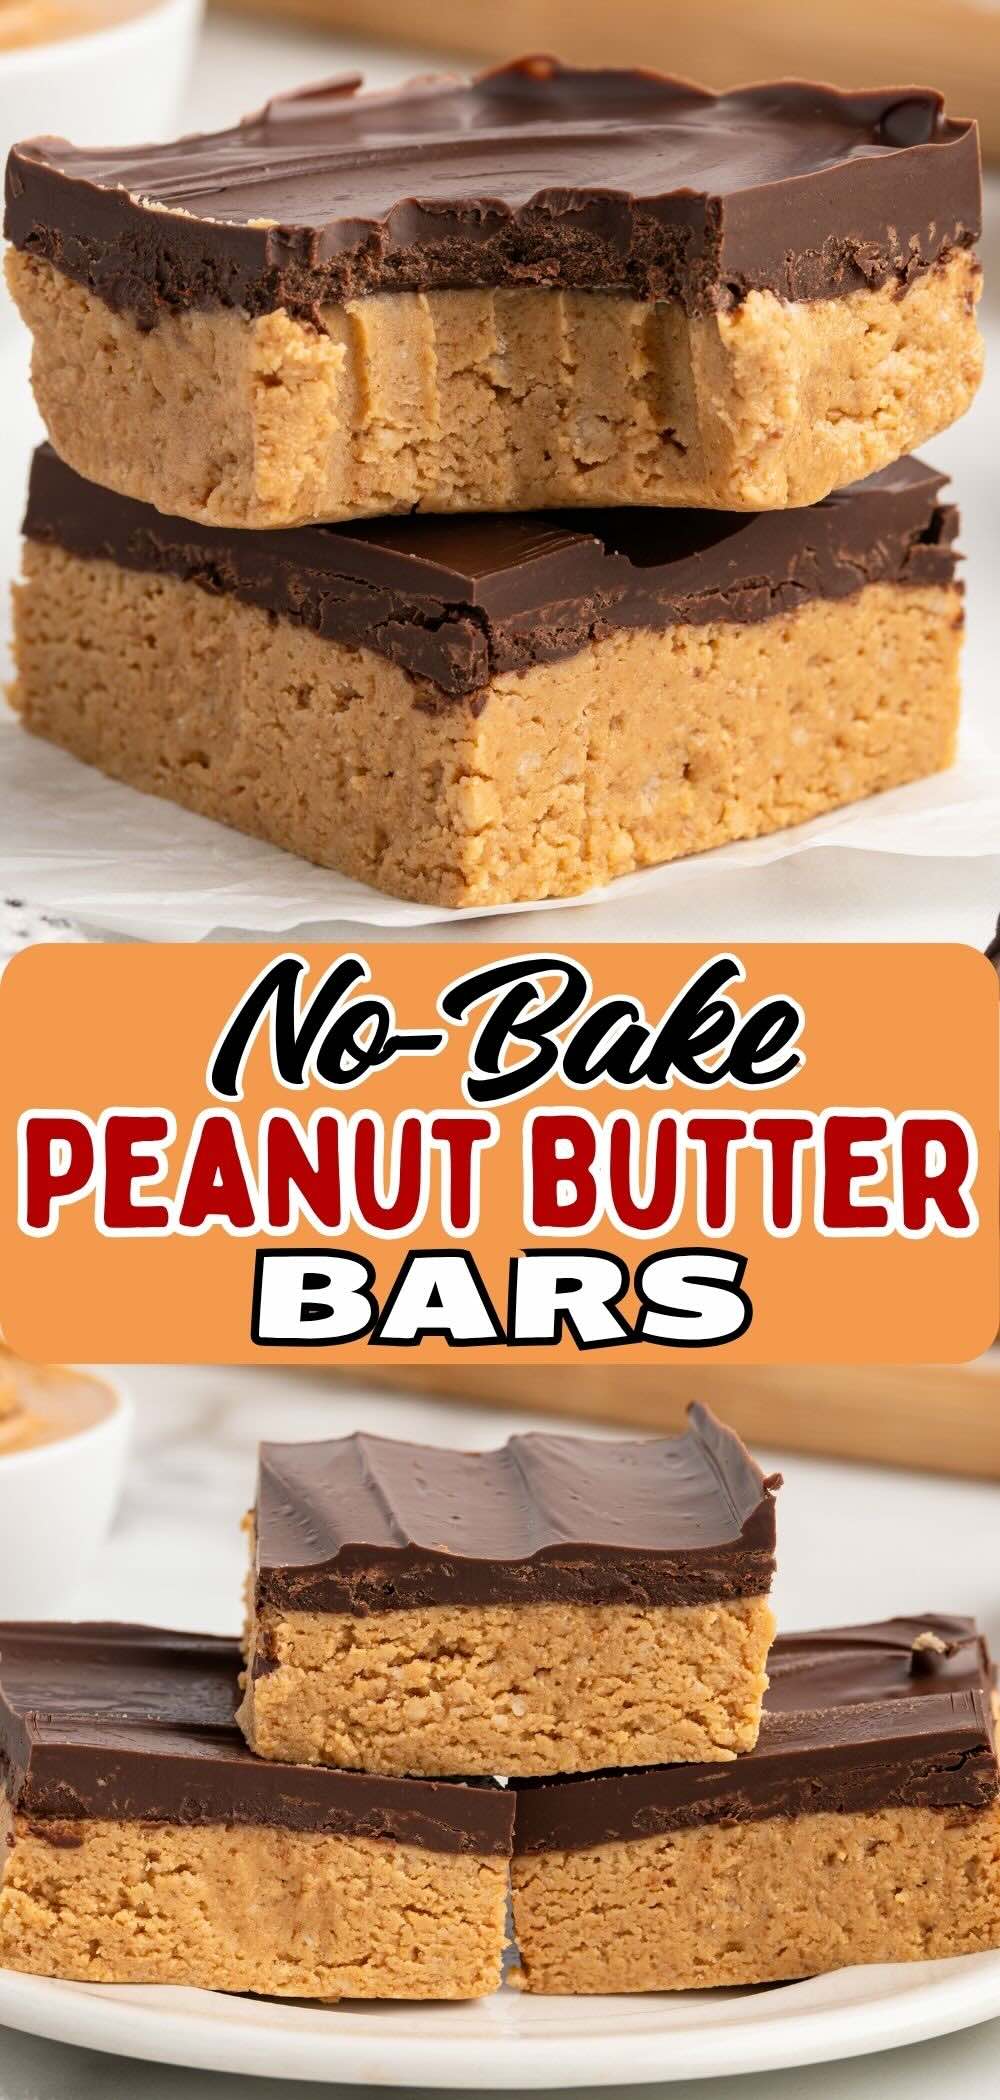
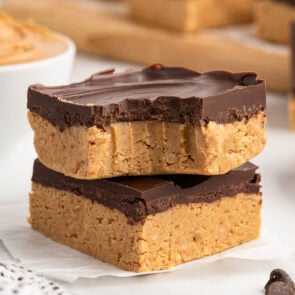
These no-bake peanut butter bars are the ones I make when I want a quick dessert and no oven. You can thank your school lunchroom’s lunch lady for this one. I grew up on these and now my kids are growing up on them.
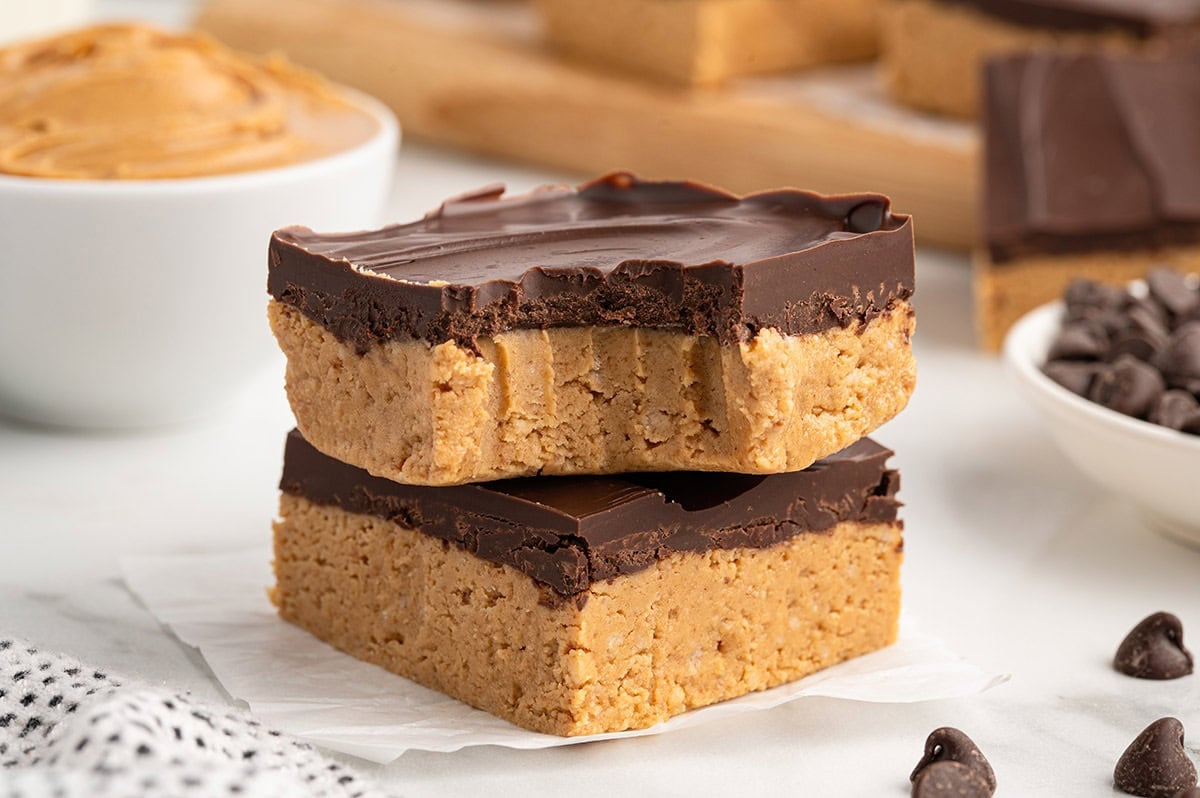
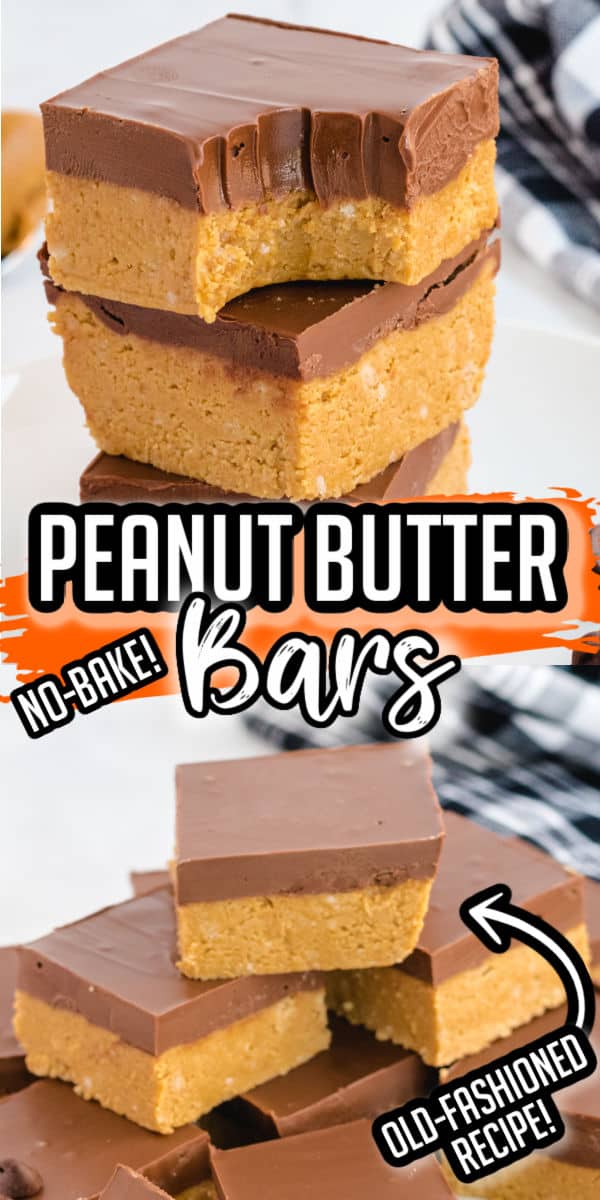
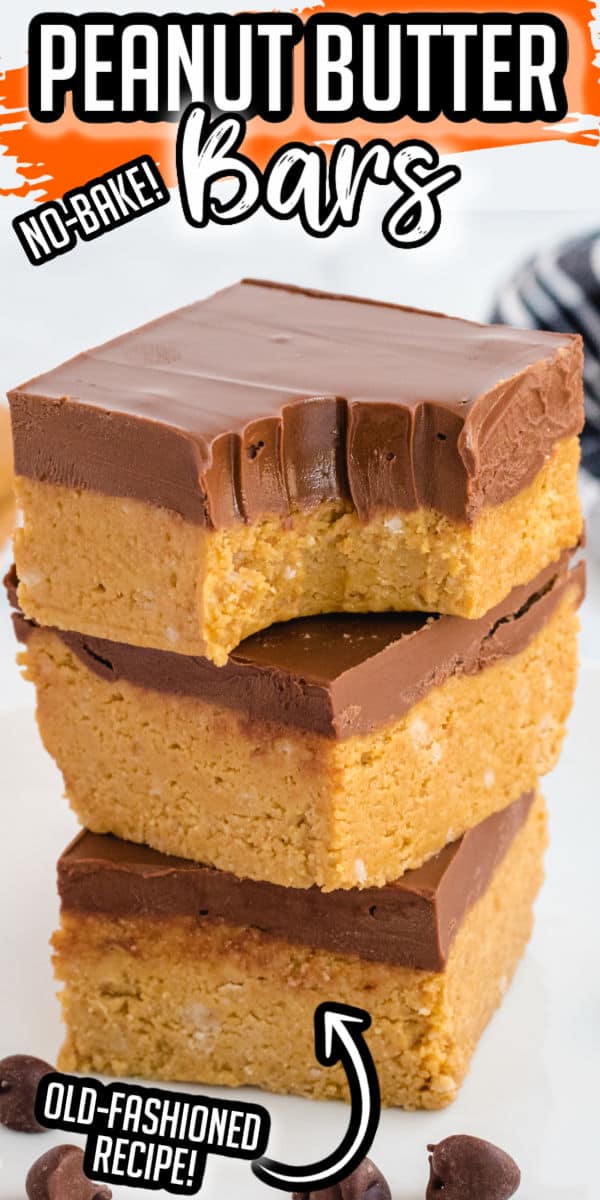
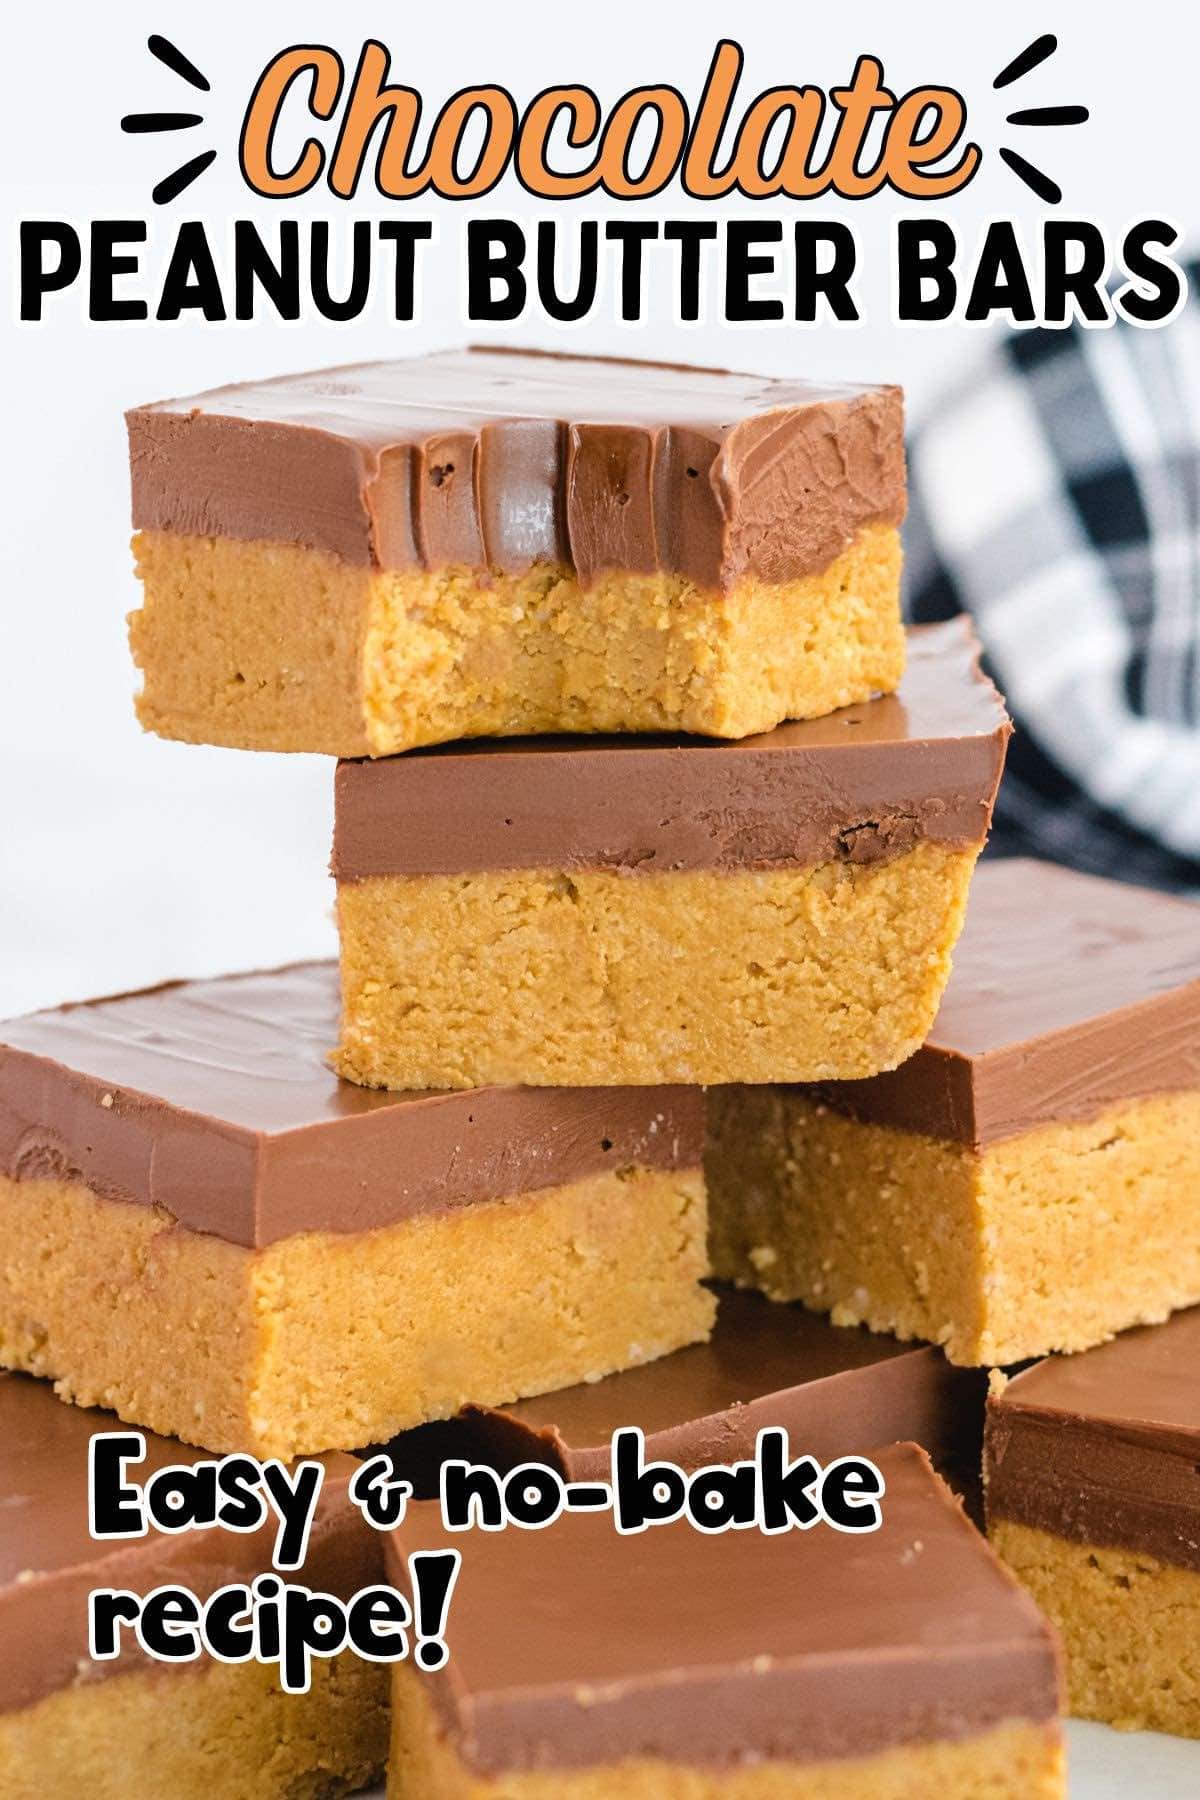
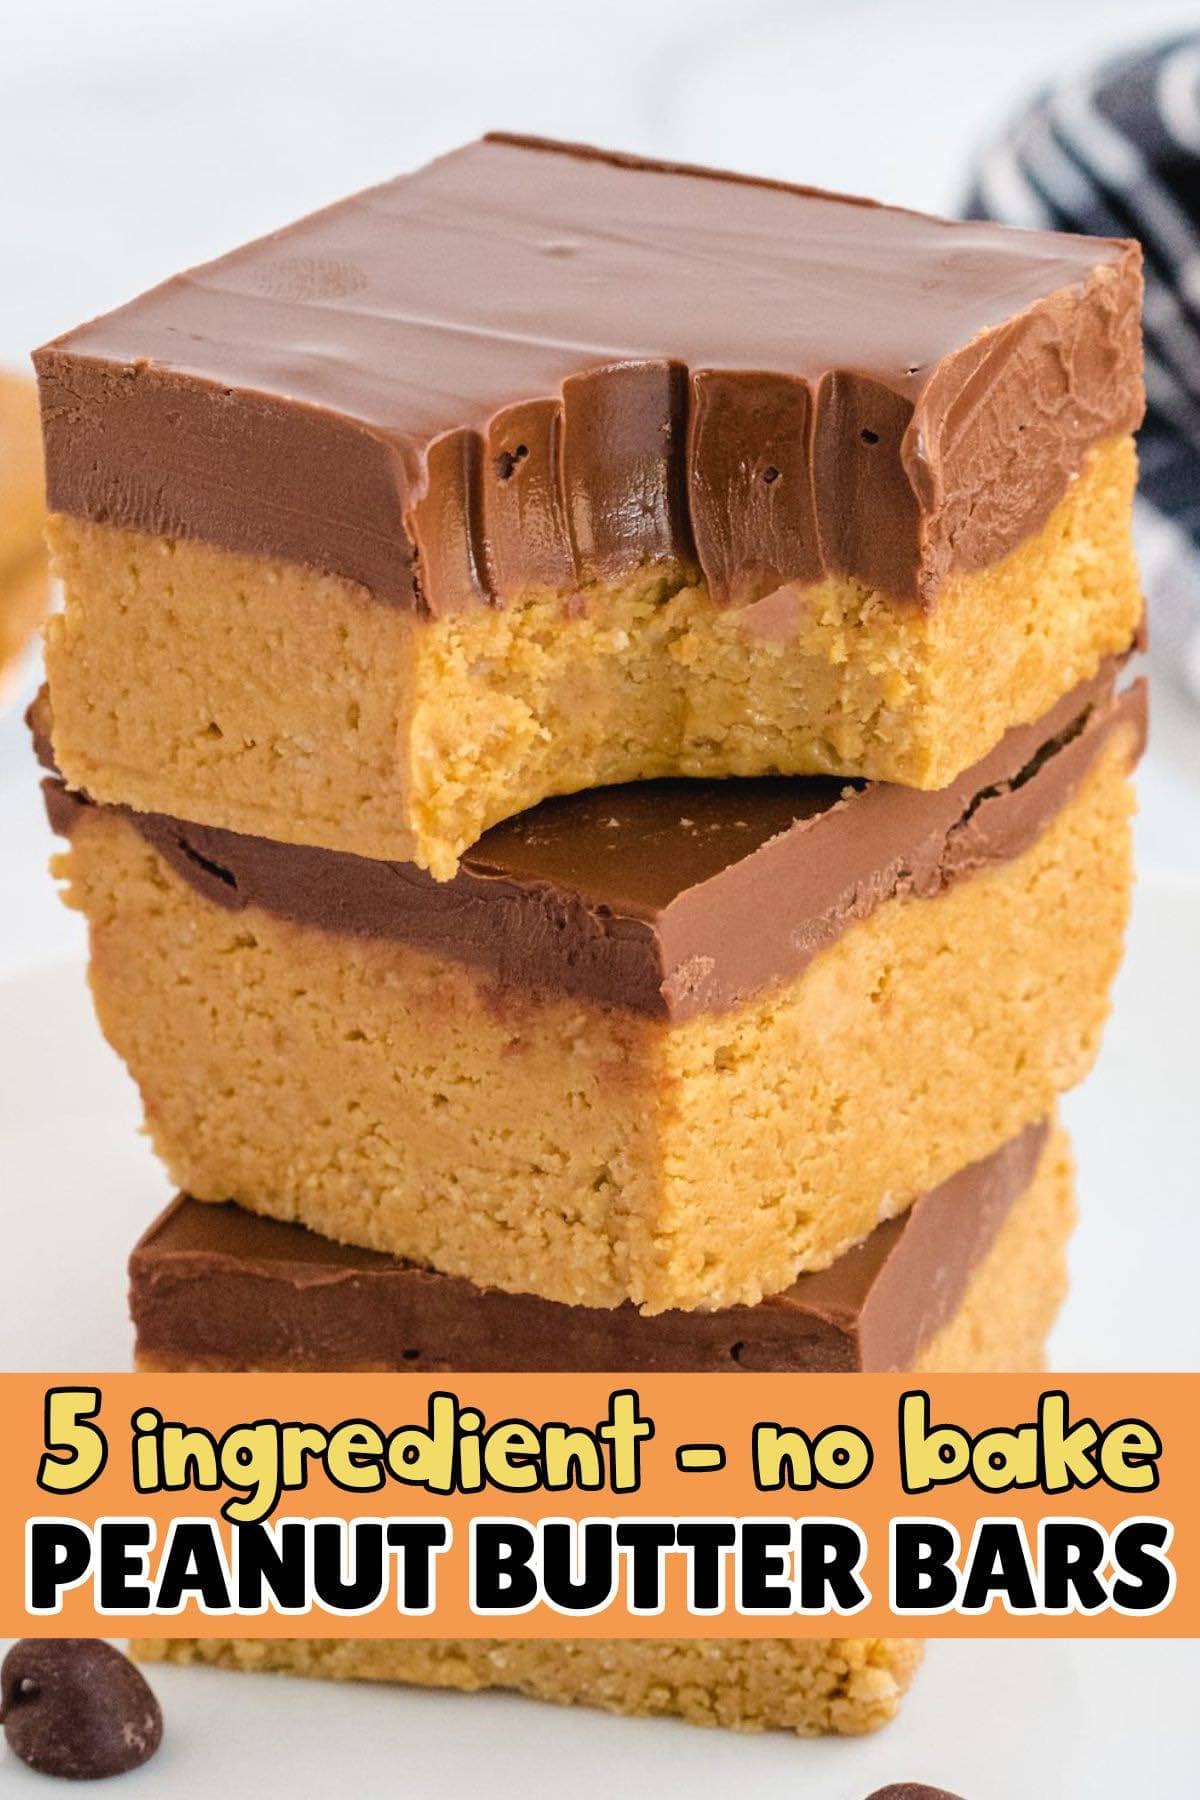
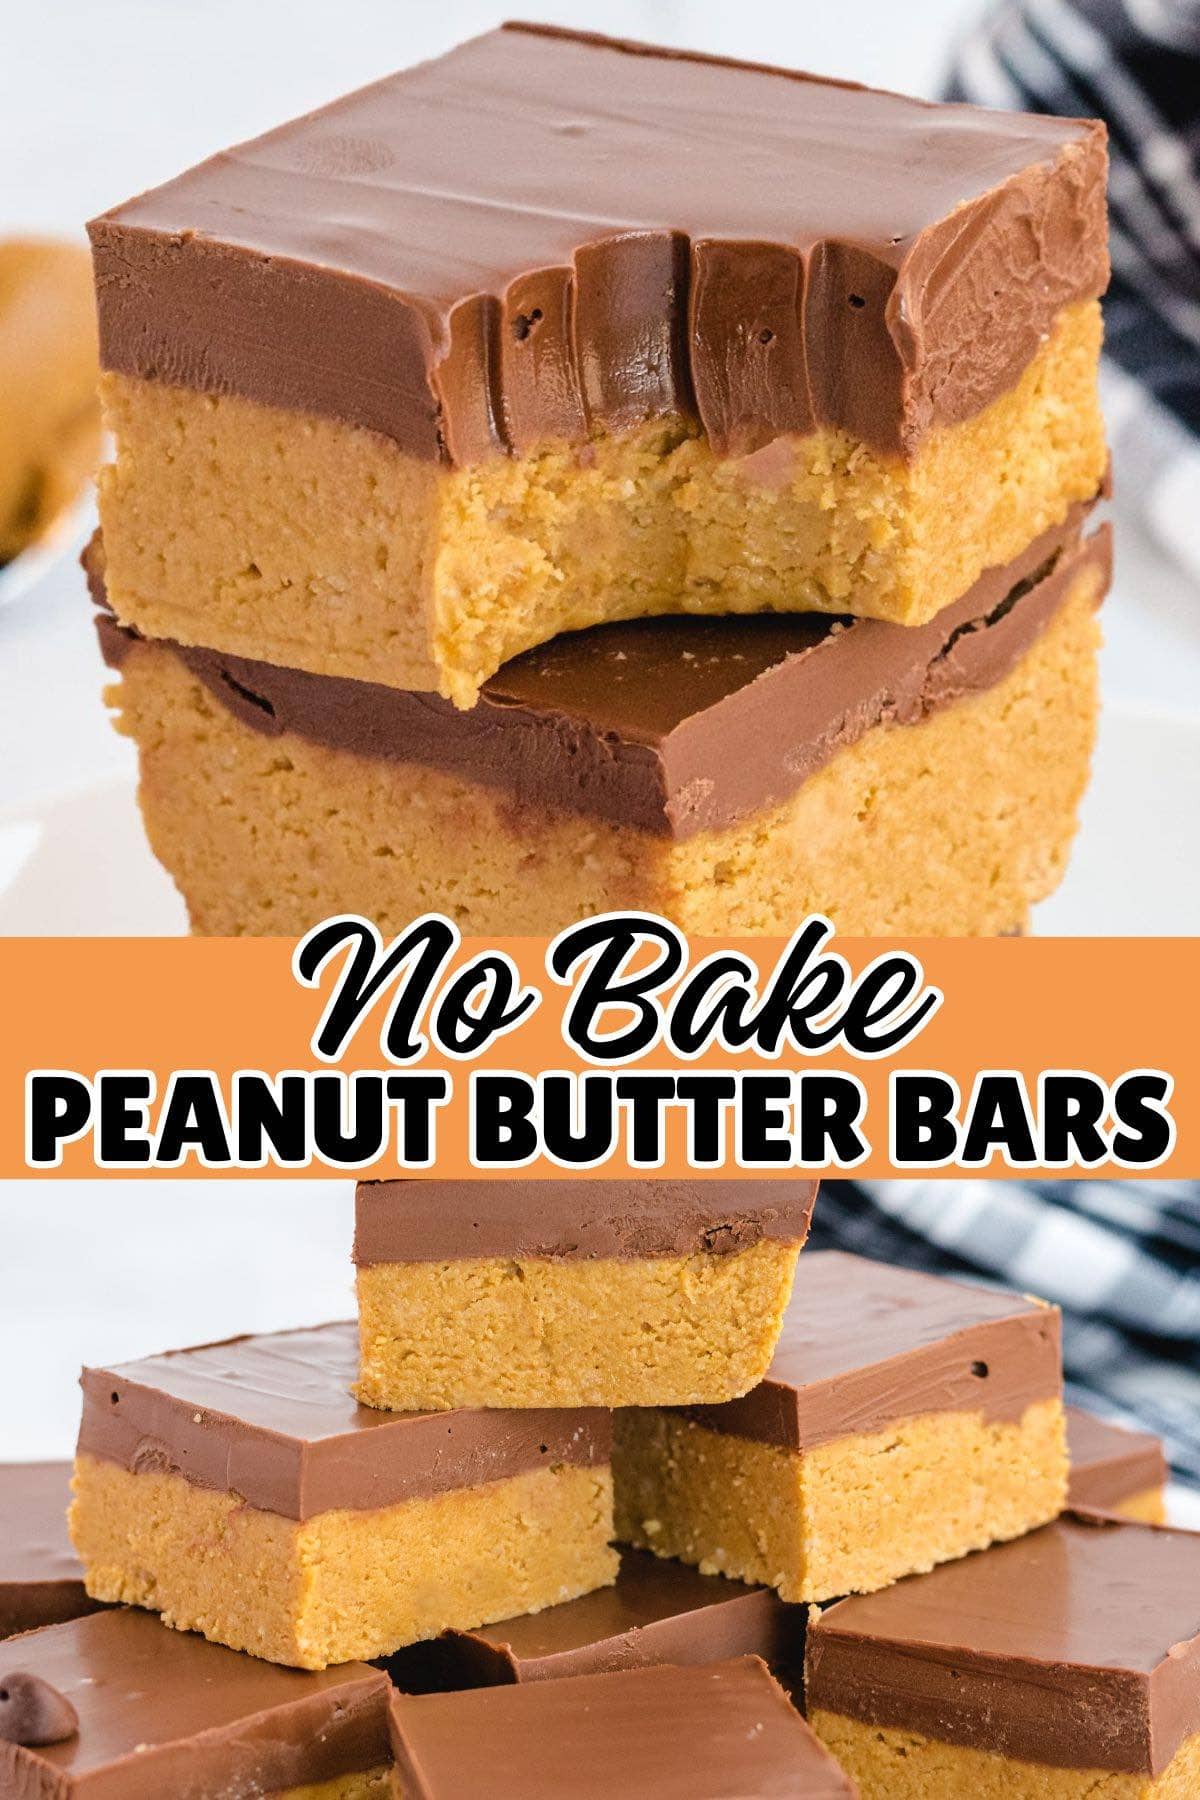
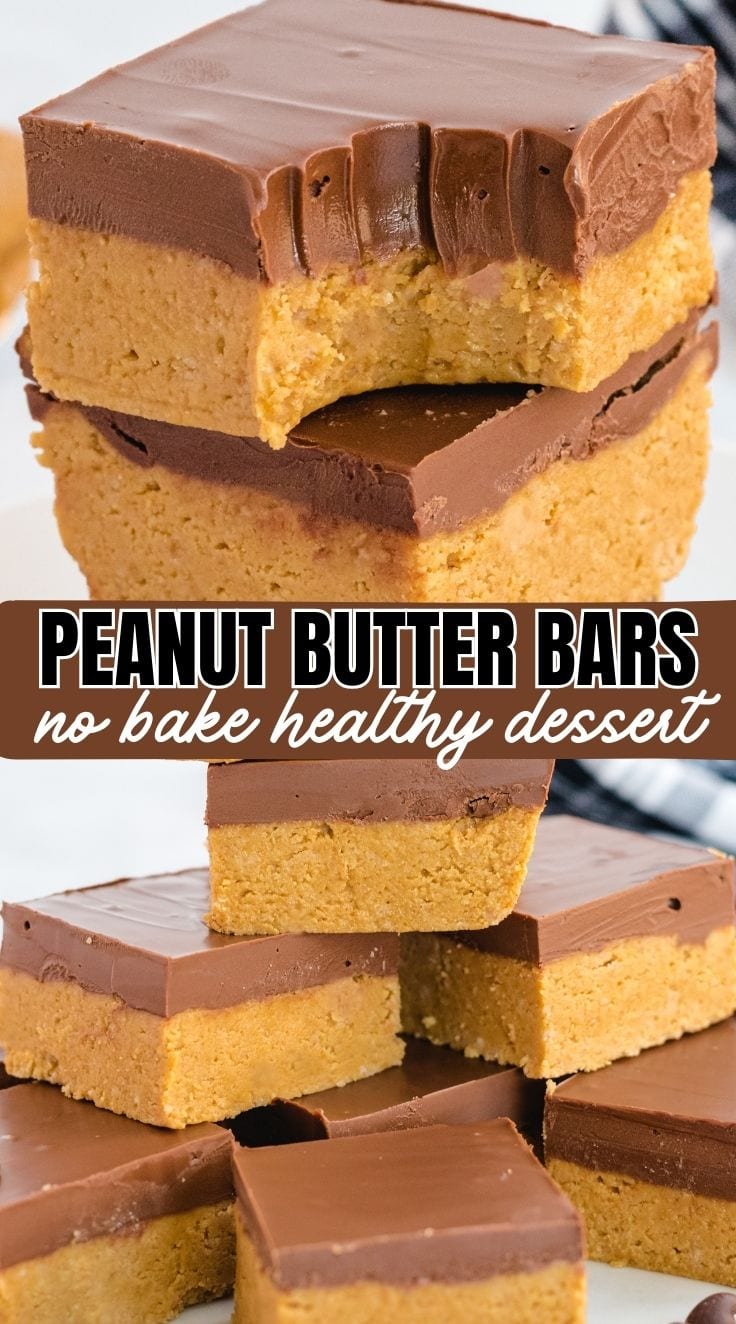
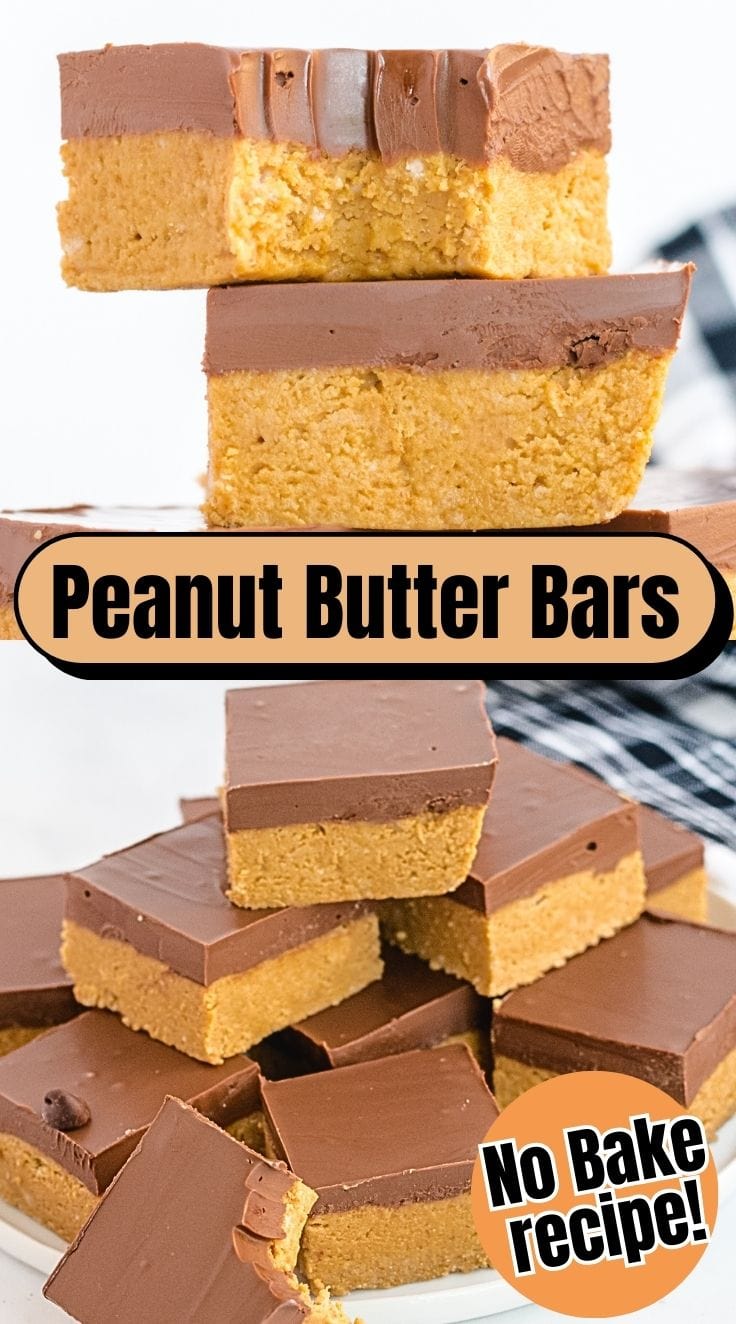
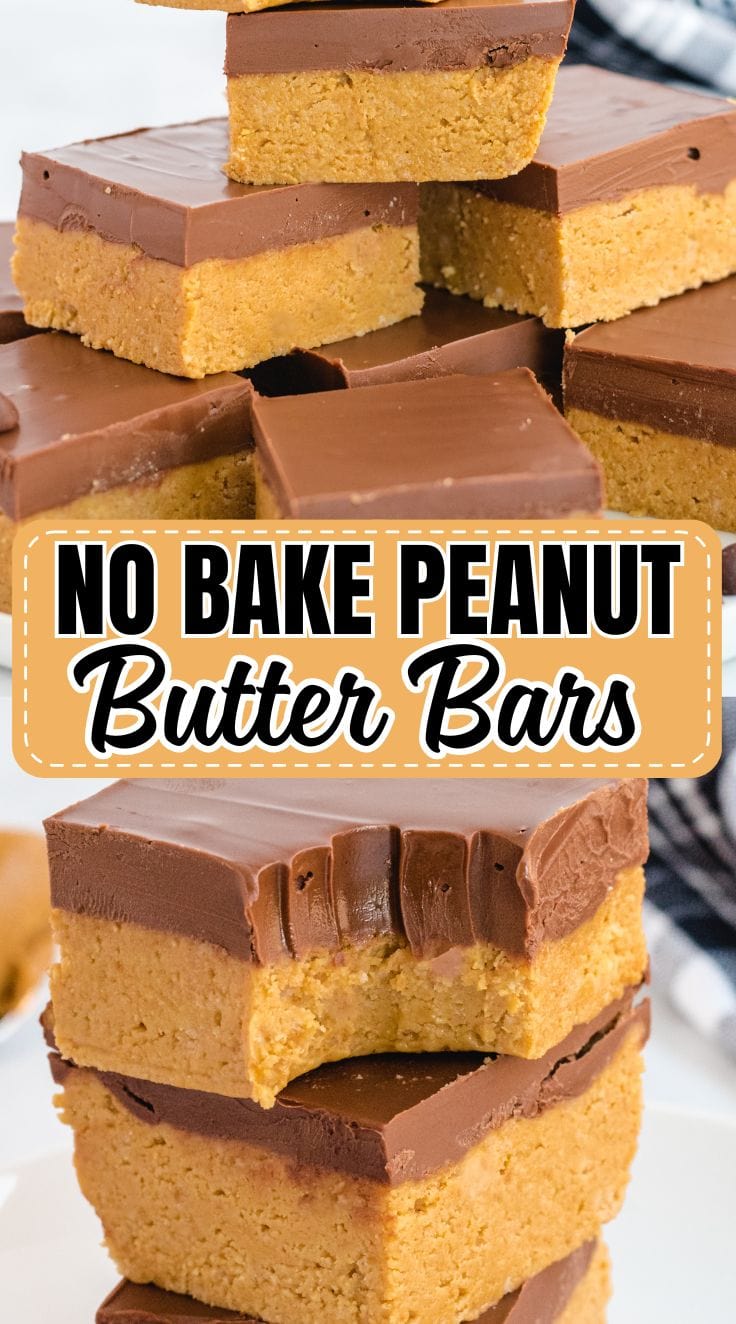
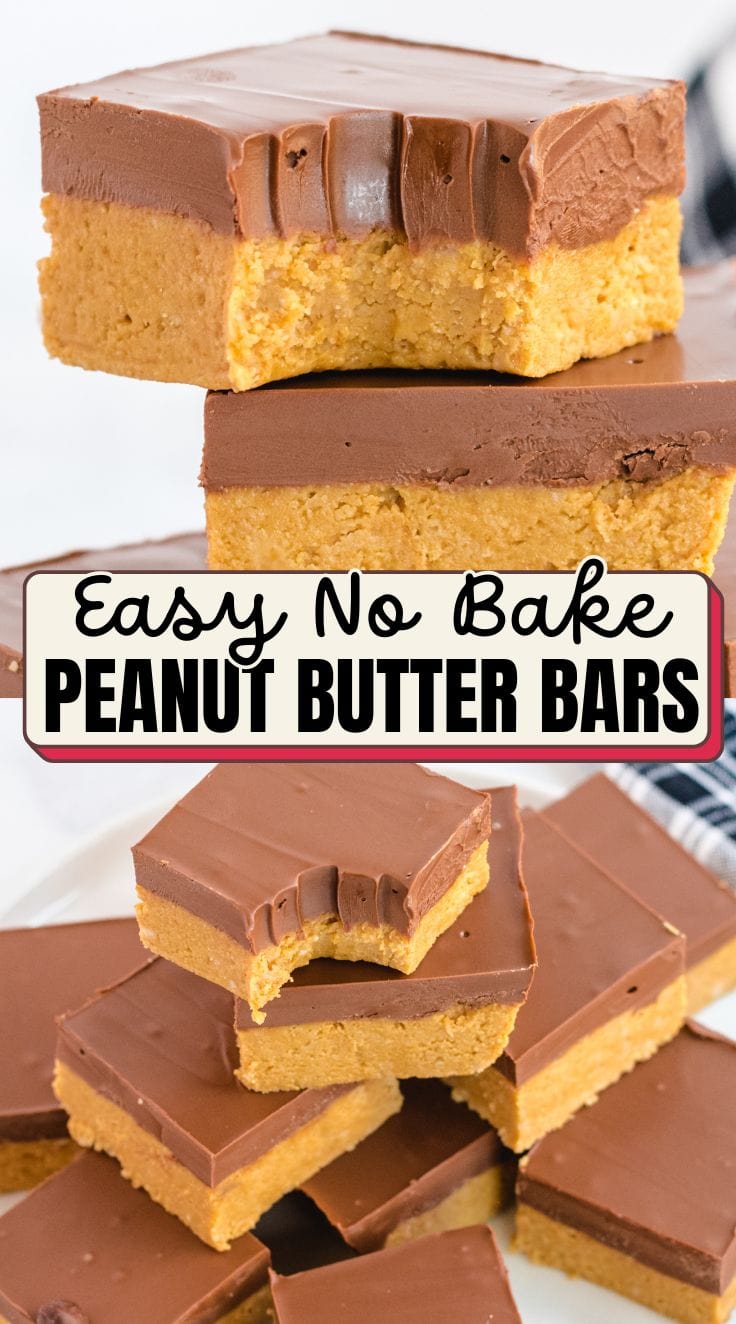
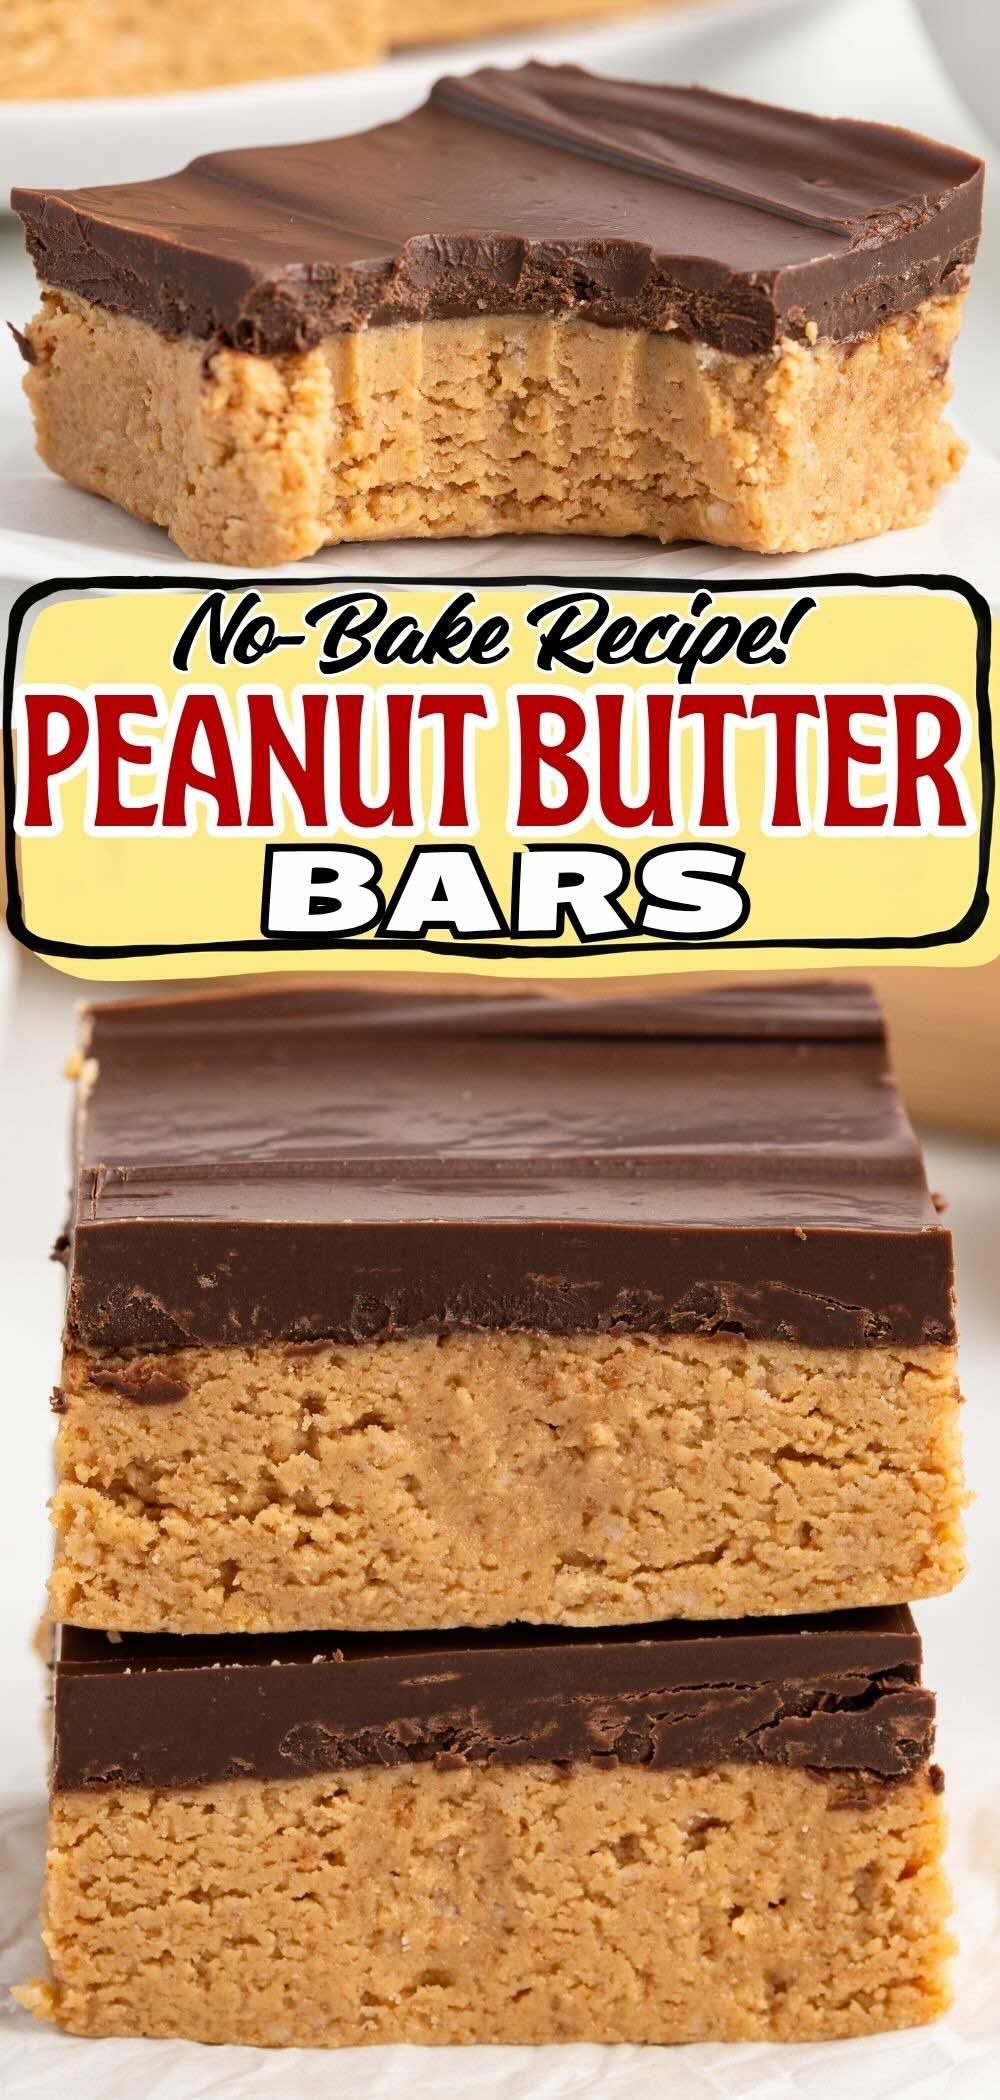
I have made these for years and the recipe still has not changed, because it has not needed to. It sets the same way every time, and it cuts the same way every time.
The peanut butter to powdered sugar ratio is what makes or breaks these bars. Too much peanut butter and the base slumps when you cut it, too much sugar and it goes dry. These amounts land in the middle, so it slices clean and still bites soft.
If you want the same thing in a bite-size form, my no bake peanut butter balls are the ones I make right alongside these.

Old School
The Dessert I Brought to a Reunion With My Girlfriends
I made these for a reunion with my girlfriends purely as a throwback, and that is really what they are good for. Everybody has a version of this bar filed away somewhere from school, and a pan of them on the table does something a fancier dessert cannot. Nobody needs to be told what they are.
If no bake and peanut butter are your things, you will want to see all my other no bake bars too.

Why They’re Called Lunch Lady Bars
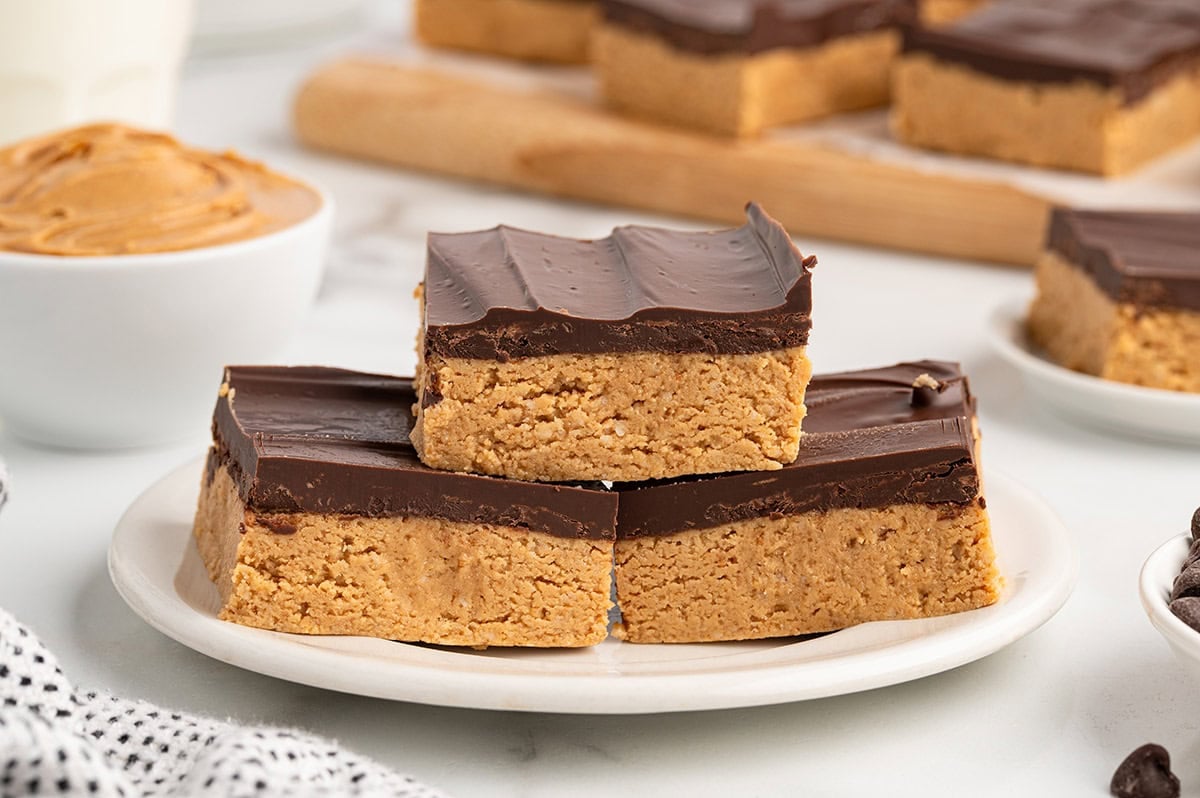
We always referred to these as lunch lady bars because they were our favorite dessert in high school. School lunch was not my favorite, but these were. The build has not changed since: a thick peanut butter and graham cracker base under a layer of chocolate, cut into squares.
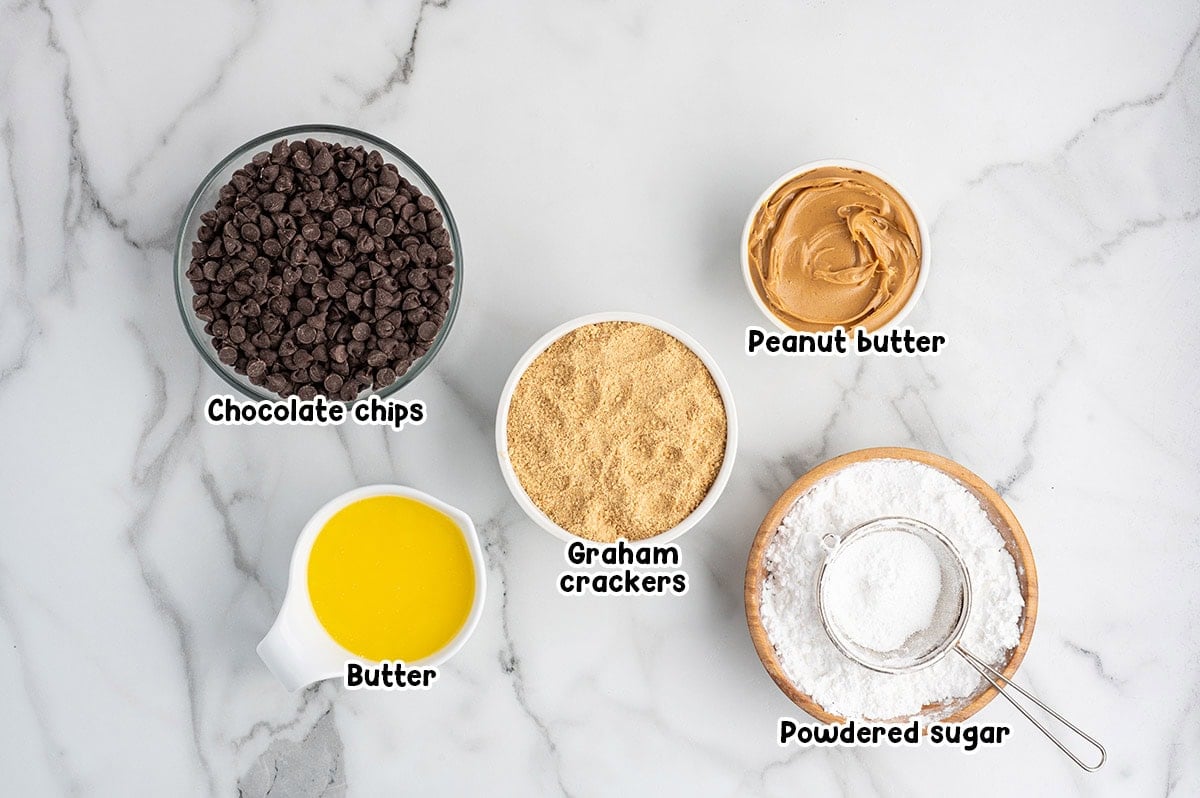
What You’ll Need
Creamy peanut butter: This is the flavor and the structure of the base, and I call for a regular creamy peanut butter like Jif or Skippy. I have tested these with natural peanut butter too and it works fine, so use it if that is what you keep in the house. Regular creamy is still my go-to.
Powdered sugar: This is what firms the base into that fudge-like texture. Measure it properly rather than scooping straight from the bag, because the base is only as firm as the sugar going into it.
Graham cracker crumbs: They give the base its structure and a little honey graham flavor. I buy the crumbs already ground to save a step, but crushing full sheets in a food processor works the same.
Butter: I use salted butter here. If you only have unsalted, add a pinch of salt to the base so the sweetness has something to push against.
Semi-sweet chocolate chips: Semi-sweet keeps the top from tipping the whole bar into too sweet. Milk or dark both work if that is what is in the pantry.
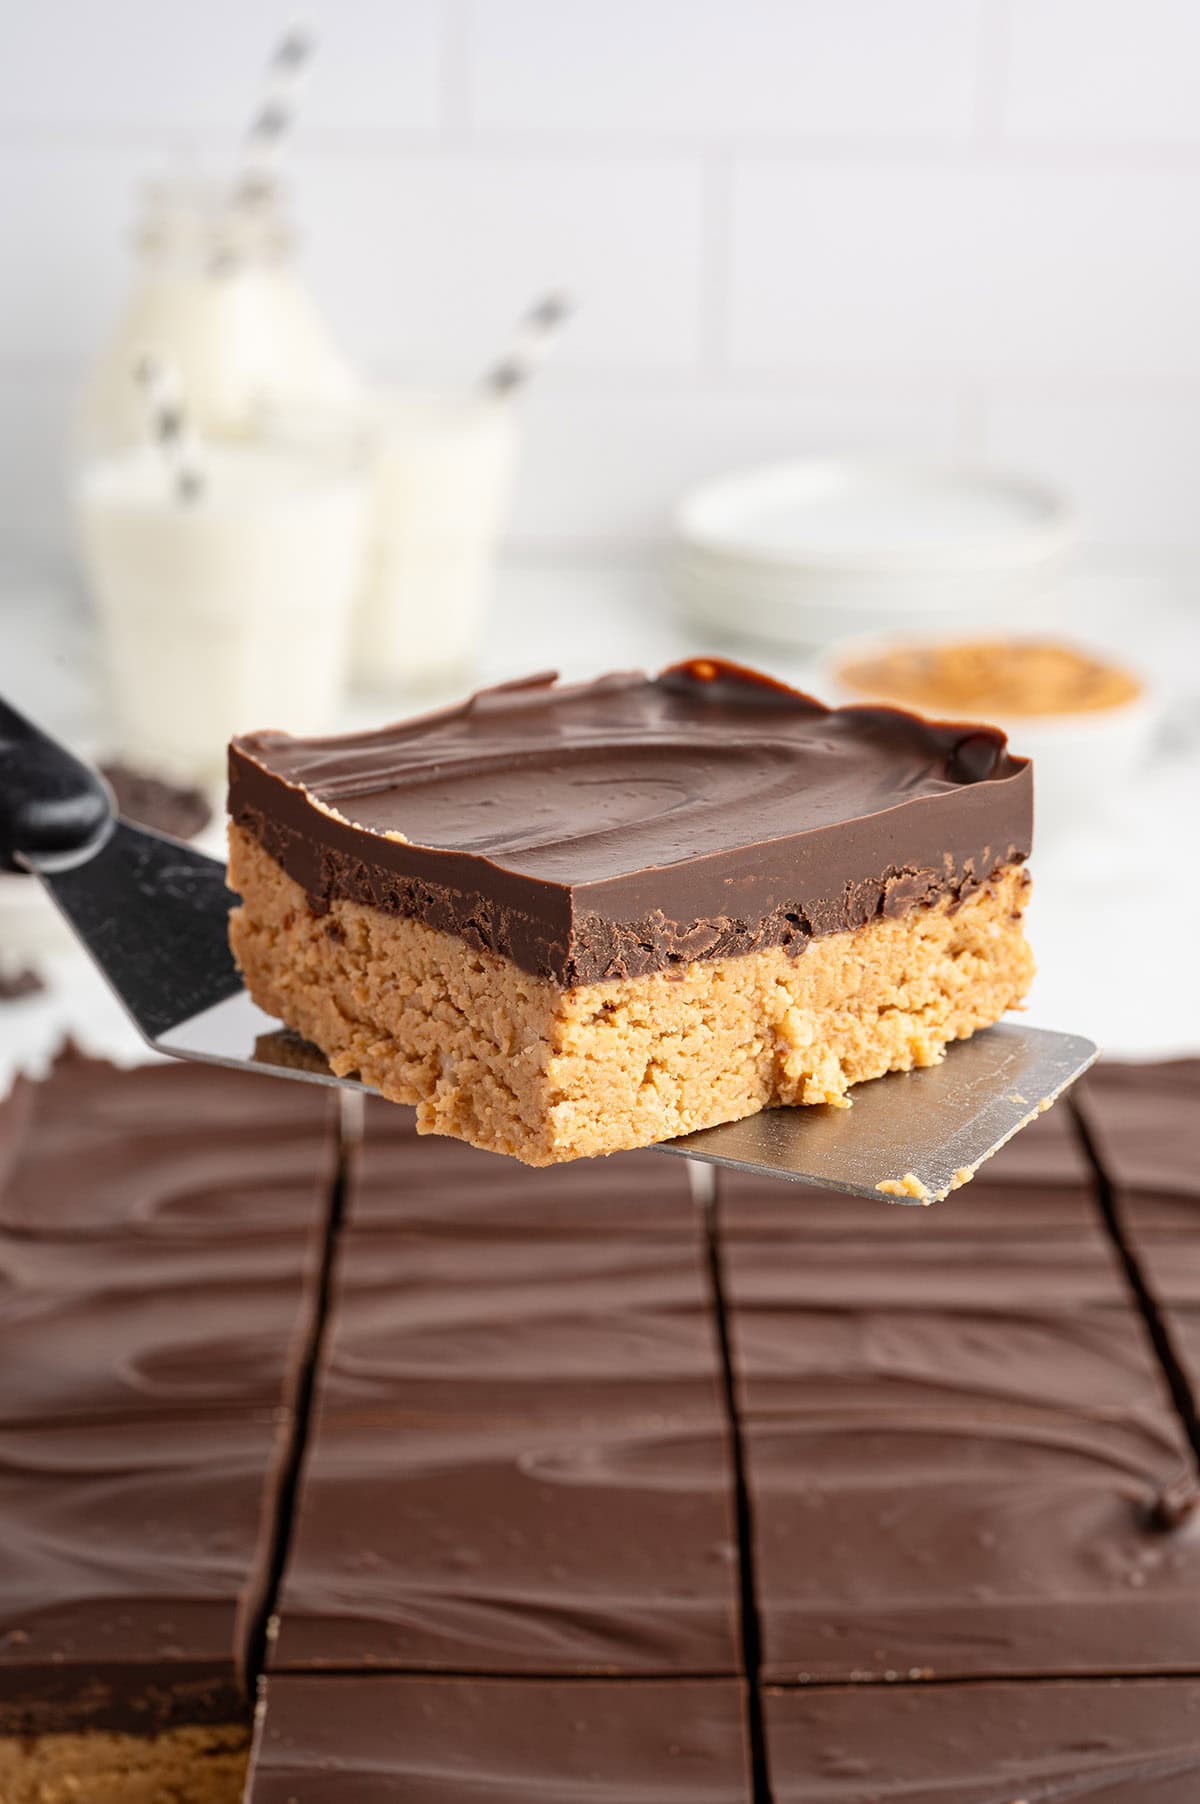
How to Make Lunch Lady Peanut Butter Bars
Step 1: Mix the Base Line a 9×9 baking dish with parchment paper. Combine the melted butter, powdered sugar, and graham cracker crumbs, then mix in the peanut butter until the mixture is thick and fully incorporated.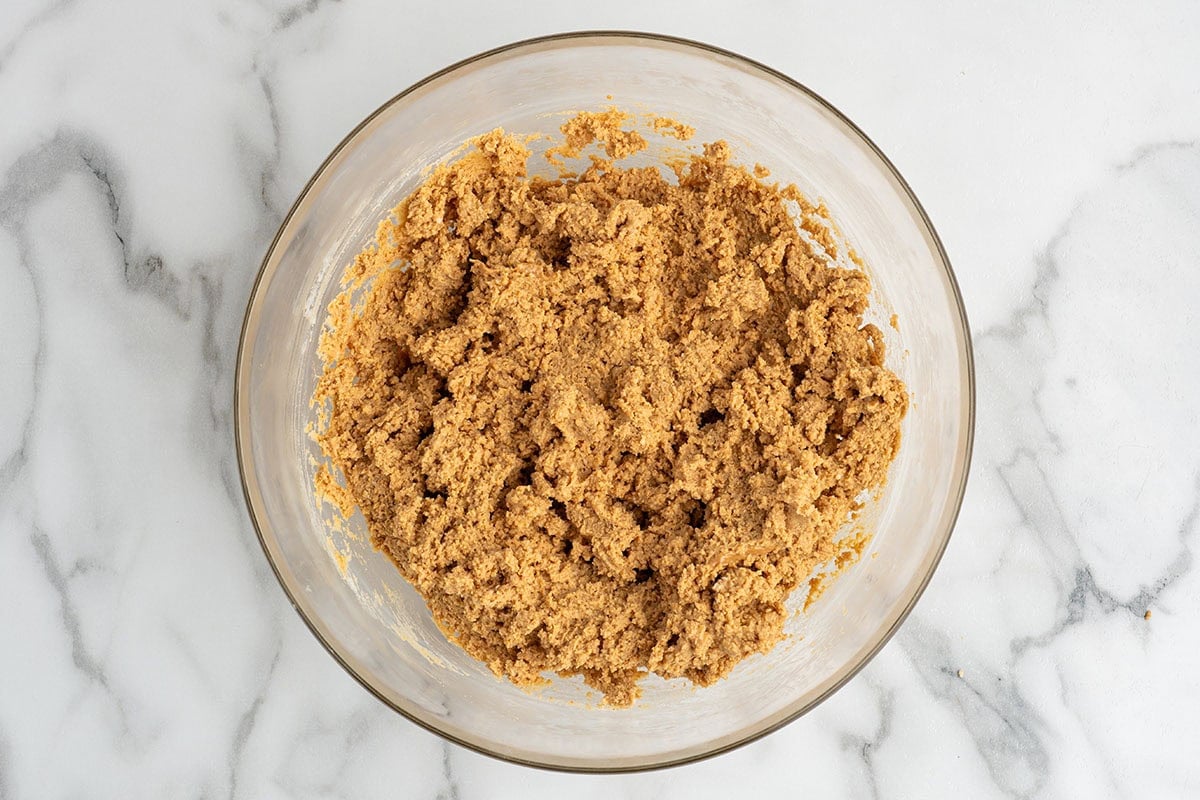
Step 2: Press It In Spread the base into the dish and press it down firmly so it is level all the way to the corners. A flat-bottomed glass gets it even faster than your hands.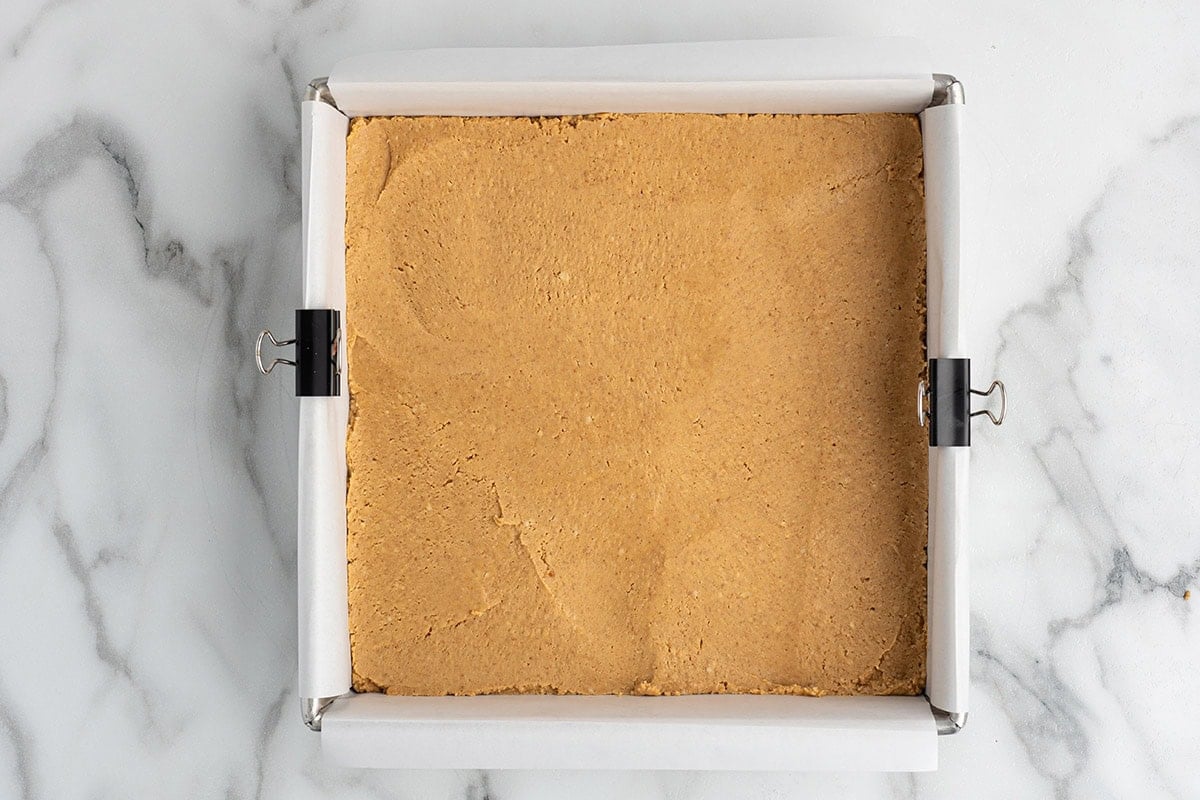
Step 3: Melt the Chocolate and Spread It Microwave the chocolate chips with the remaining peanut butter in 30-second bursts, stirring after each one, until smooth. Spread it over the base in an even layer.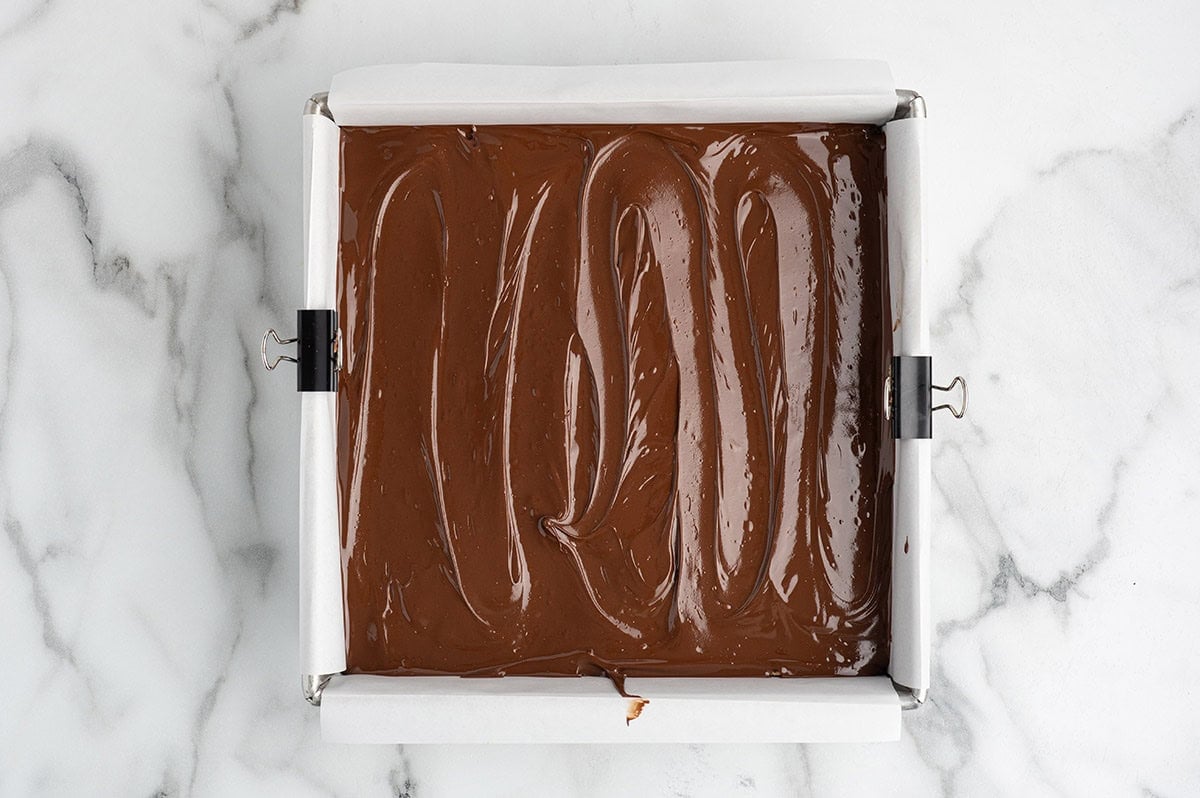
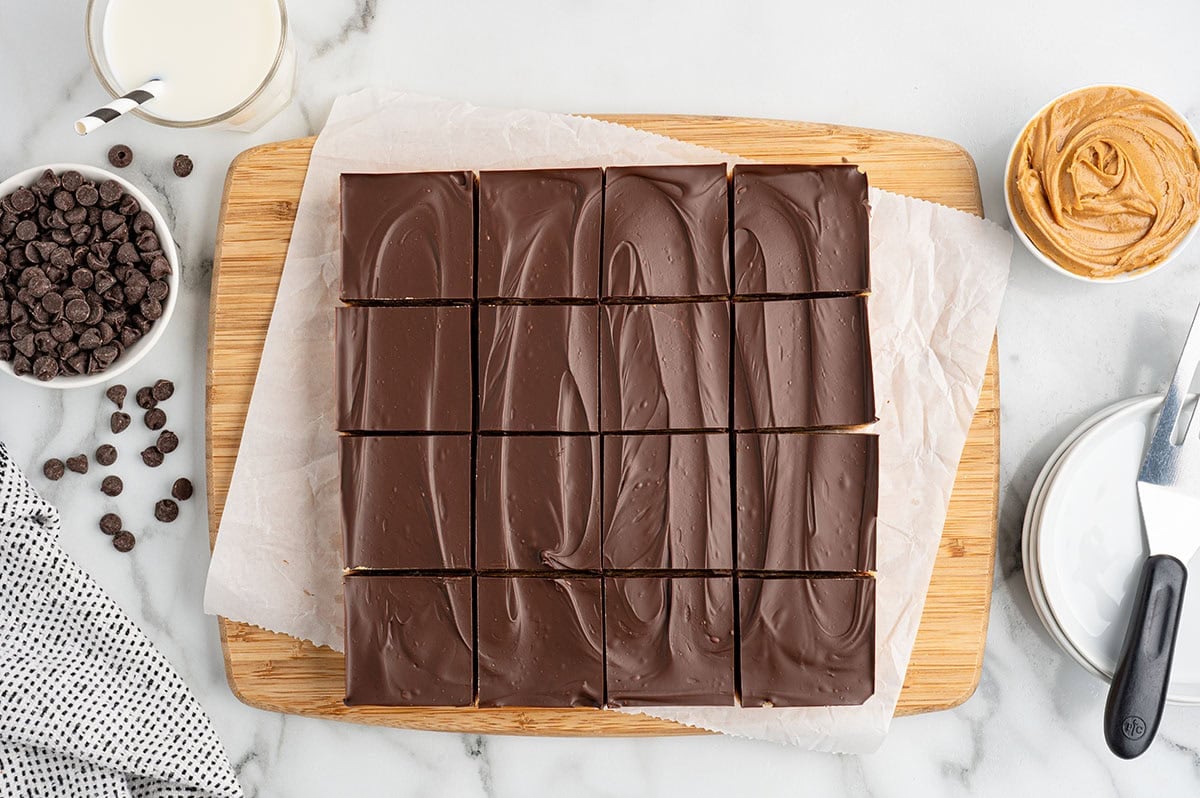
Step 4: Cut First, Then Chill Cut the bars into squares before the pan goes into the refrigerator, while the chocolate is still soft and the knife goes straight through. Chill for 1 hour, then let the pan sit out for 10 to 15 minutes before serving.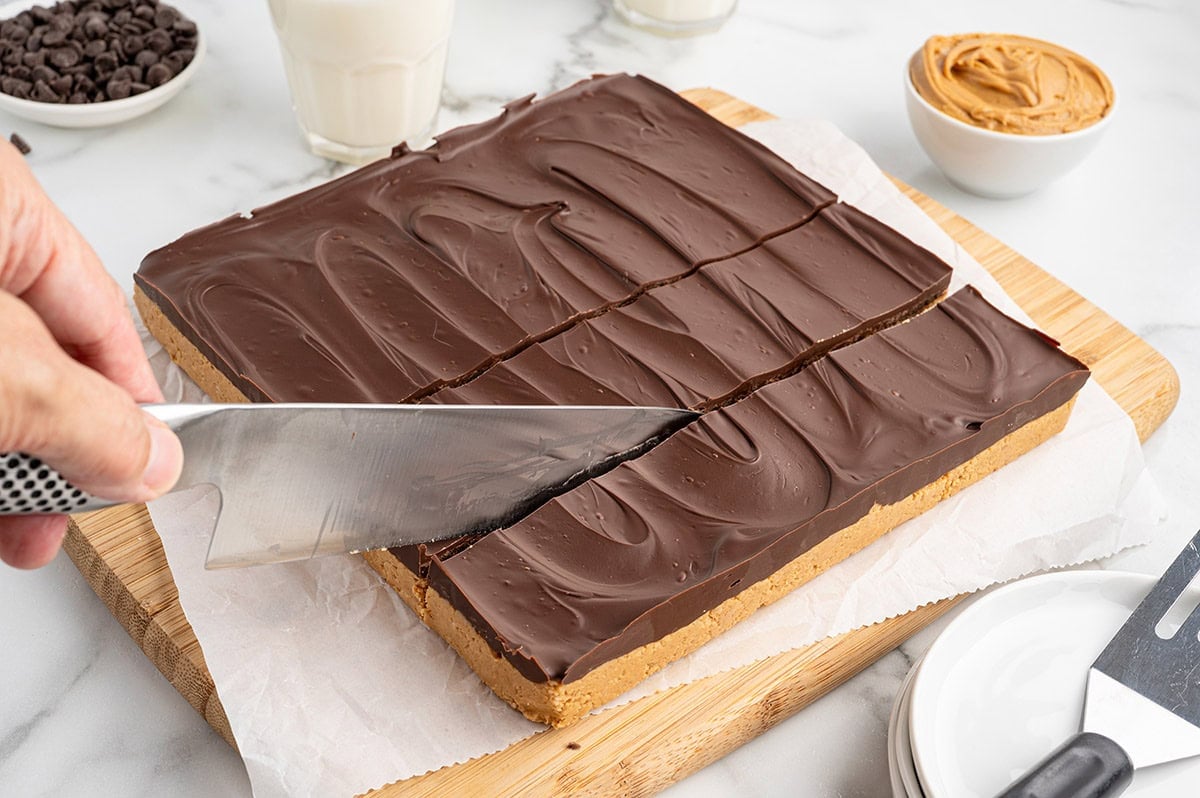
Make-Ahead and Storage
These are better on day two than day one, so I make them ahead whenever I know I want them around. They travel well too, which is handy but not the reason I make them. If you want another no-oven dessert that keeps the same way, my no bake peanut butter pie is the one I pair with it.
To store: Keep leftovers in an airtight container in the fridge for up to 1 week. The cold helps them keep their shape.
To freeze: Cut into squares and either wrap each one or layer them with parchment paper in between. They keep for at least three months. Thaw in the fridge before serving.
More Peanut Butter Recipes
- Peanut Butter Oatmeal Bars
- No-Bake Chocolate Peanut Butter Cookies
- Peanut Butter Brownies
- Reese’s Peanut Butter Cup Pie
- Reese’s Peanut Butter Chocolate Chip Cookie Bites
- Reese’s Peanut Butter Banana Bread
Lunch Lady Peanut Butter Bars
Ingredients
- ¾ cup butter melted
- 2 cups graham crackers crushed
- 2 cups powdered sugar
- 1¼ cups creamy peanut butter
- 3 tablespoons creamy peanut butter
- 2½ cups semi sweet chocolate chips
Instructions
- Line a 9×9 baking dish with parchment paper, set aside.
- Using either a stand mixer or a hand held mixer, combine the melted butter, powdered sugar and graham crackers.¾ cup butter, 2 cups graham crackers, 2 cups powdered sugar
- Mix in the 1 ¼ cup of creamy peanut butter, just until well incorporated.1¼ cups creamy peanut butter
- Evenly spread the peanut butter mixture into the bottom of the baking dish.
- In a heat safe bowl, add the semi sweet chocolate chips and the remaining 3 tablespoons creamy peanut butter. Heat for 30 second intervals, stirring well after each interval until the peanut butter and chocolate are smooth.3 tablespoons creamy peanut butter, 2½ cups semi sweet chocolate chips
- Spread the chocolate mixture over the peanut butter base.
- Cut the bars into squares before you put the pan in the refrigerator. They cut much easier this way.
- Chill the bars for 1 hour.
- Let the bars sit 10 to 15 minutes, at room temperature, before serving.
Jenn’s Notes
- Stir a few spoonfuls of peanut butter into the melted chocolate. It keeps the top soft enough that the knife goes straight through instead of shattering.
- Cut the bars before they go into the refrigerator. The chocolate is still soft then and you get a clean edge on every square.
- Regular creamy peanut butter is my go-to and it is what I call for here. I have tested these with natural peanut butter too and it works fine if that is what you keep in the house.






thise look absolutely delicious 😋
gone make them right away!
The peanut butter part alone is phenomenal.. could eat it with a spoon but I didn’t have enough peanut butter for the chocolate top and it wasn’t sticking to the bars when cutting.. so was it the missing peanut butter??? Amazing recipe thank you
I’ve had these before and where delicious. Wanted recipes but couldn’t find it. thanks for the recipe.
I Love these
any way to add in dry oatmeal
I just made them with 1/2 ground oatmeal and 1/2 ritz crackers , also ground (I was out of graham cracker) and they are amazing!!! Plus the addition of the oatmeal gives a little fiber so they are healthy… right?!?! 🙂
So glad you are enjoying them!!
I thought that chocolate was bad for dogs
This recipe is meant for humans LOL – not dogs. Yes, chocolate is very bad for dogs. But humans will like it!
I’ve tried this recipe and it’s good but too sweet for me. I substituted pretzels for the gram crackers and it was perfect.
OMG i wrote a lot of these down. Will be definitely making in the next few days. How can’t you love them with the yummy ingredients
all of your recipes are very good. can’t wait to try some more.
Great looking recipe! Have you ever seen anyone successfully use crushed cereal (rice Krispies or Chex) instead of graham crackers??
Yes I use rice krispies they used to call them Gold Bars back in high School.