
This post may contain affiliate links. Please read our disclosure policy.

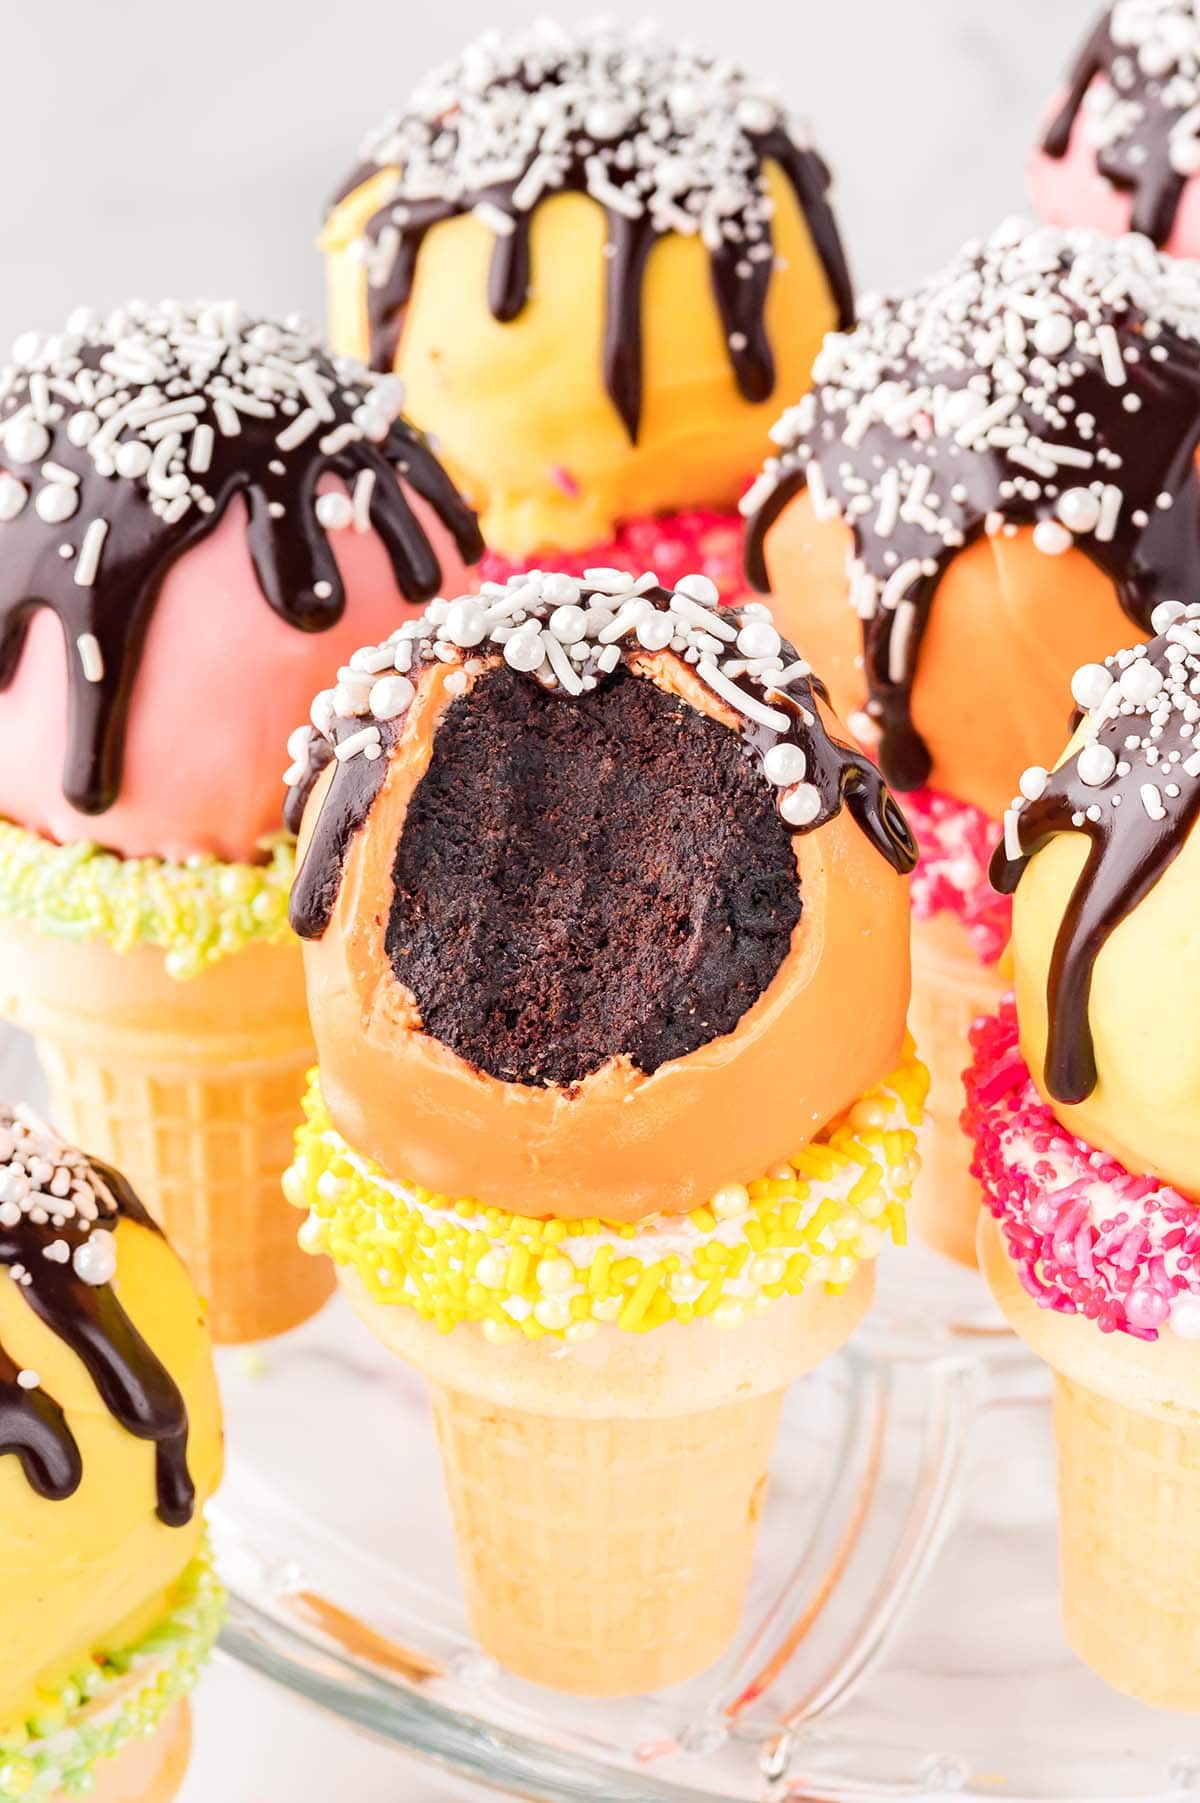
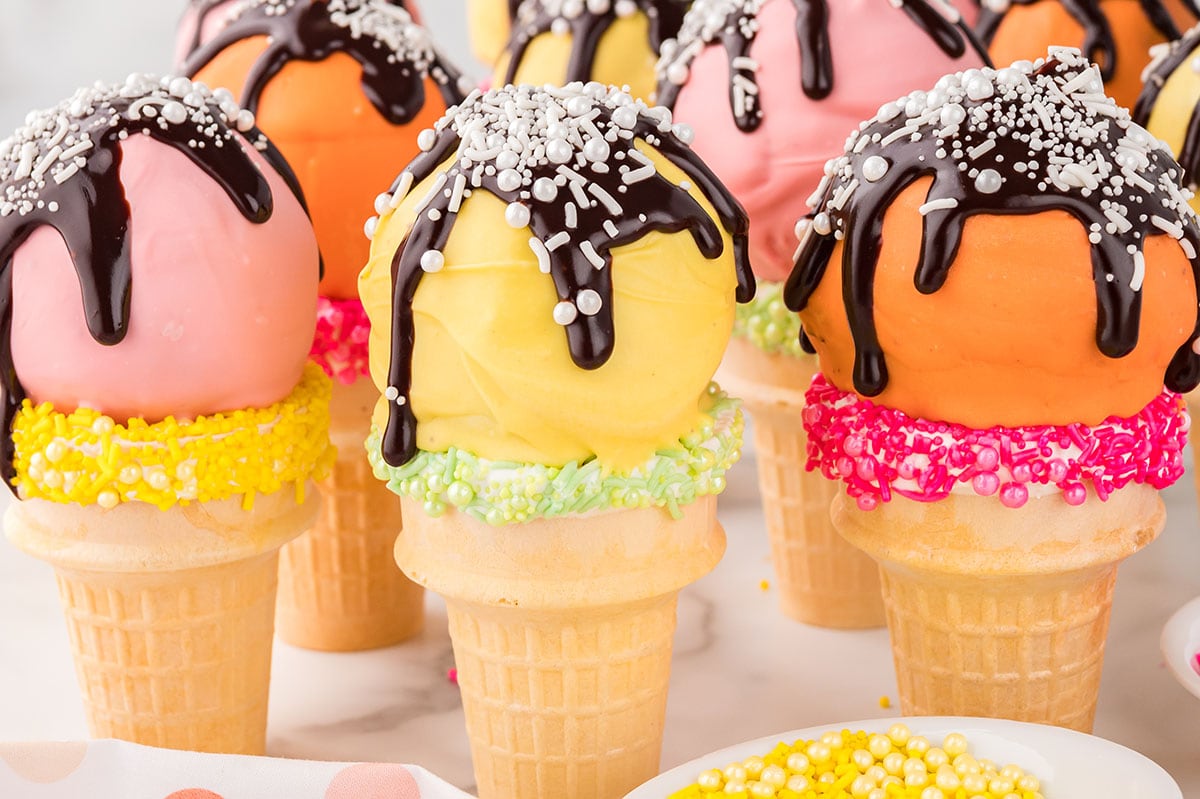
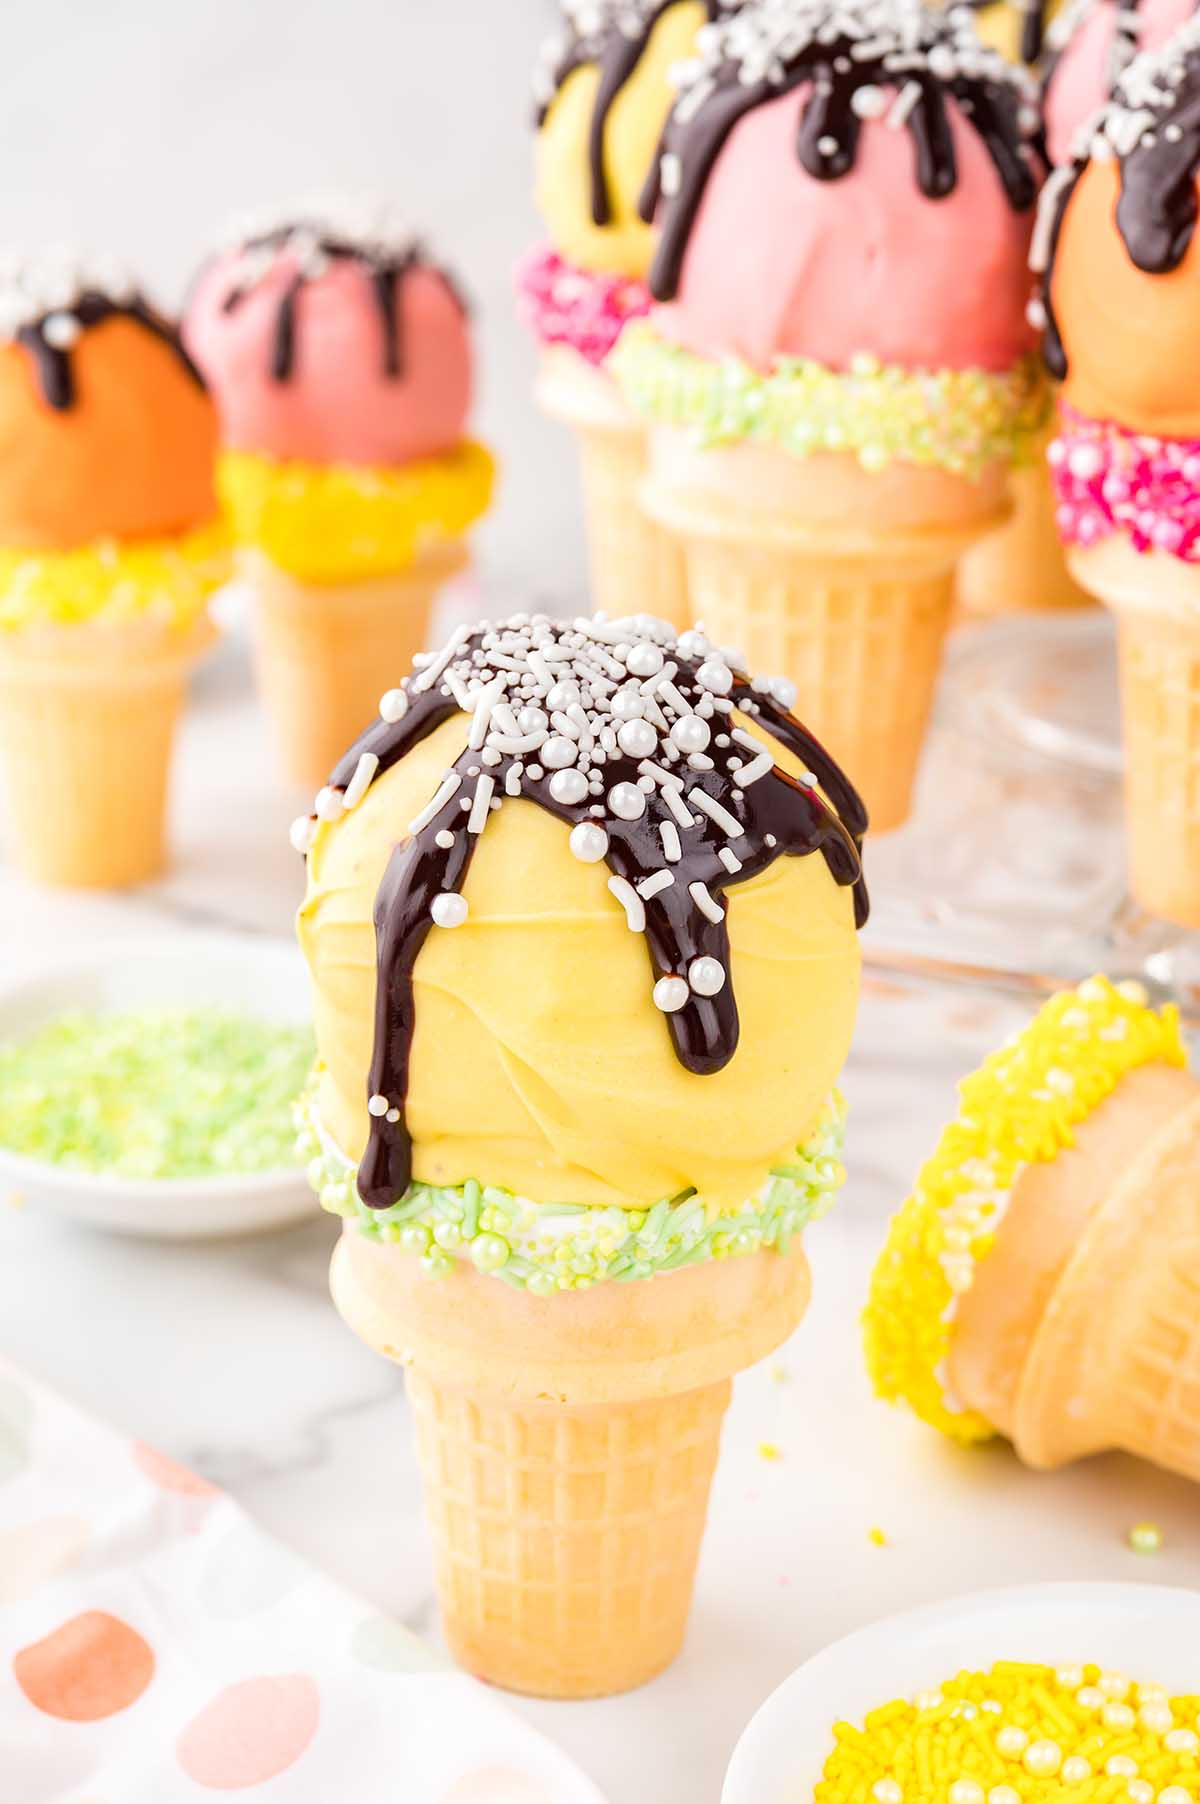
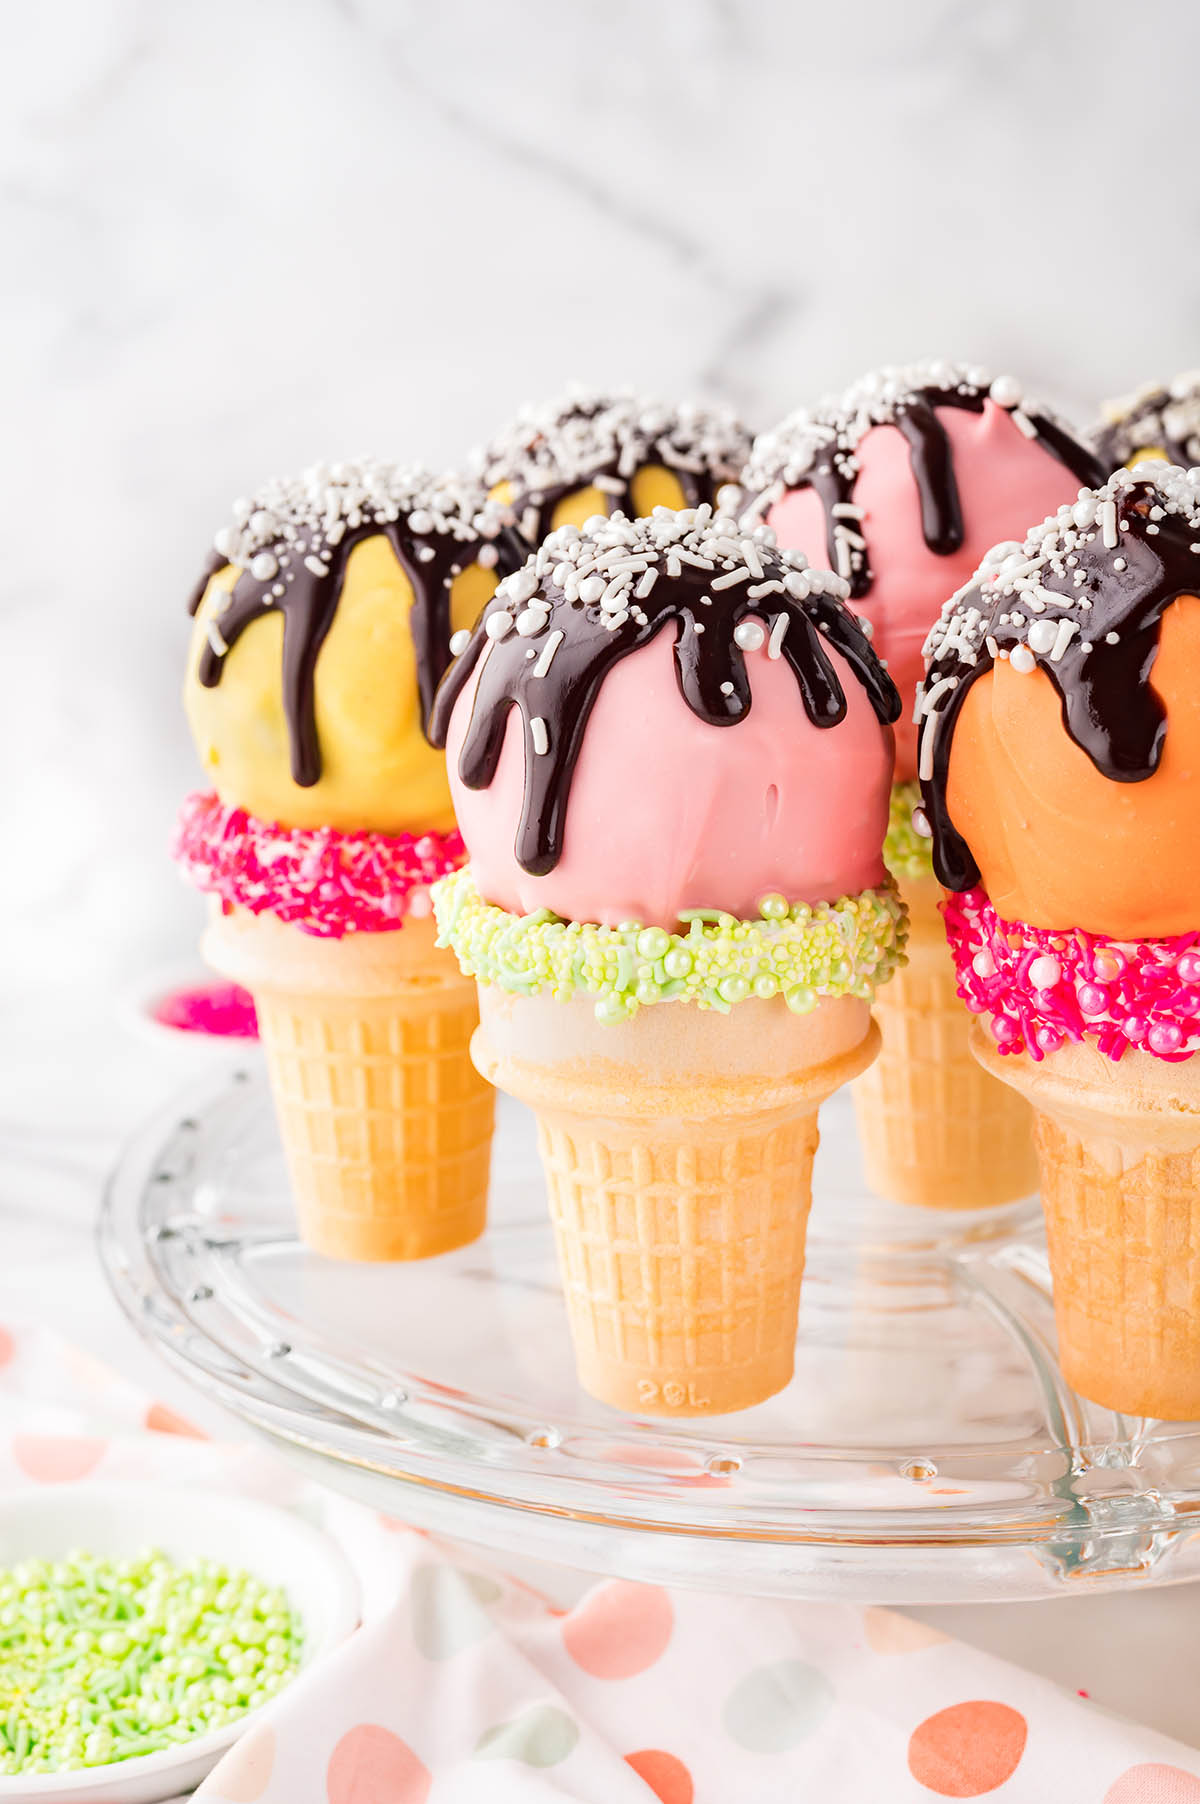
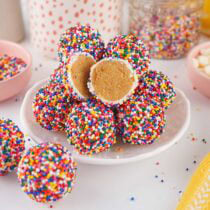
Ice Cream Cake Pops is a fun and whimsical way to turn your favorite flavored cake ball into an ice cream inspired treat.
Ice Cream Cone Cake Pops
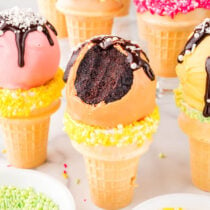
Our easy Ice Cream Cone Cake Pops recipe makes the most moist, smooth, and creamy cake balls with a contrasting ice cream cone crunch; they’re the perfect balance of flavors and textures in every tasty bite.
This cute cake pop recipe requires nothing more than crumbling and combining cake crumbs with frosting to form the filling, then it’s rolled into round cake balls, set in the freezer until firm, and covered in chocolate coating.
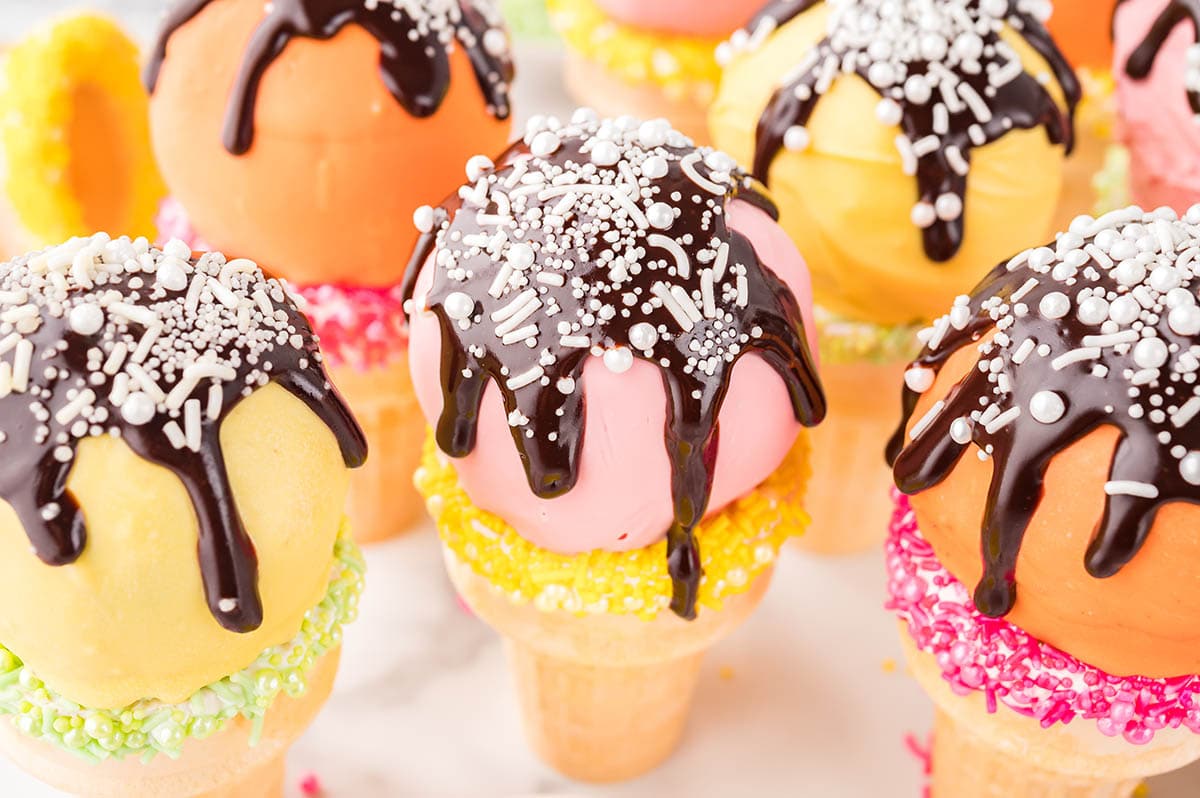
The rims of the cake pop cones are dipped in melted chocolate and decorated in multi-colored sprinkles, then you put the two together by pressing the cake onto the cones, drizzling on some chocolate so it looks like it’s dripping, and decorating your desserts with sprinkles or colorful candy.
Why We Love This Ice Cream Cone Cake Pop Recipe
- Easy to make and fun to decorate. Uses a handful of simple ingredients.
- Delicious and satisfying dessert that offers a unique twist on traditional cake pops.
- Portable and perfectly portioned bites of cute cake in a cone.
- Versatile recipe that lets you get creative with customized flavors and colors.
- Perfect for summer parties, birthdays, special celebrations, and holiday gatherings.
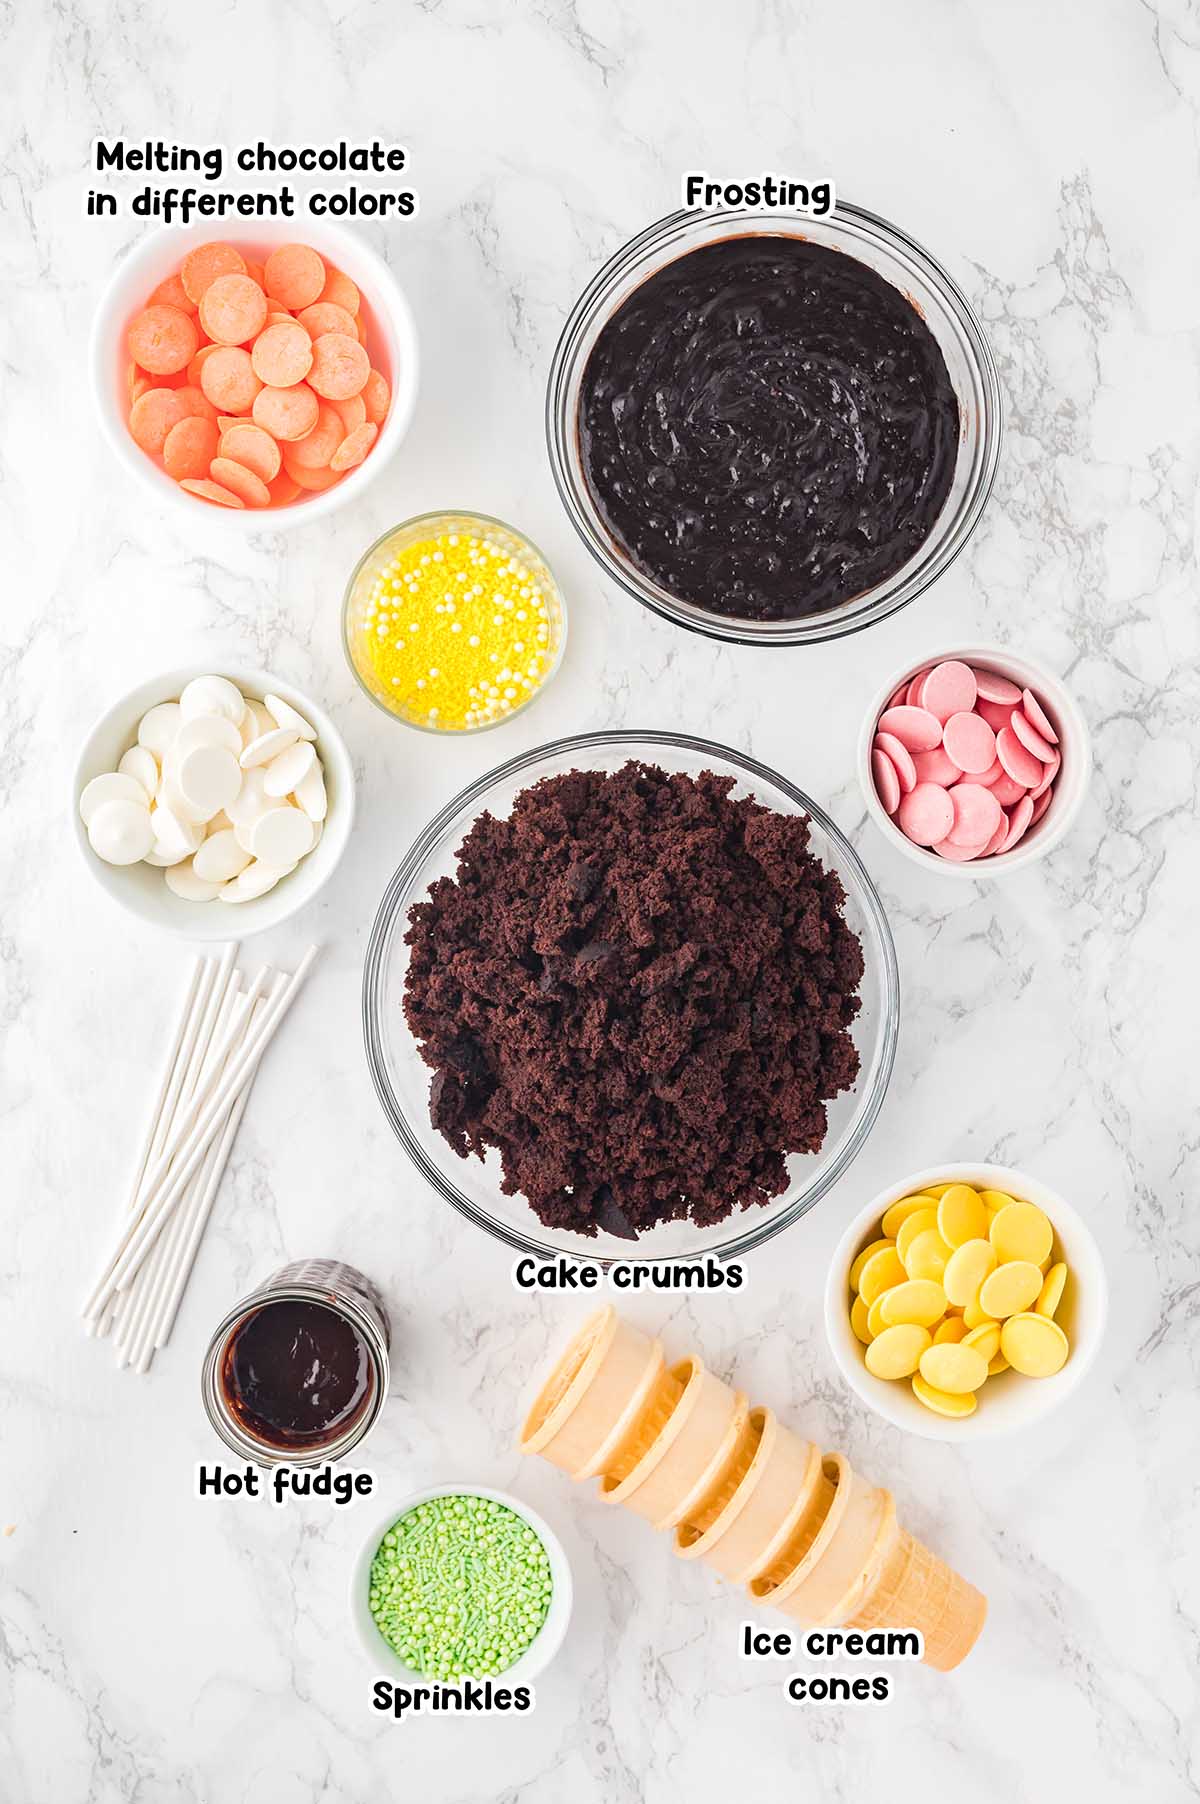
Ice Cream Cake Pops Ingredients
- Leftover cake crumbs or box of cake mix plus ingredients called for on the box
- Frosting
- Ice cream cones: You can use homemade ice cream cones if you prefer as long as they are sturdy enough to hold the weight of the cake pops.
- Melting chocolate in different colors
- Sprinkles
- Hot fudge topping: I used Hot Fudge topping for this recipe.
Substitutions and Additions
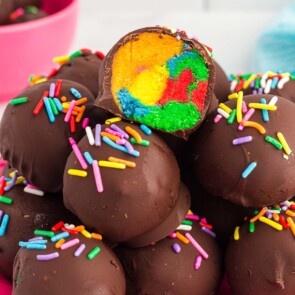
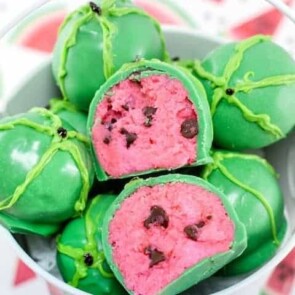
- Create Your Cake Crumbs: A chocolate or vanilla cake works well for this recipe, but you can experiment with different flavors. Some of my other favorites include red velvet, funfetti, and cookies n cream.
- Customize Your Cake And Cones: You can customize your ice cream cone cake pops by using different colors of melting chocolate and sprinkles. You can also try adding other toppings such as crushed nuts, candy pieces, or coconut flakes.
Recommended Tools
- Lollipop sticks
- Parchment paper
- Baking sheet or tray
- Bowls
- Piping bag
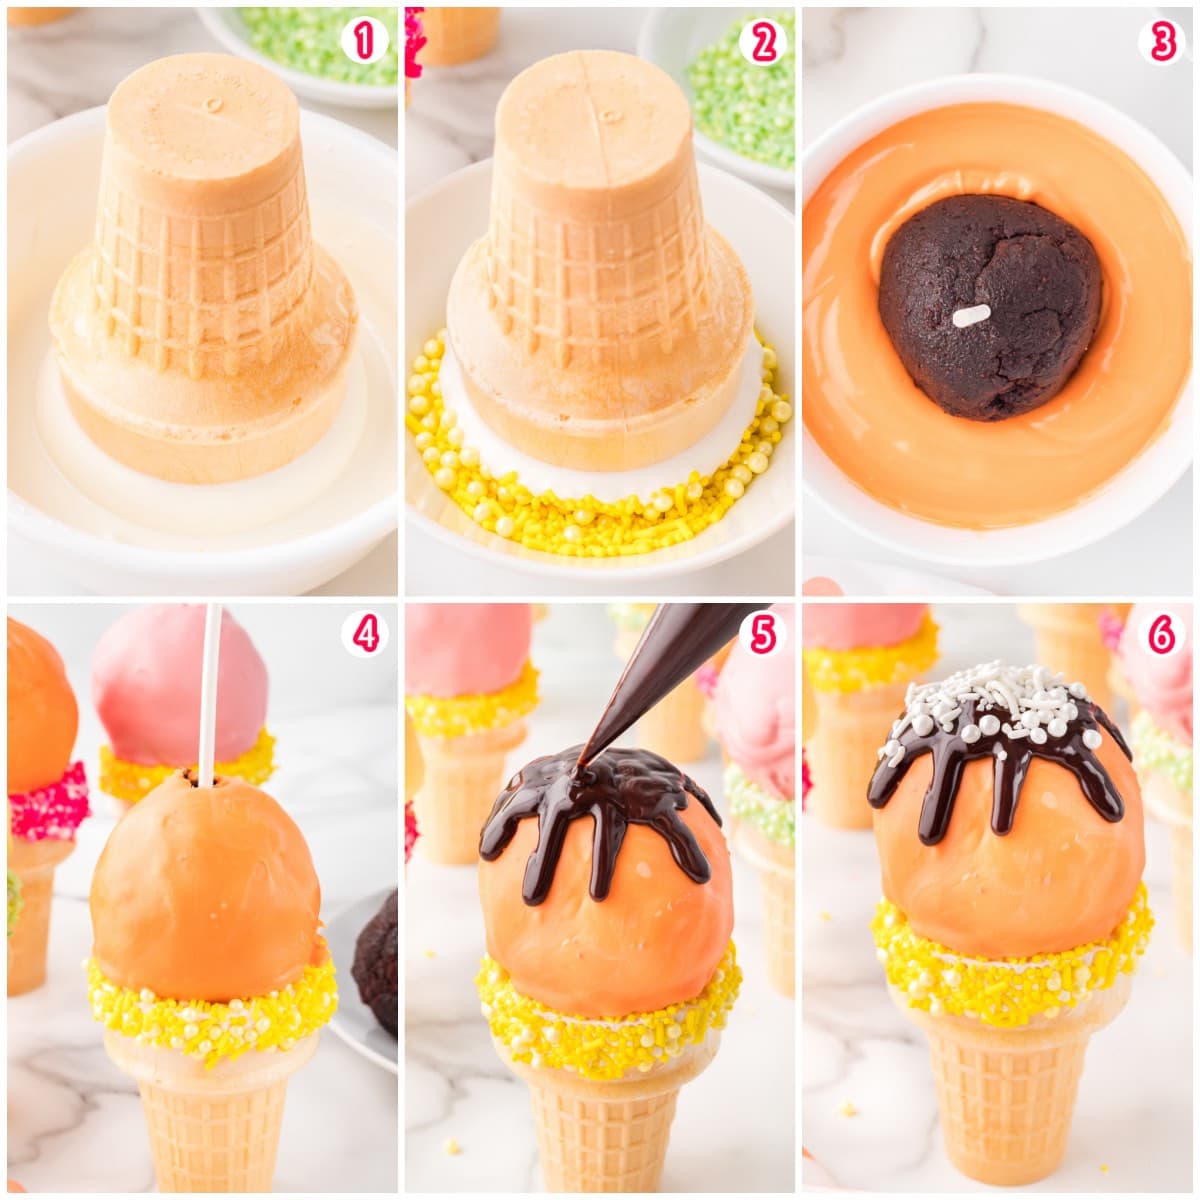
How to Make Ice Cream Cake Pops
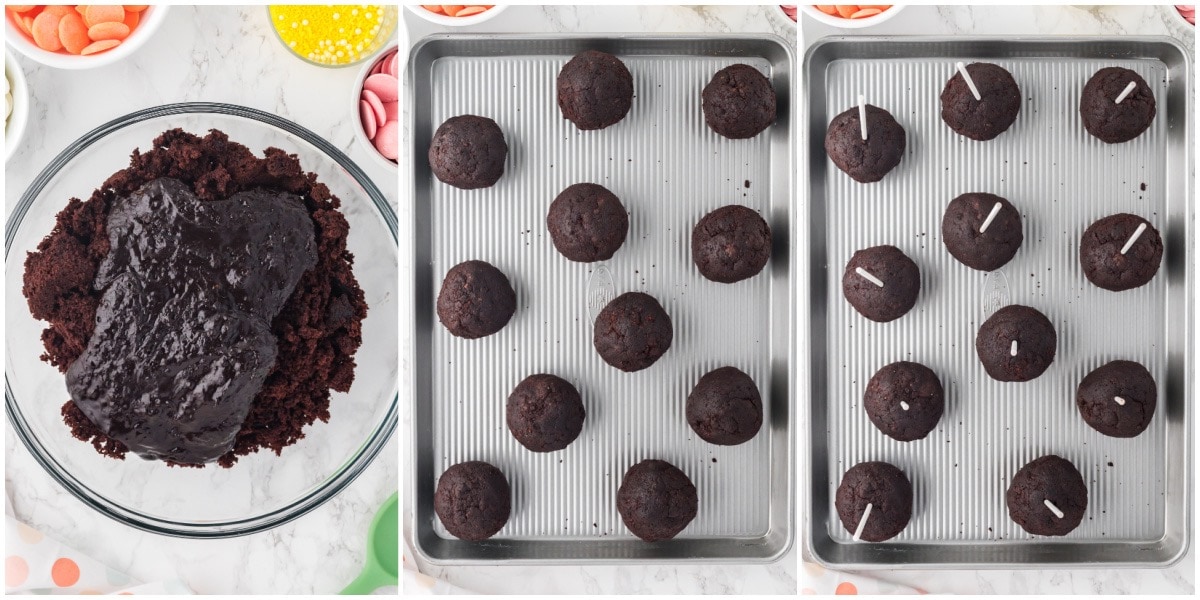
- Make The Cake Mixture: Crumble the cake into small pieces and mix with the frosting until fully combined. Roll the cake mixture into a ball, press a lollipop stick into the center and place in the freezer until firm.
- Add Color To The Cones: Melt the chocolate according to the package instructions. Dip the top rim of each ice cream cone into the melted chocolate and then roll it in sprinkles.
- Combine The Cake And Cone: Dip the cake balls into the melted chocolate. Place each cake pop onto the prepared ice cream cones, pressing down gently, and remove the stick.
- Drizzle And Decorate: Heat the chocolate topping in the microwave so that it’s pourable and drizzle it on top of each cake pop. Decorate with more sprinkles and place in the freezer for 10-15 minutes to set.
- Serve: Serve and enjoy!
How To Make Mini Ice Cream Cake Pops
It’s always fun to make mini versions of these ice cream cake pops! To do so, you can use mini ice cream cones, and form the cake mixture into smaller balls. Adjust the amount of cake and frosting you use accordingly and reduce the dipping and decorating time accordingly. Keep in mind that the smaller size may require less freezing time and less dipping and decorating time.
Tips For Making Ice Cream Cake Pops
- It’s important to use a dense, sturdy cake for this recipe, as it will hold together better when mixed with the frosting. A lighter cake may crumble too easily.
- Depending on the consistency of your leftover cake and frosting, you may need to adjust the amount of frosting you use. Add a little at a time until you reach a consistency that allows you to easily form the cake mixture into balls.
- Freezing the cake balls before dipping them in the chocolate will make them easier to handle and less likely to fall apart.
- When dipping the cake balls in the melted chocolate, use a deep bowl to ensure that the chocolate is deep enough to fully coat the cake pops.
- After dipping the cake pops in the chocolate, give them a little tap to remove any excess chocolate and then place them on the prepared ice cream cones. Allow the chocolate to set before adding the chocolate topping.
- Using a piping bag to apply the ganache or chocolate topping will give you more control over the amount and placement of the chocolate. You can also drizzle the ganache using a fork or spoon if you don’t have a piping bag.
How to Store Ice Cream Cake Pops
Once the ice cream cake pops are assembled, store them in the freezer until you’re ready to serve. They will keep for several days in an airtight container.
If you want to store them for longer than a few days, you can wrap each cake pop individually in plastic wrap and store them in a freezer-safe container or bag. When you’re ready to enjoy them, simply remove them from the freezer and let them sit at room temperature for a few minutes to soften slightly before serving.
You can store the ice cream cake pops with the cones if you prefer, or you can remove the cones and store the cake pops on their own. Keep in mind that if you leave the cones on, they may become a bit soft after being stored in the freezer, but this won’t affect the overall taste of the cake pops.
If you do remove the cones, you may want to wrap each cake pop individually in plastic wrap to prevent them from sticking together.
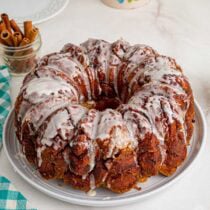
More Fun Dessert Recipes


Other Easy Cupcake Recipes
Ice cream cake pops
Ingredients
- 4 cups leftover cake crumbs or one box of cake mix baked and cooled
- 1-2 cups leftover frosting or one 16oz tub of store-bought frosting
- Store-bought ice cream cones
- Melting chocolate in different colors
- Sprinkles
- Hot fudge topping I used Hot Fudge Topping
Instructions
- Crumble the leftover cake into small pieces using a food processor or by hand and place into a bowl.
- Mix the frosting into the cake crumbs until fully combined.
- Take a small amount of the cake mixture and roll it into a ball, about the size of a golf ball.
- Press a lollipop stick into the center of each cake ball and place them onto a baking sheet.
- Place the baking sheet in the freezer for 15-20 minutes, or until the cake balls are firm.
- Melt the melting chocolate in different colors according to the package instructions.
- Dip the top rim of each ice cream cone into the melting chocolate and then roll it in sprinkles. Place them to one side to set.
- Take the cake balls out of the freezer and dip them into the melted chocolate, tapping off any excess.
- Place each cake pop onto the prepared ice cream cones, pressing down gently and remove the lollypop stick.
- Warm up the chocolate topping in the microwave so that it's pourable. You don’t want it to be too hot.
- Pour the chocolate topping into a piping bag and cut a small amount off the tip.
- Drizzle chocolate sauce on top of each cake pop to look like chocolate sauce on ice cream.
- Decorate with more sprinkles
- Return the cake pops to the freezer for 10-15 minutes to set.
- Serve and enjoy your delicious ice cream cake pops!
Jenn’s Notes
- Once the ice cream cake pops are assembled, store them in the freezer until you’re ready to serve. They will keep for several days in an airtight container.
- If you want to store them for longer than a few days, you can wrap each cake pop individually in plastic wrap and store them in a freezer-safe container or bag. When you’re ready to enjoy them, simply remove them from the freezer and let them sit at room temperature for a few minutes to soften slightly before serving.
- You can store the ice cream cake pops with the cones if you prefer, or you can remove the cones and store the cake pops on their own. Keep in mind that if you leave the cones on, they may become a bit soft after being stored in the freezer, but this won’t affect the overall taste of the cake pops. If you do remove the cones, you may want to wrap each cake pop individually in plastic wrap to prevent them from sticking together.
- Use a sturdy cake: It’s important to use a dense cake for this recipe, as it will hold together better when mixed with the frosting. A lighter cake may crumble too easily.
- Adjust the frosting amount: Depending on the consistency of your leftover cake and frosting, you may need to adjust the amount of frosting you use. Add a little at a time until you reach a consistency that allows you to easily form the cake mixture into balls.
- Freeze the cake balls: Freezing the cake balls before dipping them in the chocolate will make them easier to handle and less likely to fall apart.
- Use a deep bowl for dipping: When dipping the cake balls in the melted chocolate, use a deep bowl to ensure that the chocolate is deep enough to fully coat the cake pops.
- Allow the chocolate to set: After dipping the cake pops in the chocolate, give them a little tap to remove any excess chocolate and then place them on the prepared ice cream cones. Allow the chocolate to set before adding the chocolate topping.
- Customize your toppings: You can customize your ice cream cake pops by using different colors of melting chocolate and sprinkles. You can also try adding other toppings such as crushed nuts, candy pieces, or coconut flakes.
- Use a piping bag for the ganache: Using a piping bag to apply the ganache will give you more control over the amount and placement of the chocolate. You can also drizzle the ganache using a fork or spoon if you don’t have a piping bag.


I am makeing cake pops for my birthday