This post may contain affiliate links. Please read our disclosure policy.
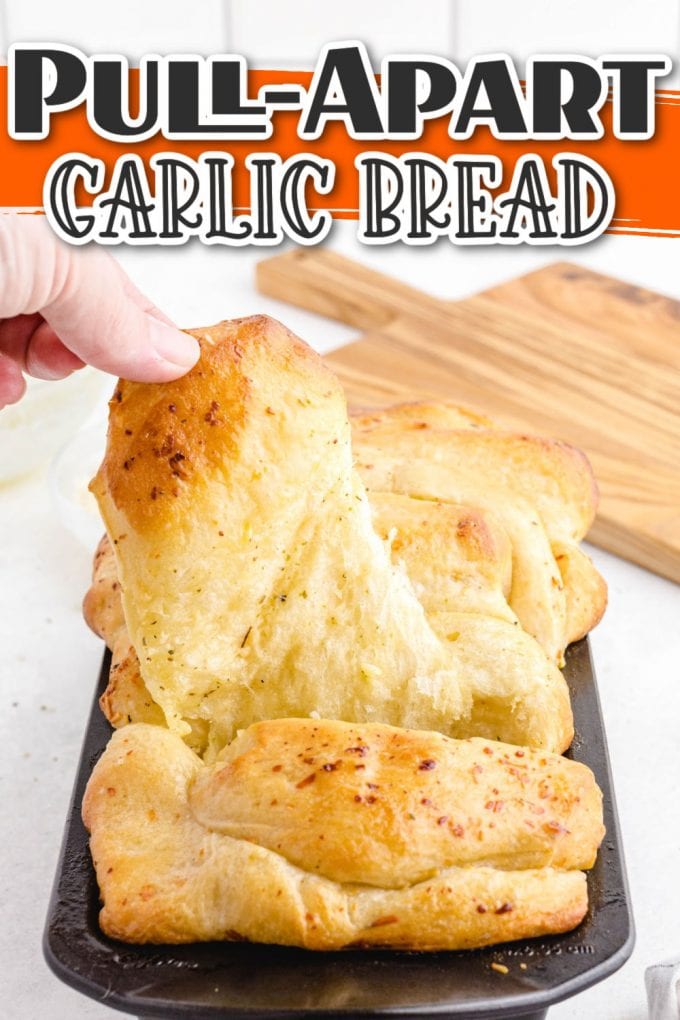
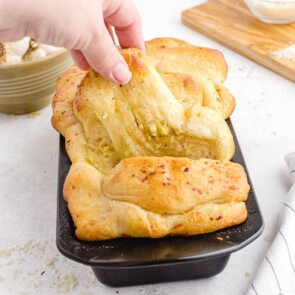
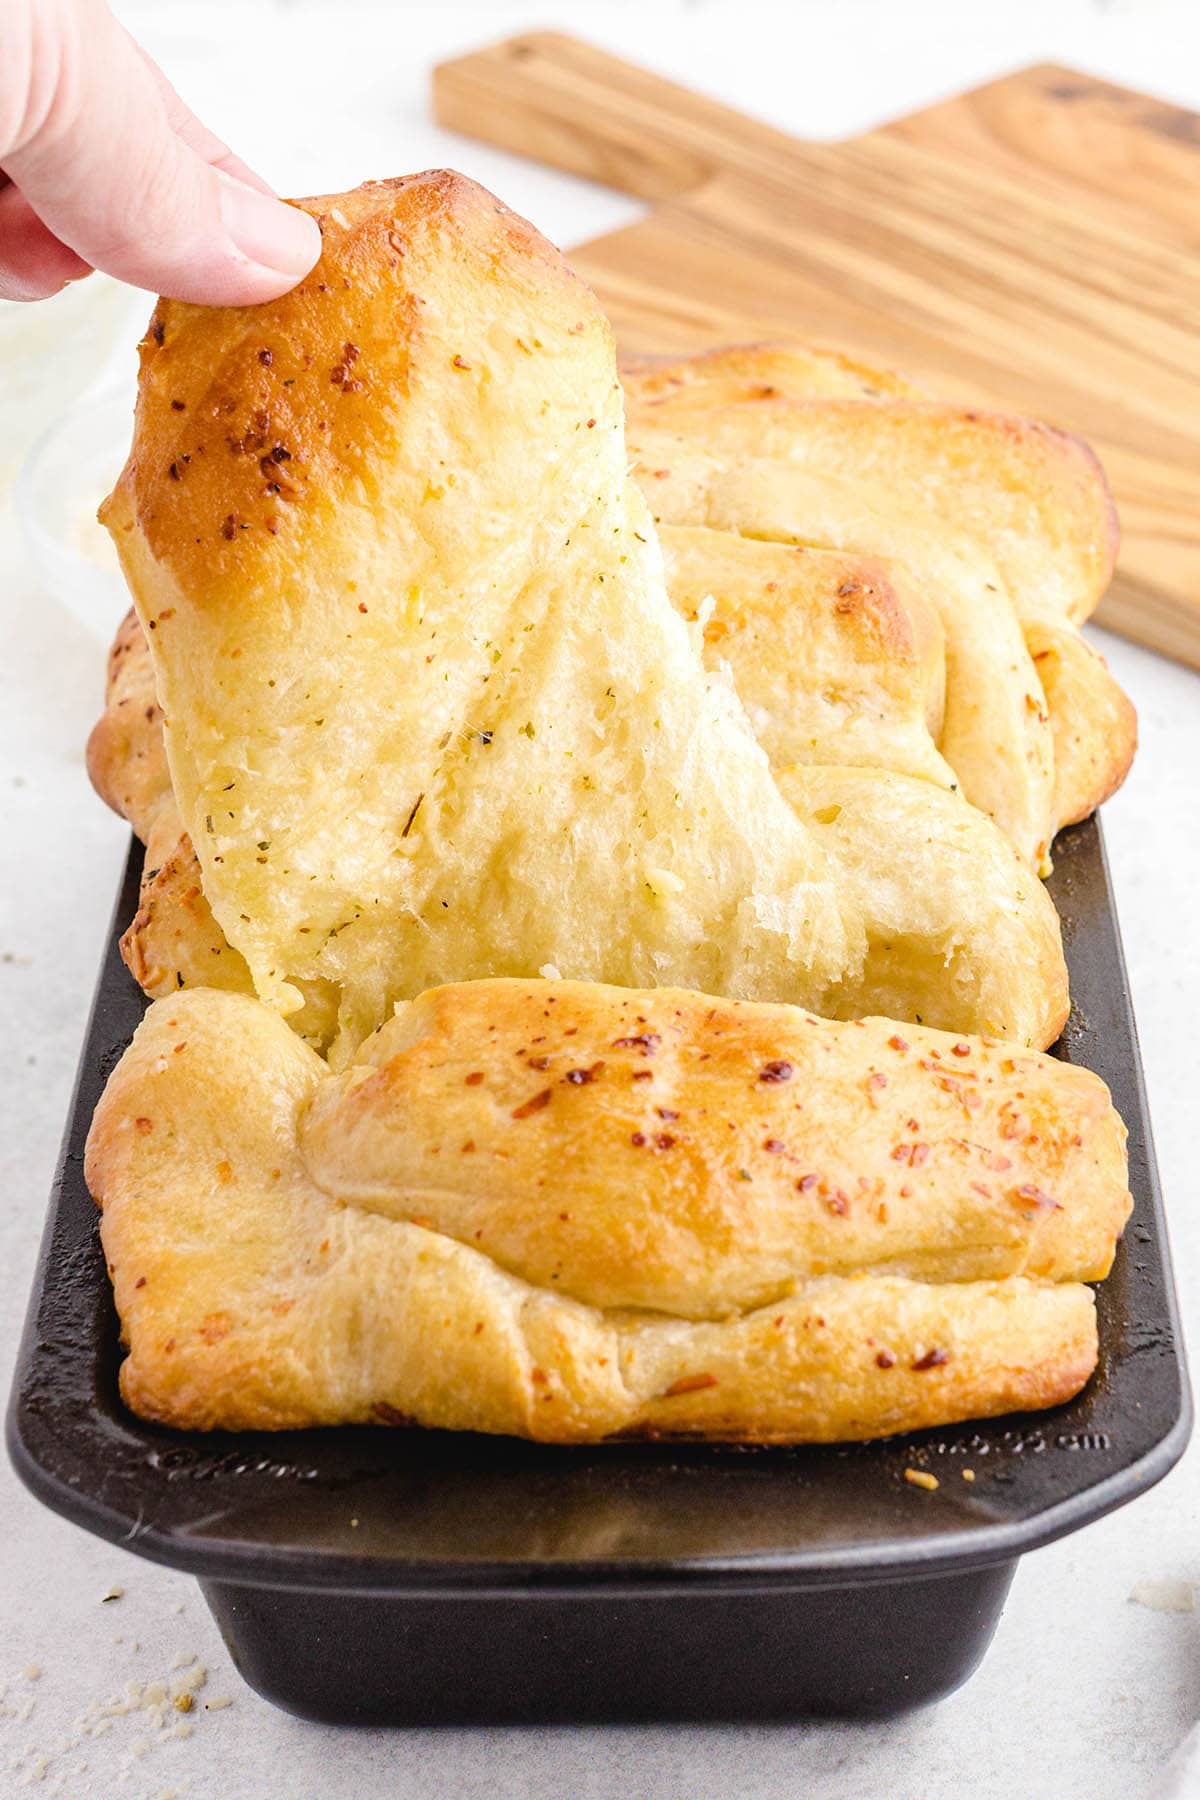
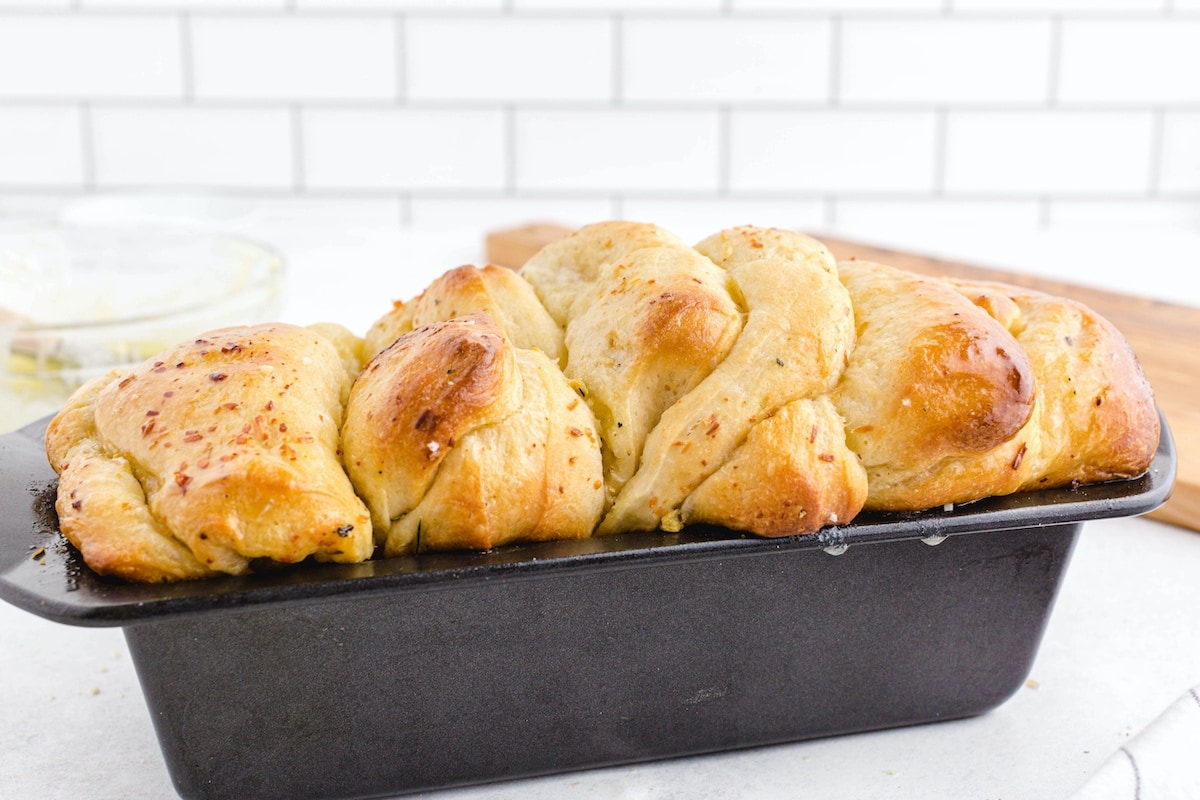
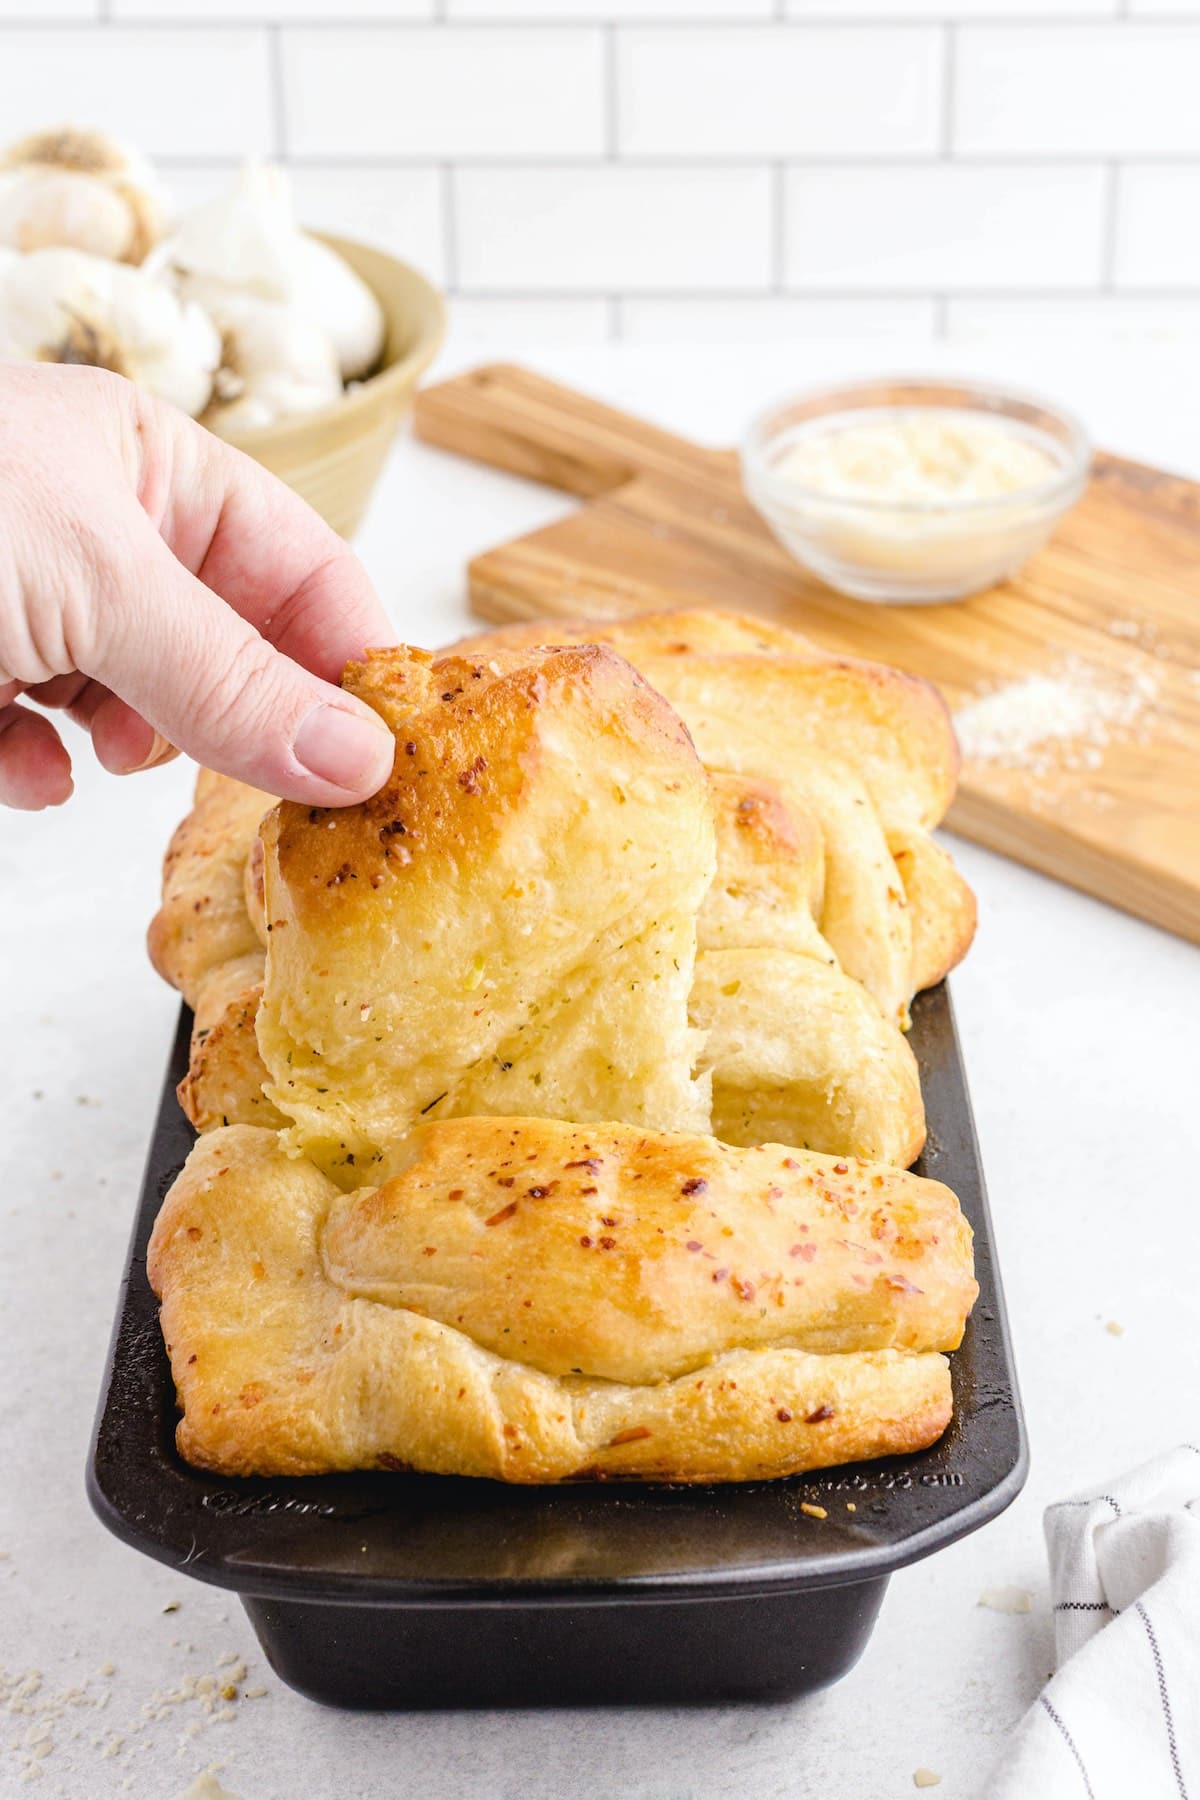
In this Cheesy Pull-Apart Garlic Bread recipe (AKA Share and Tear Garlic Bread), moist bread, filled with garlic, parmesan, and butter is baked to perfection to make a tear and share style appetizer or side dish.
Easy Tear and Share Garlic Bread
Whether you’re looking for a fun new side to enjoy with pasta or in need of a delicious appetizer for a get-together, this Cheesy Pull-Apart Garlic Bread is the perfect thing! This soft and fluffy bread is full of buttery, garlic flavors. The tear and share aspect makes it a perfect option for groups!
This easy garlic bread is a recipe that has saved me so many times. Whether I am scrambling for the perfect app to bring to a get-together, or in need of a side with a pasta dish for dinner, this always does the trick. It’s super easy to make, and it’s full of rich buttery, and cheesy flavors. The fact that it is made with a refrigerator bread dough is an added bonus!

Why We Love Cheesy Pull-Apart Garlic Bread
- Easy to make
- Only 5-ingredients needed
- Perfect for a party appetizer
- Simple side for pasta dishes
- Fun and shareable for groups
Ingredients/Shopping List
- Frozen or refrigerated bread dough
- Salted butter
- Italian seasoning
- Garlic – Raw garlic will not cook in the center of the bread – if you want a milder flavor, use less garlic, garlic paste, roasted garlic, or even garlic salt. For a stronger garlic flavor, use more garlic.
- Grated parmesan cheese
Variations / Options / Add-ins
DIPPING SAUCE: A great way to serve your pull-apart bread is with a flight of different dipping sauces! My go-to sauces are ranch, marinara, and garlic butter. It just adds a little something extra for presentation and flavor!
SEE FULL PRINTABLE RECIPE CARD BELOW
How to Make Cheesy Pull-Apart Garlic Bread
This recipe will take a bit of prep time, because you will need to let the bread rise before baking it. I suggest doing steps 1-11 at least 3 hours before you plan to bake and serve the bread. Usually, I put this together and run errands or get other things done around the house while the bread rises!
- Defrost frozen bread dough overnight. Once thawed, set dough out at room temperature for at least 1 hour.
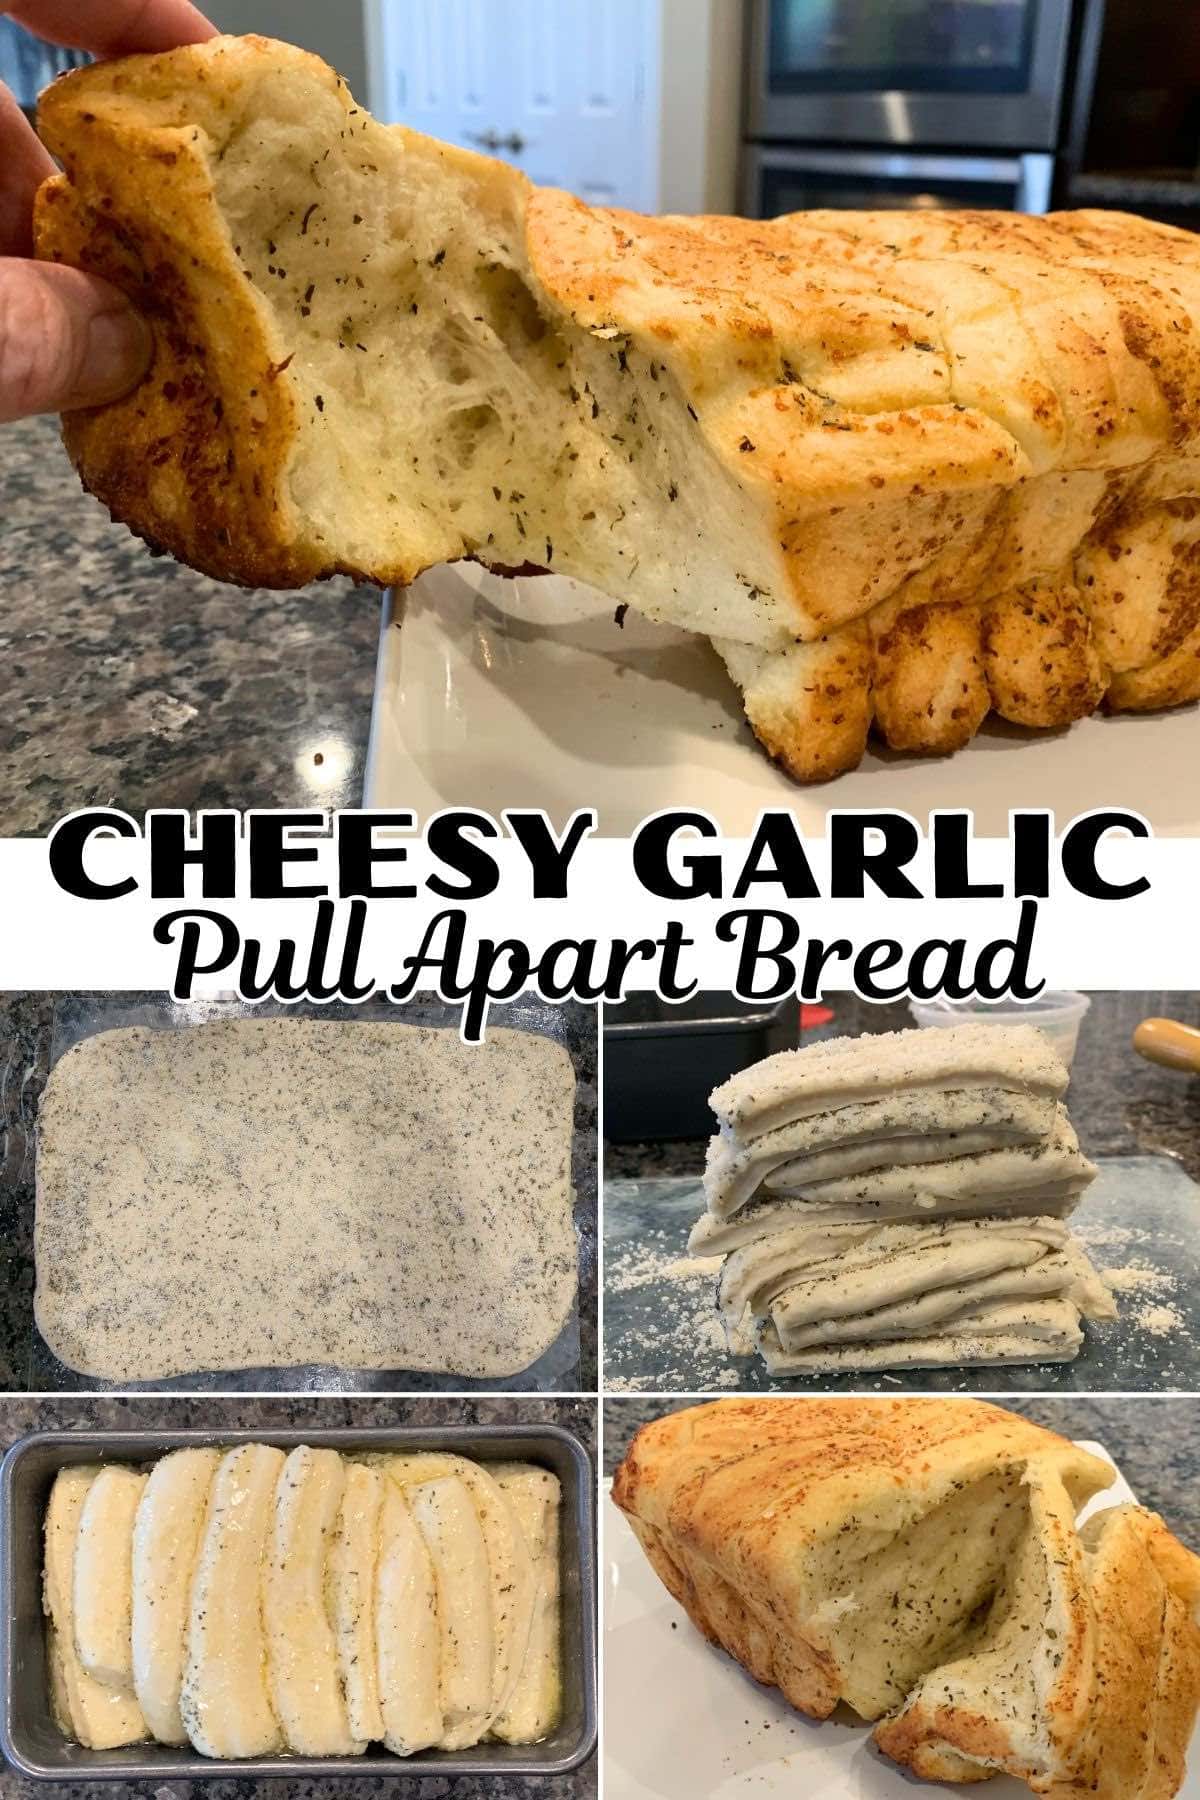
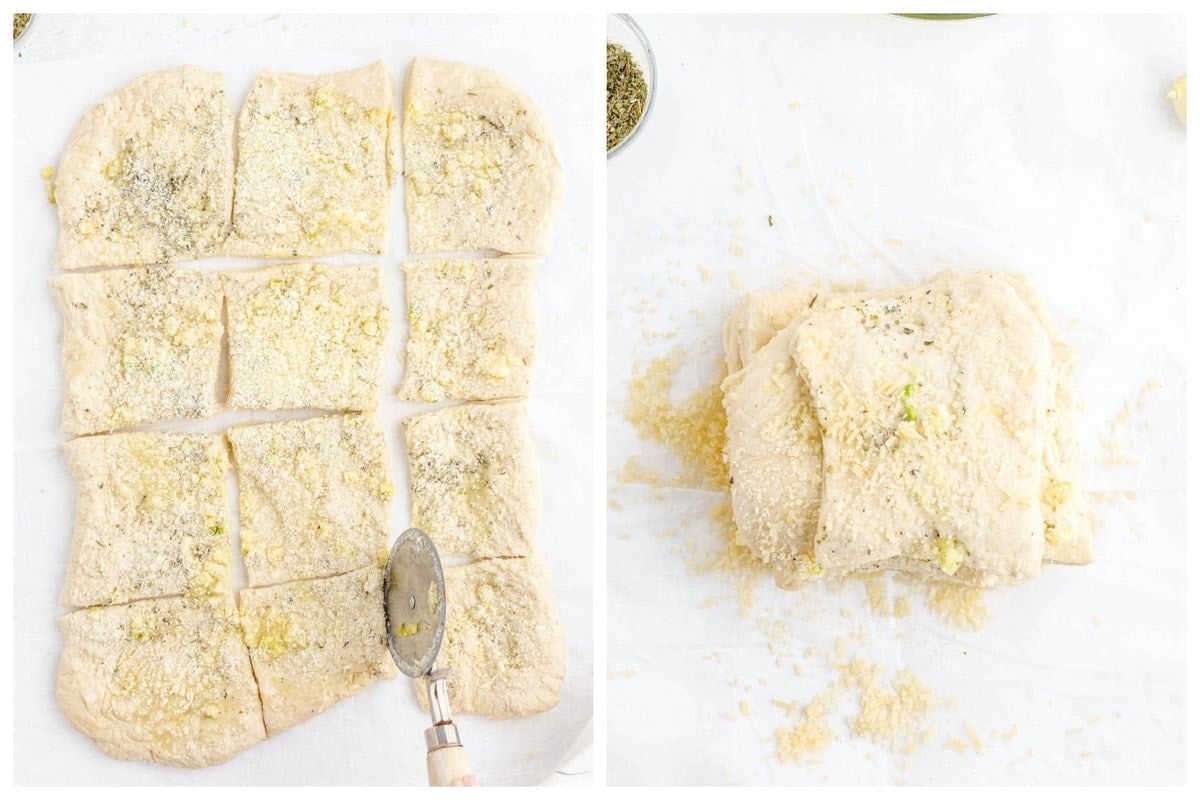
- Spread dough into a rectangle (about 9×12 inches). Brush dough with melted butter. Sprinkle Italian seasoning over top.

- Sprinkle finely minced garlic and parmesan cheese over top.
- Cut the dough into squares about 3×3 inches. Stack the squares on top of each other.
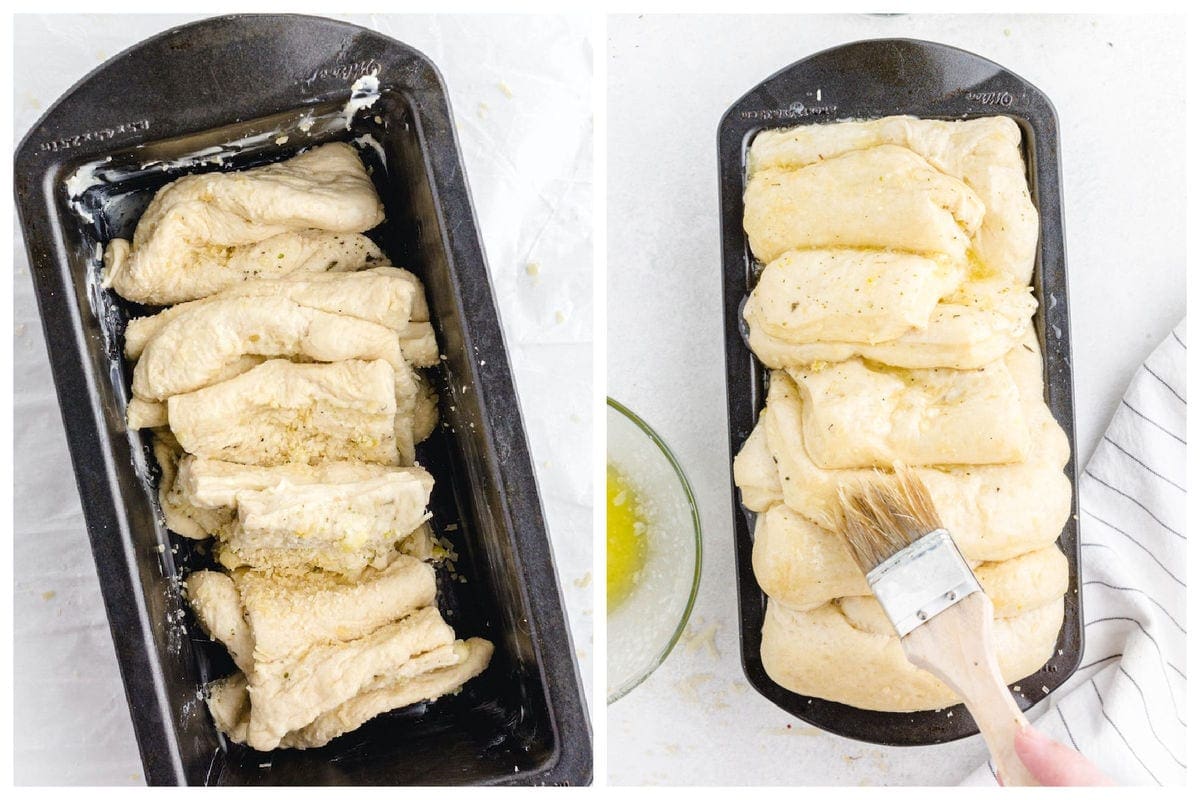
- Turn the stack on it’s side, and place it into the loaf pan. Cover the pan with a cloth and allow it to rise for about 2-3 hours.
Pro-Tip: You want to let the bread rise in a warm, draft-free location to rise. The proof setting on the oven works great. Allow the dough to rise until the stacked layers have puffed up to the top of the loaf pan and filled it completely. Allowing the dough to rise up above the top of the loaf pan will make a really puffy loaf that is easy to pull apart. You will see how the dough slightly resembles a reshaped “loaf”, but be aware that when you place it inside the loaf pan the dough will not fill the whole bottom of the pan until it rises. - Brush bread with more melted butter. Cover loaf pan with aluminum foil and bake for 25 minutes.
- Coat in remaining butter and serve while hot.


How to Store and Reheat Garlic Bread
This bread goes really quick. It’s one of those dishes that you keep coming back for, and before you know it, it’s gone! If you do have any leftovers, cover them with plastic wrap or store in an airtight container for 1-2 days. You can either store this in the fridge or at room temperature. You can enjoy leftovers cold, at room temperature, or pop them in the microwave to heat and soften the bread just a bit.
Serve This Garlic Bread With:
- Everything Bagel Pasta
- Baked Feta Pasta
- Garlic Butter Steak Bites
- Grilled Rib Eye Steak with Ginger Teriyaki Sauce
- Jamaican Jerk Chicken
- Bruschetta Chicken Bake
- Cheesy Garlic Dinner Rolls

Cheesy Pull-Apart Garlic Bread
Ingredients
- 16 oz loaf of frozen or refrigerated bread dough
- ½ cup salted butter melted
- ½-1 tsp Italian seasoning
- 2-3 cloves of garlic minced
- 2-3 tbsp grated Parmesan cheese
Instructions
- Defrost frozen bread dough overnight and/or once dough is thawed, set out at room temperature for at least 1 hour.
- Grease a loaf pan with butter and set aside.
- Use a rolling pin (or your fingers) to spread dough into a rectangle approximately 9”x12” inches. Brush dough heavily with melted butter.
- Sprinkle Italian seasoning over the melted butter.
- Sprinkle finely minced garlic over the dough. (raw garlic will not cook in the center of the bread – if you want a milder flavor, use less garlic, garlic paste, roasted garlic, or even garlic salt. For a stronger garlic flavor, use more garlic.)
- Sprinkle parmesan cheese over the dough.
- Use a pizza cutter or knife to cut the dough into 12 squares, about 3”x3” each. Stack the squares on top of each other, forming a little pile.
- Carefully transfer the stack of dough and lie it on its side in the prepared loaf pan. You can see how the dough slightly resembles a reshaped “loaf”, but the dough will not fill the whole bottom of the loaf pan until it rises.
- Cover the pan with a light dishcloth and set in a warm, draft-free location to rise (the proof setting on the oven works great). Allow the dough to rise until the stacked layers have puffed up to the top of the loaf pan and filled it completely (this could take 2-3 hours).
- Preheat the oven to 375°F.
- Brush the risen bread with more melted butter. Cover the loaf pan loosely with aluminum foil.
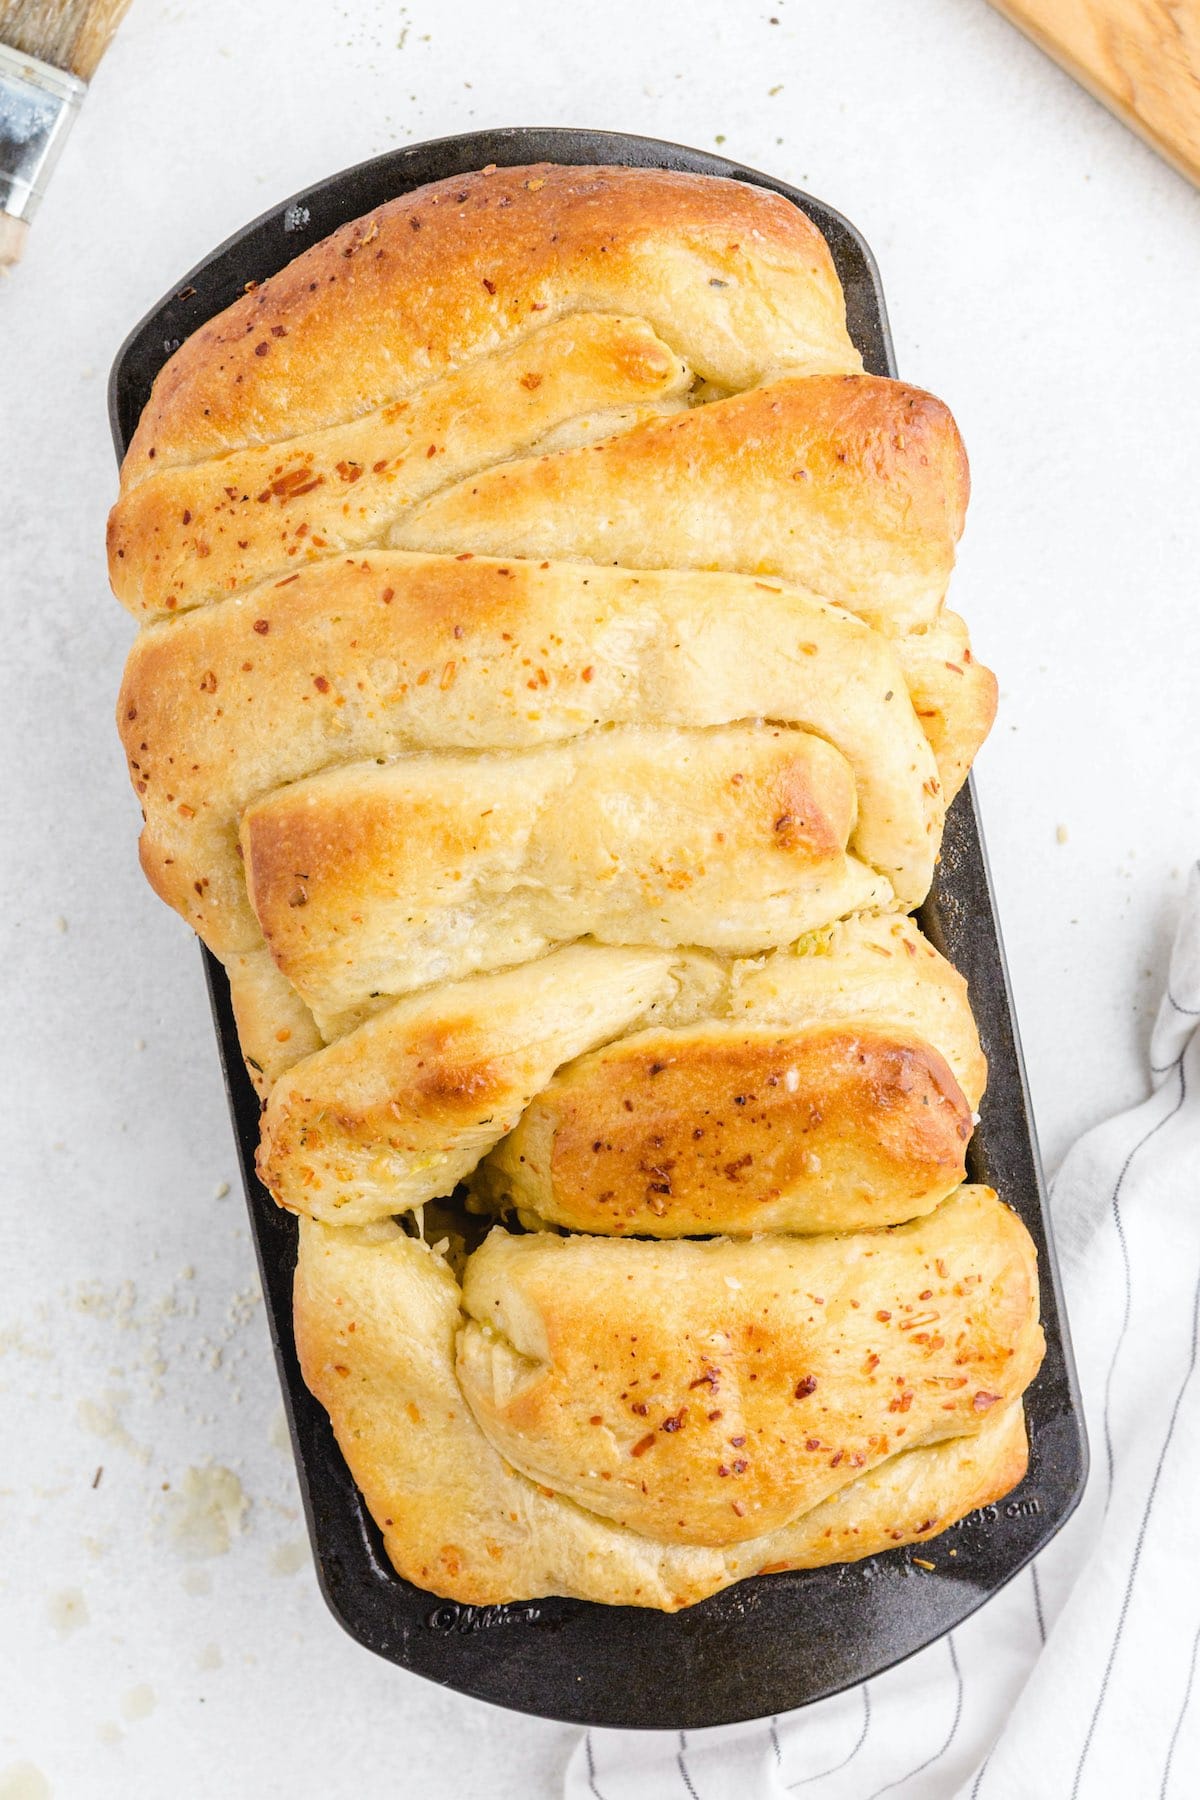
- Bake the bread (covered) for a total of 25 minutes, removing the foil cover for the last 5 minutes of baking.
- Remove from the oven and brush with any remaining butter.
- Serve hot straight out of the pan or remove full loaf from the pan and serve.


This recipe is amazing!!! It tastes so good! It was easy to follow and so flavorful! Thank you!