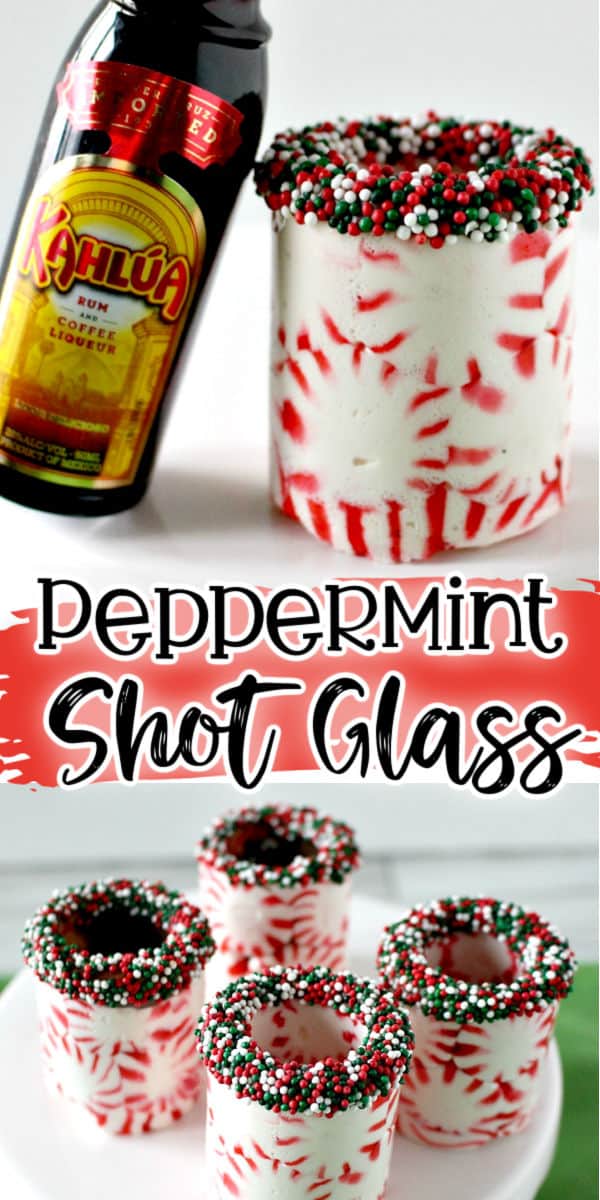
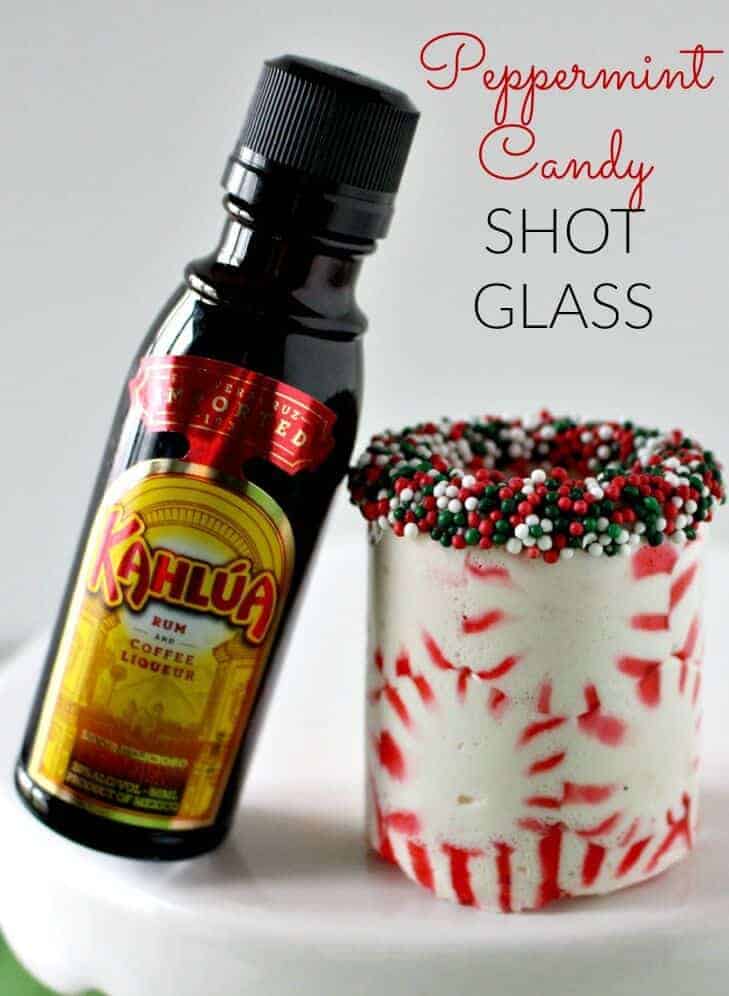
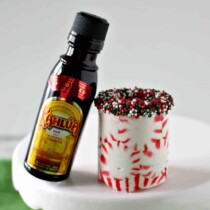
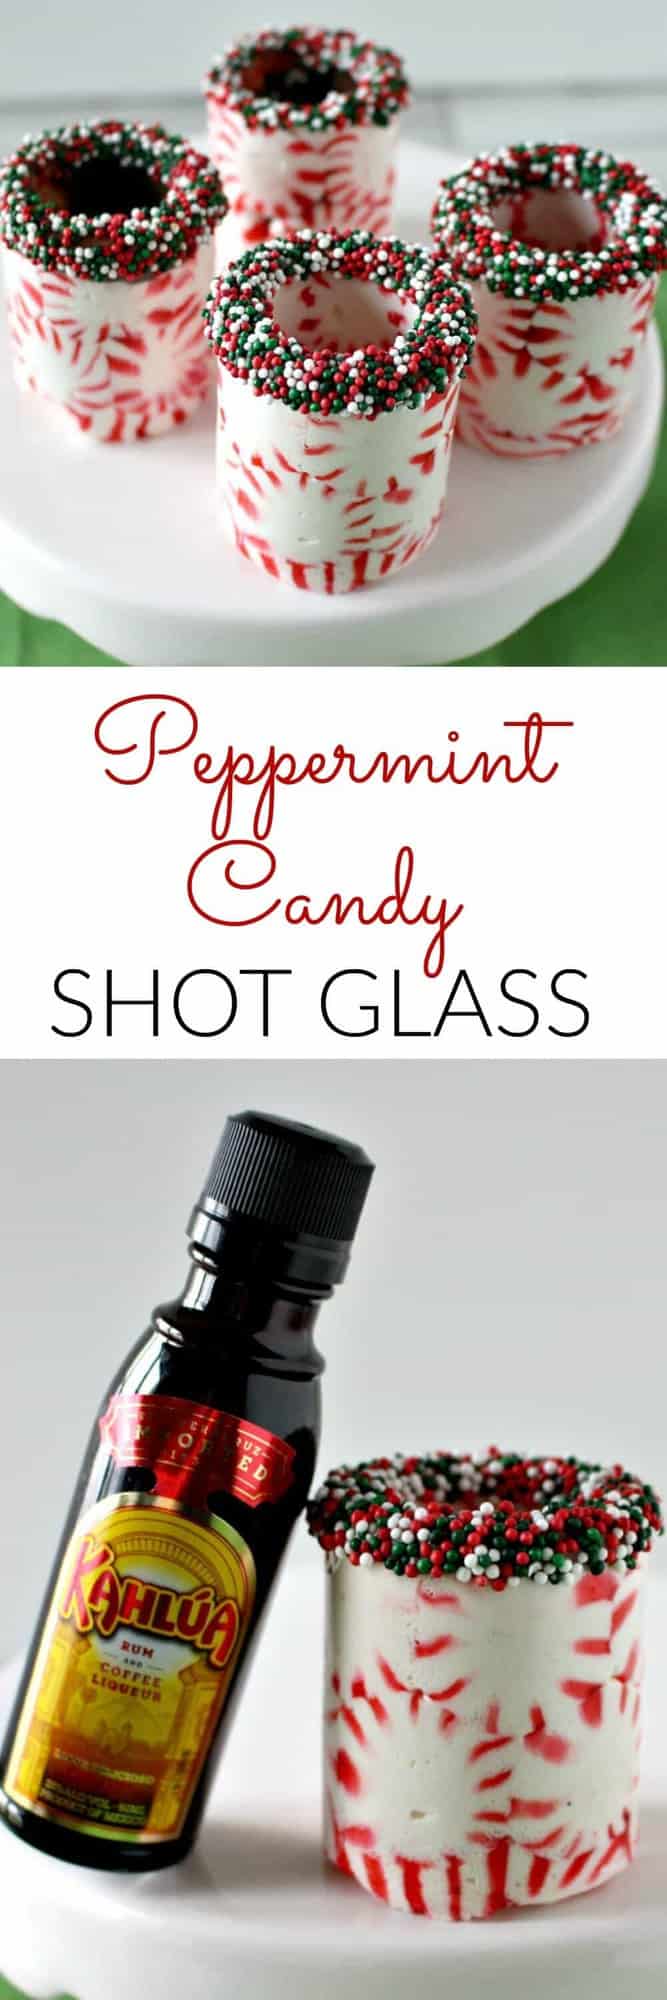
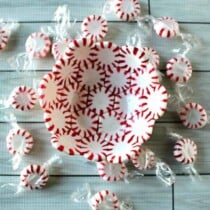
Our Peppermint Candy Shot Glasses are super easy to make and they are the cutest easy DIY Christmas Gift. All you need are peppermint starlight candy and a silicone mold. Great for the holiday season and super fun for New Year’s Eve!
Easy DIY Shot Glasses Made From Peppermints!
Fast forward to a monumental day in my world, the day that my shot glass mold arrived in the mail. The first thing I did was try to make a peppermint candy shot glass using crushed peppermint – fail…too many holes in the glass.
The second thing I tried was using peppermint candy that I had in the house…. fail, they didn’t melt together well.
The next thing I tried was Jolly Rancher Candy – OVER THE TOP WIN (see them here). These worked crazy amazing! But, alas, I still didn’t have my Peppermint Candy Shot Glass.
So today I started thinking about it…. what if it just wasn’t the RIGHT kind of peppermint candy. So I ran to Target, which is my go-to peppermint candy store.
I love the Market Pantry Brand – this is my go-to brand that always works well for me with my peppermint candy bowls and spoons.
And low and behold… they worked!!!
Watch the video for complete how-to, see below for the overall instructions:
I participate in the Amazon Affiliate Program and other affiliate programs. If you click on the links below, I may earn a commission, but the good news is that it won’t cost you anything more!! Did you know that I have an Amazon Shop! All of my favorite products can also be found there!! Click here to go directly to my Amazon Shop!! Enjoy!
What You Will Need
- Silicon Shot Glasss Mold – Here is my link where I got mine and I like this brand.
- Peppermint Candy – I strongly recommend this brand. I have tried others and they just do melt as well as this brand Starlight Peppermint Candy. Each glass will need 13 peppermint candies.
How to make Peppermint Candy Shot Glasses
- Preheat oven to 325 degrees
- Place candy in the shot glass cavity. See recipe card below for detailed instructions for placement.
- Place in oven for approximately 18 minutes.
- Remove from oven and let cool completely. Remove from mold.
TIPS
- See the recipe card below for full and detailed instructions. There are some important notes that will help them turn out perfect!
- I would periodically tap down on the cand with a metal spoon while they were cooking. This helps to settle the candy to the bottom of the mold and push away any bubbles. I did this about every 5 minutes or so.
- A few of my glasses had some tiny holes where the candy didn’t melt enough – I covered the inside of those with melted chocolate to “seal” up any holes.
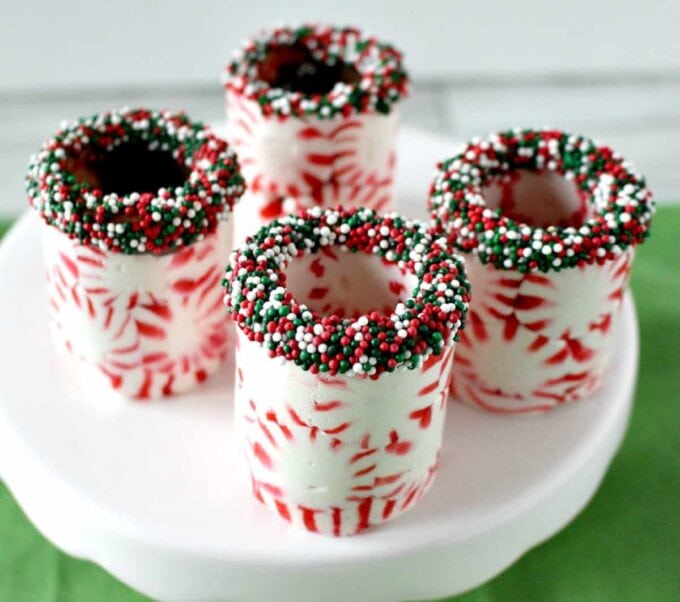
Peppermint Shot Glasses
Ingredients
- 1 Silicon shot glass mold see link above
- 104 Starlight Peppermint Candy Each shot glass will need 13 peppermint candies.
Instructions
- Preheat oven to 325 degrees
- Unwrap the candies (yes, someone actually asked this last time) and place the first five along the bottom of the shot glass cavity. Put the next five on top of the others (I like to alternate them to minimize the spaces). Place 3 on top of the shot glass cavity.
- Place in the oven for approximately 18 minutes. I would periodically tap down on them with a metal spoon to try to settle the candy to the bottom of the mold and push away any bubbles. I did this about every 5 minutes or so.
- Take out of the oven when the candy is completely melted. Inspect around the sides and bottom of the mold and look for any holes. If you see any, push down on the candy with your spoon and return to the oven for a few more minutes.
- Let cool completely
- Push the glasses out of the mold.
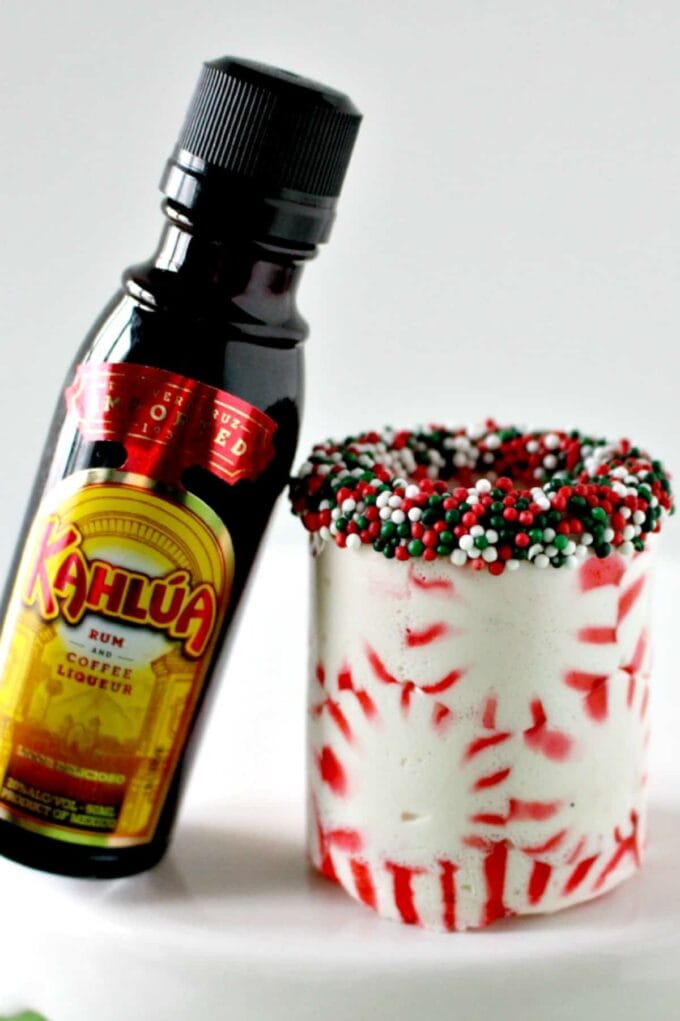
- (optional) Melt some chocolate and dip in sprinkles
Jenn’s Notes
Video


What brand candy? I clicked the link and it took me to Target with nothing…
They stopped carrying it. It was the best for melting!!
How far in advance of a party can I make these and how should I store them until I use them??
Where do I click on the video to make the Peppermint Candy Shot Glass?
Every one came out perfect but it took about 15 to 17 candys per glass it was so good I went and got another mold so now I got two.I’ve even been asked to packaging tbem to sell !!!Today it’s Root Beer Barrells…fun fun fun
Are they sticky on the outside?
Mine are not, but it depends on the humidity in your area. You could also coat it.
I wonder if you use butterscotch candies leave them hollow would this method work for napkin holders ?
Good morning Jen,
I attempted to make the peppermint candy shot glasses last night using your instructions as a guide. Thank you! It was very helpful! I say attempted, because three of my glasses ended up with gaps, so I am thinking about re-heating them tonight and trying to patch the gaps. The molds are really the key, although the challenge is really unwrapping all of that candy. So thanks again – keep up the good work. From one Michigan girl to another – Lisa in Grand Rapids