This post may contain affiliate links. Please read our disclosure policy.
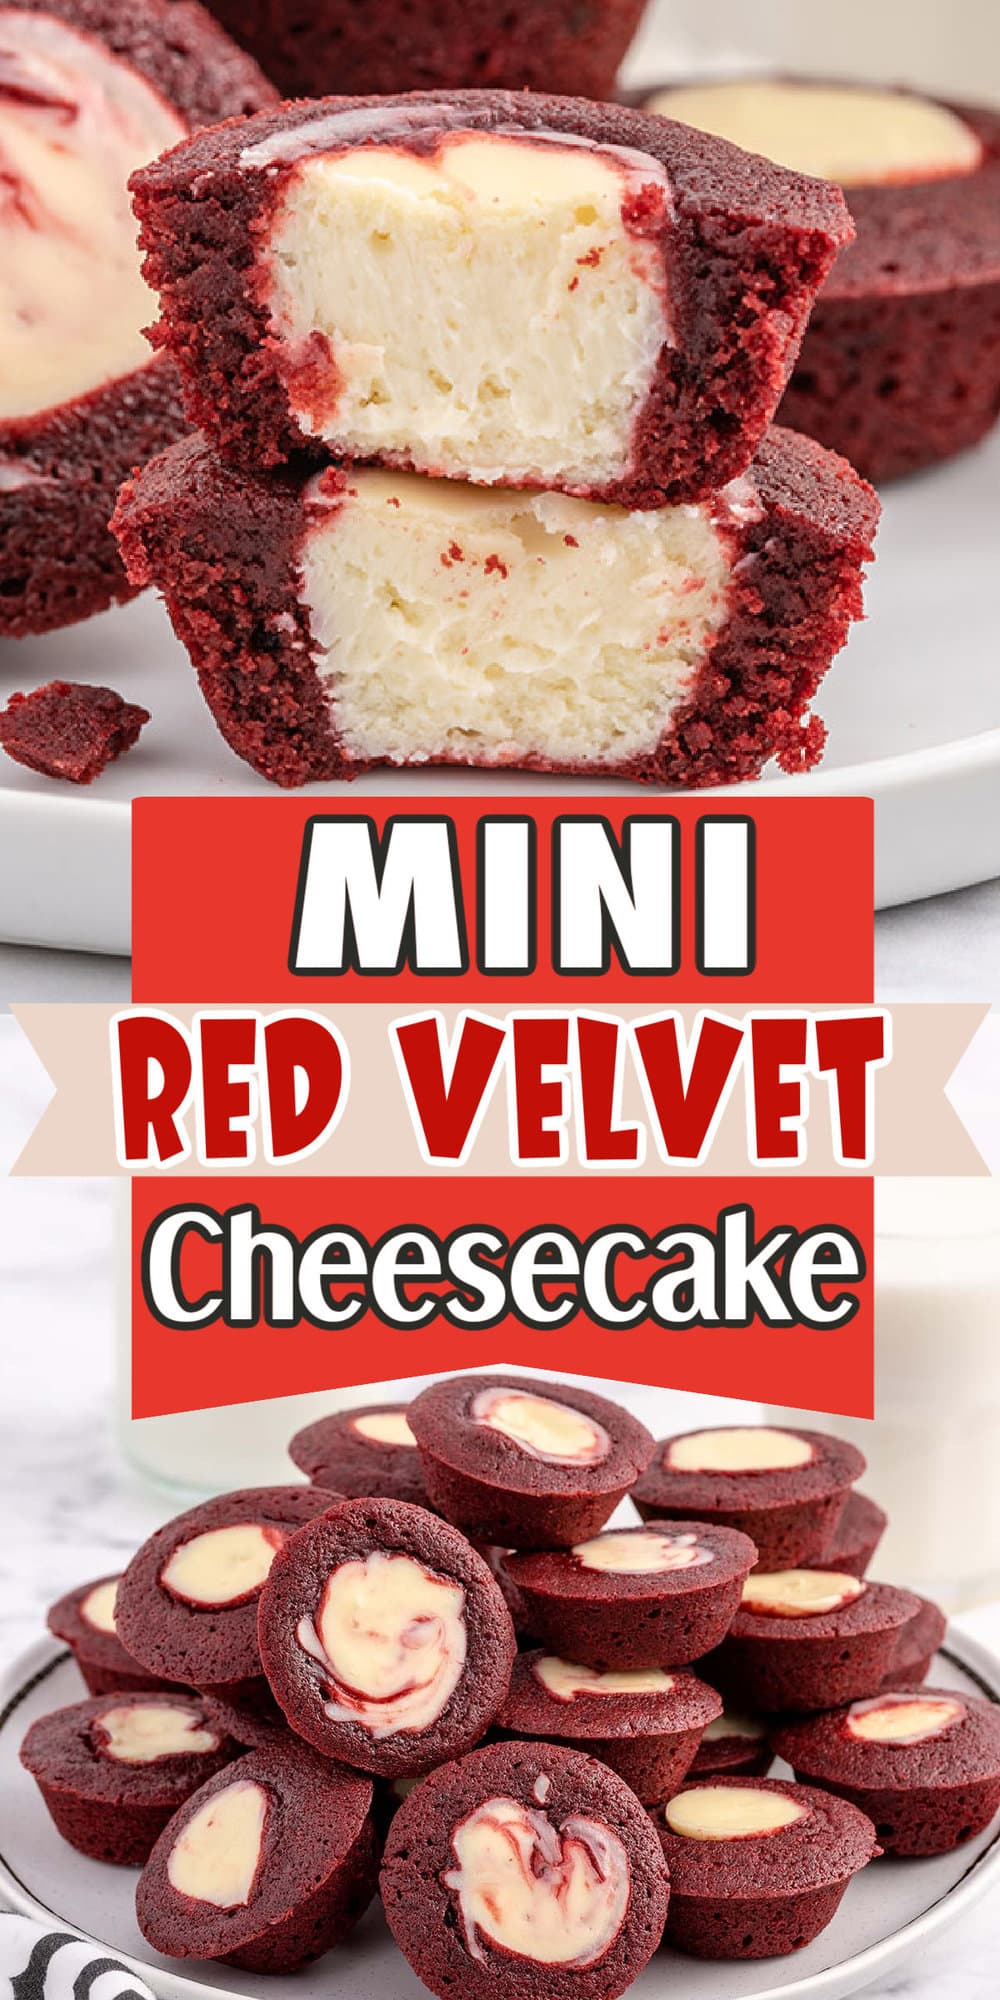
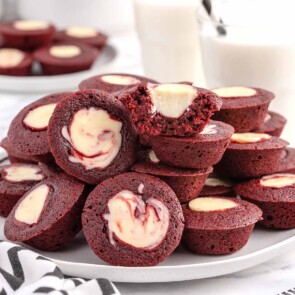
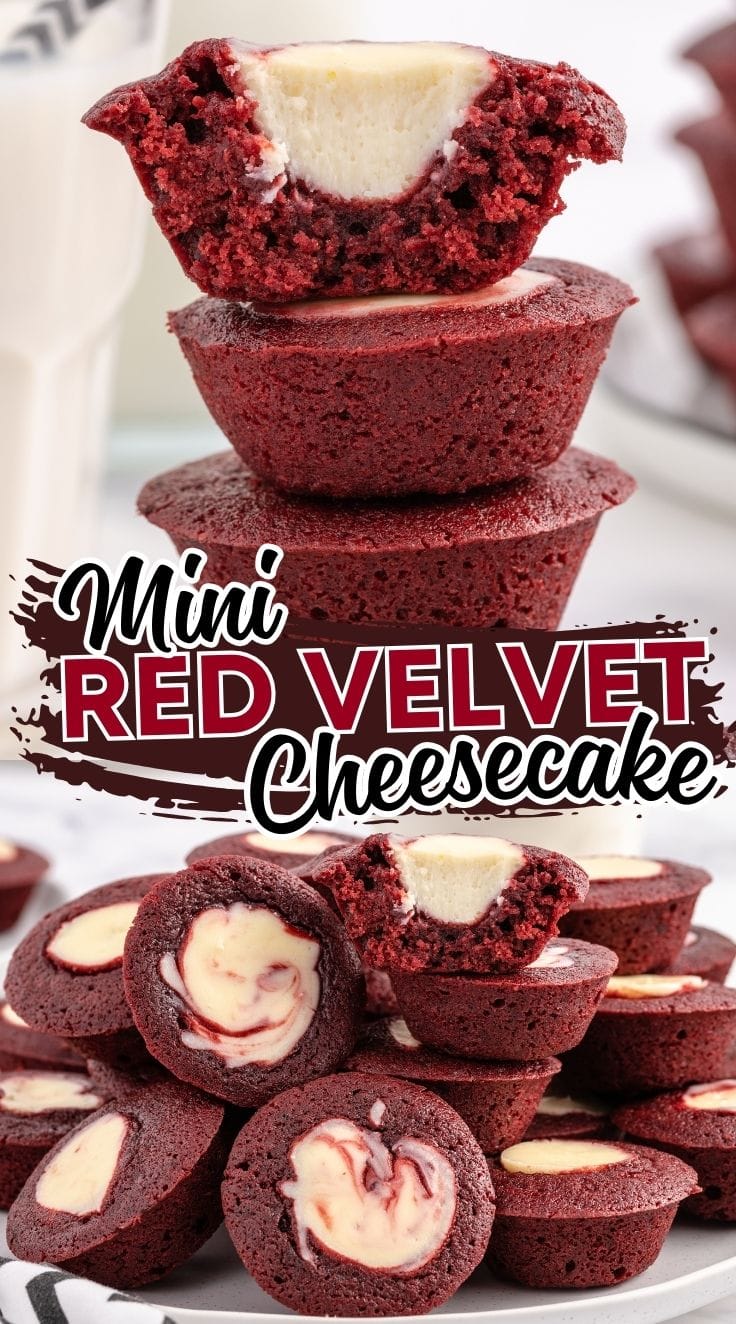
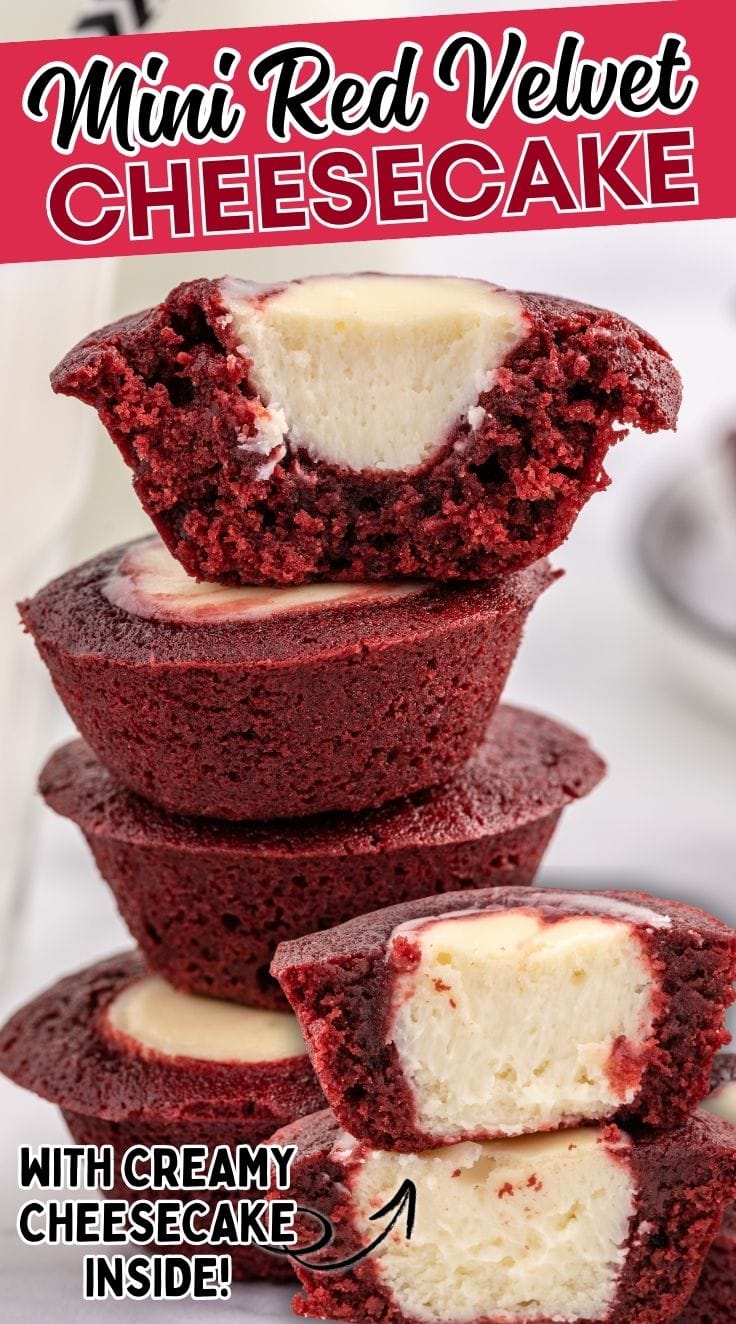
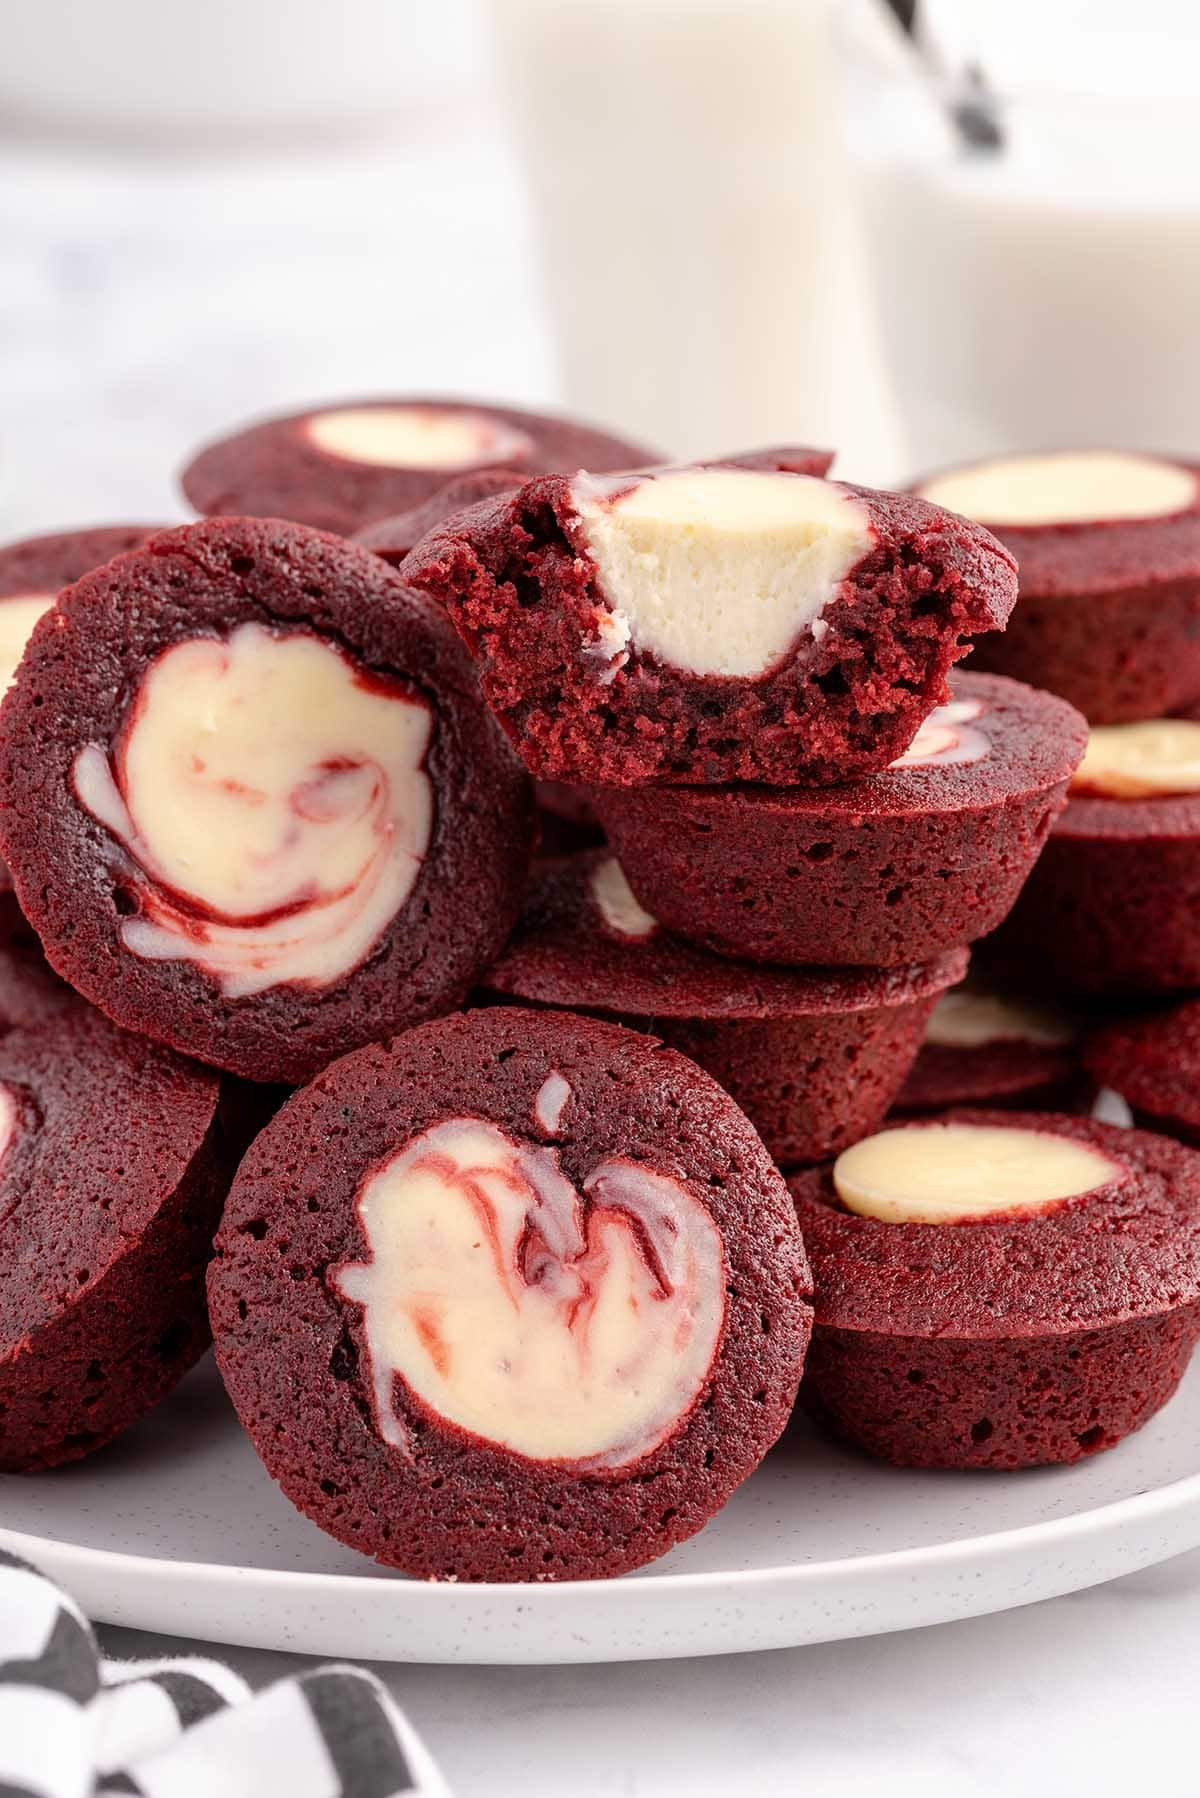
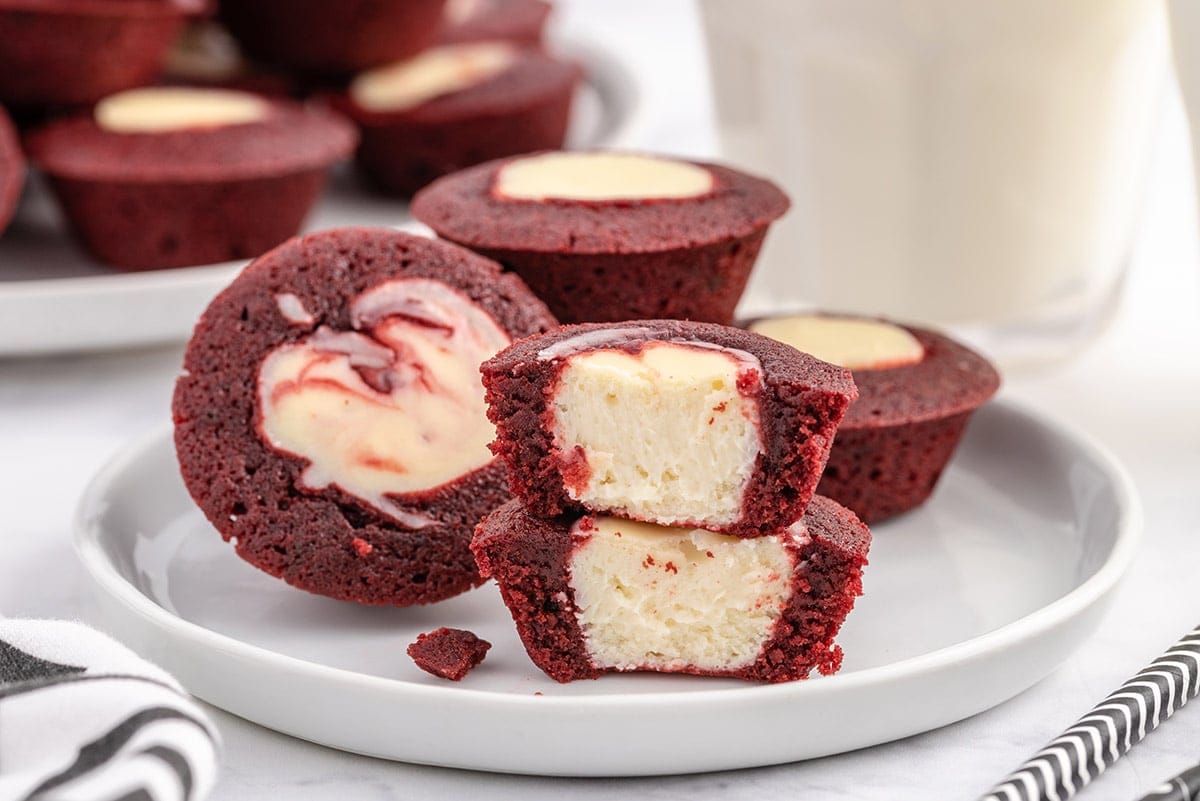
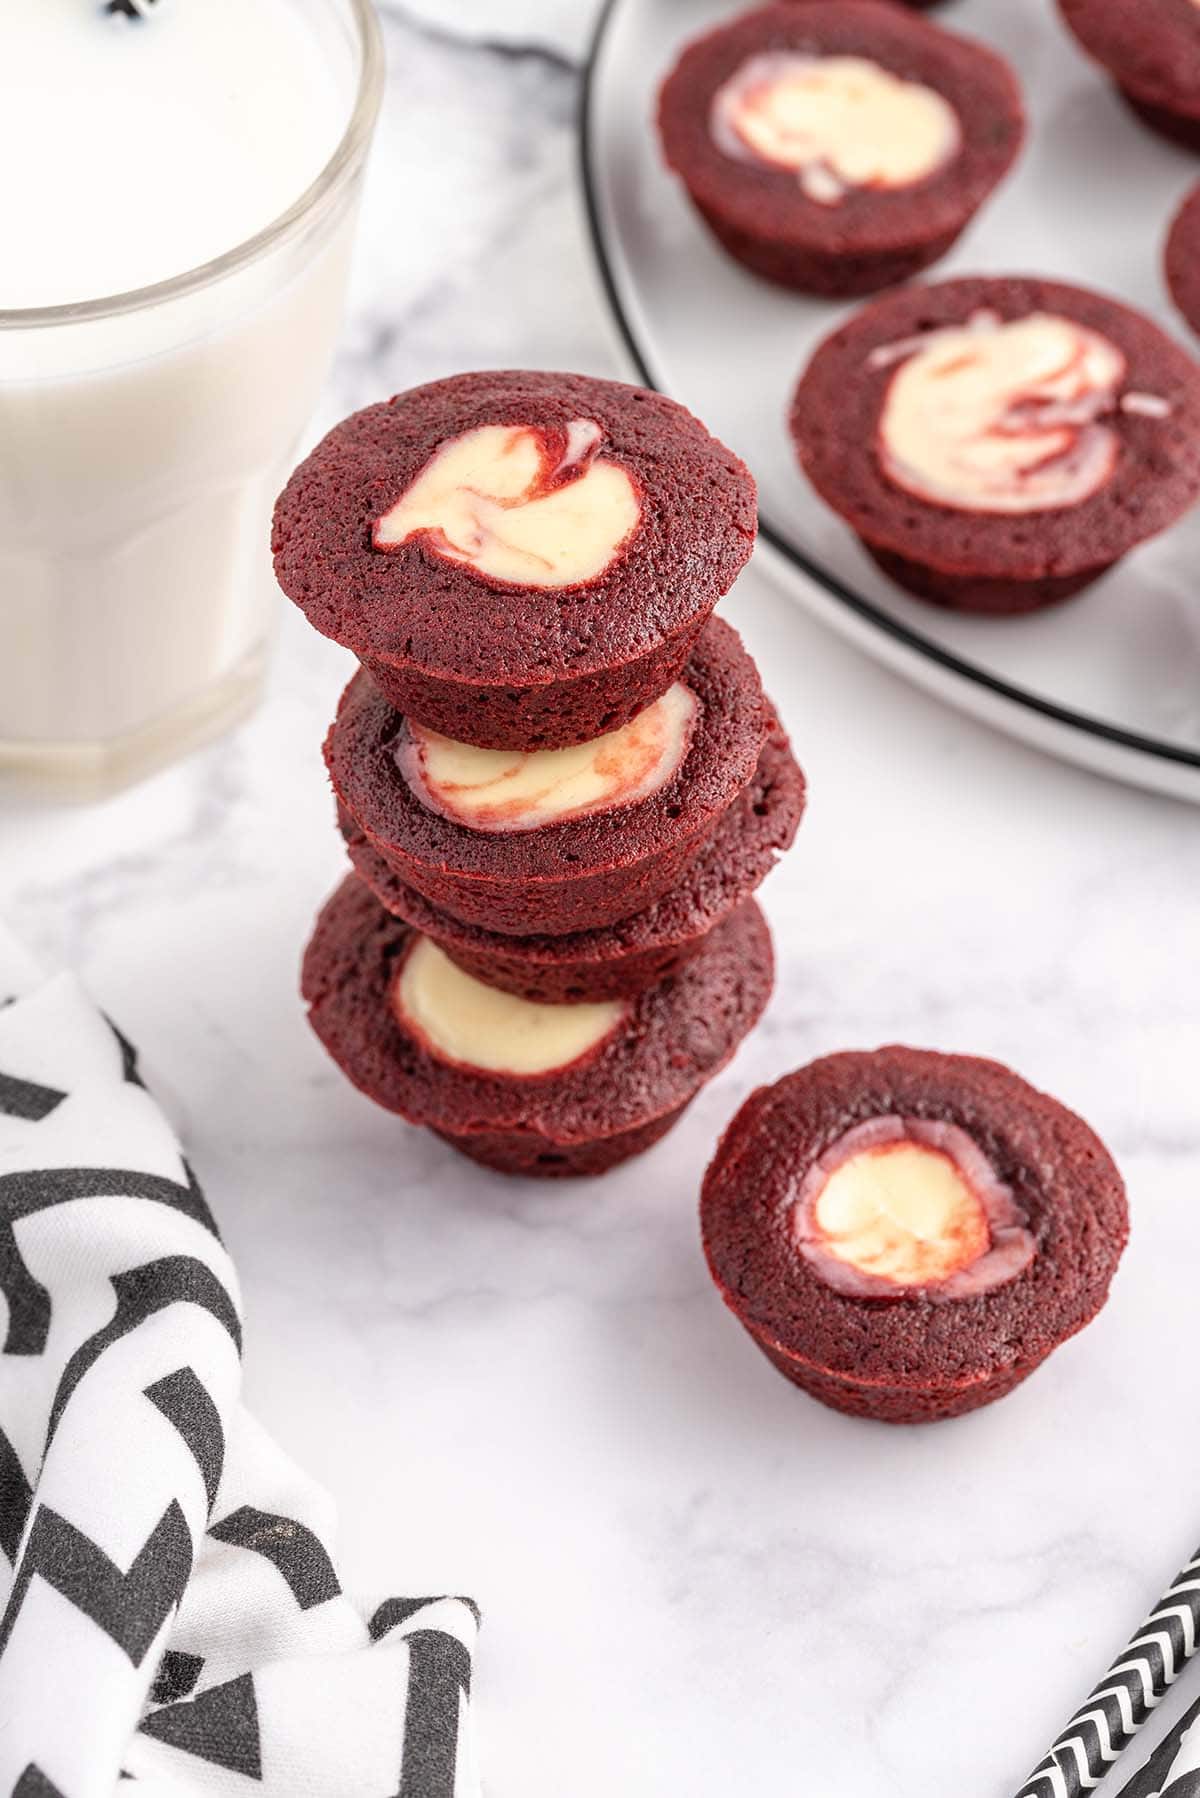
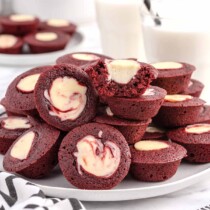
Mini Red Velvet Cheesecakes are filled with the same flavors as a full-sized cheesecake, but these bites have a moist, chewy brownie batter base that’s quickly baked with a creamy cheesecake mixture in the middle.
It is easy to prepare a big batch of perfectly portioned desserts in mini muffin pans (no springform pan or water bath to worry about).

Red Velvet Mini Cheesecake Bites
Our easy Mini Red Velvet Cheesecakes can be made in 20 minutes!
These mini cheesecakes are the cutest bite-sized date night dessert, romantic-red Valentine’s Day confection, or Christmas-colored mini cheesecake, baked in a fraction of the time it takes for its full cheesecake counterpart.
The smooth and silky cheesecake filling is piped right into the middle of the batter so that all the flavors of a classic red velvet cake are baked into each and every bite.
Why We Love This Mini Red Velvet Cheesecake Recipe
- Quick and easy to make.
- Only uses a handful of ingredients.
- Delicious red velvet mini desserts are dyed bright red to resemble red velvet cupcakes.
- Instead of a cream cheese frosting, a cheesecake filling is baked right into the base.
- Perfectly portable for Christmas parties, holiday celebrations, Valentine’s Day dinners, or an any-occasion treat.
Other Easy Cheesecake Recipes

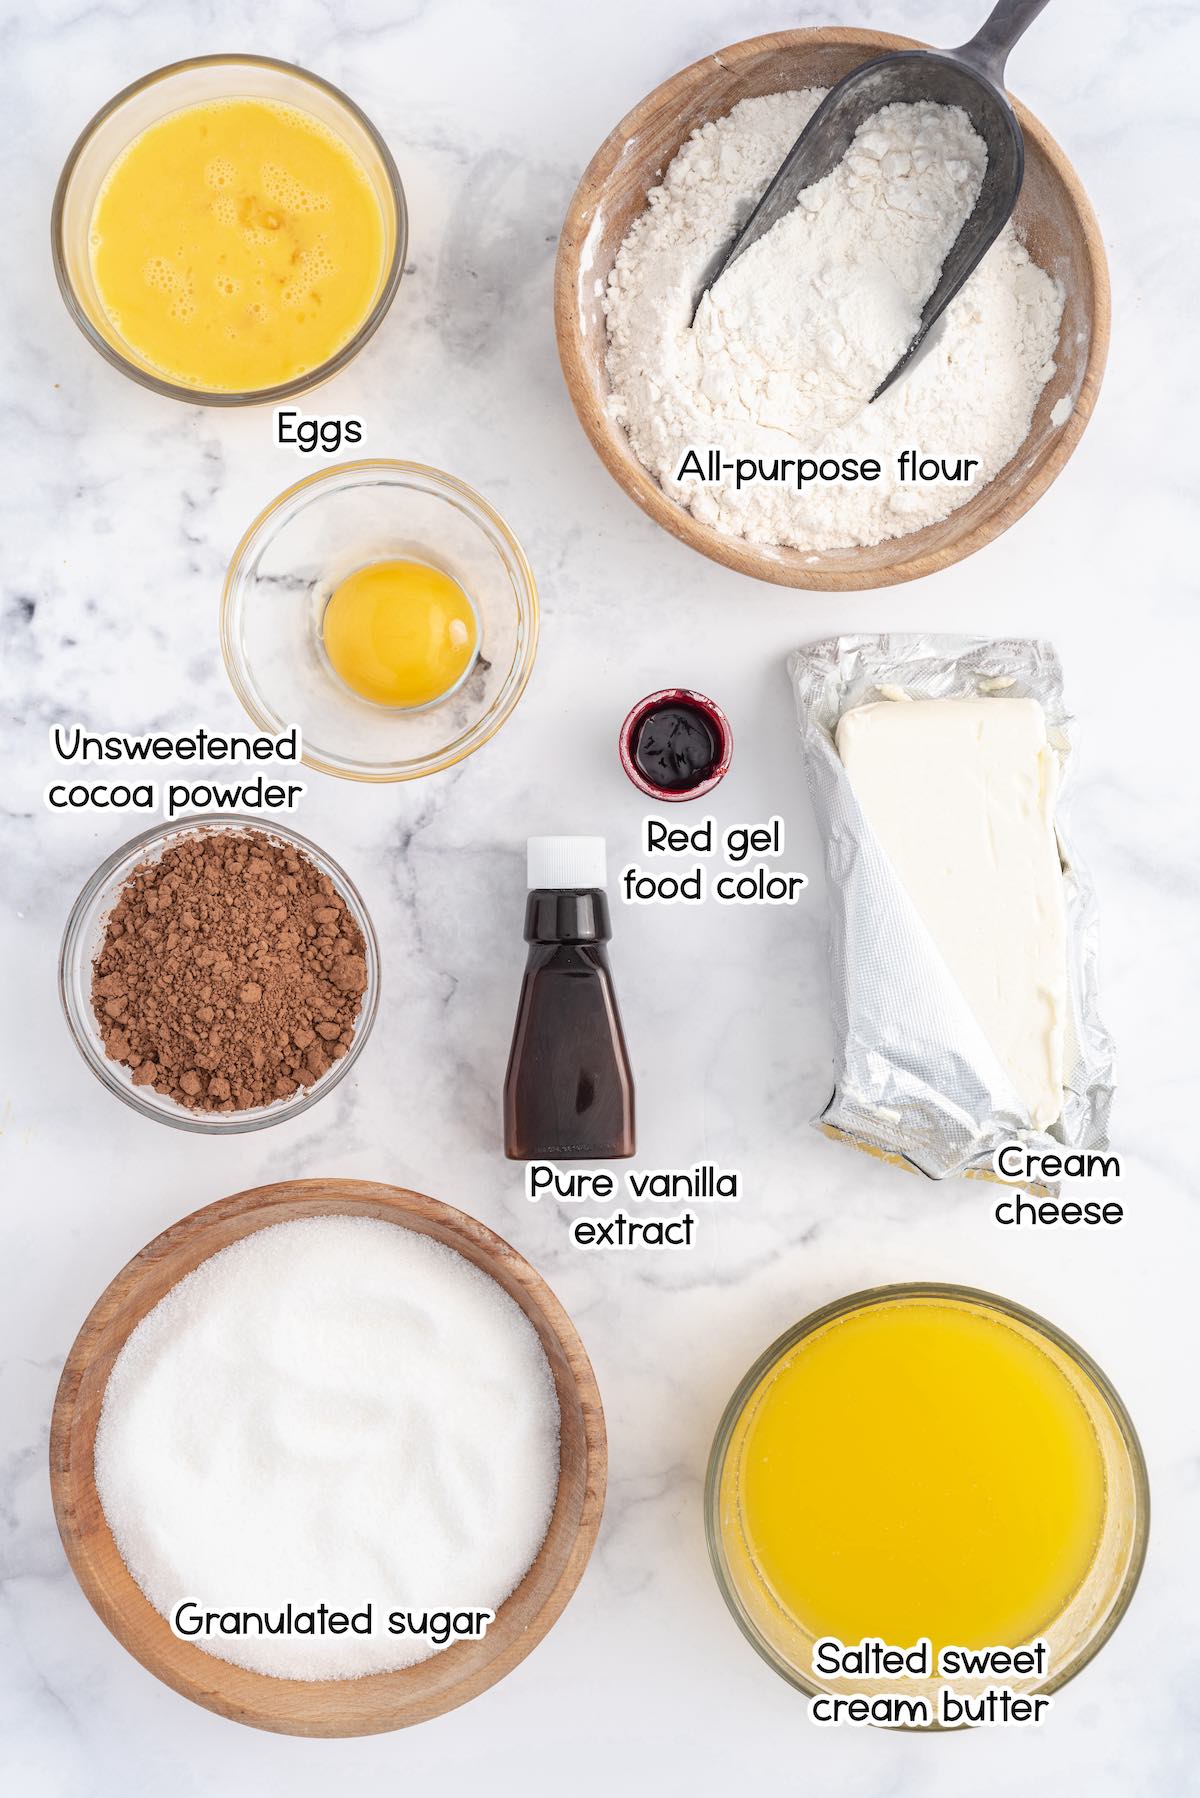
Ingredients for Mini Red Velvet Cheesecake Bites
- All-purpose flour: You can also use all-purpose gluten-free flour to make this a GF dessert.
- Unsweetened cocoa powder
- Salted sweet cream butter
- Granulated sugar
- Red gel food color: I used the Sunny Side Up Bakery brand of red food coloring.
- Pure vanilla extract
- Eggs
- Cream cheese
Substitutions and Additions
- Bake As Bars: Instead of making mini bites, you can pour the batter into a greased and parchment paper-lined baking pan and bake your red velvet cheesecake as bars. Keep in mind that cook times will vary depending on the size of your pan.
- Remove The Red: If you prefer not to use the red food coloring, you can leave it out. You’ll still have a velvety, moist, soft-baked base and creamy cheesecake filling, but just without the red color.
- Make Chocolate Chip Cheesecake: Feel free to add mini chocolate chips to the cheesecake filling for extra chocolate flavor.
Recommended Tools
- Mini muffin pan
- Mixing bowls
- Whisk
- Handheld mixer
- Piping bag or quart-size ziplock bag
How to Make Mini Red Velvet Cheesecakes
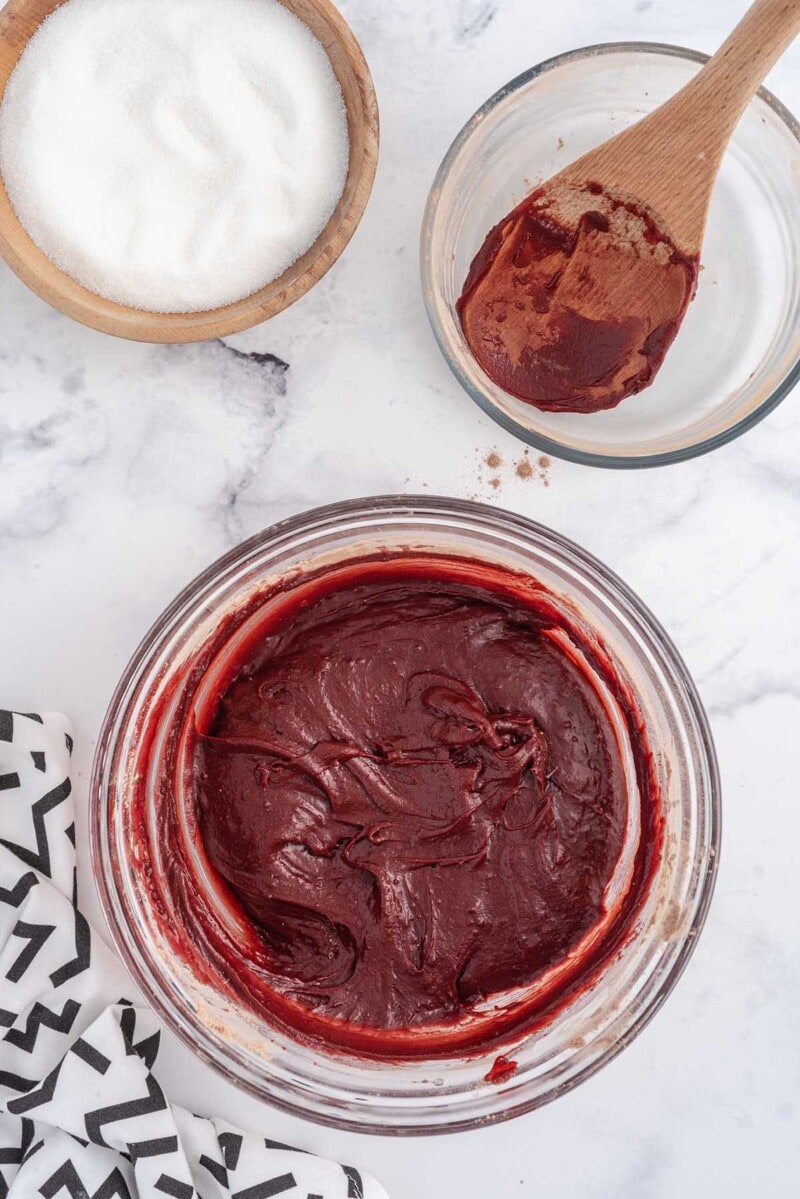
- Make The Dry Mixture: Whisk together the flour and unsweetened cocoa powder and set aside.
- Make The Wet Mixture: Whisk together the melted butter, sugar, red food color, vanilla, and eggs.
- Make The Base Batter: Add the dry mixture to the wet mixture and mix to combine.
- Form The Filling: Beat the cream cheese for 1 minute. Add the sugar and vanilla and mix for another 1-1½ minutes. Add the egg yolk and mix just until no yellow streaks are visible.
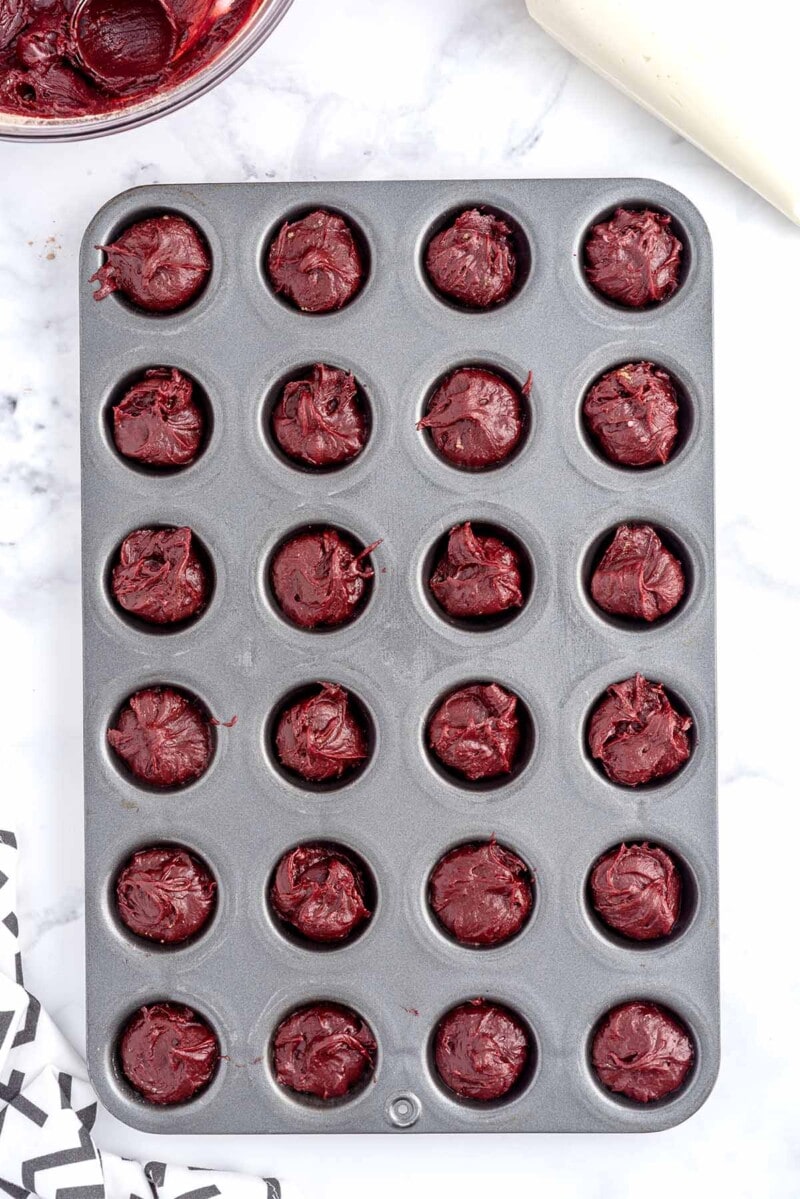
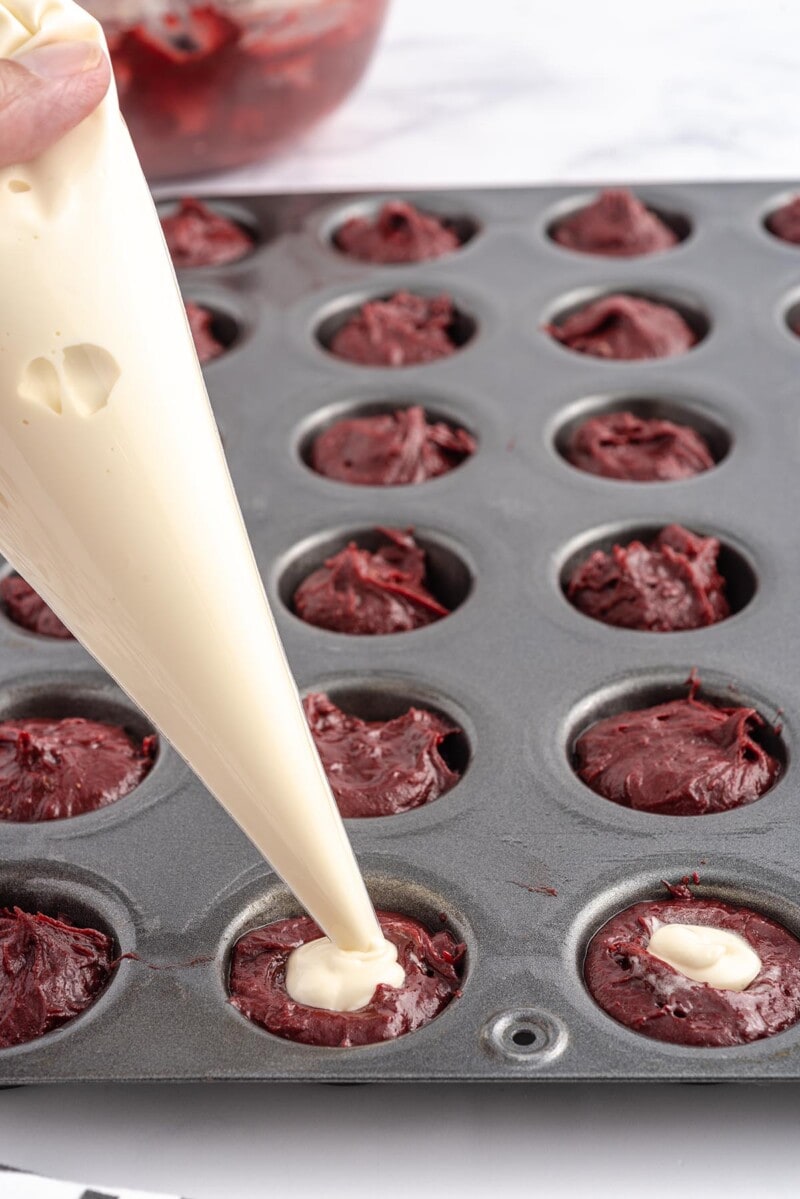
- Pour In The Pan: Fill each muffin tin with batter and pipe the cheesecake filling into the center of each base.
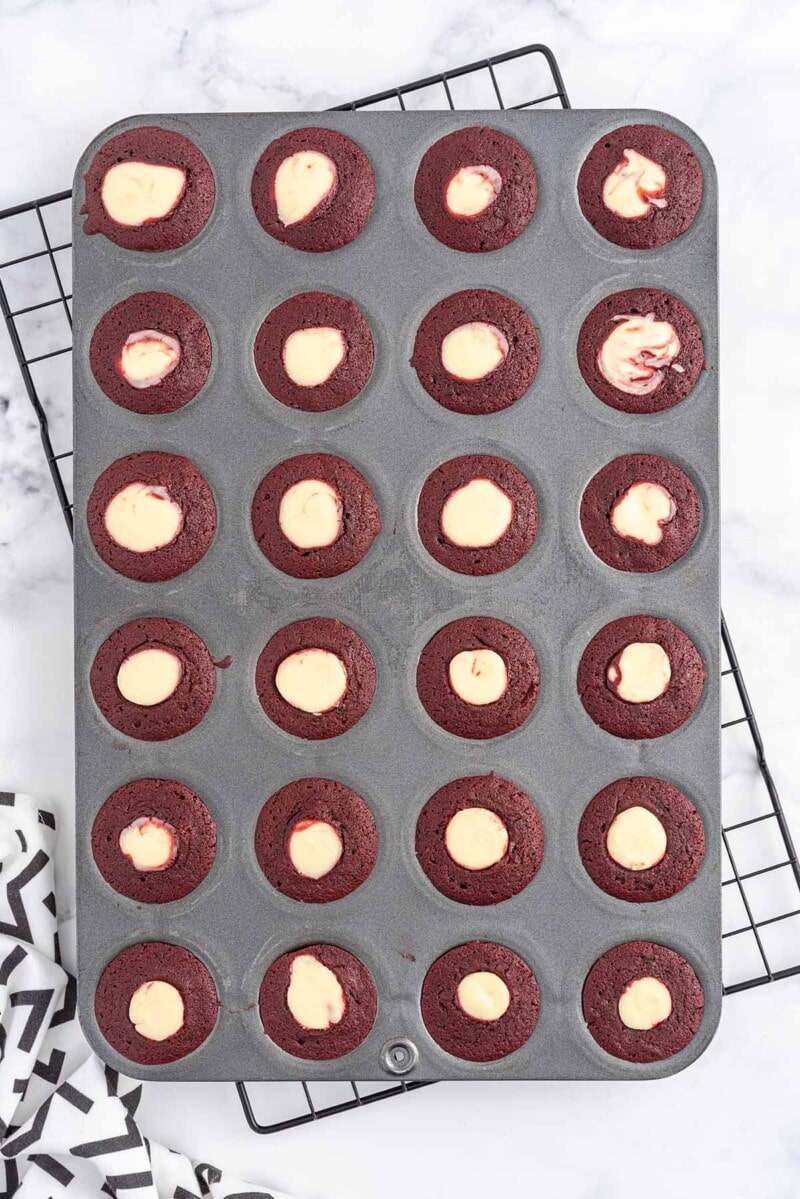
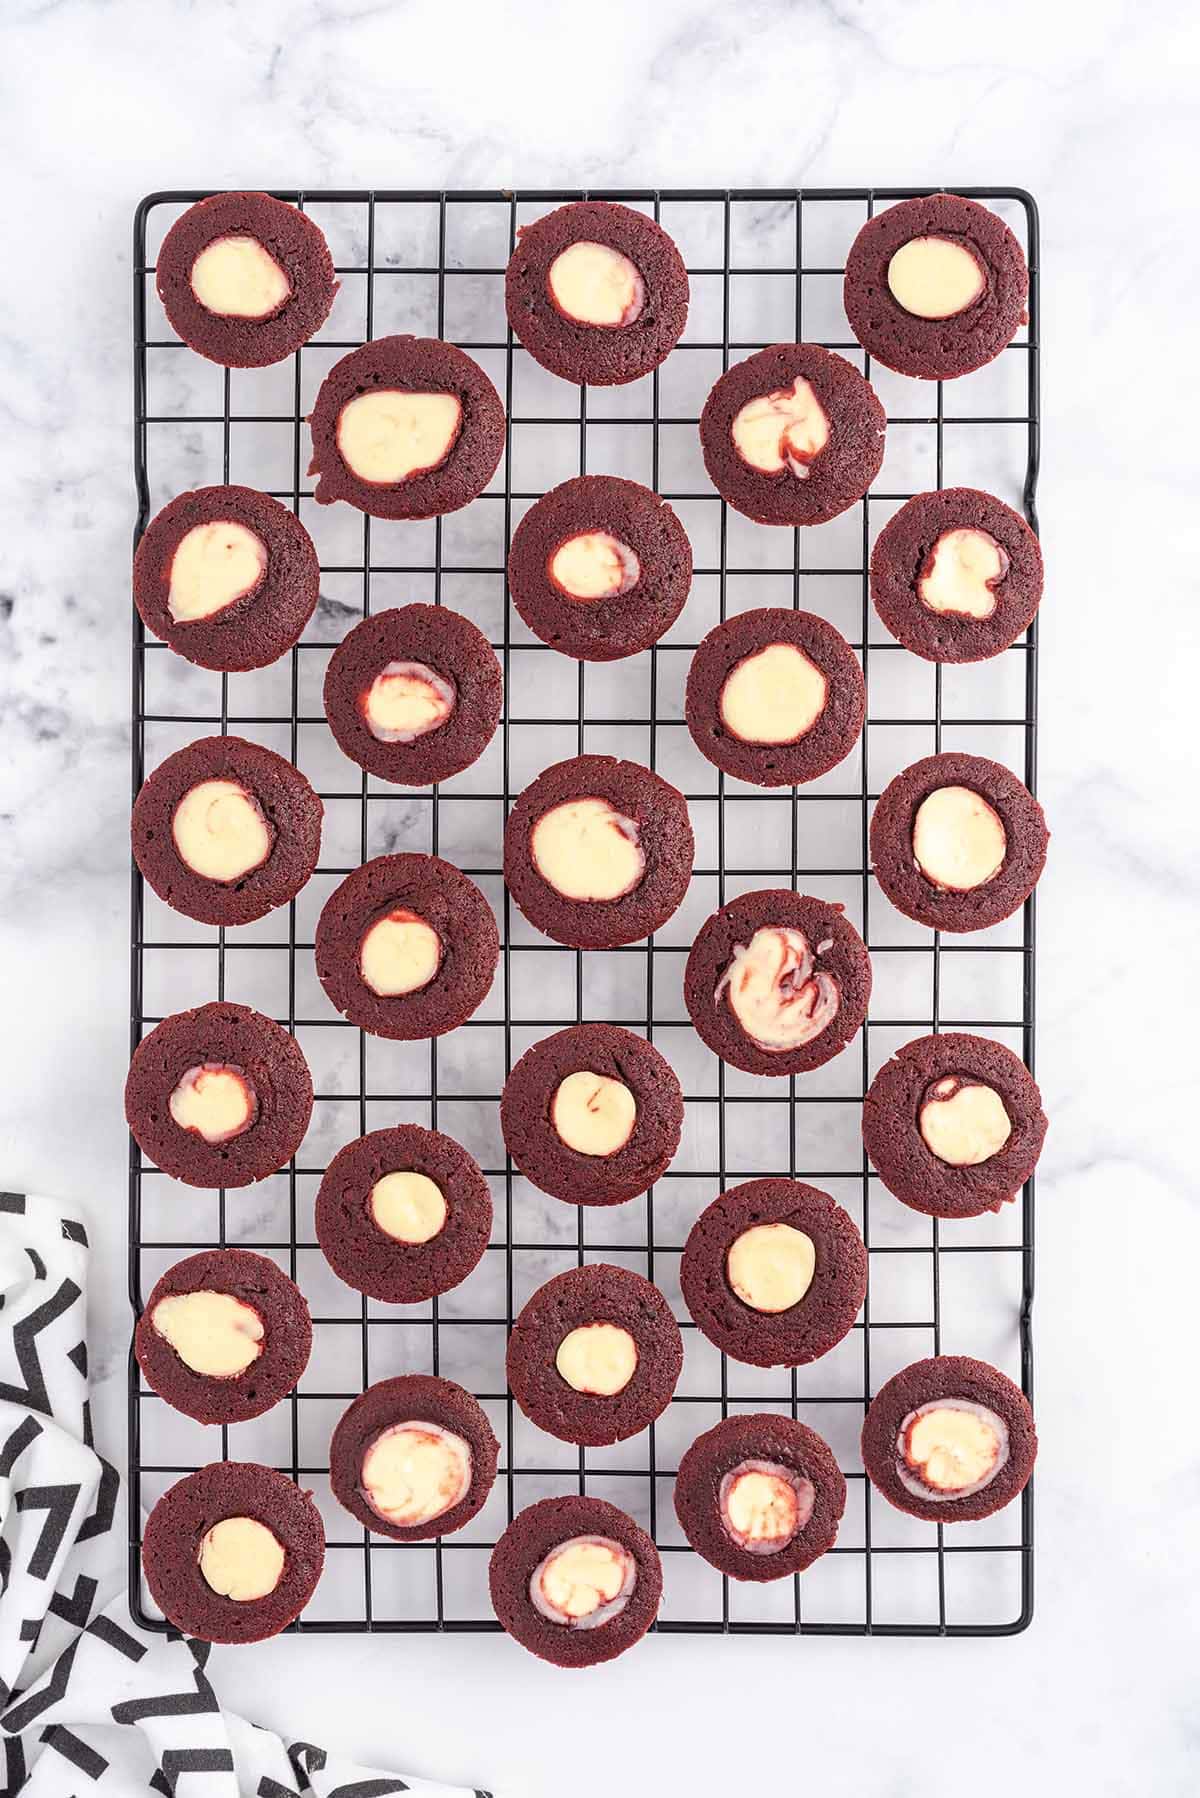
- Bake: Bake at 350 degrees Fahrenheit for 8-9 minutes. Allow the cheesecake bites to cool in the pan for 20-30 minutes, and then transfer them to a wire rack to cool completely.
- Serve: Serve and enjoy!
Tip From Our Recipe Developer
- Make sure to use room-temperature cream cheese so you don’t end up with lumps in your cheesecake mixture.
- You can use a rounded ½ teaspoon to make a small depression in the red velvet base before piping the cheesecake filling. Be sure to dampen the bowl portion of the measuring spoon with oil to keep it from sticking to the base.
- Feel free to spray a tablespoon cookie scoop with nonstick spray before scooping the red velvet base into the mini muffin pan.
- You can substitute unsweetened Dutch cocoa powder for regular unsweetened cocoa powder.
- You can use a toothpick to make a swirl pattern after you pipe in the cheesecake filling.
- Oven temperatures vary and may need to be recalibrated periodically to ensure they are accurate. Make sure to check your cheesecake cups at the lower end of the recommended baking time.
Storage Tips for Mini Cheesecakes
- To Store: Store any leftovers in an airtight container in the refrigerator for up to 5 days.
- To Freeze: You can freeze the bites for up to 2 months. Allow the bites to thaw overnight in the refrigerator.
Other Easy Dessert Recipes
- Turtle Lasagna Dessert
- No Bake Pumpkin Cheesecake
- Christmas Sprinkle Cookies
- Texas Sheet Cake Bites
- Chocolate Covered Cherry Brownie Bombs
- Fruity Pebbles Cheesecake
- Chocolate Chip Cheesecake
Red Velvet Cheesecake Bites
Ingredients
Red Velvet Base
- 1 cup all-purpose flour
- ¼ cup + 1 tablespoon unsweetened cocoa powder
- ¾ cup salted sweet cream butter melted and cooled
- 1¼ cups granulated sugar
- 1 tablespoon red gel food color I used the Sunny Side Up Bakery brand
- 2 teaspoons pure vanilla extract
- 2 large eggs room temperature and beaten
Cheesecake Filling
- 8 ounces package of cream cheese softened
- ¼ cup granulated sugar
- 1 teaspoon pure vanilla extract
- 1 large egg yolk
Instructions
- Preheat the oven to 350°F. Spray a mini muffin pan with nonstick cooking spray. Set it aside.
- Add the flour and unsweetened cocoa powder to a small mixing bowl. Whisk to combine. Set it aside.
- Add the melted butter, sugar, red food color, vanilla, and eggs to a medium-sized mixing bowl. Whisk to combine.
- Stir in the flour mixture. Continue stirring just until the flour mixture is well incorporated. Do not overmix.
- Add the cream cheese to a separate medium-sized mixing bowl. Use a handheld mixer at medium-high speed to beat the cream cheese for 1 minute.
- Add the sugar and vanilla. Mix for another 1-1½ minutes until well combined.
- Add the egg yolk and mix just until no yellow streaks are visible.
- Add the cheesecake mixture to either a disposable piping bag or a quart-size ziplock bag.
- Add 1 tablespoon of the red velvet base to the prepared mini muffin pans.
- Snip the end of the piping bag or ziplock bag off. Squeeze about 2 teaspoons of the cheesecake filling into the center of the red velvet bases.
- Bake for 8-9 minutes. Remove from the oven and allow the cheesecake bites to cool for 20-30 minutes before removing them from the pan and transferring them to a wire rack to cool completely.
Jenn’s Notes
- To Store: Store any leftovers in an airtight container in the refrigerator for up to 5 days.
- To Freeze: You can freeze the bites for up to 2 months. Allow the bites to thaw overnight in the refrigerator.
- Make sure to use room temperature cream cheese so you don’t end up with lumps in your cheesecake mixture.
- You can use a rounded ½ teaspoon to make a small depression in the red velvet base before piping the cheesecake filling. Be sure to dampen the bowl portion of the measuring spoon with oil to keep it from sticking to the base.
- Feel free to spray a tablespoon cookie scoop with nonstick spray before scooping the red velvet base into the mini muffin pan.
- You can substitute unsweetened Dutch cocoa powder for regular unsweetened cocoa powder.
- You can use a toothpick to make a swirl pattern after you pipe in the cheesecake filling.
- Oven temperatures vary and may need to be recalibrated periodically to ensure they are accurate. Make sure to check your cheesecake cups at the lower end of the recommended baking time.


Is the center supposed to have a cheesecake texture? Because my centers came out creamy.
Soooo good! Can’t wait to make these again. Had to bake for 12 minutes.
Delicious! One of my favorite desserts. However I’ve made these bites 5 times now and they have never been done in the 9 minute suggested cook time and come out raw in the center still. Every time I’ve had to cook them 11-13 minutes.
I am going to make these for the first time and want to use a writing gel to draw on center part. Should I bake them first or put on before baking?
Thank you
Hi Claire, you for sure want to bake it and let it cool completely before writing on or decorating it! Enjoy!
Made these twice and both times they were a huge hit. Only issue i had is after 9 min they were still raw. I ended up cooking them for 25 min. I used mini muffin pans and cupcake paper.
I have made these a few times and they are a huge hit with everybody. they are absolutely delicious
Maybe you just have a sh*t oven
Would give zero stars if I could. These DO NOT WORK. I followed the directions exactly and first of all, they do not yield 42. Second of all, they take WAY longer to bake than 9 minutes. I had mine in the oven for 25 and they are still RAW.
Did you use a mini muffin pan or a full sized muffin pan?
How rude of you!