This post may contain affiliate links. Please read our disclosure policy.
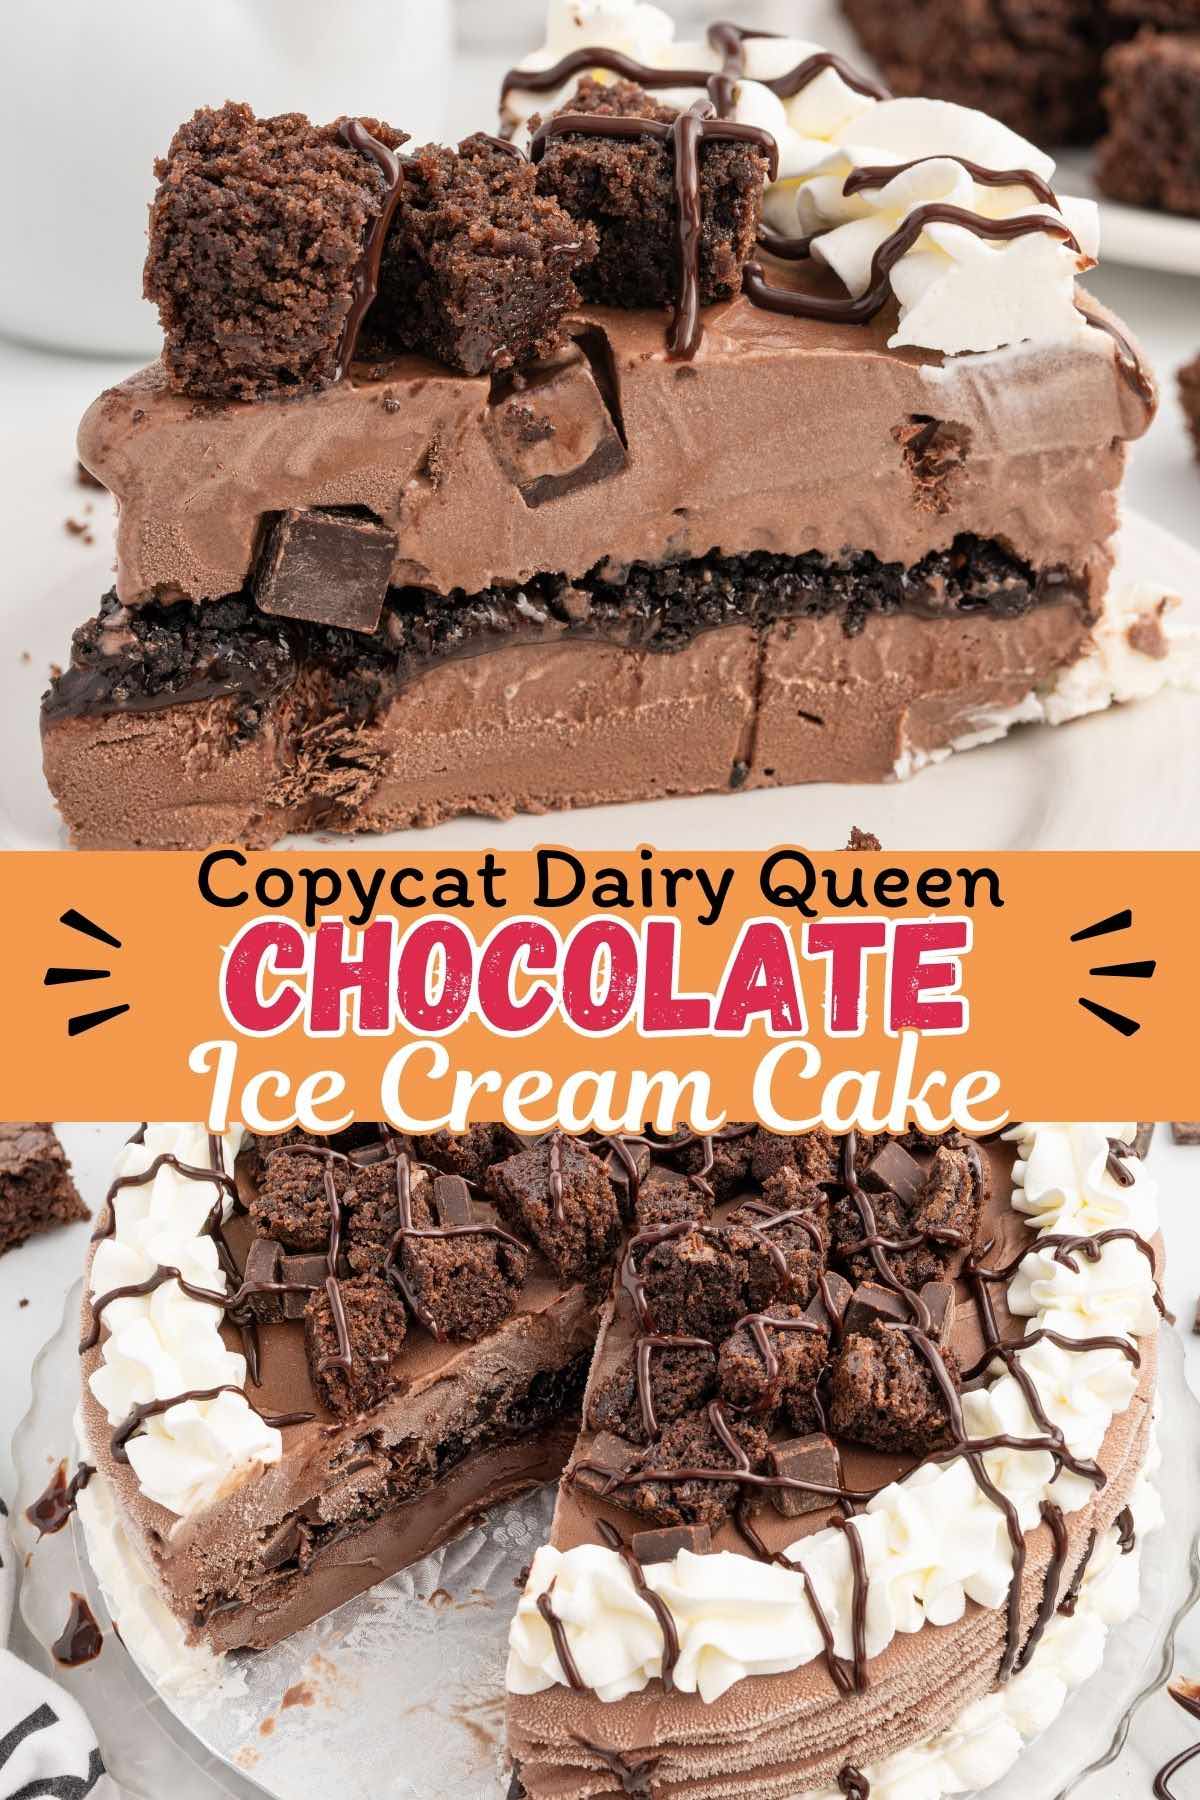
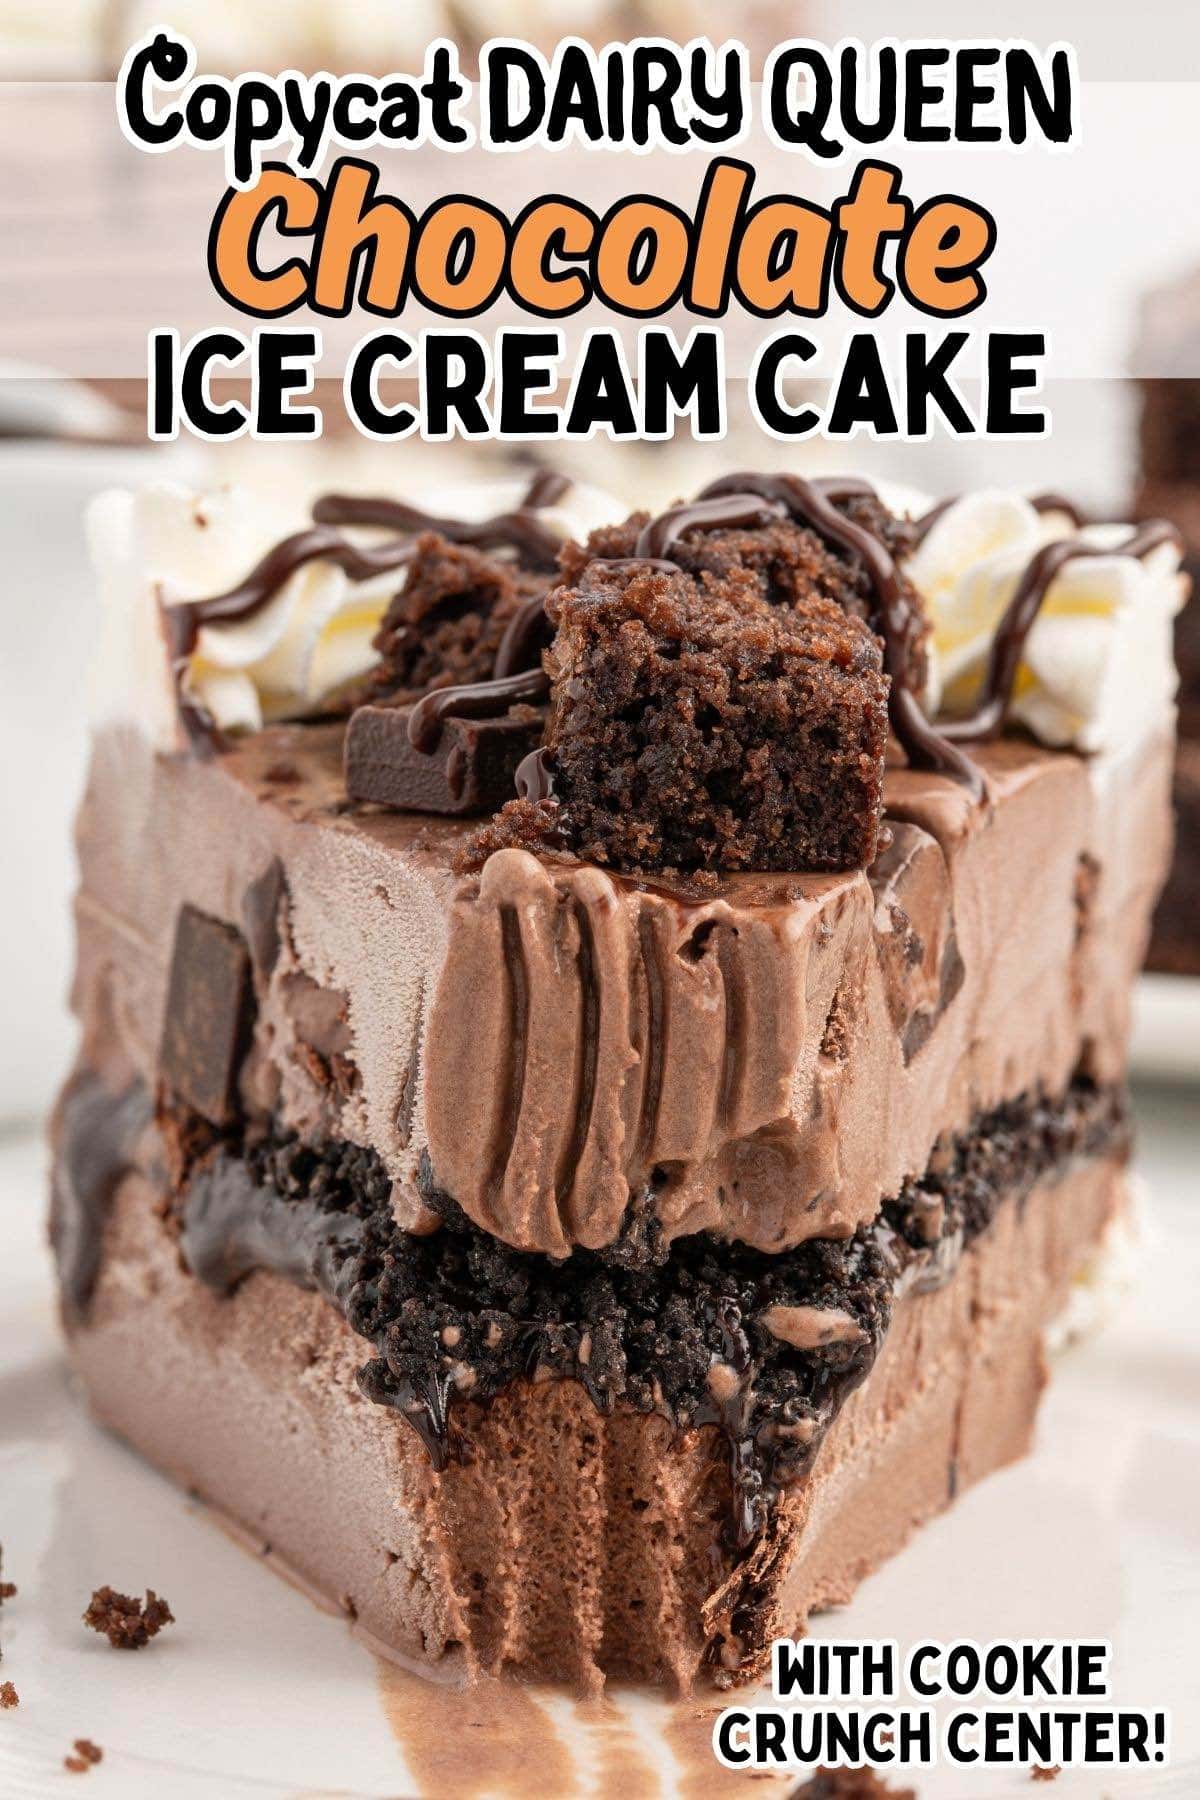
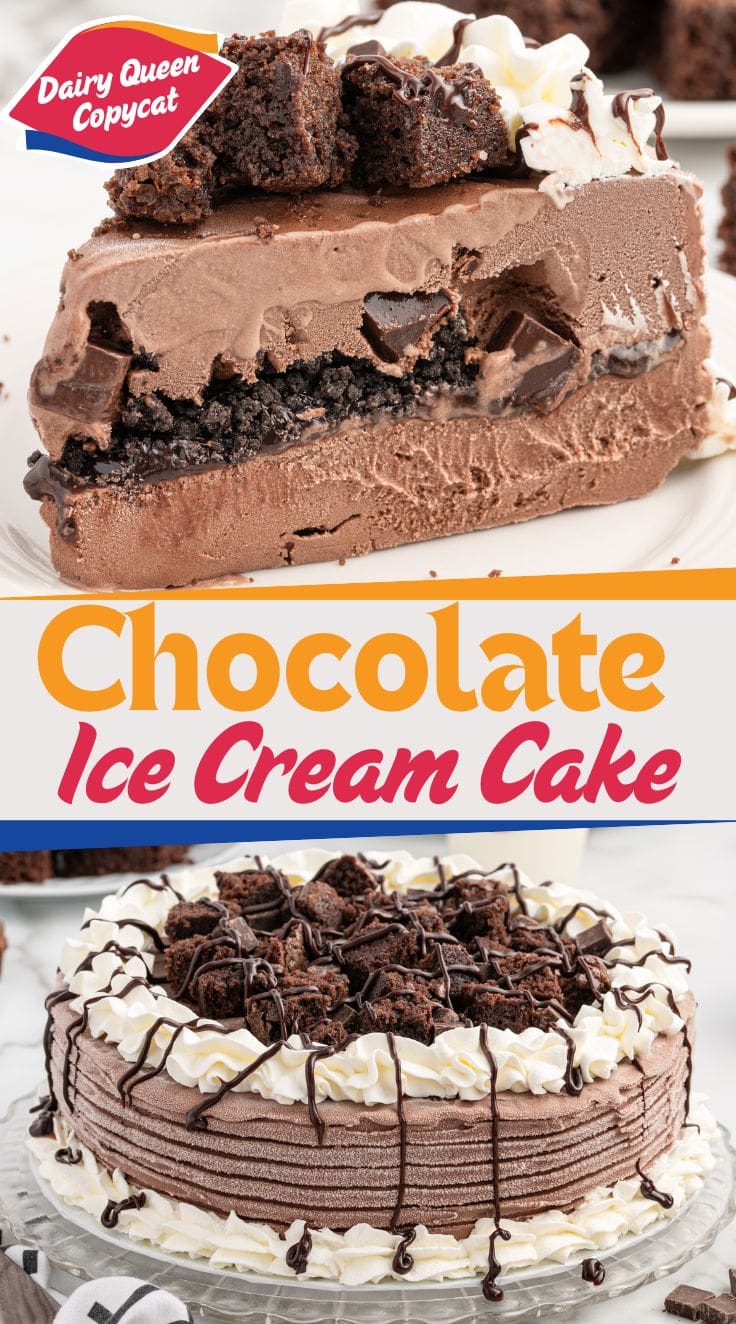
When it comes to a copycat Dairy Queen Chocolate Ice Cream Cakes, I’ve got you covered. I’ll show you all the secret tips and tricks to make a homemade version that tastes just like a Choco Brownie Extreme Blizzard Treat but served as a slice instead of scooped with a spoon.
Copycat Dairy Queen Ice Cream Cake
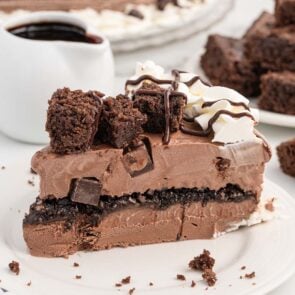
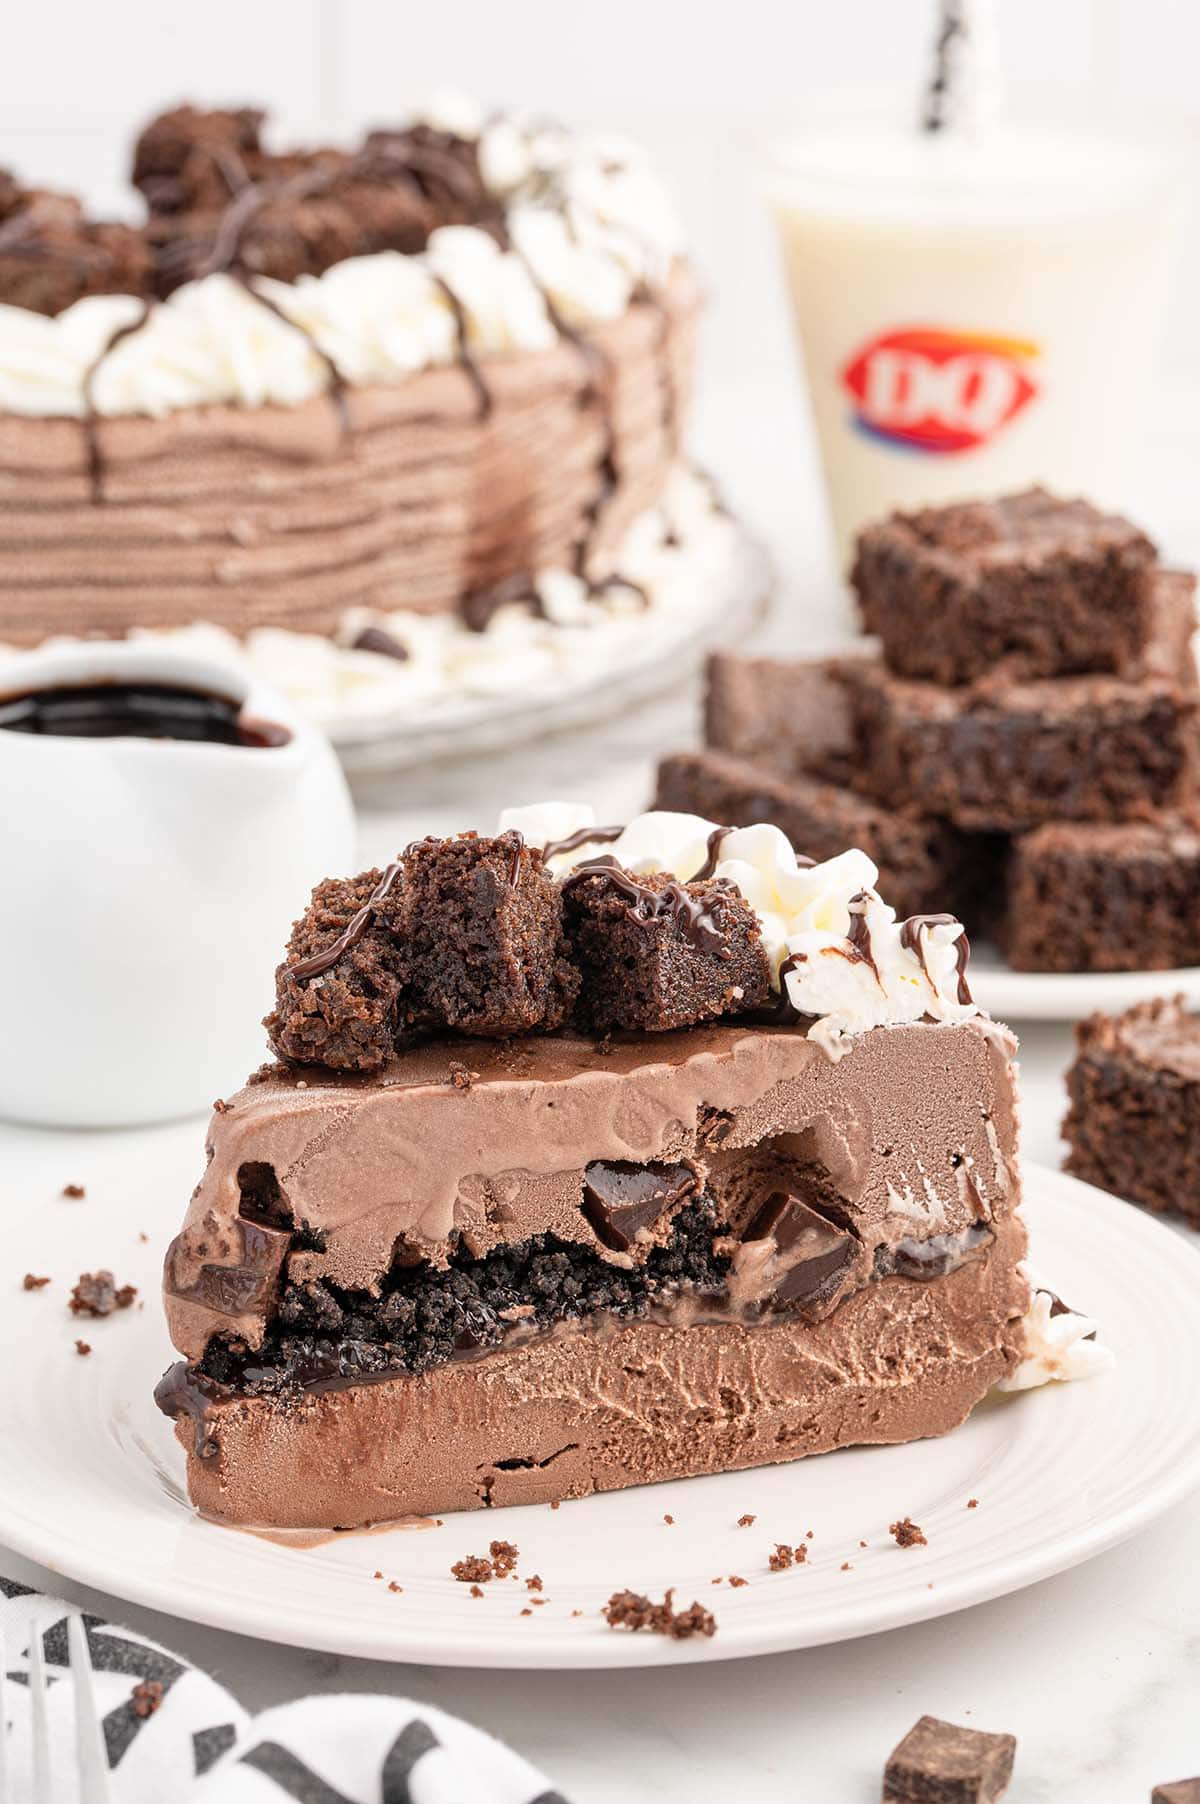
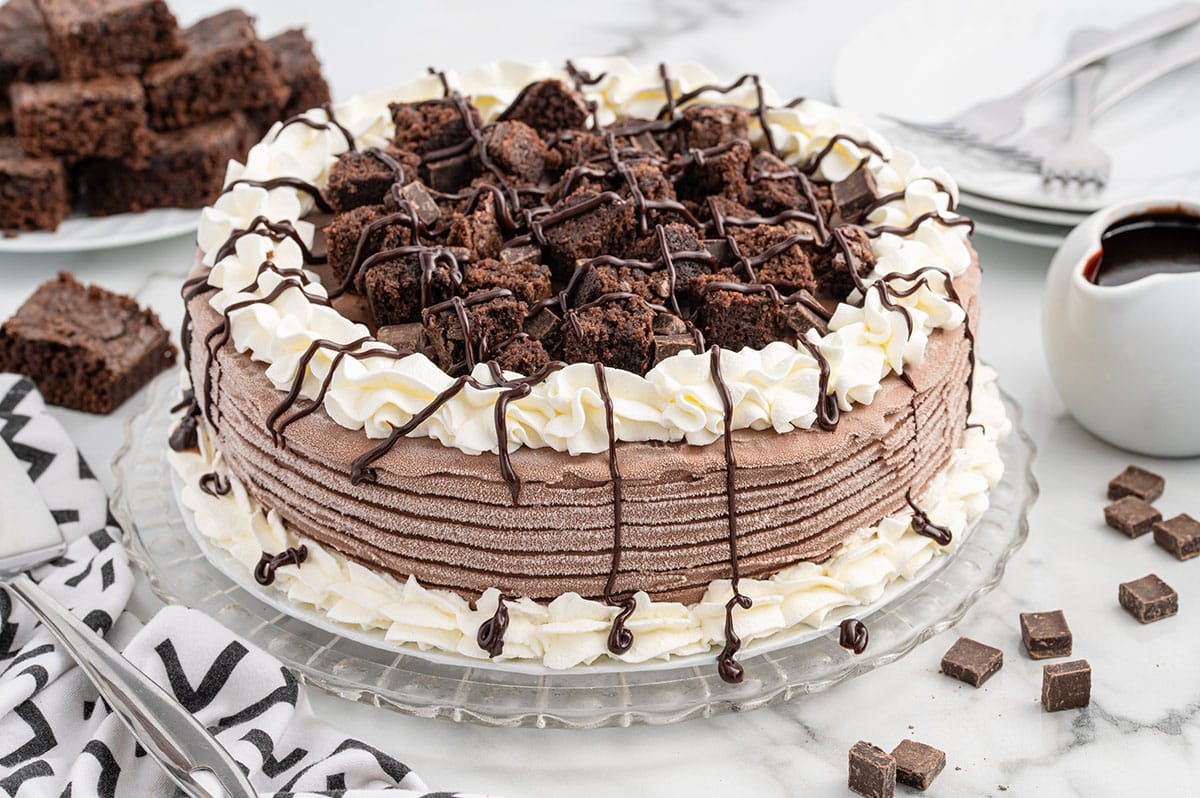
Inspired by the renowned DQ classic, this Dairy Queen Copycat Chocolate Ice Cream Cake recipe is made to mimic the flavors found in the iconic chocolate brownie batter blizzard. But instead of making a blended chocolate soft serve treat mixed with chewy brownie pieces, chocolate chunks, and chocolate fudge, it’s prepared as a no bake multi-serving ice cream cake that you can slice and share with friends.
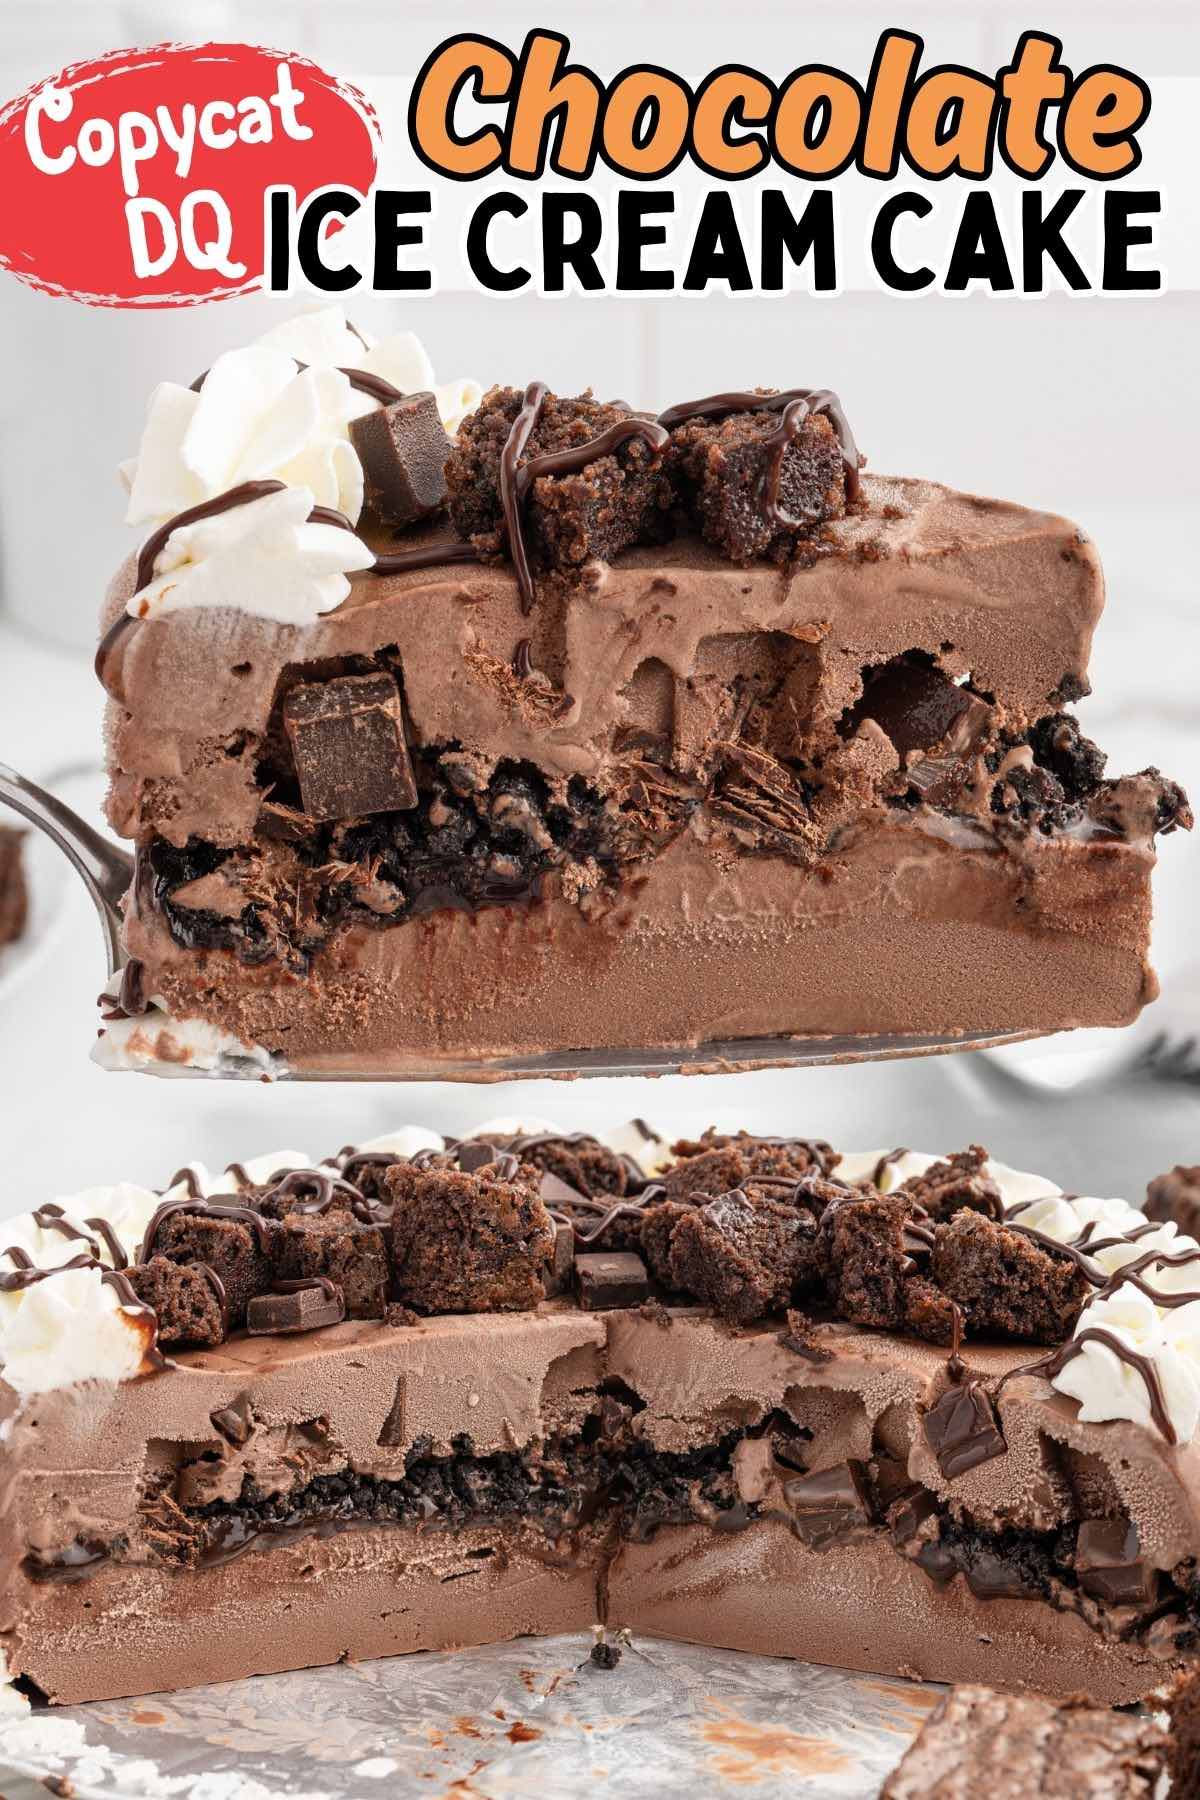
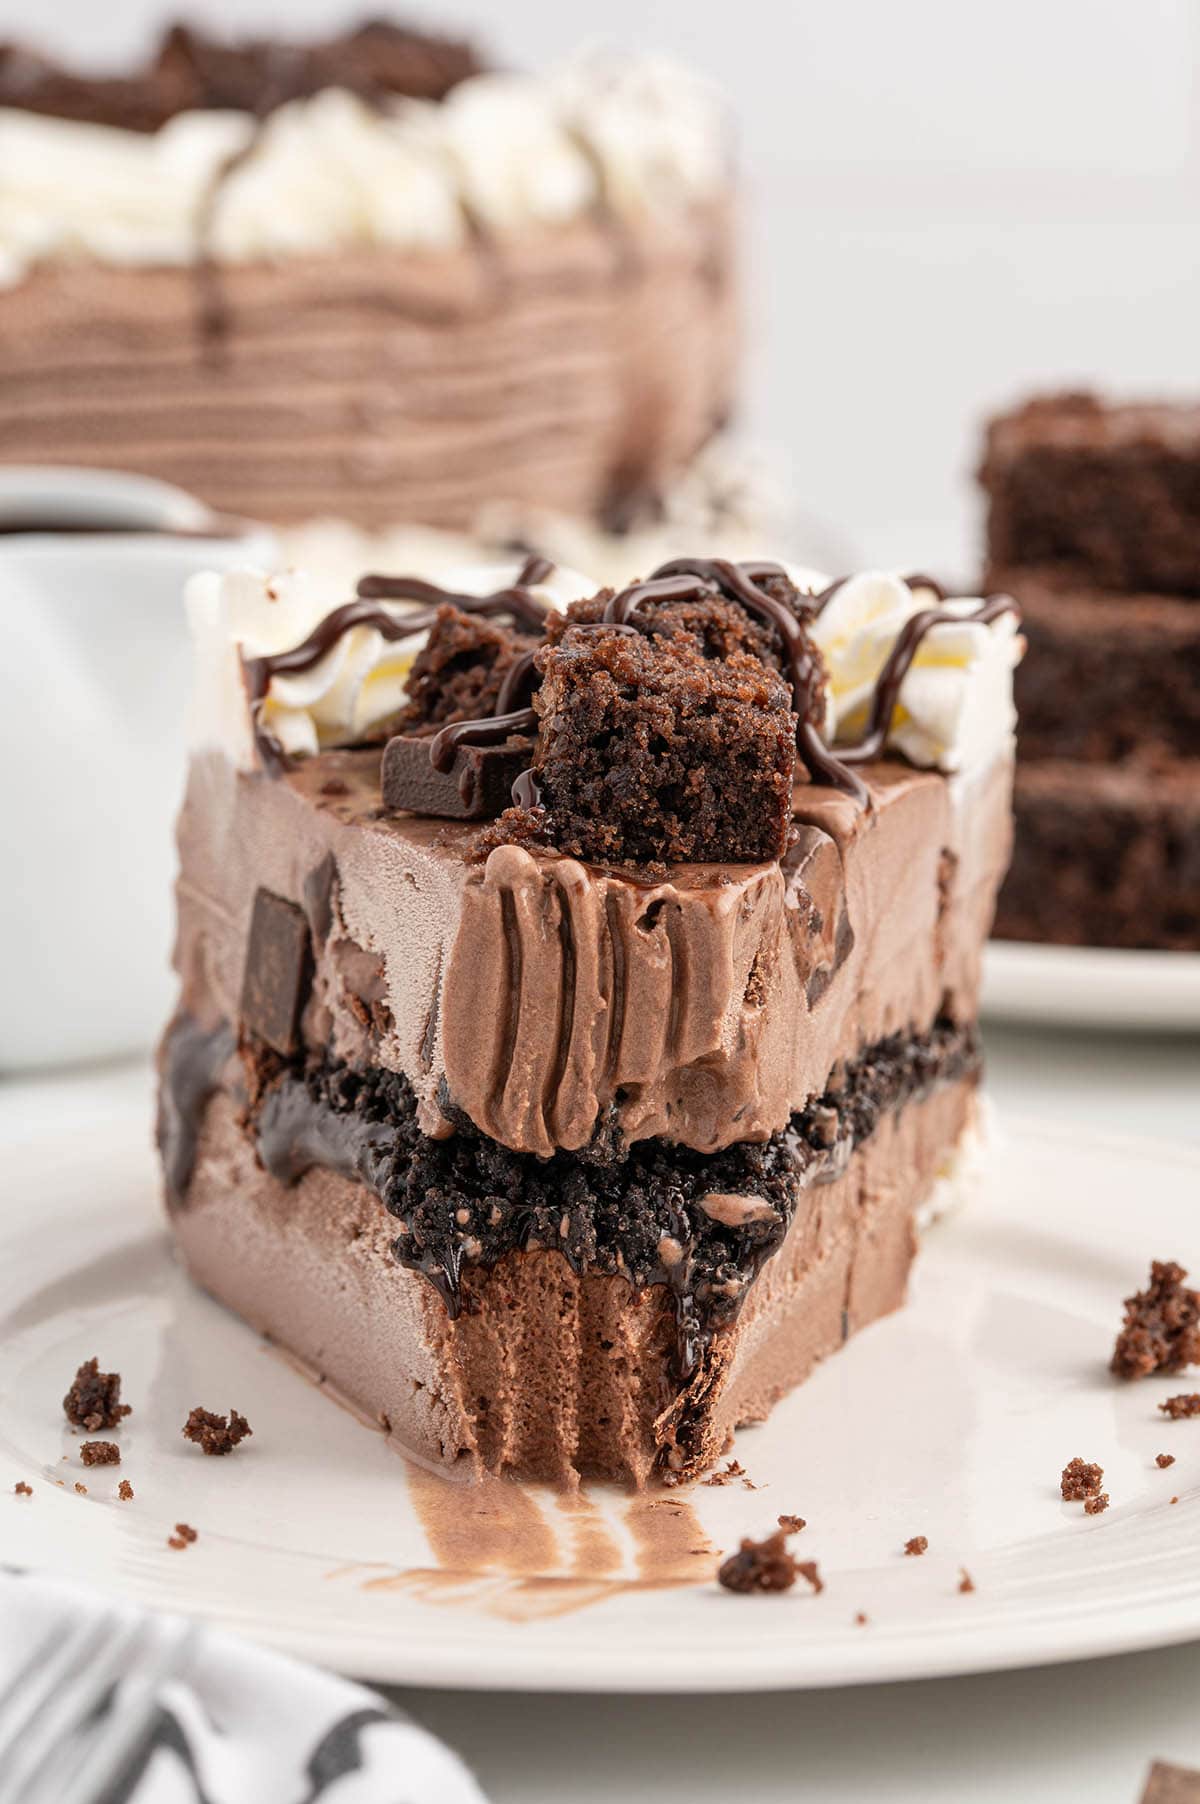
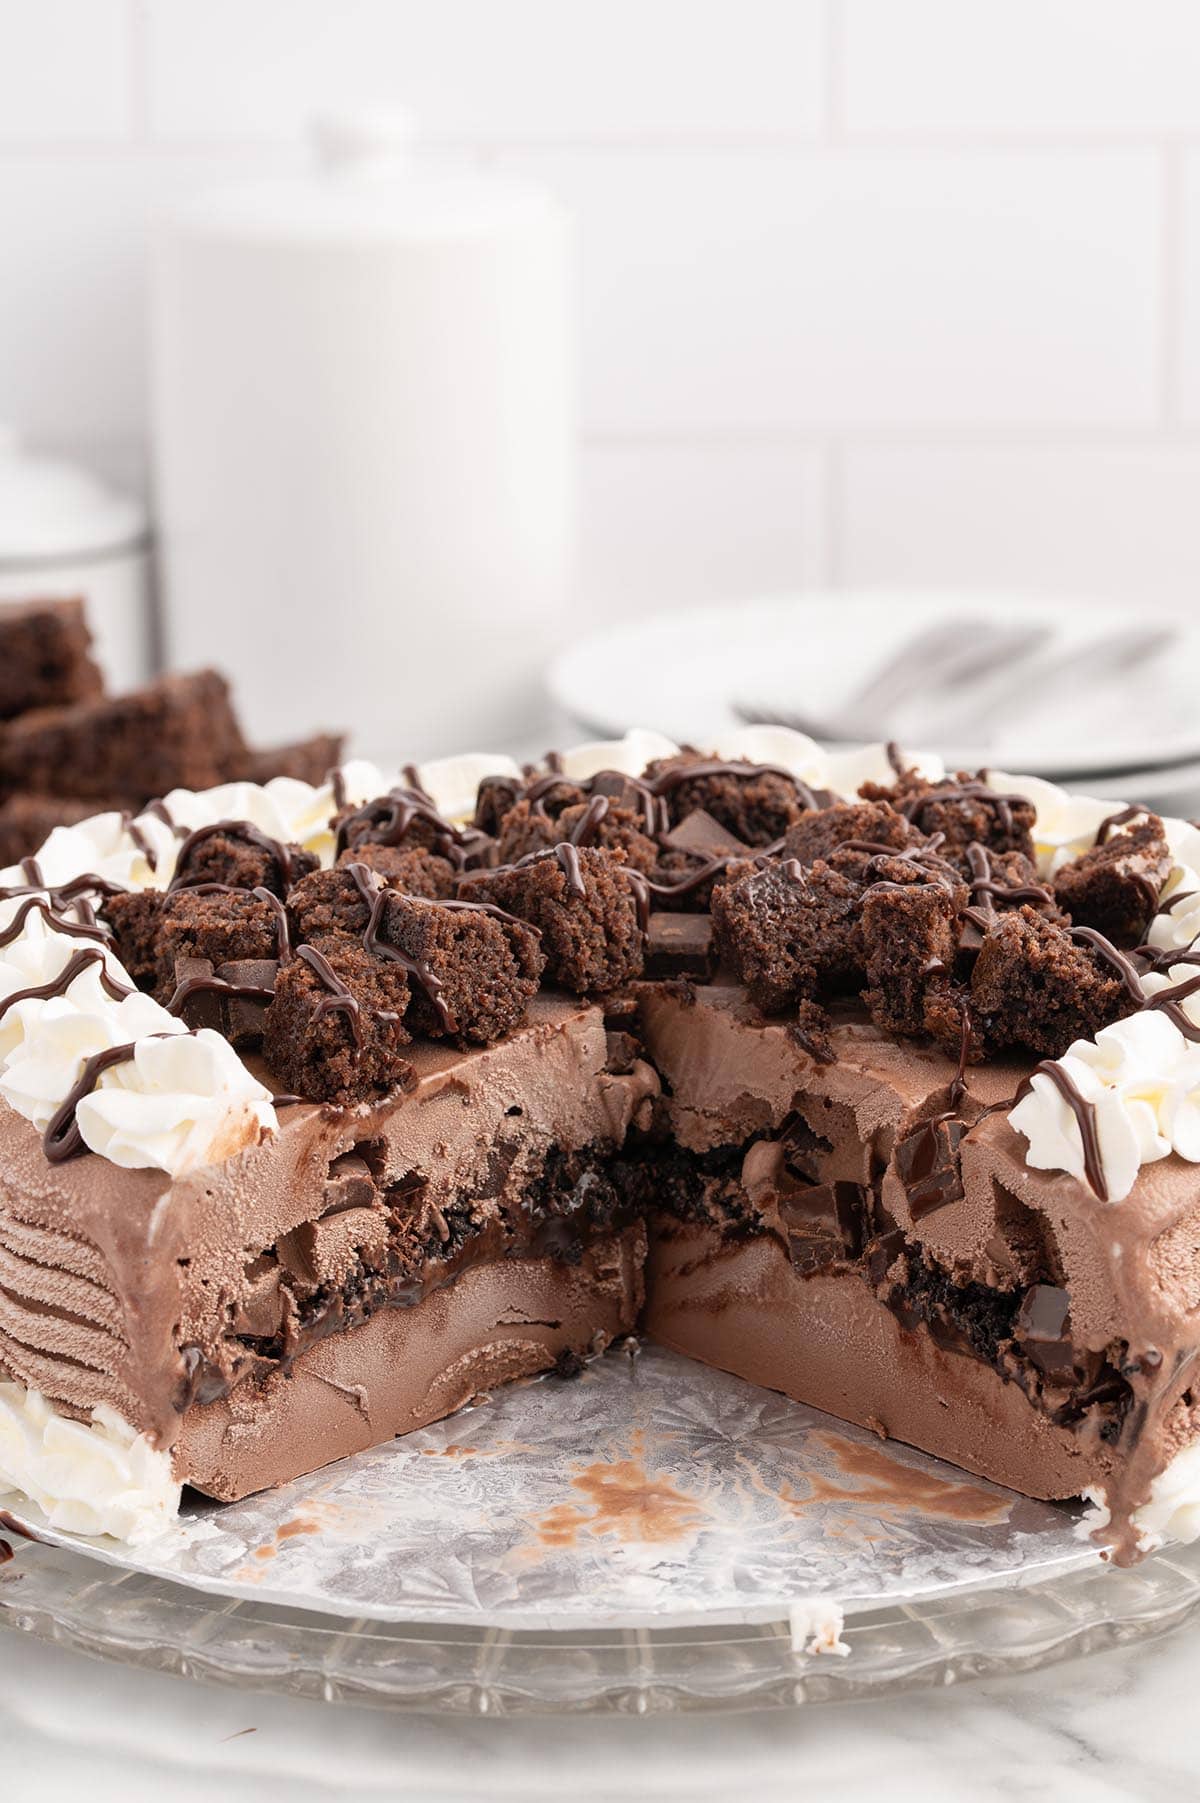
Skip the trip to DQ because I’ve done the hard work for you! This is my 3rd rendition of a copycat Dairy Queen cake recipe, and each one has been revised to meet your ice cream flavor requests! First there was a chocolate and vanilla ice cream version, then an Oreo cookie cake, and now meet my most chocolatey creation, complete with a base layer of chocolate ice cream, hot fudge and Oreo cookie crunchies in the middle, and top layer of chocolate chunk ice cream.
The chocolate doesn’t stop there! It’s decorated with more chocolate chunks, chopped brownies, and a drizzle of chocolate syrup. Finish with a pretty swirl pattern of whipped cream frosting along the top and bottom edge, and you’ll have the ultimate DQ dessert for holidays and celebrations.
Ingredients Notes
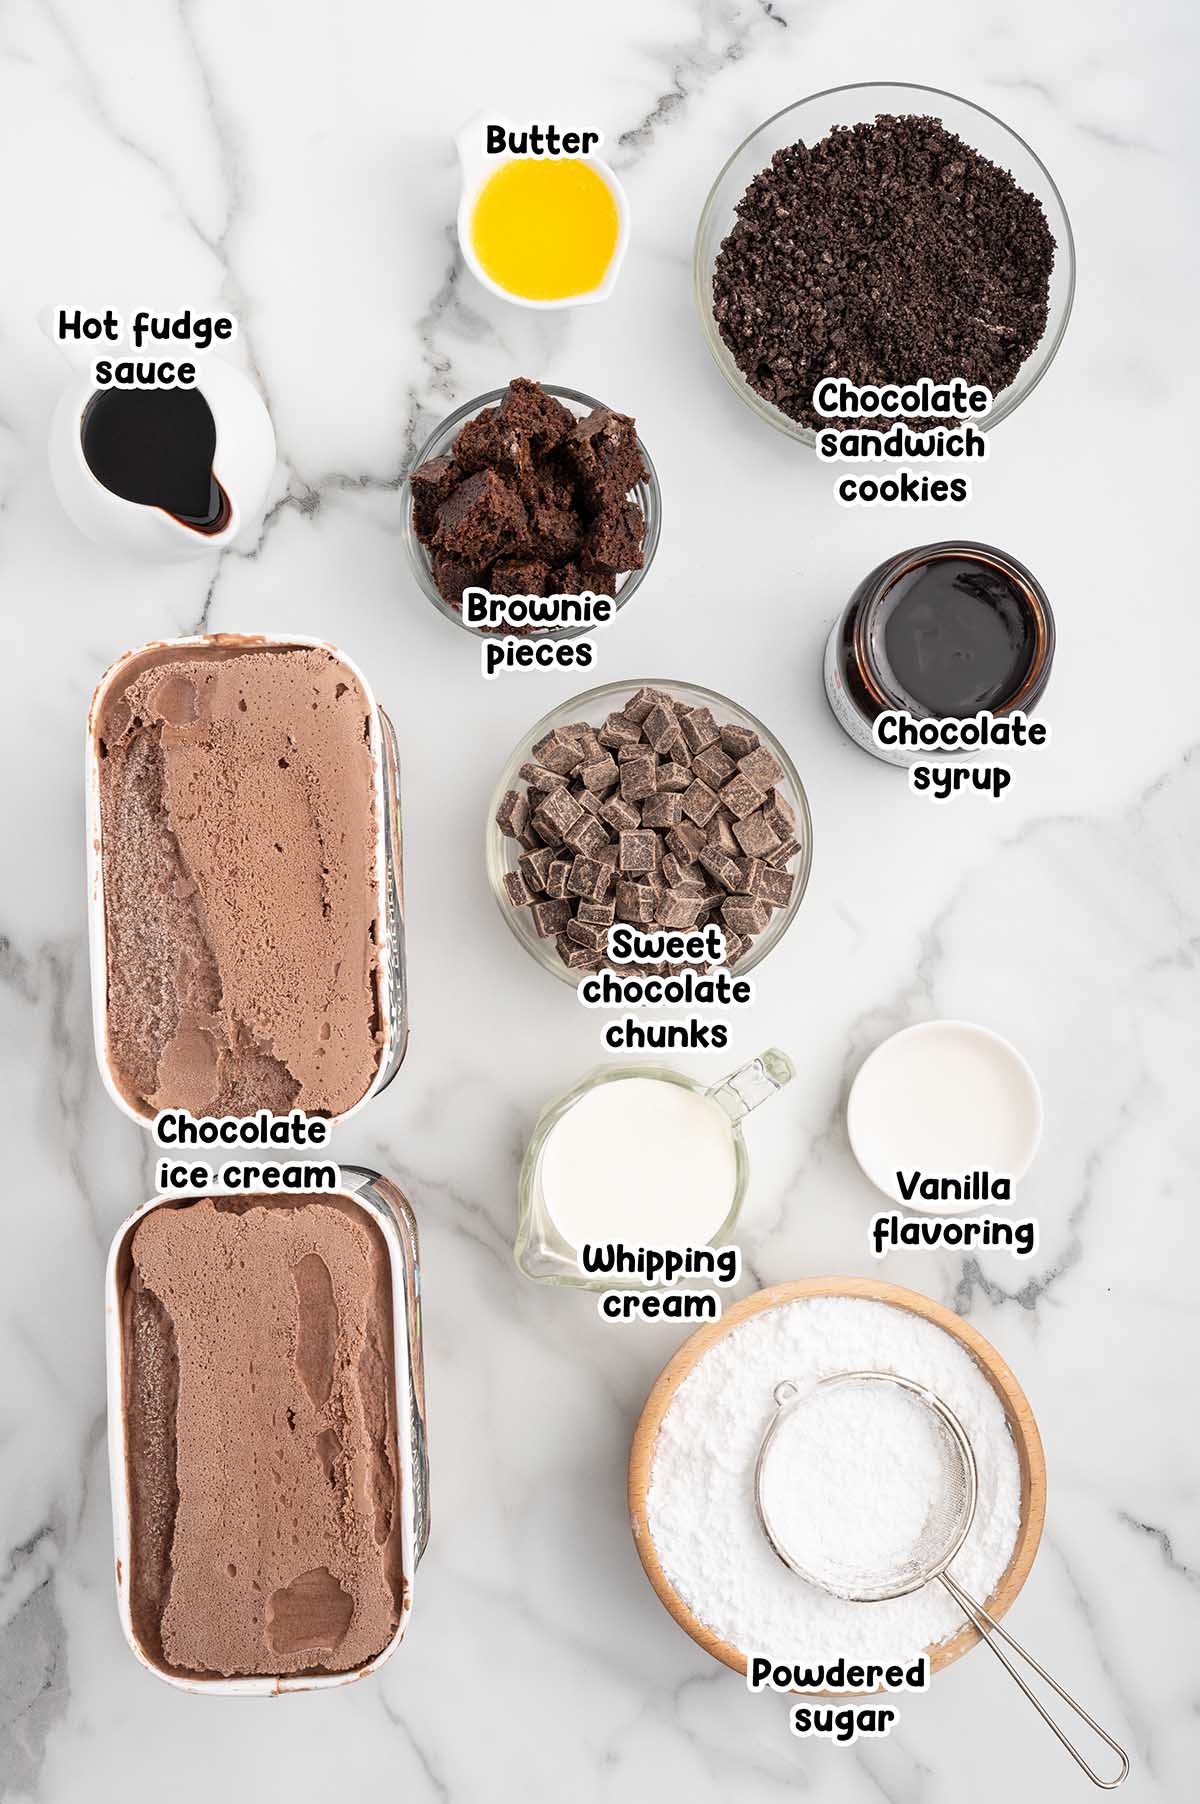
- Chocolate creme filled chocolate sandwich cookies: I used Oreo brand chocolate OREO sandwich cookies. Any generic brand with a cream center will work just as well.
- Salted butter
- Chocolate ice cream: Use your favorite store-bought brand or make your own from scratch.
- Hot fudge sauce: I used Hershey’s store-bought brand, but feel free to use your favorite or make your own hot fudge sundae topping. You can also substitute the hot fudge with salted caramel sauce.
- Brownie pieces: You can either bake your own brownies from a box or from scratch or buy some from the store.
- Semi sweet chocolate chunks: I used a package Nestle Toll House chocolate chunks. Feel free to use your favorite brand or try a dark or milk chocolate flavor.
- Heavy whipping cream: Heavy cream is the base of the homemade whipped cream frosting. When whipped, it incorporates air, giving it a light and fluffy texture.
- Powdered sugar
- Clear vanilla flavoring
- Chocolate syrup: An extra dose of chocolate for drizzling on top.
See the recipe card for full information on ingredients and quantities.
How to Make Chocolate Ice Cream Cake
- Prepare The Pan: Line a 9 inch springform pan with plastic wrap and place it in the freezer.
- Bake the Cookie Crunch: Combine the crushed cookies and melted butter. Spread the coated cookie crumbs on a lined baking sheet and bake at 350 degrees Fahrenheit for 7 – 8 minutes. Cool completely, then break into bite-sized pieces.
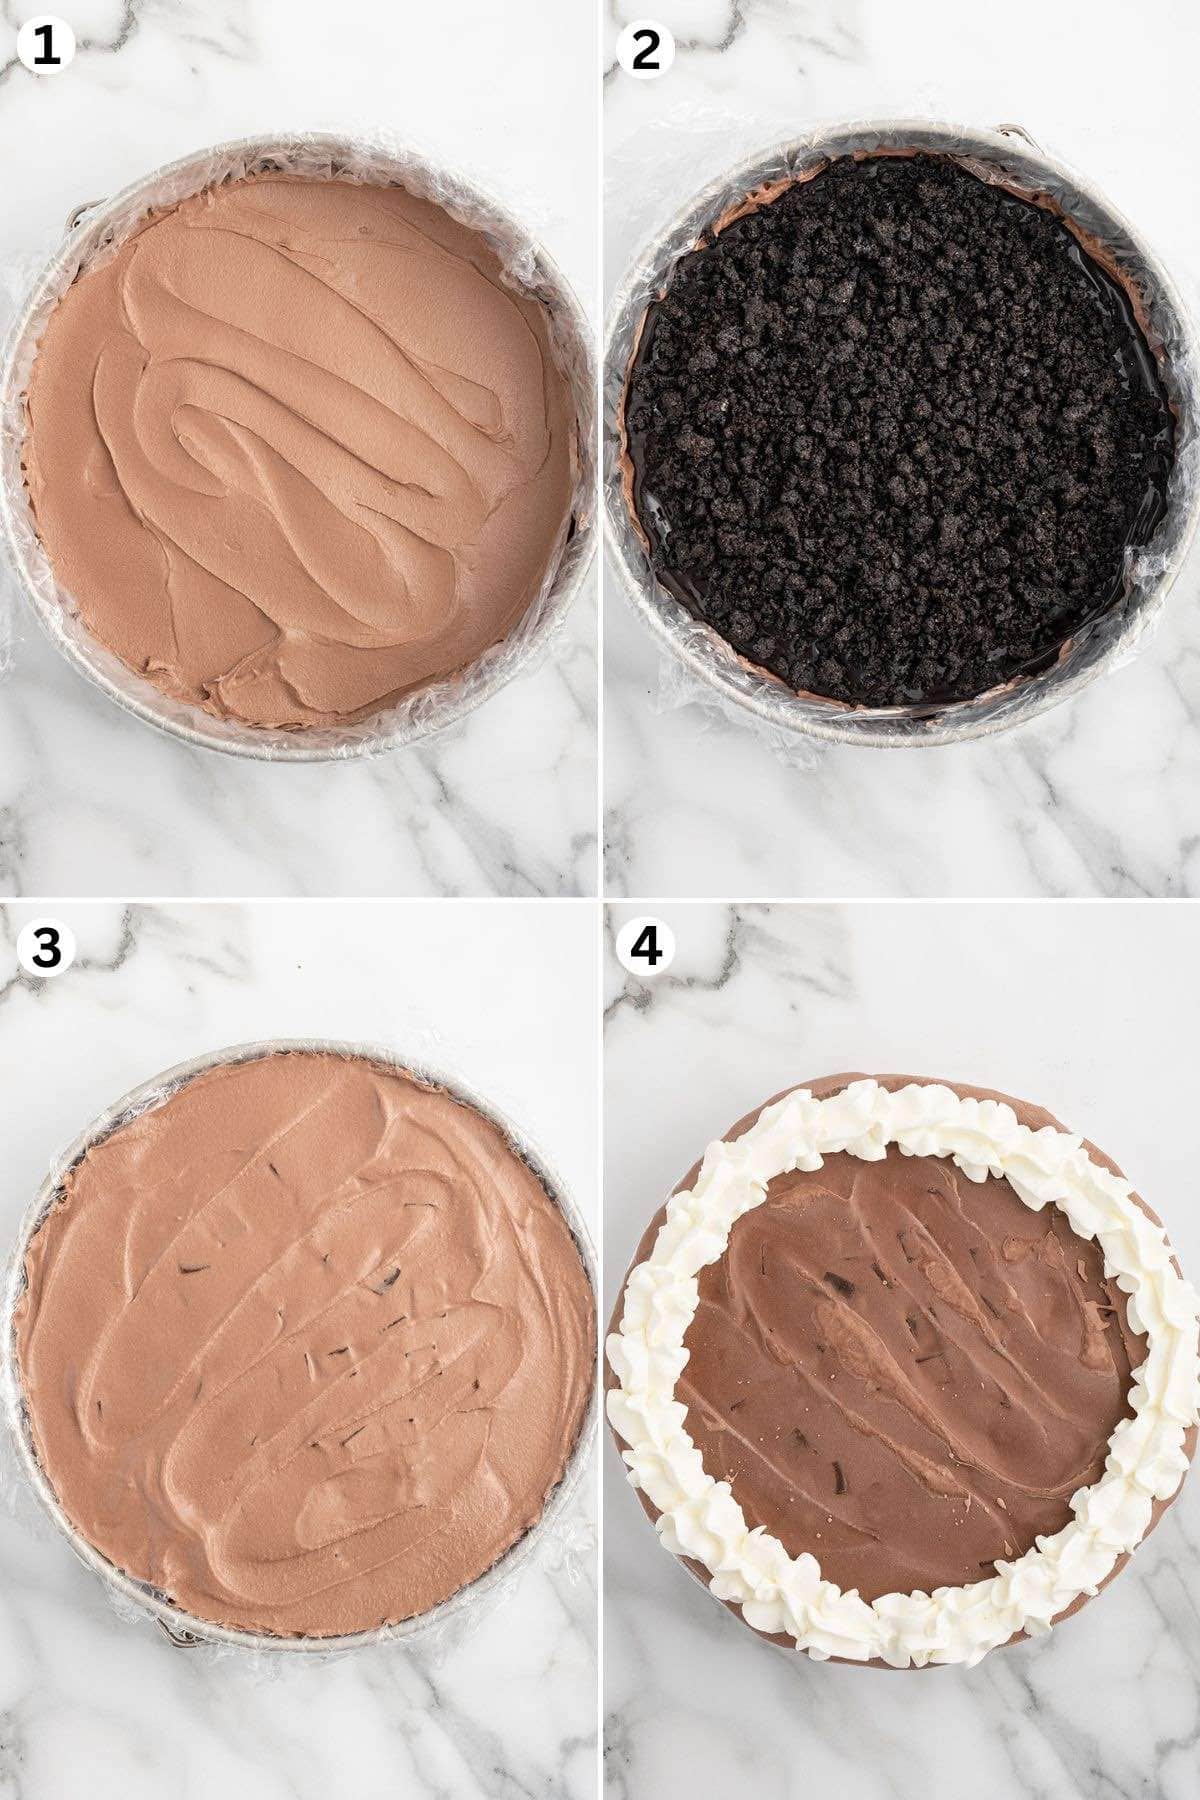
- The Bottom Layer: Spread the thawed chocolate ice cream into the bottom of the prepared pan. Place it back in the freezer for 30 minutes to 1 hour.
- The Middle Layer: Microwave the hot fudge for 15 seconds to soften, stir, and spread the fudge sauce over the chocolate ice cream layer. Sprinkle the cookie crunch over the hot fudge and freezer for 1 hour.
- The Top Layer: Mix the chocolate chunks into the 2nd quart of chocolate ice cream. Spread the ice cream over the cookie crunch layer and freeze for 4 – 6 hours, or overnight.
- Make The Frosting: Beat together the heavy cream, powdered sugar, and vanilla flavoring in a chilled mixing bowl on high until stiff peaks form.
- Decorate Your Dessert: Remove the outer edges of the springform pan and plastic wrap, then lift the cake onto a plate or round board. Pipe a pretty pattern pattern around the top and bottom edges and use a cake comb to texturize the outside (optional). Sprinkle with remaining chocolate chunks and chopped brownie pieces, then drizzle chocolate syrup on top.
- Serve: Place the cake back into the freezer until you are ready to slice and serve. Enjoy!
Serving Suggestions
Ice cream cakes make any celebration sweeter! They’re perfect for birthday parties, holidays, or any time you crave a cool treat.
For more cold cake recipes that require no baking at all, try my No Bake Ice Cream Sandwich Cake, Ice Cream Layer Cake, and Copycat Buster Bar Ice Cream Cake.
Tips & Variations
- Prepare the Pan: I like to line a 9-inch springform pan with plastic wrap and then place it in the freezer while I prepare the baked and buttered cookie layer. If you do not have a springform pan, you can use a round cake pan lined with plastic wrap.
- Customize Your Cake: You can substitute your favorite ice cream flavors instead of the chocolate. You can also replace the toppings with rainbow sprinkles, chopped nuts, chocolate shavings, M&M’s, chopped candy bars, crushed chocolate chip cookies or pretzels, cookie dough bits, or brownie bites.
- Soften Before Spreading: Remove the ice cream from the freezer and allow it to thaw slightly for 15-20 minutes to make spreading much easier. Remember that all freezers freeze differently, so it may take longer or less time to thaw enough to work with. When smoothing the ice cream you can place a disposable parchment paper circle on top to give more control.
- Heat The Hot Fudge First: Heating the hot fudge in the microwave for 15 seconds will soften it so that it’s easier to spread on top of the ice cream. Make sure to remove the lid!
- Freeze First: If you are using a stand mixer, place the metal bowl in the freezer for 30 minutes before you are ready to “frost” the ice cream cake. If you are using a handheld mixer, place your mixing bowl, preferably a metal bowl, in the freezer for 30 minutes.
- Reserve Room: Make sure there is room in your freezer to fit the cake pan!
- Skip A Step: You can substitute thawed store bought whipped topping for the homemade whipped cream.
Proper Storage
- To Store: Any leftovers can be stored in a cake carrier in the freezer for up to 7 days. Uncut ice cream cake can be covered and stored in the freezer for up to 1 month. Once the cake is cut or served, consuming it within a few days is best to maintain its quality and prevent deterioration.
- Make Ahead: You can make the baked buttered cookie crumbs 1-2 days in advance.
More EAsy Desserts
If you tried this Dairy Queen Copycat Chocolate Ice Cream Cake Recipe or any other recipe on my website, please leave a 🌟 star rating and let me know how it went in the 📝 comments below. Thanks for visiting!!!
Dairy Queen Chocolate Ice Cream Cake
Ingredients
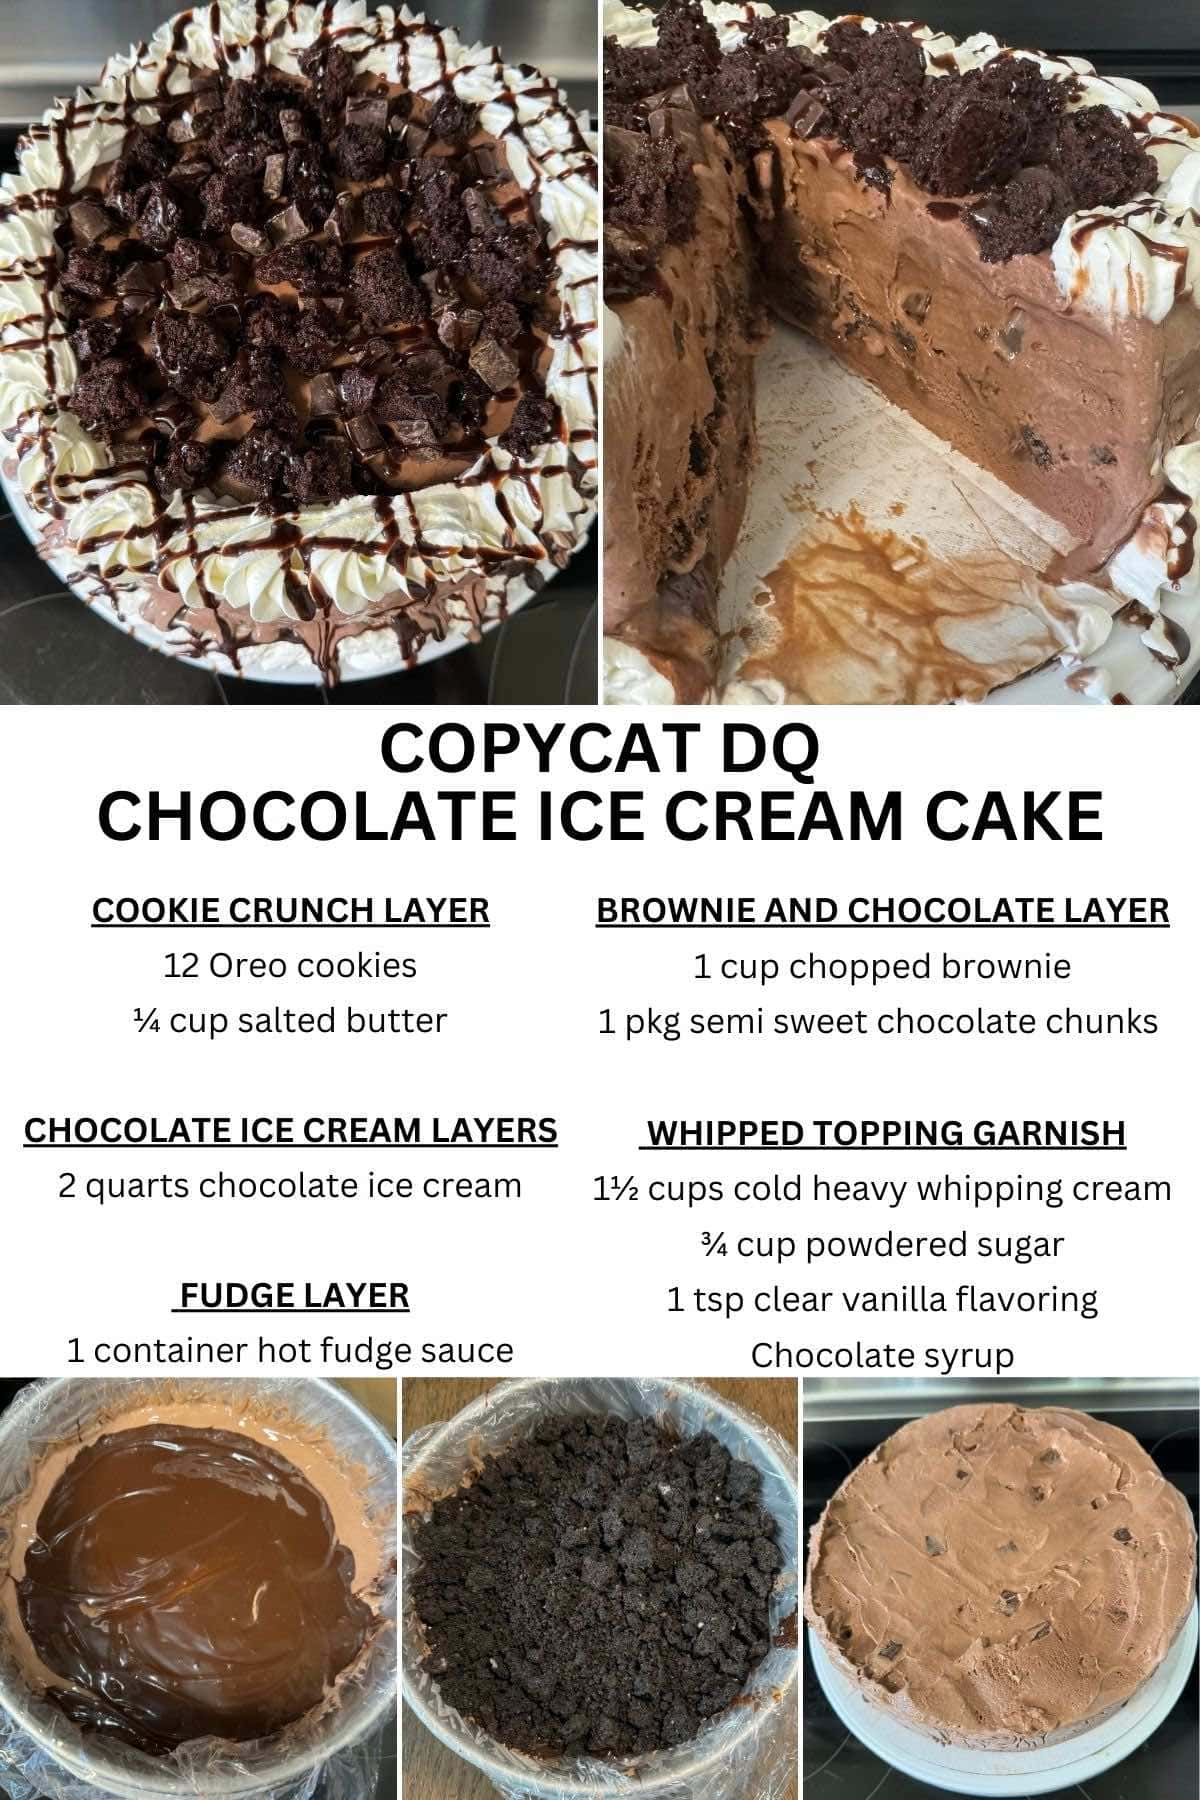
Chocolate Cookie Crunch Layer
- 12 chocolate creme filled chocolate sandwich cookies crushed (I used Oreo brand)
- ¼ cup salted butter melted and cooled
Chocolate Ice Cream Layers
- 2 quarts chocolate ice cream I used Great Value brand (1 quart for each layer)
Fudge Layer
- 12.8 ounces container hot fudge sauce (I used Hershey’s brand)
Brownie and Chocolate Chunk layer and Topping
- 1 cup chopped brownie pieces
- 11.5 ounces package semi sweet chocolate chunks (I used Nestle Toll House brand)
Whipped Topping Garnish
- 1½ cups cold heavy whipping cream
- ¾ cup powdered sugar
- 1 teaspoon clear vanilla flavoring
- Chocolate syrup for drizzling
Instructions
- Line a 9 inch springform pan with plastic wrap. Place in the freezer.
- Preheat the oven to 350°F. Line a baking sheet with parchment paper or heavy duty aluminum foil.
- Add the crushed cookies and the melted butter to a small bowl. Stir to combine.
- Spread the coated cookie crumbs on the lined baking sheet. Bake for 7 – 8 minutes. Cool completely, then break into bite sized pieces.
- Thaw 1 quart of chocolate ice cream for 15-20 minutes. Spread into the bottom of the lined springform pan. Freezer for 30 minutes to 1 hour.
- Remove the lid of the hot fudge and place in the microwave for 15 seconds to soften. Stir well before spreading over the top of the chocolate ice cream layer.
- Sprinkle the cookie crunch layer over the hot fudge and freezer for 1 hour.
- Thaw the 2nd quart of chocolate ice cream for 15-20 minutes. Mix in 1 cup of the chocolate chunks.
- Spread over the cookie crunch layer. Freeze for 4 – 6 hours, or overnight.
- Freeze the metal mixing bowl of a stand mixer (or a regular mixing bowl if using a handheld mixer) for 30 minutes.
- Beat the heavy cream, powdered sugar, clear vanilla flavoring on high speed until stiff peaks form, about 3 – 4 minutes.
- Fill a disposable piping bag fitted with a star shaped tip with the whipped cream.
- Remove the cake from the freezer. Work quickly, especially if the weather is warm.
- Release the outer portion of the springform pan and remove the plastic wrap.
- Place the ice cream cake on either a serving plate or a round disposable cake board. (Optional: Use a cake comb to texturize the outside of the ice cream cake)
- Hold the piping bag a ½ inch above the edge of the top of the cake. Use steady even pressure to pipe either a shell pattern or swirl pattern around the edge of the ice cream cake. Repeat for the bottom edge of the cake.
- Sprinkle the remaining chocolate chunks and the chopped brownie pieces on the top of the ice cream cake.
- Drizzle chocolate syrup over the ice cream cake. Place the cake back into the freezer until you are ready to slice and serve.
Jenn’s Notes
- To Store: Any leftovers can be stored in a cake carrier in the freezer for up to 7 days. Uncut ice cream cake can be covered and stored in the freezer for up to 1 month. Once the cake is cut or served, it is best to consume it within a few days to maintain its quality and prevent deterioration.
- Make Ahead: You can make the baked buttered cookie crumbs 1-2 days in advance.
- I like to line a 9-inch springform pan with plastic wrap and then place it in the freezer while I prepare the baked and buttered cookie layer. If you do not have a springform pan, you can use a round cake pan lined with plastic wrap.
- You can substitute your favorite ice cream flavors instead of the chocolate. You can also replace the toppings with rainbow sprinkles, chopped nuts, chocolate shavings, M&M’s, chopped candy bars, crushed chocolate chip cookies or pretzels, cookie dough bits, or brownie bites.
- Remove the ice cream from the freezer and allow it to thaw slightly for 15-20 minutes to make spreading much easier. Remember that all freezers freeze differently, so it may take longer or less time to thaw enough to work with. When smoothing the ice cream you can place a disposable parchment paper circle on top to give more control.
- Heating the hot fudge in the microwave for 15 seconds will soften it so that it’s easier to spread on top of the ice cream. Make sure to remove the lid!
- If you are using a stand mixer, place the metal bowl in the freezer for 30 minutes before you are ready to “frost” the ice cream cake. If you are using a handheld mixer, place your mixing bowl, preferably a metal bowl, in the freezer for 30 minutes.
- Make sure there is room in your freezer to fit the cake pan!
- You can substitute thawed store bought whipped topping for the homemade whipped cream.