
This post may contain affiliate links. Please read our disclosure policy.

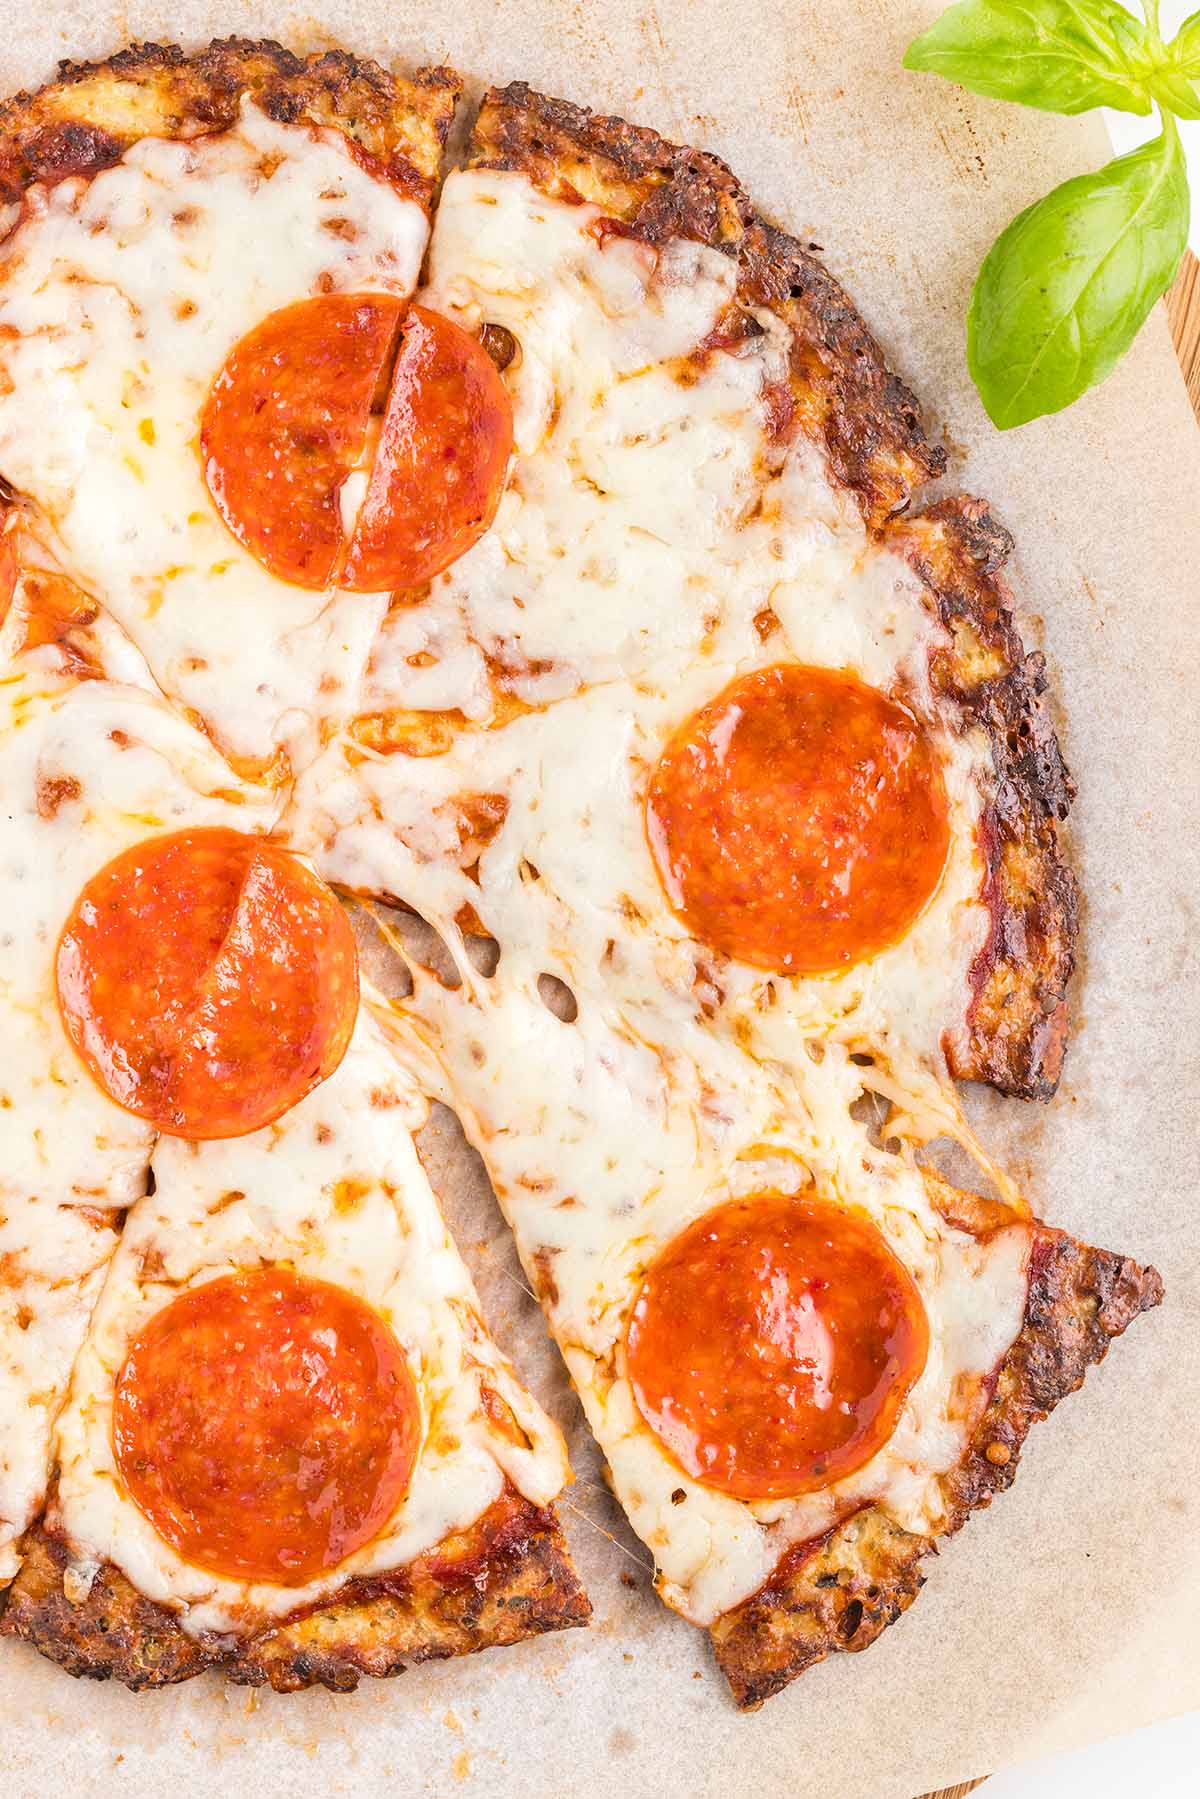
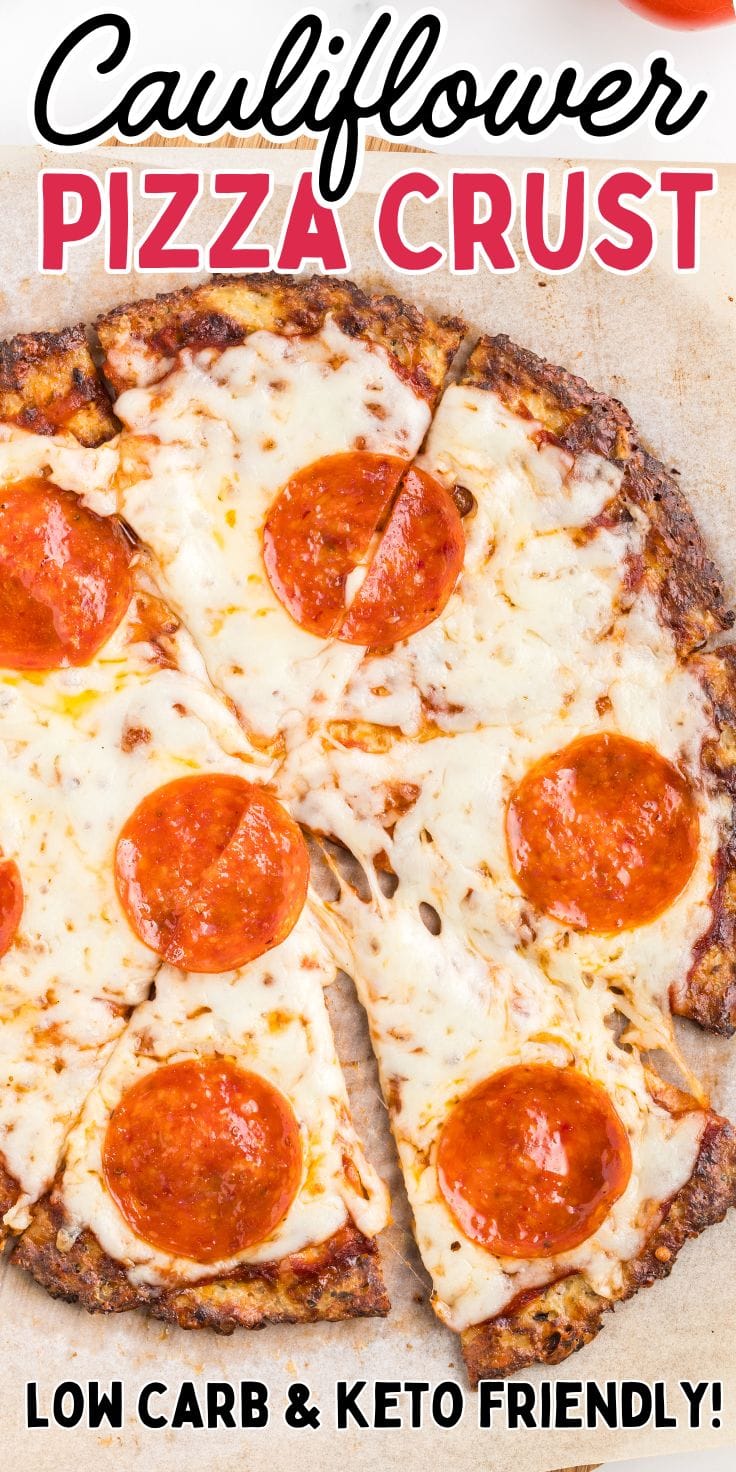
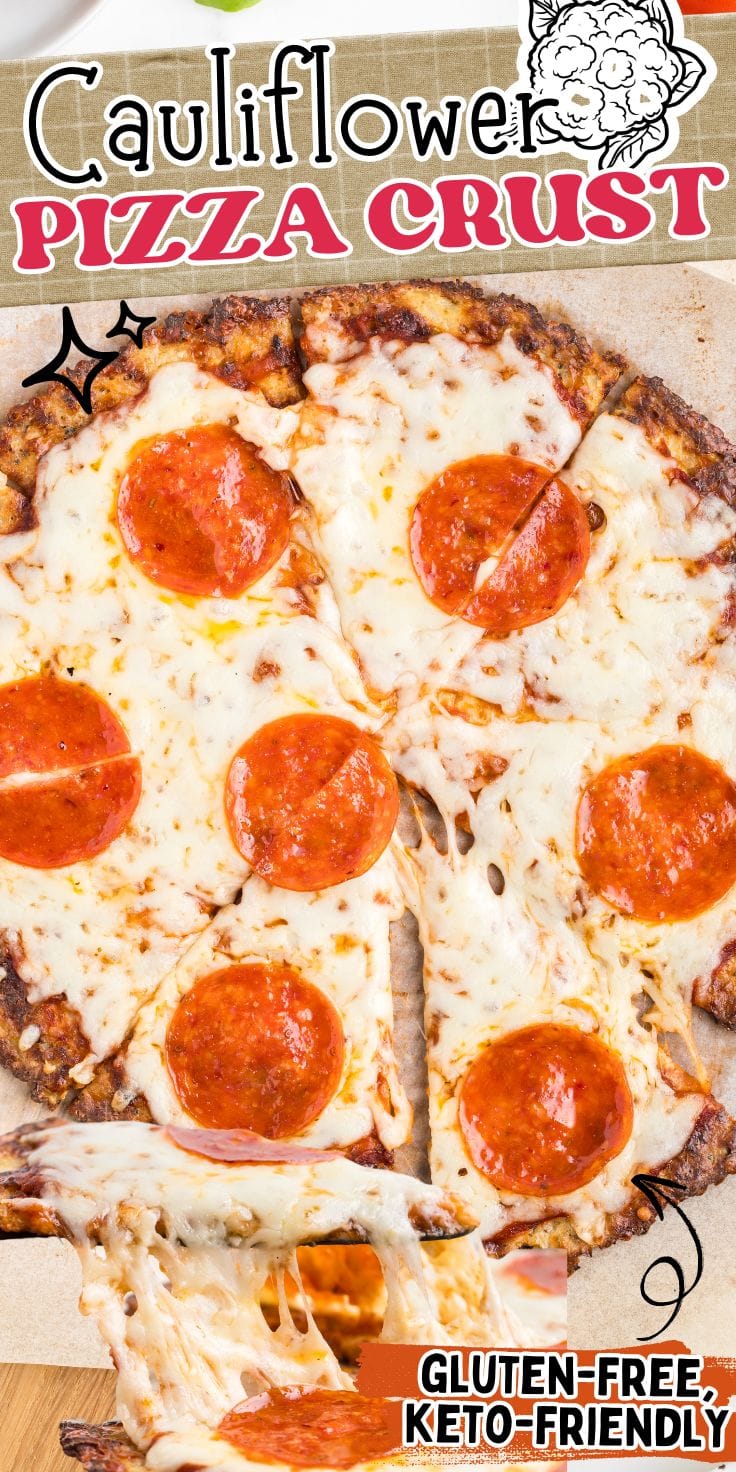
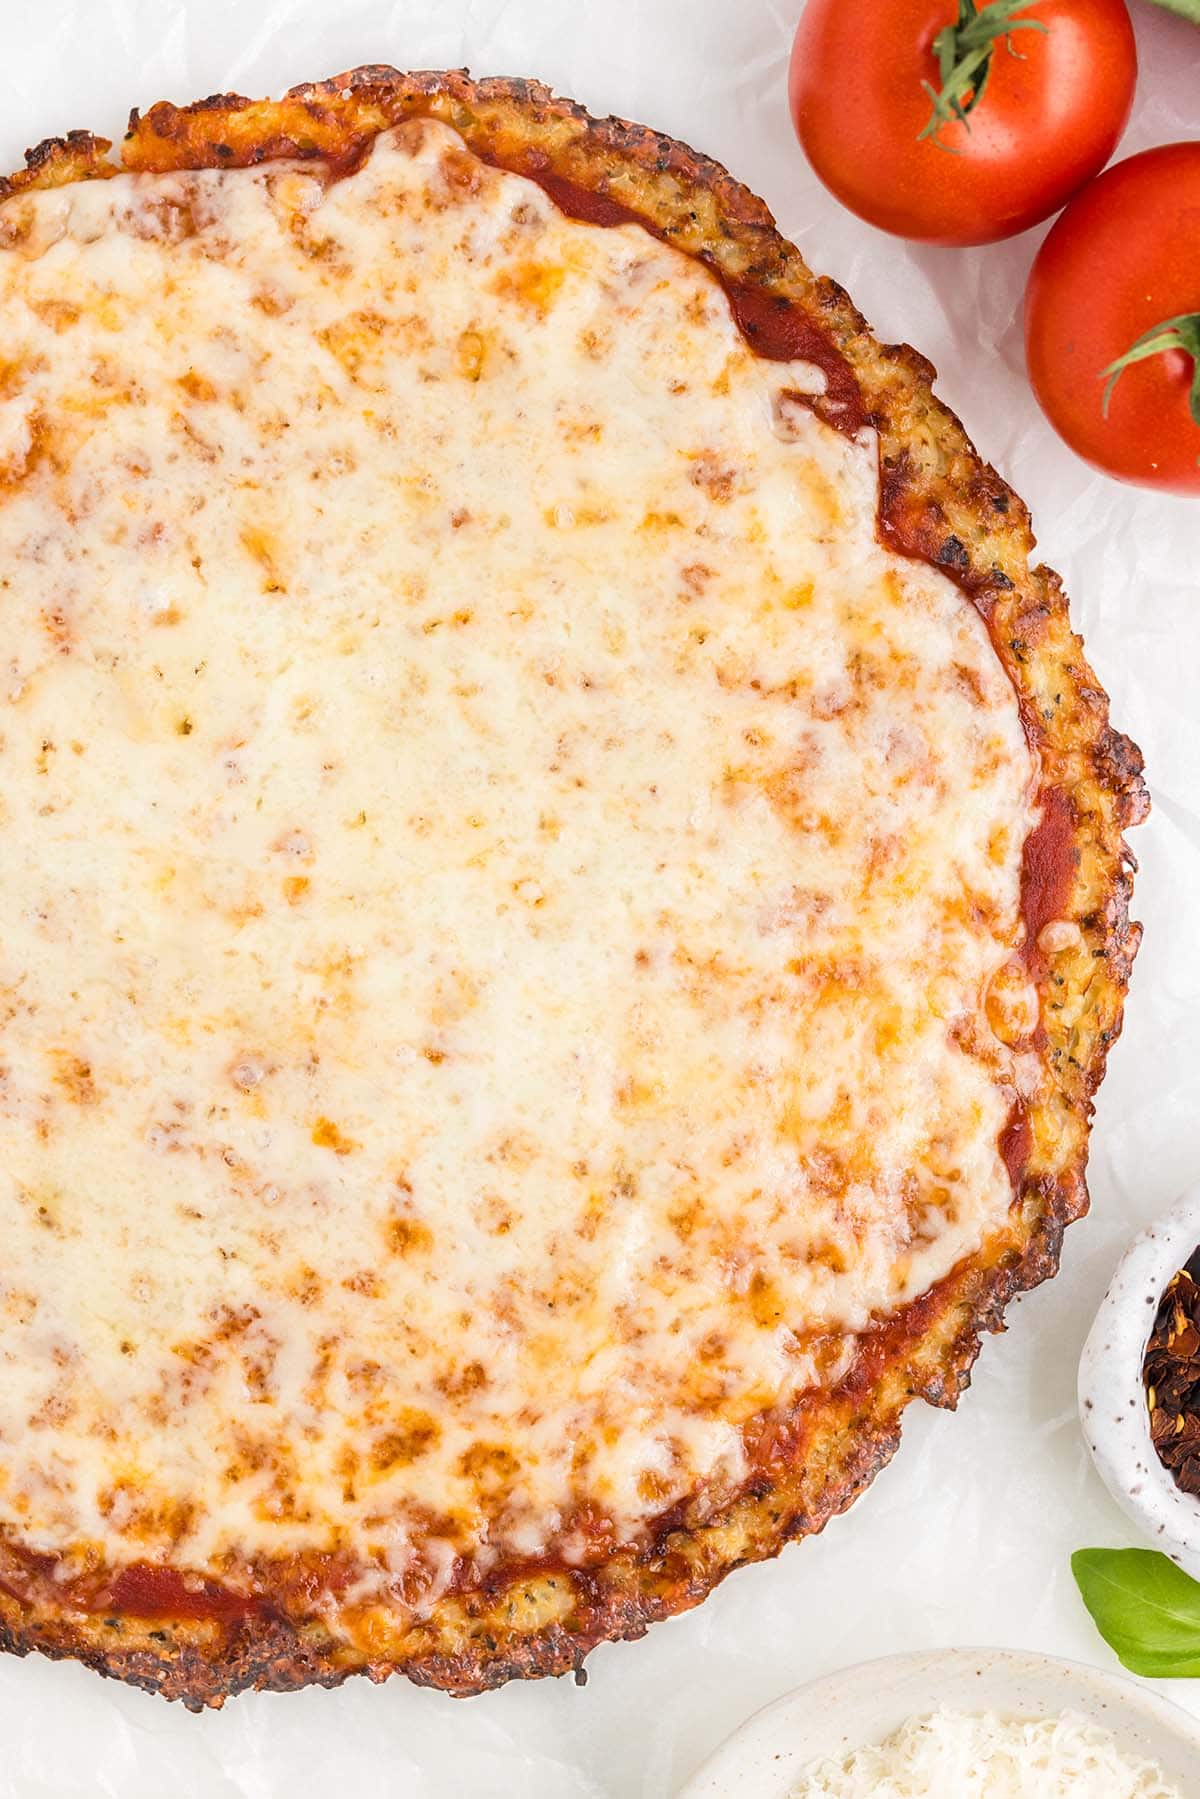
My Cauliflower pizza crust is a crispy, golden low-carb alternative to traditional pizza dough. Made with fresh or frozen cauliflower, it’s gluten-free, keto-friendly, and perfect for piling on your favorite toppings—plus, it’s a tasty way to sneak in more veggies.
I first shared this recipe back in 2015—before cauliflower crusts were everywhere! Back then, I chopped, steamed, and squeezed the cauliflower by hand. Now you can grab frozen riced cauliflower at the store, which makes this recipe way quicker and easier.
There are plenty of cauliflower pizza crust recipes out there—and yes, you can grab a frozen one at the store—but there’s a reason this one has over 100 five-star reviews. It’s easy, reliable, and seriously delicious!
This recipe is a game changer! I can now enjoy pizza with my family! This is the best cauliflower crust recipe I have tried.
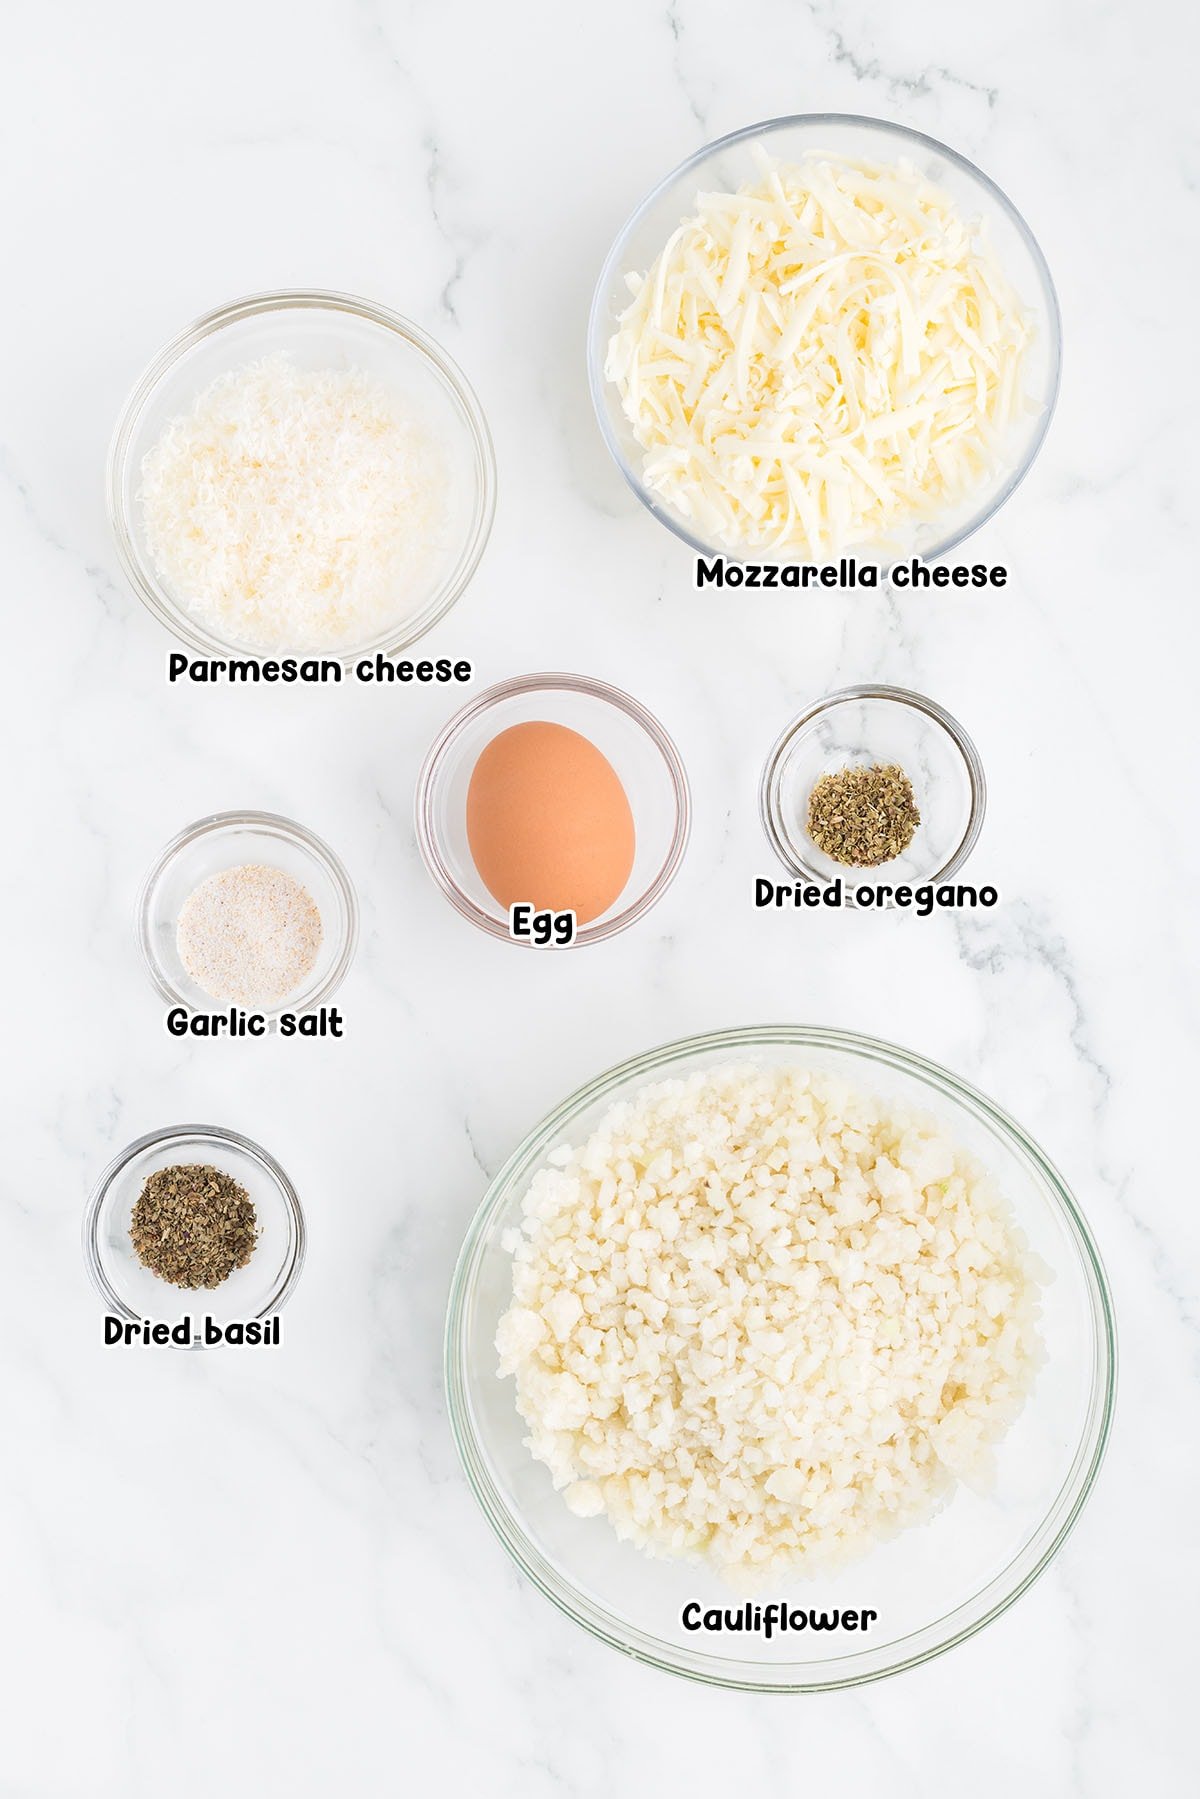
Ingredients for Cauliflower Pizza Crust
- Cauliflower: You can use fresh cauliflower, frozen cauliflower florets, or buy pre-pulsed fresh or frozen riced cauliflower from the frozen food section of the grocery store. I love the frozen riced cauliflower from Trader Joe’s.
- Dried basil
- Dried oregano
- Garlic salt: I love Lawry’s brand, but you can make your own seasoning using 1/4 teaspoon salt and 1/4 teaspoon garlic powder.
- Parmesan cheese
- Mozzarella cheese
- Egg
- Pizza sauce or tomato sauce: Use a sugar-free tomato sauce for a keto friendly, lower carb meal. Feel free to swap the sauce with Alfredo sauce, BBQ, or pesto sauce instead.
See the recipe card for full information on ingredients and quantities.
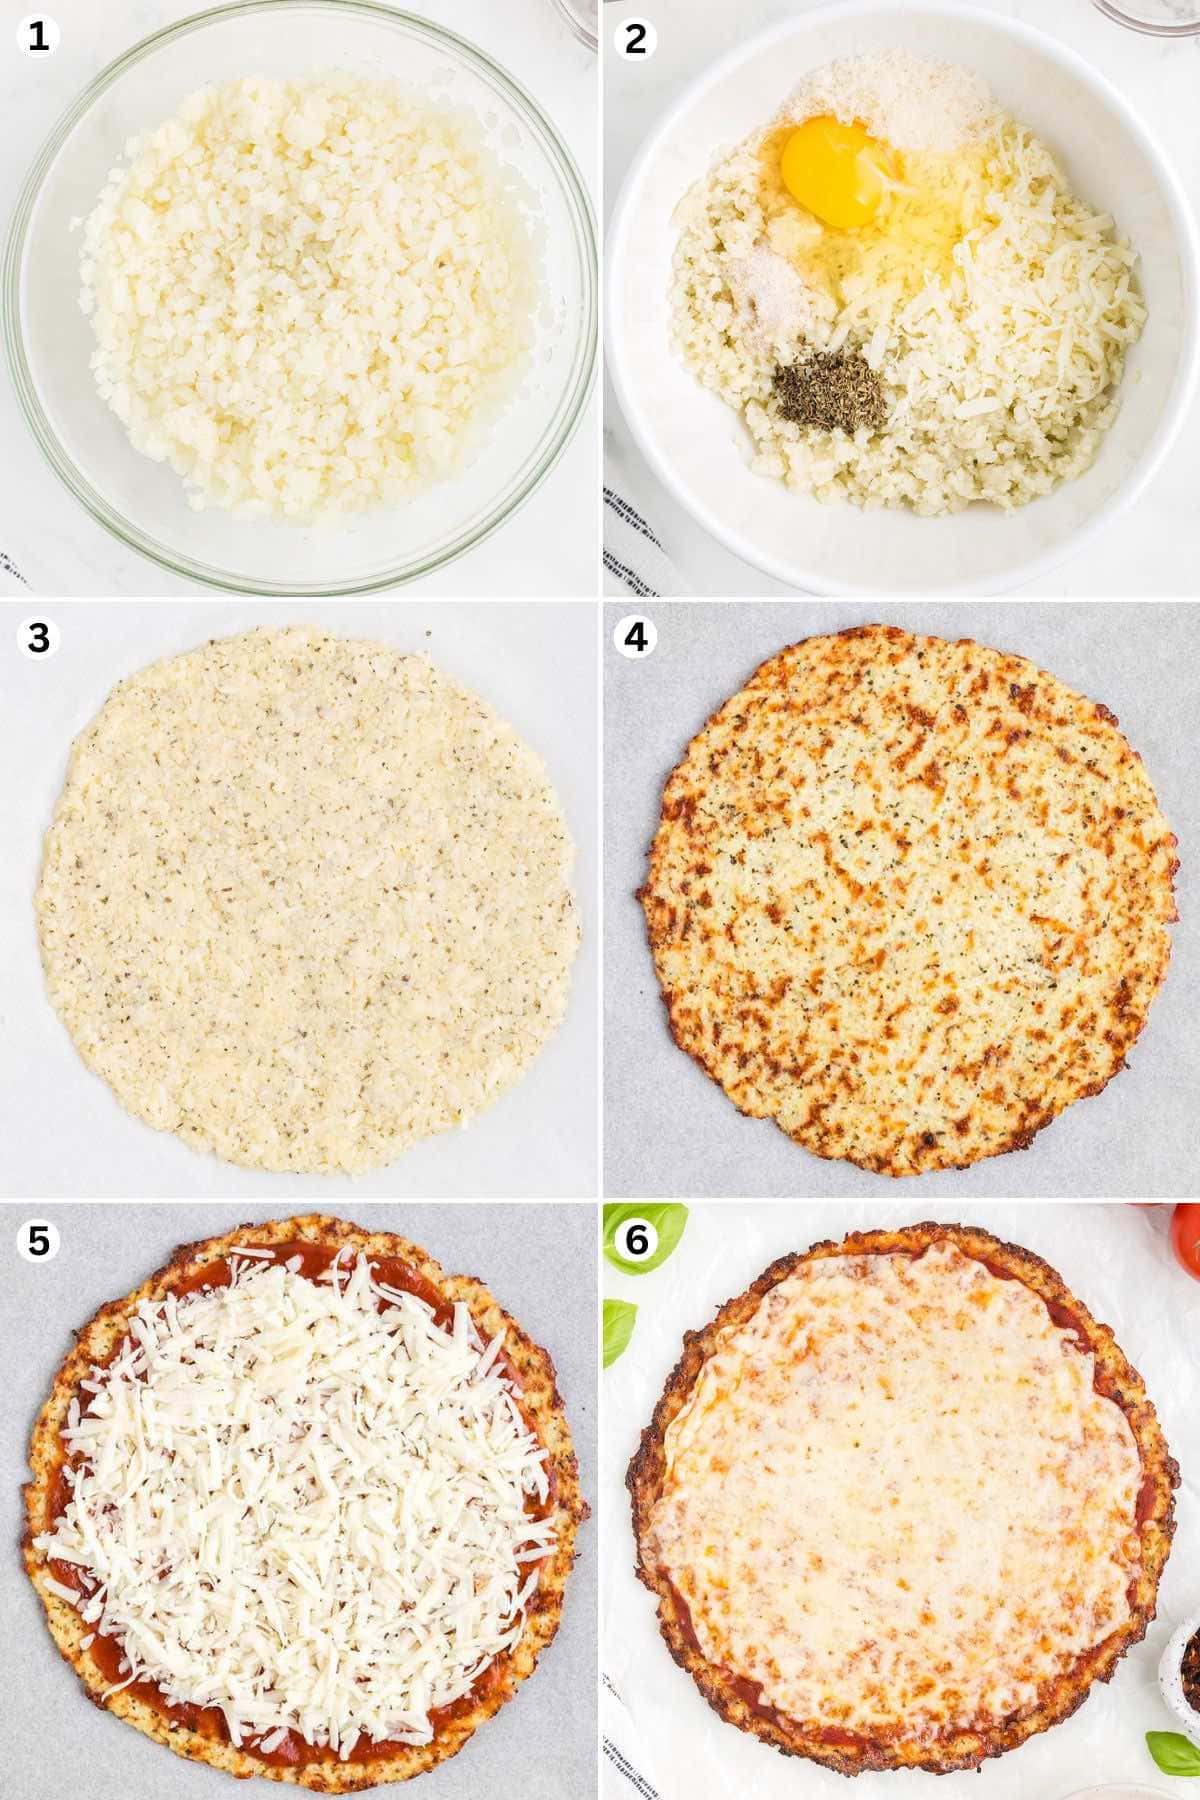
How to Make Cauliflower Pizza Crust
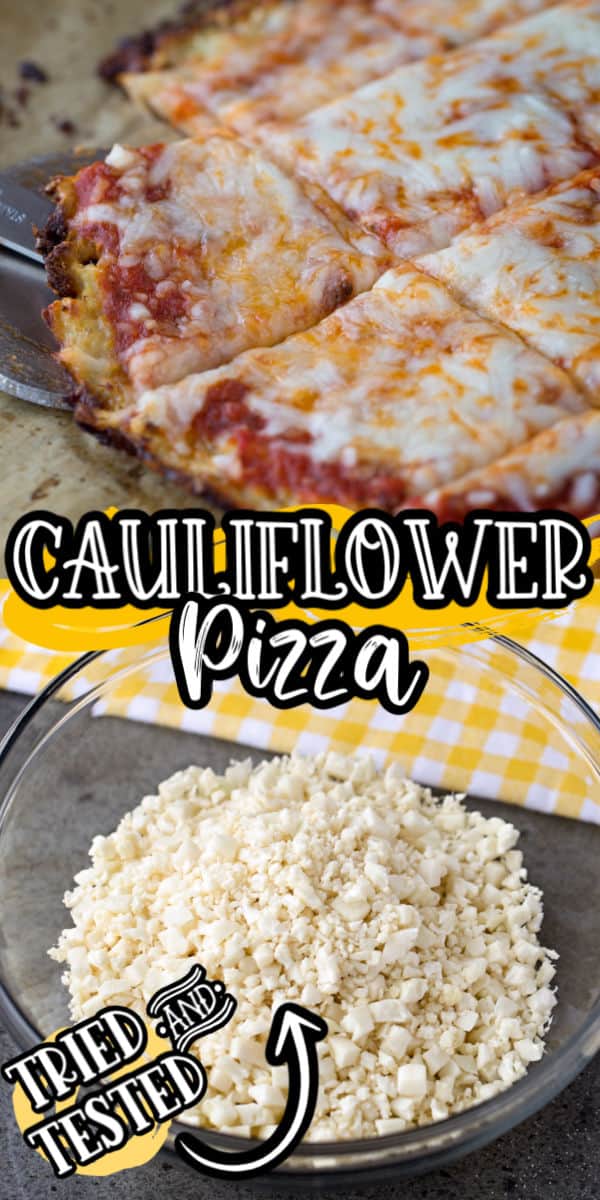
- Pulse the Cauliflower Pieces: Cut the cauliflower into florets and pulse it into “rice” with a grain-like texture.
- Wring Out The Water: Microwave the riced cauliflower for 4 minutes. Pour it onto a clean dish towel or paper towel and press out as much moisture as possible.
- Make The Cauliflower Mixture: In a large bowl, stir together the riced cauliflower, egg, sesonings, and shredded cheese.
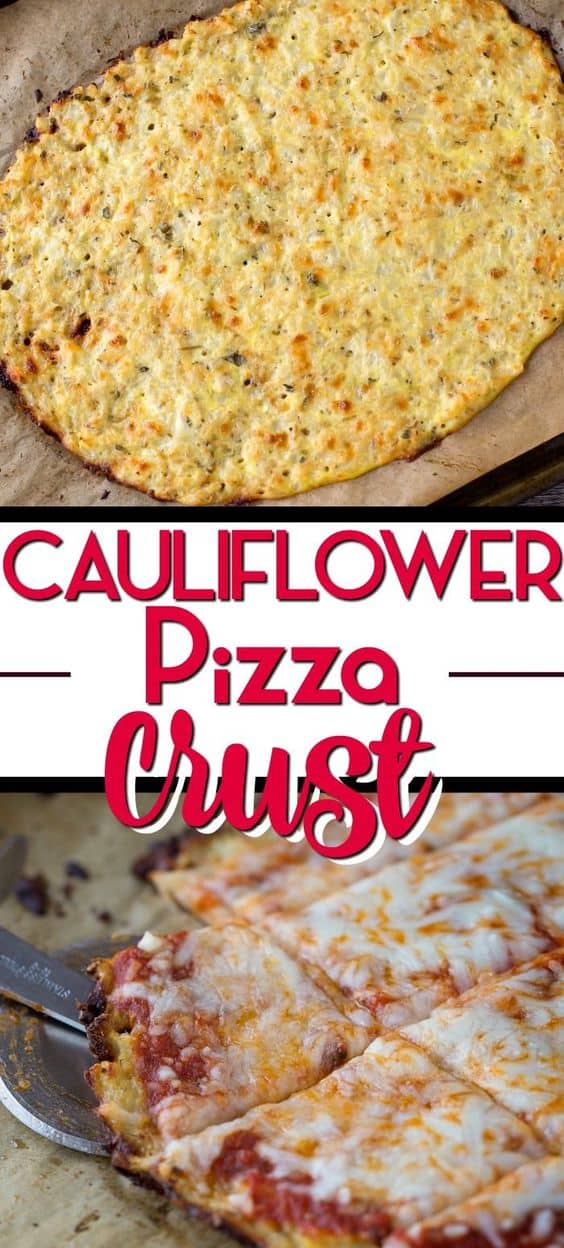
- Create the Crust: Roll the mixture into a dough ball. Place it on a parchment-lined pan or a pizza stone and flatten it out to form a pizza crust.
- Bake: Bake at 450 degrees Fahrenheit until the edges become golden brown and the middle sets. Flip the crust over and bake for a few more minutes.
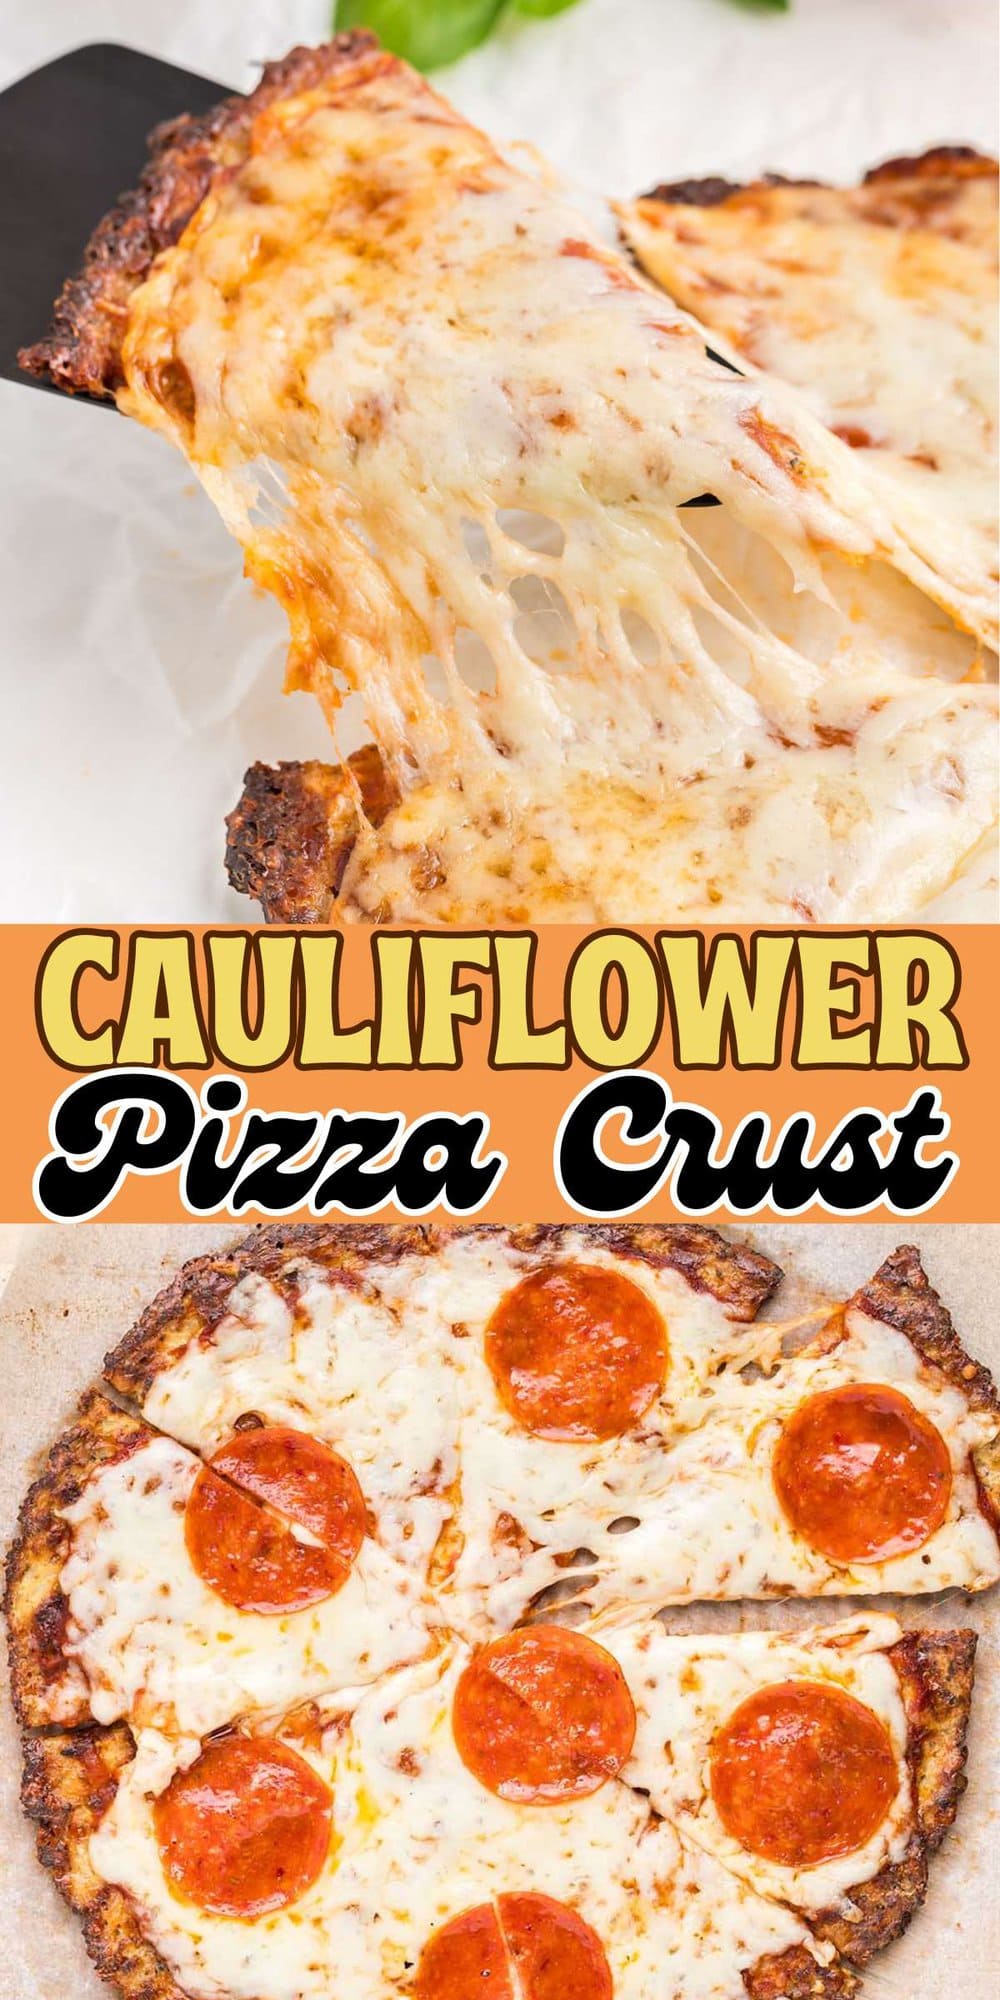
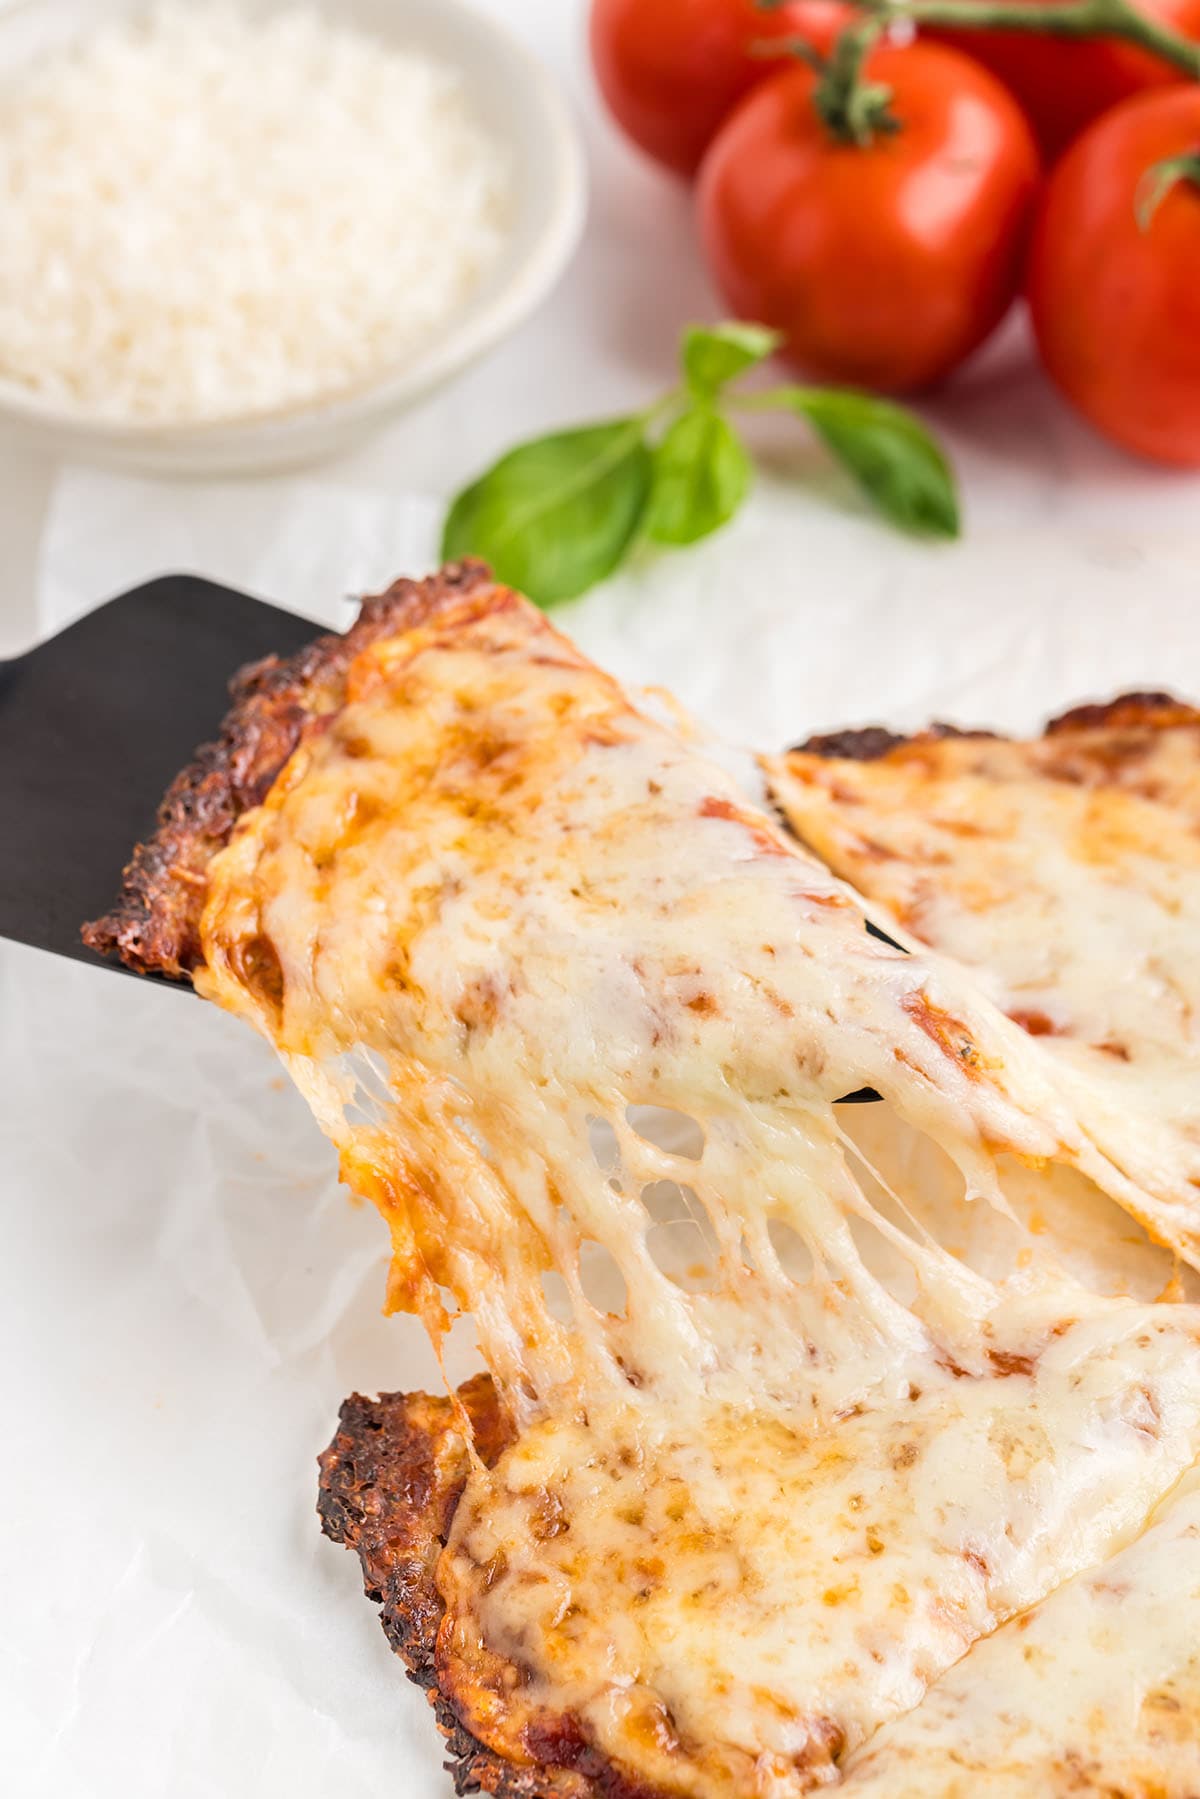
- Cover Your Crust: Cool the crust and top with pizza sauce and your favorite pizza toppings. Cook at 350 degrees Fahrenheit until the cheese melts and starts to brown.
- Serve: Serve and enjoy!
Tips for Best Results
- Wring Out The Water: The more liquid you can squeeze out of the cauliflower the better. If you get as much liquid out as possible, the crunchier your crust will be.
- Bake on Both Sides: When you bake the crust, flip it over about halfway through the baking process so it becomes crispy.
- Sturdy Not Soggy: Press the cauliflower mixture firmly and evenly onto the baking sheet for a sturdy crust, and avoid overloading with toppings to prevent sogginess.
Can You Make Cauliflower Pizza Crust Vegan?
Yes, you can ditch the dairy and make cauliflower pizza crust vegan by replacing cheese with dairy-free cheese or nutritional yeast. For binding, use a flax or chia egg—mix 1 tablespoon of flaxseed meal or chia seeds with 3 tablespoons of water. The perfect plant-based alternative.
Gluten-Free Cauliflower Pizza Crust: A Healthy Alternative
Gluten-free cauliflower pizza crust is a nutritious option for those avoiding gluten. It offers a healthy alternative without the heaviness of traditional flour-based crusts. Made primarily from cauliflower, it’s packed with vitamins, fiber, and antioxidants, but still bakes just as sturdy for piling with pizza toppings.
Serving Suggestions
- Choose Your Cheese: I top my cauliflower base pizza with a combination of parmesan and mozzarella, but feel free to use any cheese you have on hand. Try fresh mozzarella, goat cheese, or an Italian cheese blend.
- Add Some Spice: For more spice, sprinkle some fresh basil, crushed red pepper flakes, garlic powder, or Italian seasoning on top.
- Tasty Toppings:
- Make a Vegetarian Version with your favorite vegetables, such as asparagus, broccoli, mushrooms, green peppers, olives, red onion, eggplant, and spinach. You can also add some fruit, like sliced olives or pineapple.
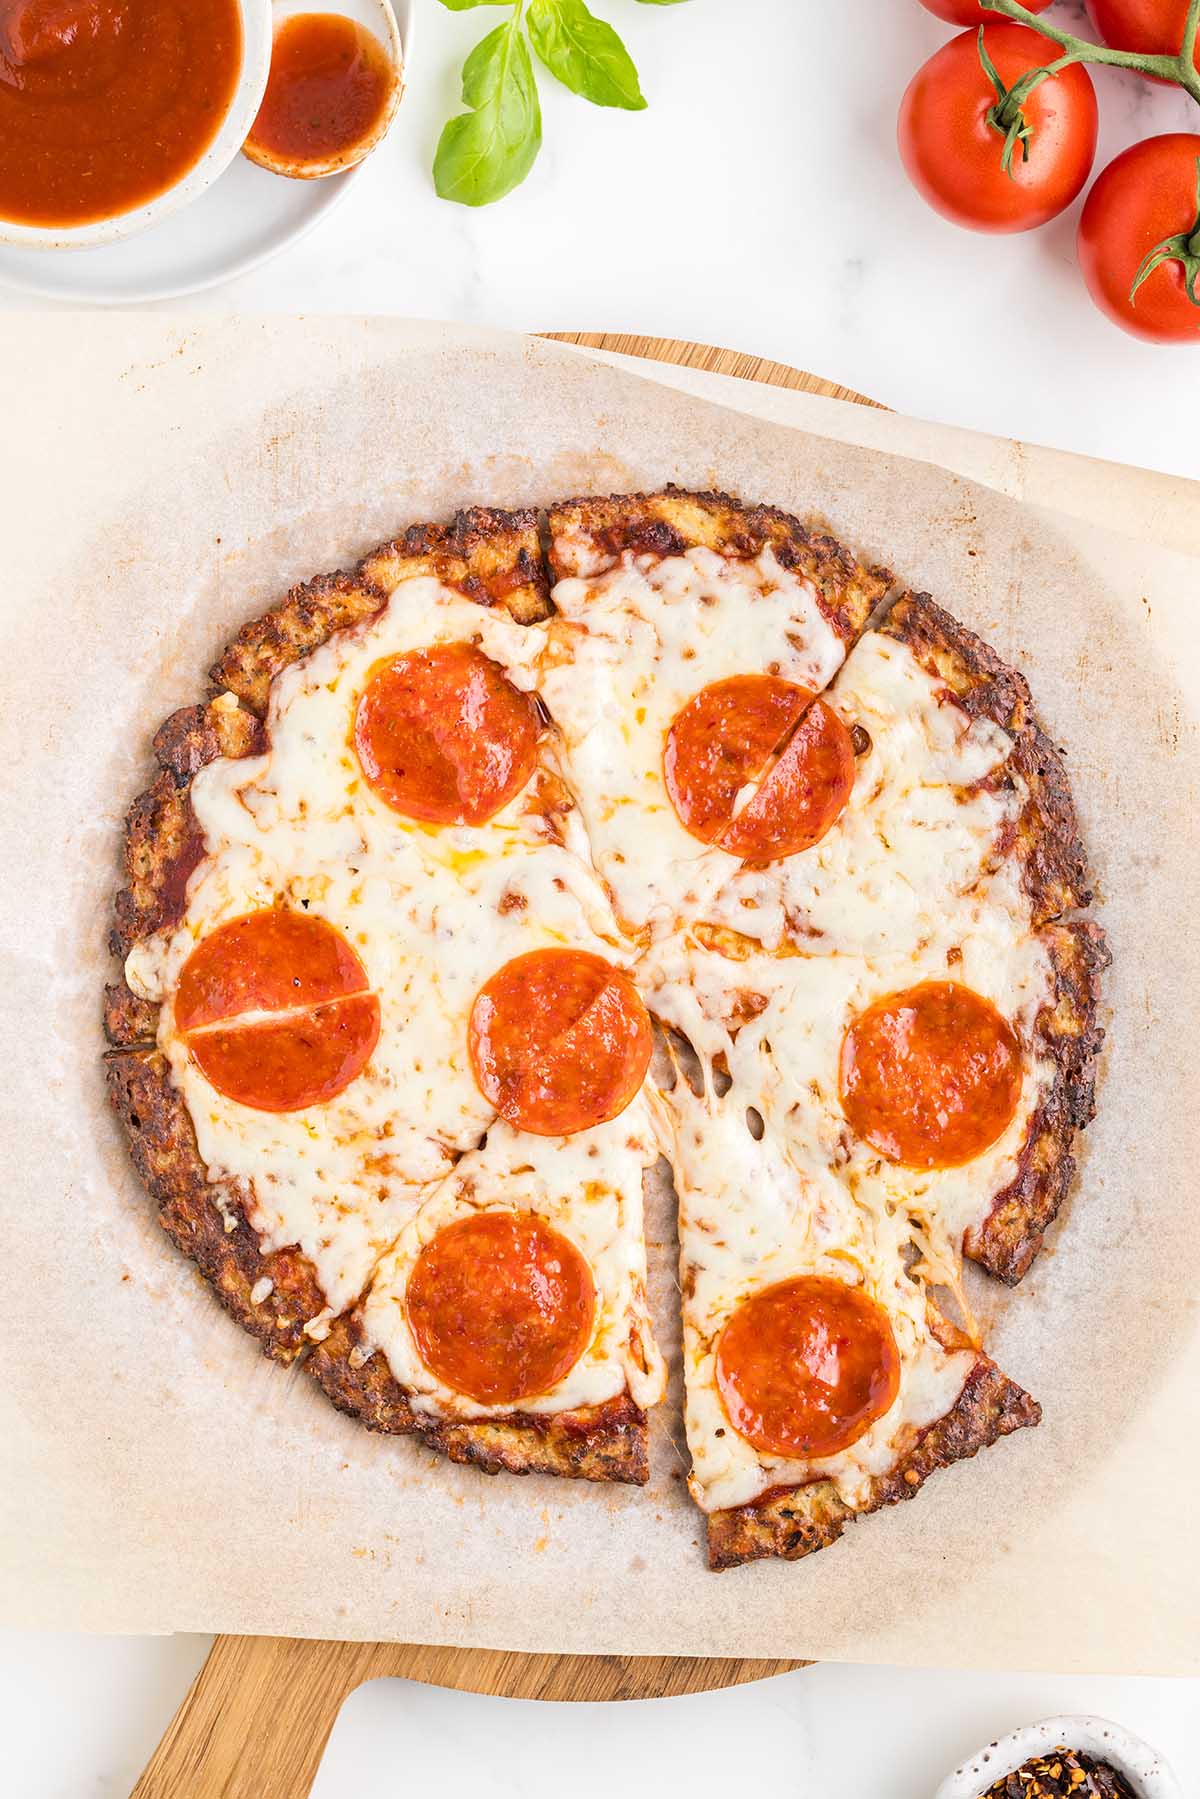
- Make It Meaty with pepperoni, sausage, ground beef, ham, buffalo chicken, or grilled chicken.
For more cauliflower recipes to replace your carb heavy meals and sides, check out my Cauliflower Breadsticks, Cauliflower Fried Rice, Sticky Sesame Cauliflower and Cauliflower Mac and Cheese.
How to Store and Reheat Cauliflower Pizza Crust
- To Store: Store leftovers in the fridge for 3-5 days.
- To Freeze: Once cooled, place your crust in a freezer-safe bag. If storing multiple crusts, wrap them first in plastic wrap or put wax paper between each layer so they do not stick together. Freeze for up to 3 months.
- To Reheat: Reheat the pizza in the oven on a pizza stone for best results.
More Lo-Carb Recipes
- Cloud Bread Recipe
- Egg Roll In A Bowl
- Zucchini Noodles
- Chaffle
- Burger Bowl Recipe
- Zucchini Pizza Boats
If you tried this Cauliflower Pizza Crust Recipe or any other recipe on my website, please leave a 🌟 star rating and let me know how it went in the 📝 comments below. Thanks for visiting!!!
Cauliflower Pizza Crust
Ingredients
- 1 small to medium sized head of cauliflower – should make 2 cups once processed I like to save some time and use the Trader Joe's riced cauliflower.
- ½ teaspoon dried basil
- ¼ teaspoon dried oregano
- 1 teaspoon garlic salt OR 1/4 teaspoon salt and 1/4 teaspoon garlic powder I love Lawry's
- ⅓ cup shredded parmesan cheese
- ⅓ cup mozzarella cheese
- 1 egg
- pizza sauce & toppings of your choice
Instructions
- Preheat oven to 450 degrees
- Place a piece of parchment paper on a cookie sheet and spray it with non-stick butter spray. (or use a silicon baking mat, which is my favorite thing in the world)
- Cut off the florets of the cauliflower – try to cut off as much of the stem as possible. Place the florets in a food processor and “rice it” – you do this by pulsing the food processor – press the button in short “pulse-like” increments- be very careful not to over process and puree, it won’t be good!1 small to medium sized head of cauliflower – should make 2 cups once processed
- The cauliflower should come out looking almost grain like. See picture in post.(You can save a step by buying the frozen riced cauliflower. I have done this and it comes out just as good!)
- Place the cauliflower in a microwave safe bowl and microwave it for about 4 minutes.
- Pour it out on a kitchen towel or paper towels and wring the water out of it. The more water you get out the better.
- Place in a bowl and mix in all of the other ingredients.½ teaspoon dried basil, ¼ teaspoon dried oregano, 1 teaspoon garlic salt OR 1/4 teaspoon salt and 1/4 teaspoon garlic powder, ⅓ cup shredded parmesan cheese, ⅓ cup mozzarella cheese, 1 egg
- Using your hands, take the mixture and make it into a ball.
- Place it on the parchment paper and flatten it out to a pizza shape. (careful not too make it too thick or thin!)
- Place the cookie sheet in the oven and bake until the edges start to get golden brown and the middle sets – about 15 minutes. Flip over and bake another few minutes.
- Remove from oven and let it cool for a few minutes.
- Put your favorite pizza sauce and toppings on and cook on 350 degrees for 3-5 minutes or until cheese is melting and starting to brown.pizza sauce & toppings of your choice
- If you have a pizza stone, I think this would help it to get nice and crispy, I don’t have one, but I may have to invest in one!
Jenn’s Notes
- Make sure to rice the cauliflower to nice small pieces.
- The more water you can squeeze out the better – really squeeze the water out!
- When you bake the crust flip it over about halfway through the baking process.
- If you have a pizza stone, use it! (reader suggestion so it doesn’t stick to the stone. Initially bake it on parchment then after you flip it, place it on the pizza stone.
Nutrition Info
Originally posted on February, 2015


I only had a huge head of cauliflower, so I riced all of it, microwaved all of it, and measured out the needed 2 cups for the crust. I baggied the rest and froze it. I followed the recipe exactly and it was wonderful. Not only did I have a slice for lunch, but also a slice for supper! This recipe is certainly an easy way to get veggies in for the day, it’s also a fantastic way to fix that pizza crave I was feeling all week long! Thank you for your recipe. It’s now in my go-to meal rotation.
YAY!! It is one of our favorites too!!
How many points on ww and portion size please reply
Hi Carol – not sure how many points on WW. Sorry!
How many w w point is it & the size
Or portion
This is a great little post with some valuable tips. I totally agree. The way you bring passion and engagement into the things you do can really change your outlook on live.
3 thumbs up from our house 🙂
I tried this tonight and I was pleasantly surprised. It was super easy and actually came out looking like the picture. It was so delicious! I topped mine with chicken, fresh tomato, and smoked mozzarella. I used the frozen riced cauliflower, it worked great. A new favorite recipe!
So glad you liked it
What would the steps be if using already frozen riced cauliflower?
Would you follow the heating directions and then squeeze out water? Or just let it thaw out in the fridge?
Hi! I’m teysorry my this tomorrow night. Could you please let me know the carb count? I didn’t see it in the blog or with the recipe. Can’t wait to try it!
Thanks
My phone betrays me. *I’m trying this tomorrow night*
How many servings is this??
Do you mix the cheeses in to make the crust, are they for with the toppings?
Jennifer, I have the same question about the cheese. Is it mixed in the crust or added after it’s cooked???
You want to mix it in!