This post may contain affiliate links. Please read our disclosure policy.

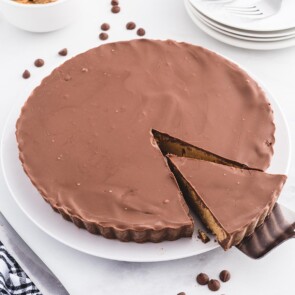
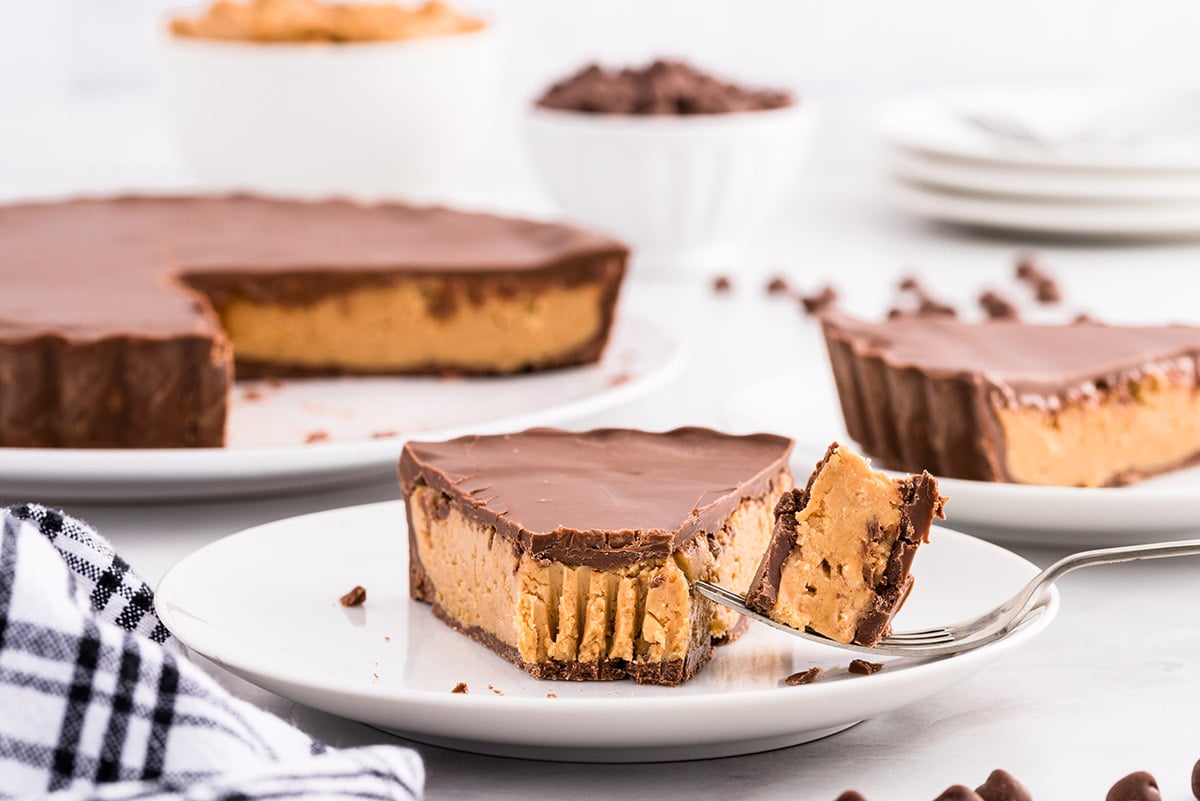
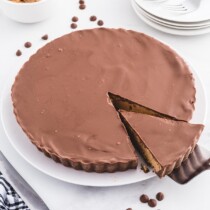
This Reese’s peanut butter cup pie is a creamy peanut butter filling set in a smooth chocolate candy bar crust, and it tastes just like the candy everyone loves. I made it once for family and now it gets requested every time we need a dessert that feels special but still easy.
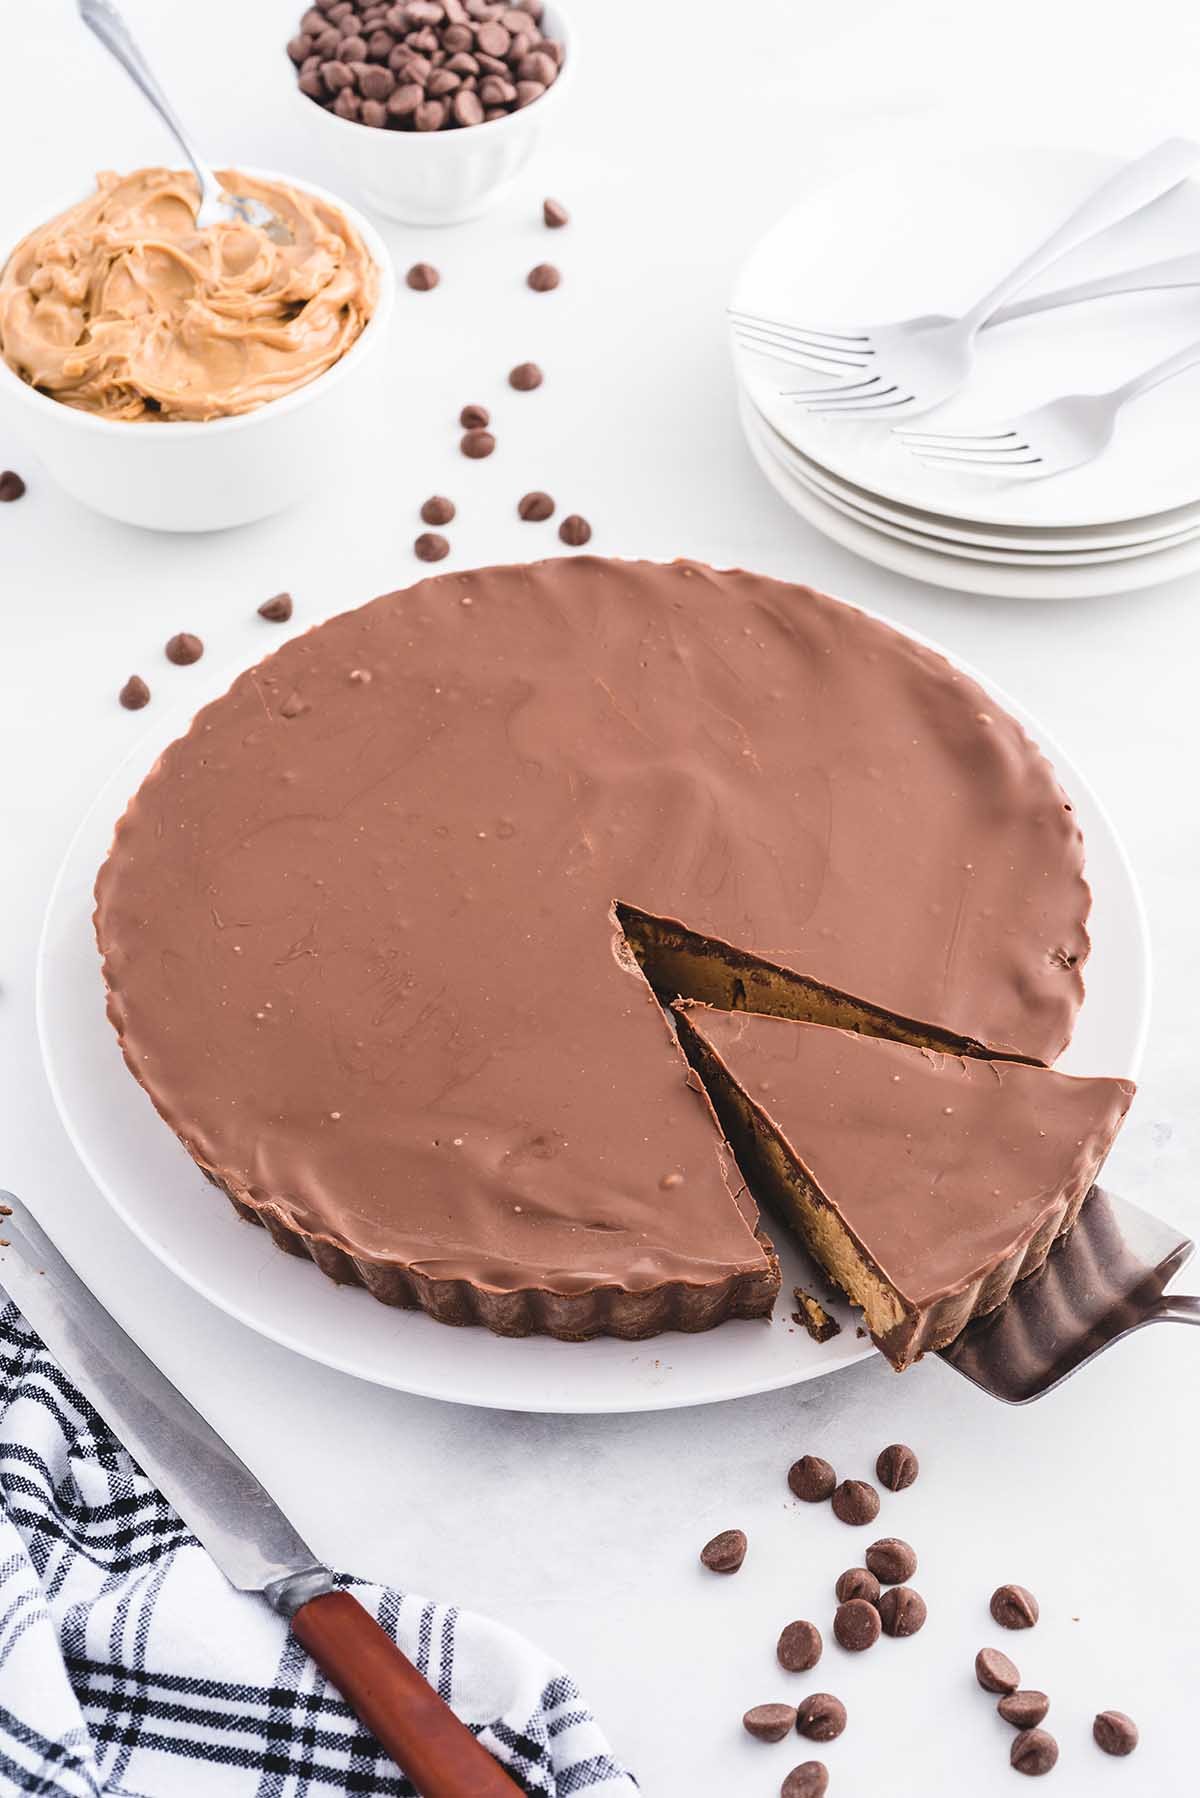


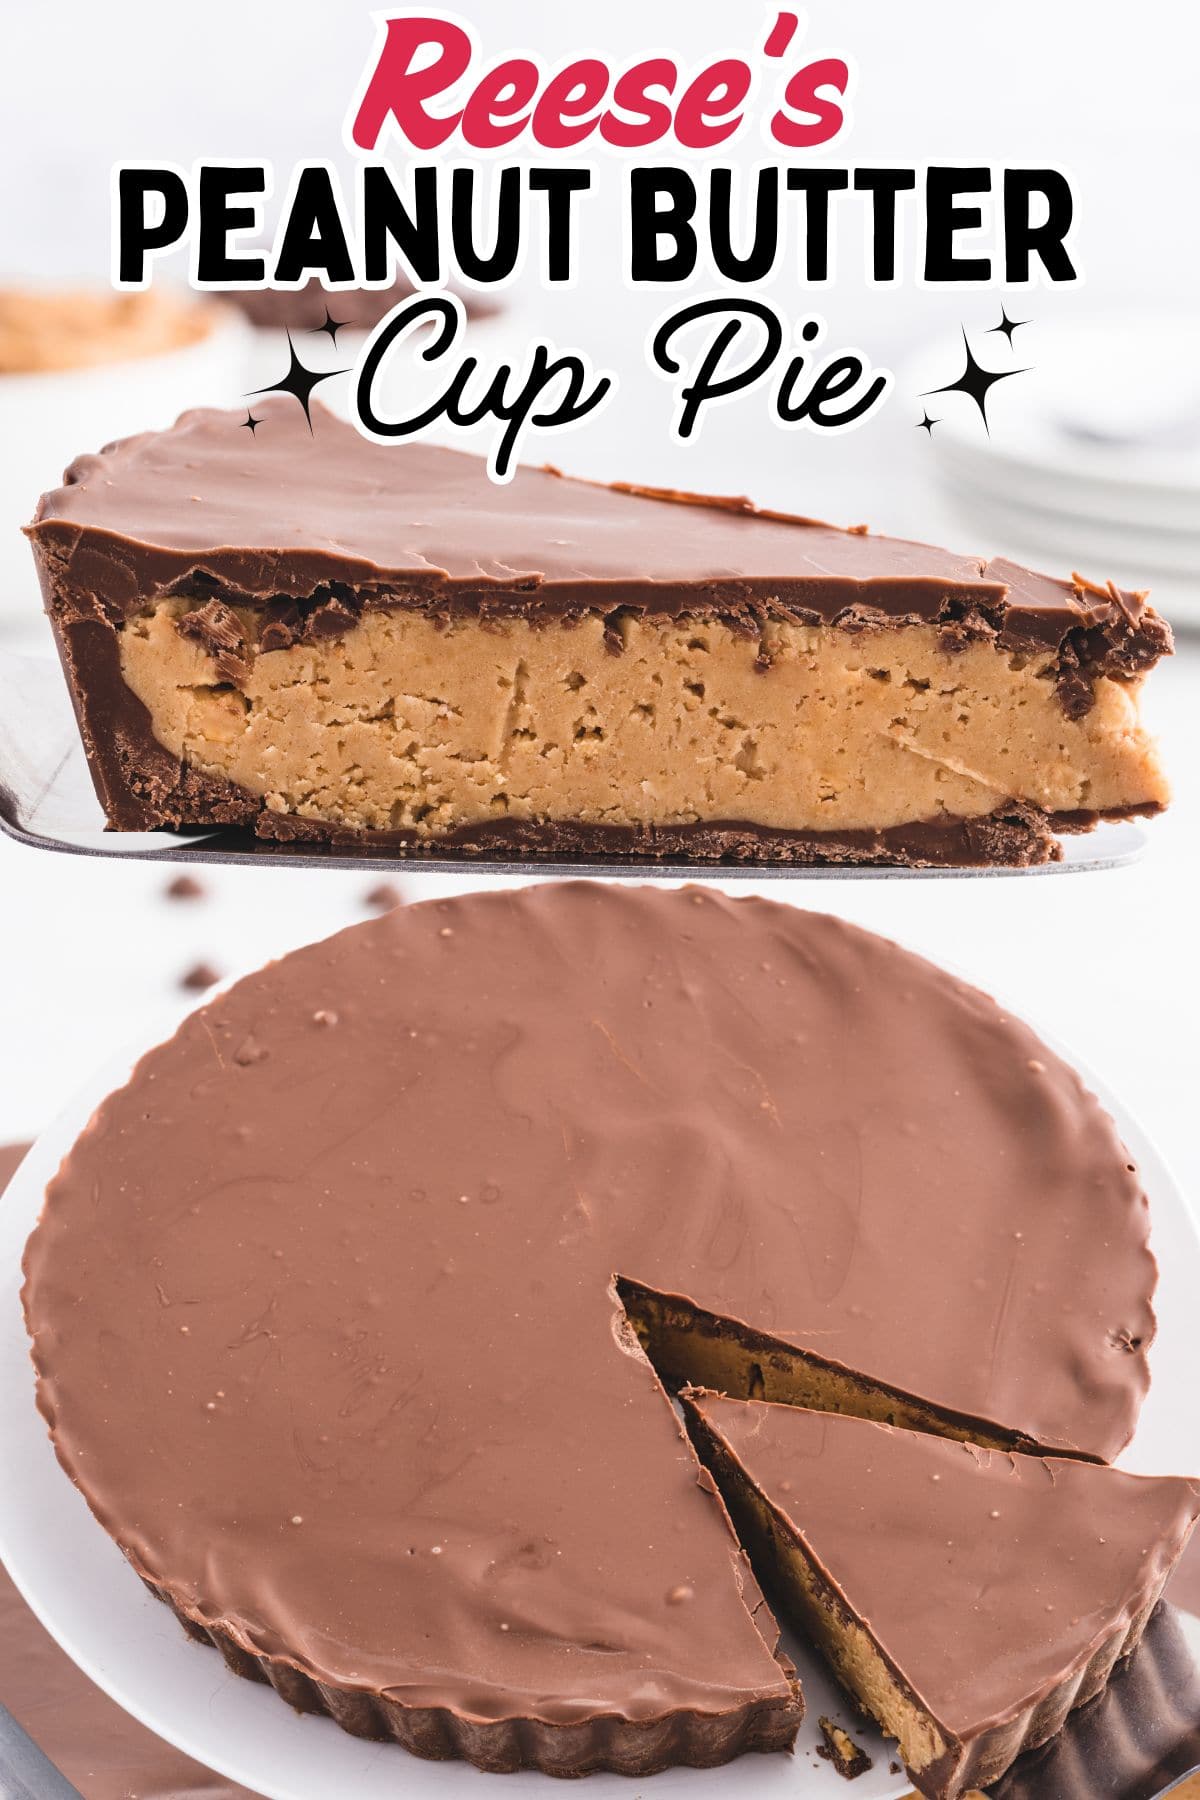

Calling all Reese’s peanut butter cup fans! You are going to love this recipe because it comes together so easily, is no-bake and gives you smooth, rich slices every single time. It is the kind of dessert you make when you want people ask you for the recipe after the first bite. Each slice has that classic peanut butter and chocolate flavor, and those iconic ridges give the whole thing the look of the real candy, only bigger and better!
If you can’t get enough of the chocolate and peanut butter combo in this pie, you’ll love my Reese’s Cheesecake or these easy Chocolate Peanut Butter Dessert Cups.
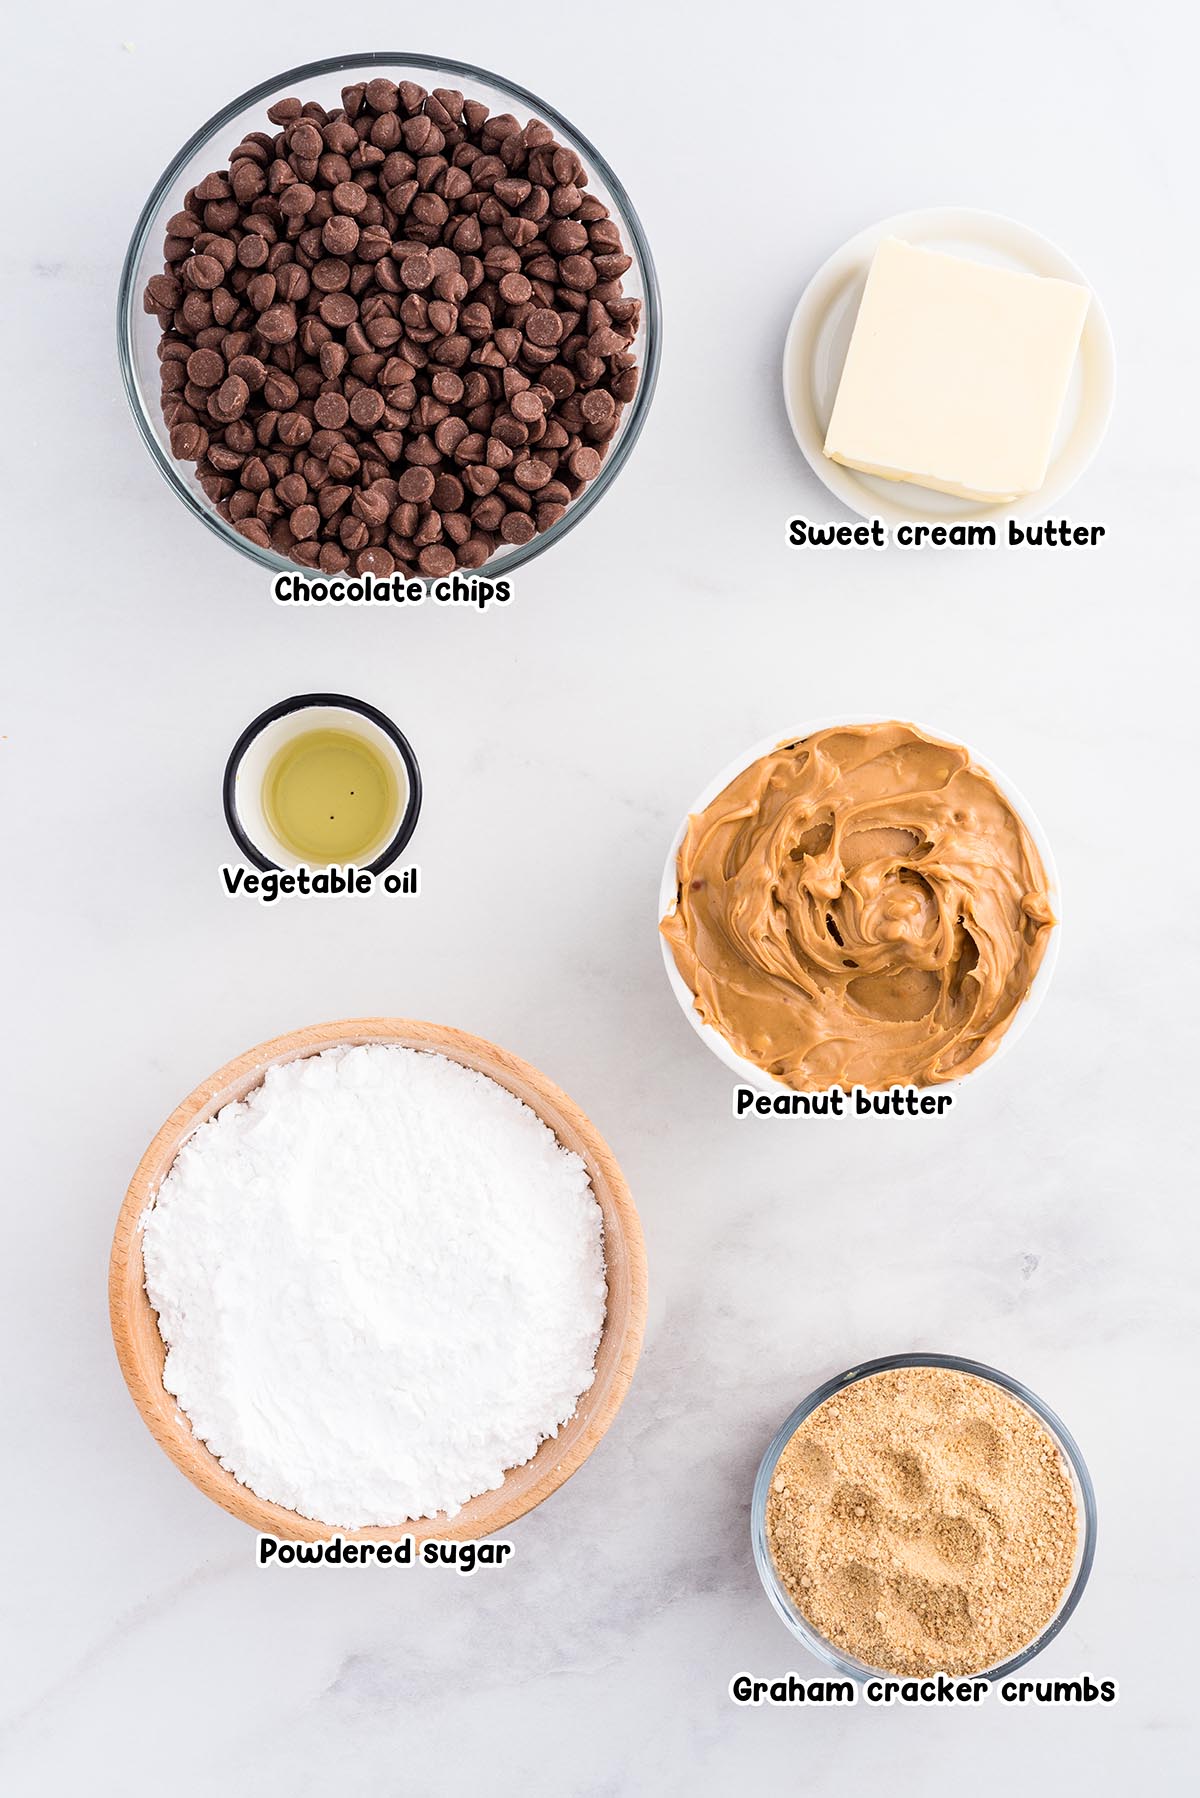
Ingredients Notes
Chocolate Ganache
- Chocolate chips: Personally, I prefer milk chocolate chips, but you can substitute semi-sweet or dark chocolate if you prefer a less sweet pie.
- Vegetable oil: I find it helps keep the chocolate smooth and easier to slice. Coconut oil can be used, but it sets firmer.
Chunky Peanut Butter Filling
- Powdered sugar
- Graham cracker crumbs: I love to use the store-bought crumbs because they are perfectly ground down to fine crumbs. If you want to make them yourself, you can use a food processor to crush full sheets into fine crumbs.
- Crunchy peanut butter: I always use a conventional peanut butter, like Jif or Skippy. Creamy peanut butter can be substituted if preferred. Avoid natural peanut butter as it tends to separate.
- Salted sweet cream butter: Unsalted butter works if you add a small pinch of salt.
See the recipe card for full information on ingredients and quantities.
How to Make Reese’s Peanut Butter Cup Pie
Step 1 – Prepare the pan:
I always line the bottom of a 9-inch fluted tart pan with parchment paper and lightly spray with nonstick spray. This will help it to easily come out of the pan.
Step 2 – Melt the chocolate:
Microwave the chocolate chips and vegetable oil medium-size heat-safe mixing bowl for 45 to 55 seconds, stirring until smooth.
Step 3 – Create the shell:
I will then take a spatula to spread half of the melted chocolate over the bottom and up the sides of the pan. Then I pop it in the fridge to chill while making the filling.
Step 4 – Mix the filling:
In a bowl, I whisk together the powdered sugar and graham cracker crumbs. Then, I microwave the peanut butter and butter for 45 seconds, stir, then combine with the dry ingredients.
Step 5 – Assemble the pie:
I will spread the peanut butter mixture evenly into the chilled chocolate shell. Then I like to reheat the remaining chocolate, it usually needs to be melted a little more after sitting. Then I spread it over the top. I will tap the pan gently to make sure it is good and level.
Step 6 – Chill:
I like to refrigerate the pie for at least 4 hours or even overnight until it is fully set.
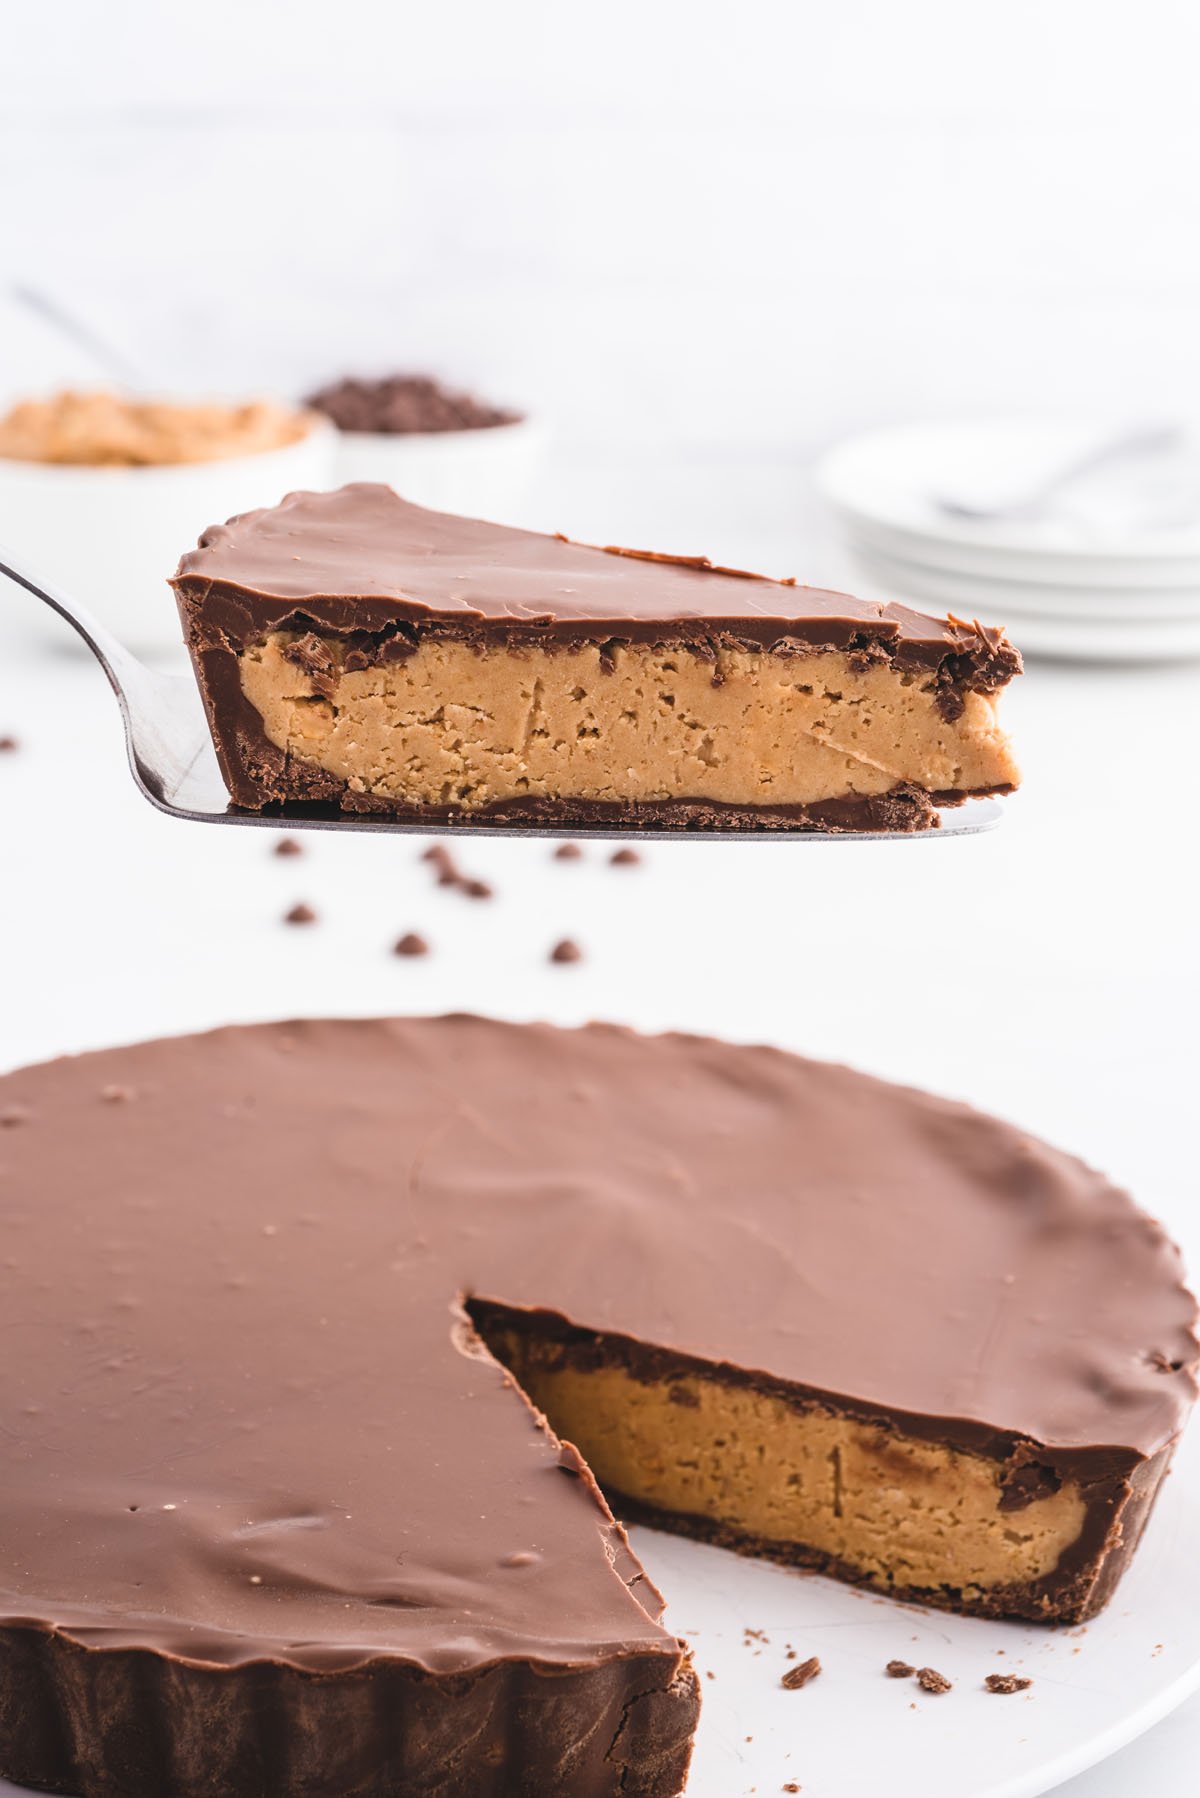
Step 7 – Serve:
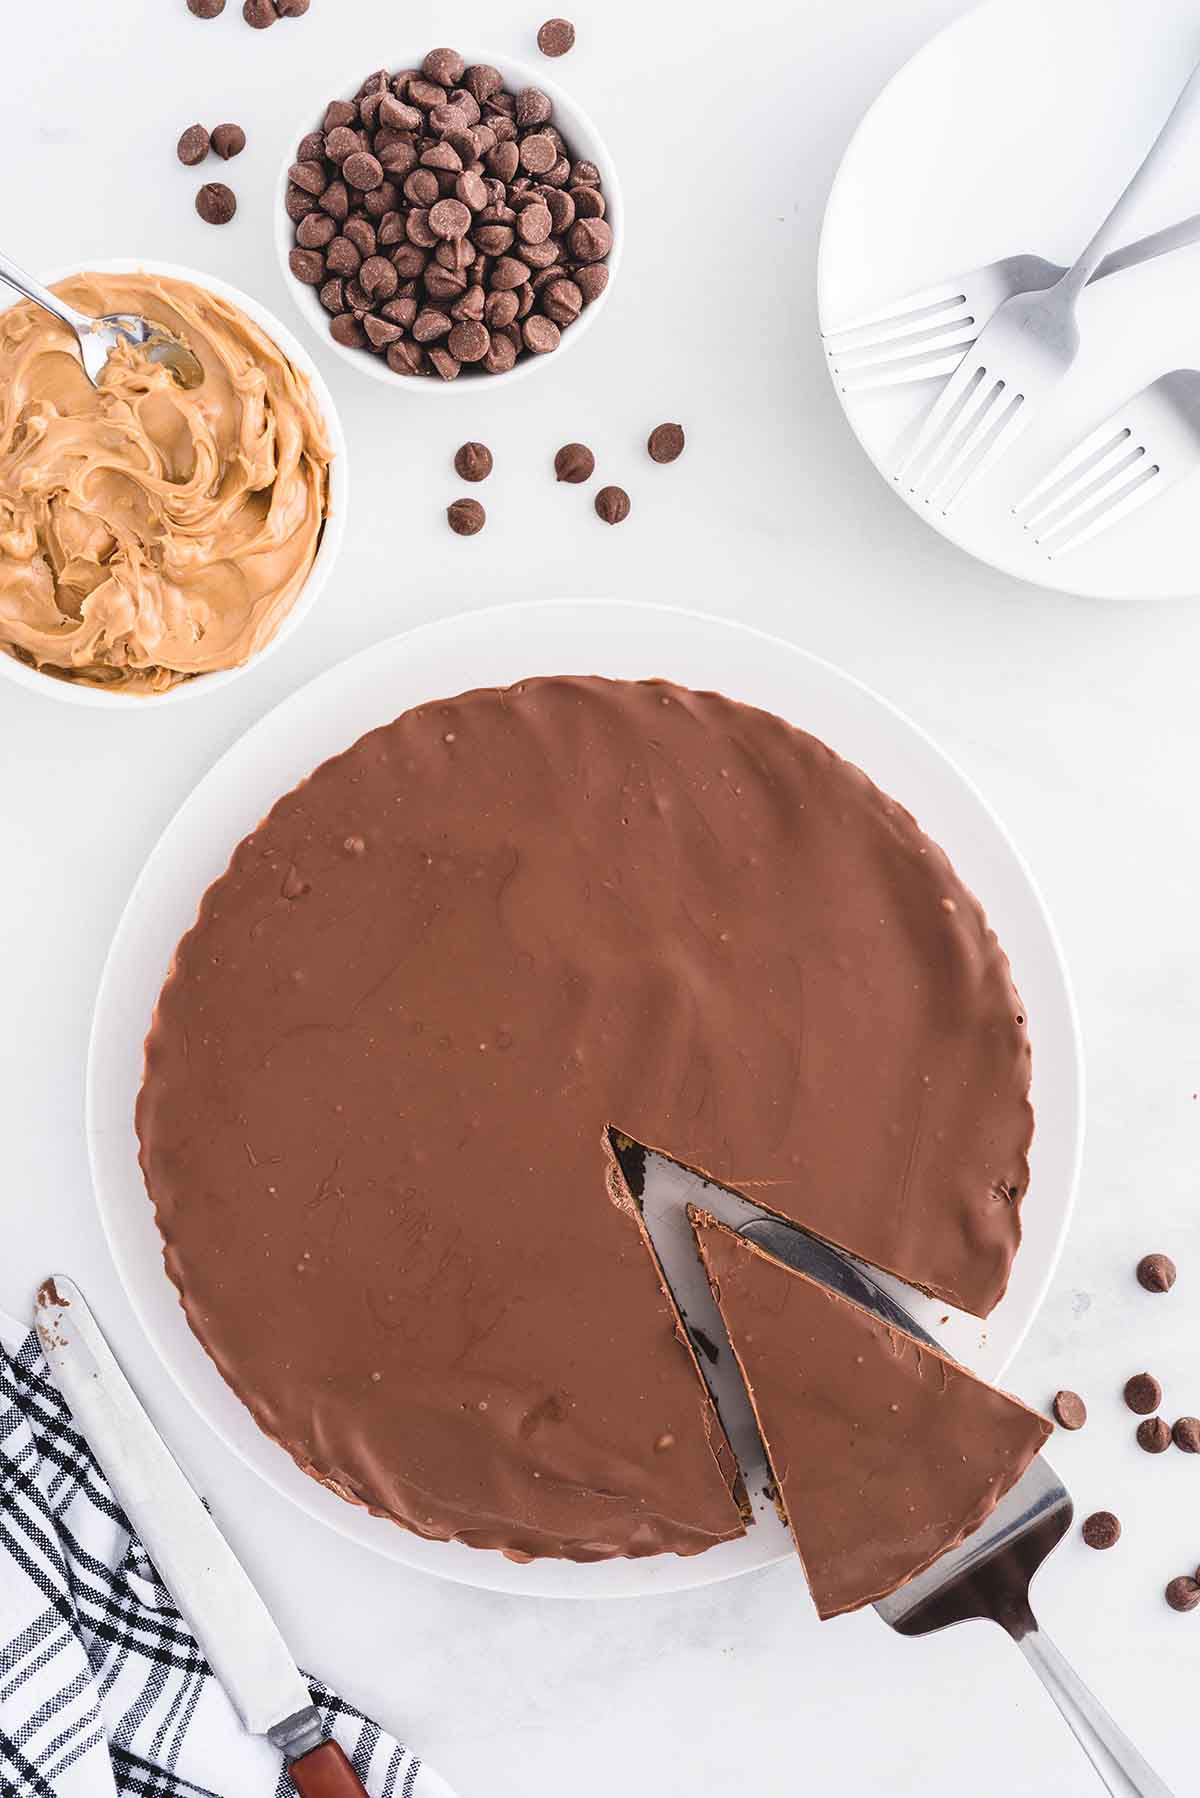
Finally, I will remove the pie from the pan and let it sit at room temperature for about 20 minutes, then slice it with a sharp knife and serve.
I made this for church last night. It was a BIG with everyone. I think it was the best desert I have ever made for church! Everyone was impressed with it looking like a peanut butter cup and that it tasted like one. I was impressed with how easy it was to put together. Thanks for a great desert!
Make Ahead & Storage Instructions
- Store: Keep leftovers in an airtight container in the refrigerator for up to 7 days.
- Reheat: This pie does not need reheating. Let it sit at room temperature for 15 to 20 minutes before serving.
- Freeze: Wrap tightly in plastic wrap and foil, then freeze for up to 3 months. Thaw overnight in the refrigerator.
- Make ahead: This pie can be made 1 to 2 days in advance and stored in the refrigerator until ready to serve.
More Chocolate and Peanut Butter Dessert Recipes You’ll Love
- Chocolate Peanut Butter Lasagna: A layered no bake dessert with an Oreo crust, peanut butter cream cheese filling, and chocolate topping.
- Chocolate Covered Peanut Butter Balls: Bite sized treats made with peanut butter and chocolate, perfect for holidays or gifting.
- No Bake Peanut Butter Bars: A classic peanut butter and chocolate dessert that is easy to make and great for sharing.
- Peanut Butter Marshmallow Cups: A unique twist on peanut butter cups with a soft marshmallow layer.
- Buckeye Brownies: Fudgy brownies topped with a creamy peanut butter layer and chocolate glaze.
Reese’s Peanut Butter Cup Pie
Ingredients
Chocolate Ganache
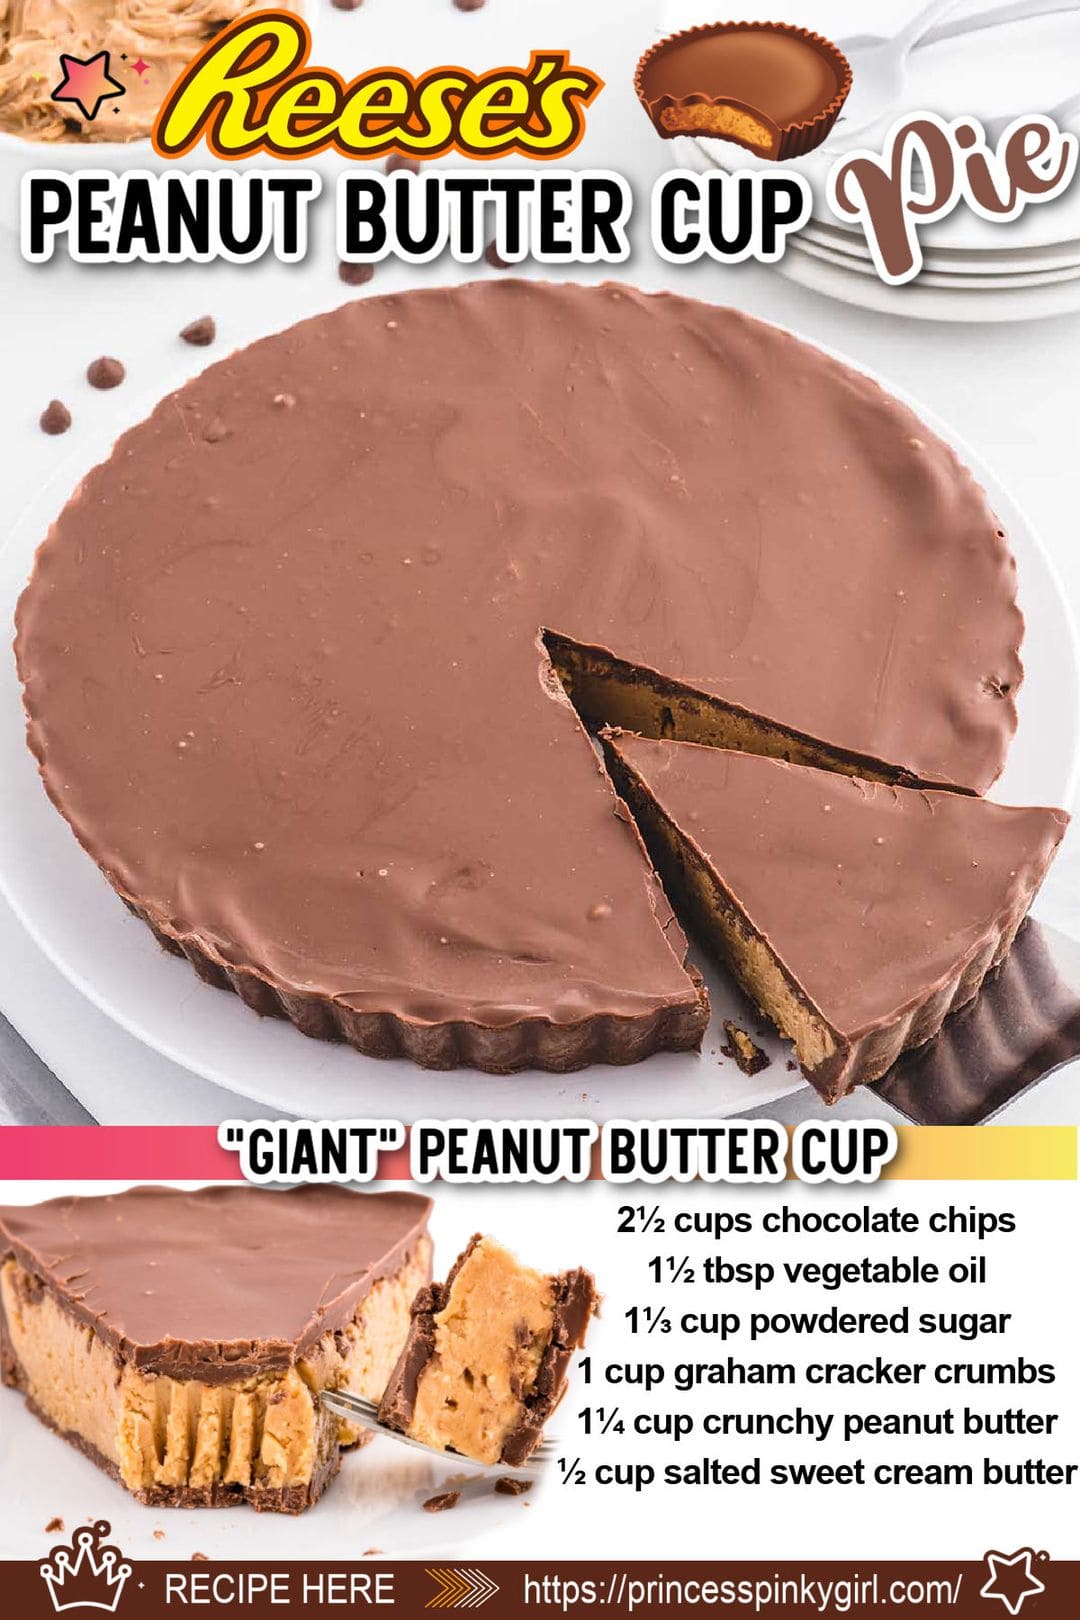
- 2½ cups milk chocolate chips
- 1½ tbsp vegetable oil
Chunky Peanut Butter Filling
- 1⅓ cup powdered sugar
- 1 cup graham cracker crumbs
- 1¼ cup crunchy peanut butter
- ½ cup salted sweet cream butter
Instructions
- Line the bottom circle of a 9-inch fluted tart pan with a circle of parchment paper. Lightly spray the parchment circle with nonstick spray. Set it aside.
- Using a medium-size heat-safe mixing bowl, combine the chocolate chips and vegetable oil. Heat the chips and oil for 45 – 55 seconds. Stir until the chocolate chips are completely melted and smooth.2½ cups milk chocolate chips, 1½ tbsp vegetable oil
- Spoon ½ of the melted chocolate into the prepared tart pan. Using a large spoon or offset spatula, evenly spread the chocolate over the bottom of the tart pan and up the sides of the pan. Chill the coated tart pan in the refrigerator while preparing the chunky peanut butter filling.
- Using a large mixing bowl, whisk together the powdered sugar and graham cracker crumbs. Set it aside.1⅓ cup powdered sugar, 1 cup graham cracker crumbs
- Using a medium-size heat-safe mixing bowl, add the chunky peanut butter and the butter. Heat in the microwave for 45 seconds. Remove the bowl and stir to thoroughly combine.1¼ cup crunchy peanut butter, ½ cup salted sweet cream butter
- Pour the chunky peanut butter mixture over the powdered sugar and graham cracker crumbs. Stir until the mixture is completely incorporated.
- Remove the chocolate-coated tart pan from the refrigerator. Using either a silicone spatula or an offset spatula, spread the chunky peanut butter mixture into the bottom of the coated tart pan. Be sure the chunky peanut butter mixture is smooth and even.
- Spoon the remaining melted chocolate mixture on top of the chunky peanut butter layer. Use the spoon or an offset spatula to evenly smooth the chocolate all the way to the sides.
- Once the remaining chocolate has been spread, gently tap the tart pan to ensure the chocolate settles. Chill in the refrigerator for 4 hours to overnight.
- When you are ready to serve, remove the tart pan from the refrigerator. To remove the peanut butter cup from the tart pan, center the pan over a small mixing and apply slight pressure to the edge of the tart pan to encourage the sides to come away. Have a serving platter or 10-inch cake circle ready to place the peanut butter cup pie on.
- Gently flip the pie upside down to remove the removable tart pan bottom, and carefully peel off the parchment circle. Place the serving plate or cake circle over the bottom of the pie and flip the pie back over.
- Slice into wedges and serve.
Jenn’s Notes
- To Store: Store any leftovers in an airtight container for up to 7 days.
- To Freeze: To freeze, wrap the pie in a layer of plastic wrap, then overwrap it in tin foil, and freeze it for up to 3 months. When you are ready to serve it, thaw it overnight in the refrigerator.
- When you remove the pie from the tart pan, you will most likely find some perfect imperfections around the edges. If they bother you, simply swipe a sharp knife to get rid of anything sticking out.
- Once you have spread the peanut butter mixture into the prepared tart pan, you may need to heat the chocolate mixture in the microwave for 15 – 20 seconds before spreading.
- If you do not have a parchment circle, you can generously spray the removable circle with nonstick spray, or you can lightly butter the removable circle.
- Before slicing, allow the pie to sit at room temperature for 20 minutes before slicing.
- I find it easiest to cut the pie with a warm, dry knife so it’ll slice through the thick chocolate.


Can you use creamy peanut butter?
And what’s salted cream butter
Yes, you can use creamy peanut butter for this pie. That’s actually what I use. Just make sure it’s a regular creamy peanut butter like Jif or Skippy, not a natural one that separates, since that can affect the texture.
Salted cream butter simply means regular salted butter made from cream. It’s the standard butter in the dairy aisle. If you only have unsalted butter, that works too. Just add a small pinch of salt to balance the sweetness.