
This post may contain affiliate links. Please read our disclosure policy.

These no bake avalanche cookies are one of my favorite treats to pull out when I want something that looks impressive without turning on the oven. White chocolate, crunchy peanut butter, Rice Krispies, mini marshmallows, caramel syrup, and a finishing sprinkle of flaky sea salt come together in about 25 minutes for a cookie that tastes like it took way more effort than it did.


My version goes further than the classic recipe. A few small upgrades to the base and the finishing touches are what make these the ones people ask me for every holiday season. They come out crispy and creamy at the same time, with this sweet and salty finish that makes it really hard to stop at one.
If you love easy no-bake treats like these, my White Chocolate Haystacks are another quick favorite and my Easter Bird Nest Cookies use the same Rice Krispie base in the most adorable way.
Why This Recipe Works
Most avalanche cookie recipes stop at four ingredients. This one goes further. Crunchy peanut butter instead of creamy gives you little pockets of texture in every bite. Caramel syrup stirred into the base adds a layer of warmth and depth that the classic version just doesn’t have. And that finishing touch of flaky sea salt pulls every flavor together in a way that makes these taste like something you’d find at a fancy chocolate shop, not a home kitchen. Simple upgrades, big payoff.
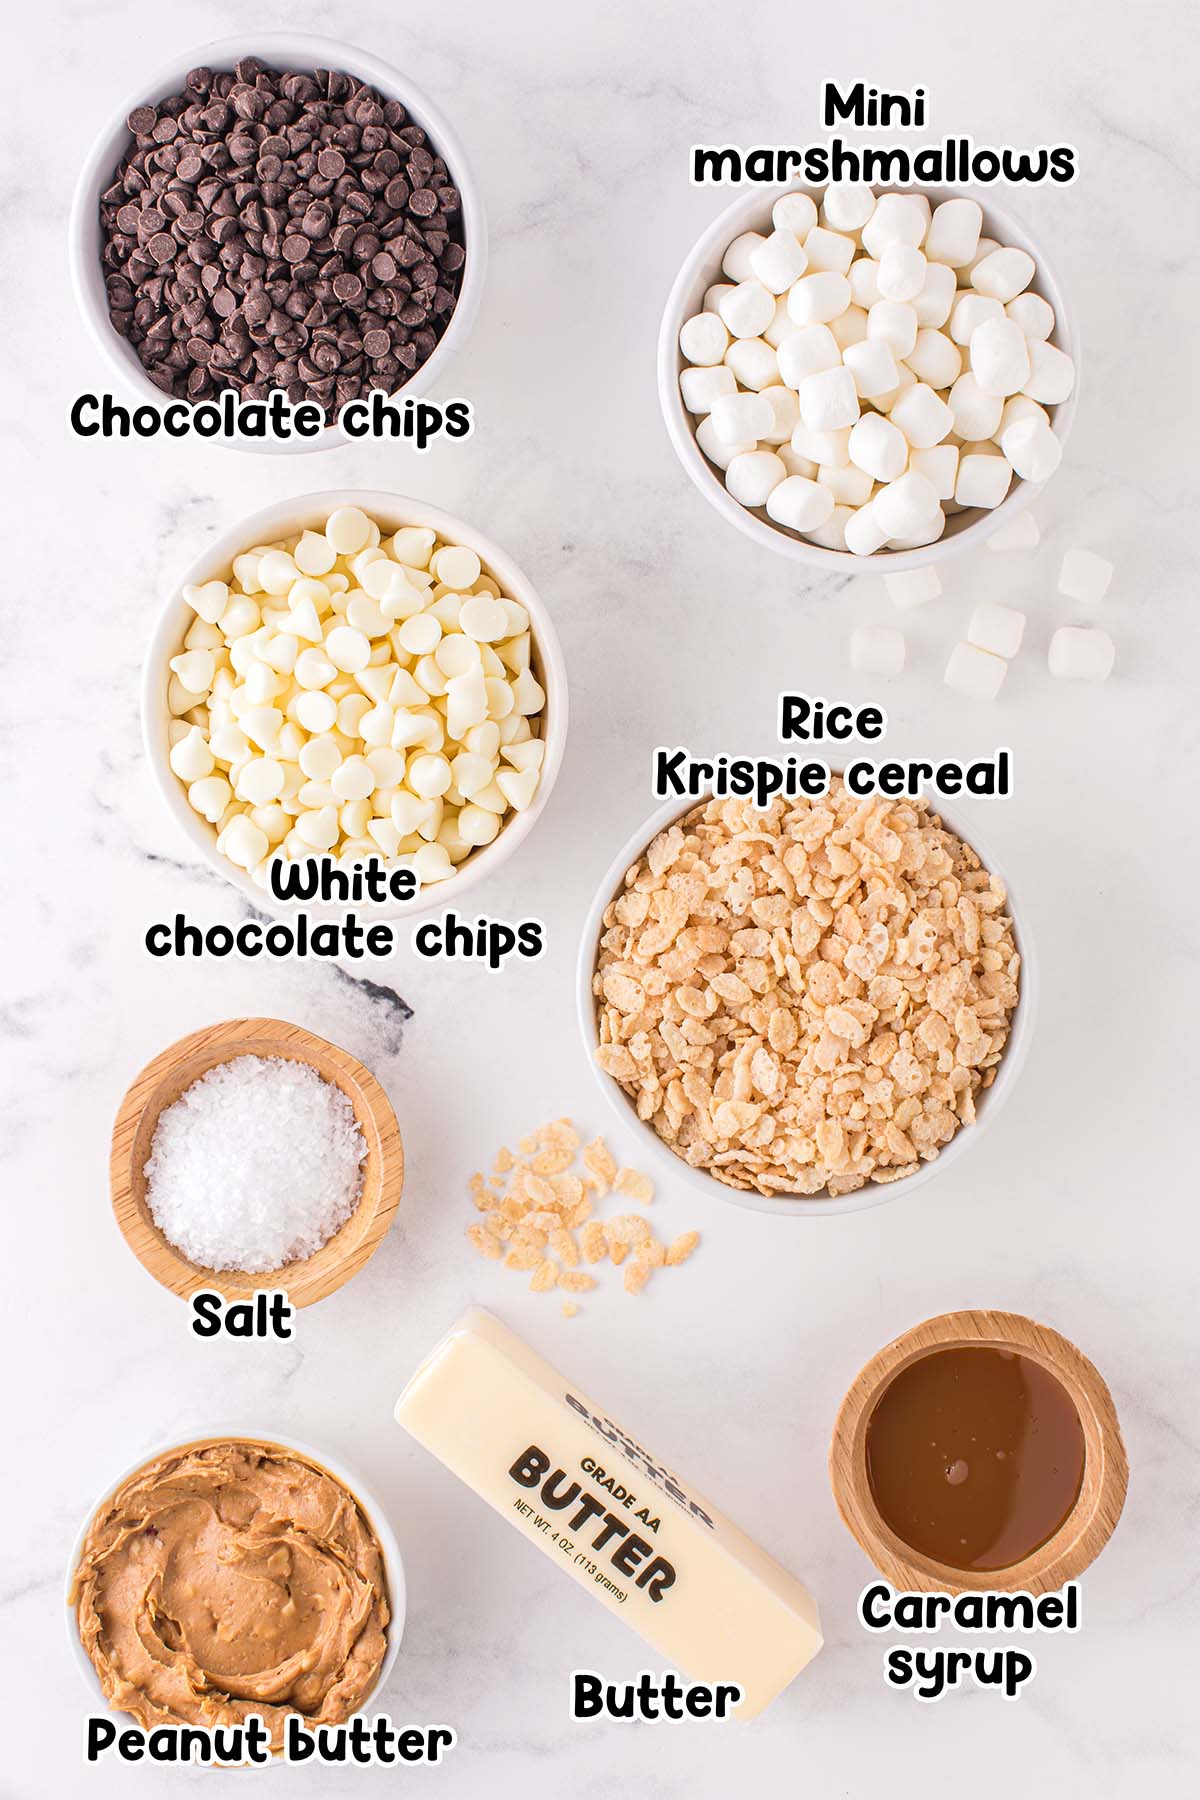
Key Ingredients
Here’s what goes into these cookies and why each one matters:
- White chocolate chips – Use good quality chips. Cheap white chocolate is harder to melt smoothly.
- Crunchy peanut butter – I specifically use crunchy for the texture. Creamy works too, but skip natural peanut butter, the extra oil interferes with how the cookies set and you’ll end up with soft, greasy results instead of firm and crispy ones.
- Salted butter – Just 4 tablespoons, but it helps the chocolate melt smoothly and adds richness to the base.
- Rice Krispie cereal – Brand name holds up slightly better, but any crispy rice cereal works.
- Mini marshmallows – Mini is important here. They fold in without overpowering each bite. Colored mini marshmallows are a fun swap for holidays.
- Caramel syrup – My upgrade ingredient. It stirs right in and gives the base a warmth that the classic recipe misses. No caramel? Chocolate syrup makes a great swap.
- Mini semi-sweet chocolate chips – These go on top right before the cookies set. Mini size is key so they don’t weigh the cookies down.
- Flaky sea salt – Do not skip this. A few granules on each cookie brings out every other flavor and makes these taste next level.
How to Make Avalanche Cookies
Step 1. Line a large 18×13 inch sheet pan with parchment paper and set it aside. Have this ready before you start melting, you’ll want to move fast once the mix is done.
Step 2. Add the white chocolate chips, crunchy peanut butter, and butter to a medium saucepan over low heat. Stir frequently. Keep the heat low, white chocolate burns quickly and can seize if you rush it.
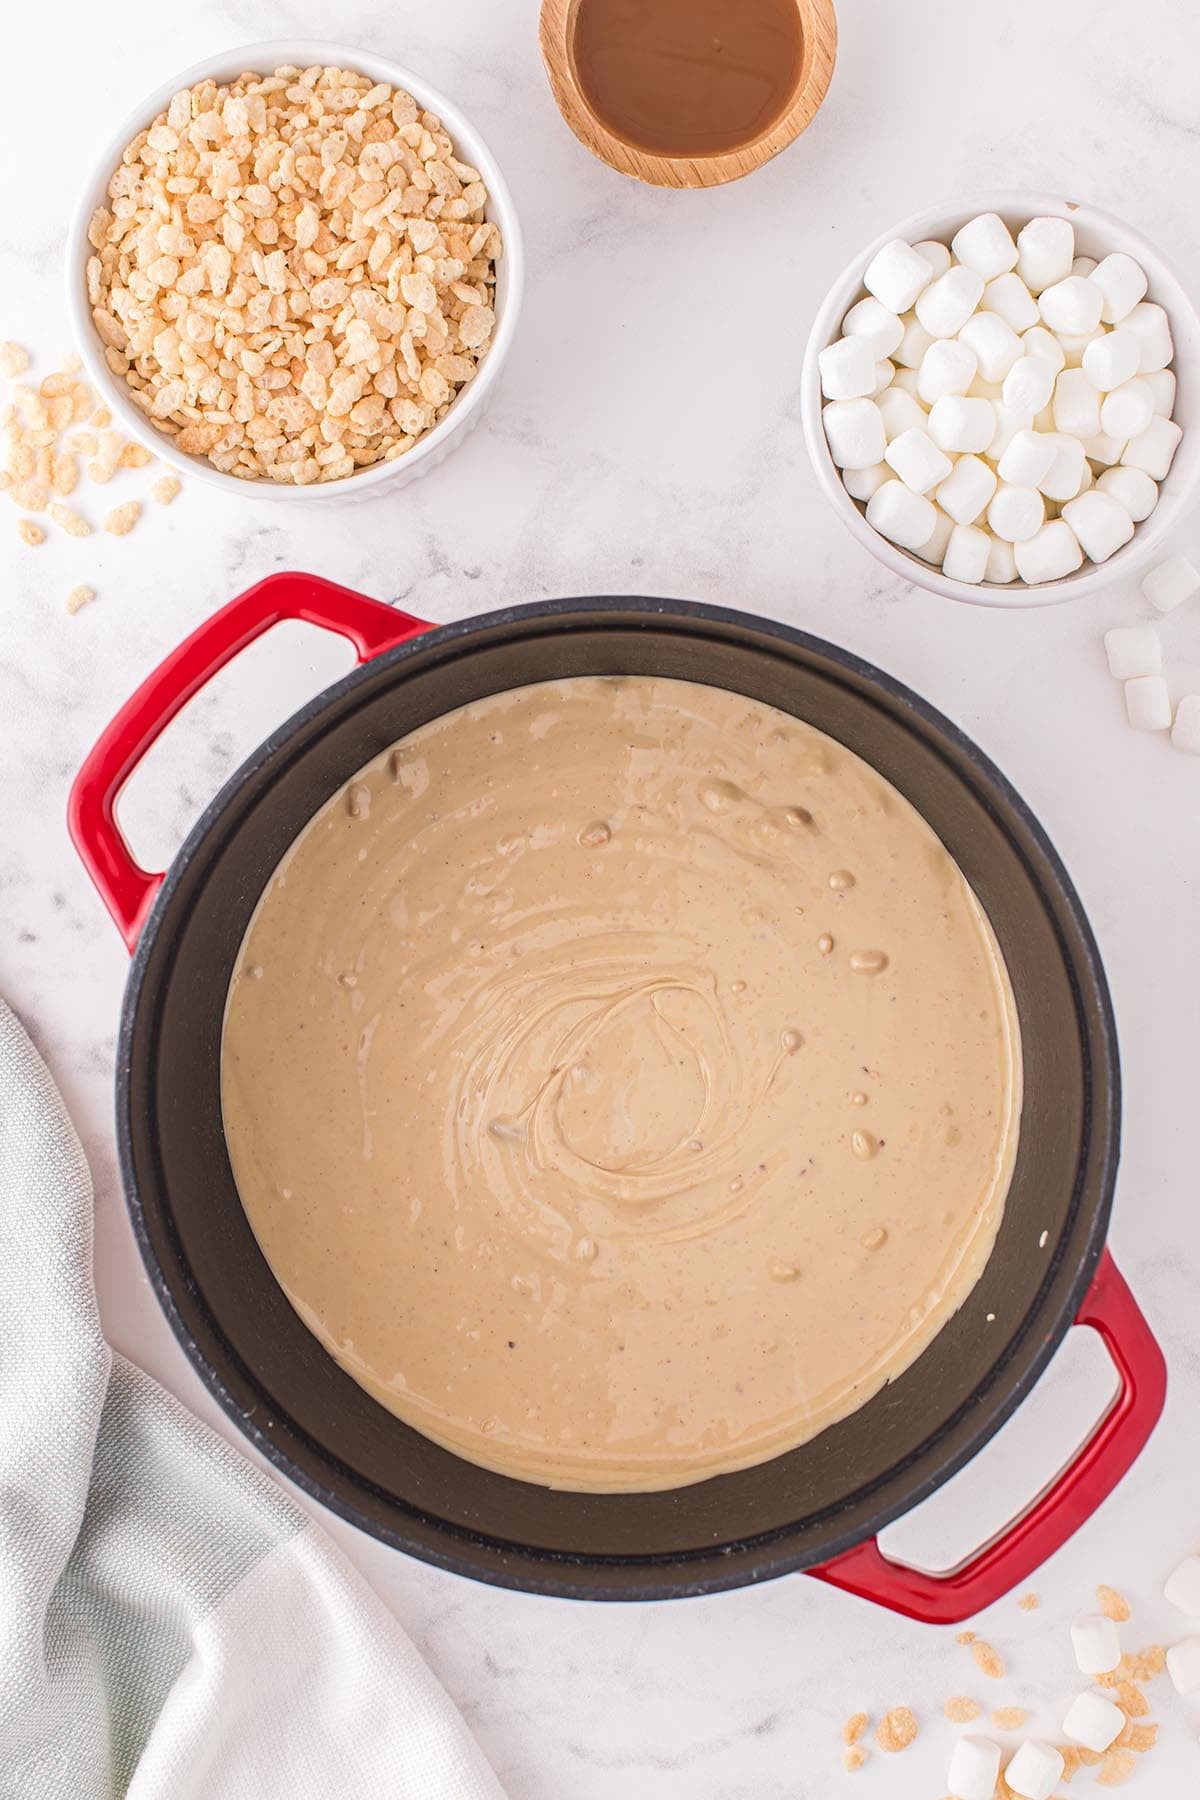 Step 3. Once the mixture is fully melted and smooth, remove the pan from the heat.
Step 4. Stir in the Rice Krispie cereal, mini marshmallows, and caramel syrup until everything is completely combined. The mix will start to cool and thicken quickly, so work fast here.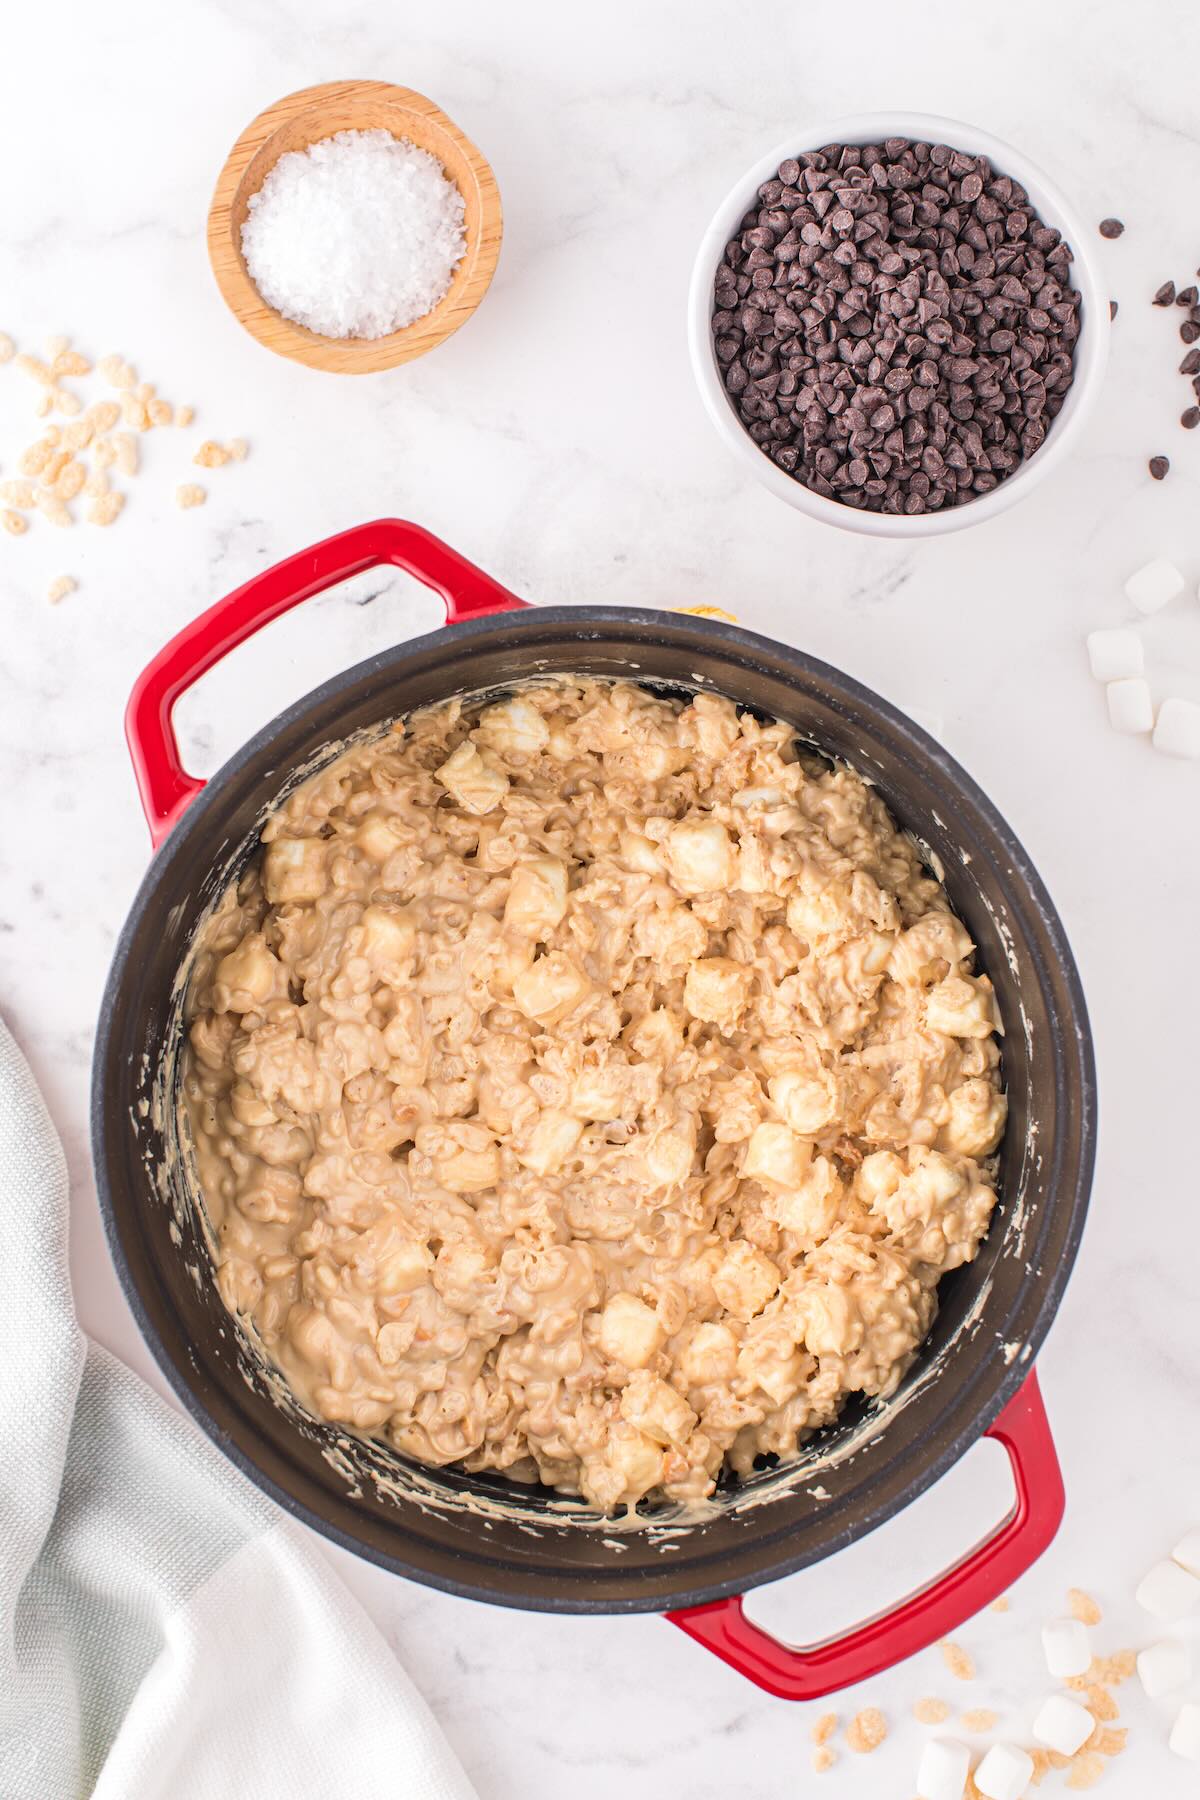
Step 5. Use a ¼ cup measuring cup or large cookie scoop to drop generous portions of the mixture onto the prepared pan. This size gives you big, bakery-style cookies with great height.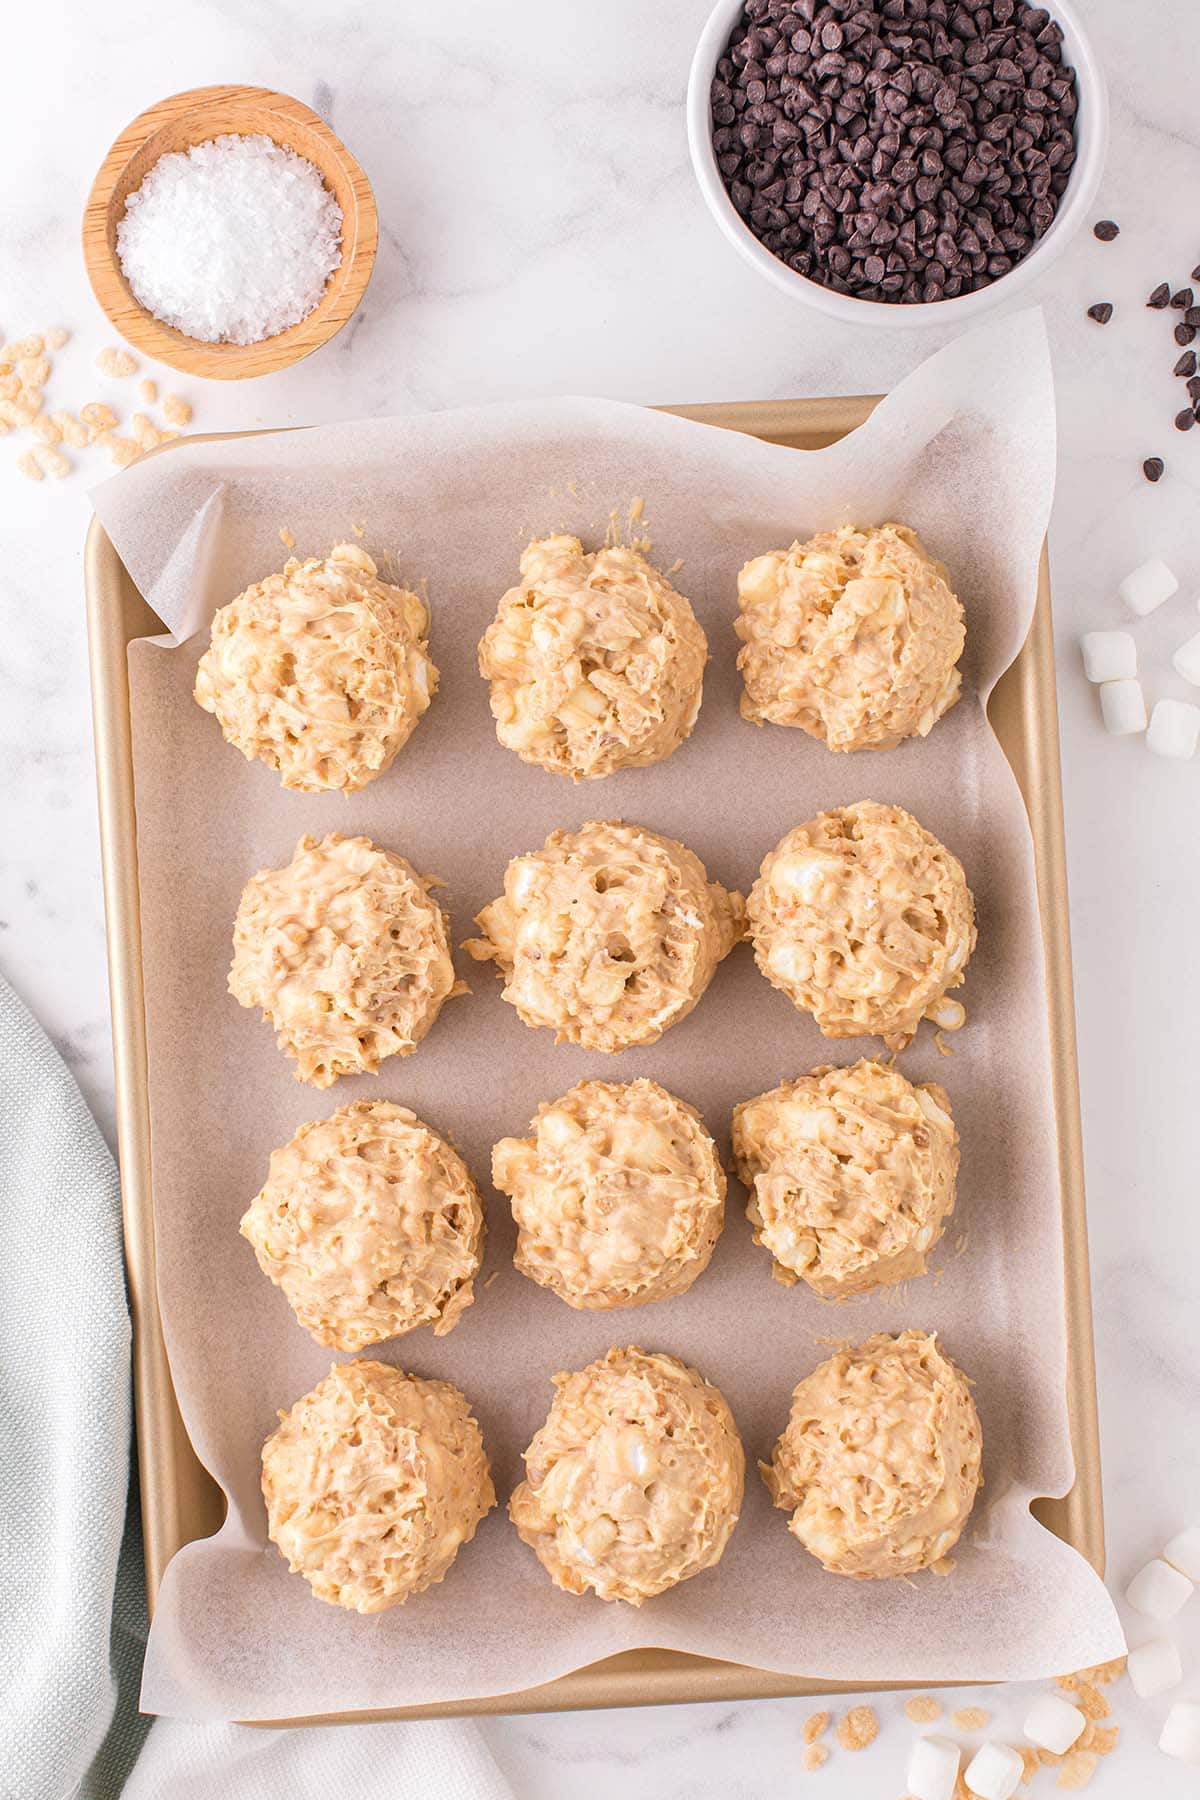
Step 6. Immediately sprinkle each cookie with mini chocolate chips and flaky sea salt before they start to firm up. About ¼ teaspoon of chips and just a few granules of salt per cookie is all you need.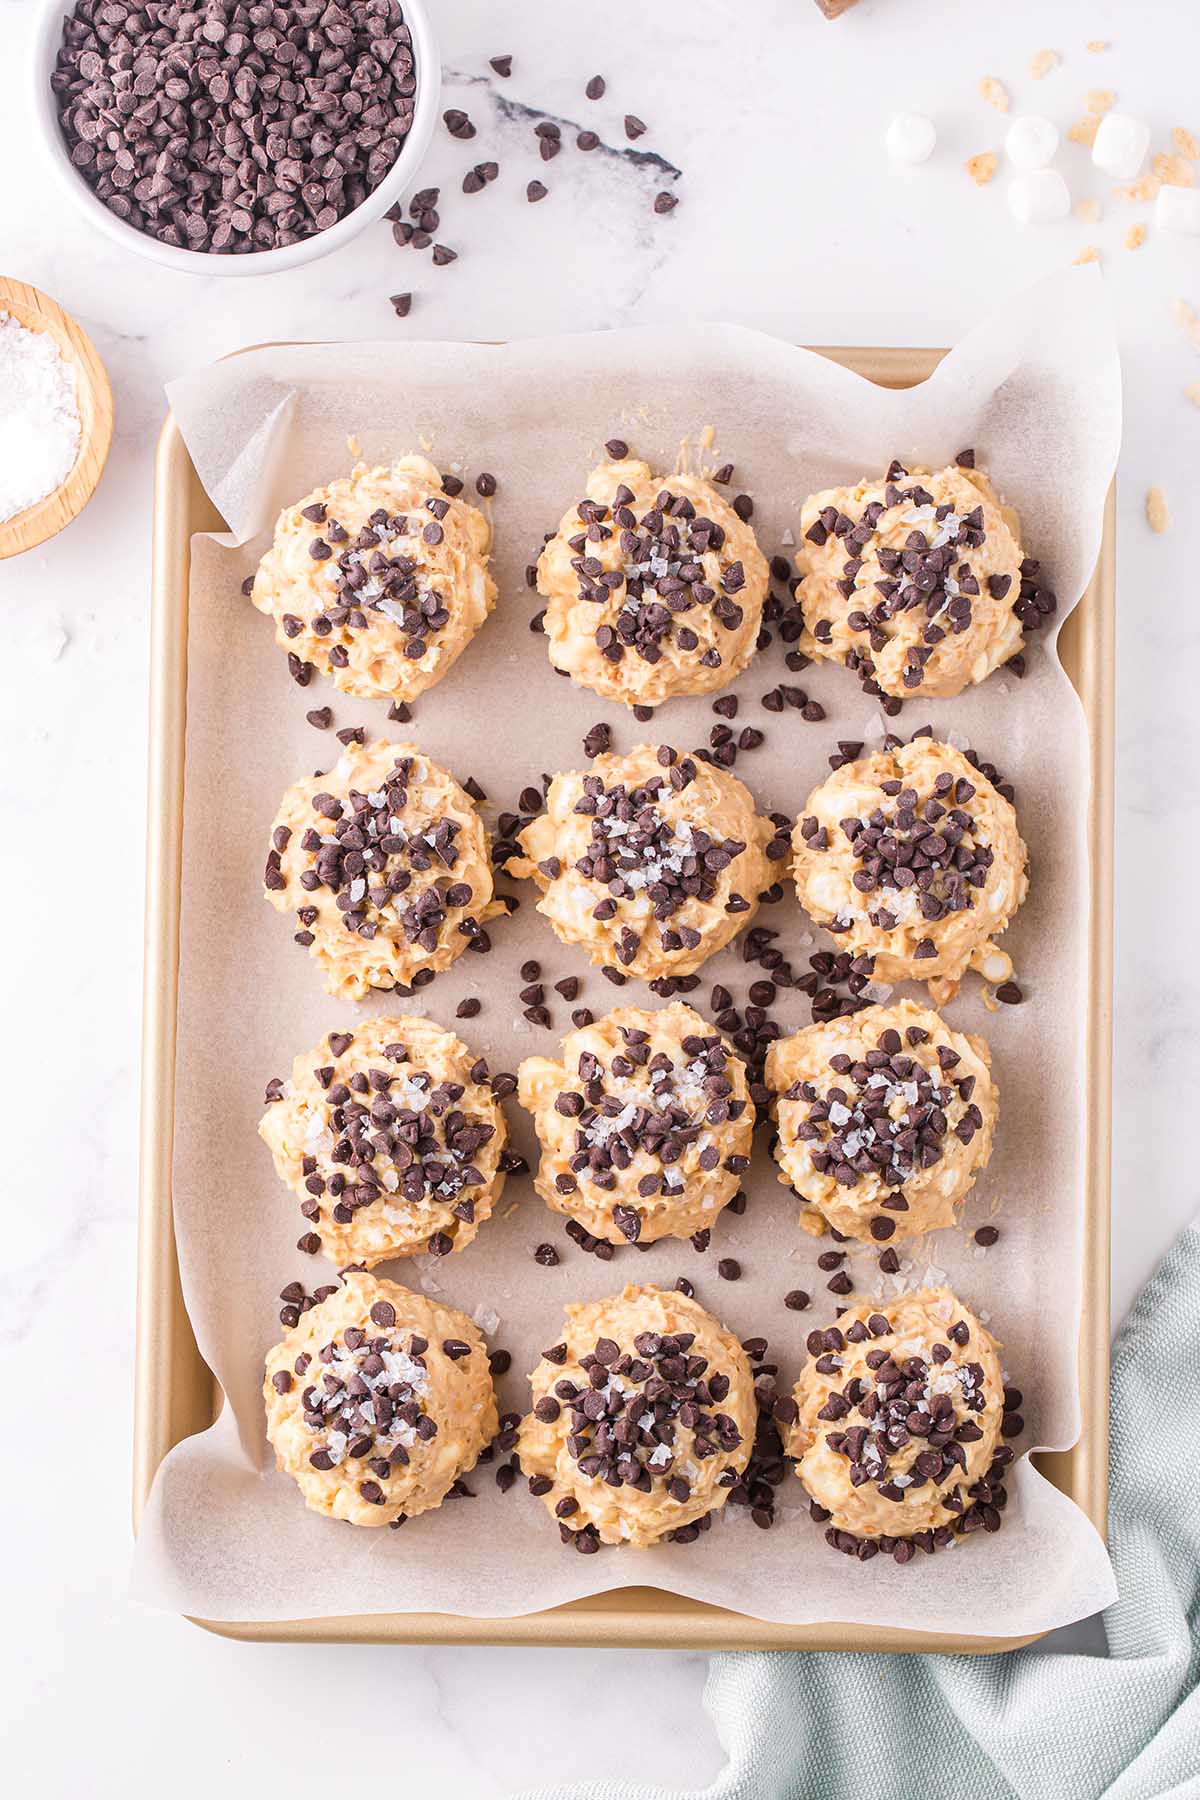
Step 7. Let the cookies firm up at room temperature for at least 20 to 30 minutes before serving.

How to Store
Store these in an airtight container at room temperature for up to 2 days. Place parchment paper between layers to keep them from sticking together.
For longer storage, wrap them individually and freeze for up to 6 weeks. Thaw at room temperature for about 30 minutes before serving. They hold their shape and texture really well from frozen, which makes them a great make-ahead option for holiday trays or cookie exchanges.

Frequently Asked Questions
The name comes from how they look, like little snow-covered boulders or mountains. The white chocolate and marshmallows bring the snow, while the tan peanut butter and Rice Krispies mimic all the earth and rock that gets mixed in. It’s a fun name, and the cookies live up to it.
Yes, creamy works fine. I prefer crunchy because the little peanut pieces add great texture throughout, but the recipe holds up either way.
Stick with a commercial brand like Jif or Skippy. Natural peanut butter has too much oil and the cookies won’t set properly.
Yes. Use a microwave-safe bowl and heat in 30-second intervals, stirring between each one, until melted and smooth. Be careful not to overheat, white chocolate is more temperamental than regular chocolate.
Yes. See the storage section above for full instructions.
The ingredients are essentially the same. Bars are pressed into a pan and sliced into squares, while cookies are scooped into individual mounds. Cookies are easier to grab from a tray and great for gifting.

More No-Bake Desserts You’ll Love

Avalanche Cookies
Ingredients
- 3 cups (1 ½ bags) white chocolate chips
- ¾ cup crunchy peanut butter
- 4 tablespoons salted butter
- 2¼ cups Rice Krispie cereal
- 1¾ cups mini marshmallows
- 3 tablespoons caramel syrup
- ¼ cup mini semi-sweet chocolate chips
- 1½ teaspoons flaky sea salt
Instructions
- Line a large 18×13 inch sheet pan with parchment paper and set aside.
- Over low heat in a medium sized saucepan, melt together the white chocolate chips, crunchy peanut butter, and butter. Stir frequently to keep from burning. Make sure the heat is on low or your chocolate may seize if heated too quickly.3 cups (1 ½ bags) white chocolate chips, ¾ cup crunchy peanut butter, 4 tablespoons salted butter
- Once melted, take the pan off heat and stir in the Rice Krispies cereal, mini marshmallows, and caramel syrup until completely incorporated.2¼ cups Rice Krispie cereal, 1¾ cups mini marshmallows, 3 tablespoons caramel syrup
- Use a ¼ cup measuring cup or scoop to drop large balls of the mixture onto the prepared sheet pans.
- Sprinkle all cookies with mini chocolate chips and sea salt before they start to set. (About ¼ teaspoon of chips and a few granules of sea salt on each cookie.)¼ cup mini semi-sweet chocolate chips, 1½ teaspoons flaky sea salt
- Let cookies firm up at room temperature for at least 20-30 minutes before plating and serving.
Jenn’s Notes
- To Store: You can store these cookies on the countertop in an airtight container, for about two days.
- To Freeze: To freeze your cookies, individually wrap them and store them in the freeze for up to 6 weeks. Thaw them at room temperature for 30 minutes before serving.
- To help the cookies set more quickly, you can put them in the fridge or freezer for a few minutes.
- I do not recommend using all-natural peanut butter in this recipe because the oil makes the cookies softer. And too much oil will also interfere with the setting process.


Too easy!
Too delicious!!
Too DANGEROUS!!!
I laughed when I read in the post how to store or freeze…had grandchildren helping, so there were none left to store or freeze after we had a tea party!!!! 😅
This may be my favorite comment ever!! So glad you all enjoyed the recipe!!
This makes a fabulous treat!! An easy no-bakes that you can take liberties with to make it unique. Stays fresh and also good for bakesales. I add choc sprinkles.
Can’t wait to make it. 🙂
White chocolate chips are difficult to find – and extremely expensive! This recipe sounds great but costs waaayyy too much!
Have you looked at Toll House white chocolate chips? They have they at the grocery store and Target for the same price as semi-sweet and milk chocolate chips.
I use white coating chocolate in an equivalent amount. And they are delicious!