This post may contain affiliate links. Please read our disclosure policy.
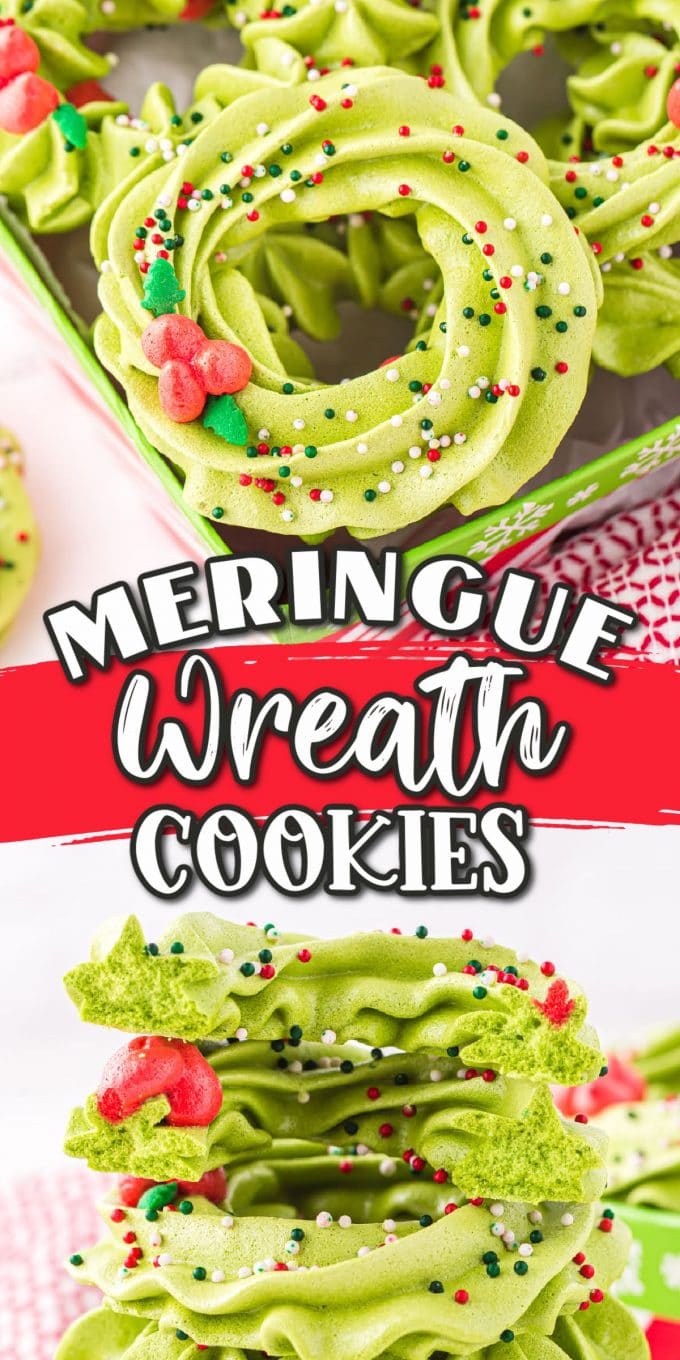
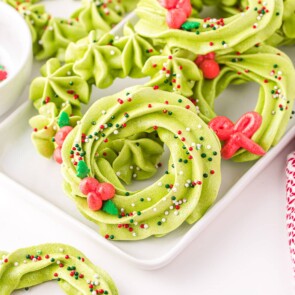
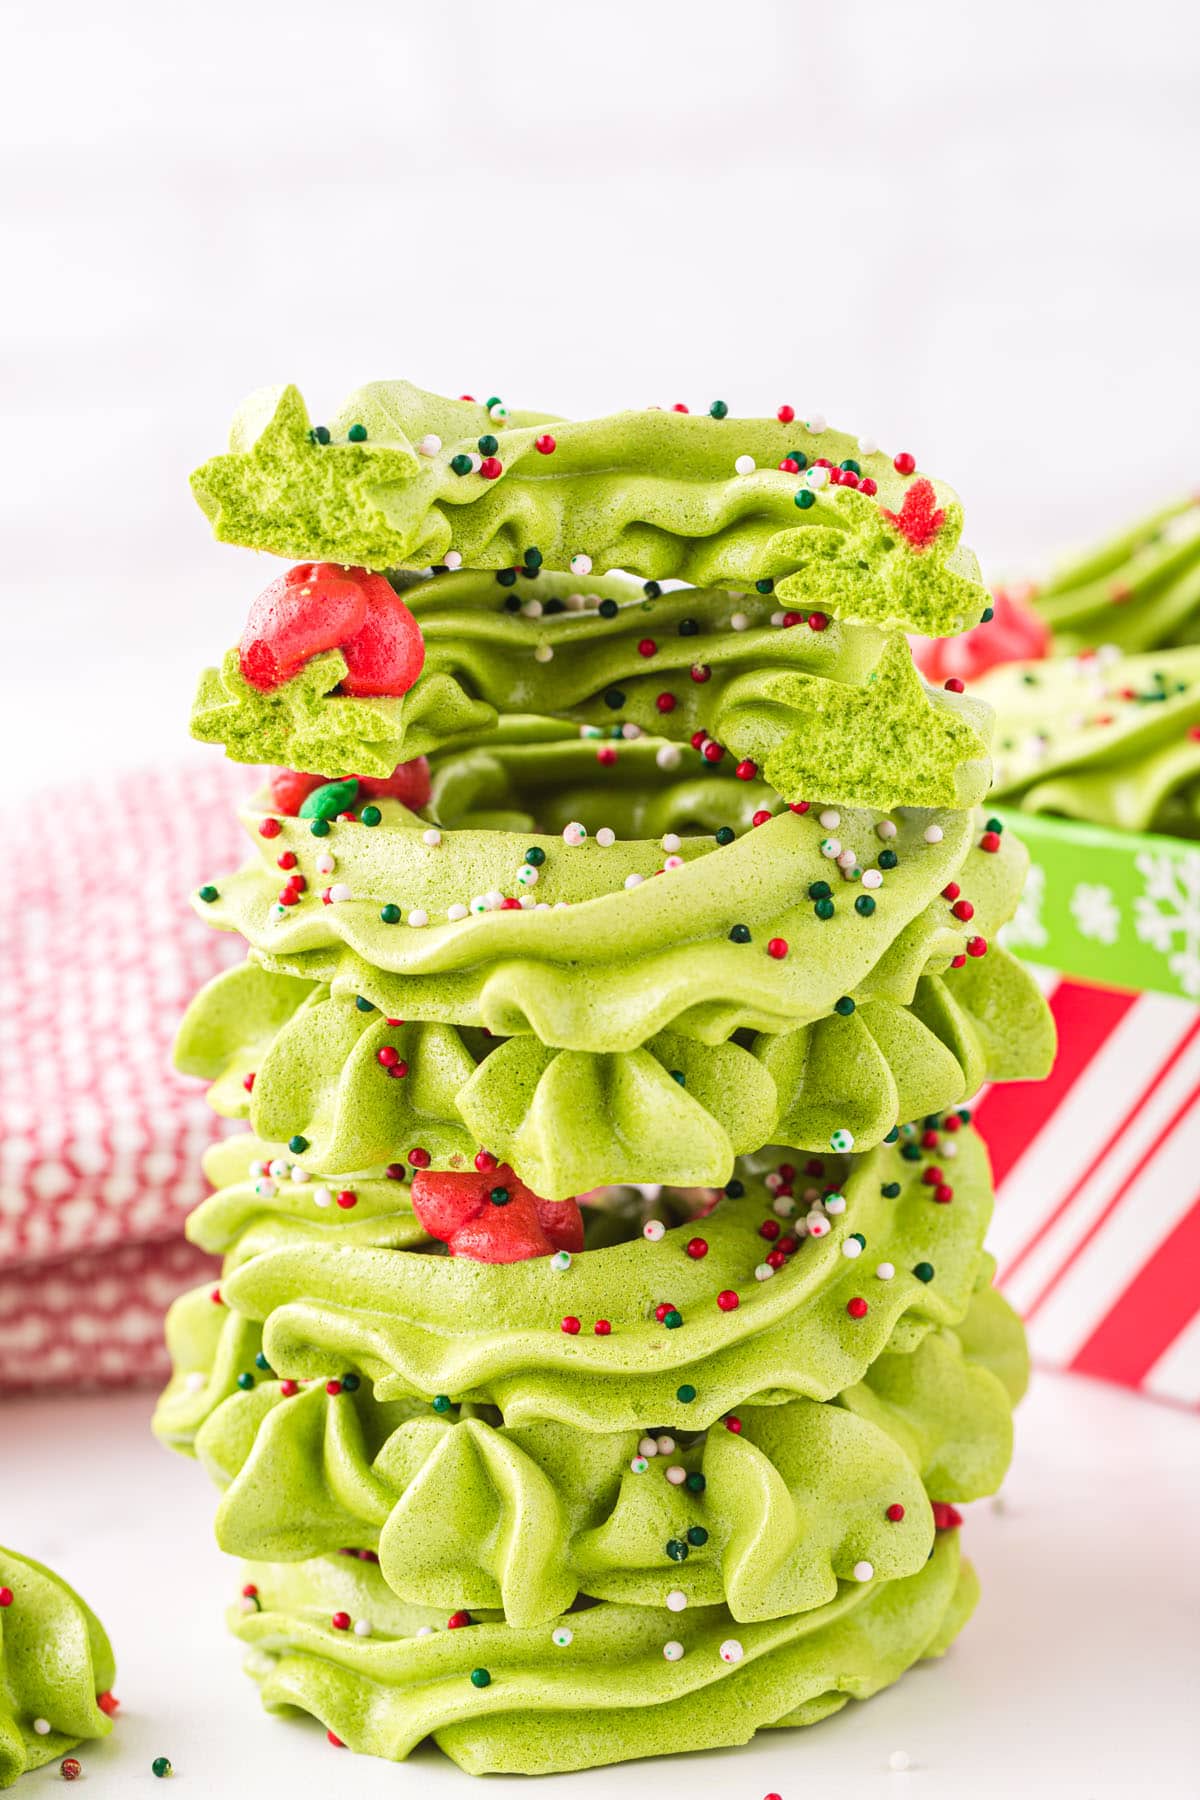
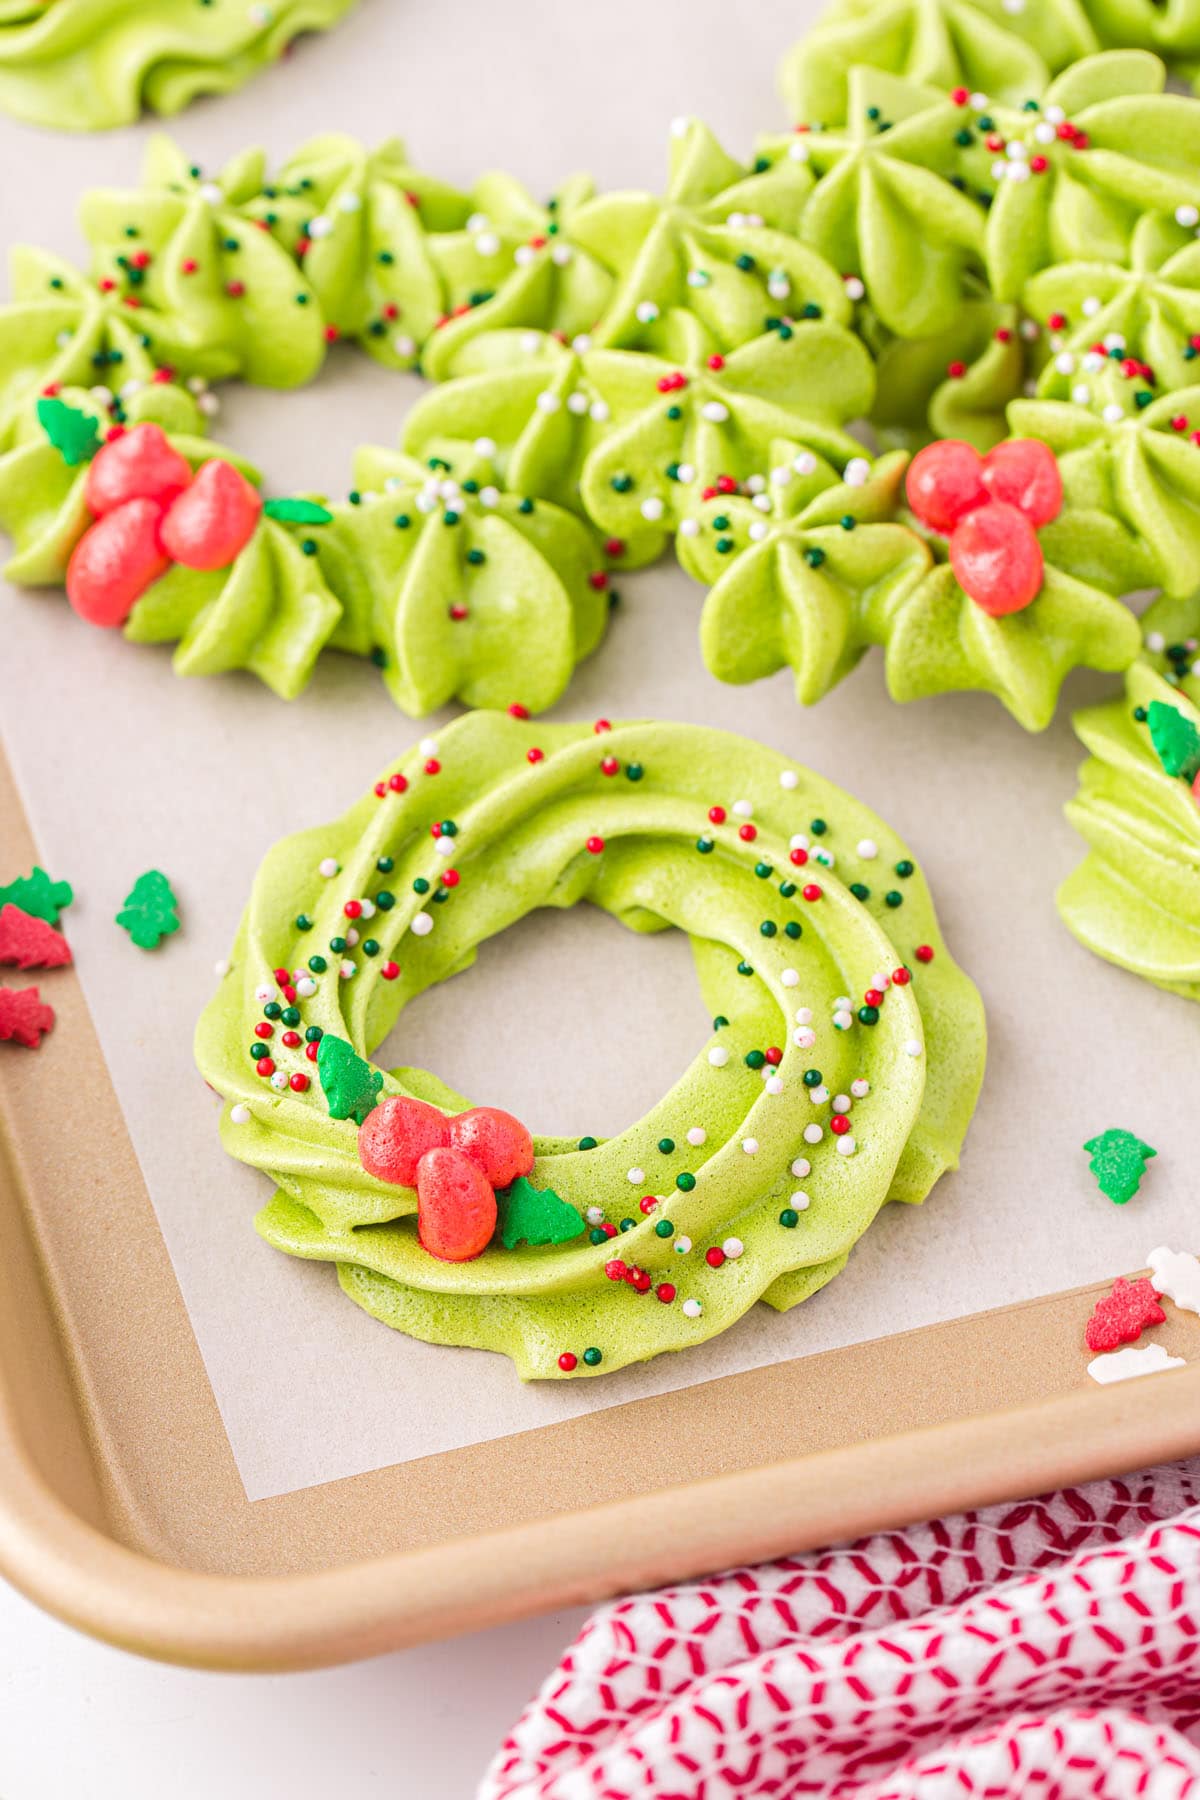
It is so easy to bake a batch of these festive Meringue Wreath Cookies, especially because it is made from a simple mixture of egg whites, sugar, and lemon juice! This delicate dessert is a light, crisp, melt-in-your-mouth meringue that is sweetly satisfying, but light enough to leave room in your tummy for the other tempting treats on your holiday table. Perfect for your Christmas cookie exchange.
Meringue Wreath Cookies
This Meringue Wreath Cookies recipe is a fun and easy way to make a simple meringue “cookie” a little more fancy and a lot more festive.
These delicious delicacies are made by beating 3 simple ingredients into stiff peaks, piping them onto a baking sheet, and letting them cook into crunchy, crispy, light, and airy sweet treats. Naturally dairy-free, gluten-free, and fat-free, this decorative and delightfully lighter-than-air goodie makes eating a few more than intended a guilt-free indulgence!
Making Meringue Wreath Cookies look pretty for your Christmas party platter may seem intimidating at first, but they are not! If you follow my step-by-step instructions and read my helpful tips, you can quickly become an expert meringue baker and even pipe your own custom version of the perfect cookie color and shape.
While traditional wreaths are often timeless holiday decor, these ones are meant for your tummy and not meant for your door!
Why We Love This Meringue Wreath Cookies Recipe
- Easy to make using only 3 ingredients plus food color.
- Crunchy, crispy, and sweetly satisfying.
- So light and airy, they melt on your tongue.
- Naturally dairy-free, gluten-free, and fat-free.
- Perfect for a holiday party, dessert platter, cookie exchange, or edible Christmas tree decor.
Ingredients / Shopping List
- Egg whites
- Lemon juice: You can use fresh or from concentrate lemon juice or you can substitute ¼ teaspoon cream of tartar.
- Powdered sugar: You can use ¾ cup granulated sugar instead but the powdered sugar is easier to incorporate into the egg whites.
- Red gel food coloring: If you choose to use liquid food coloring you will need a large amount to get Christmas red.
- Green gel food coloring: If you choose to use liquid food coloring instead you will need a large amount to get a Christmas green instead of a bright, spring green.
- Christmas sprinkles, optional
Substitutions and Additions
- Shades and Shapes: It is so easy to color, and pipe your meringues into different shapes. Simply add food coloring to a piping bag and get creative! Make red hearts, green trees, flowers, rainbows, or create your own design!
- Experiment With Extracts: Meringues are a perfect blank slate for you to add just about any flavor you want. Vanilla extract is a classic, or you can use lemon, peppermint, coconut, or almond extract.
Recommended Tools
- Stand mixer or a hand mixer
- Cookie sheet
- Parchment paper or silicone baking mat
- Mixing tools
- Measuring tools
- Wilton #199 tip for flower wreaths
- Wilton tip #4 for the berries
SEE FULL PRINTABLE RECIPE CARD BELOW
How to Make the Meringue Wreath Cookies
This easy Meringue Wreath Cookies recipe requires only three ingredients and bakes low and slow. No advanced piping skills are necessary–just follow my simple instructions and you can create perfectly crispy, crunchy cookies with a festive flair.
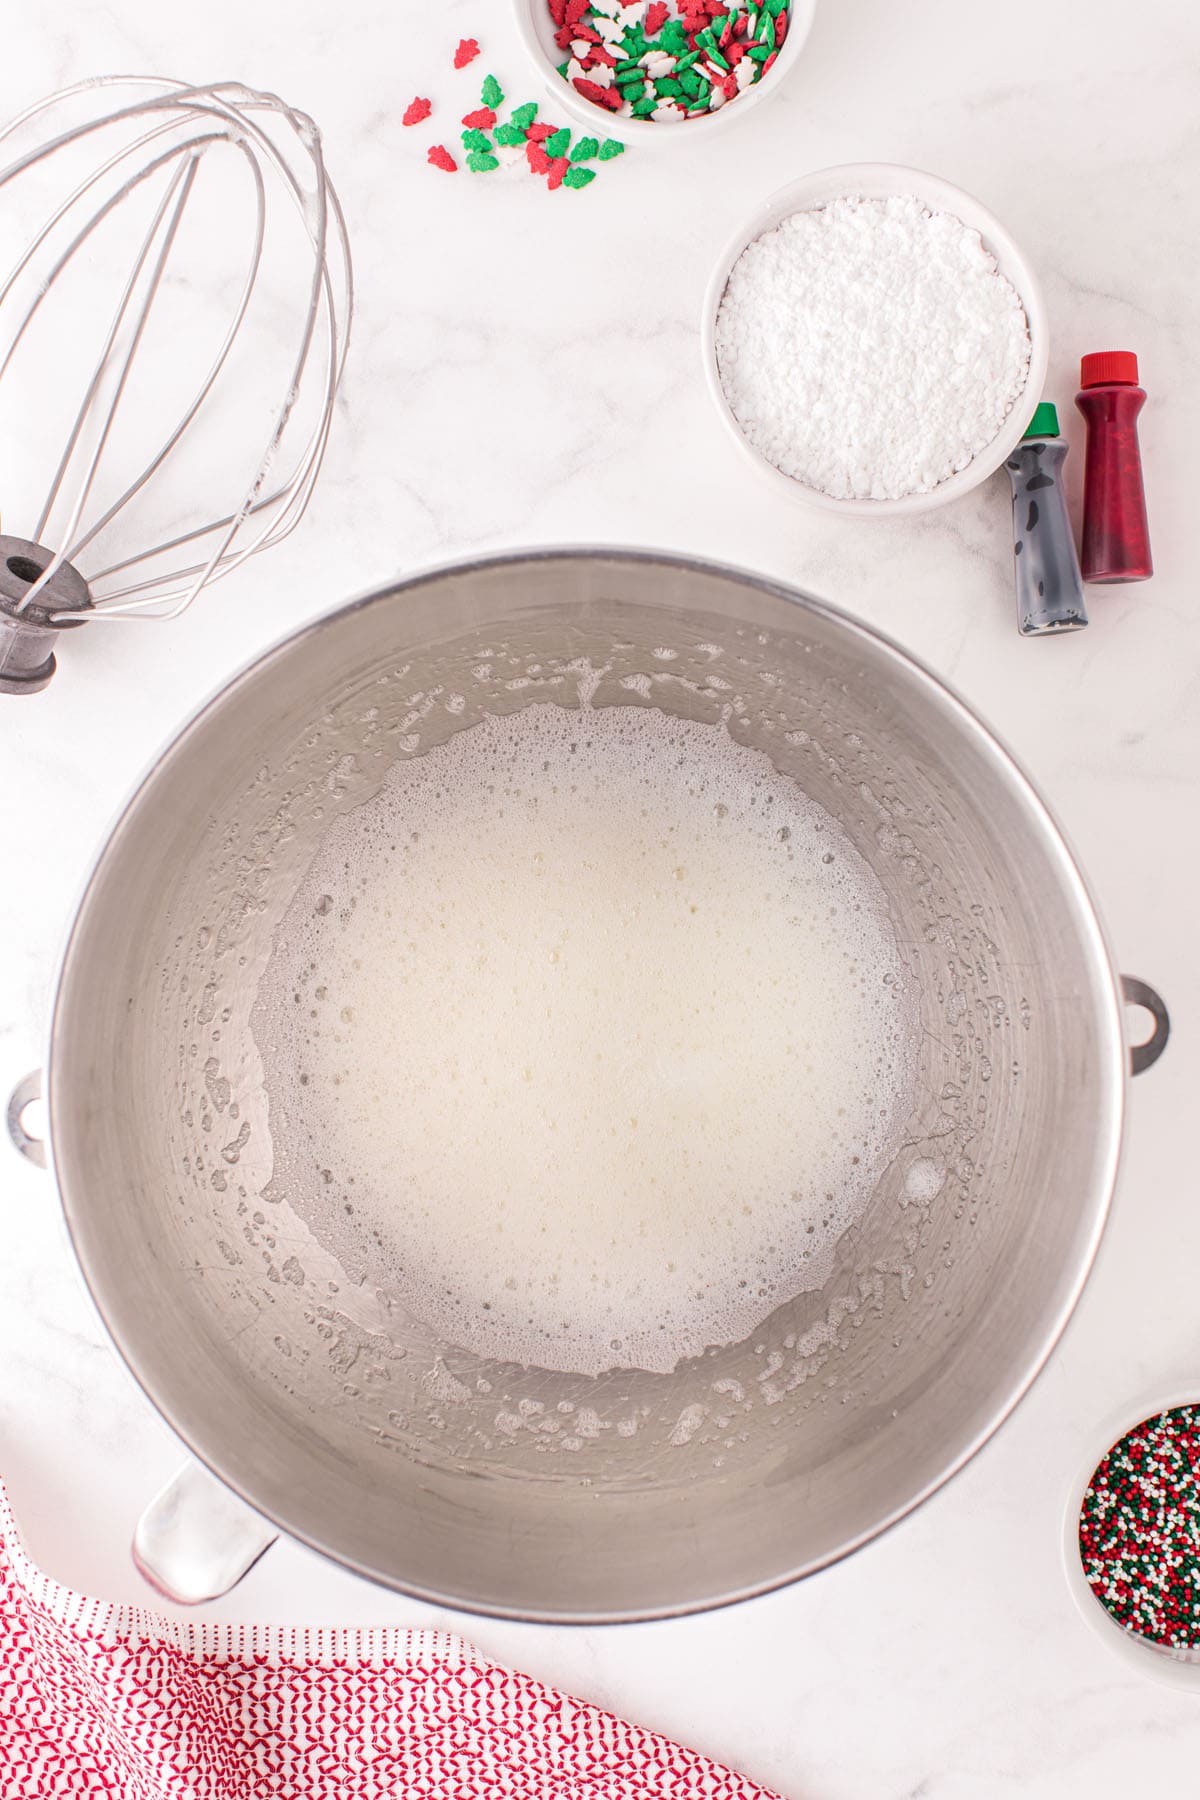
- Beat egg whites and lemon juice together until soft peaks form.
Pro Tip: Make sure your mixing bowl is dry! This should take about 3-5 minutes on medium speed.
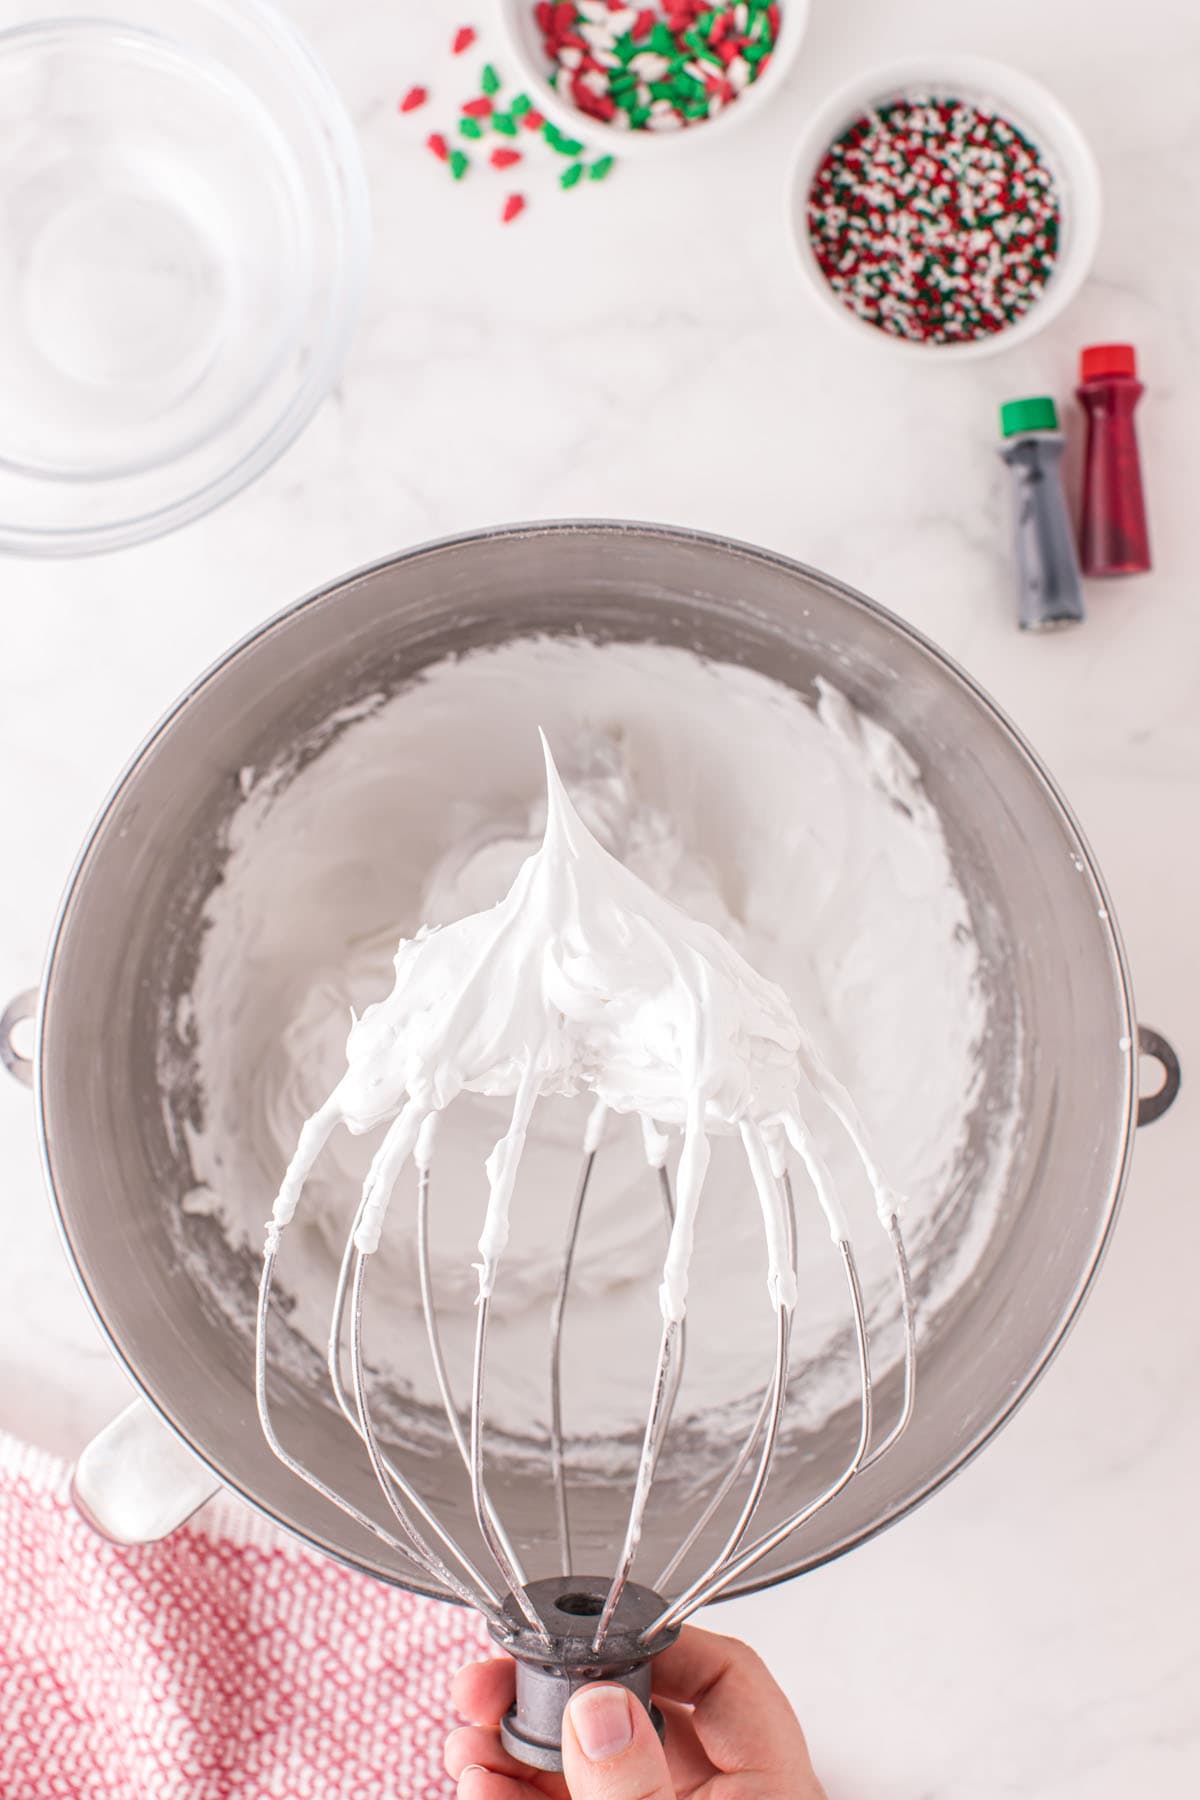
- Add in powdered sugar, ⅓ cup at a time, beating continually until stiff peaks hold.
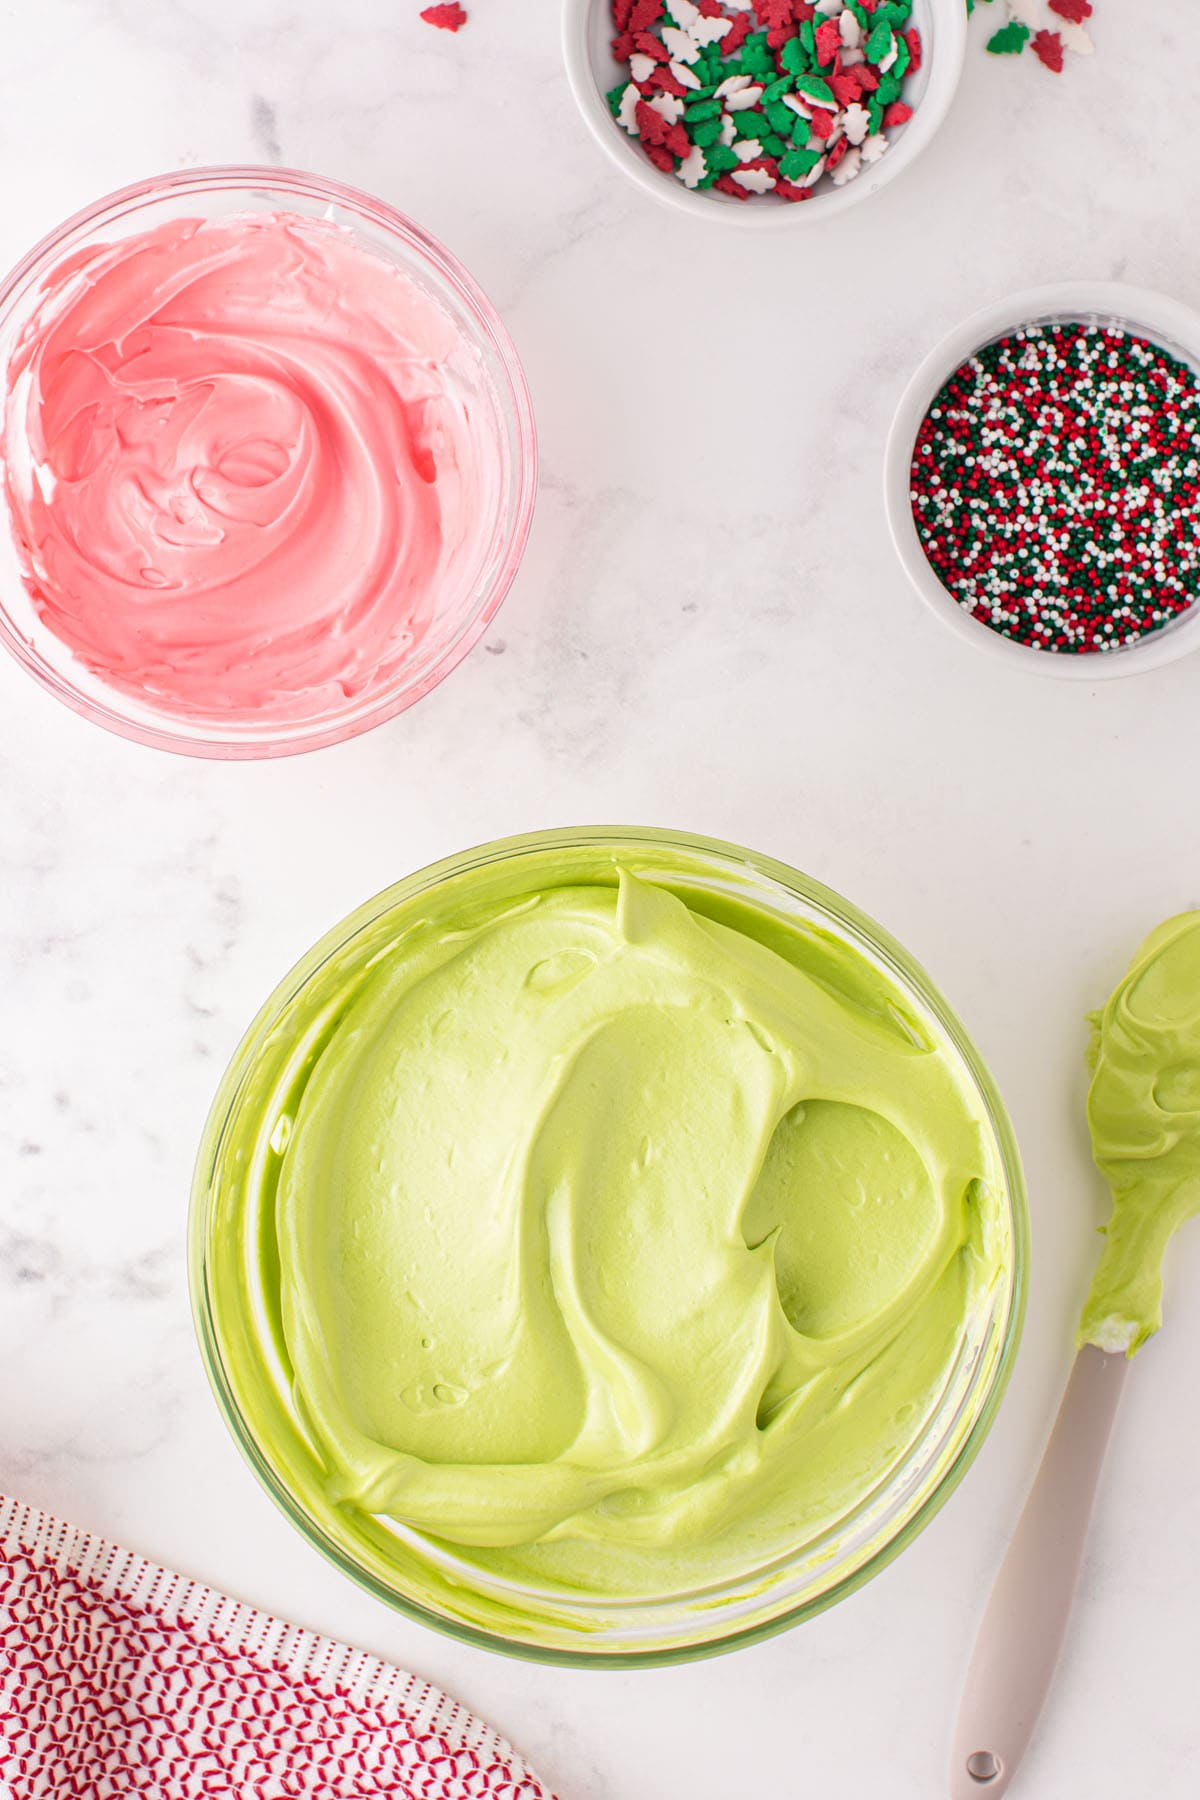
Pro Tip: The mixture should be glossy and the sugar should be dissolved. This could take up to 10 or more minutes. - Add ½ cup of the mixture to a small bowl and gently fold in the red food coloring.
- Fold green food coloring into the large bowl until you reach your desired color. Do not over mix.
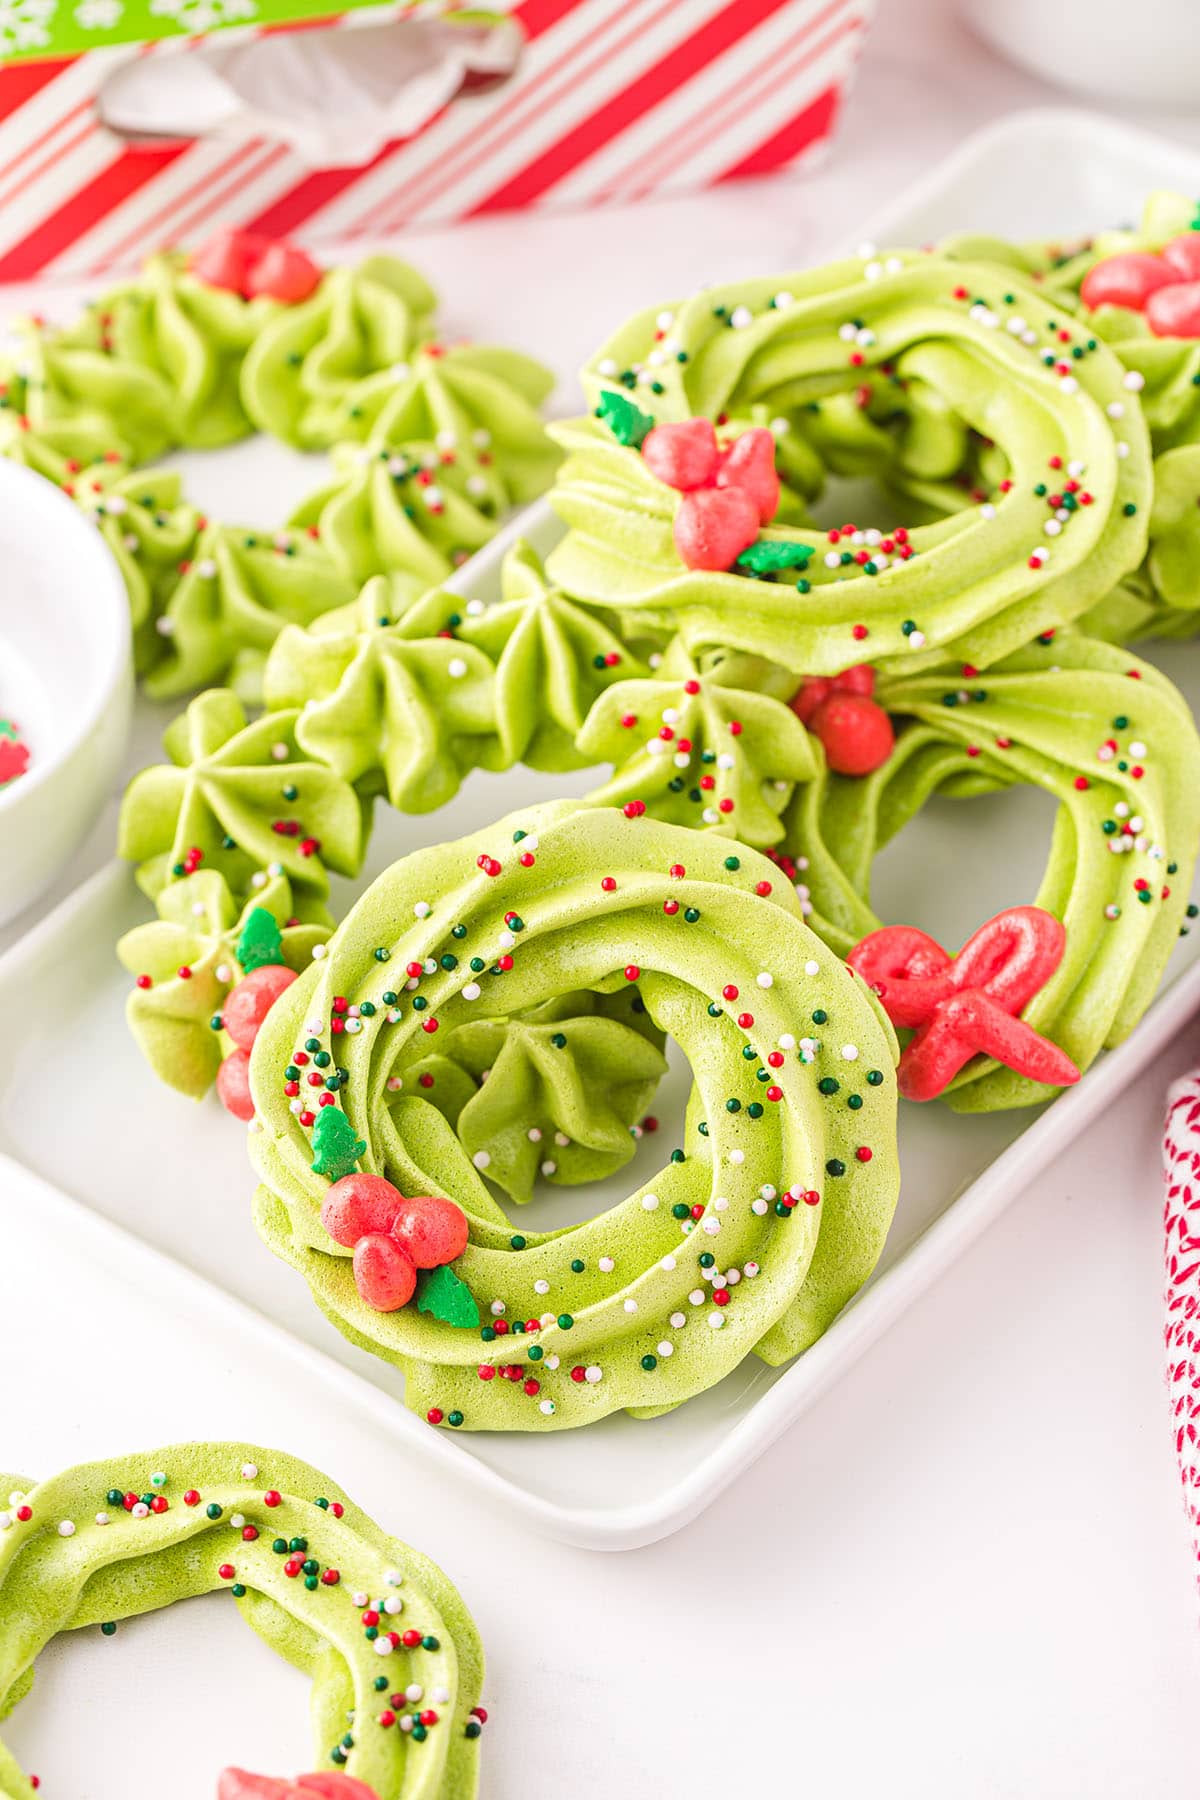
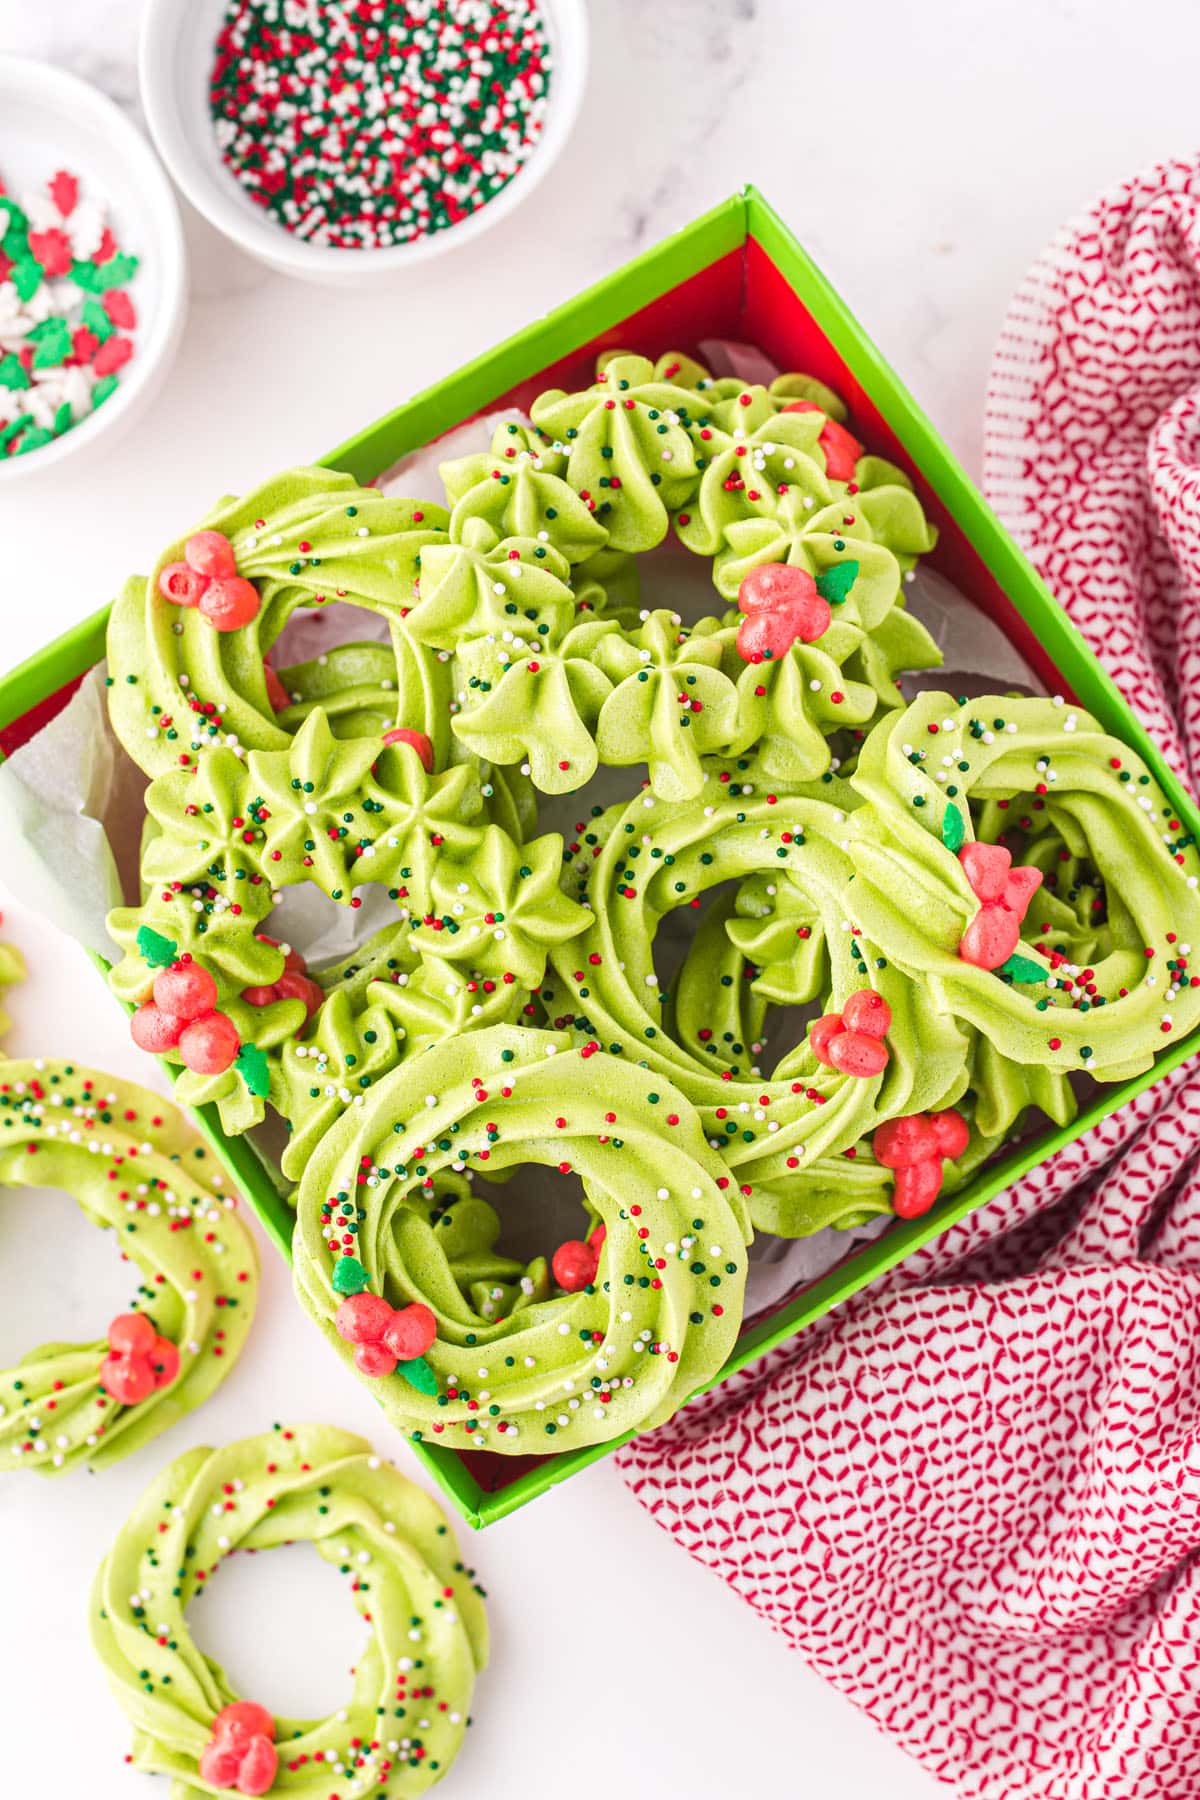
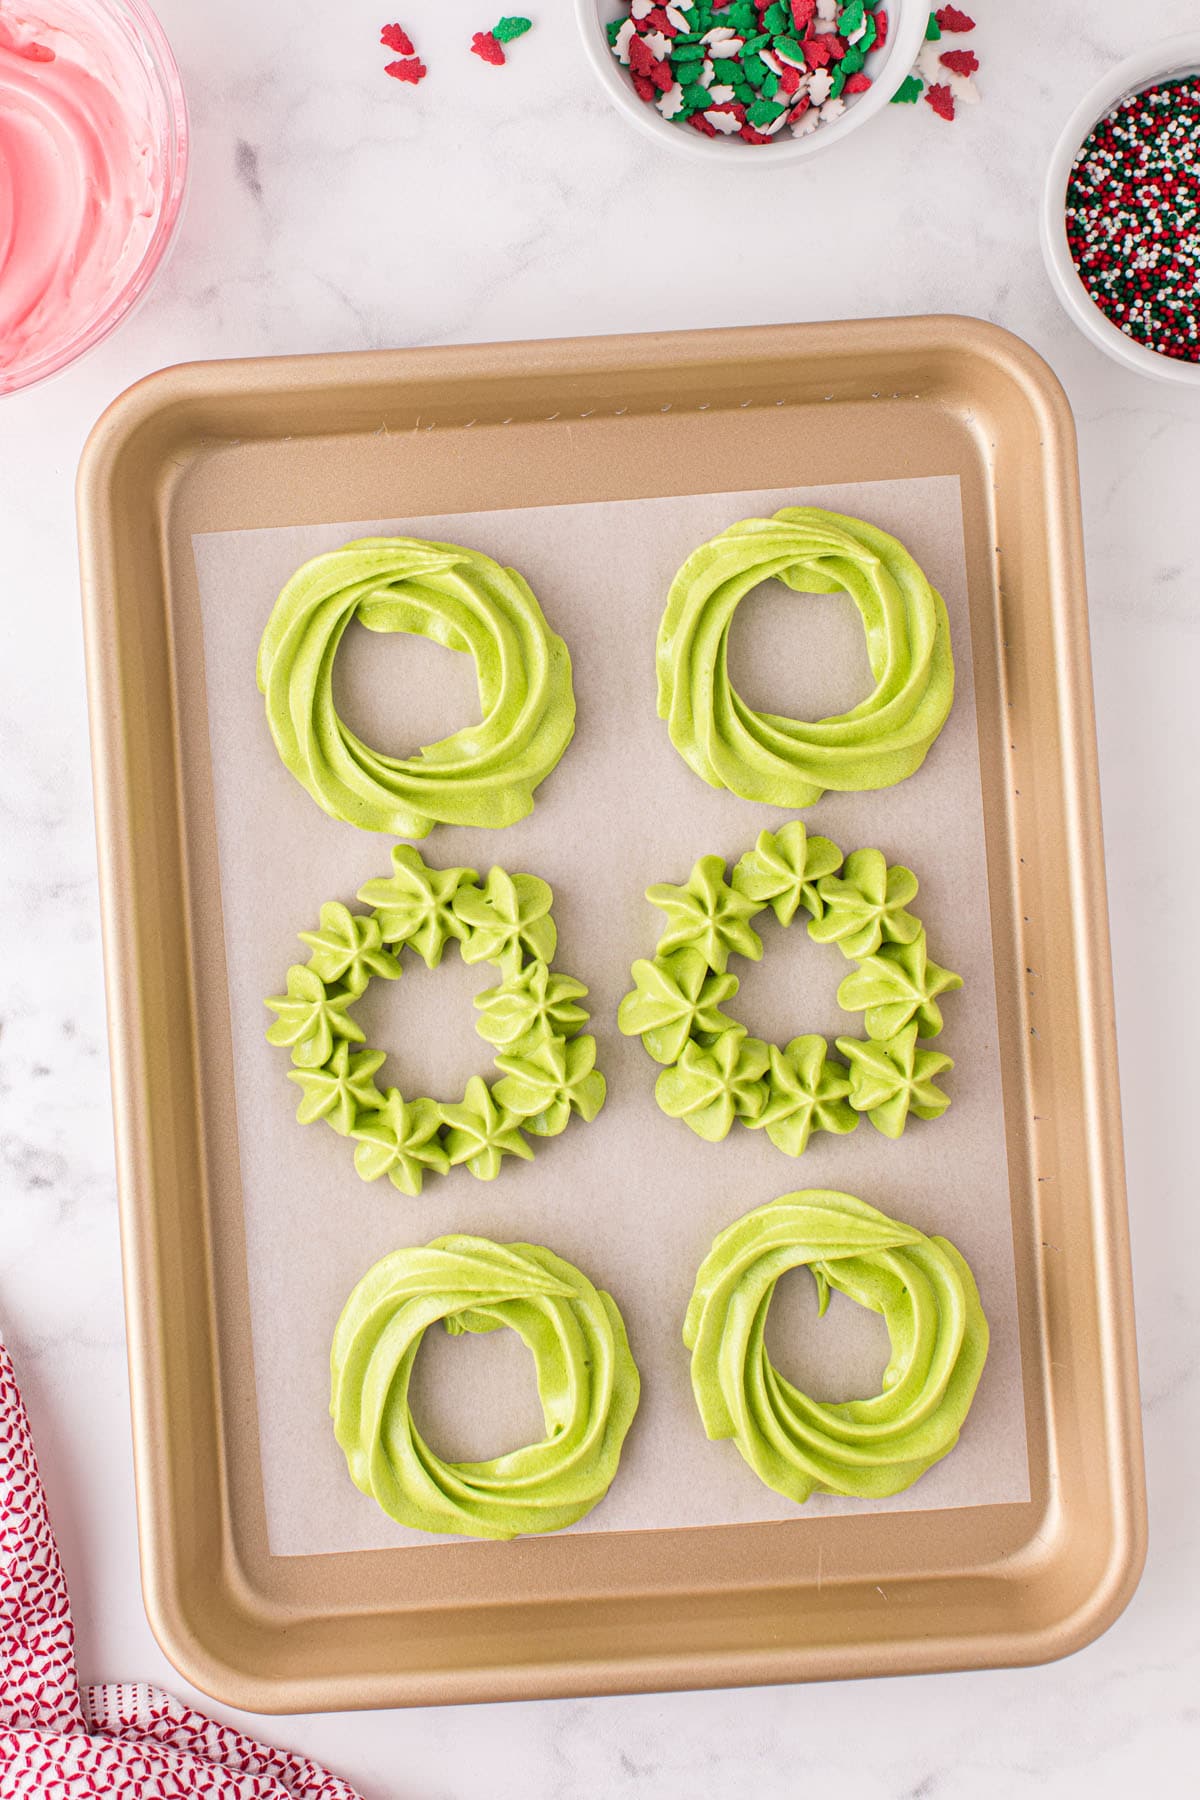
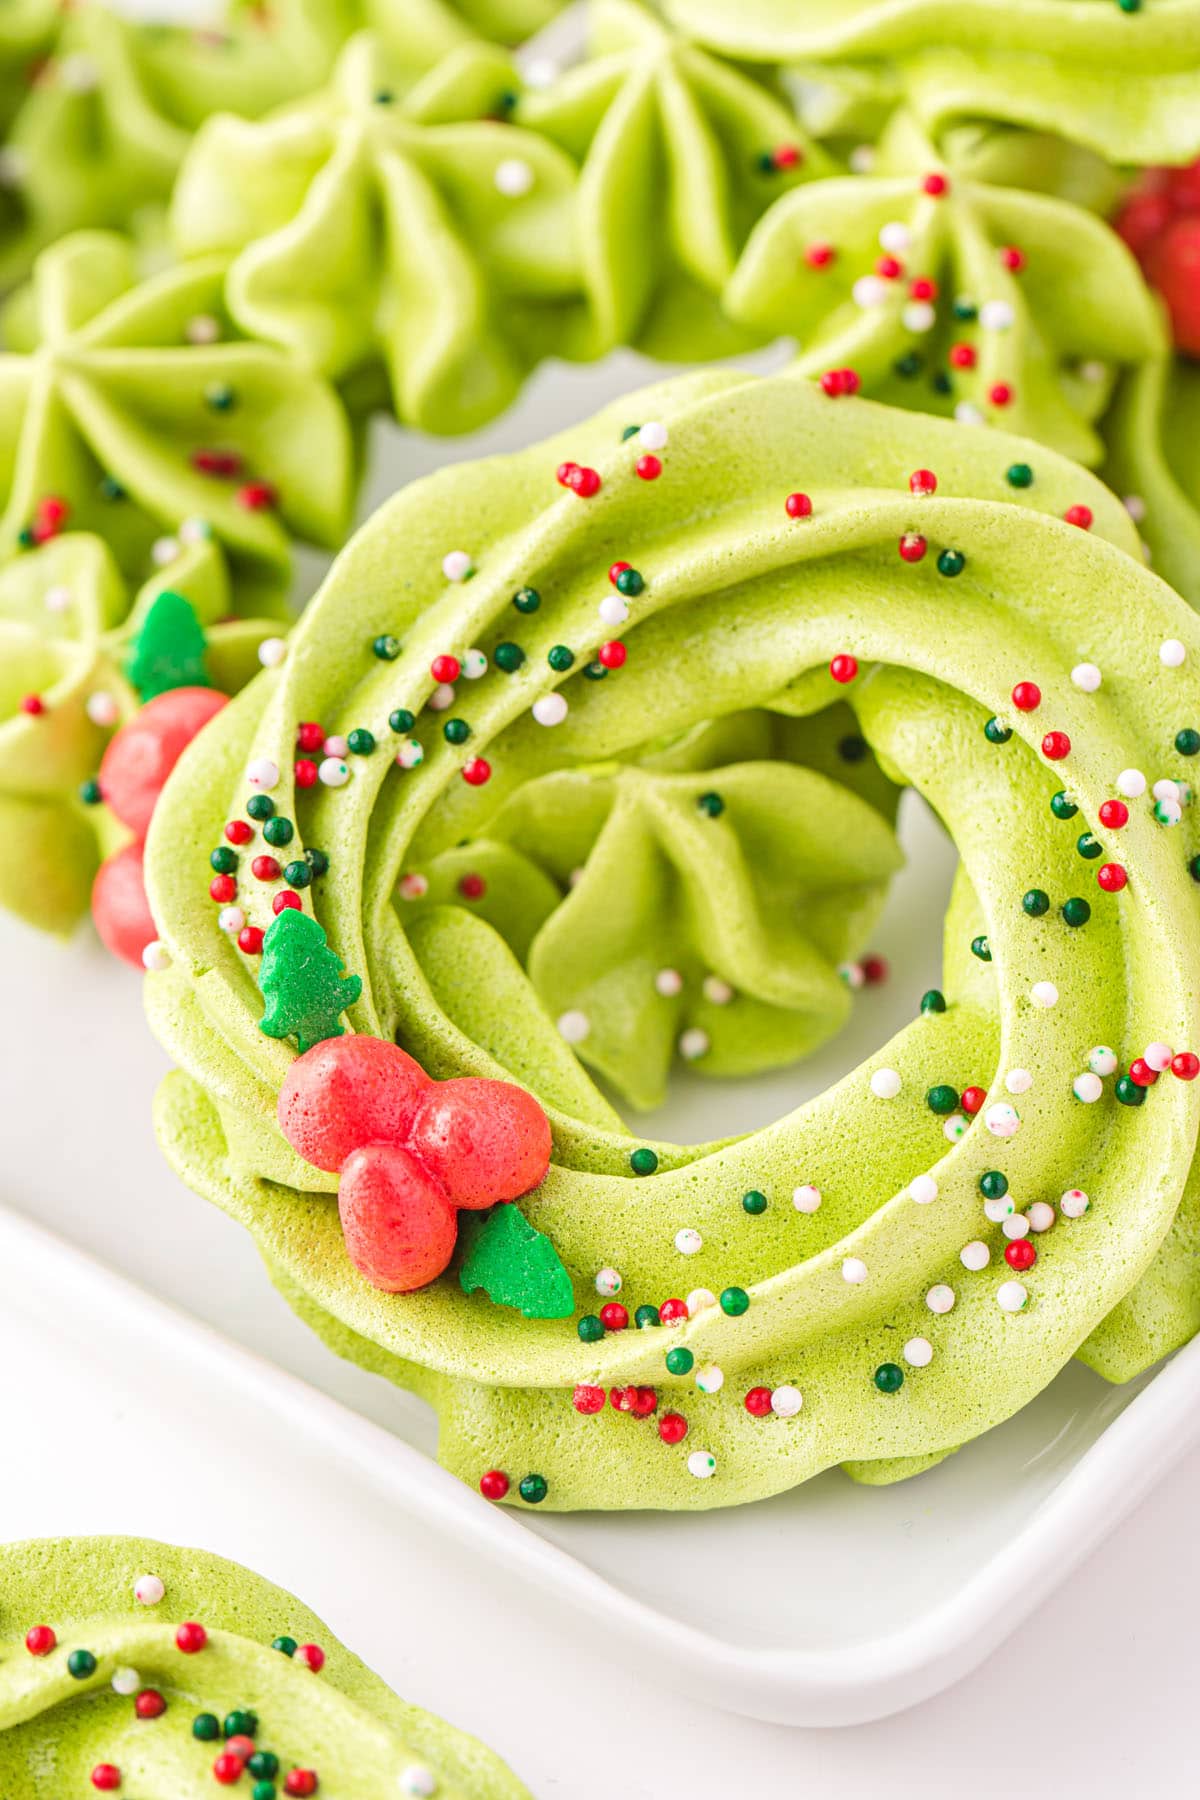
- Add green mixture to a piping bag and pipe medium sized flowers in a circle onto a baking sheet.
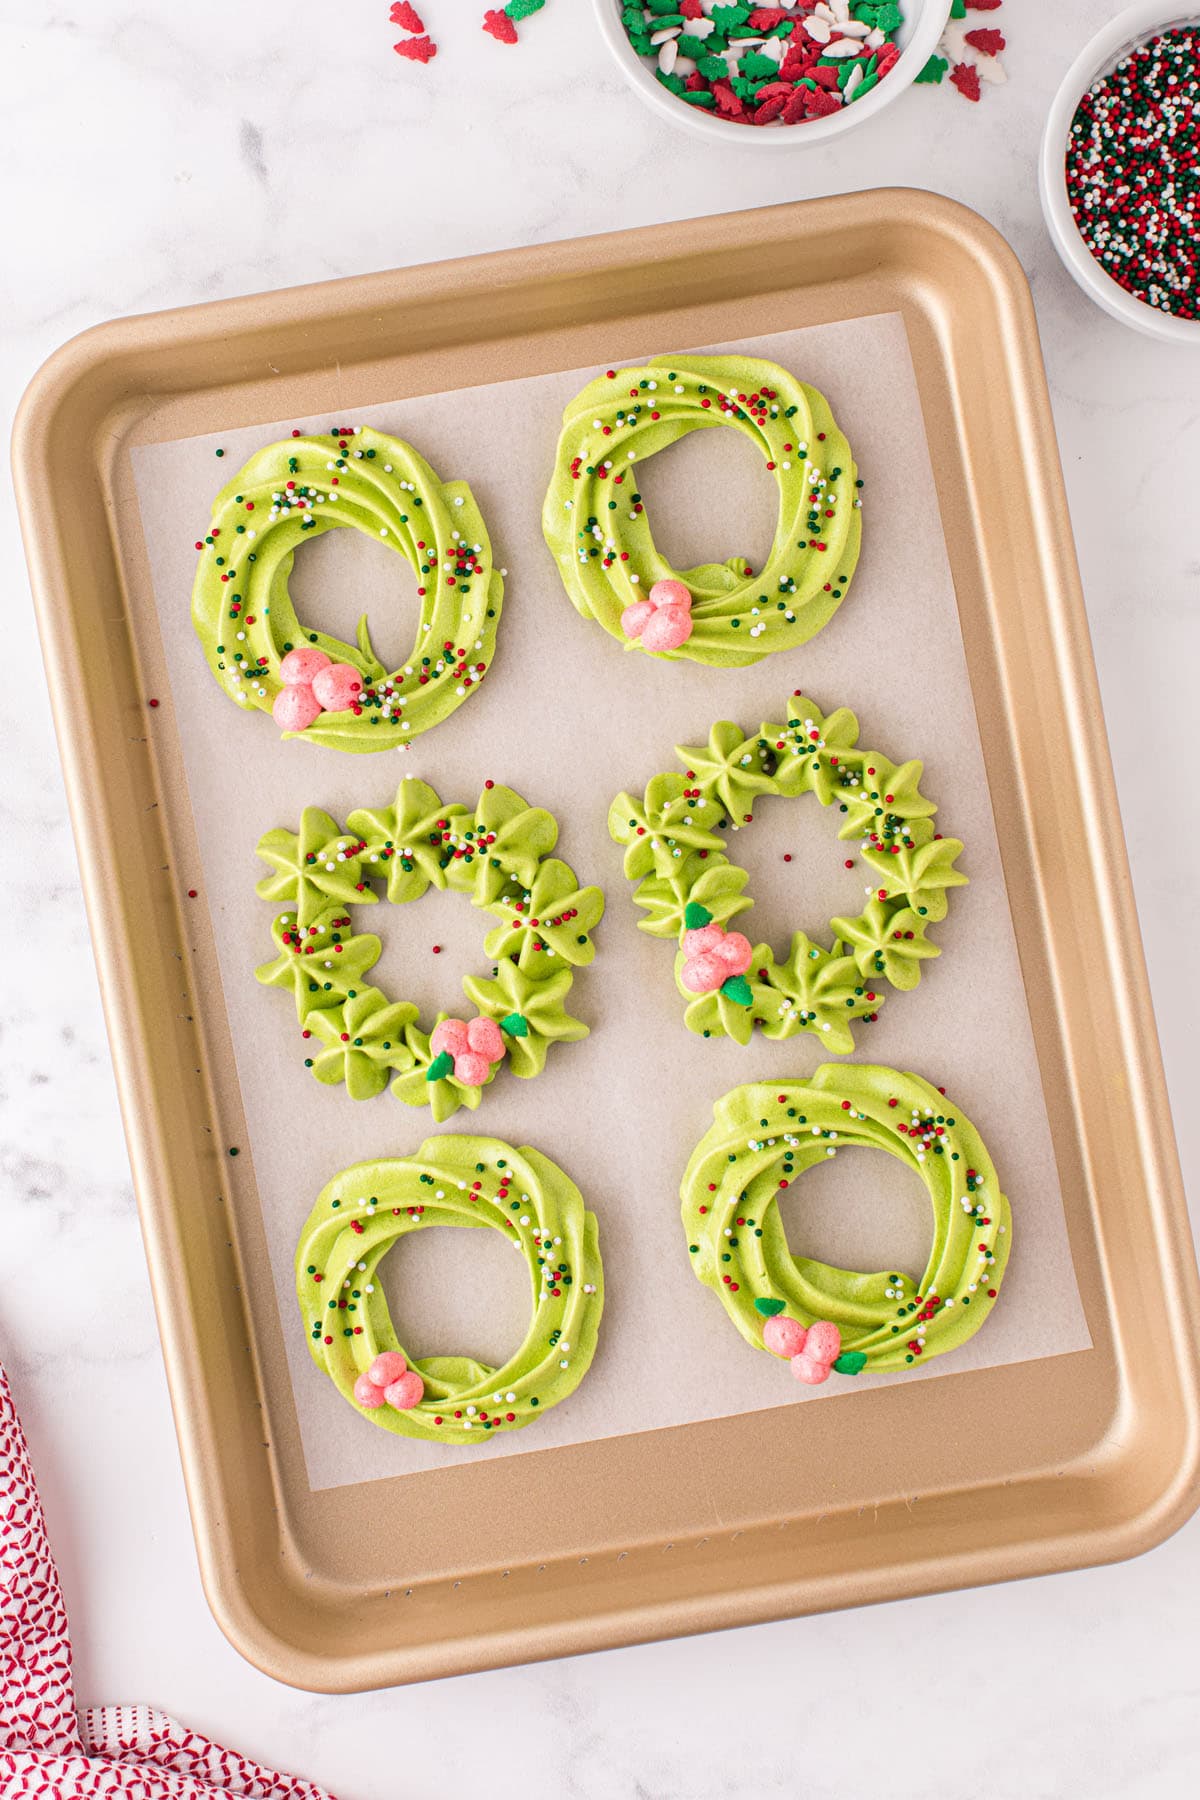
Pro Tip: Use a Wilton tip #199 to pipe the flowers. - Add red mixture to a second piping bag and pipe little holly berries between each flower.
Pro Tip: Use a Wilton tip #4 tip to pipe the holly berries. - If you want, sprinkle with Christmas sprinkles.
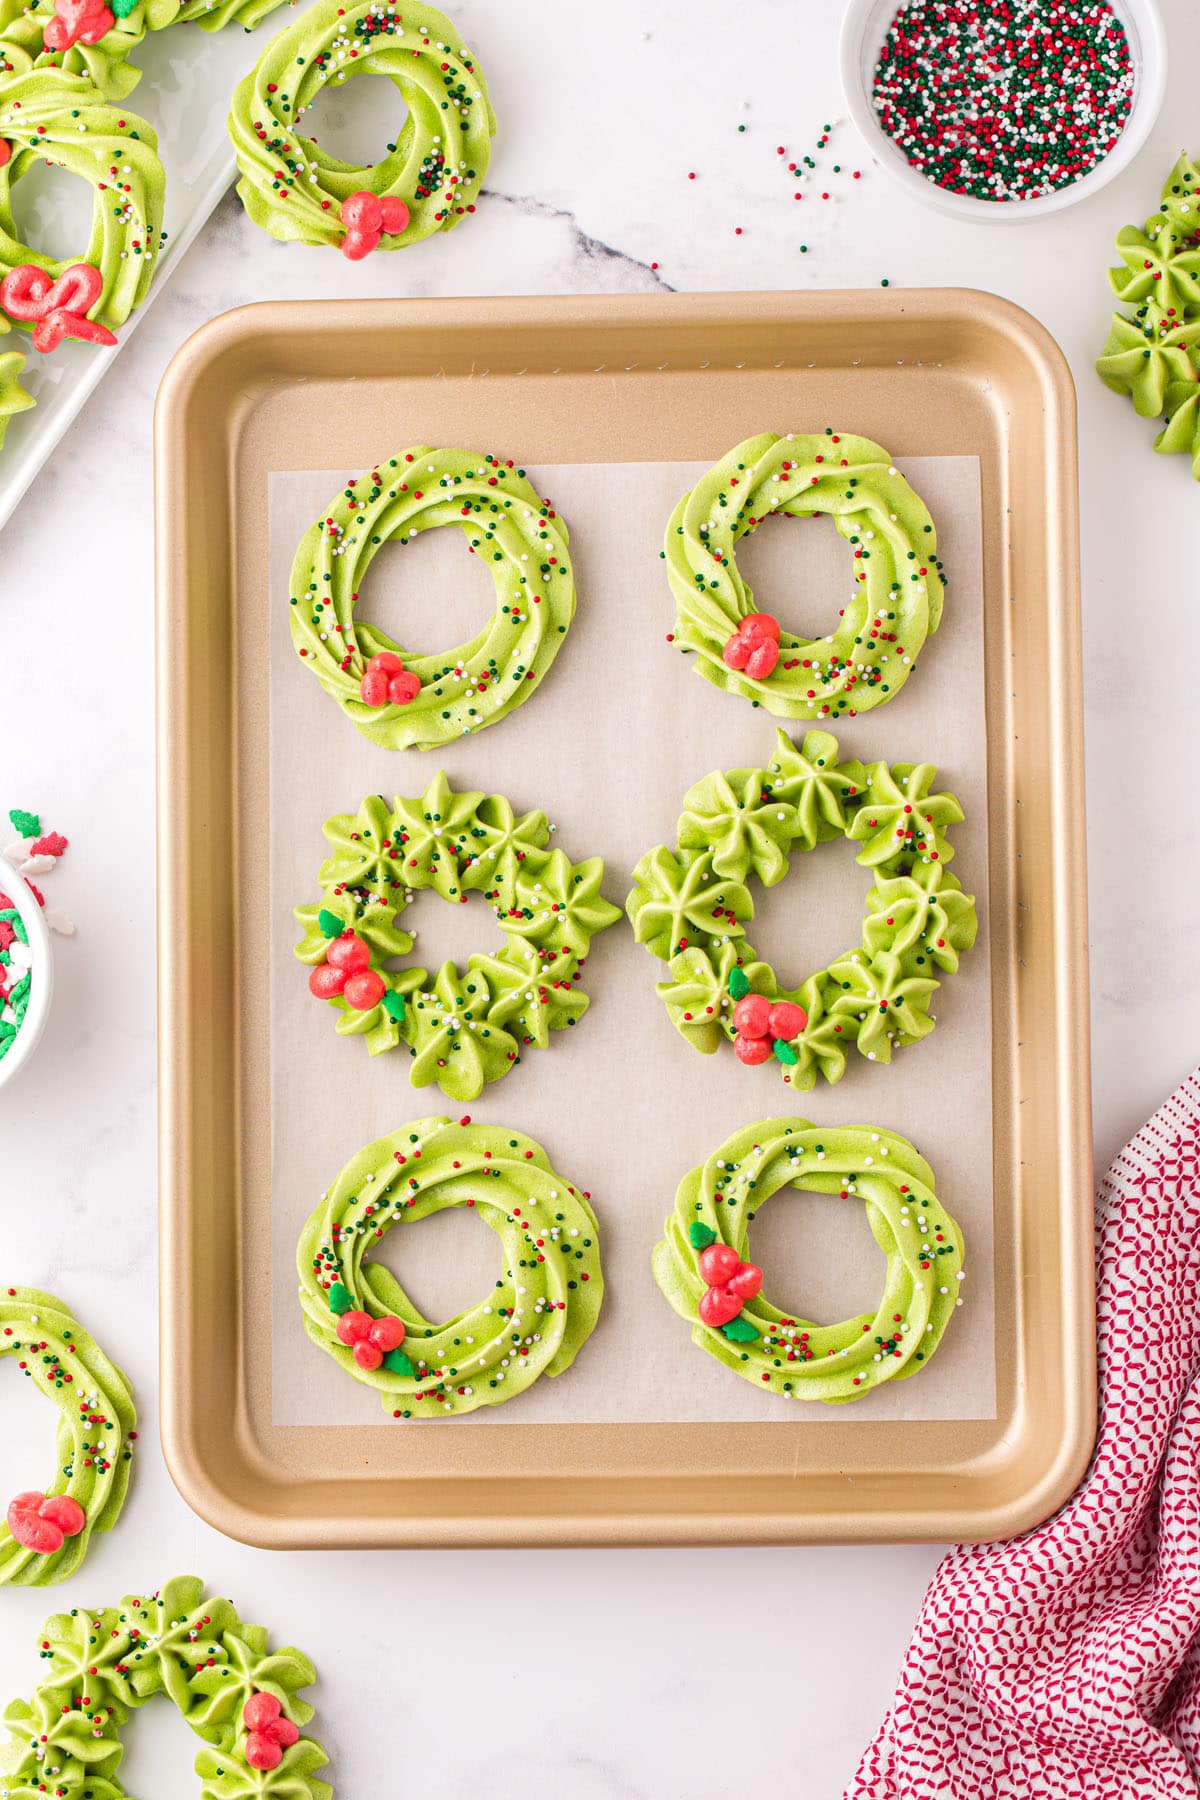
Pro-Tip: Make sure your sprinkles are added to the cookies BEFORE baking. If you try to add them after they have baked, they won’t stick onto the cookies. Don’t worry, they won’t burn in the oven! - Bake at 300 degrees Fahrenheit for 30-40 minutes or until dry to the touch.
- While the first batch is baking, pipe the remaining wreaths on the second cookie sheet.
Pro Tip: It’s important to bake these in batches or the moisture from overloading the oven will make it impossible to bake. If you are short on time, try the overnight baking method. (see FAQs). - Cool, serve, and enjoy!
Tips
- Make sure your sprinkles are added to the cookies BEFORE baking. If you try to add them after they have baked, they won’t stick onto the cookies. Don’t worry, they won’t burn in the oven!
- Piping Tips for the wreath bases (the green sections): I like to use Wilton 1M, Wilton #199, or Ateco 846/848/849.
- Piping Tips for the holly berries and bows (the red sections): I like to use Wilton tip #3,4, or 5.
- If you don’t have time to bake the meringue in batches, use the overnight method. See FAQs below.
How to Make the Best Meringue Cookies – Meringue Best Practices
- Meringues of any type are understandably intimidating however they are delicious and less tricky than you might assume! Here are a few tips to help you get an amazing meringue cookie:
- Begin by separating your eggs right out of the refrigerator. They separate best when cold and you want to be sure not to get ANY yolk in your egg whites. If you do accidentally break a yolk into your whites, I recommend starting over. You can always separate the eggs individually into a small bowl and then combine them into a larger bowl to whip them up. Discard the yolks or use them in a different recipe.
- Allow your egg whites to come to room temperature before beginning to whip them. This may take 30 minutes but it makes it much easier to get the eggs whipped up correctly.
- When beating the egg whites, don’t use a low setting on your mixer. You want to use a medium to medium-high speed the whole time. This adds air quickly to the egg whites, which is what causes them to get thick and form peaks. If they are beaten too slowly they will never thicken up.
- Be patient. Meringues refuse to be rushed so you will get the best results by taking your time. The eggs and lemon juice need to get foamy and begin to form soft peaks BEFORE you add the sugar. If you add the sugar too soon the eggs may not be able to incorporate the air they need to become a fluffy cream and you’ll just get a sweet, sticky liquid instead. Add the sugar gradually, when the whites are ready, and while you are still beating the egg whites. Continue beating the egg whites even after all the sugar is added.
- The eggs have reached the appropriate consistency when you can pull the whisk out of the mixture and the meringue stays completely upright in that location. You are looking for STIFF peaks (not droopy ones). It is harder to overbeat egg whites than you may think.
- Be gentle with the mixture while adding in the food coloring. It is hard to overbeat egg whites but it is not hard to overmix them. The difference is that when you are mixing them you are knocking air out instead of beating it in. Fold the mixture softly and just until the color is completely incorporated.
- Cook your cookies until they are completely dry. They should have a dry, matte finish. If they look glossy in areas then they are likely not finished baking. You can also tell that they are finished if you gently tap the top and it seems dry to the touch and has a hollow sound.
- Once meringue cookies finish baking they can burn very quickly. Keep an eye on your cookies once they start looking dry and take them out if they begin to change in color. Even a golden color indicates they are done and will burn if not removed.
Storage Tips
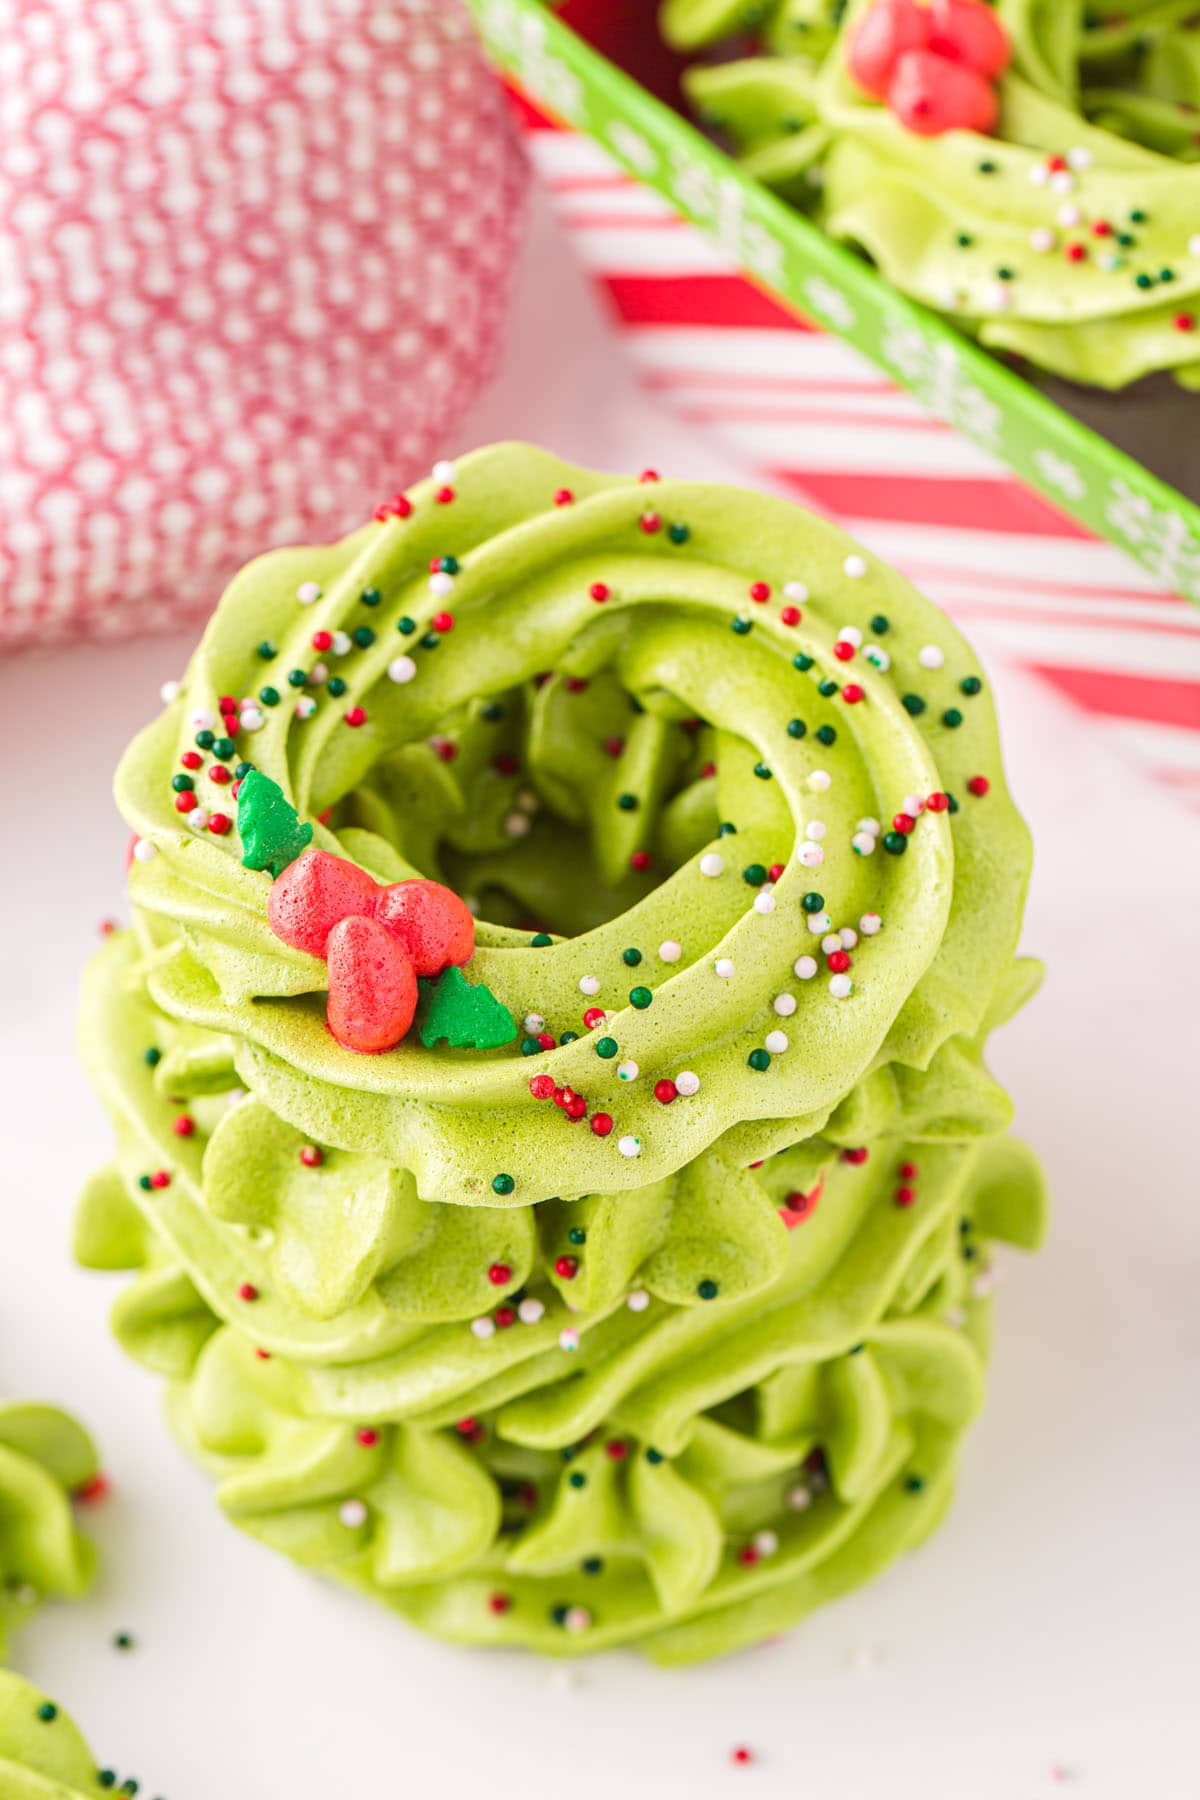
- To Store: These Meringue Wreath Cookies need to be stored in a dry, airtight container. At room temperature they will usually last 3-5 days. They do not freeze well.
Frequently Asked Questions
The overnight method can be used if you are short on time and want to bake all of the cookies at once. It’s extremely hands-off and is truly a “set it and forget it” cook method because it’s impossible to burn or forget about your cookies. It’s called the overnight method because you can set your meringues in the oven overnight and the next morning you will have fully finished perfectly cooked meringues.
To bake your meringues overnight, preheat your oven to 350 degrees F. Make your meringue according to the directions. Pipe all of your meringues on 2 baking sheets. Add both of the sheets to the preheated oven. Close the door and turn off the oven and then leave it alone. Don’t open the oven door to check on them because the meringues are being slowly cooked by the trapped heat in the oven. The meringues should finish cooking within 3 hours to overnight. I like to leave them in the oven overnight just in case.
Chewy meringues are the result of either under-baking your meringues or humidity. If they are under-baked they will probably be a little chewy. If they are chewy due to is humidity, you can try popping the meringues back into the oven on a parchment-lined baking sheet at 200°F for 10 minutes to try crisping them up a bit.
The acid in the lemon juice improves the structure of the meringue. Acid not only helps meringues whip up and aerate more quickly, but it also keeps it stable. Without acid, meringue cookies are more likely to collapse either during or after mixing.
Other Easy Christmas Treat Recipes
- Melted Snowman Chocolate Bark
- DIY Peppermint Candy Spoons
- Candy Cane Fudge
- Jello Divinity Candy
- Peanut Butter Penguins
- Reindeer Pretzel Rods
- Gingerbread Men Cookies
- Grinch Cake Mix Cookies
- Meringue Cookies

Meringue Wreath Cookies
Ingredients
- 3 large egg whites
- ½ tsp lemon juice
- 1⅓ cup powdered sugar
- Red gel food coloring
- Green gel food coloring
- Christmas sprinkles, optional
Instructions
- Heat the oven to 300 degrees Fahrenheit and line two cookie sheets with parchment paper or a silicone baking mat.
- Using a stand or hand mixer with a DRY, large mixing bowl, beat together the egg whites and lemon juice on medium speed until soft peaks form, about 3-5 minutes.
- Slowly add in the powdered sugar, ⅓ cup at a time, beating continually until stiff peaks hold and the sugar is dissolved. The mixture should be glossy. This could take up to 10 or more minutes.
- Separate ½ cup of the mixture into a small bowl and gently fold in the red food coloring.
- Gently fold green food coloring into the large bowl until the desired color is obtained. Do not over mix.
- Place the green mixture in a piping bag and use a Wilton tip #199 to pipe medium sized flowers in a circle onto one of the prepared baking sheets. Use a Wilton tip #4 tip and piping bag to pipe on little holly berries between each flower. Sprinkle with Christmas sprinkles, optional.
- Bake for 30-40 minutes or until dry to the touch. While the first batch is baking you can begin piping the rest on the second cookie sheet. It’s important to bake these in batches or the moisture from overloading the oven will make it impossible to bake. If you are short on time, try the overnight method of baking (see notes).
- Remove from the oven and allow to cool completely (about 5-10 minutes) before serving.
Jenn’s Notes
- Make sure your sprinkles are added to the cookies BEFORE baking. If you try to add them after they have baked, they won’t stick onto the cookies. Don’t worry, they won’t burn in the oven!
- Piping Tips for the wreath bases (the green sections): I like to use Wilton 1M, Wilton #199, or Ateco 846/848/849.
- Piping Tips for the holly berries and bows (the red sections): I like to use Wilton tip #3,4, or 5.
- If you don’t have time to bake the meringue in batches, use the overnight method. (See FAQs).
- Meringues of any type are understandably intimidating however they are delicious and less tricky than you might assume! Here are a few tips to help you get an amazing meringue cookie:
- Begin by separating your eggs right out of the refrigerator. They separate best when cold and you want to be sure not to get ANY yolk in your egg whites. If you do accidentally break a yolk into your whites, I recommend starting over. You can always separate the eggs individually into a small bowl and then combine them into a larger bowl to whip them up. Discard the yolks or use them in a different recipe.
- Next, allow your egg whites to come to room temperature before beginning to whip them. This may take 30 minutes but it makes it much easier to get the eggs whipped up correctly.
- When beating the egg whites, don’t use a low setting on your mixer. You want to use a medium to medium-high speed the whole time. This adds air quickly to the egg whites, which is what causes them to get thick and form peaks. If they are beaten too slowly they will never thicken up.
- Be patient. Meringues refuse to be rushed so you will get the best results by taking your time. The eggs and lemon juice need to get foamy and begin to form soft peaks BEFORE you add the sugar. If you add the sugar too soon the eggs may not be able to incorporate the air they need to become a fluffy cream and you’ll just get a sweet, sticky liquid instead. Add the sugar gradually, when the whites are ready, and while you are still beating the egg whites. Continue beating the egg whites even after all the sugar is added.
- The eggs have reached the appropriate consistency when you can pull the whisk out of the mixture and the meringue stays completely upright in that location. You are looking for STIFF peaks (not droopy ones). It is harder to overbeat egg whites than you may think.
- Be gentle with the mixture while adding in the food coloring. It is hard to overbeat egg whites but it is not hard to overmix them. The difference is that when you are mixing them you are knocking air out instead of beating it in. Fold the mixture softly and just until the color is completely incorporated.
- Cook your cookies until they are completely dry. They should have a dry, matte finish. If they look glossy in areas then they are likely not finished baking. You can also tell that they are finished if you gently tap the top and it seems dry to the touch and has a hollow sound.
- Once meringue cookies finish baking they can burn very quickly. Keep an eye on your cookies once they start looking dry and take them out if they begin to change in color. Even a golden color indicates they are done and will burn if not removed.