This post may contain affiliate links. Please read our disclosure policy.
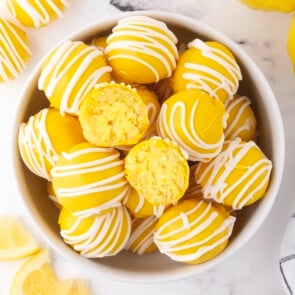
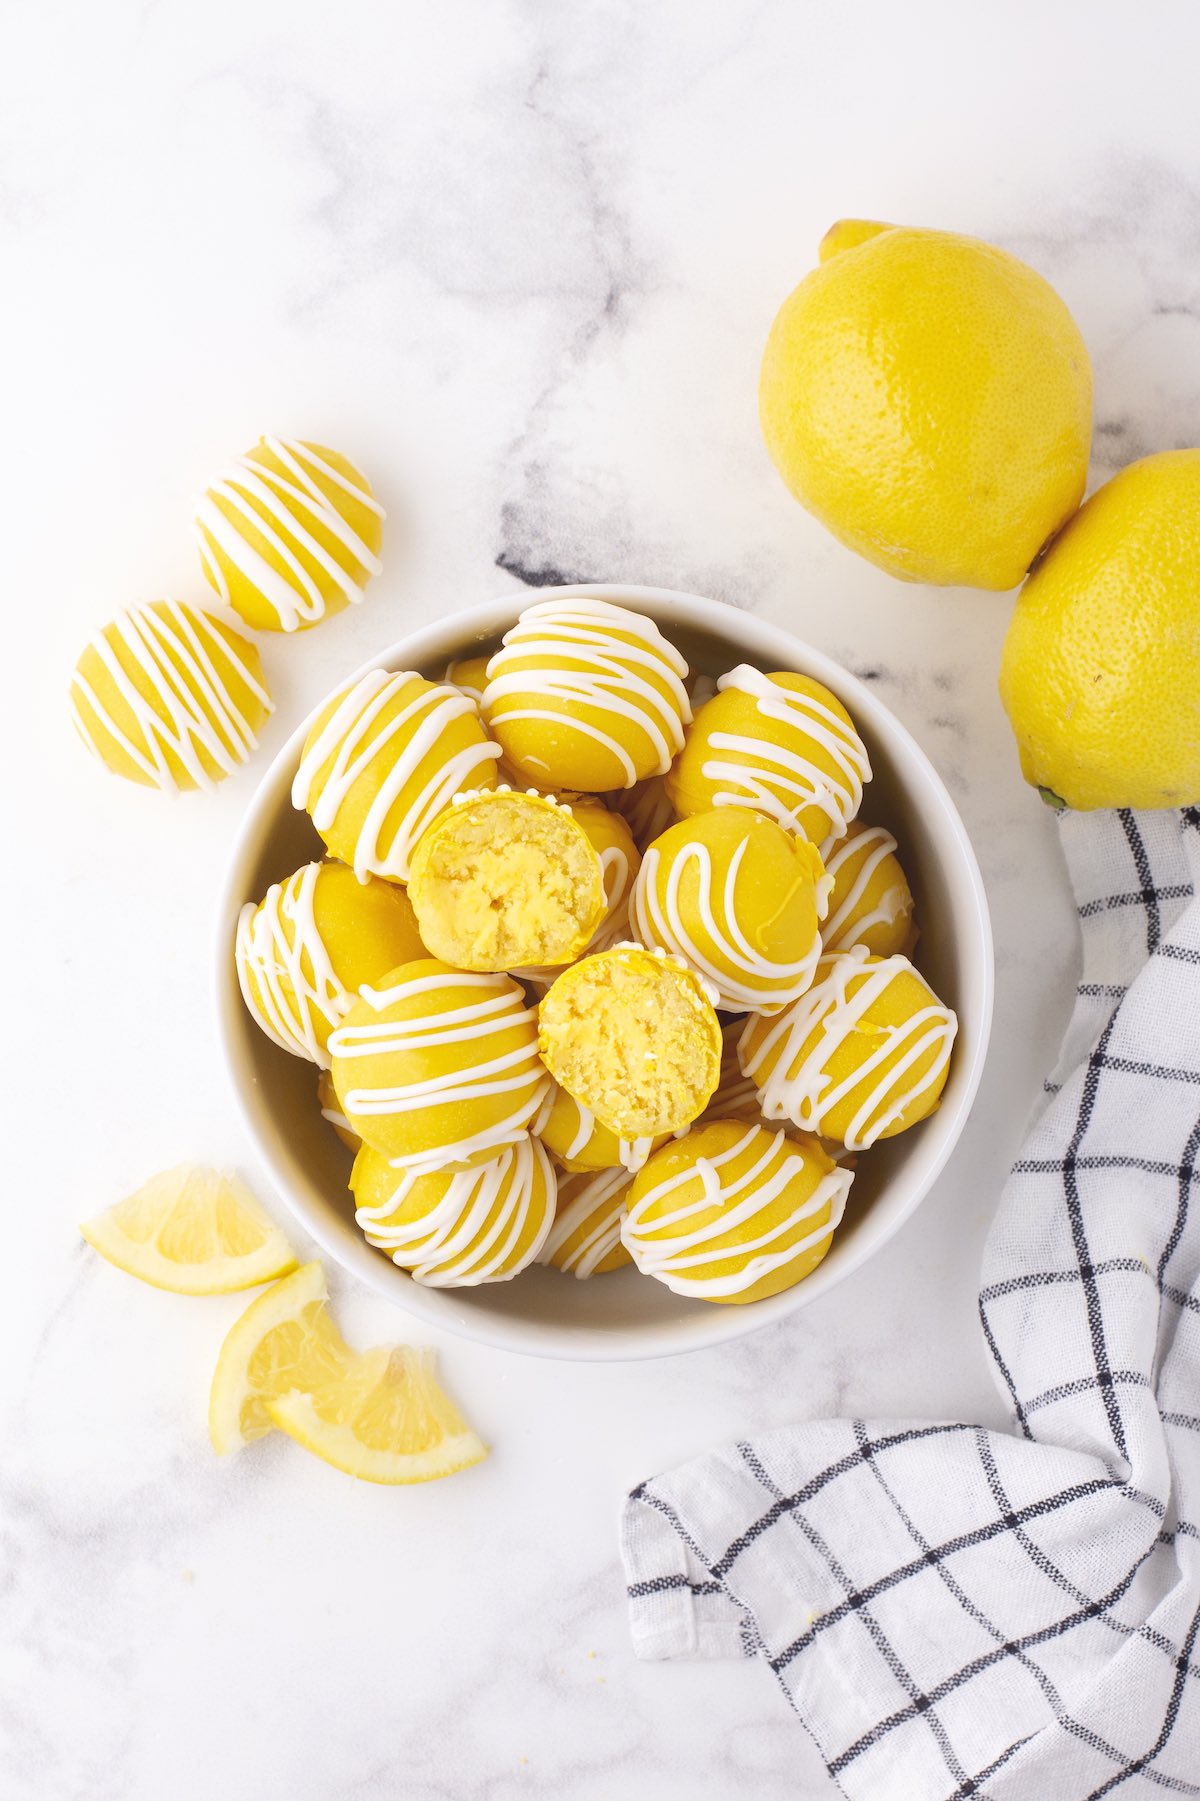
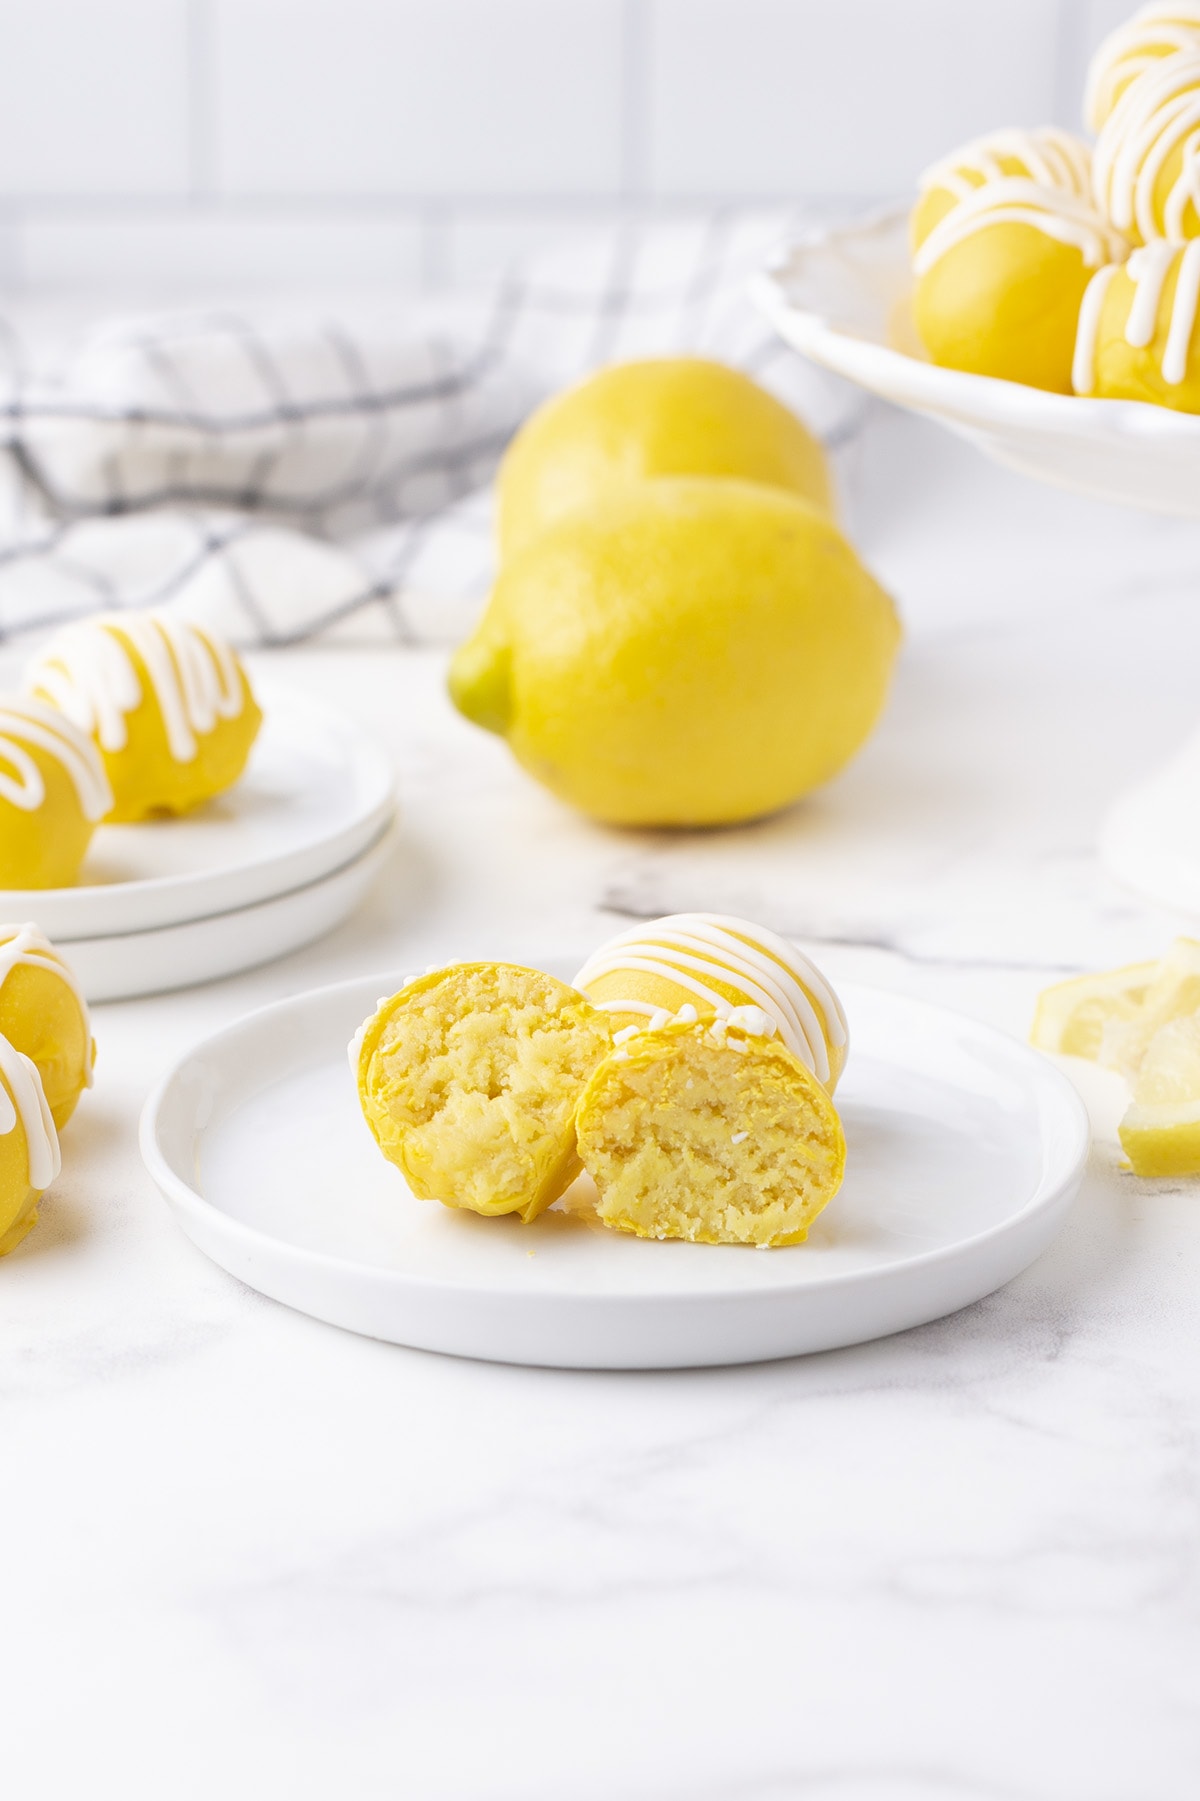
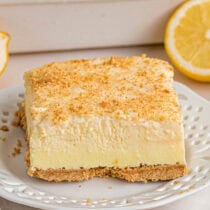
These no-bake lemon cheesecake bites are one of my favorite things to bring to a spring get-together. They look like you put in way more effort than you did, they travel well, and you can make them the day before. Just 4 ingredients, 10 minutes of prep, and no baking required. Great for Easter, baby showers, cookie platters, or any time you need a dessert that comes together fast and gets everyone asking for the recipe.
I originally made these for a get-together at a friend’s house. It was one of those weeks where the calendar was completely packed with kids’ activities, work, and appointments, and I needed something I could pull together ahead of time without adding stress. These were exactly that. I made them the day before, they held up perfectly, and when I brought them to the party, everyone loved them. A lot of people asked for the recipe and that told me all I needed to know.
I keep coming back to this recipe because it works every single time. The filling comes together fast, the bites hold their shape after chilling, and that yellow coating with white drizzle looks so good. I’ve cracked the code on this one. Just follow the steps below and you’re set.
Love easy no-bake dessert balls? Be sure to check out my No-Bake Cheesecake Balls the base recipe is just as simple and uses the same method.
Key Ingredients and Why They Work
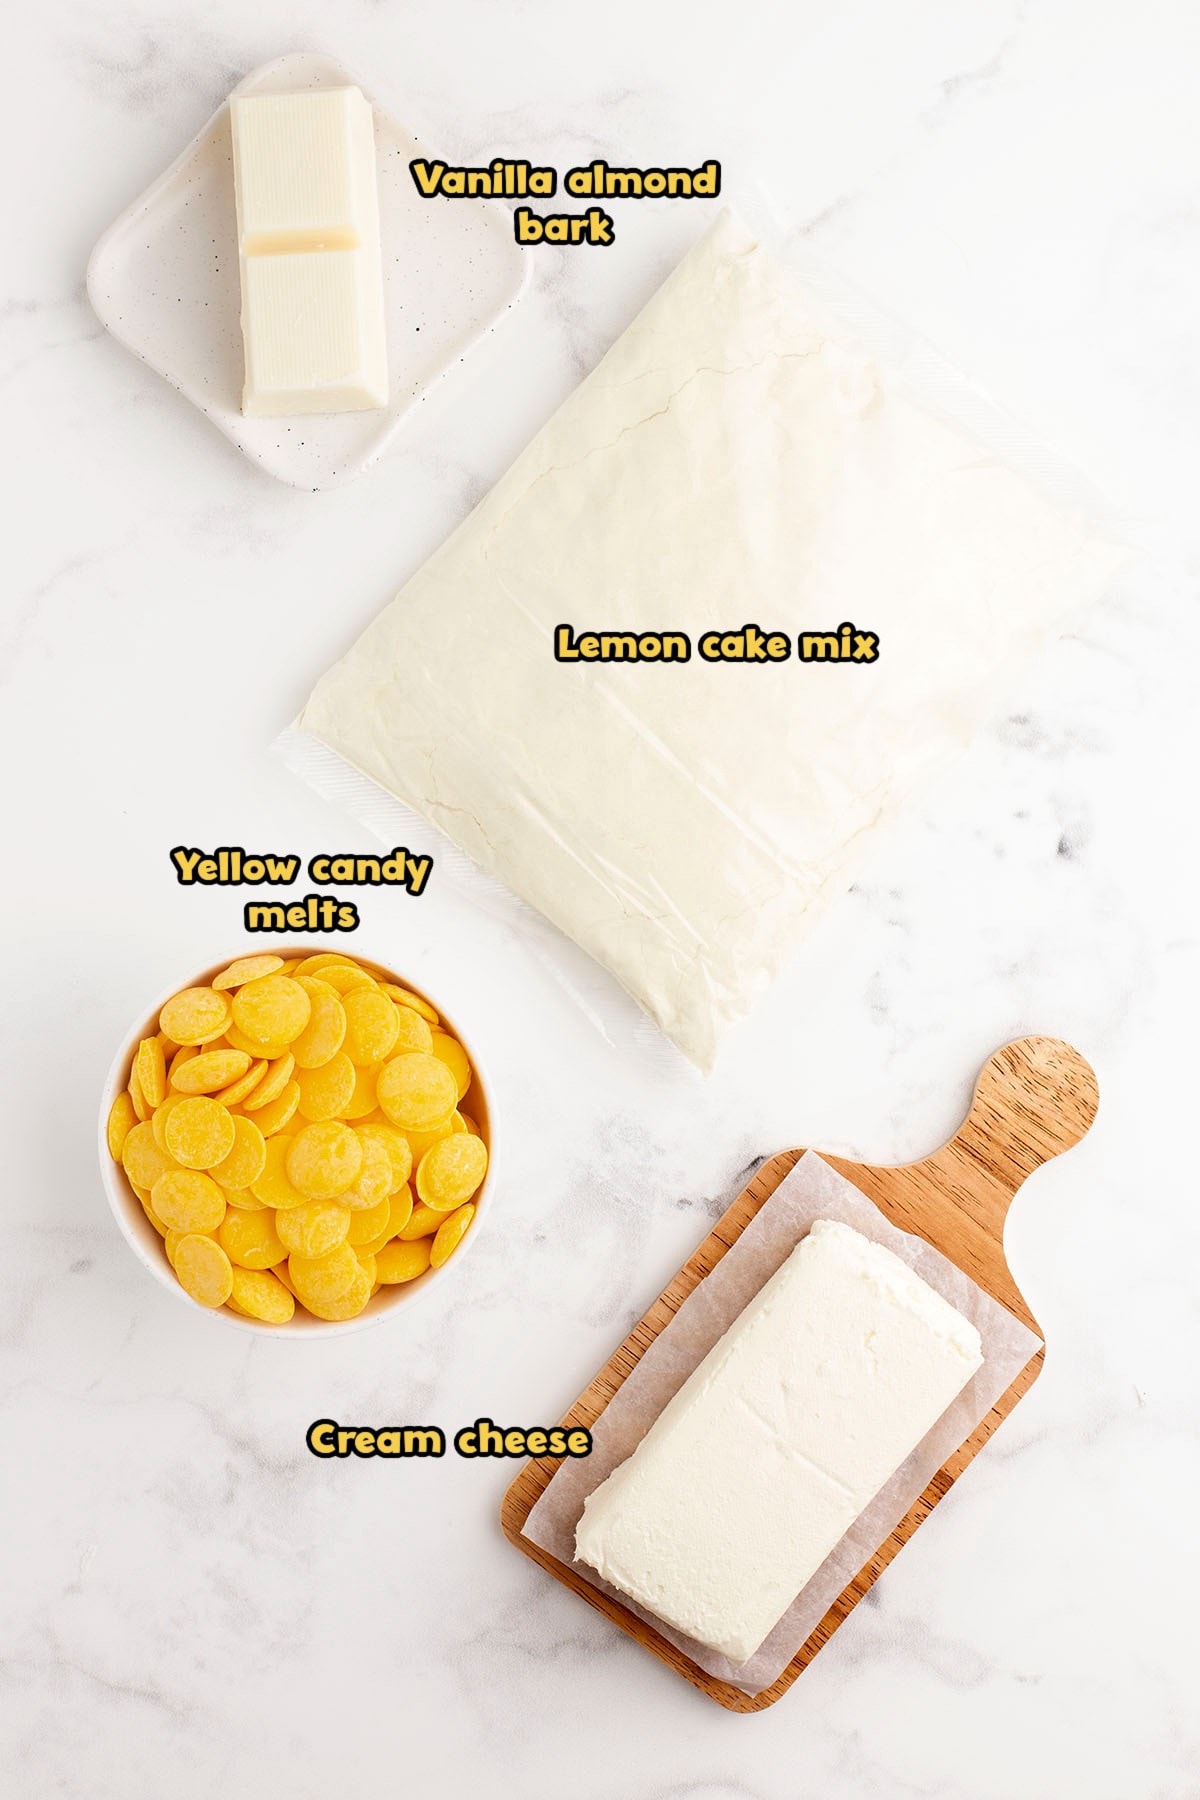
- Boxed lemon cake mix: This is the shortcut that makes the whole recipe work. Mixed dry into softened cream cheese, it creates a thick, scoopable dough with bright lemon flavor built right in. I used Betty Crocker Super Moist (15.25 oz), but any lemon cake mix works.
- Cream cheese (room temperature): Full-fat cream cheese gives these bites that rich, tangy cheesecake base. Make sure it’s fully softened before you start. Cold cream cheese will leave lumps that are hard to mix out.
- Yellow candy melts: These coat the outside with a smooth, snappy shell that holds up well in the fridge and gives the bites that bright, cheerful yellow color. I use SweetTooth Fairy brand colored melting wafers. They melt evenly and look great every time. You can find them at Michael’s, other craft stores, or online.
- White almond bark: Drizzled over the finished bites for that classic bakery-style finish. It sets up quickly and is easy to work with.
How to Make Lemon Cheesecake Bites
Step 1: Heat Treat the Cake Mix
Pour the dry cake mix into a medium heat-safe bowl. Microwave in two 30-second intervals, stirring after each one. Let the cake mix cool completely before adding it to the cream cheese.
This step matters: raw flour in dry cake mix can carry bacteria and is not safe to eat uncooked. A quick heat treatment takes care of that without baking the whole recipe.
Step 2: Beat the Cream Cheese
Using a handheld mixer on medium-high speed, beat the cream cheese in a medium mixing bowl for 2 to 2 1/2 minutes until completely smooth. You want no lumps before you add the cake mix.
Step 3: Add the Cake Mix and Chill
Sprinkle the cooled dry cake mix over the top of the cream cheese. Mix just until fully incorporated. Tightly cover the bowl and refrigerate for 2 hours.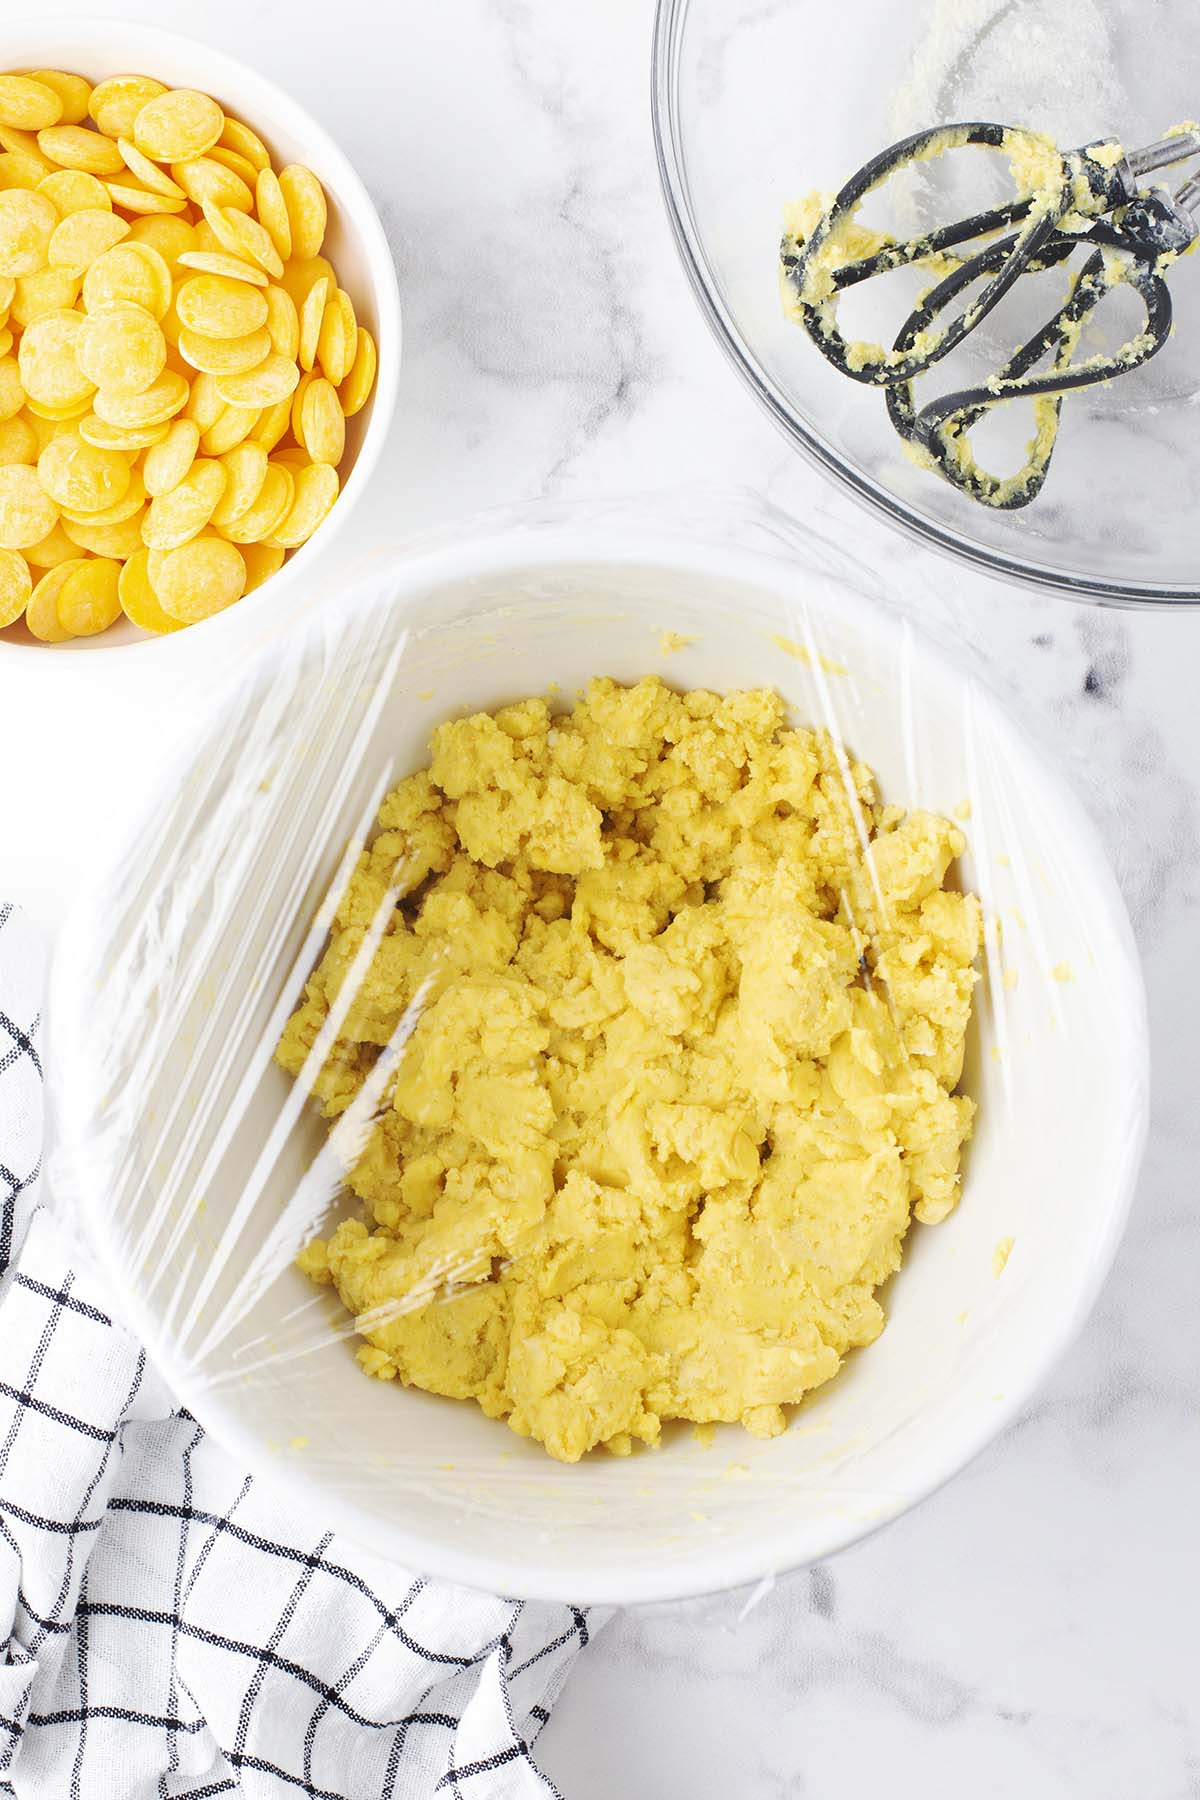
Step 4: Scoop and Roll
Line a baking sheet with parchment paper. Using a 1-tablespoon cookie scoop, scoop the chilled dough and roll each portion into a smooth ball. Set the balls on the prepared baking sheet.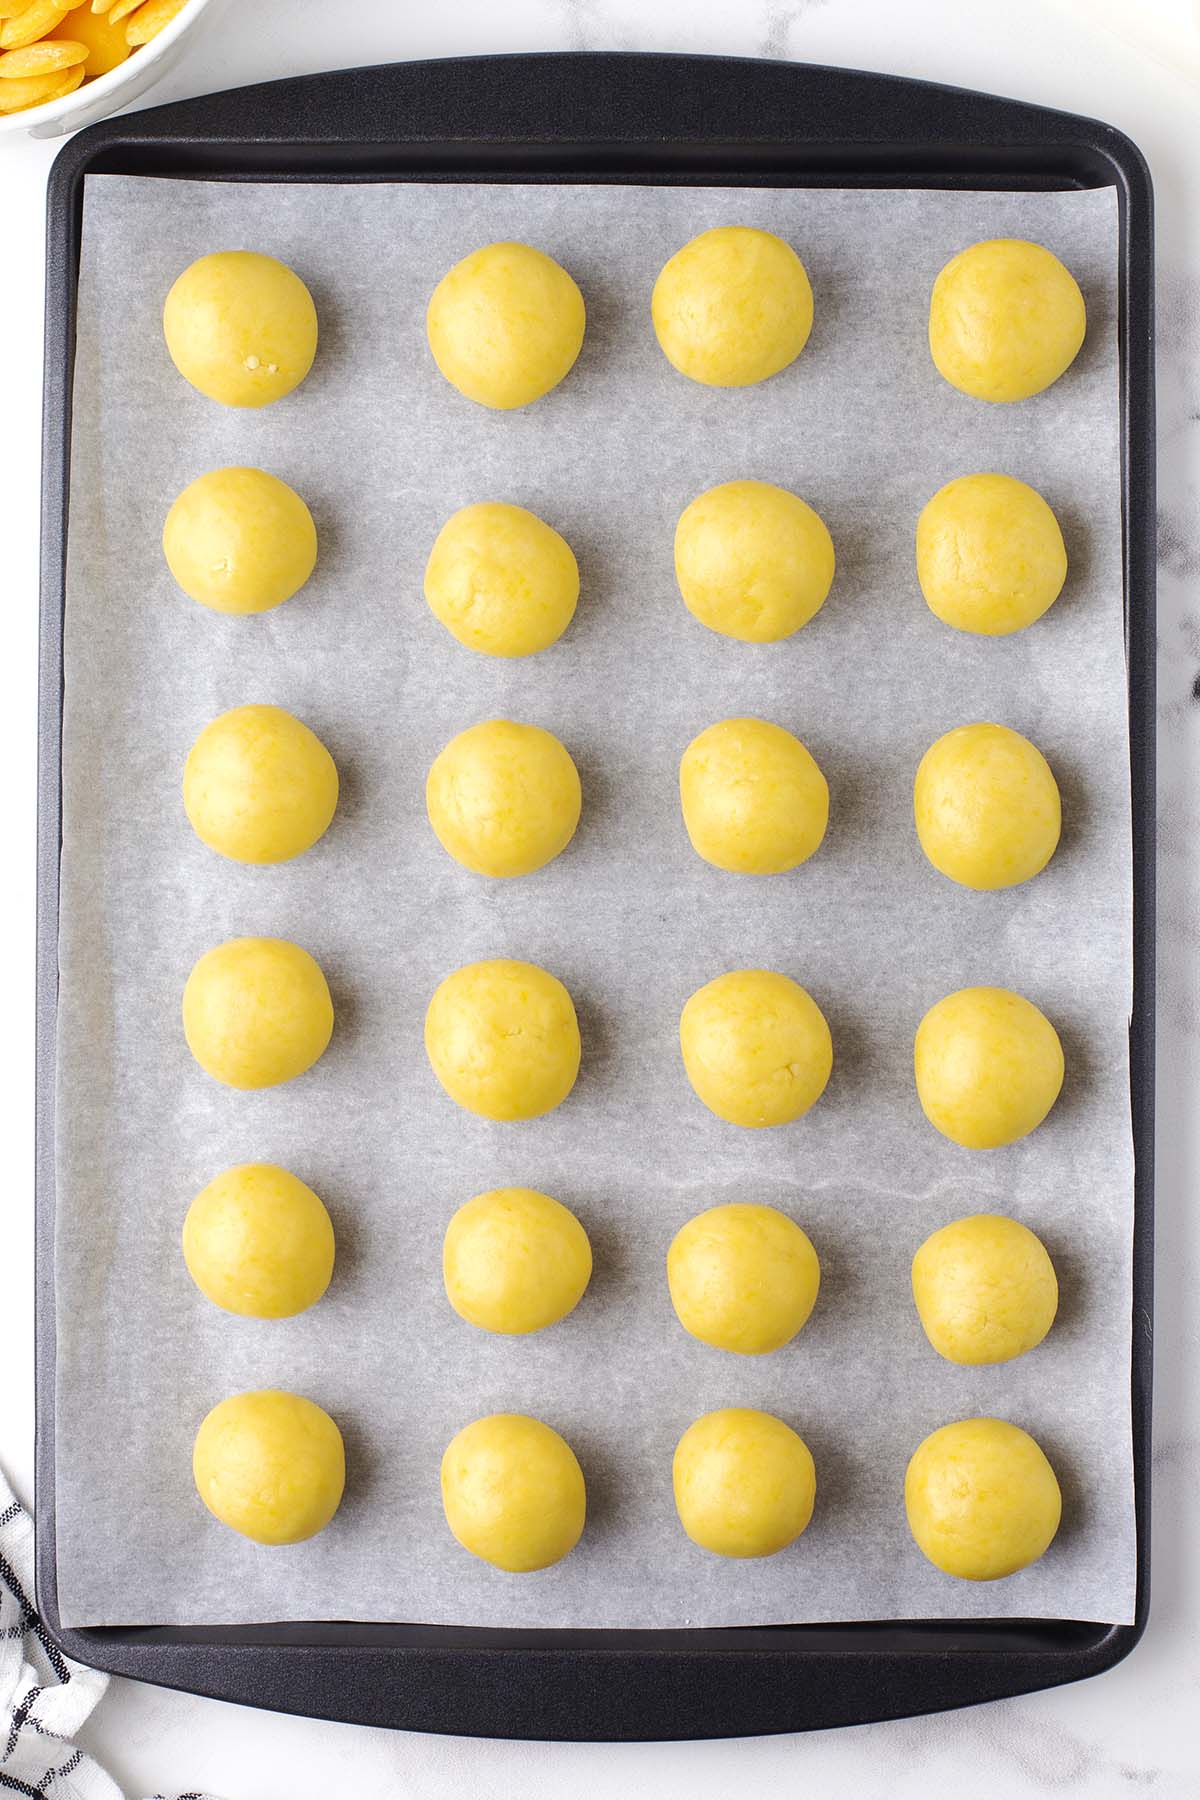 Step 5: Coat in Yellow Candy Melts
In a medium heat-safe bowl, melt the yellow candy melts in 30-second intervals, stirring after each one, until completely smooth. Roll each ball in the melted candy to coat it fully.
Place the coated ball on a fork and tap gently to shake off any excess coating. Use a spoon to fill in any bare spots, then use a toothpick to push the ball off the fork and onto the baking sheet.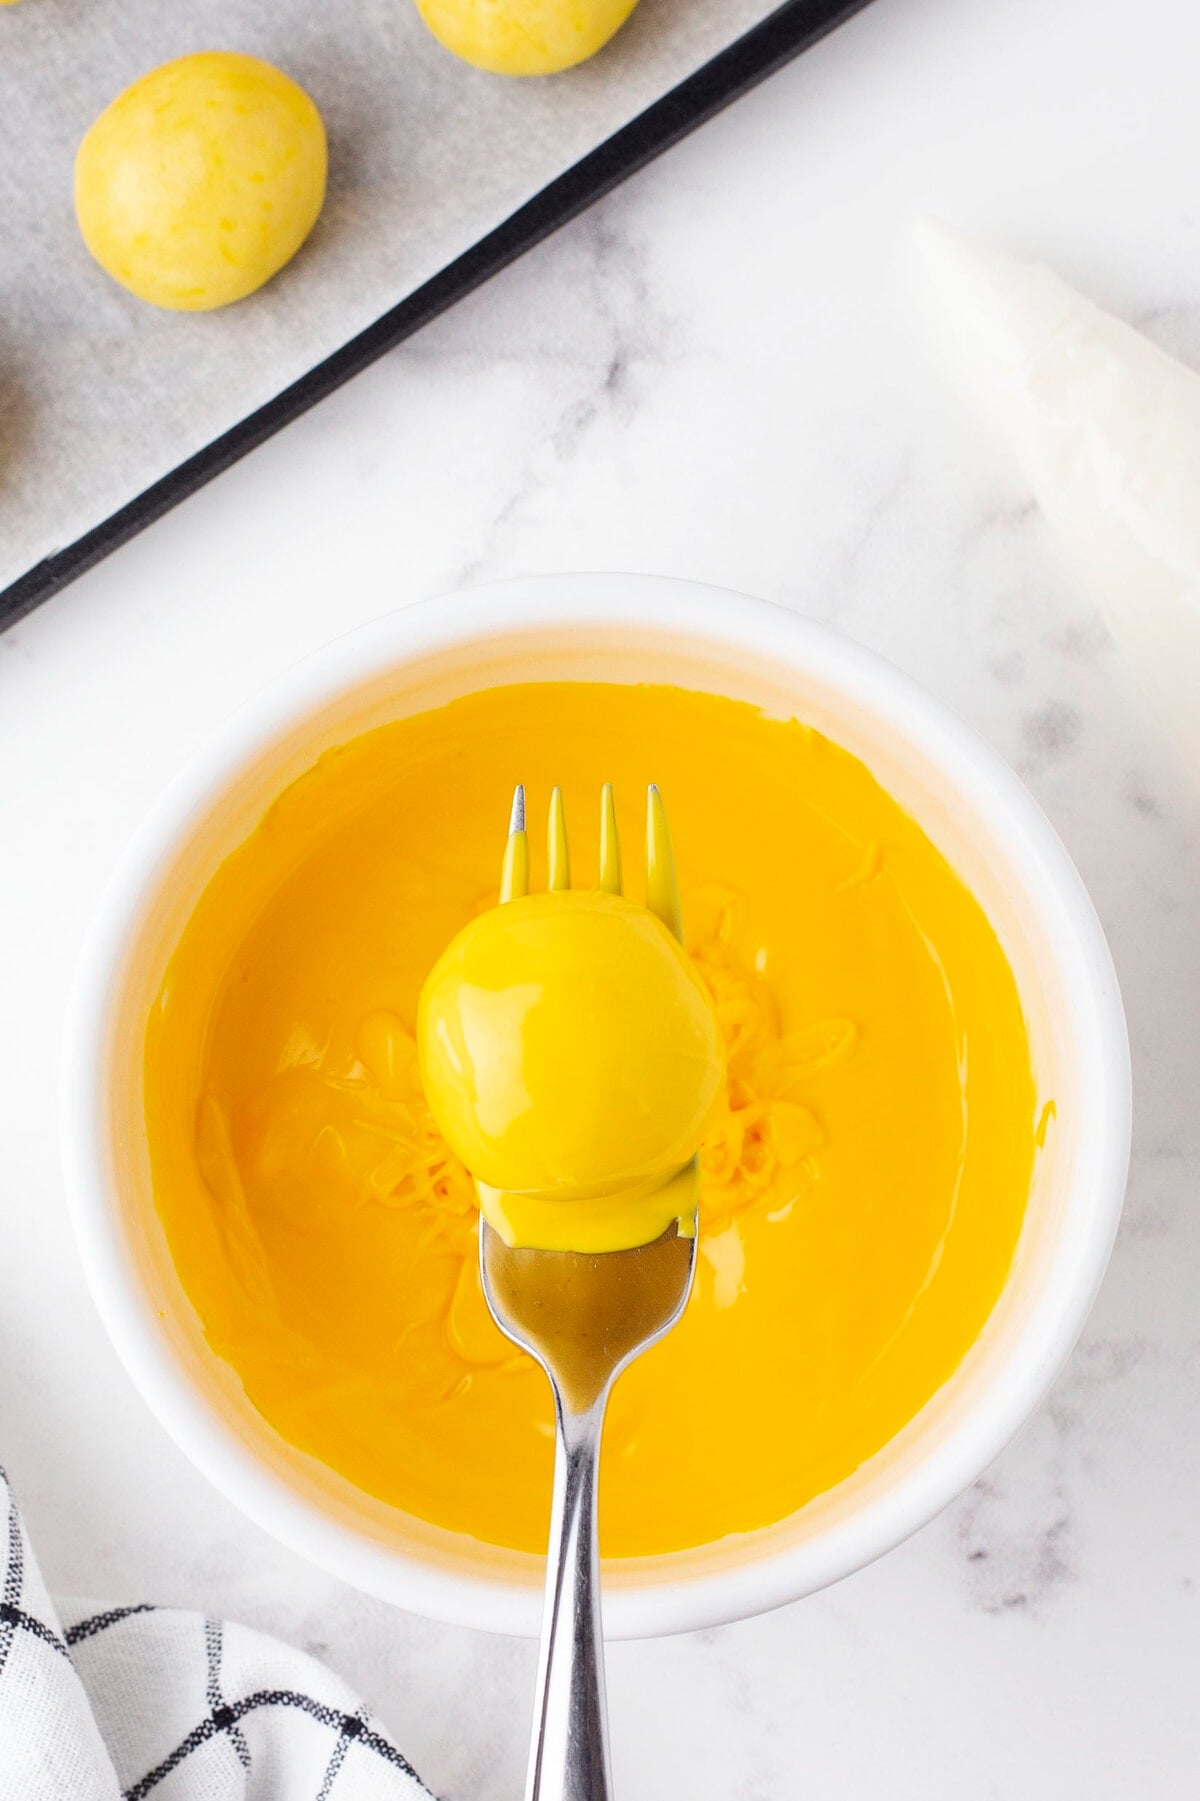
Step 6: Drizzle with White Almond Bark
In a small heat-safe bowl, melt the white almond bark in 30-second intervals, stirring well after each one. Using a spoon or a small piping bag, drizzle thin ribbons of the melted bark over the coated cheesecake bites.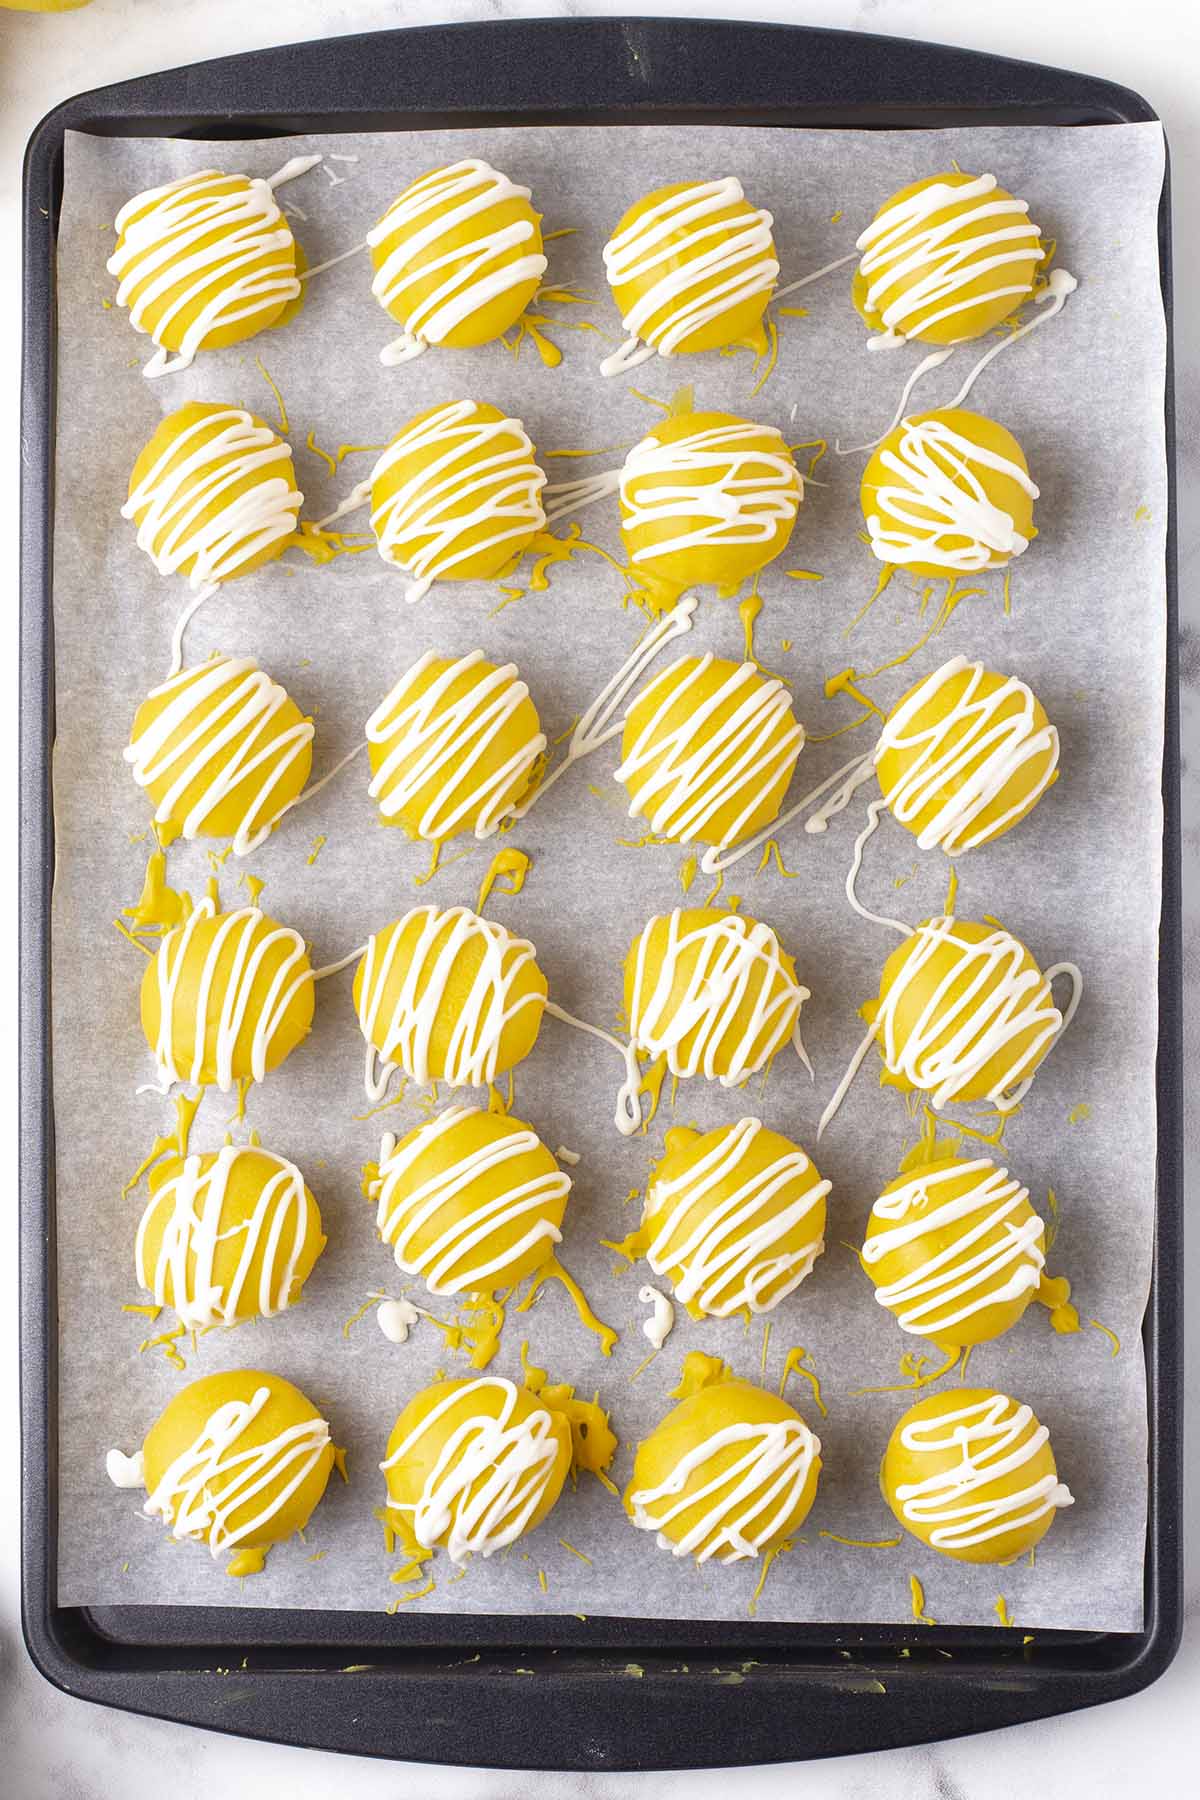
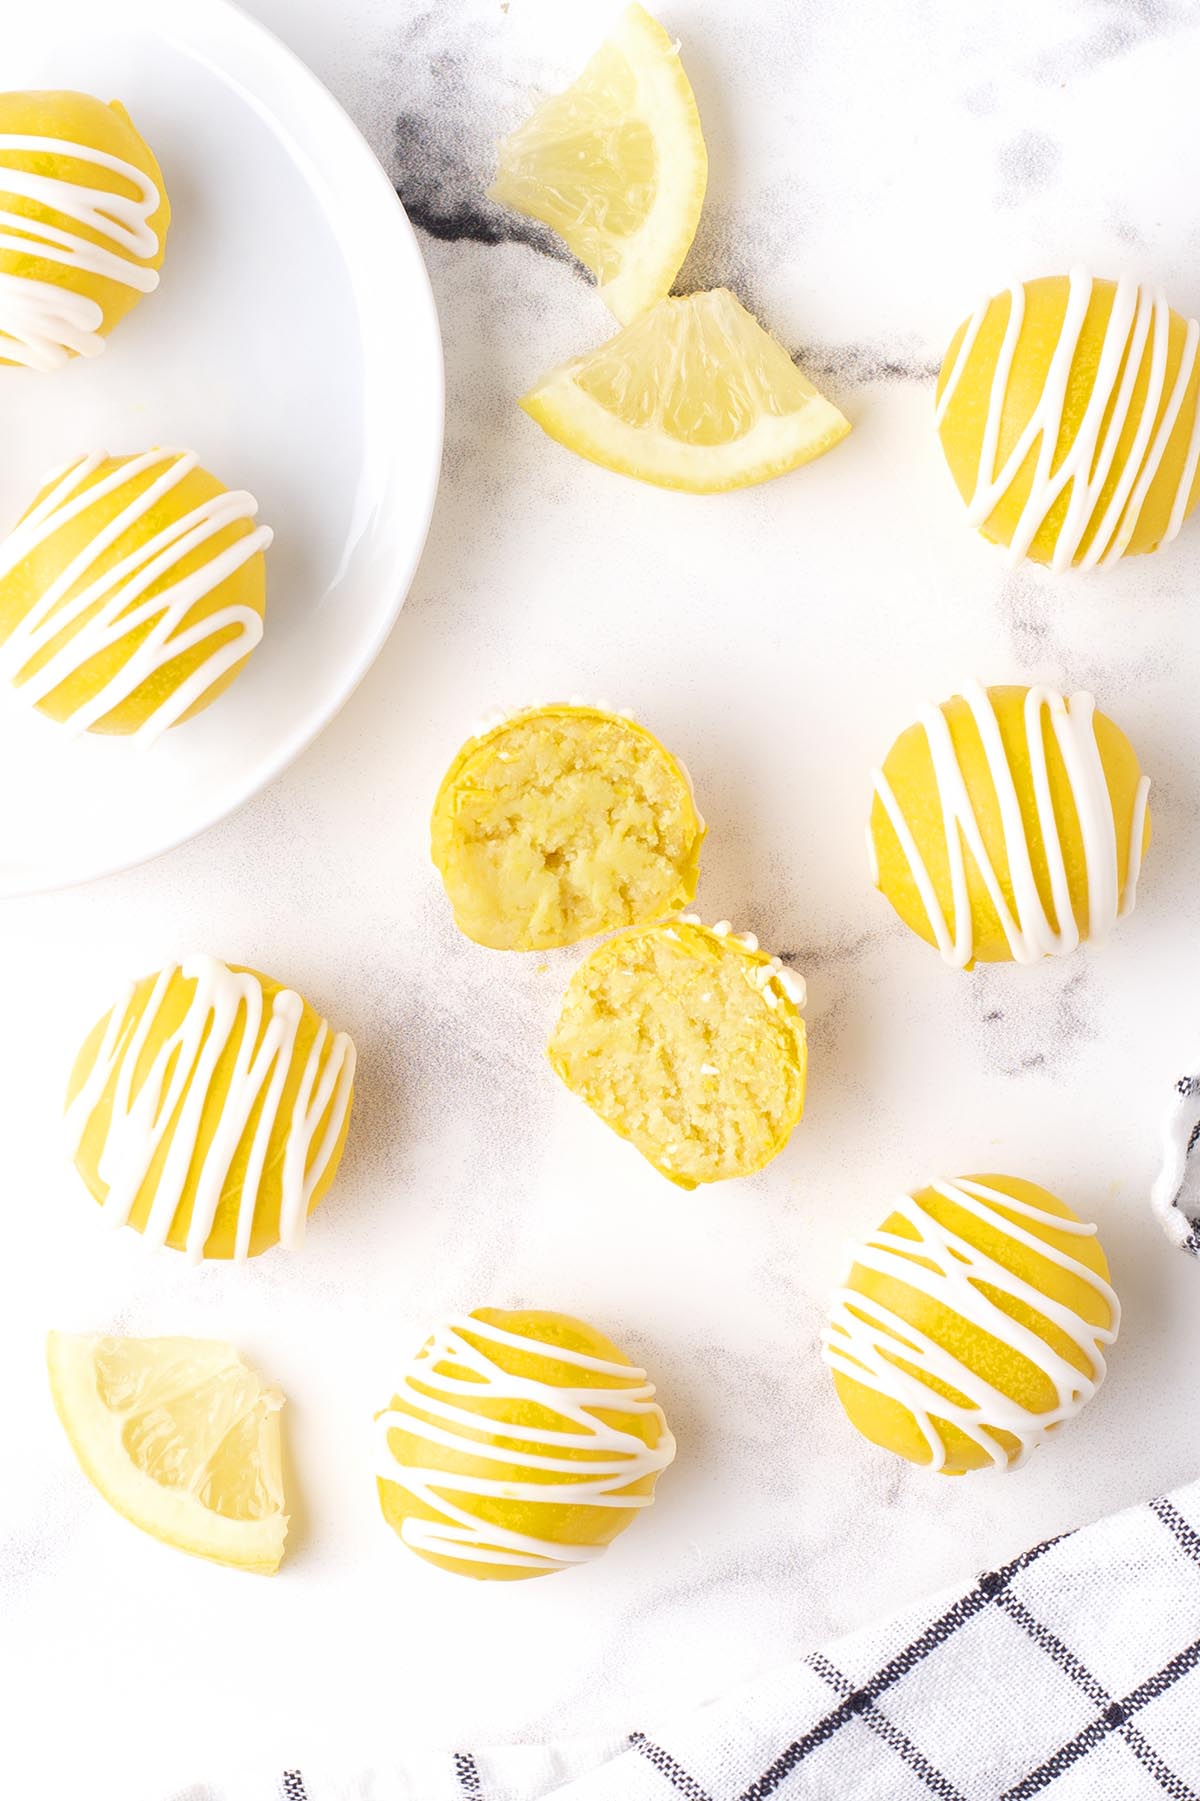
Step 7: Chill and Serve
Once all the bites are coated and drizzled, return them to the refrigerator until you’re ready to serve. These are best served cold straight from the fridge.
How to Store Lemon Cheesecake Bites
To store: Keep lemon cheesecake bites in an airtight container in the refrigerator for up to 5 days. Serve them cold straight from the fridge.
To freeze: Freeze the uncoated bites in an airtight container or zip-top bag for up to 2 months. Thaw overnight in the refrigerator, then coat and decorate as directed.
More Cheesecake Ball Recipes You May Enjoy
- Chocolate Cheesecake Bites
- Coconut Cheesecake Bites
- No-Bake Cheesecake Balls
- Red Velvet Cheesecake Bites
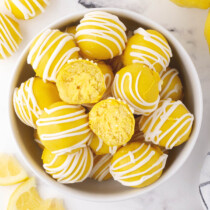
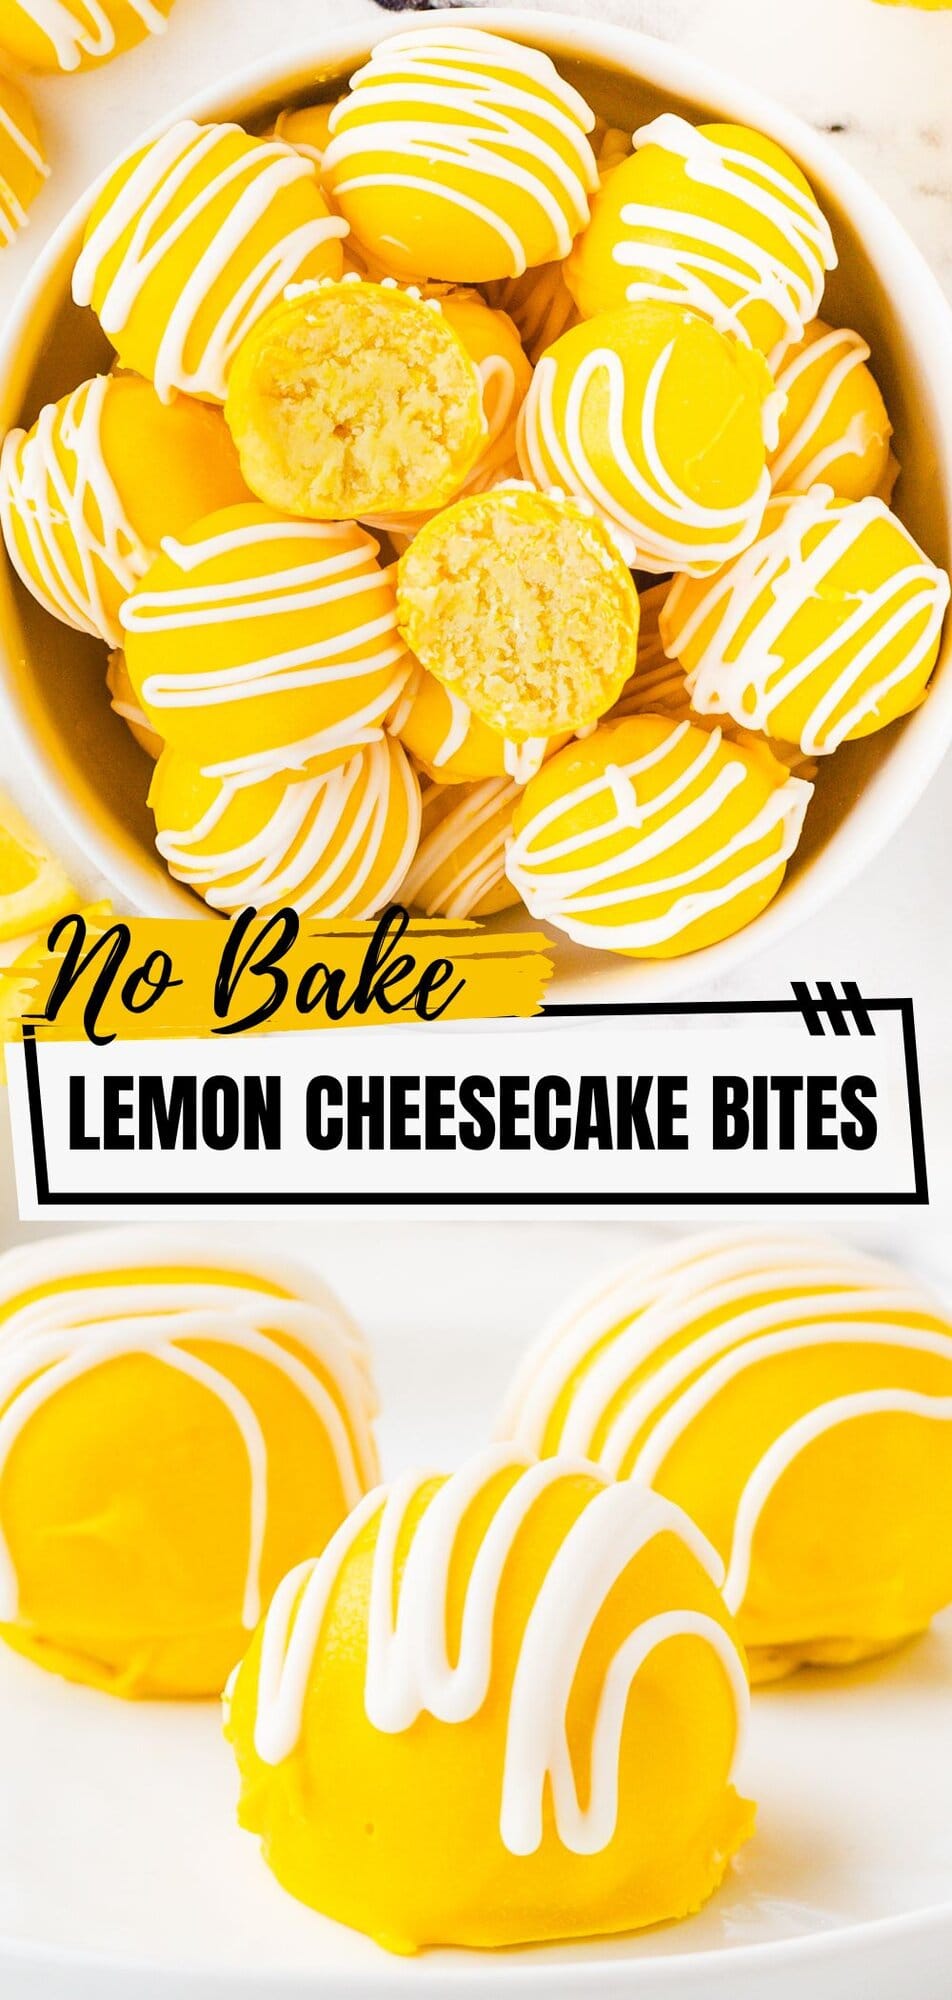
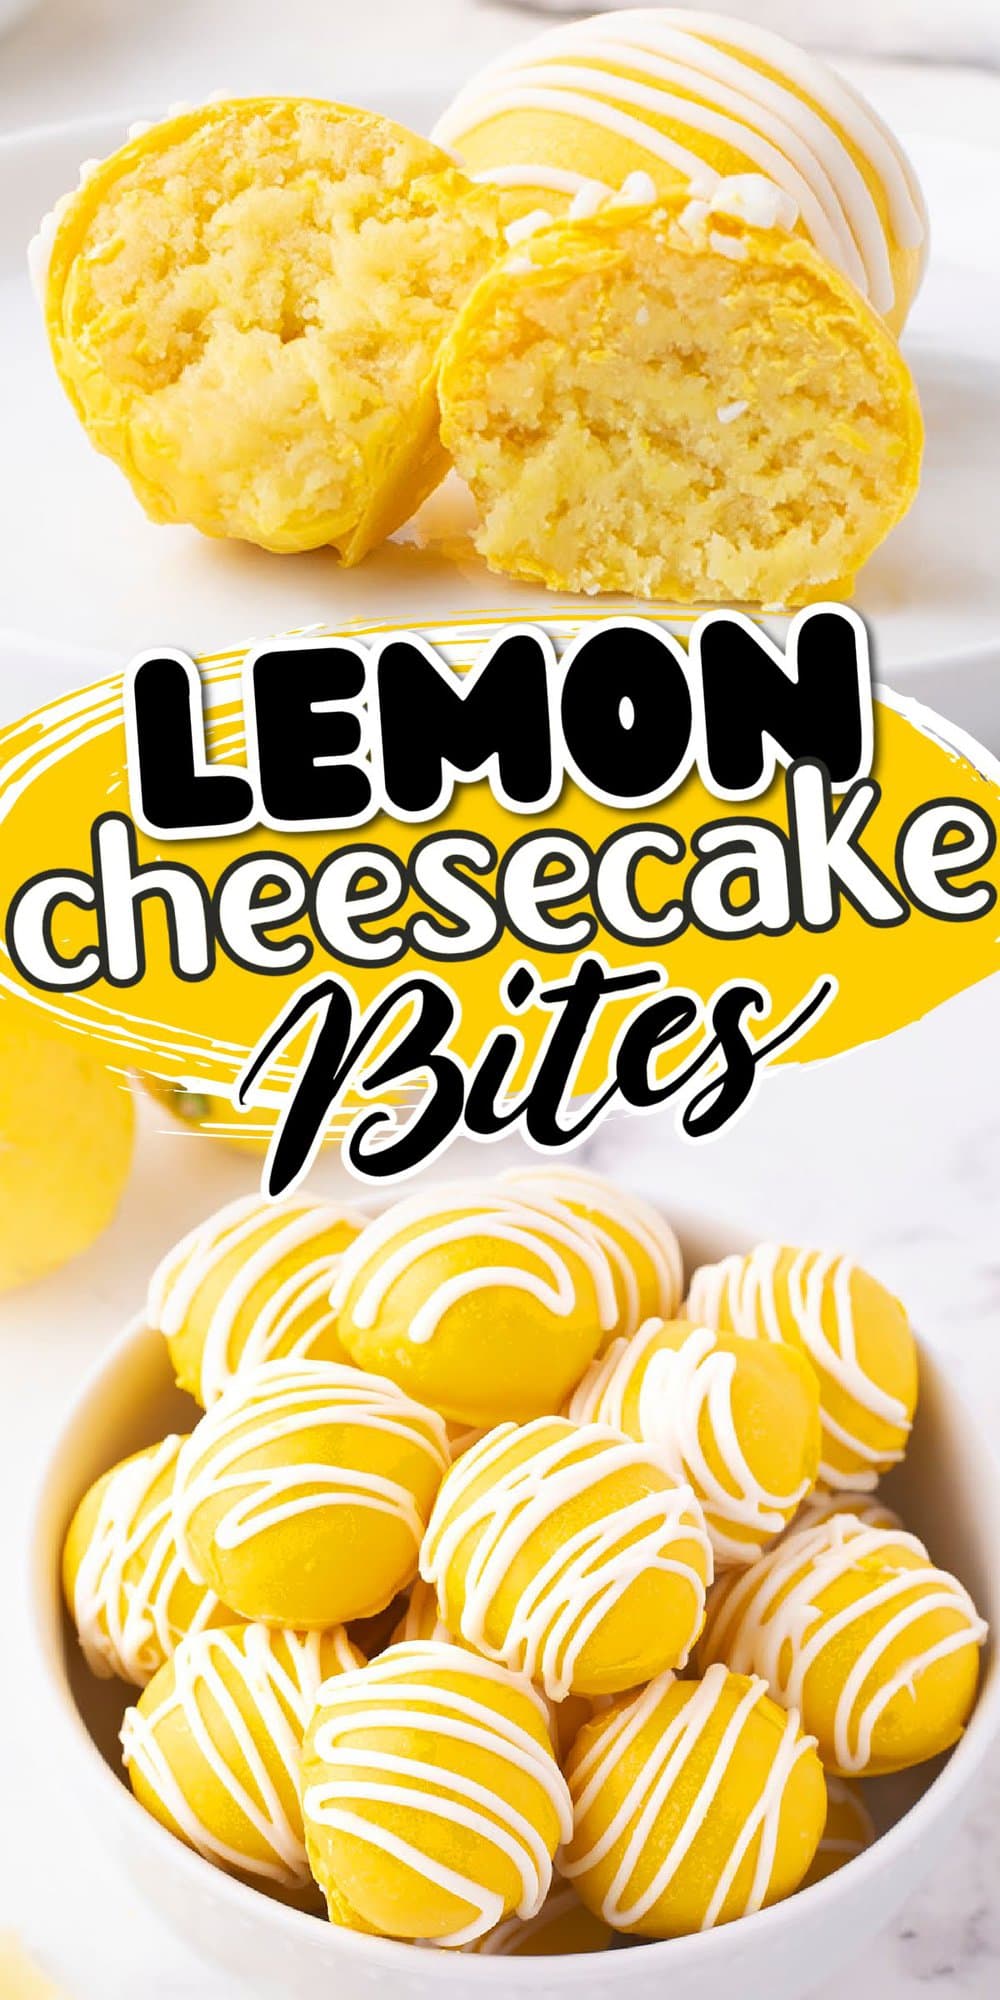
Lemon Cheesecake Bites
Ingredients
- 15.25 ounces boxed lemon cake mix I used Betty Crocker Super Moist brand
- 8 ounces cream cheese room temperature
- 12 ounces yellow candy melts
- 4 ounces white (vanilla) almond bark
Instructions
- Before adding the cake mix, it is important to heat treat the dry cake mix. Pour the dry cake mix into a medium-sized heat-safe bowl. Microwave the cake mix in two 30-second intervals, stirring after each interval. Allow the cake mix to cool completely before mixing it into the cream cheese.15.25 ounces boxed lemon cake mix
- Using a medium-sized mixing bowl and a handheld mixer on medium-high speed, beat the cream cheese for 2 to 2½ minutes until completely smooth.8 ounces cream cheese
- Sprinkle the dry cake mix over the top of the cream cheese. Continue mixing just until the dry cake mix is completely incorporated.
- Tightly cover the cream cheese mixture and chill in the refrigerator for 2 hours.
- Line a baking sheet with parchment paper. Set it aside.
- Using a 1 tablespoon cookie scoop, scoop the cheesecake dough. Roll into a ball and set the cheesecake bites onto the prepared baking sheet. Repeat the steps.
- Using a heat-safe medium-sized mixing bowl, heat the candy wafer melts in 30-second intervals, stirring after each interval, until completely melted.12 ounces yellow candy melts
- Roll the cheesecake bites in the melted candy wafers. Place the coated cheesecake bites on a fork and gently tap any excess coating off. You can also use a spoon to pour the coating over any bare spots on the cheesecake bites. Use a toothpick to remove excess melted wafer from the bottom of the fork and then to gently push the ball onto the prepared baking sheet.
- Return the coated cheesecake bites to the prepared baking sheet.
- Using a small heat safe mixing bowl, microwave the white almond bark in 30-second intervals, stirring well after each interval.4 ounces white (vanilla) almond bark
- Using a spoon or small dipper, drizzle thin ribbons of the melted almond bark over the coated cheesecake bites.
- Once all the cheesecake bites are completely coated and drizzled, return them to the refrigerator until ready to serve.
Jenn’s Notes
- To Store: They can be stored in the refrigerator for up to 5 days.
- To Freeze: You can freeze, and store, the uncoated cheesecake bites for up to 2 months. You will need to thaw them overnight in the refrigerator before coating them.
- These lemon cheesecake bites should be served chilled.
- I used the SweetTooth Fairy brand of colored melting wafers for this recipe. They can be found at Michael’s, and other craft stores, as well as online. I find they melt very well and are consistent when working with them.
- Make sure the cream cheese is at room temperature to avoid lumps in the cream cheese mixture.
- To keep the chocolate coating from cracking, be sure to let the bites come to room temperature before dipping. The closer the bites and chocolate are in temperature will help keep them from expanding and from cracking.
- I prefer using full-fat cream cheese for this recipe because I think it gives these treats the most flavor and richness. Reduced fat would still work, but they may not be as rich tasting.
- You can place the melted almond bark in a small piping bag, or sandwich bag, and snip the corner to drizzle the almond bark if you want more control of the drizzle.


they look great can’t wait to try
they sound and look amazing I can’t wait to make the
looking forward to making tomorrow!!
So delicious… Easy as that and they are cool and easy to make
it’s so easy and fun..
So good… easy and they are cool to make