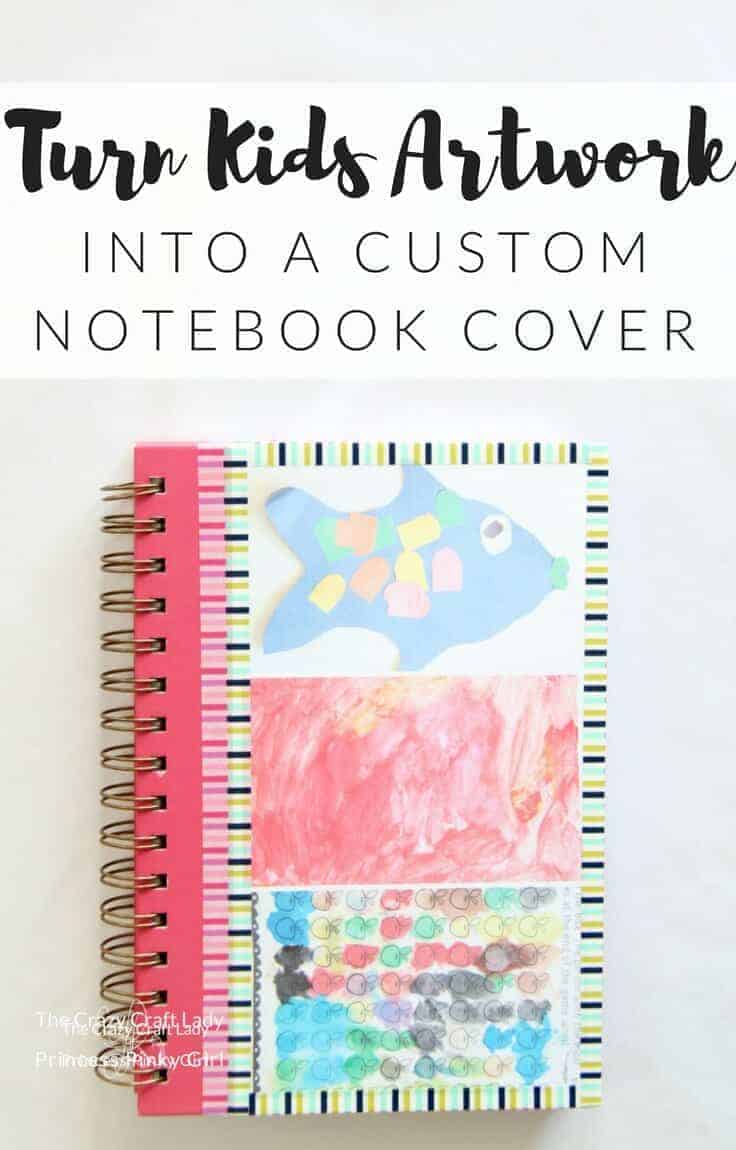
Make this DIY Kids Artwork Notebook Cover and turn your child’s art creations into the perfect sentimental gift for a grandparent or handmade Mother’s Day gift!
Hi guys! I’m Aimee, and I blog over at The Crazy Craft Lady where I strive to make everyday creative with simple crafts, easy family-friendly recipes, organizing and DIY decor projects. Thanks so much to Jenn for letting me stop in today and share my guest post – this DIY Kids Artwork Notebook Cover. I hope you all enjoy it! (also, check out these other great DIY Mother’s Day gift ideas)
If you have a creative or craft-loving child or grandchild in your life, you know that their artwork starts to pile up. Quickly!
As a mom of 4.5-year-old twins, I often feel guilty for letting their creations pile up (there is only so much room on the fridge). Or, gasp! What if I throw something away?!?!
I started taking pictures of the twins’ drawings and paintings, to save on space and ease my mom guilt for not keeping every single one of their creations. But then I wasn’t sure what to do with these pictures.
I decided to make a new cover for a little notebook that I use every day!
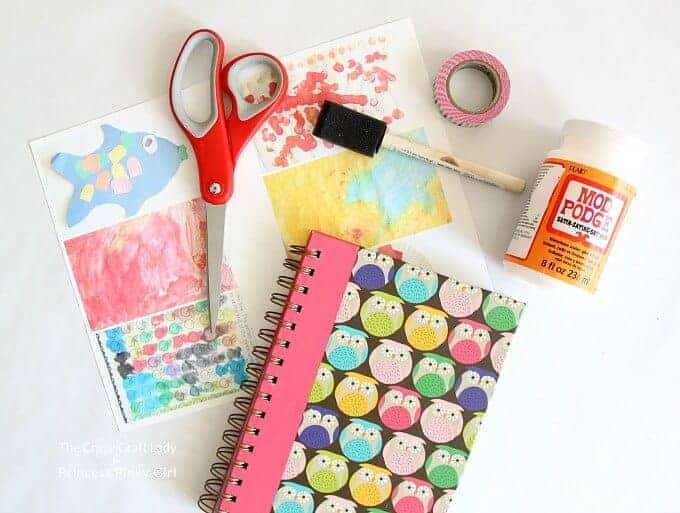
Here’s your Supply List for this DIY Kids Artwork Notebook Cover:
- Kids Artwork (don’t worry, you’re just taking pictures of their creations!)
- Small spiral notebook
- Scissors
- Mod Podge or craft glue
- Paint brush
- Washi or other decorative tape
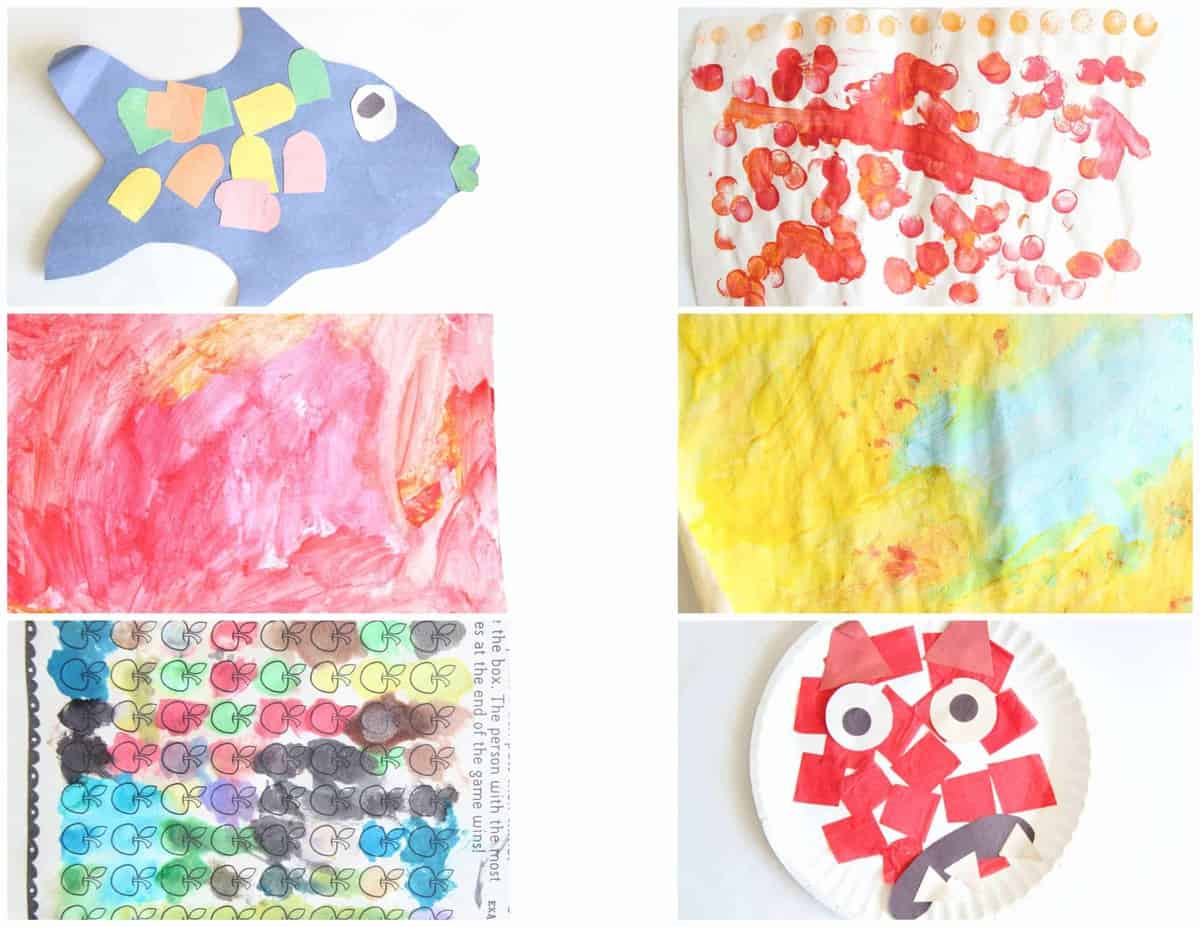
How to take pictures of your kid’s artwork:
Here are a few tips to help you get your kids artwork photographed and printed.
- Place your artwork on a white surface.
- Up the exposure compensation on your camera (that little -2 to +2 dial) if you can – I went all the way to the right (+2) – if you don’t have this feature on your camera, edit to up the brightness and highlights.
- Upload your photos to a photo editing service like PicMonkey (it’s a free online editing software which I adore), and make a collage of your images.
- Print your photo collage on white cardstock for best results in this DIY project.
Directions for DIY Kids Artwork Notebook Cover:
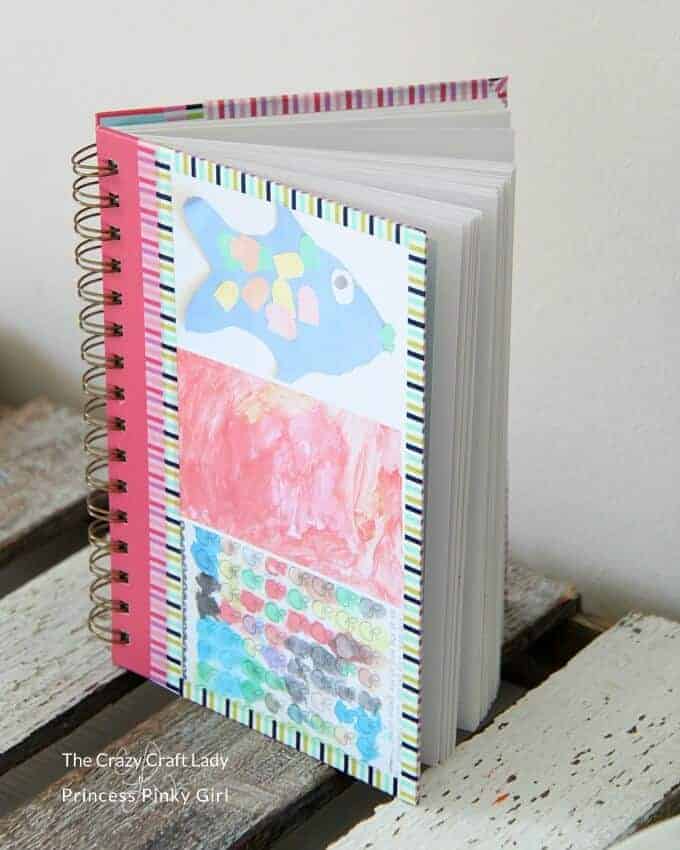
Print your kids artwork collage on white cardstock. Trim the cardstock to size.
Apply a thin layer of Mod Podge to the front of your notebook.
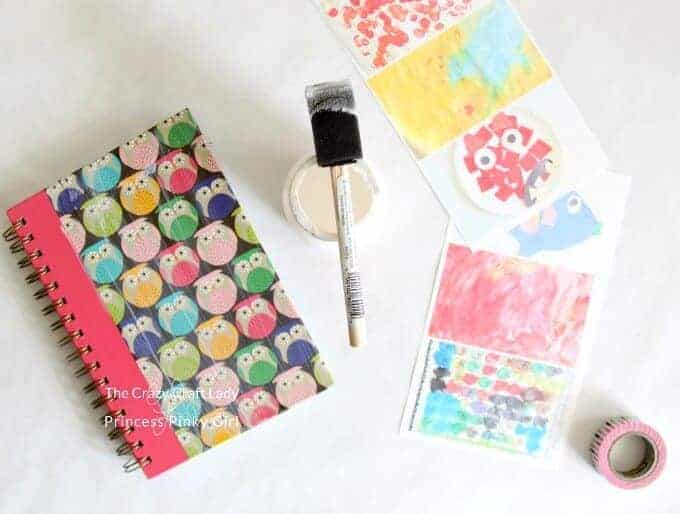
Place the photo collage on top of the Mod Podge layer, and smooth with your hands. Then secure the edges of the paper with decorative tape.
TIP: This project will be way easier if you select a notebook that has a solid cover, or at least a cover that you are OK with having show a little bit.
See, my photo collage is actually about an inch narrower than the front of the notebook. This way, I didn’t have to worry about trimming the paper or working around the notebook spirals. Way easier!!
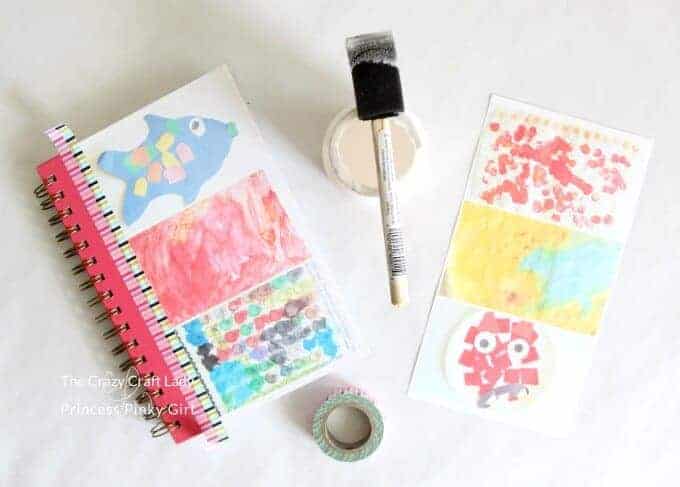
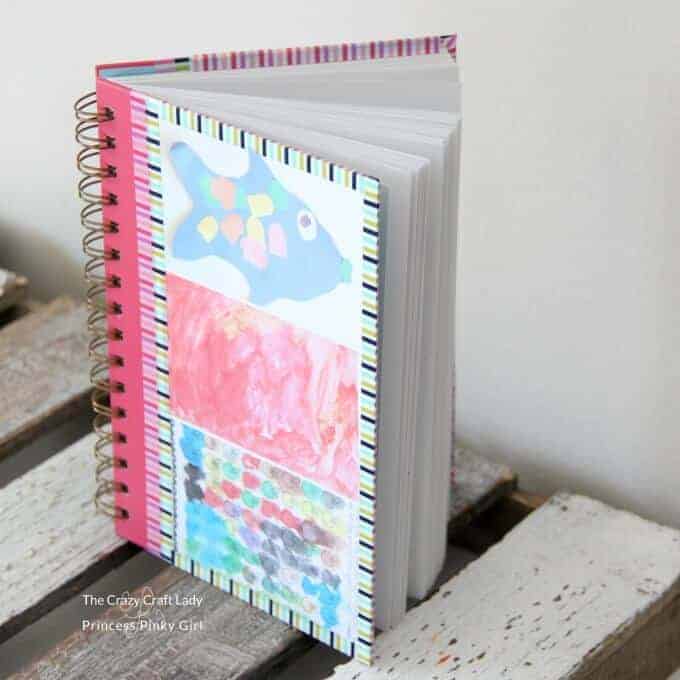
Repeat the process on the back of the notebook. Let the Mod Podge dry before using the notebook.
I love having a sentimental cover on a notebook that I see and use every day for to-do lists and other notes. Plus, the twins think it’s pretty cool to see their artwork be put to use!
If you are looking for other crafty and creative kids activities, you may enjoy these posts:
Download and print these customizable play credit cards for pretend play.

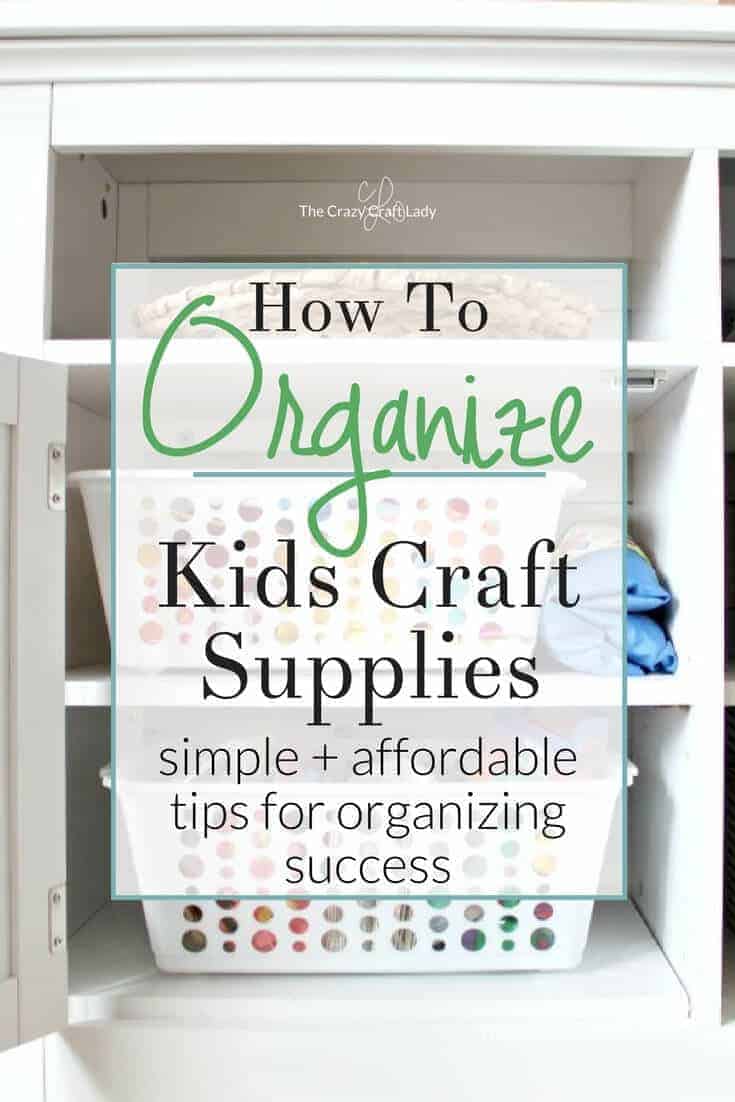
Keep all of their craft supplies organized with these Kids Craft Supply Organizing Tips for Real Life.