

This post may contain affiliate links. Please read our disclosure policy.
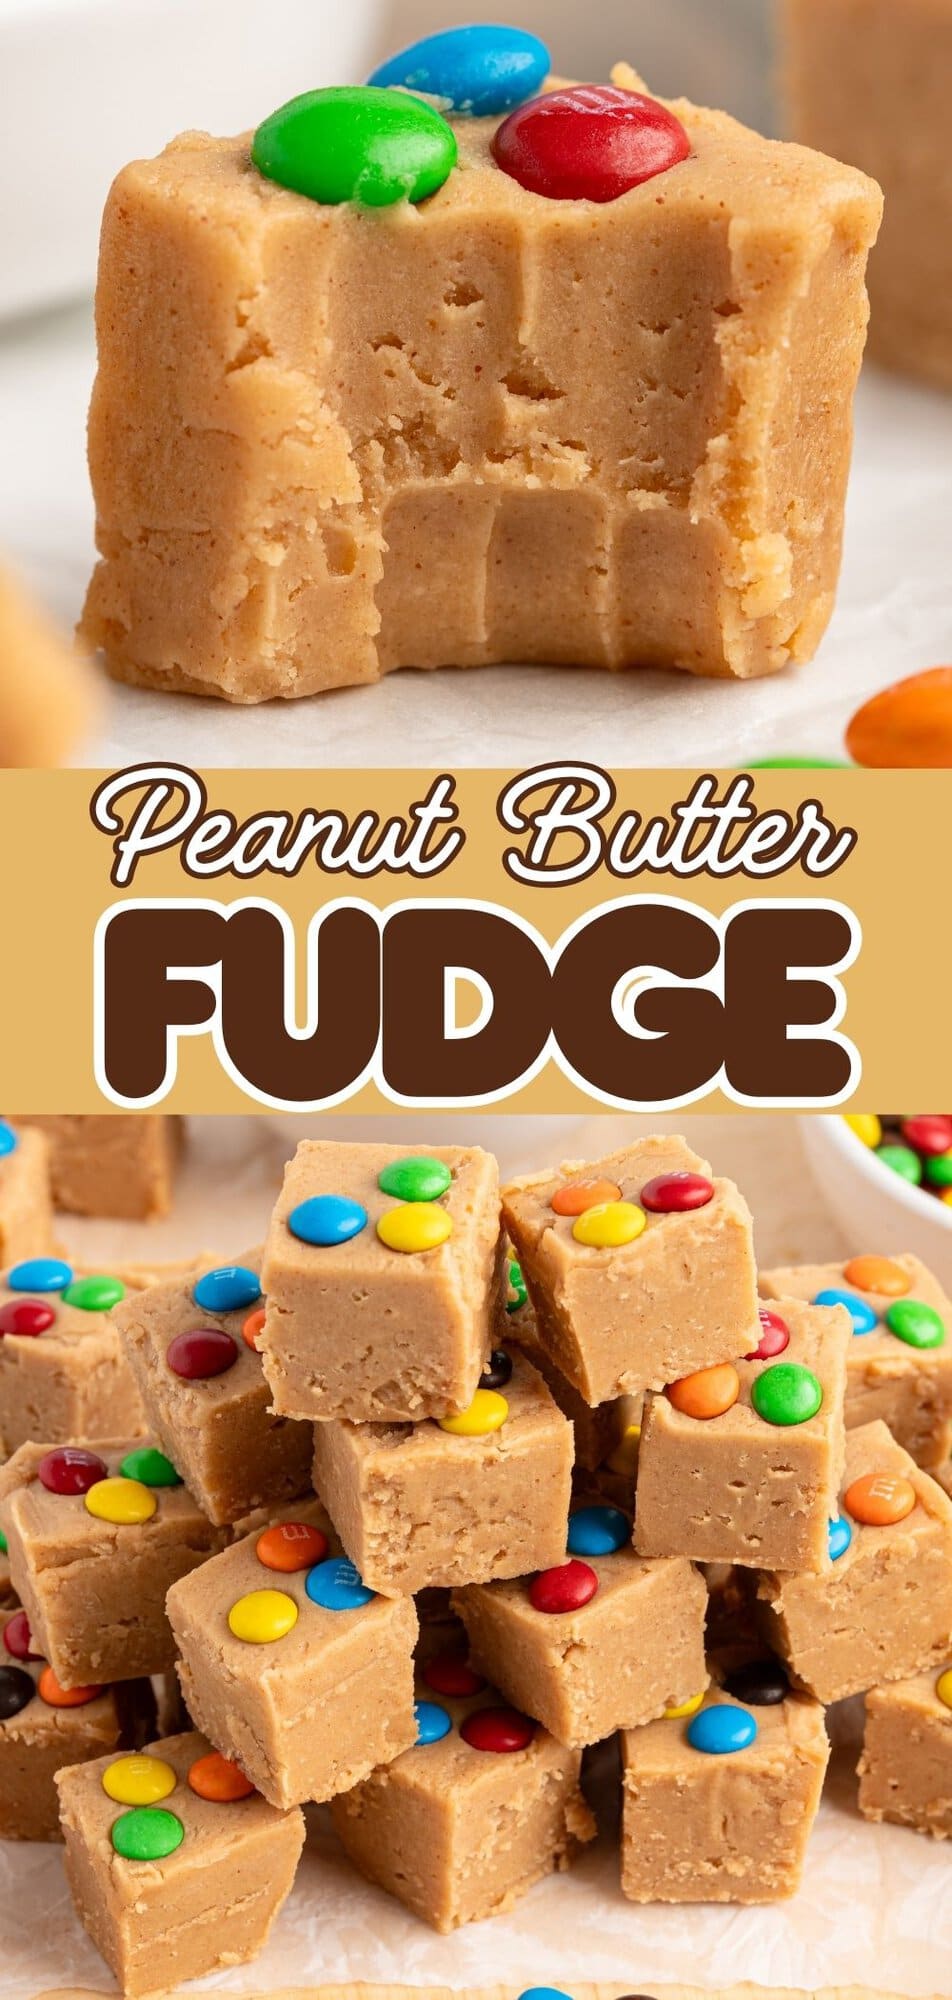
I make this easy peanut butter fudge when I want something rich and sweet without much work. It is soft and creamy, with a deep peanut butter bite in every square. One small piece is plenty, and it melts in your mouth.
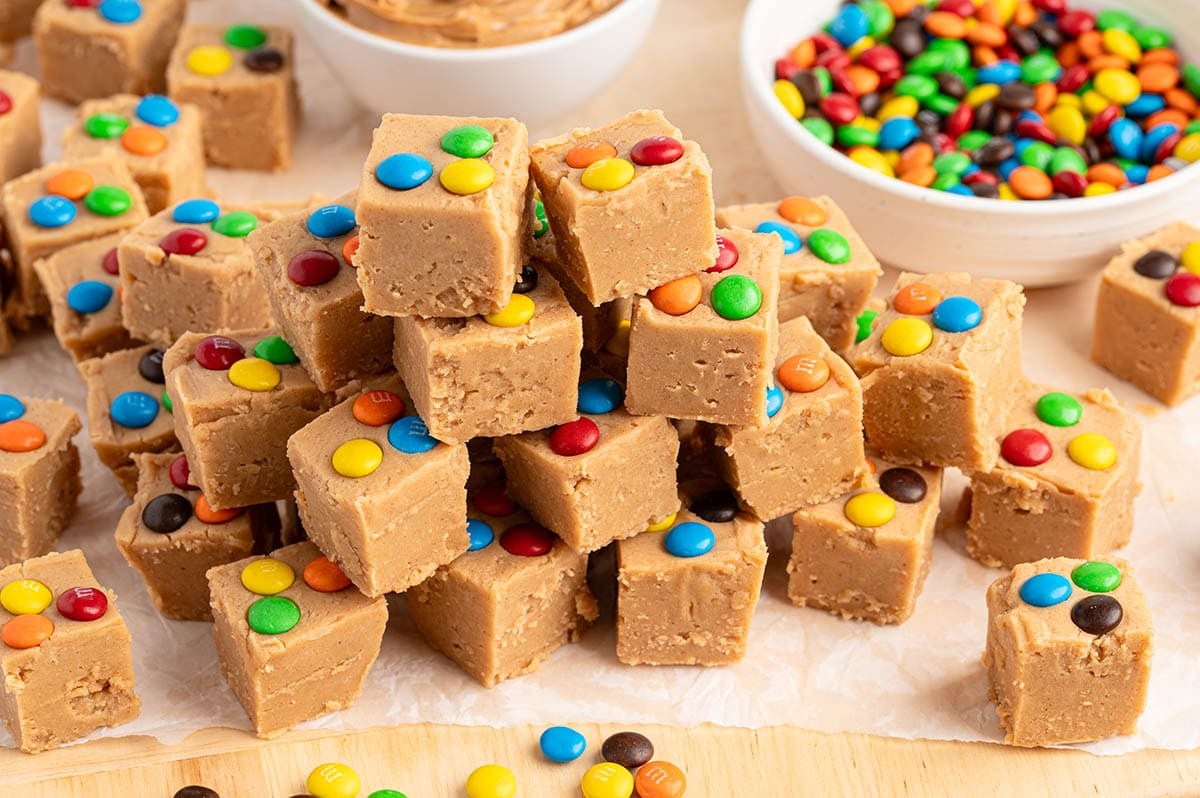
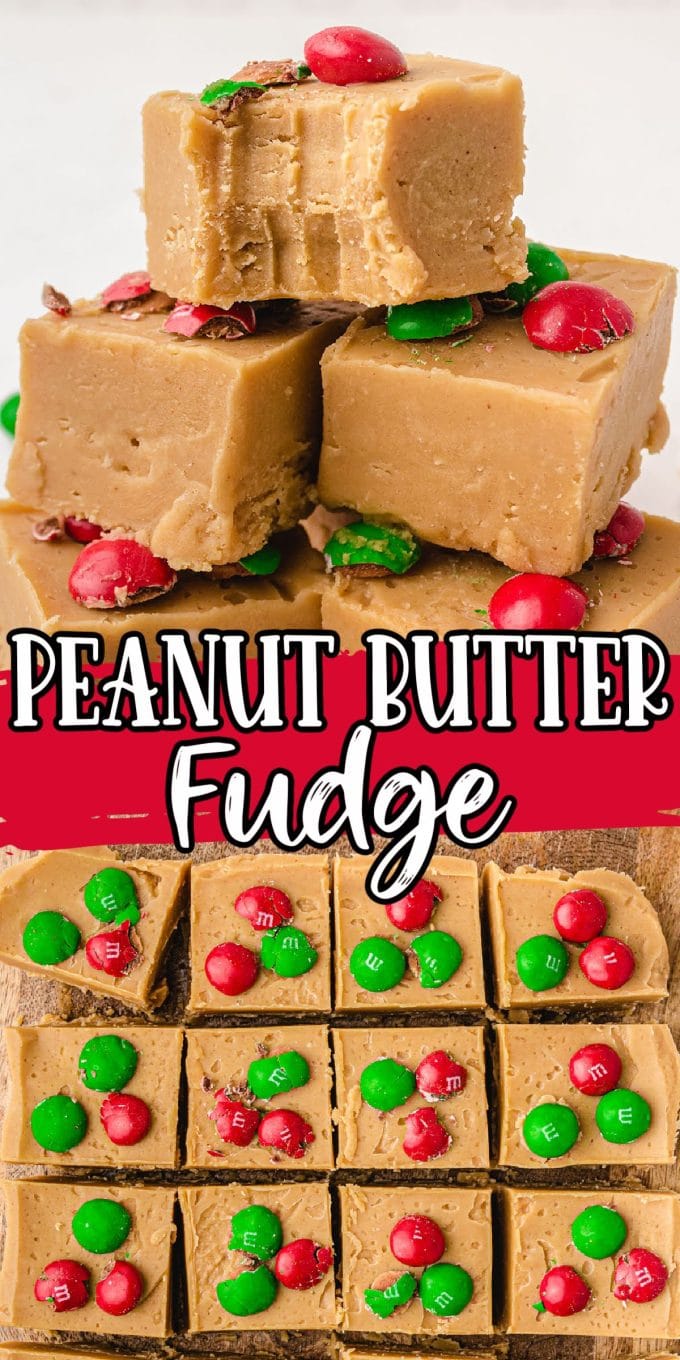
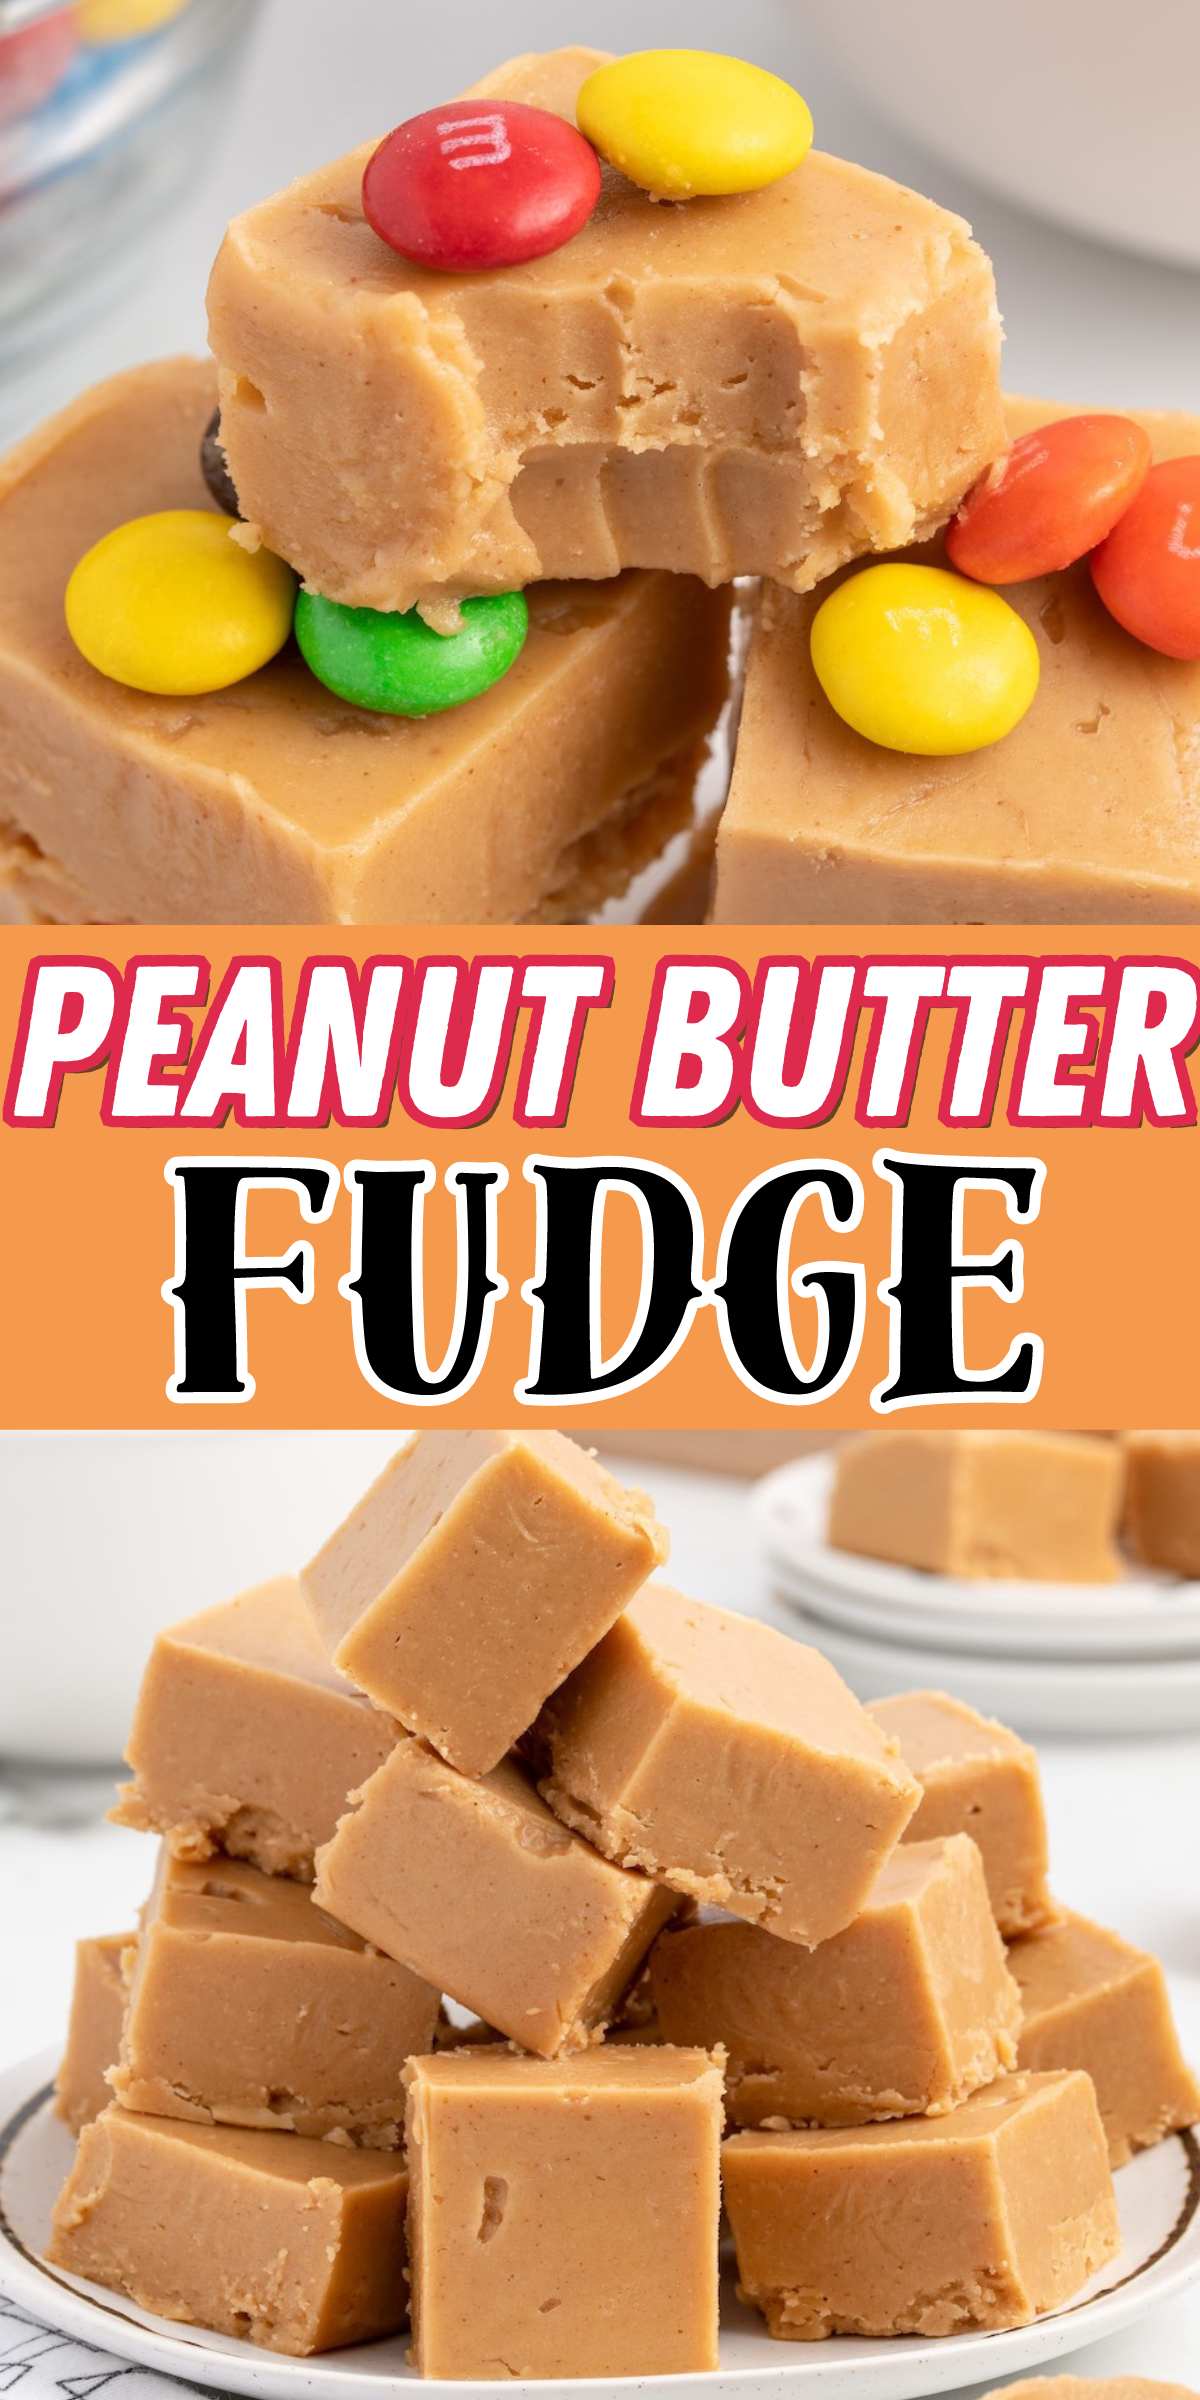
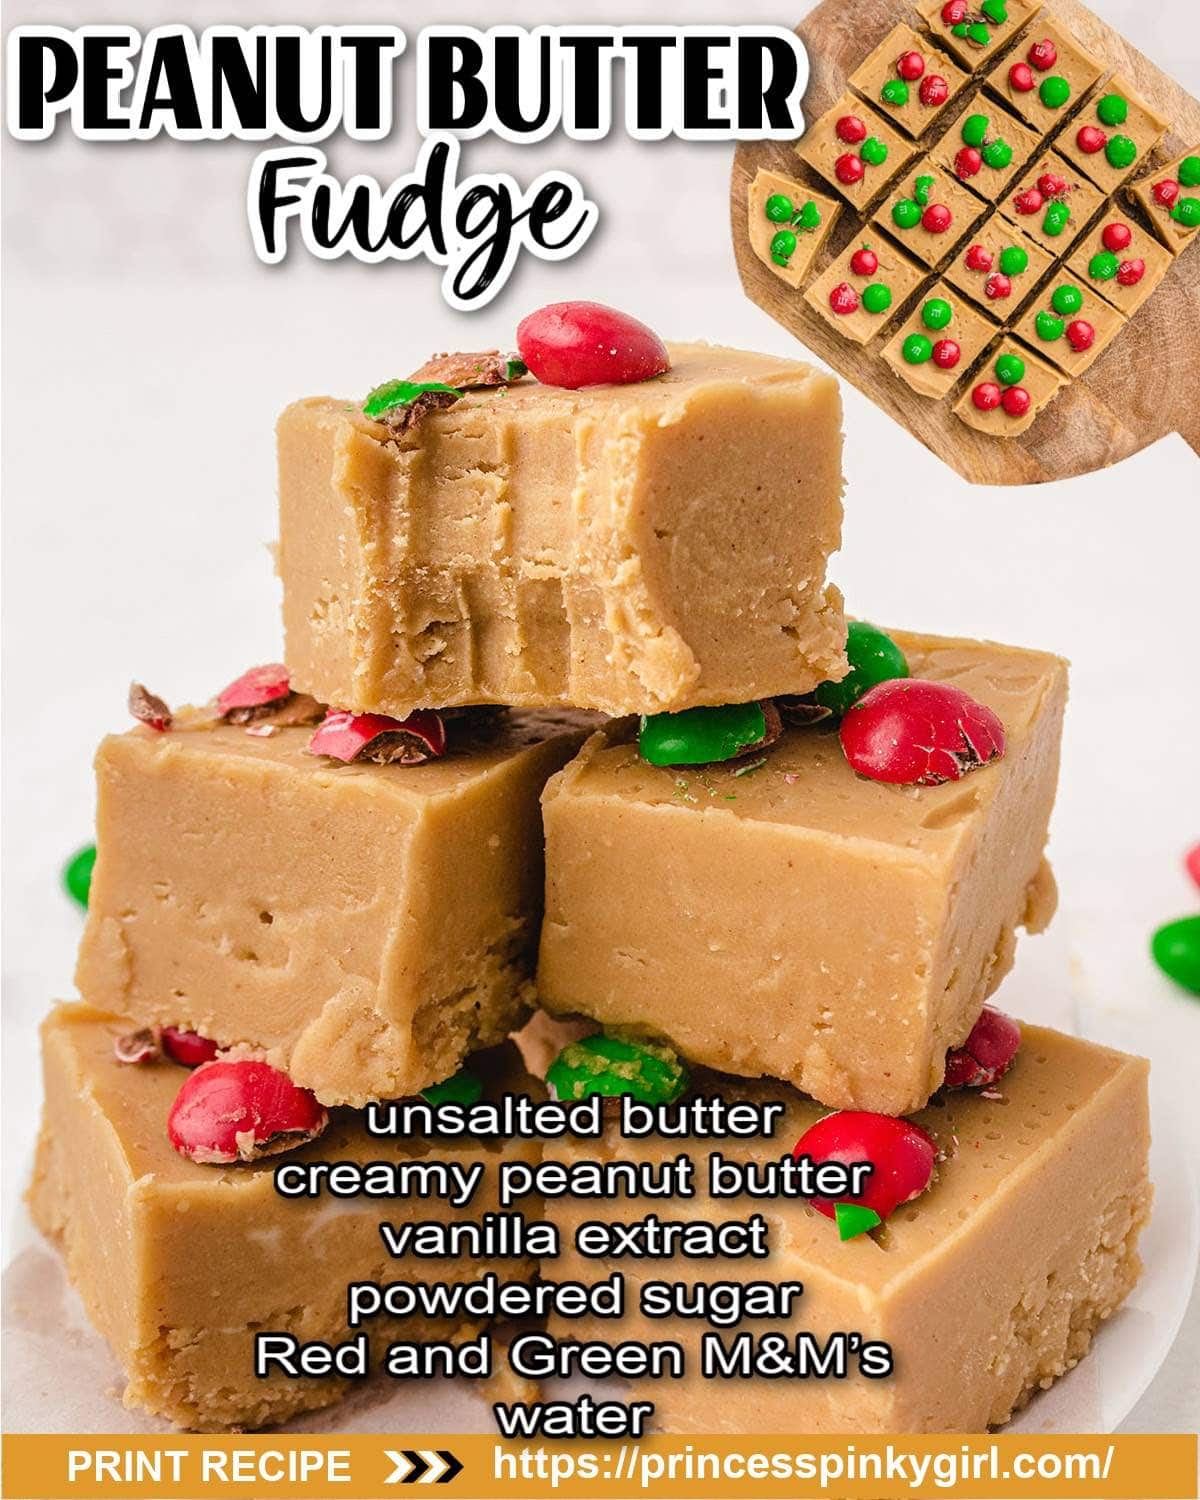
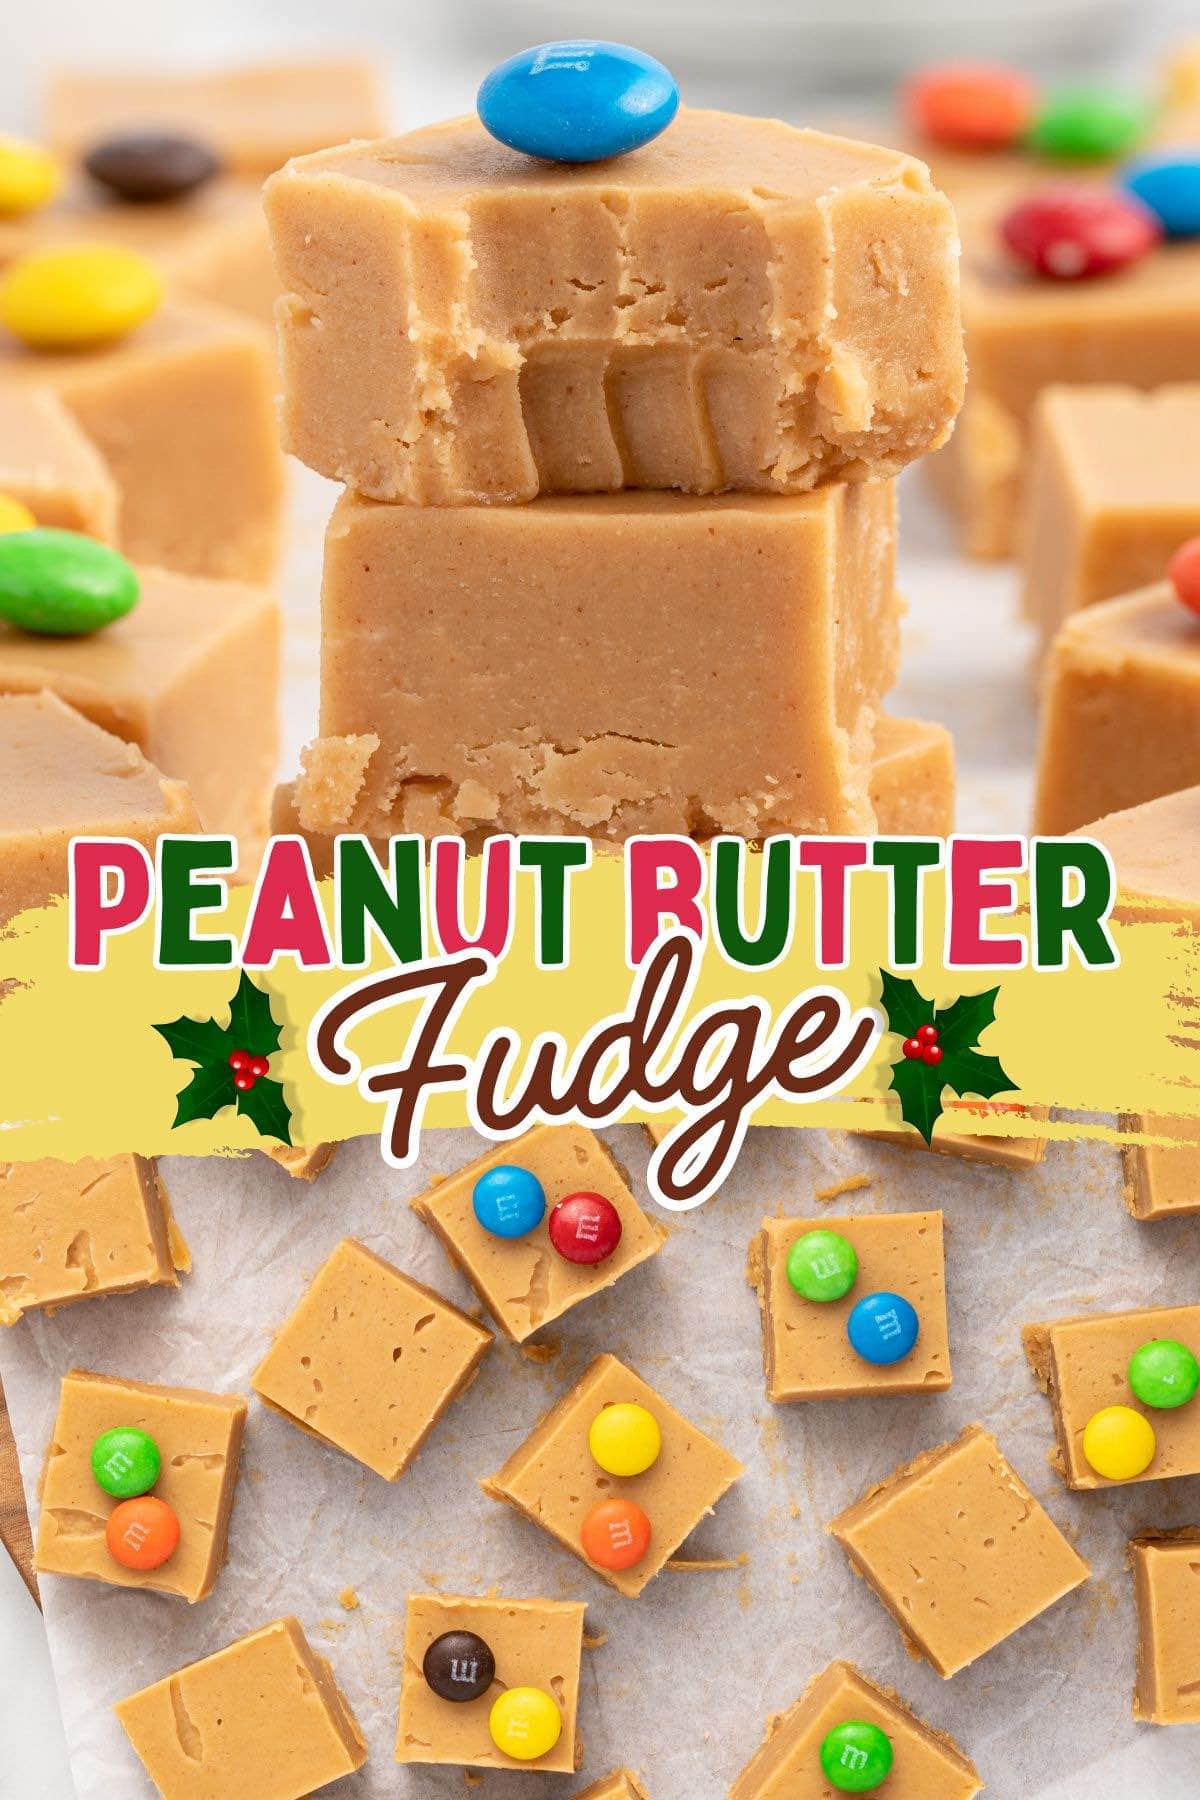
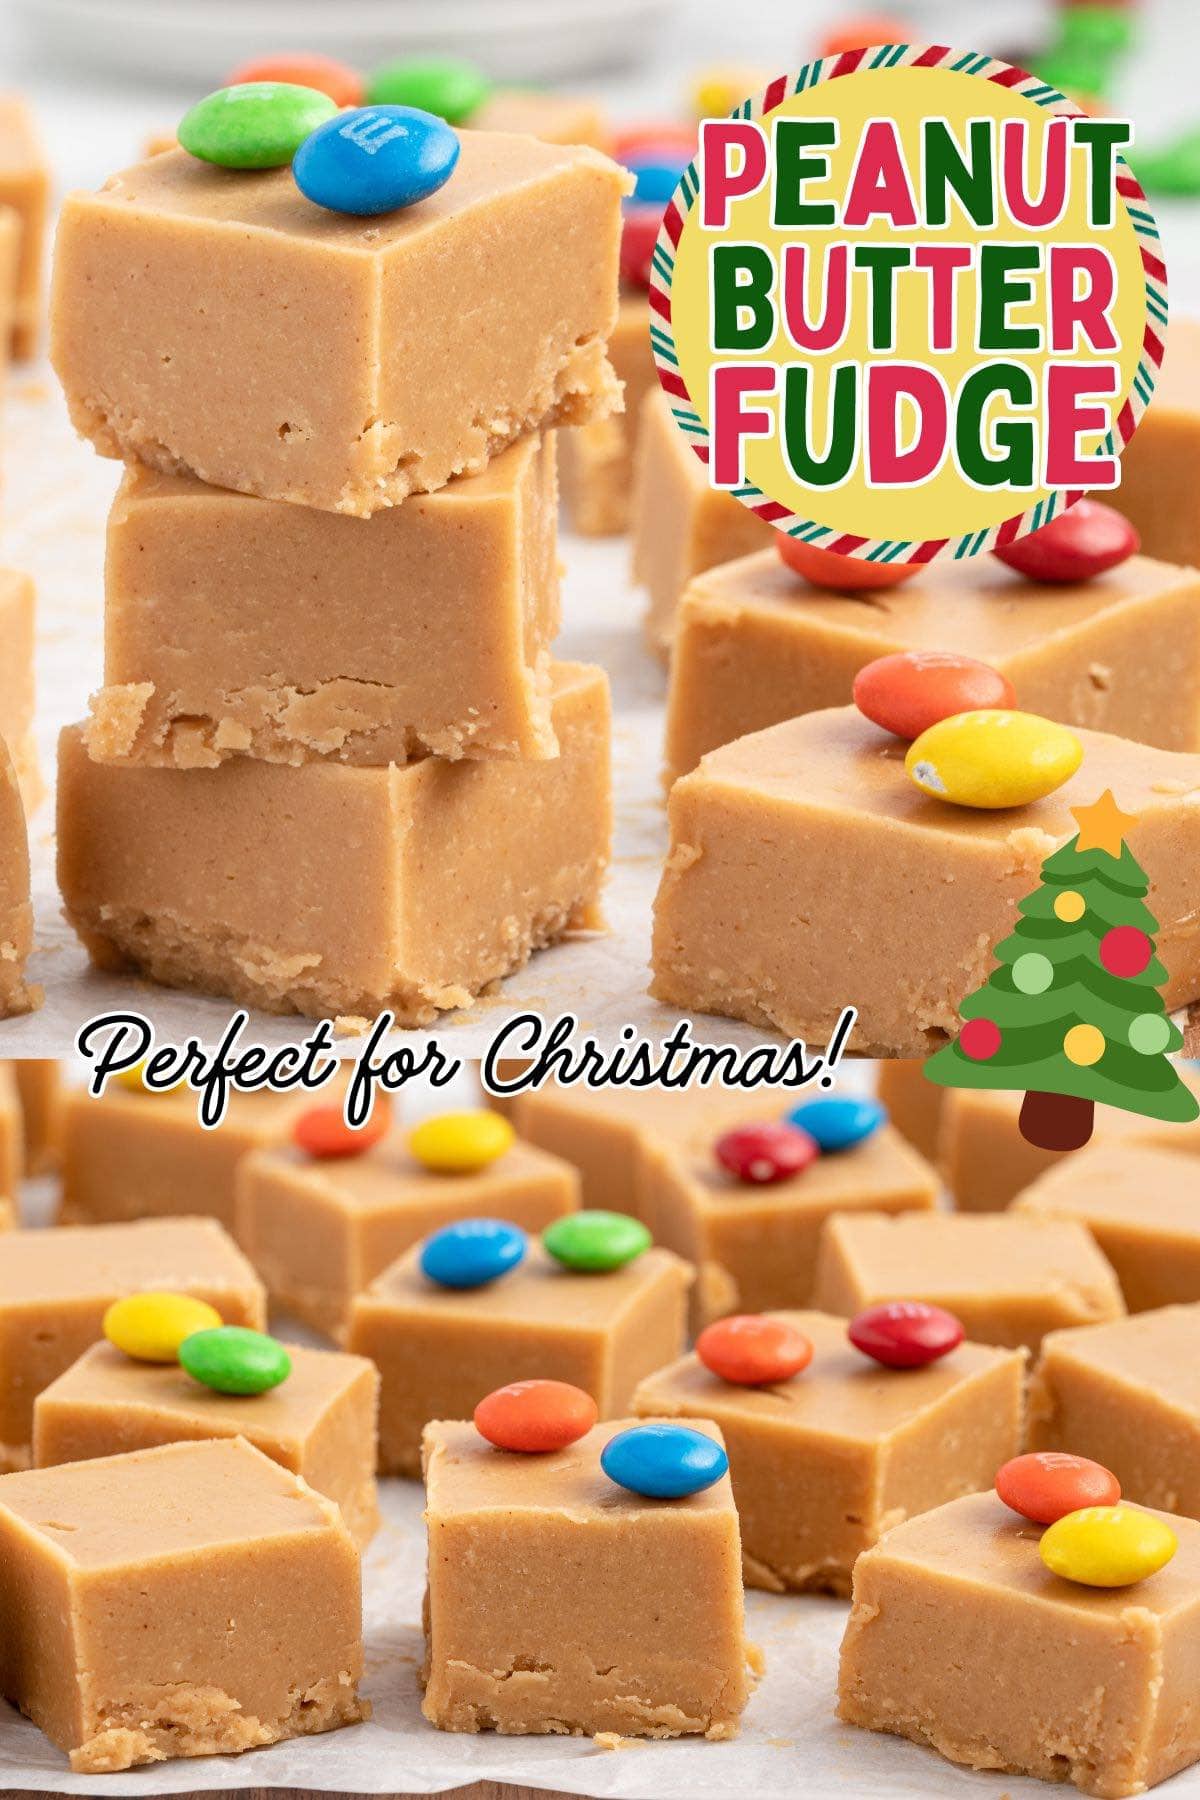
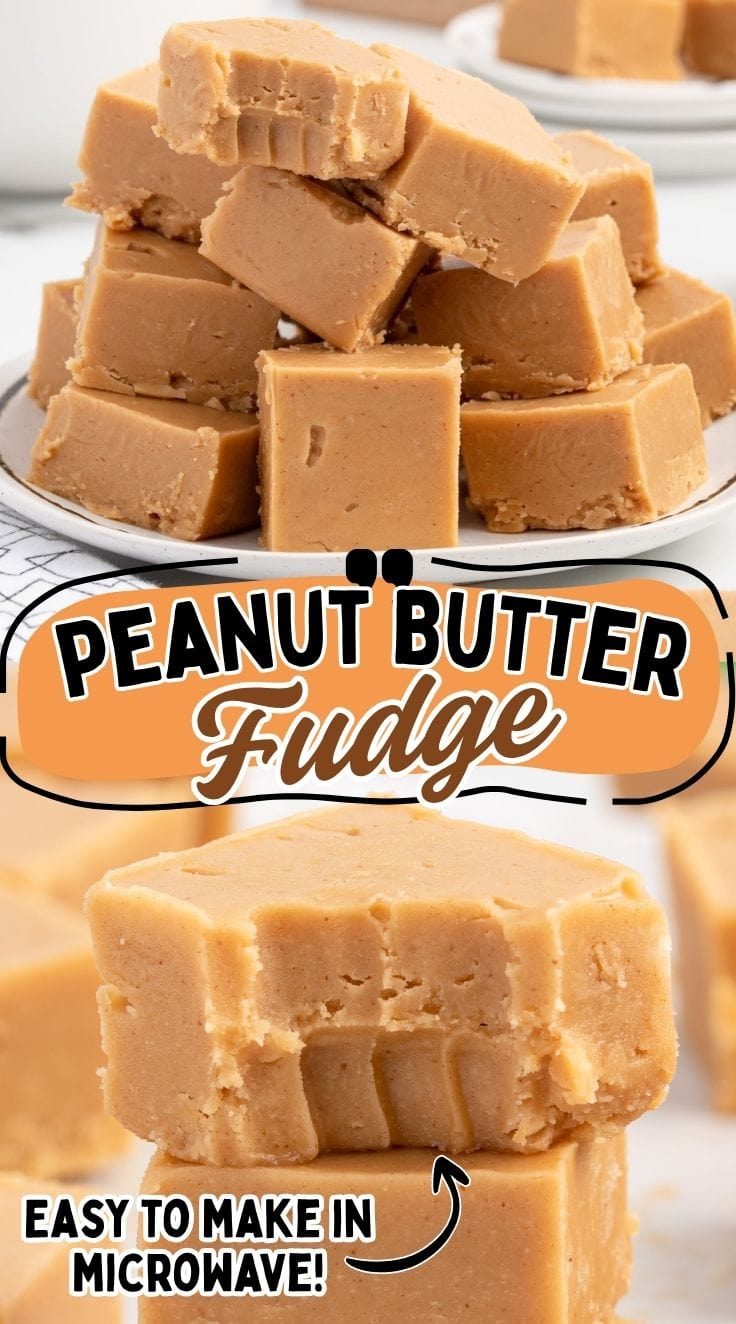
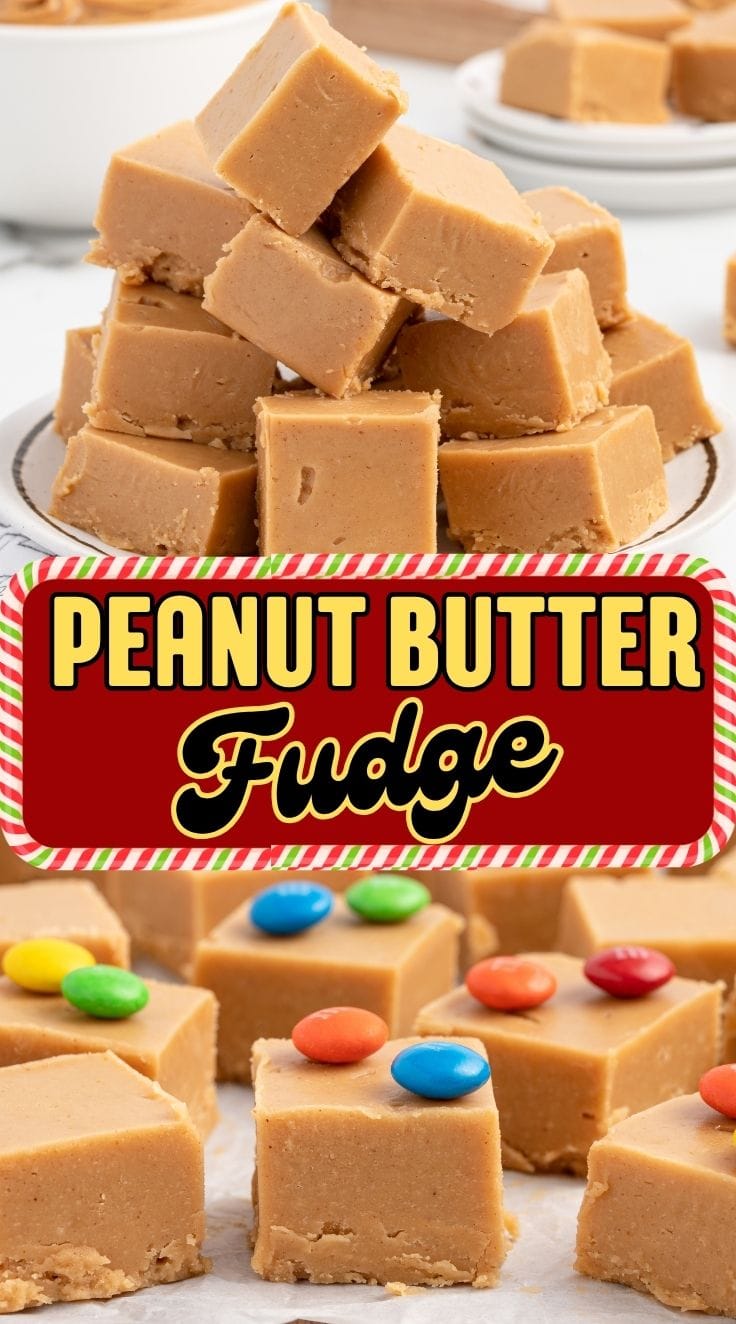
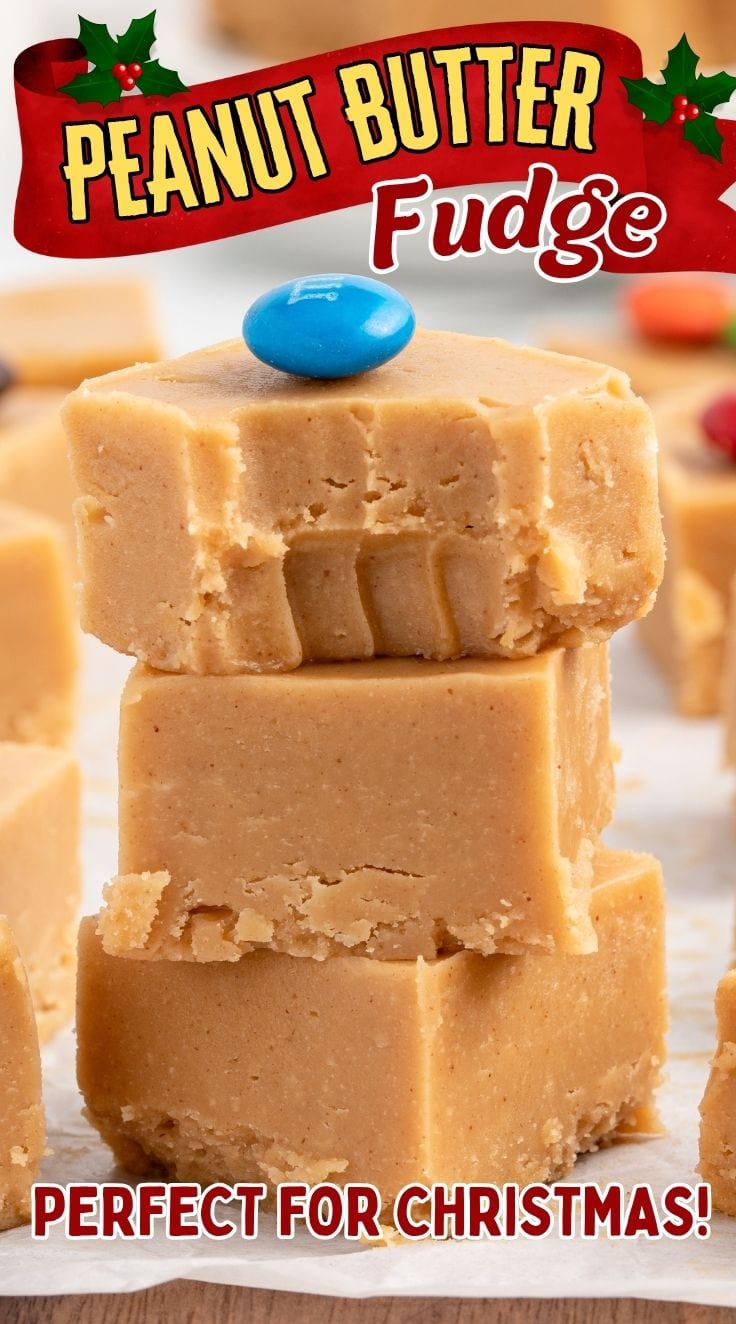
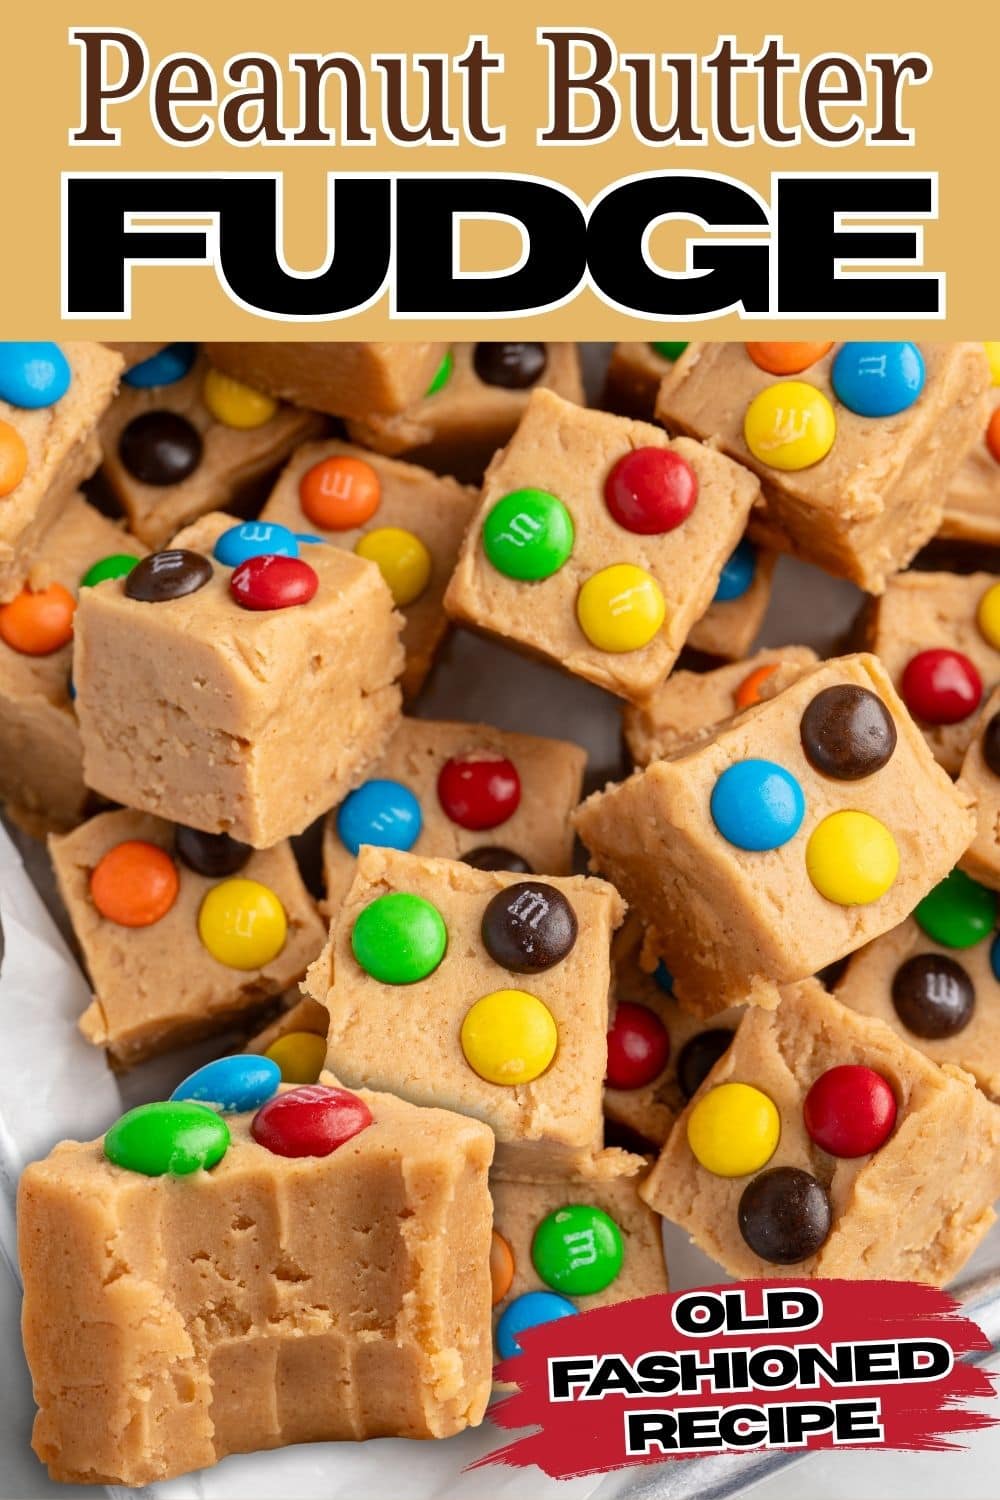
I make this every holiday season because it is one of those treats everyone expects to see on the dessert table, but it is too good to save for December. I package a few squares in tins for neighbors, set it out at summer parties, and it is always one of the first things to disappear. Both the kids and the adults reach for it, which is exactly why I keep the recipe on repeat.
This is the fudge I reach for when I need a dessert in a hurry. It melts together in the microwave, so there is no stovetop and no candy thermometer, and the peanut butter flavor stays out front instead of getting buried under powdered sugar. If you love quick no-bake treats like this, my No Bake Peanut Butter Balls and No Bake Peanut Butter Pie are two more that come together fast and disappear even faster.

READER FAVORITE
Why I Went Back and Retested This Fudge From the Top
I remade this fudge twice to get it right, and two small things made all the difference. A light spray of cooking spray under the parchment holds the paper still while you spread, and giving the butter the full 90 seconds to melt is what keeps the fudge smooth instead of grainy. I also learned to add the powdered sugar slowly, so there are no dry pockets hiding in the finished squares.

Here’s Where Most Go Wrong
- The powdered sugar goes in slowly, one cup at a time, and you keep stirring until each addition is fully mixed before you add more.
- The mixture gets very thick and stiff near the end, and that is exactly when it is tempting to stop stirring early. Do not. Any little pockets of powdered sugar you leave behind will show up as dry, crumbly spots once the fudge sets. Slow and fully mixed is what gives you that smooth, creamy bite all the way through.
- Sift the powdered sugar before it goes in too. Sifting breaks up the lumps so they actually blend into the warm peanut butter instead of staying as gritty bits.
What You’ll Need
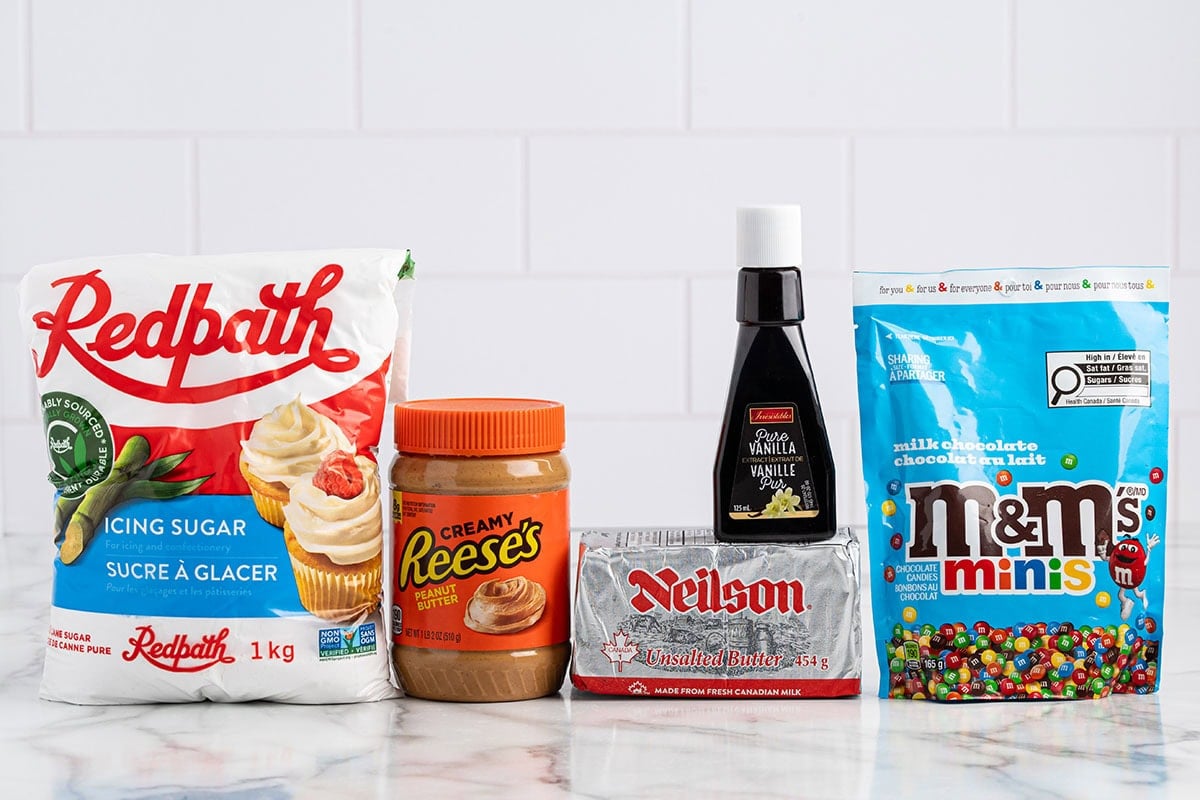
- Creamy peanut butter: This is the one ingredient that makes or breaks the fudge. Use regular creamy peanut butter and do not reach for the natural or no-stir kind. Those have a different oil content and texture, and they will change how the fudge sets and feels.
- Unsalted butter: Unsalted lets you control the flavor so the fudge does not turn out salty. It melts down with the peanut butter to create the smooth, creamy base everything else builds on.
- Powdered sugar: Powdered sugar sweetens the fudge and firms it up as it chills, no cooking required. Sift it first so it blends in clean, and add it slowly so the texture stays smooth instead of gritty.
- Vanilla extract: A full two teaspoons rounds everything out and brings the peanut butter flavor forward. It is a small amount of liquid that makes the fudge taste finished rather than flat.
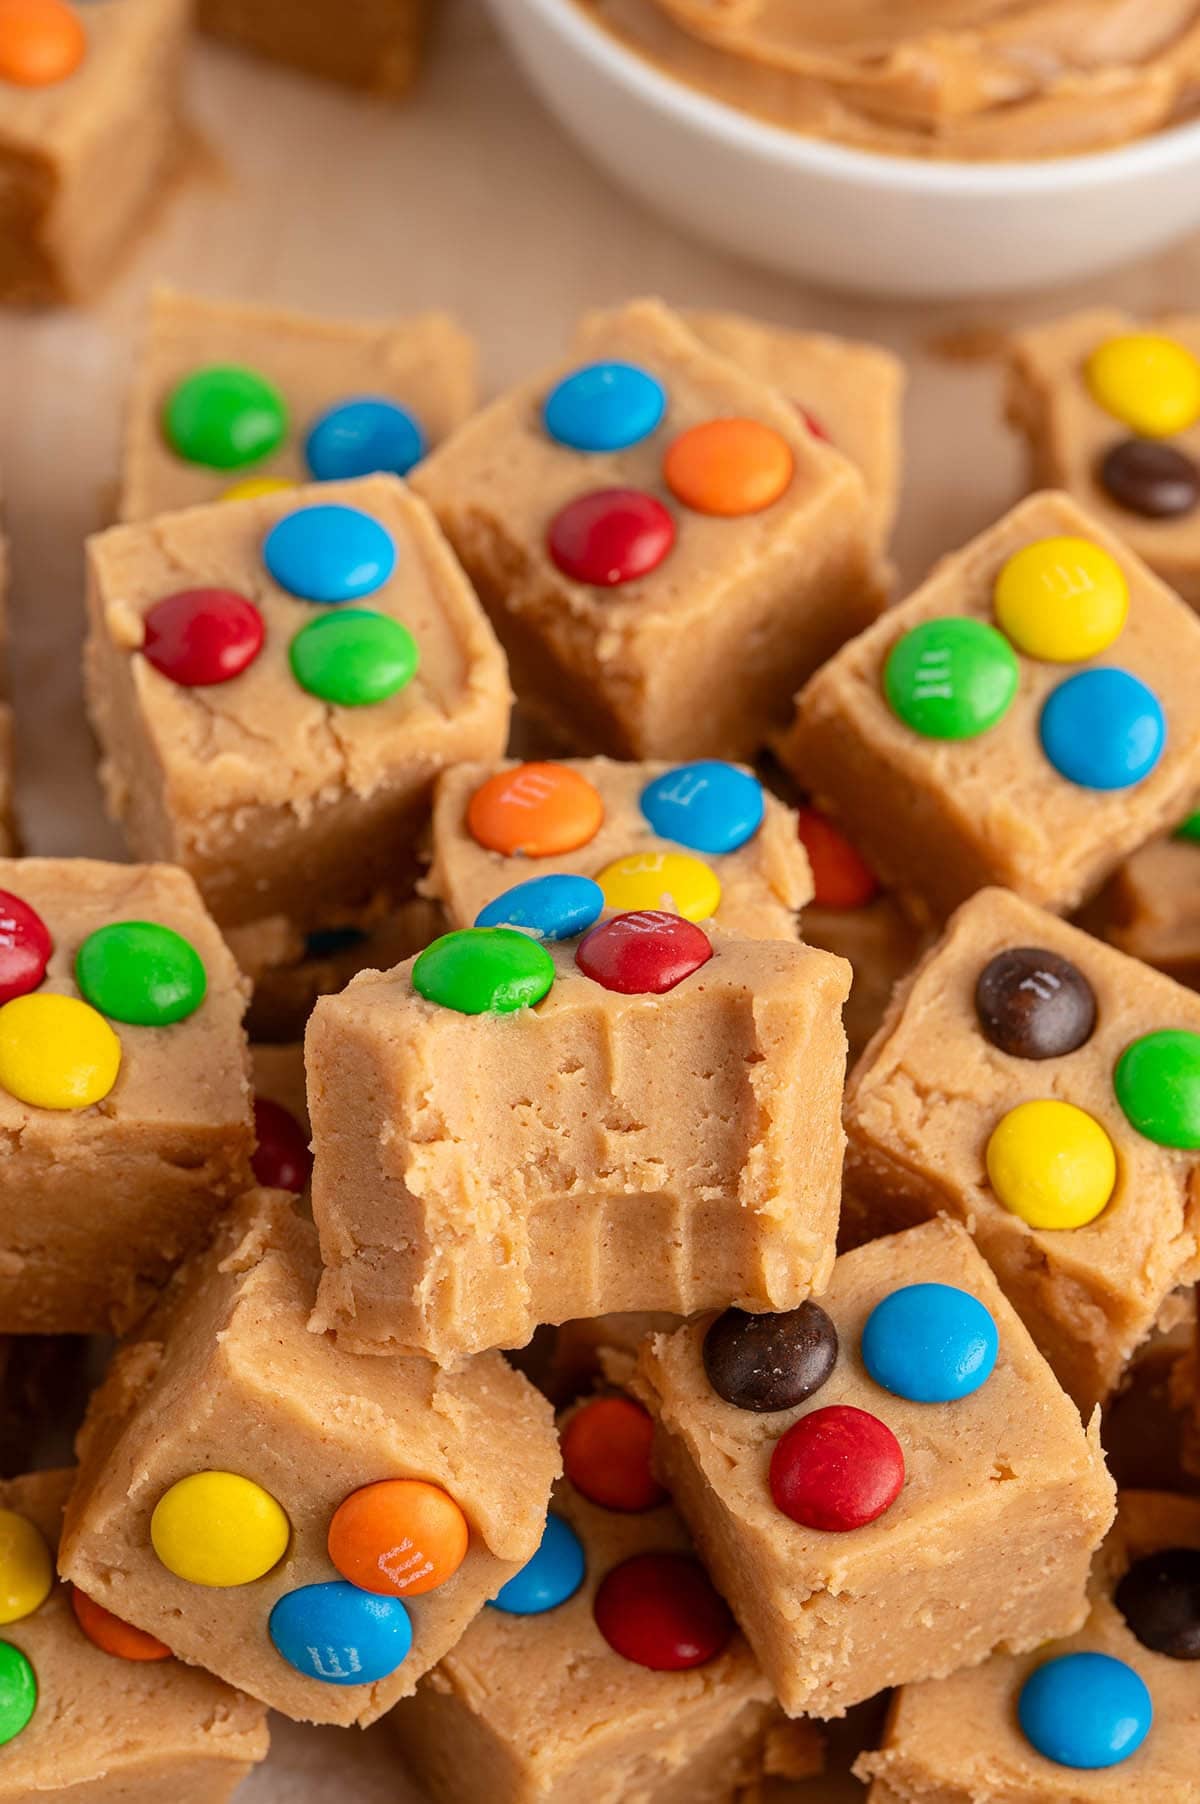
How to Make Peanut Butter Fudge in the Microwave
Step 1: Prep the pan. Cut one piece of parchment to fit the bottom of an 8×8 dish and a second piece long enough to hang over the sides. Spray the pan, press the overhanging piece in place, and set the smaller piece aside for later.
Step 2: Melt the butter and peanut butter. Heat 1 cup unsalted butter and 1½ cups creamy peanut butter in a microwave-safe bowl for 60 to 90 seconds, until the butter is completely melted. Microwaves vary, so start checking at 60 seconds and go the full 90 if you need it.
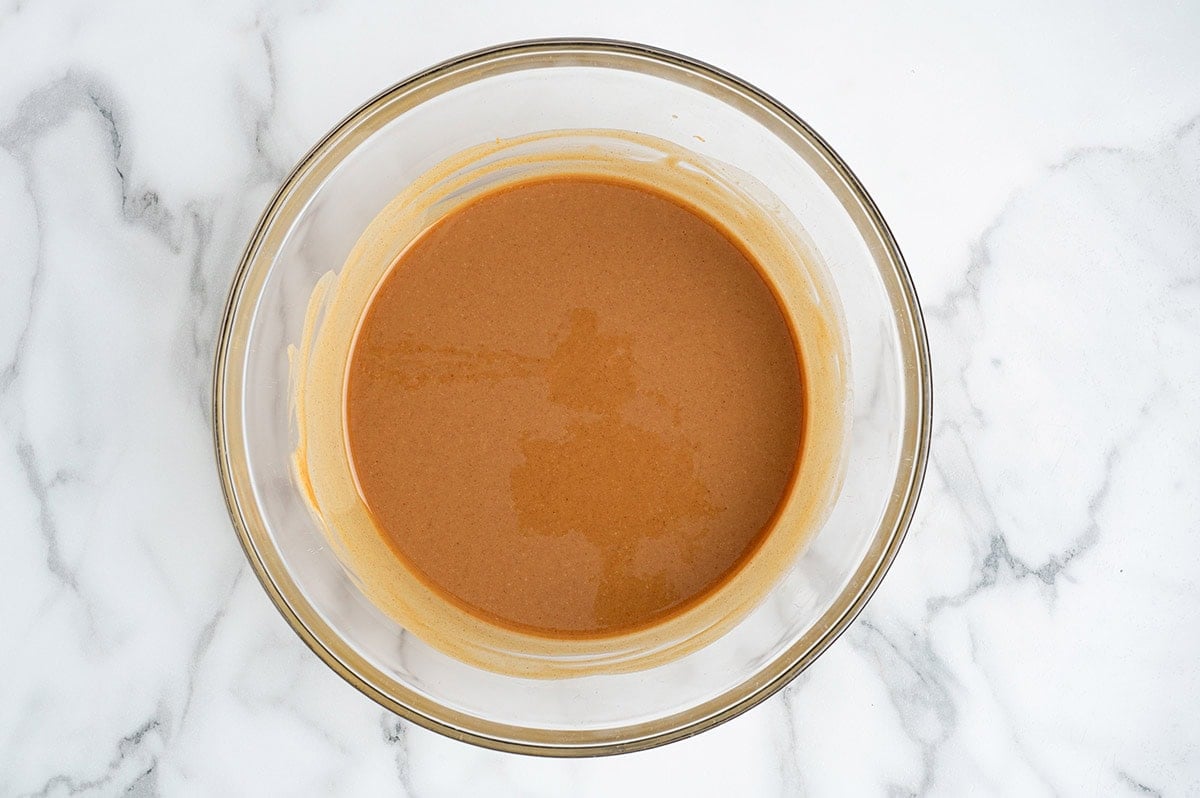
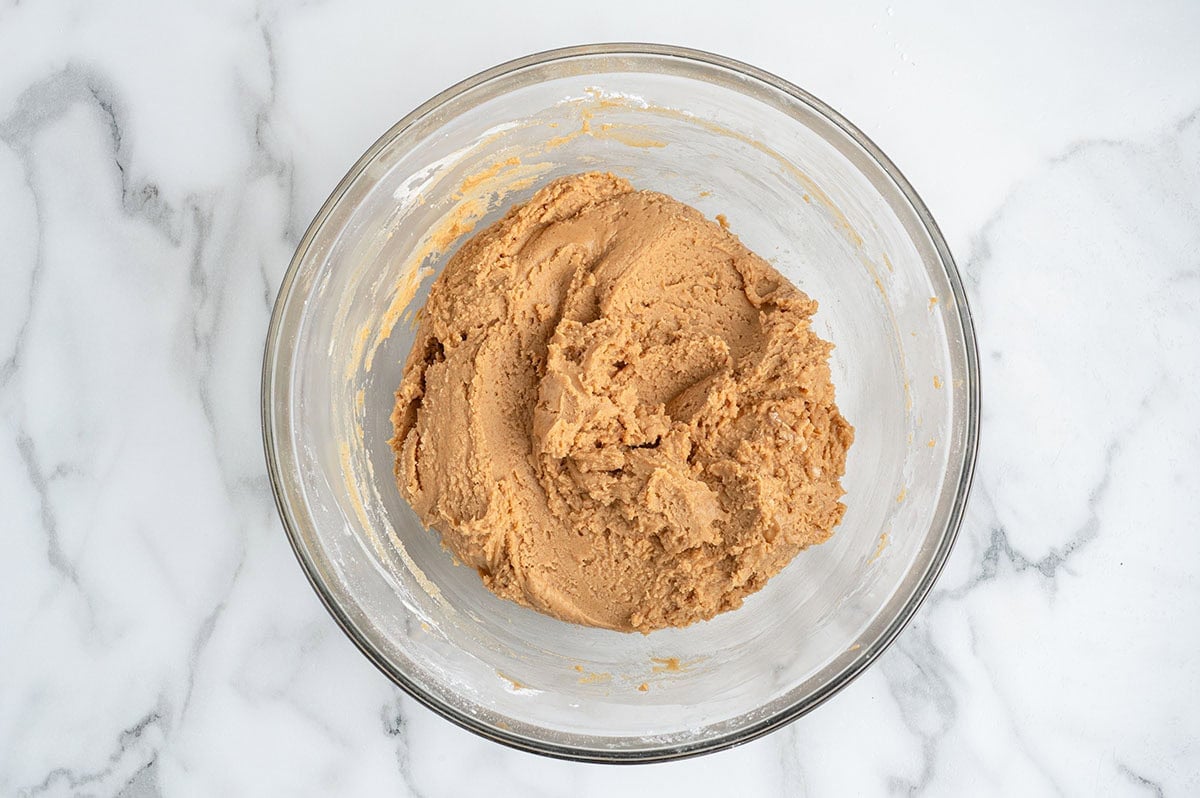
Step 3: Stir in the vanilla and powdered sugar. Stir in 2 teaspoons vanilla, then add 3¼ cups sifted powdered sugar one cup at a time, stirring well between each addition. Keep going until there are no white streaks or lumps, even once it gets stiff.
Step 4: Spread and chill. Pour the fudge into the pan, spread it to the edges with a spatula, then lay the reserved parchment on top and press it smooth. Leave that piece in place and chill for a full 2 hours.
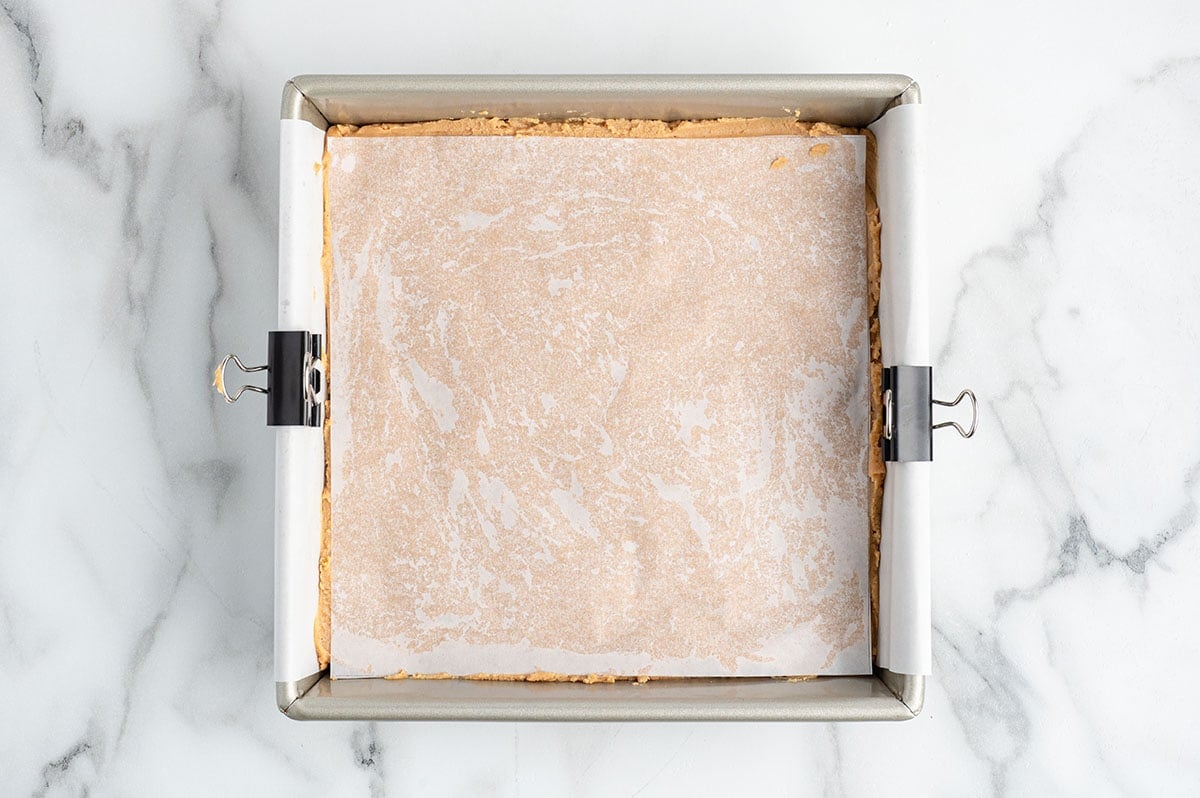
Step 5: Score and lift out. Peel off the top parchment and lightly score your pieces, 4 by 4 for larger squares or 6 by 6 for smaller ones, without cutting through. Use the overhang to lift the slab onto a cutting board.
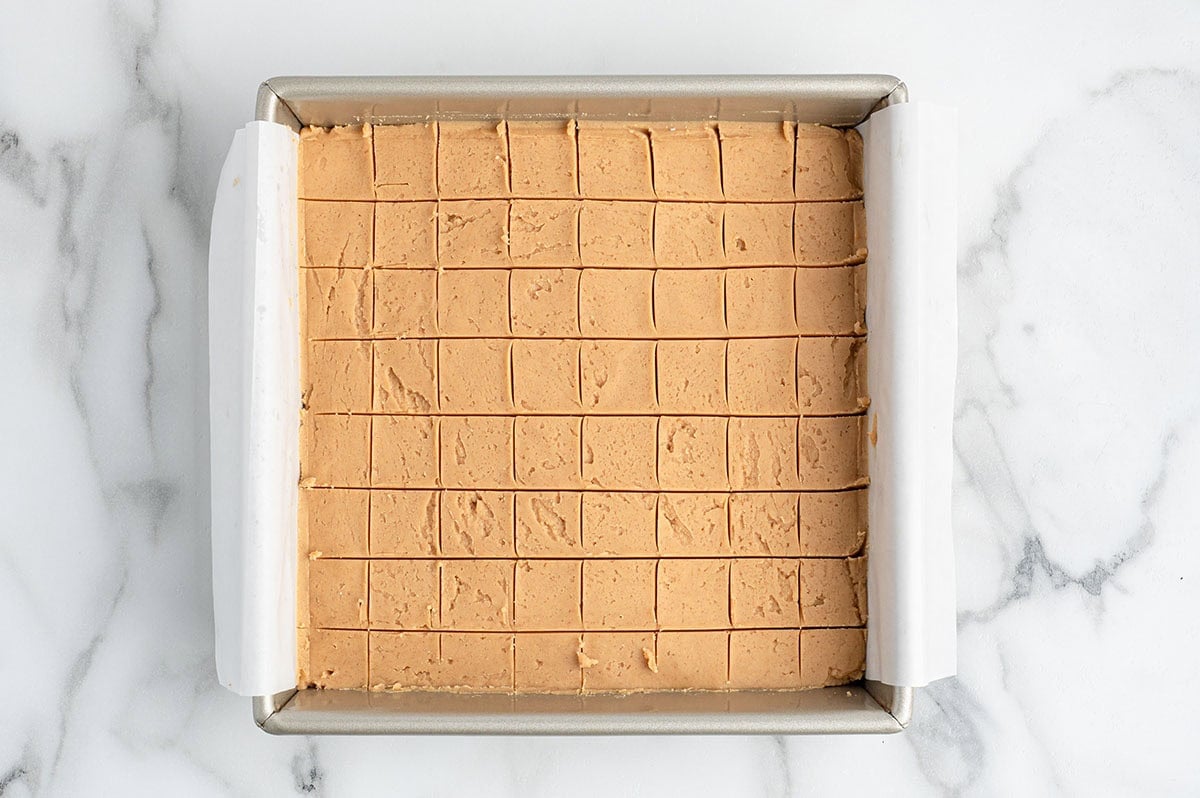
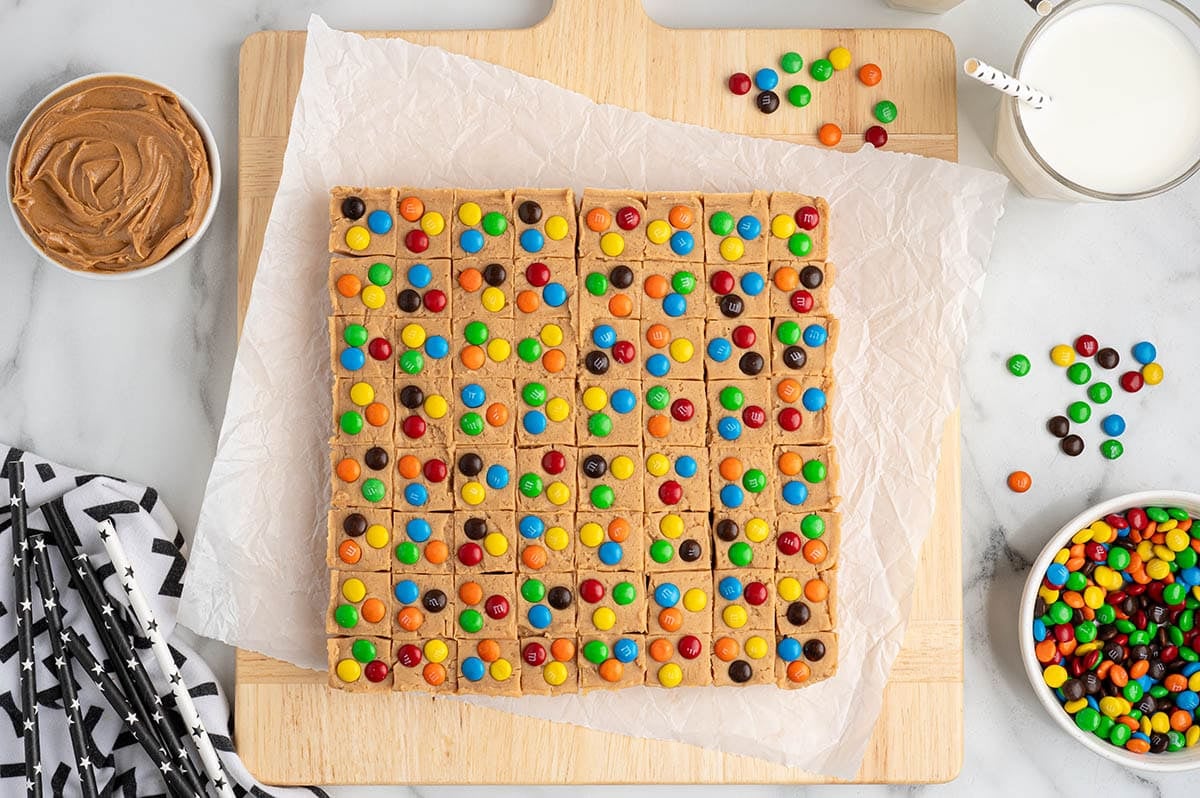
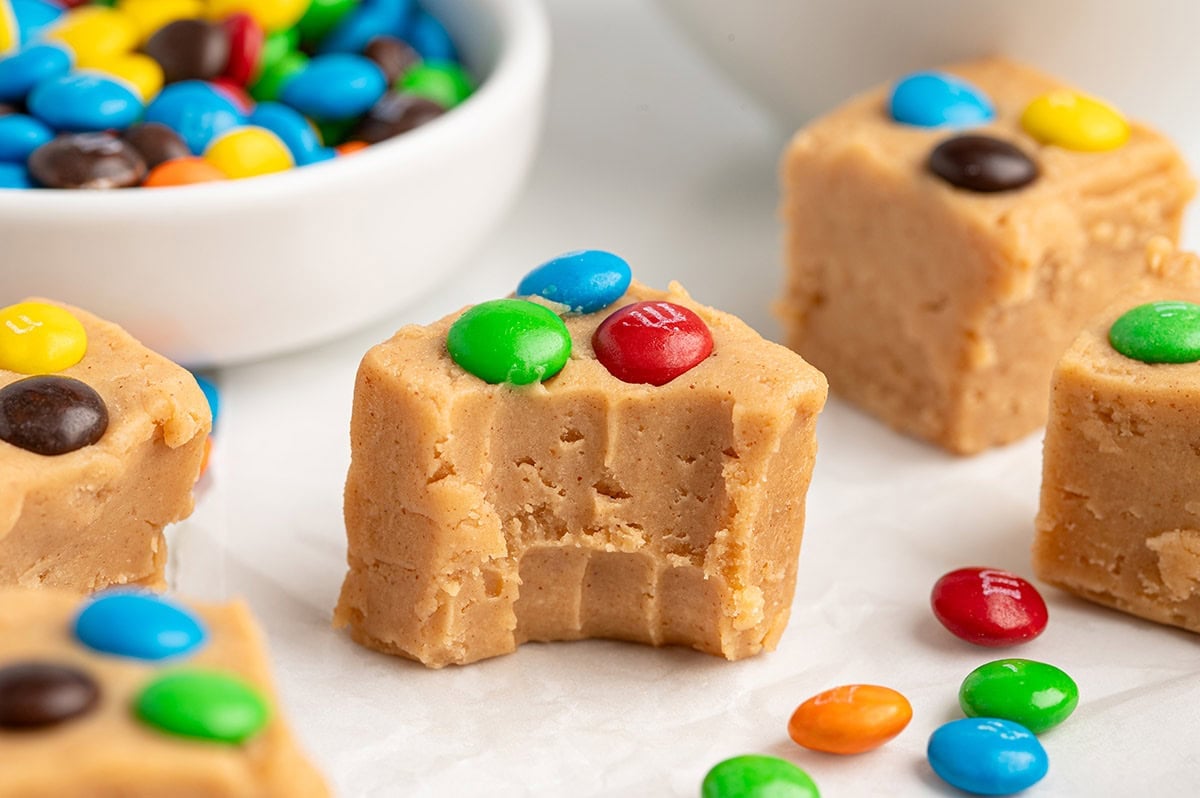
Step 6: Slice and decorate. Warm a sharp knife under hot water, dry the blade, and cut along your score marks. Gently press 2 to 3 M&Ms onto each piece if you want them, using a light touch so the fudge does not crack.
How to Store It
Keep the fudge in an airtight container. At room temperature it holds for 3 to 4 days, which is how I store it when I am setting it out for a party over a couple of days.
- In the refrigerator it keeps for up to 1 week.
- To freeze it, wrap the pieces individually in plastic wrap, tuck them into a freezer-safe container or bag, and freeze for up to 3 months.
- Thaw in the refrigerator before serving.
It earns a spot on my no bake desserts table right next to the cookies and bars every time.
More No-Bake Dessert Recipes You May Enjoy
Peanut Butter Fudge
Ingredients
- 1 cup unsalted butter
- 1½ cups creamy peanut butter (NOT the natural or the natural no-stir varieties)
- 2 teaspoons vanilla extract
- 3¼ cups powdered sugar sifted
- Red and Green M&M’s (for garnishing the tops of each piece of fudge-optional)
Instructions
- Using the bottom of the 8×8 baking dish as a template, cut out a piece of parchment paper. This piece will be used to help smooth the peanut butter fudge and will stay in place and protect the top of the fudge while it is chilling in the refrigerator.
- Measure out enough parchment paper to hang over the sides of the pan. You will use the overhanging edges to lift the fudge out of the pan.
- Spray the bottom of the 8×8 baking pan with cooking spray before lining the pan with the parchment paper. This keeps the paper in place while you are spreading the fudge.
- Line the 8×8 prepared pan with the parchment paper.
- Add the unsalted butter and creamy peanut butter in a medium-sized microwave-safe bowl. Heat for 60-90 seconds until the butter is completely melted. Carefully remove the bowl from the microwave and stir.1 cup unsalted butter, 1½ cups creamy peanut butter
- Add the 2 teaspoons of vanilla extract and stir until the vanilla is incorporated.2 teaspoons vanilla extract
- Slowly add the sifted powdered sugar, 1 cup at a time, stirring with a large spoon in between adding the powdered sugar. The peanut butter mixture will become stiffer to stir; continue stirring until the powdered sugar is completely combined and no white streaks or lumps are visible.3¼ cups powdered sugar
- Pour the fudge mixture into the prepared 8×8 baking dish. Using a spatula to help evenly distribute the fudge in the pan.
- Place the pre-measured piece of parchment paper on top of the fudge. Use this to help smooth the top of the fudge. Leave this piece of parchment paper in place, and put the fudge in the refrigerator to chill for 2 hours.
- Remove the fudge from the refrigerator at the end of the 2 hours. Remove the top piece of parchment paper. Using a sharp kitchen knife, pre-score the size and number of the serving pieces of fudge (4 by 4 or 6 by 6), but do not cut the fudge until you remove it from the pan.
- Using the over-hang pieces of paper, lift out the fudge, and place it on a cutting board.
- Warm a large sharp knife under hot water. Dry the blade and, using the pre-measured score marks, slice the pieces of fudge.
- Once the pieces are cut, gently press 2-3 red and green M&M’s on the top of each piece of fudge for decoration. (Pressing too firmly can cause the fudge to crack).Red and Green M&M’s
- Store the fudge in an airtight container. If the fudge is stored at room temperature, it will keep for 3-4 days. In the refrigerator, it will keep for 1 week.
Jenn’s Notes
- Use regular creamy peanut butter, never natural or no-stir, or the fudge will not set the same way.
- Sift the powdered sugar and add it one cup at a time, stirring until there are no white streaks, so you do not get dry crumbly spots.
- Give the butter the full 90 seconds to melt and chill the fudge a full 2 hours before slicing for clean squares.






these are really easy sounding recipes. Can’t wait to go shopping at grocery store to pick up few ingredients. Also they sound just as easy on my wallet with most of
them only needing a few things to complete.
Thanks Jenny
I have been looking for an easy Peanut Butter Fudge Recipe for some time now.
Thank You so much! I cannot wait to make it, I know it it is gonna be delicious.
This was an amazing recipe, but made WAY more candy than I was ready for. I was lucky that I had 3 parties to go to because I made 3 batches, and everyone took some stuff home!
I’m leery of making this recipe. It says 64 servings. Couldn’t have that many in a 8 x 8 pan. Seems like it should be an 8 x 11″. If I click on double or triple the recipe it stills says to use the 8 x8 pan. Only the ingredients are increased. Can you verify this recipe should be the 8 x8 pan?
So you really want to make these into small squares, they are very rich! I just made it again, and didn’t cut them up in 1 inch squares, they were probably closer to 1.5. But you should for sure use the 8×8 pan! They will work out great. Just cut them into whatever size you please. Just note, it is very rich fudge and you don’t want too big of pieces!
I’ve made Microwave Peanut Butter Fudge like this for years. It is so fast and delicious! I have just 1 suggestion, when cutting, instead of using a knife, use a pizza slicer! Works great and is faster than using a knife! I also make chocolate Microw6 Fudge that’s even easier than the Peanut Butter Fudge!
*Microwave* not Micro6!
What an awesome tip, with the pizza slicer thing! Thank you so much, Marilyn
Can it be frozen?
Yes! You can freeze for 2-3 months!
We don’t use ‘cup’ measures.. Be nice to include metric/ounces
Why can’t you use natural peanut butter? I have a friend who won’t eat regular peanut butter because of the bad things that he thinks are in it. Please answer ASAP.
As mentioned above:
You can substitute different brands of peanut butter in this recipe but remember do NOT use Natural or the Natural No-Stir options. These have different textures, therefore different outcomes, from the recipe as it is written. The brands I have used successfully are as follows:
Peter Pan- This brand is ever so slightly darker in appearance than the other brands and is a little sweeter because it has more sugar in the peanut butter itself than the others.
Skippy- This brand is just a little lighter in color than the Peter Pan.
Reese’s- This brand has a very slight orange hue, but not so much that it is odd, just a little different than the other brands.
JIF- This brand is a little saltier than the others and is the lightest in color overall.
You call this easy !!! Try mixing microwaved white chocolate with PB of choice (no naturals please); stir equal amount of PB; pour in 8×8 pan;refrigerate !!! Recipe from Auntag and made for my Grandma Gorecli … Grandma loved it !!!
Looks so perfect for a Christmas treat! Thank you for sharing!
You show 16 pieces, but in the serving size it states 64 pieces at 85 calories a serving. At 16 pieces the calorie count would be 340.