

This post may contain affiliate links. Please read our disclosure policy.
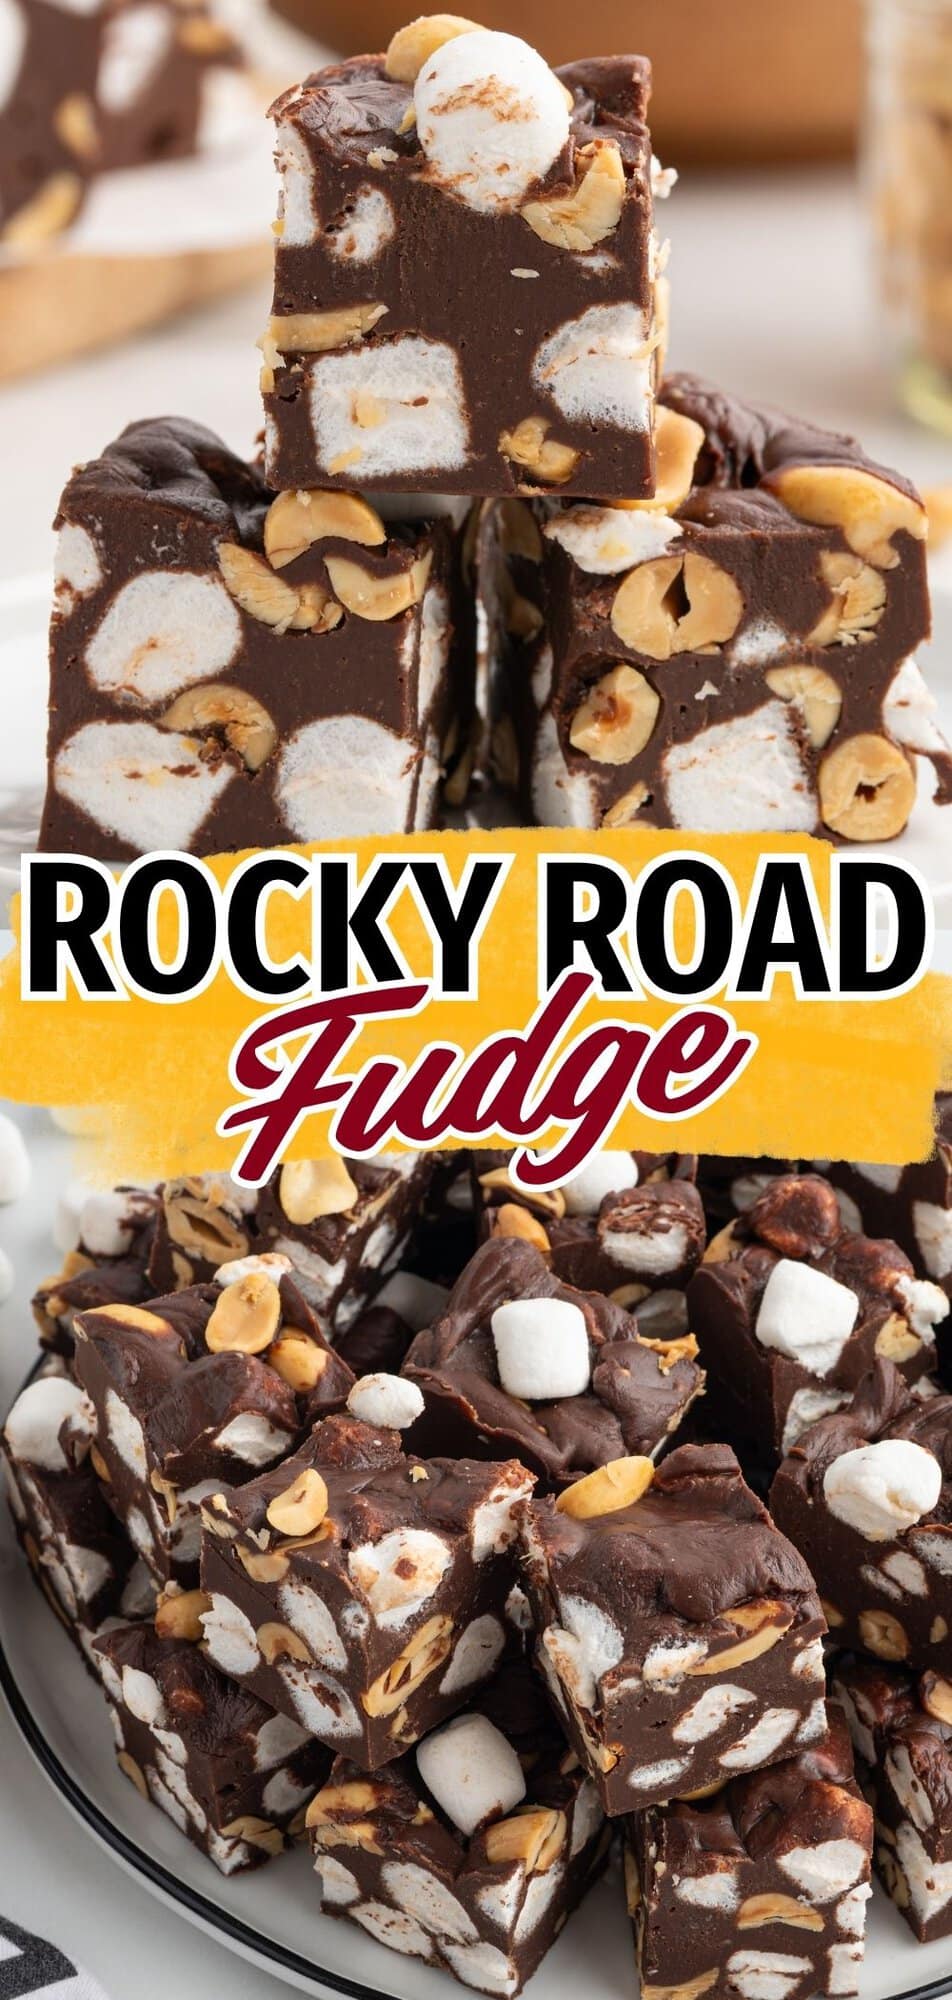
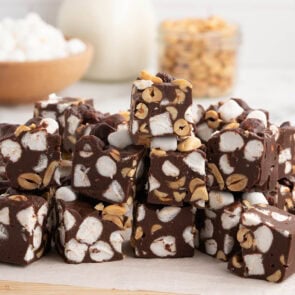
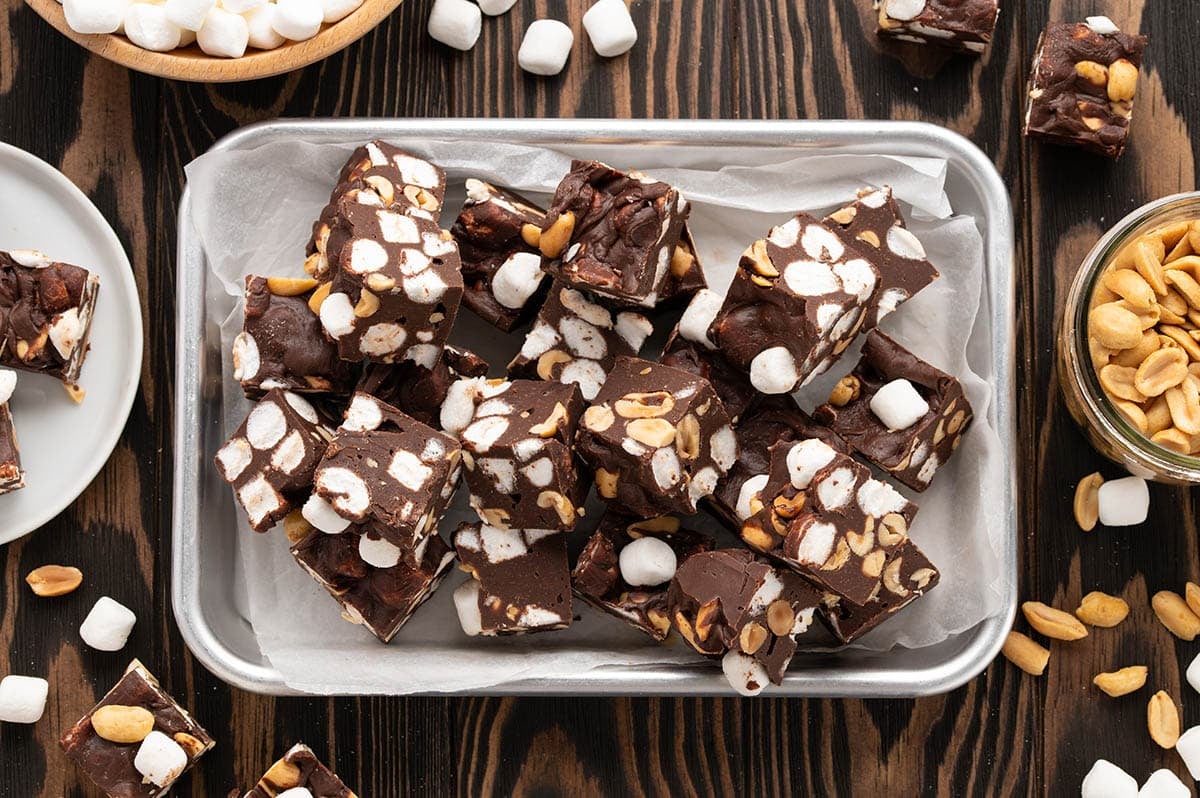
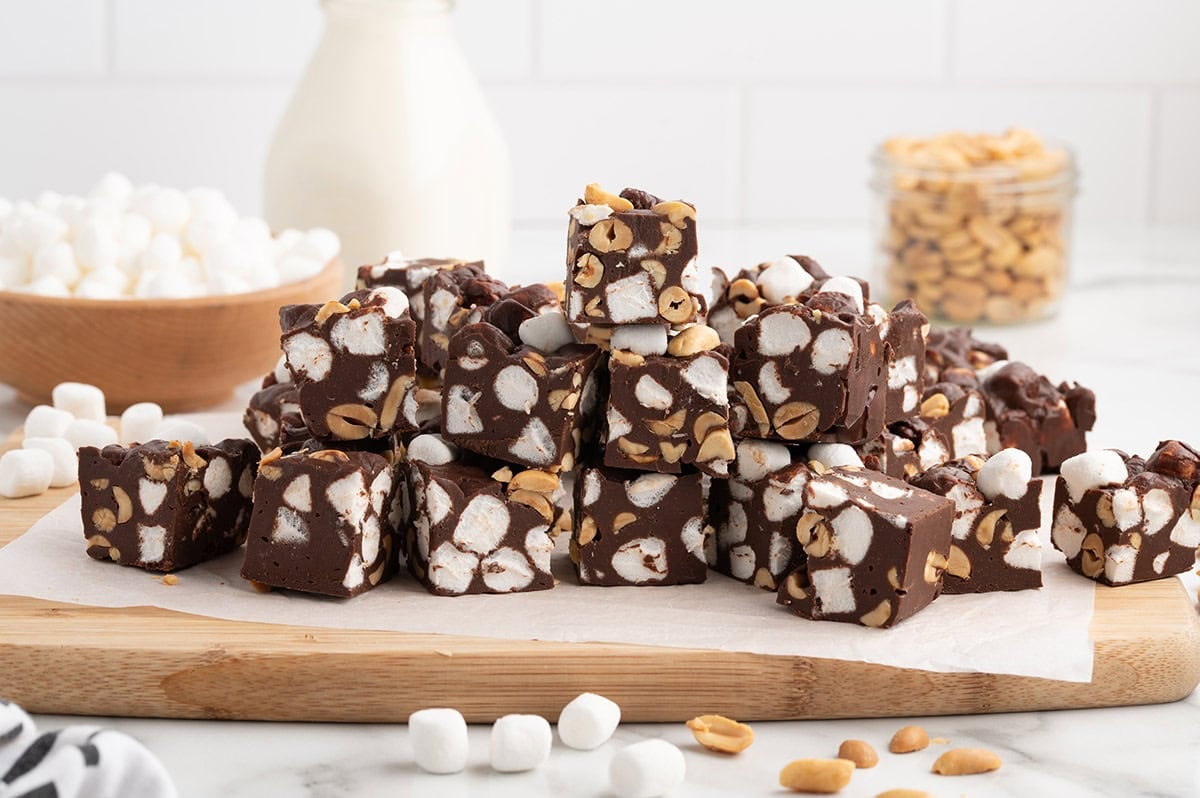
Rocky road fudge is the easiest candy I keep in my holiday rotation, and it never lasts long once I set it out. Every square is smooth, creamy chocolate loaded with mini marshmallows and salted peanuts, so each bite is soft, crunchy, and a little sweet and salty at the same time.
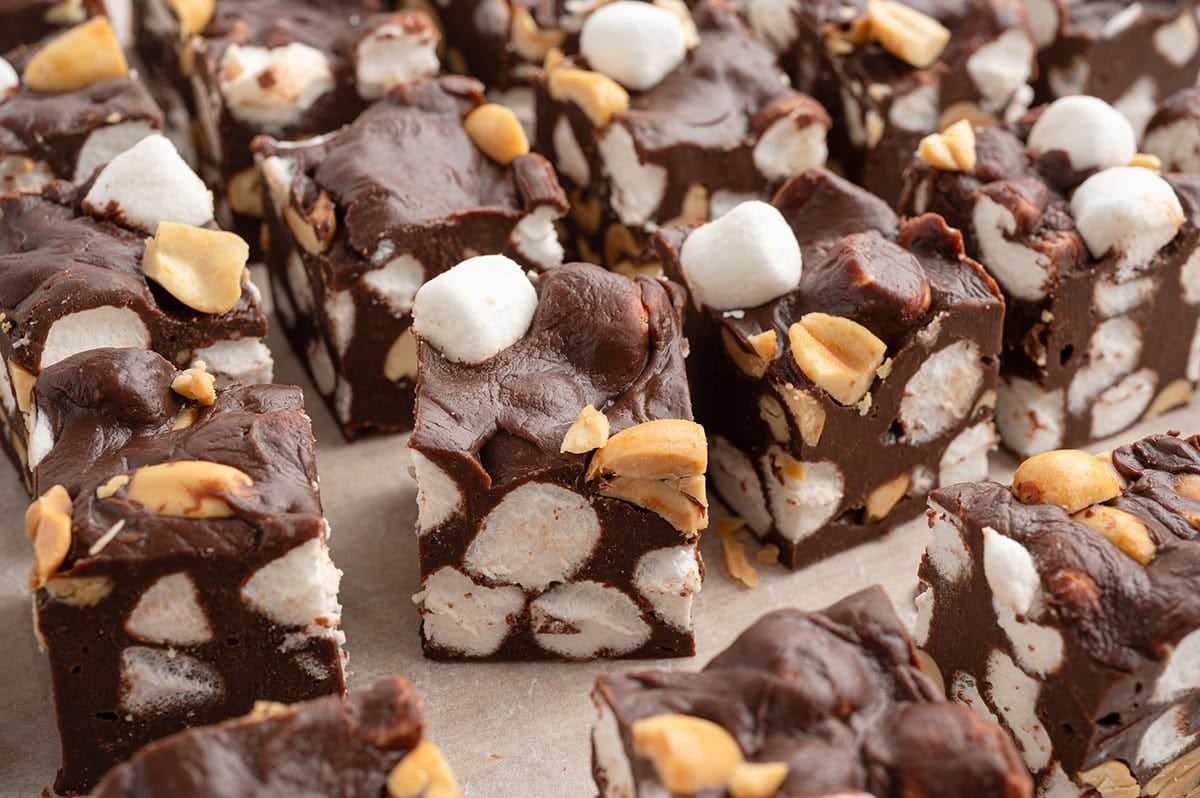
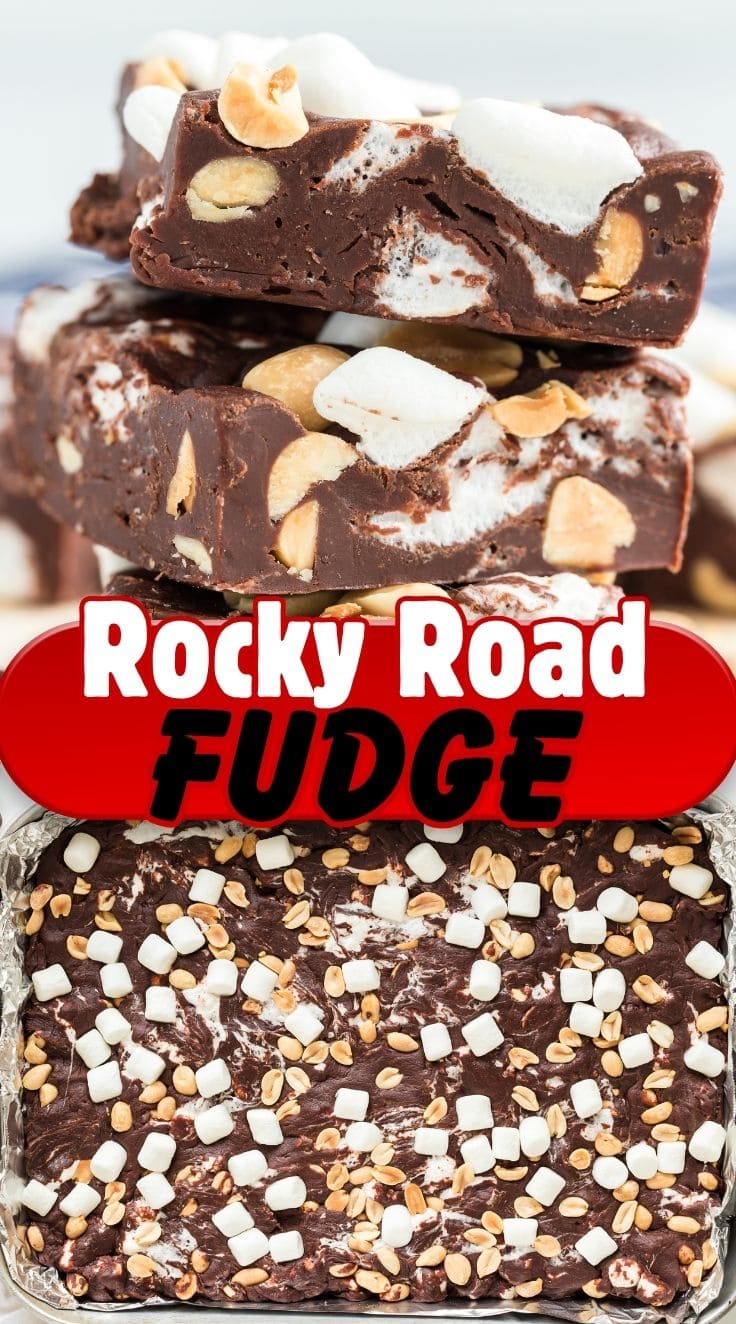
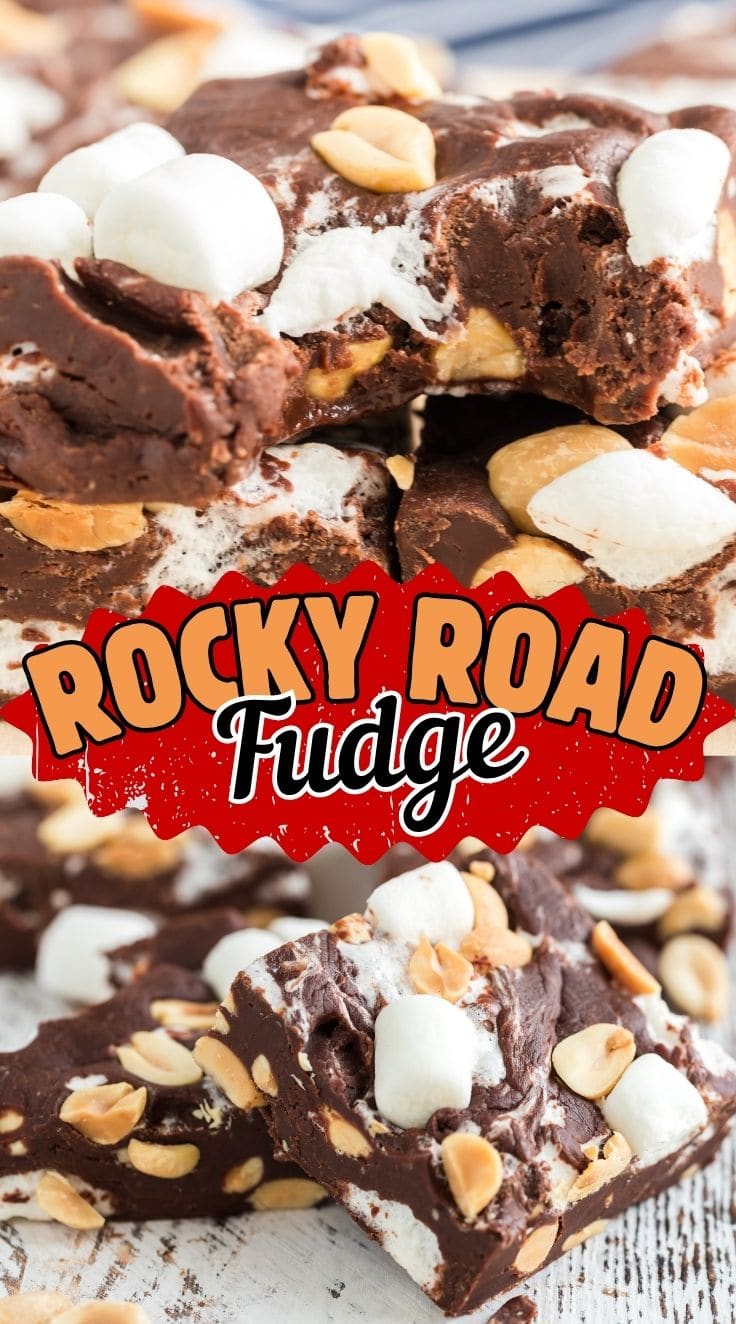
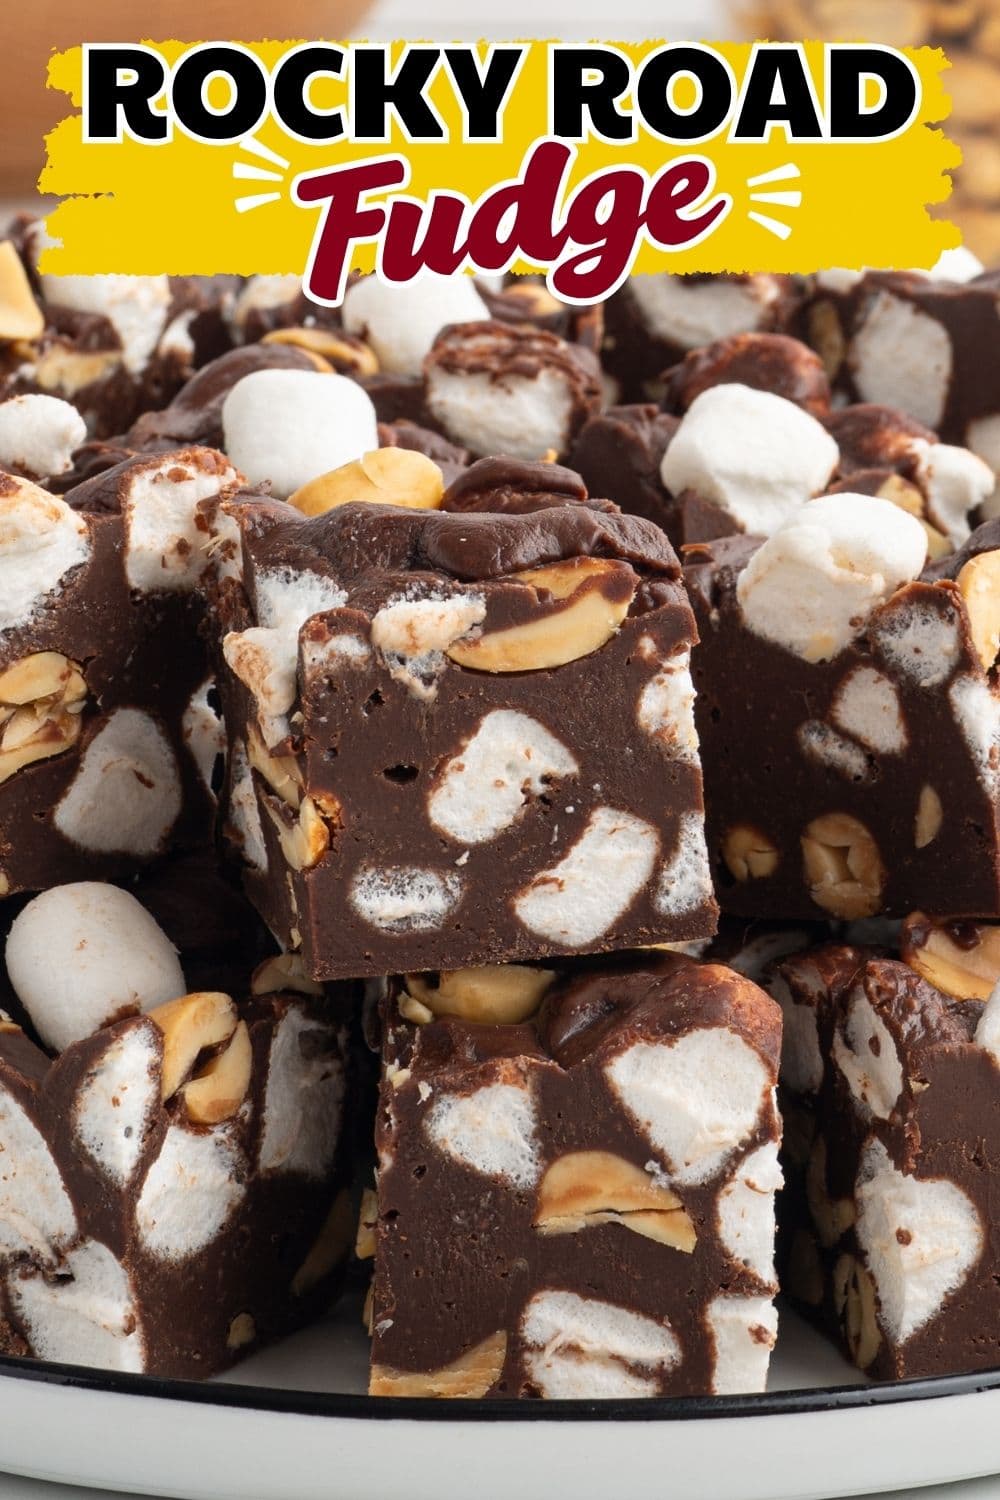
I make a batch every December for cookie trays and neighbor gifts, and it is always one of the first things to go. It reminds me of the fudge counters up on Mackinac Island, except this one comes together on my own counter with about ten minutes of hands-on work.
What sets this batch apart is how reliably the chocolate melts down smooth and glossy, so the fudge sets creamy and even instead of dull and sandy.
If you love easy candy like this, I have a whole collection of no bake fudge recipes in every flavor from classic chocolate to holiday swirl.

TESTED FAVORITE
Why This Fudge Sets Up Firm and Slices So Clean
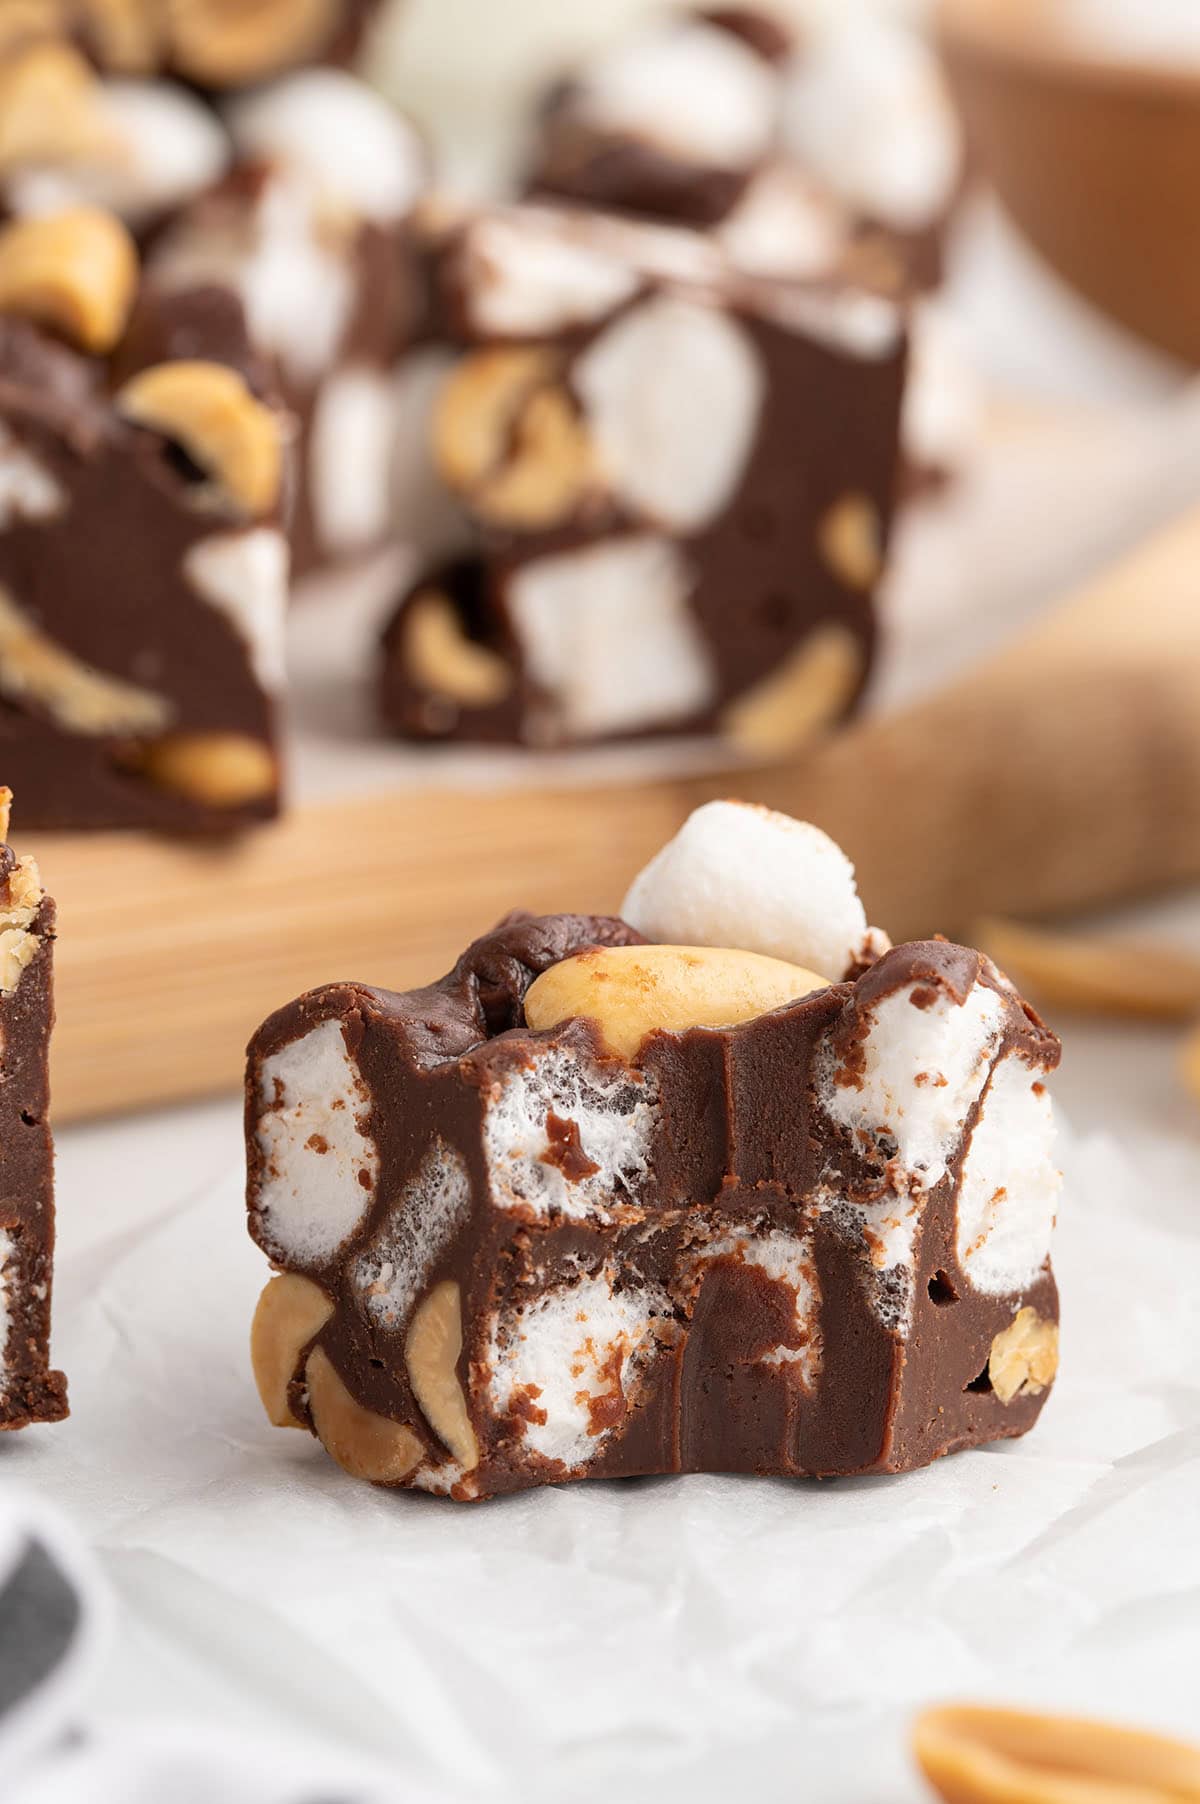
I have made this fudge enough times to know exactly what gives it a clean, firm set. It sets up solid at the chill mark and cuts into neat squares instead of crumbling, and the marshmallows and peanuts stay put in every piece. This is the only way I make it now.

What Goes Into This Fudge
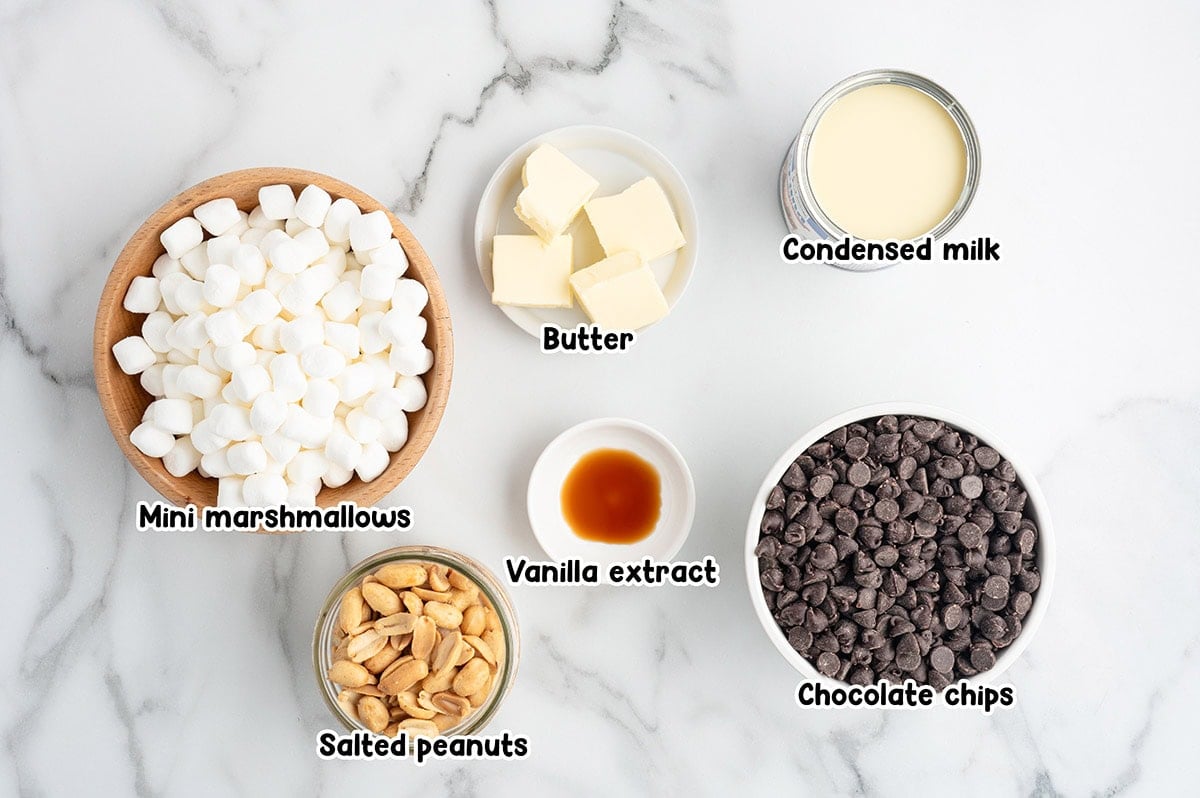
- Semi-sweet chocolate chips: the chocolate is the whole base, so this is the one place quality really matters. I reach for Ghirardelli or another brand made with real cocoa butter, because it sets with a soft, clean bite. Milk chocolate chips work too if you like a sweeter, softer square.
- Sweetened condensed milk: this is what turns melted chocolate into fudge instead of a chocolate bar. Use sweetened condensed milk, not evaporated milk, or it will never firm up. A full 14 ounce can gives you the right chocolate to milk balance for a creamy, sliceable square.
- Mini marshmallows: minis fold in evenly and hold their shape, which is what gives rocky road its lumpy, chewy texture. Bigger marshmallows clump together and are more likely to melt down into the chocolate.
- Salted peanuts: salted, not unsalted. The little bit of salt cuts the sweetness and makes the whole square taste balanced. Salted cashews or almonds work if you would rather change the crunch.
- Butter: a few tablespoons melted in with the chocolate makes the fudge softer and gives it that creamy, melt-in-your-mouth set.
How to Make Rocky Road Fudge
Step 1: Line the Pan Line an 8×8 straight-sided metal pan with parchment paper, leaving an overhang on the sides so you can lift the whole slab out later.
Step 2: Melt the Chocolate Stir together the chocolate chips and sweetened condensed milk in a large microwave-safe bowl, then add the cubed butter on top. Heat for one minute, stir, then heat in thirty second bursts, stirring after each, until the chocolate is fully melted and smooth.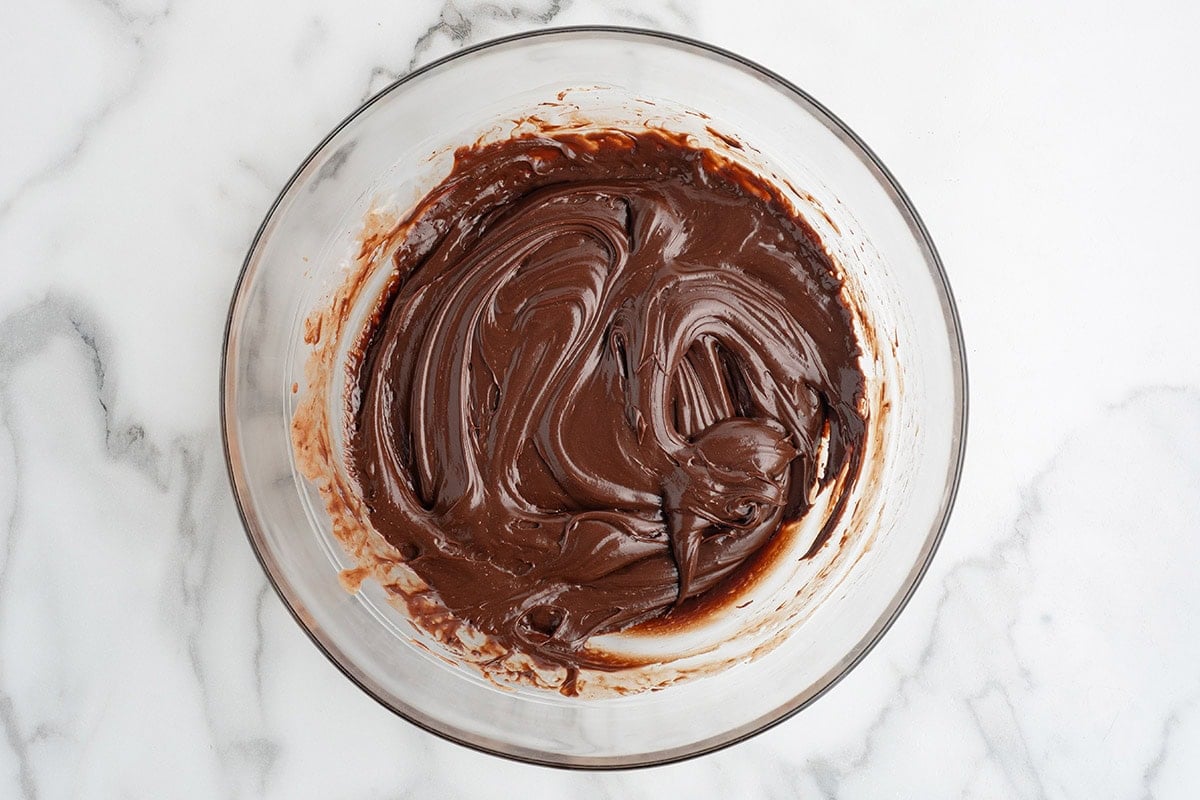
Step 3: Stir in the Vanilla Stir the vanilla into the melted chocolate until it is fully worked in. If the chocolate feels very warm, let it sit for a minute or two before the next step.
Step 4: Fold in the Marshmallows and Peanuts When the chocolate is warm but not hot, fold in the mini marshmallows and salted peanuts. It should be warm enough to spread but cool enough that the marshmallows keep their shape.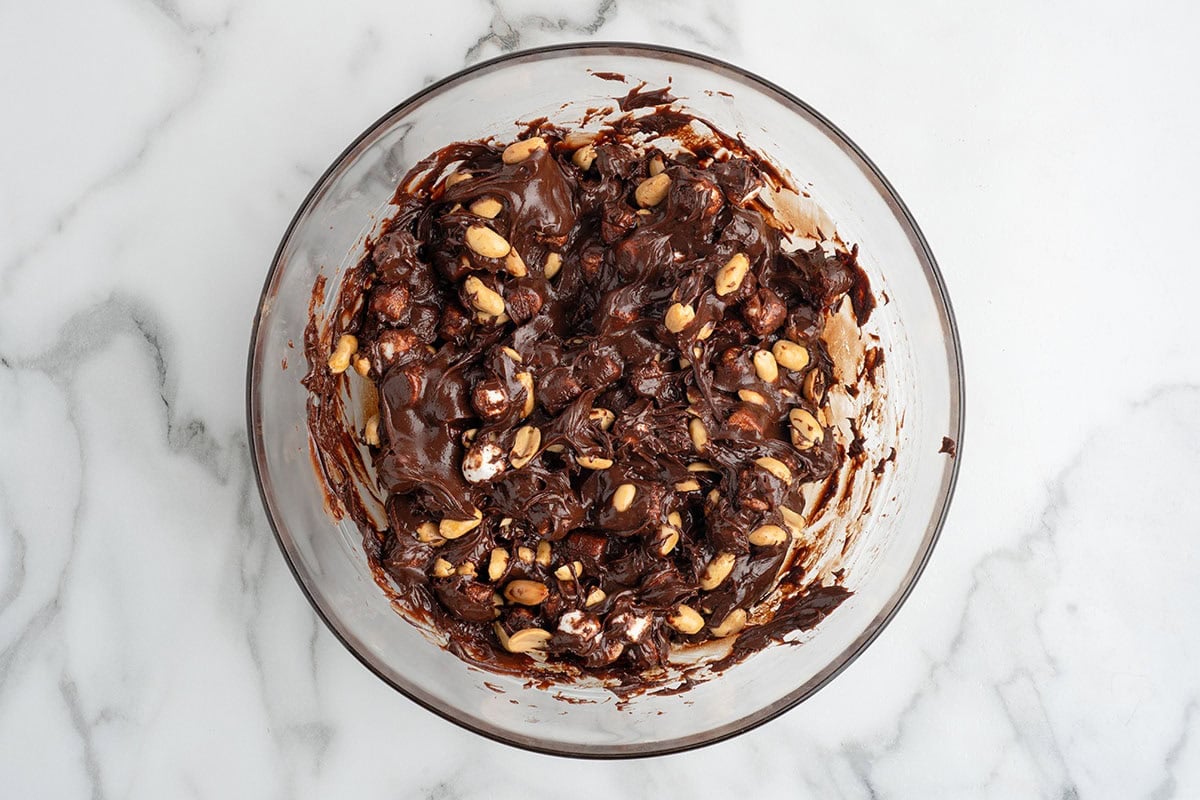
Step 5: Spread and Top Spread the fudge into the lined pan and smooth the top with a small offset spatula. Press a few extra marshmallows and peanuts into the top if you want it loaded.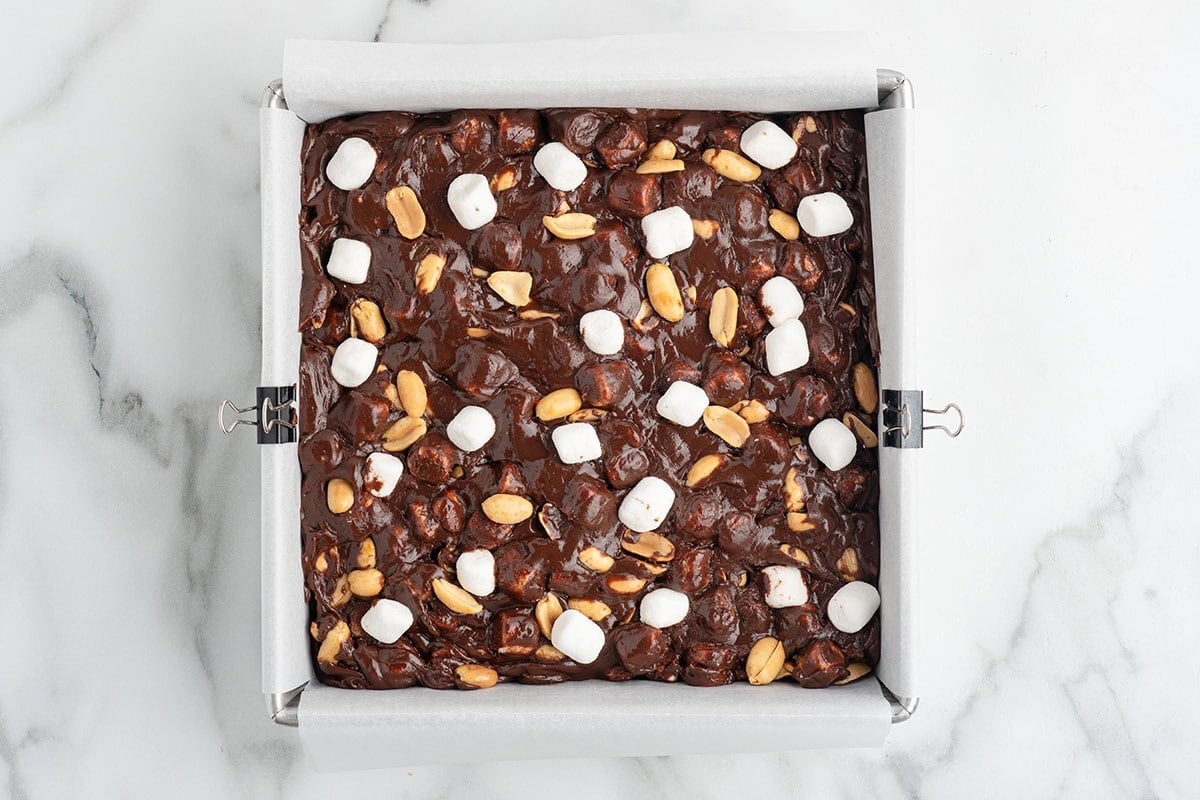
Step 6: Chill and Slice Refrigerate for at least three hours, or overnight, until fully firm. Lift the slab out by the parchment, remove the parchment, then slice into thirty six one-inch pieces.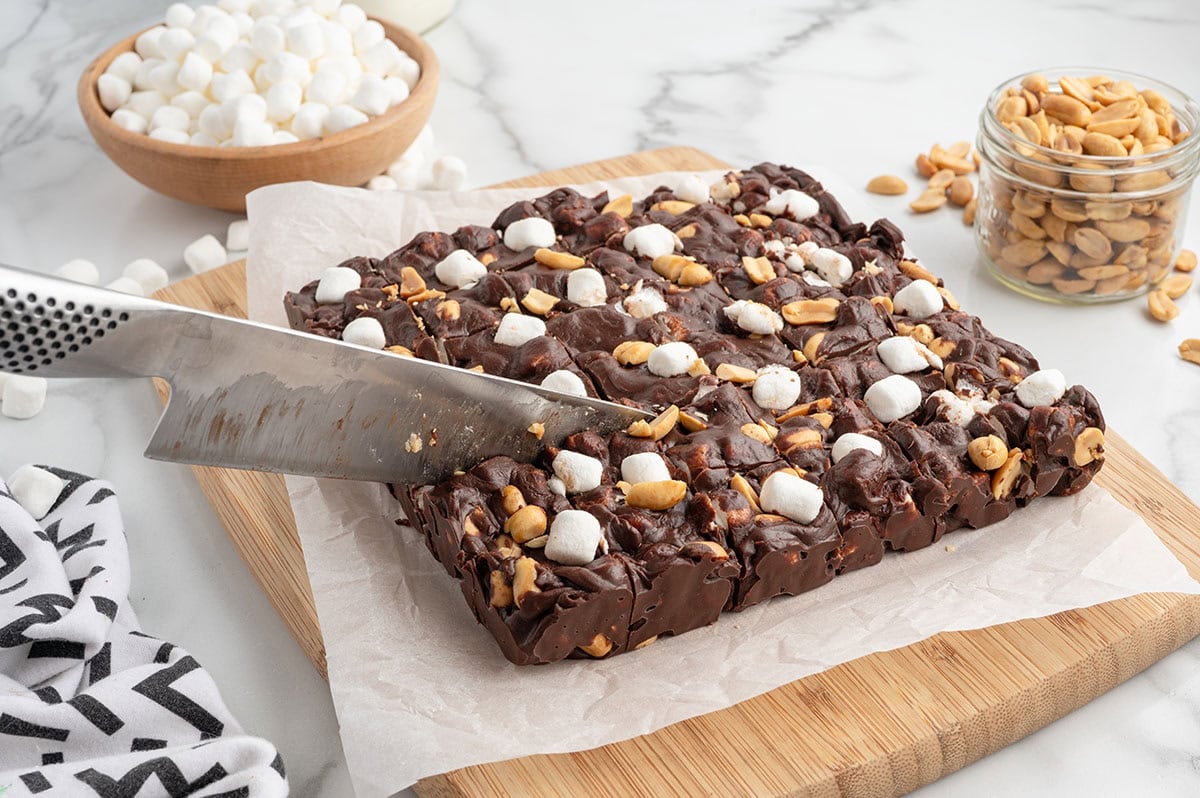
Make Ahead and Storage
This one is made to sit, so it is a good candy to make a day or two ahead. Store it in an airtight container with a sheet of parchment between the layers so the squares do not stick together. It keeps at room temperature for up to five days, or in the refrigerator for up to two weeks. These pack up well next to a batch of easy crockpot candy on a holiday tray.
More Fudge Recipes
Rocky Road Fudge
Ingredients
- 2 cups semi-sweet chocolate chips (Ghirardelli brand used)
- 14 ounce can sweetened condensed milk
- 4 tablespoons unsalted butter cut into cubes, room temperature
- ½ teaspoon vanilla extract
- 2½ cups mini marshmallows (plus additional for the top)
- 1 cup salted peanuts (plus additional for the top)
Instructions
- Line an 8×8 straight-sided metal pan with parchment paper. Allow enough parchment to overhang the sides of the pan for easy removal.
- Stir together the semi-sweet chocolate chips and sweetened condensed milk in a large microwave safe bowl, then add the cubed butter on top. Heat for 1 minute, stir, and heat again in 30 second increments (stirring between each) until the chocolate is fully melted. Stir until smooth.2 cups semi-sweet chocolate chips, 14 ounce can sweetened condensed milk, 4 tablespoons unsalted butter
- Stir in the vanilla extract until fully incorporated.½ teaspoon vanilla extract
- If the chocolate is very warm, allow it to cool for 1-2 minutes before folding in the mini marshmallows and salted peanuts. The mixture should be warm enough to spread, but not hot to the touch. If the chocolate is too warm, it will melt the marshmallows.2½ cups mini marshmallows, 1 cup salted peanuts
- Spread the fudge mixture into the prepared pan and smooth with a small offset spatula. Press in some additional mini marshmallows and salted peanuts to the top of the fudge for garnish if desired.
- Refrigerate for at least 3 hours, or up to overnight, until fully chilled and firm.
- Lift the fudge out of the pan using the overhanging parchment paper, remove the parchment then slice the fudge into 36 1-inch pieces.
Jenn’s Notes
- Use a good semi-sweet chocolate made with real cocoa butter. It melts smoother and sets better than budget chips.
- Melt the chocolate slowly in short bursts and stop as soon as it is smooth. Overheating is what makes chocolate seize.
- Let the chocolate cool for a minute before folding in the marshmallows so they stay whole.






Can the chocolate chips, sweetened condensed milk and butter be melted together in the microwave?
Great question. I haven’t tested melting everything together in the microwave at once. In my experience with this fudge, melting the chocolate and sweetened condensed milk first gives you a smooth base and keeps the texture consistent. Adding the butter separately helps it blend in without breaking or getting greasy.
You can melt chocolate and sweetened condensed milk together in the microwave in short intervals, but once you start adding butter and mix-ins, things can get finicky. Since this recipe depends on the right texture to hold the marshmallows and peanuts, I don’t recommend changing the method.
If you want to use the microwave, stick to the recipe steps so the chocolate doesn’t overheat or separate.
Hi princess girl just want to know if you have any cookies or other recipes that are fat free the ones you put out I love but I make love and can’t eat to much of caus to much fat for me thanks Milli
Thanks so much for the sweet note. I’m glad you’re enjoying the recipes. I don’t have many recipes that are truly fat free, but the fruit based and Jello style desserts on my site tend to be the lightest options. Those usually work well for anyone watching fat intake. If you ever have a specific idea or type of treat you’re hoping to make, let me know and I’m happy to help you sort through the lighter choices.
Delicious
hola, se podra pasar las medidas en gramos?
gracias
I would recommend just putting it in chatGPT or something else to convert it.
My favorite fudge but was never able to get it quiet right. This recipe is so easy and turns out fantastic everytime
Thank you! So glad you enjoyed it!