This post may contain affiliate links. Please read our disclosure policy.
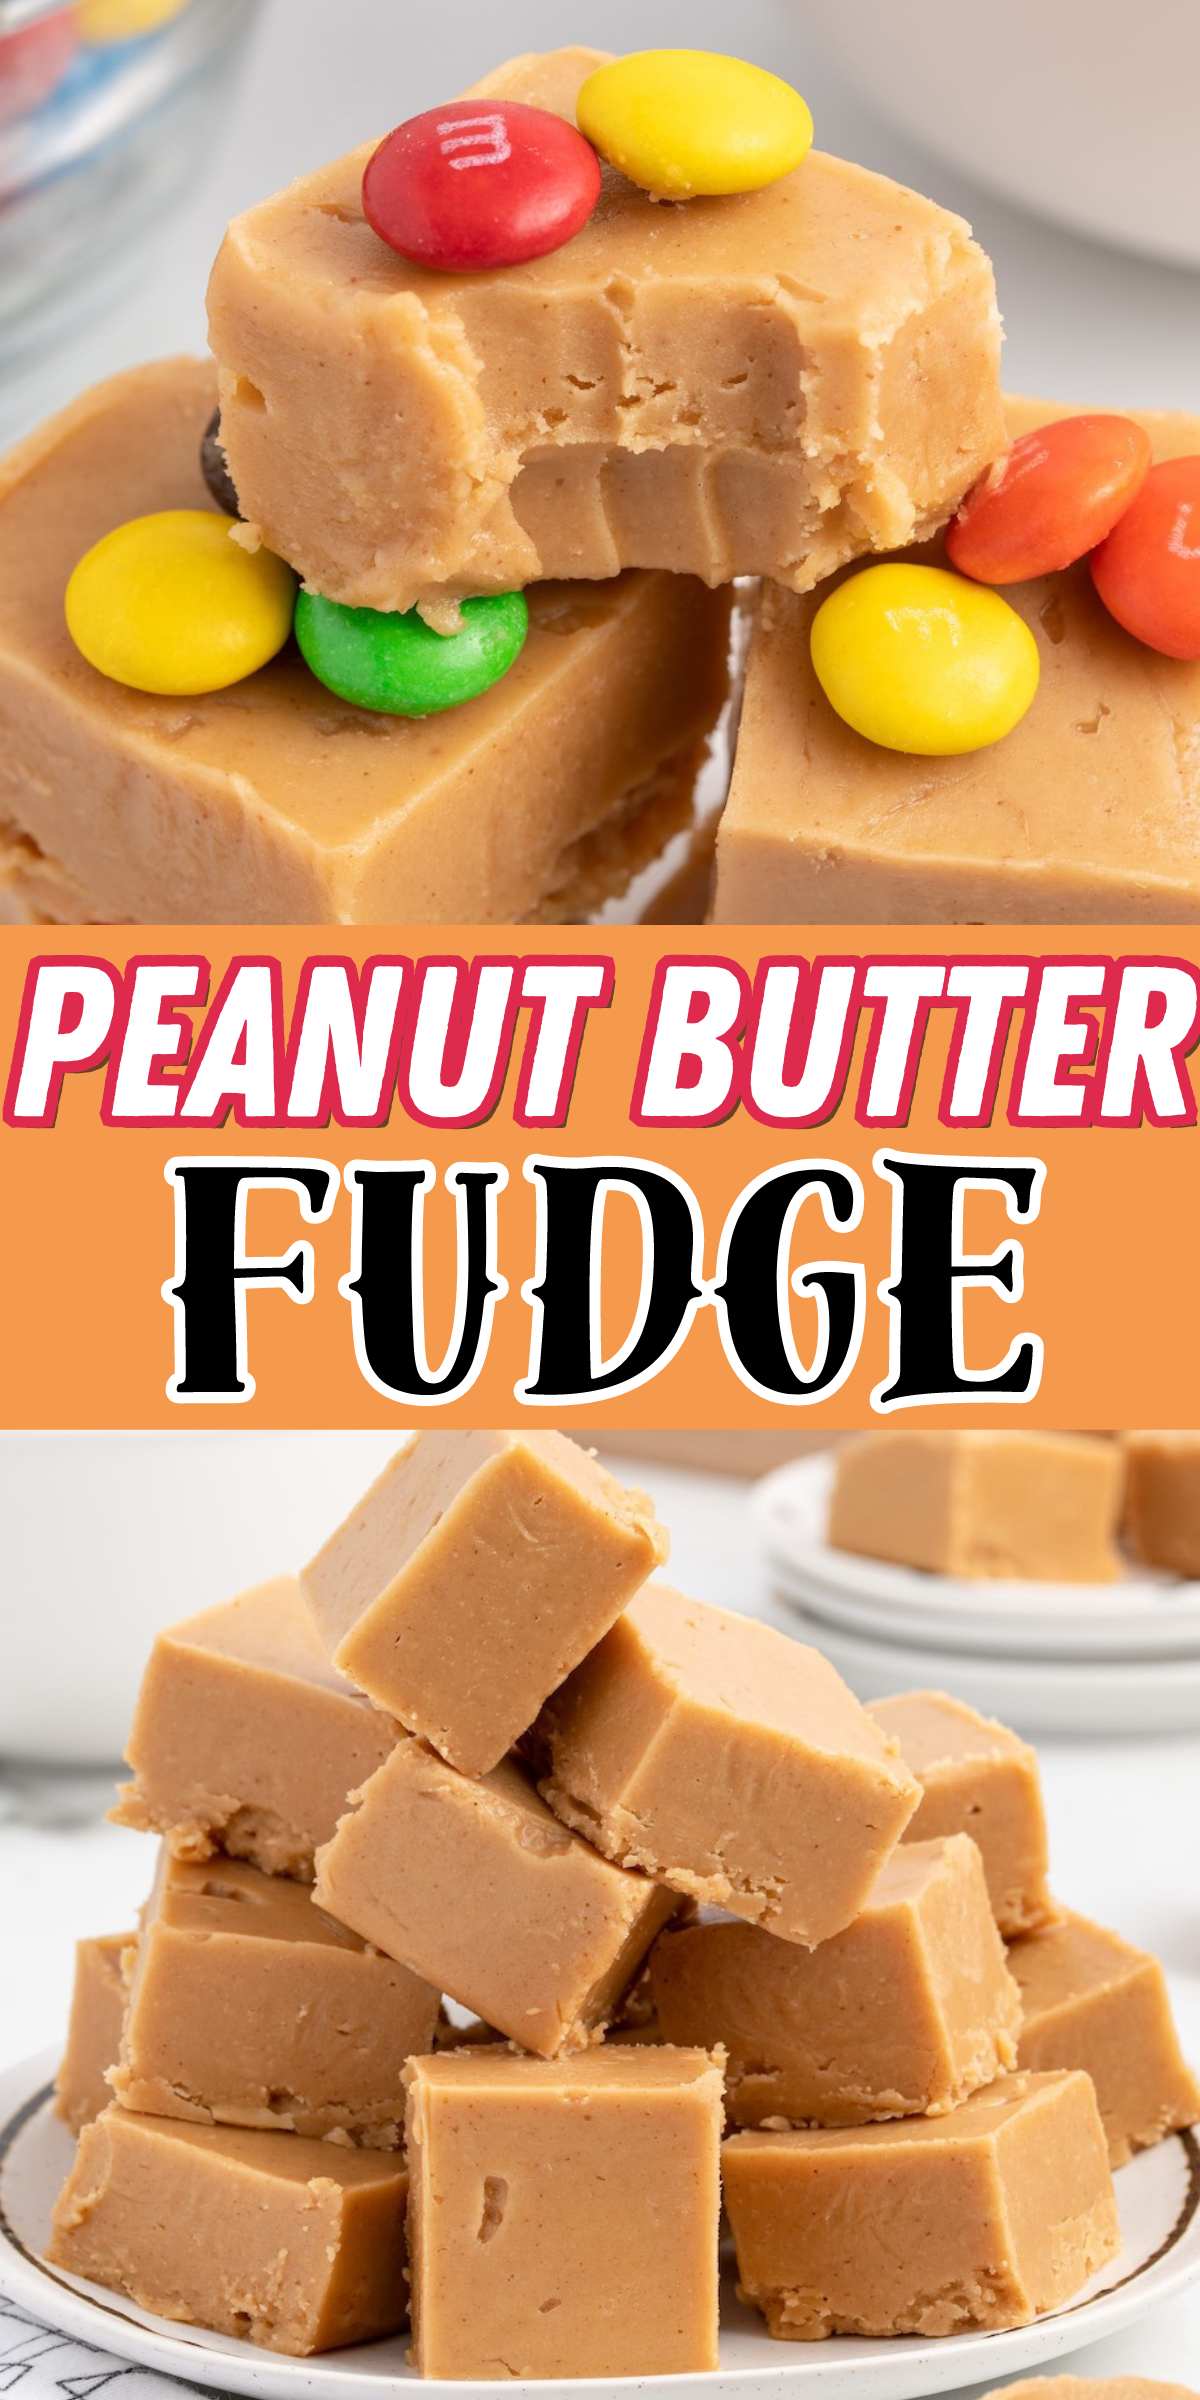
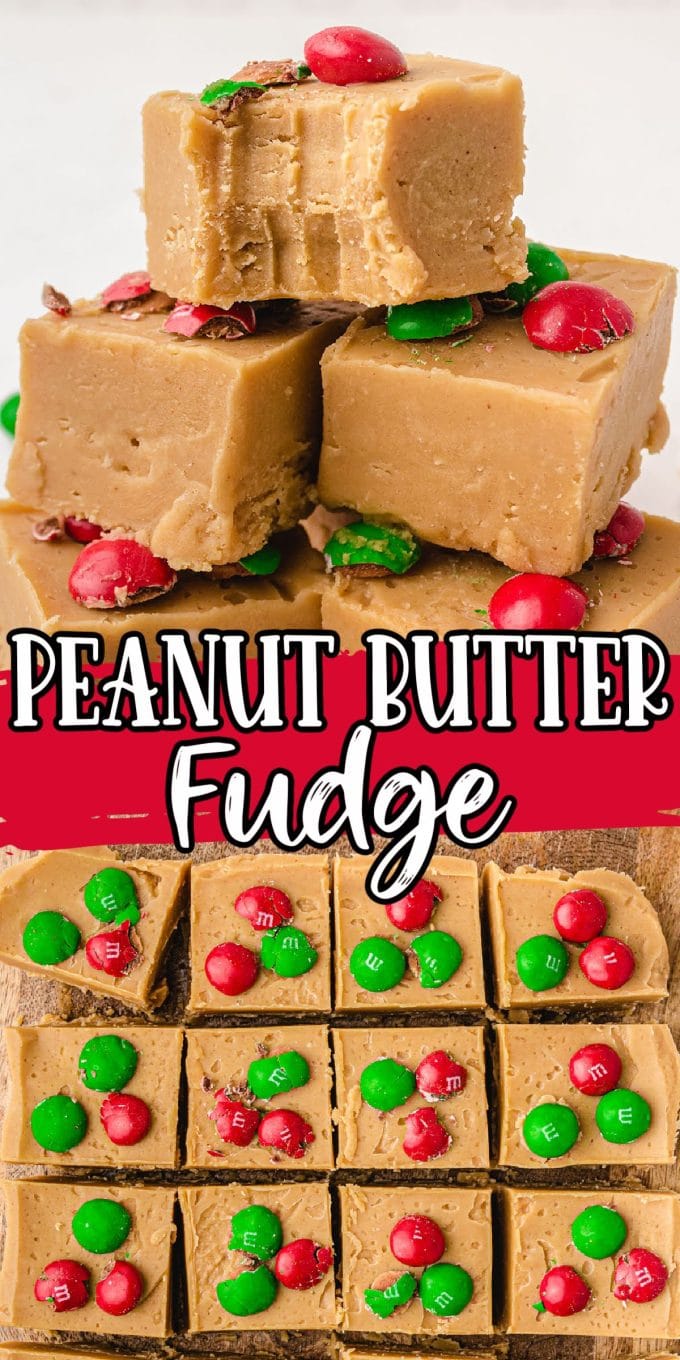
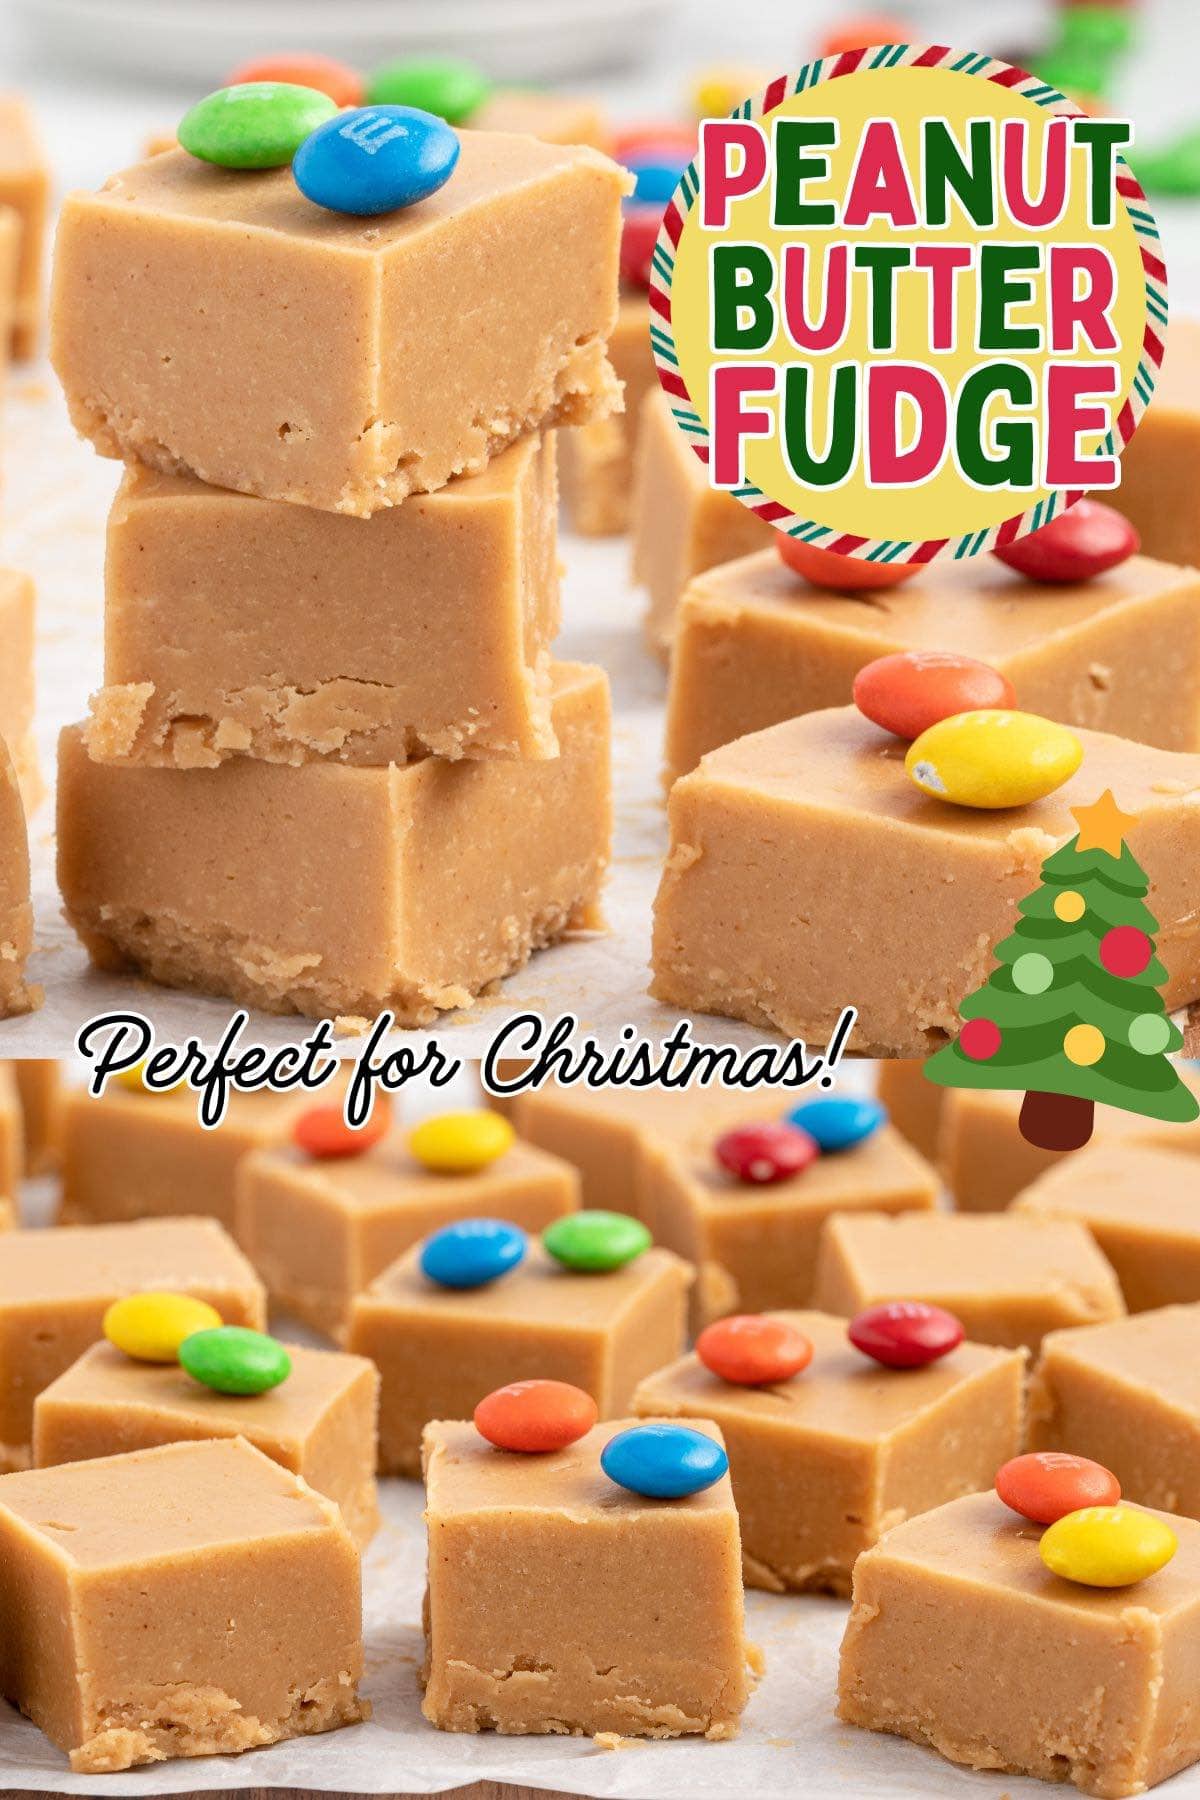
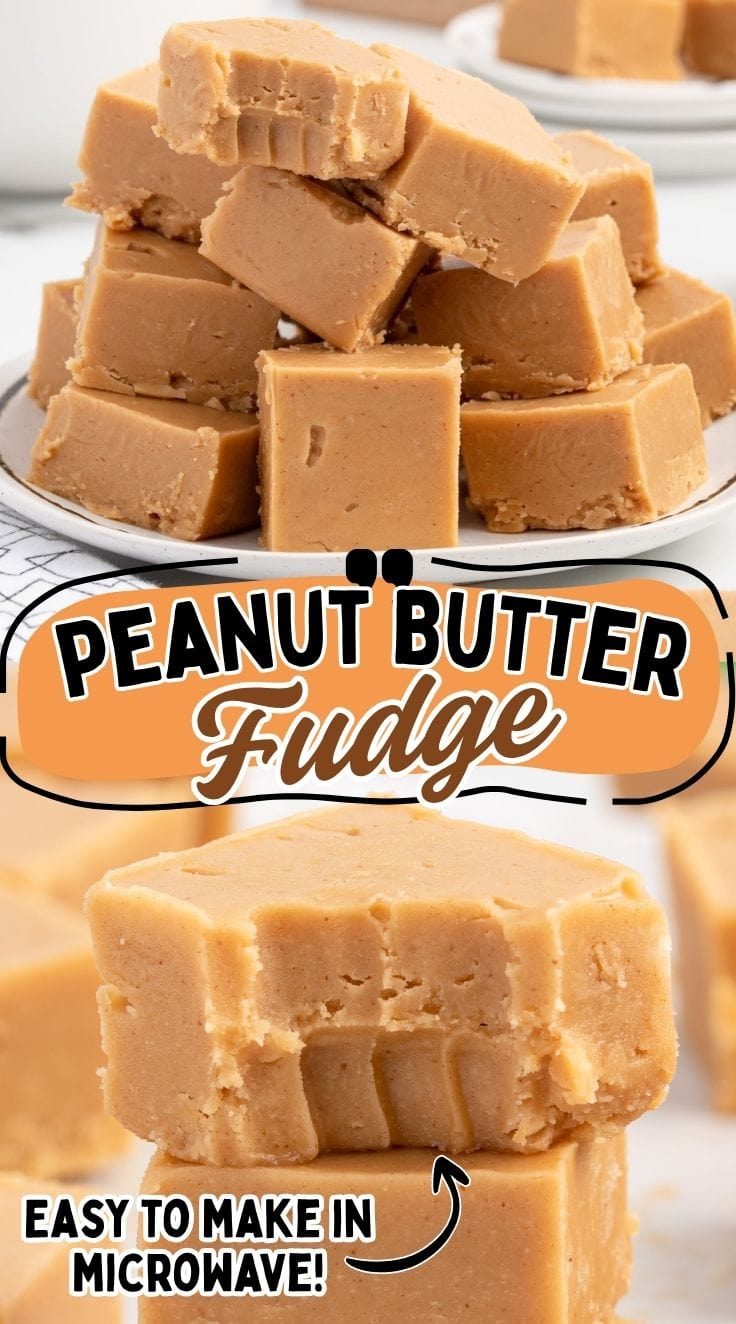
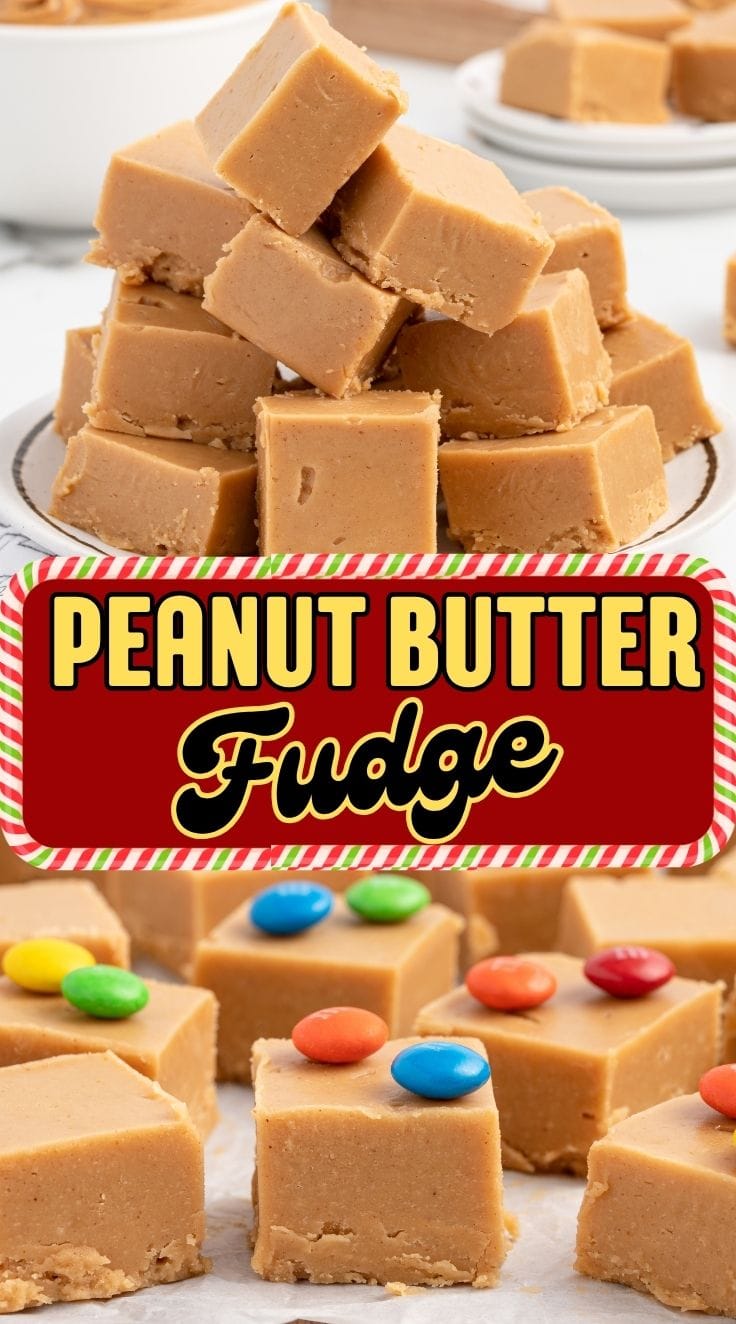
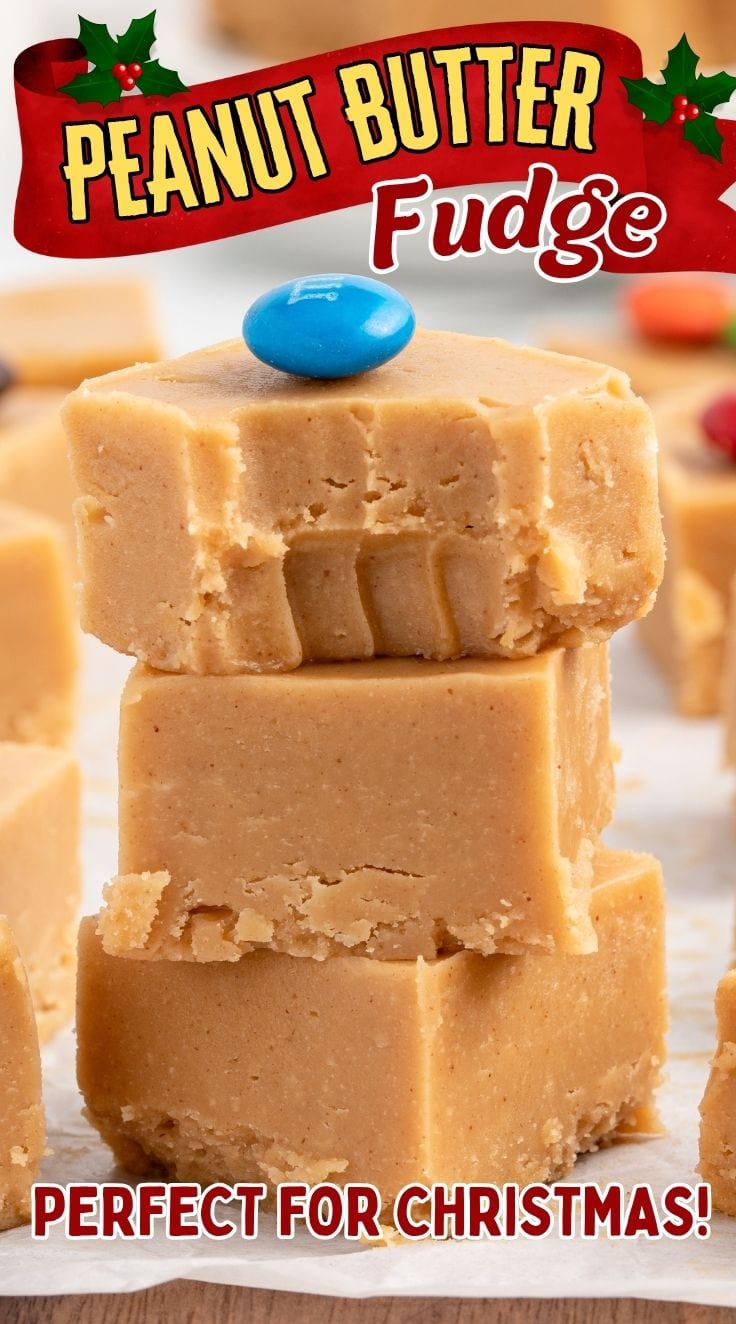
Our Peanut Butter Fudge recipe delivers a creamy texture and deep, nutty flavor, all while simplifying the process with the convenience of a microwave.
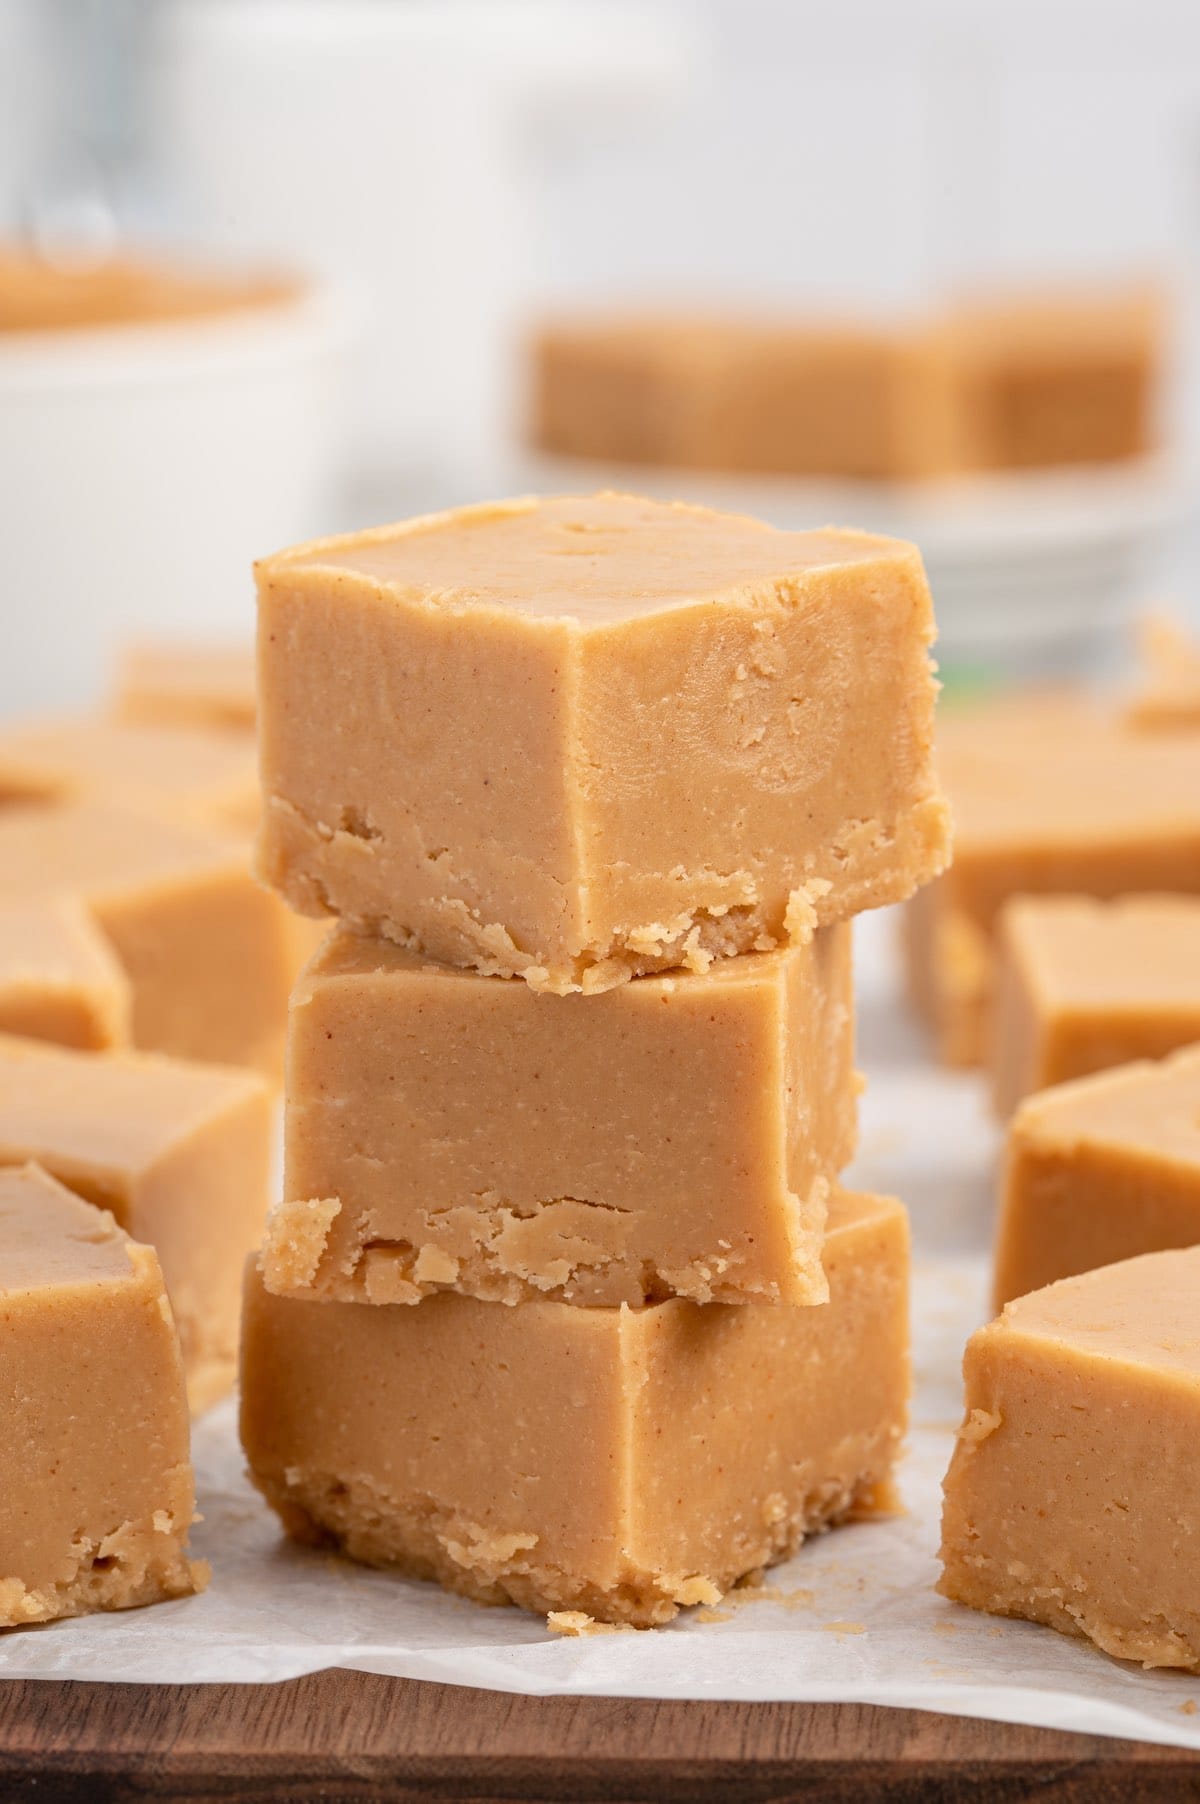
Microwave Peanut Butter Fudge
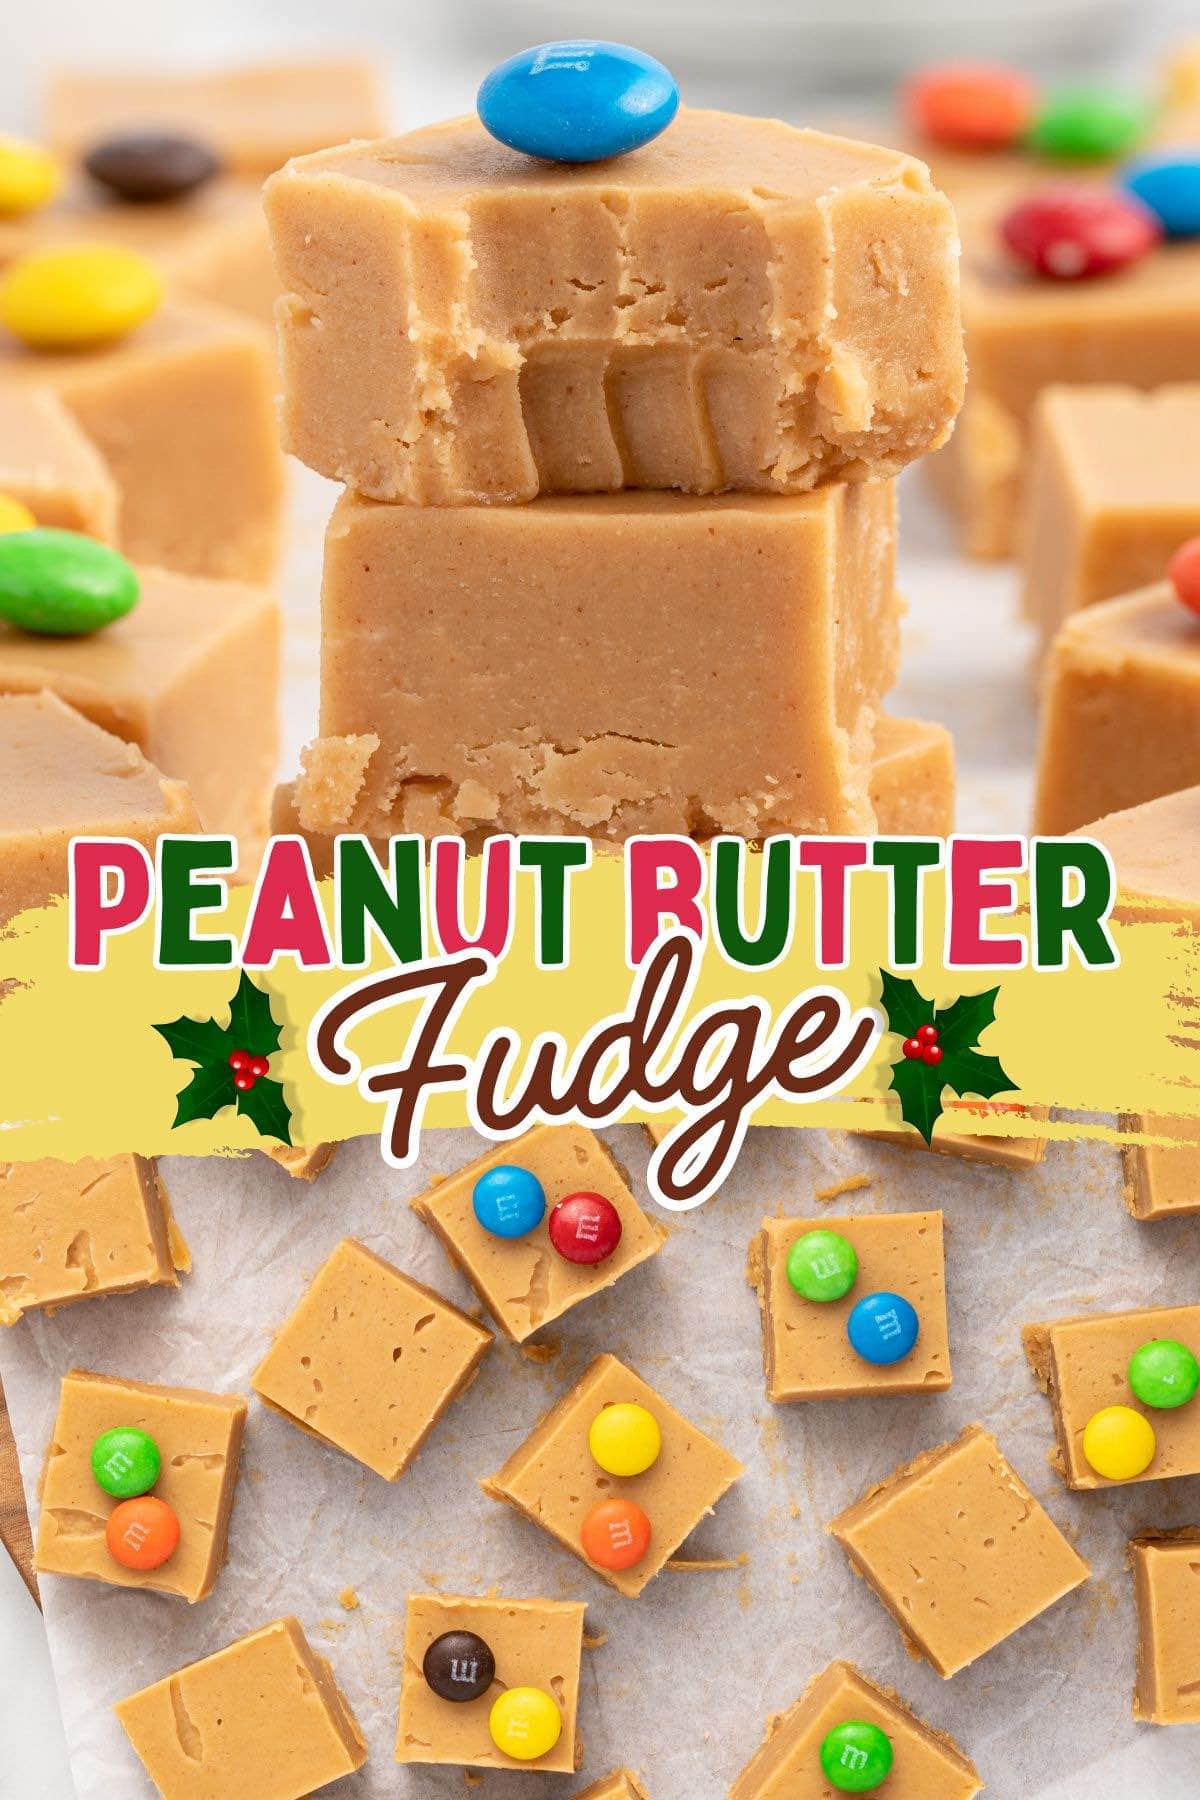
Our Peanut Butter Fudge is a simple recipe made in the microwave. It’s easy and fast, which makes it perfect for last-minute holiday treats.
Fudge has been around since the 19th century, with recipes popping up worldwide even before that time. In American cuisine, two types of fudge can be found: that made using a candy thermometer and cooked on the stove-top, and that which is prepared using the microwave. This latter type is also known as “microwave fudge” or just plain “nuke fudge.”
The preparation method for microwavable peanut butter fudge couldn’t be simpler – just combine ingredients in a microwave-safe container, heat them up, stir well, pour into a pan or on a surface to cool down, and cut.
This recipe only requires 6 ingredients, and the prep time is only about 10 minutes. Could it get much easier?
Why we love this Easy Peanut Butter Fudge
- Quick and easy to make.
- Soft, chewy and delicious.
- Only uses 6 ingredients.
- Takes about 10 minutes to prepare.
- Change up the toppings for any holiday or occasion.
- Makes a super cute DIY gift. Just place a few pieces in a holiday tin!
Peanut Butter Fudge Microwave Ingredients
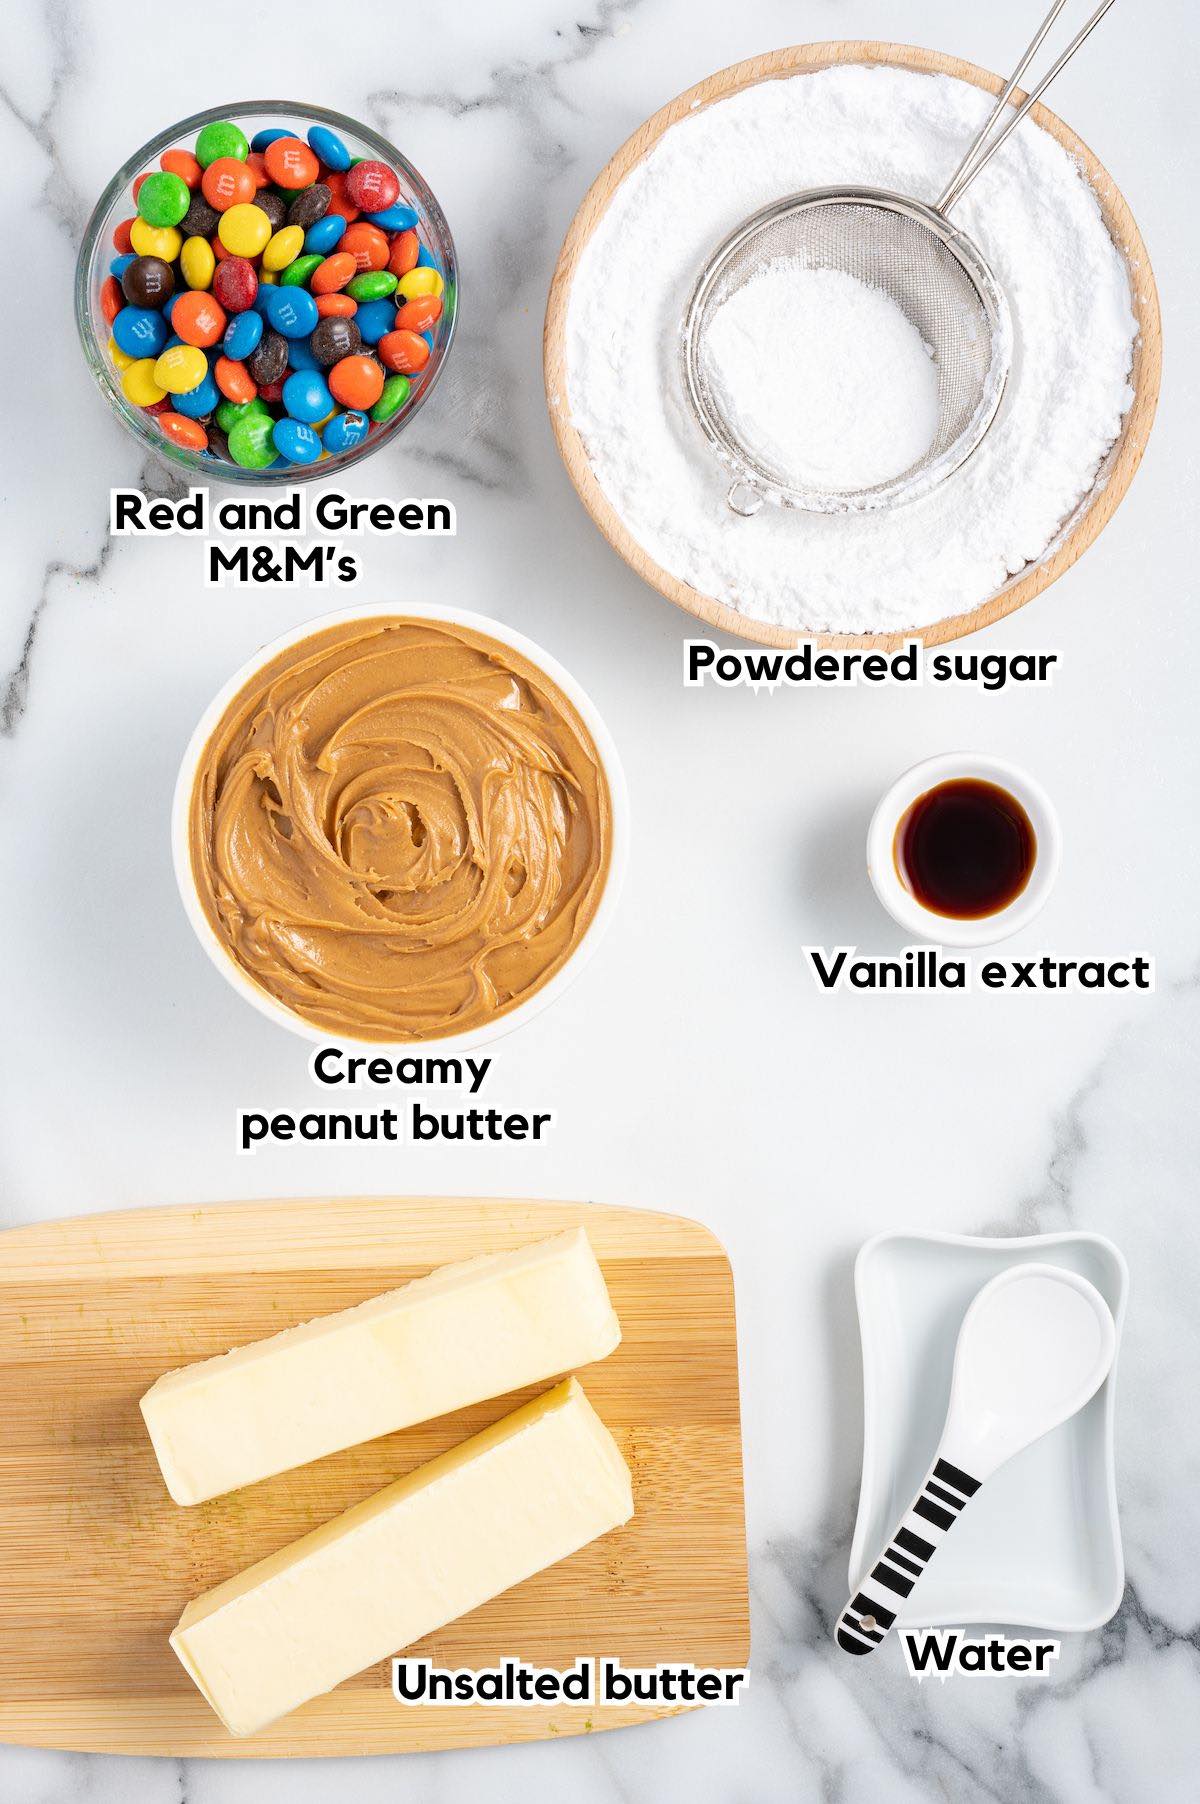
- Unsalted butter – Adds richness and creaminess to the fudge.
- Creamy peanut butter – You can substitute different brands of peanut butter in this recipe but do NOT use Natural or Natural No-Stir options. These have different textures and can separate and will result in a different outcome and texture.
- Vanilla extract – This will add a subtle depth of flavor while not overpowering the peanut butter.
- Powdered sugar – Powdered sugar dissolves easily, ensuring a smooth texture. It also helps the fudge to set properly. I recommend sifting it to avoid any lumps, which would make the fudge grainy.
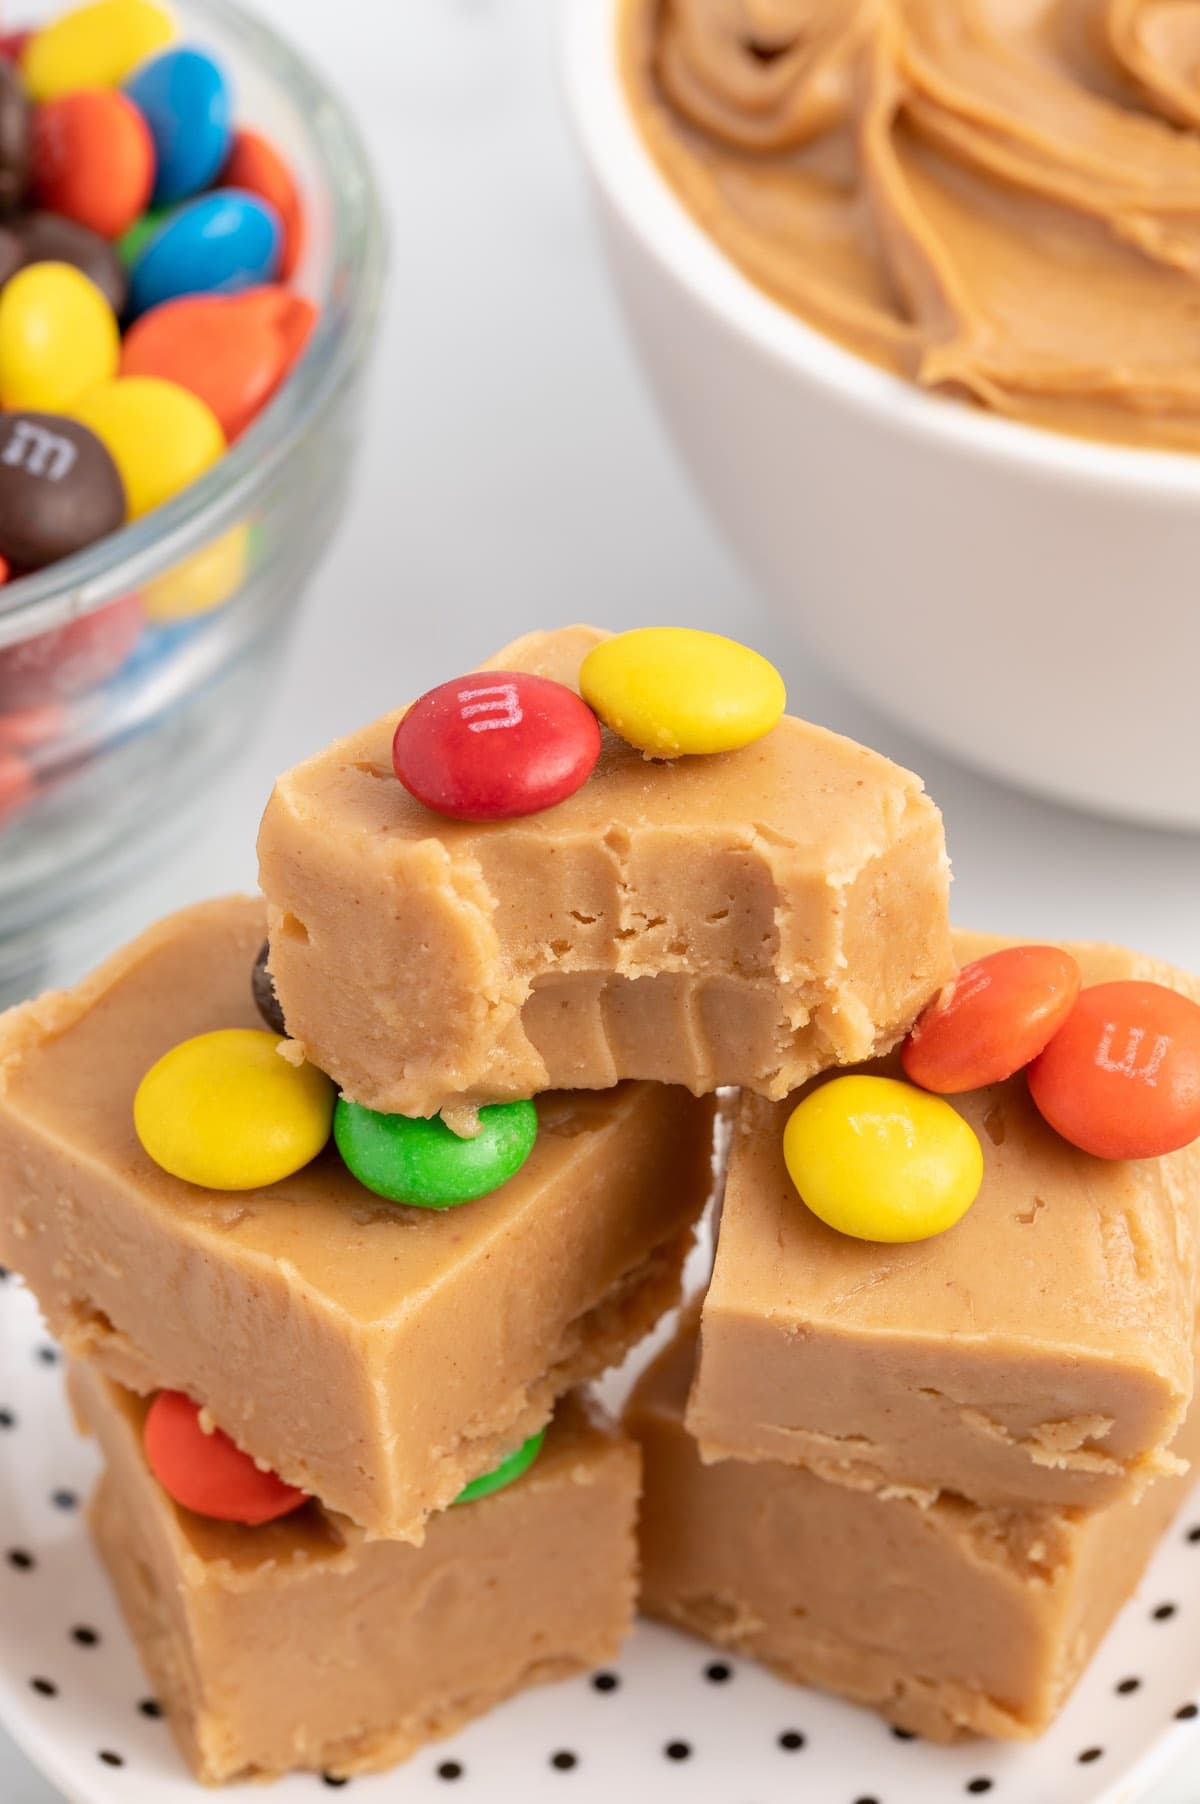
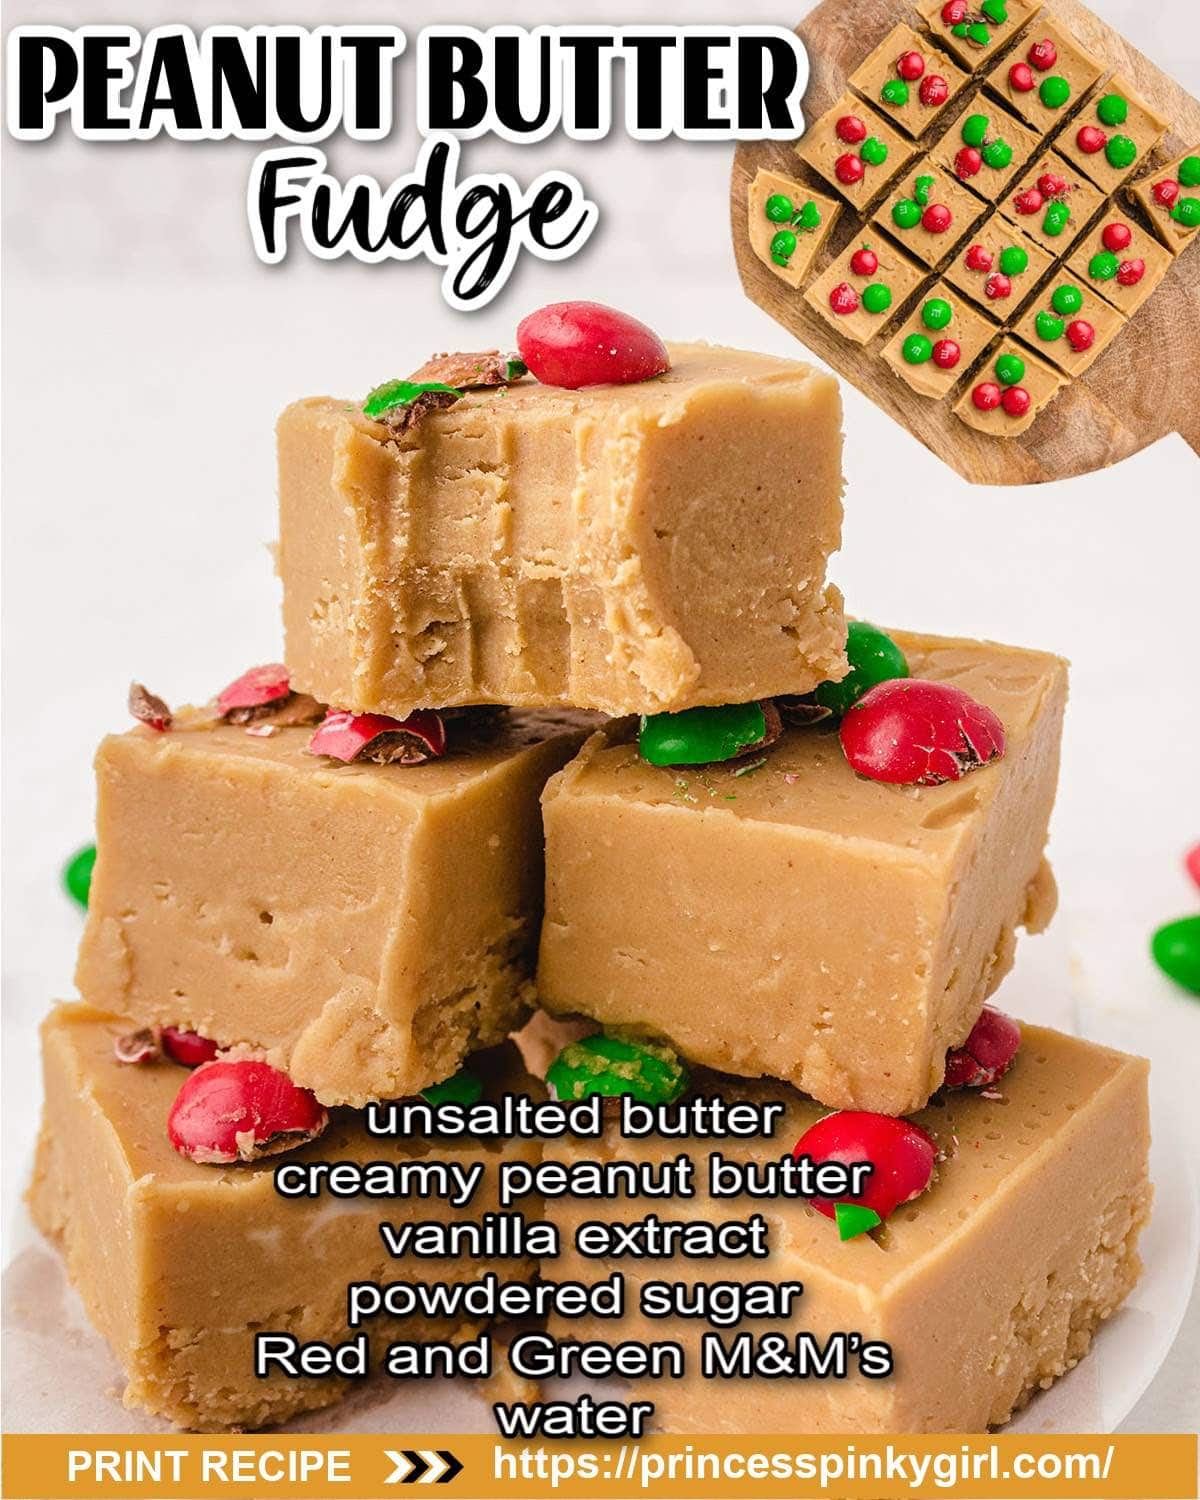
- M&M’s (Optional) – We used regular colored M&M’s, but if you want to decorate for the holidays – Use Green and Red for Christmas, Pink and Red for Valentine’s Day, and Orange and Black for Halloween.
How to Make Easy Peanut Butter Fudge
- Prepare the Pan: Use parchment paper to line the 8×8 pan, leaving enough overhang to lift the fudge later. Add a tablespoon of water to keep the paper in place. The water will not affect the fudge in any way; it just prevents the parchment from moving around while you are spreading the fudge in the pan.
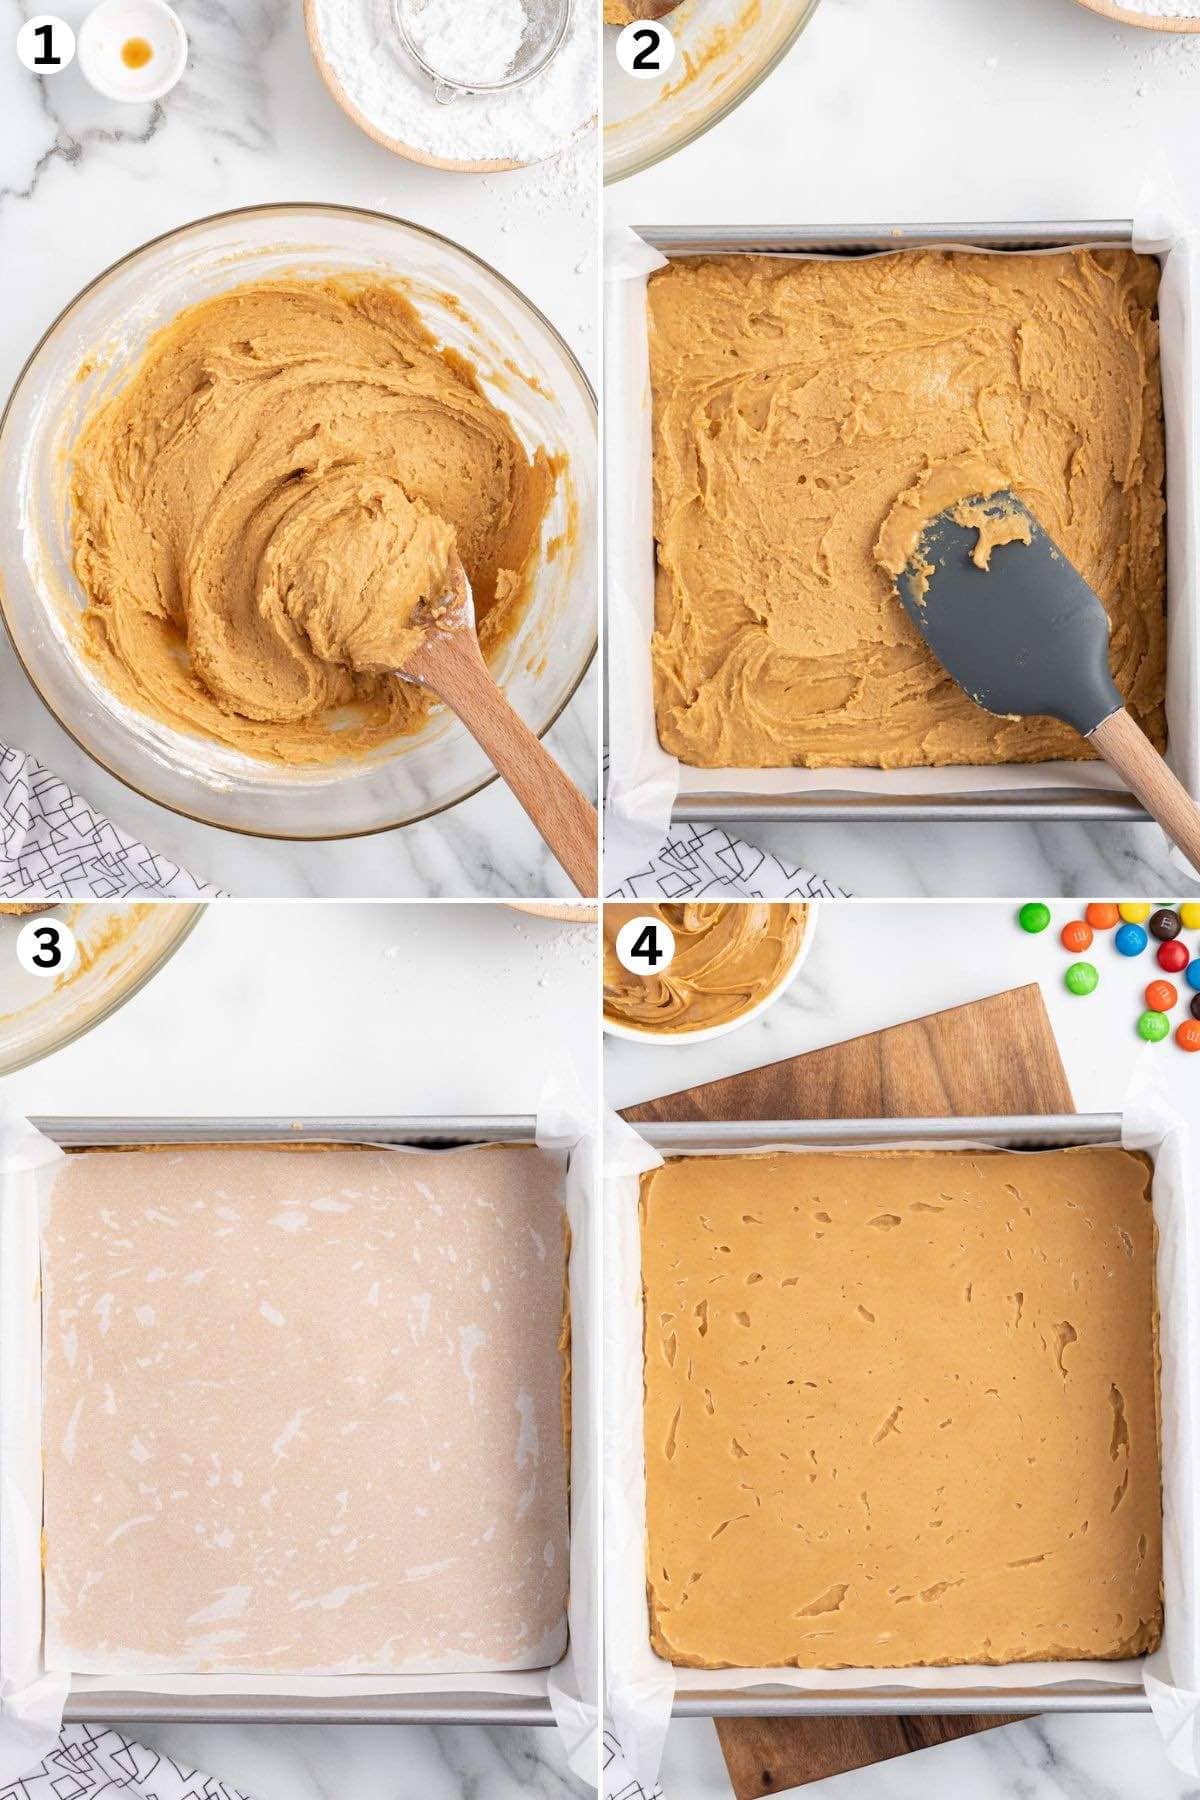
- Mix Ingredients: Microwave butter and peanut butter for 60 seconds, then stir in vanilla extract. Gradually add powdered sugar, stirring until well combined. (Image 1)
- Set Fudge: Pour the mixture into the pan and use a spatula to even it out (Image 2). Cover with the pre-cut parchment paper (Image 3) and chill for 2 hours.
- Cut Fudge: After chilling, remove the top paper (Image 4), lift the fudge using the overhanging paper, and transfer it to a cutting board. Use a warmed knife to slice along pre-scored marks.
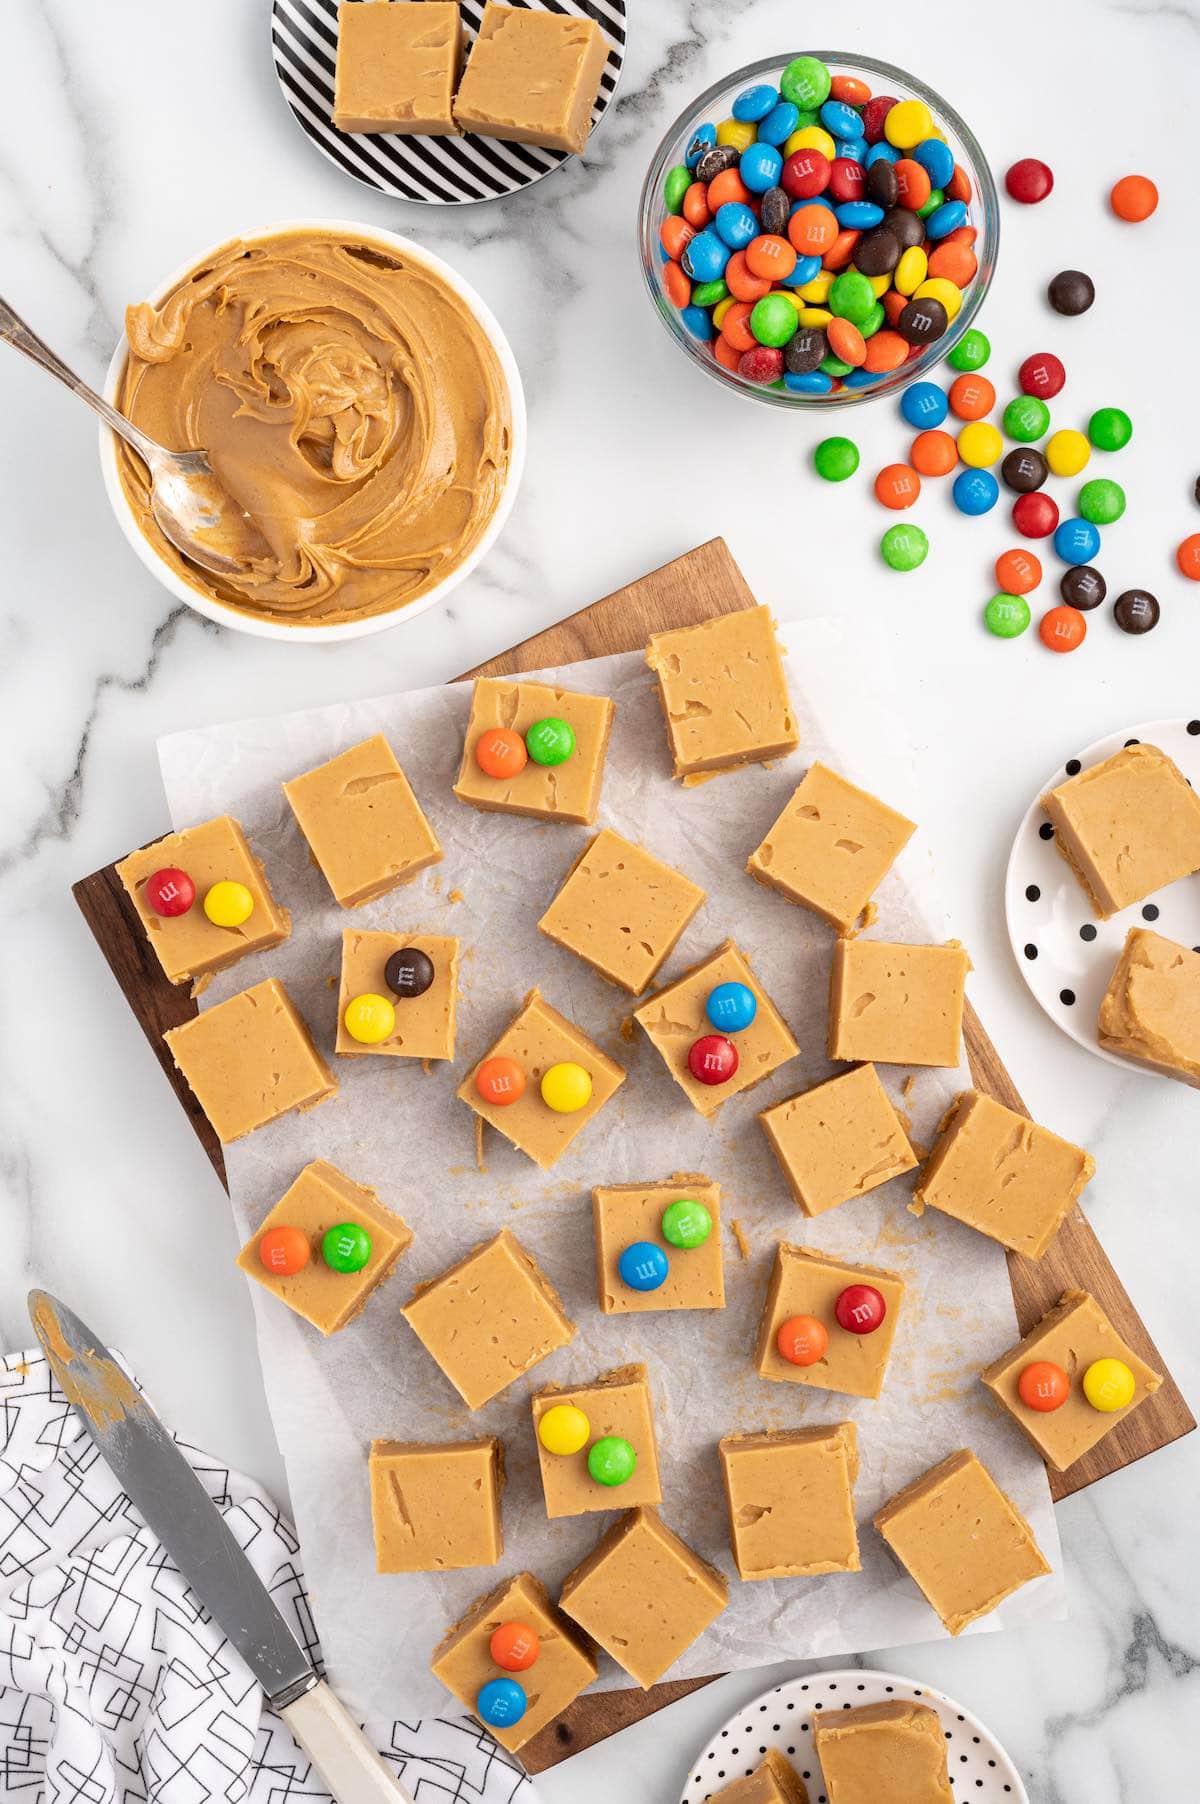
- Decorate and Store: Place M&M’s on top for decoration, then store the fudge in an airtight container. It can be kept at room temperature for 3-4 days or in the refrigerator for 1 week.
Tips for the Easiest Peanut Butter Fudge
- Make sure you sift your powdered sugar before adding it to your hot butter and peanut butter. This ensures that you have a smooth result with your fudge.
- When cutting the fudge, we strongly recommend scoring it before cutting. This serves as a guide for easier and more precise slicing, helping to achieve uniform pieces while minimizing crumbling or breakage. It’s a practical step that ensures the final presentation is both neat and visually appealing.
How to Store Fudge
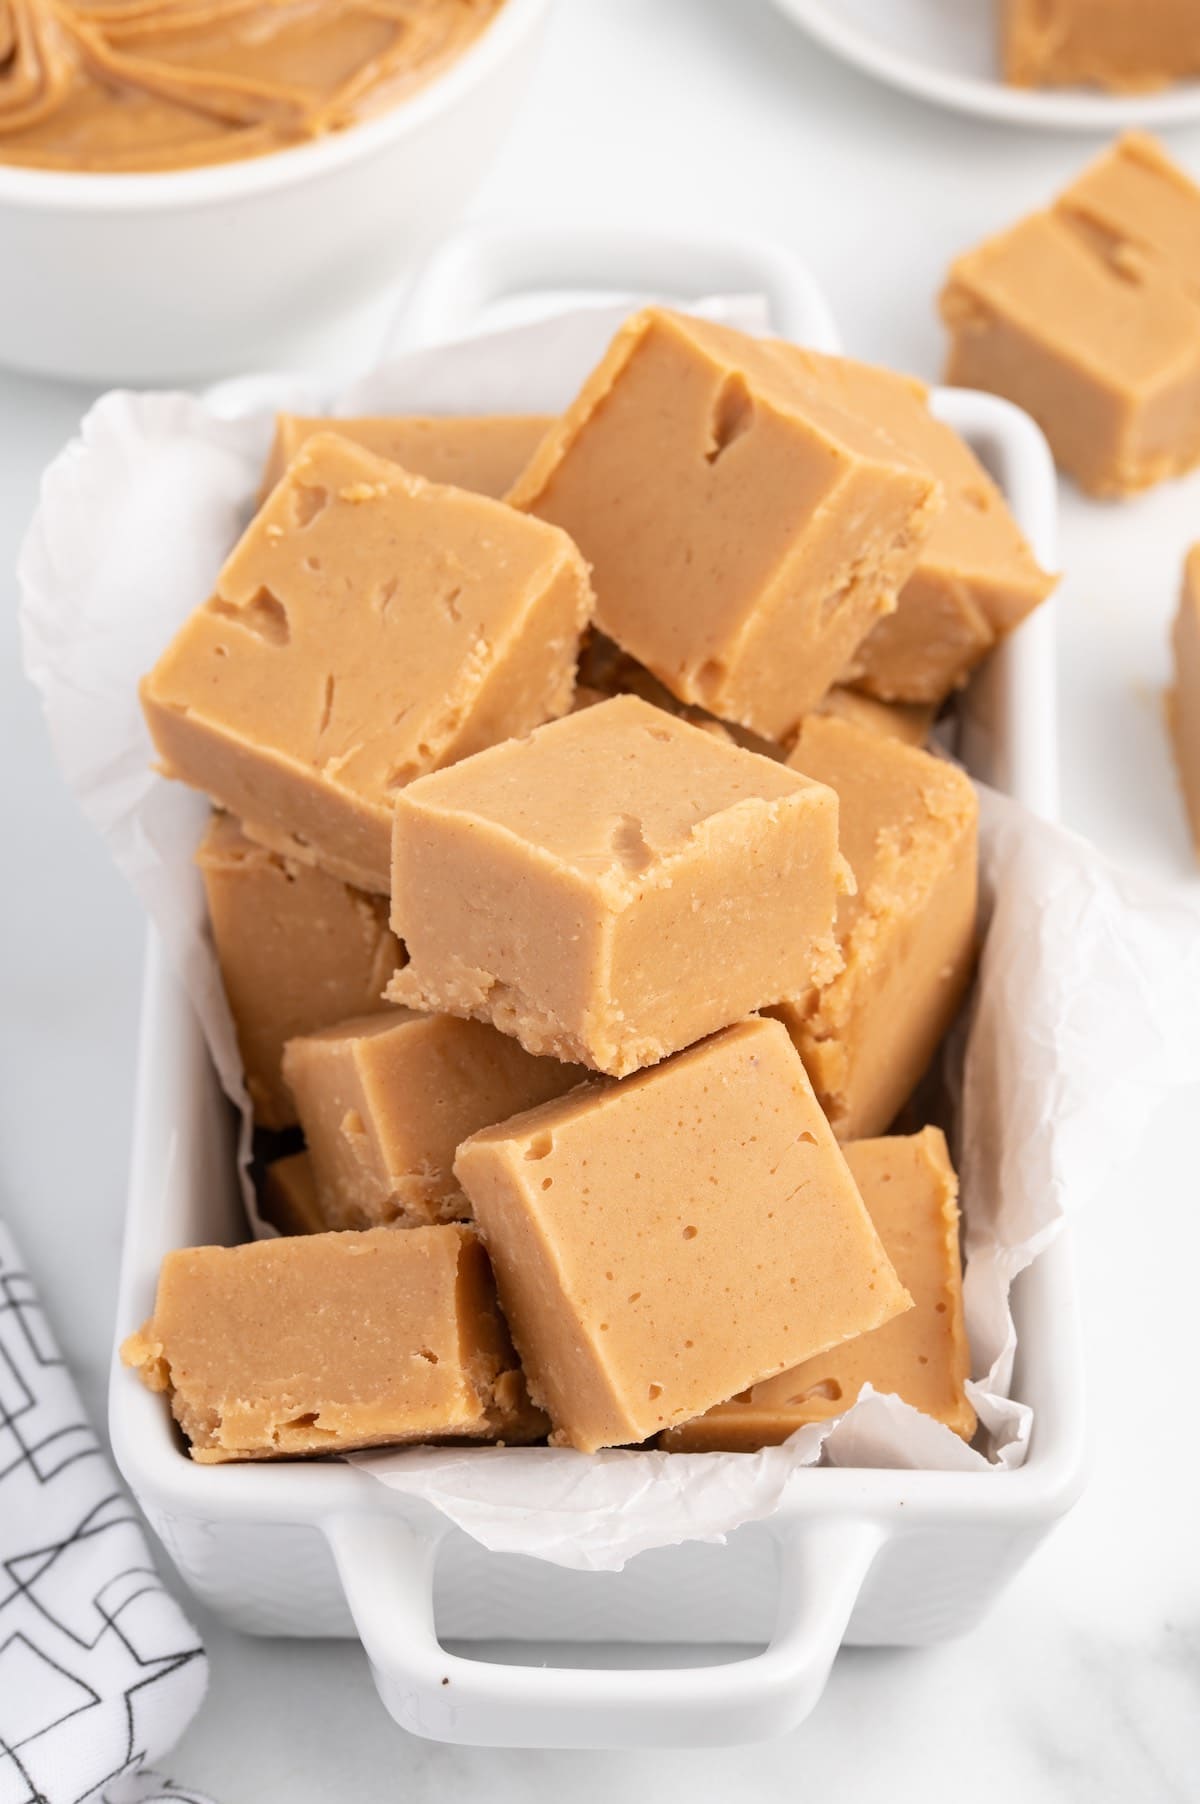
- To Store: Store the fudge in an airtight container. If the fudge is stored at room temperature, it will keep 3-4 days. In the refrigerator, it will keep for 1 week.
- To Freeze: Fudge can be frozen for 2-3 months. Wrap in plastic wrap and then place in an airtight freezer bag. When ready to eat, defrost in the freezer bag until it reaches room temperature.
Other Peanut Butter Recipes
Other Easy Fudge Recipes
- Christmas Sugar Cookie Fudge
- Cookie Monster Fudge
- Harry Potter Butterbeer Fudge
- Easy Oreo Fudge
- Melted Snowman Fudge
- Rocky Road Fudge
- Unicorn Fudge
- Cotton Candy Fudge
- Maple Walnut Fudge
Peanut Butter Fudge
Ingredients
- 1 tablespoon water for the 8×8 pan to help keep the parchment paper in place while pouring and smoothing out the fudge
- 1 cup unsalted butter
- 1½ cups creamy peanut butter (NOT the natural or the natural no-stir varieties)
- 2 teaspoons vanilla extract
- 3¼ cups powdered sugar sifted
- M&M’s OPTIONAL – for garnishing the tops of each piece of fudge
Instructions
- Using the bottom of the 8×8 baking dish as a template, cut out a piece of parchment paper. This piece will be used to help smooth the peanut butter fudge and will stay in place and protect the top of the fudge while it is chilling in the refrigerator.
- Measure out enough parchment paper to hang over the sides of the pan. You will use the overhanging edges to lift the fudge out of the pan.
- Pour the tablespoon of water into the bottom of the 8×8 pan before lining the pan with the parchment paper. The water keeps the paper in place while you are spreading the fudge.1 tablespoon water
- Line the 8×8 prepared pan with the parchment paper.
- Add the unsalted butter and creamy peanut butter in a medium-sized microwave-safe bowl. Heat for 60 seconds. Carefully remove the bowl from the microwave and stir.1 cup unsalted butter, 1½ cups creamy peanut butter
- Add the 2 teaspoons of vanilla extract and stir until the vanilla is incorporated.2 teaspoons vanilla extract
- Slowly add the powdered sugar, 1 cup at a time, stirring with a large spoon in between adding the powdered sugar. The peanut butter mixture will become stiffer to stir; continue stirring until the powdered sugar is completely combined and no white streaks or lumps are visible.3¼ cups powdered sugar
- Pour the fudge mixture into the prepared 8×8 baking dish. Using a spatula to help evenly distribute the fudge in the pan.
- Place the pre-measured piece of parchment paper on top of the fudge. Use this to help smooth the top of the fudge. Leave this piece of parchment paper in place, and put the fudge in the refrigerator to chill for 2 hours.
- Remove the fudge from the refrigerator at the end of the 2 hours. Remove the top piece of parchment. Using a sharp kitchen knife, pre-score the size and number of the serving pieces of fudge, but do not cut the fudge until you remove it from the pan.
- Using the over-hang pieces of paper, lift out the fudge, and place it on a cutting board.
- Warm a large sharp knife under hot water. Dry the blade and, using the pre-measured score marks, slice the pieces of fudge.
- Once the pieces are cut, place 2-3 red and green M&M’s on the top of the fudge for decoration.M&M’s
- Store the fudge in an airtight container. If the fudge is stored at room temperature, it will keep for 3-4 days. In the refrigerator, it will keep for 1 week.
Jenn’s Notes
- Make sure you sift your powdered sugar before adding it to your hot butter and peanut butter. This ensures that you have a smooth end result with your fudge.
- You can substitute different brands of peanut butter in this recipe but remember do NOT use Natural or the Natural No-Stir options. These have different textures, therefore different outcomes, from the recipe as it is written. The brands I have used successfully are as follows:
- Peter Pan- This brand is ever so slightly darker in appearance than the other brands and is a little sweeter because it has more sugar in the peanut butter itself than the others.
- Skippy- This brand is just a little lighter in color than the Peter Pan.
- Reese’s- This brand has a very slight orange hue, but not so much that it is odd, just a little different than the other brands.
- JIF- This brand is a little saltier than the others and is the lightest in color overall.
- All of these brands, when done as a side-by-side comparison, have been almost identical other than the above-mentioned variances. Unless you have a brand that you love the most, any of these choices will yield great results.




J’adore cette recette et pas long affaire merci beaucoup pour votre recette et joyeuses fêtes 🤶🎅😍
Thank you so much! So glad you enjoyed it! Happy Holidays!
Love this. so easy to make.
Thanks Pat! So glad it was a hit!