DIY sidewalk chalk it is cheap to make and you can make any shape you want! You only need three ingredients and a mold and you are on your way to non-stop summer fun!
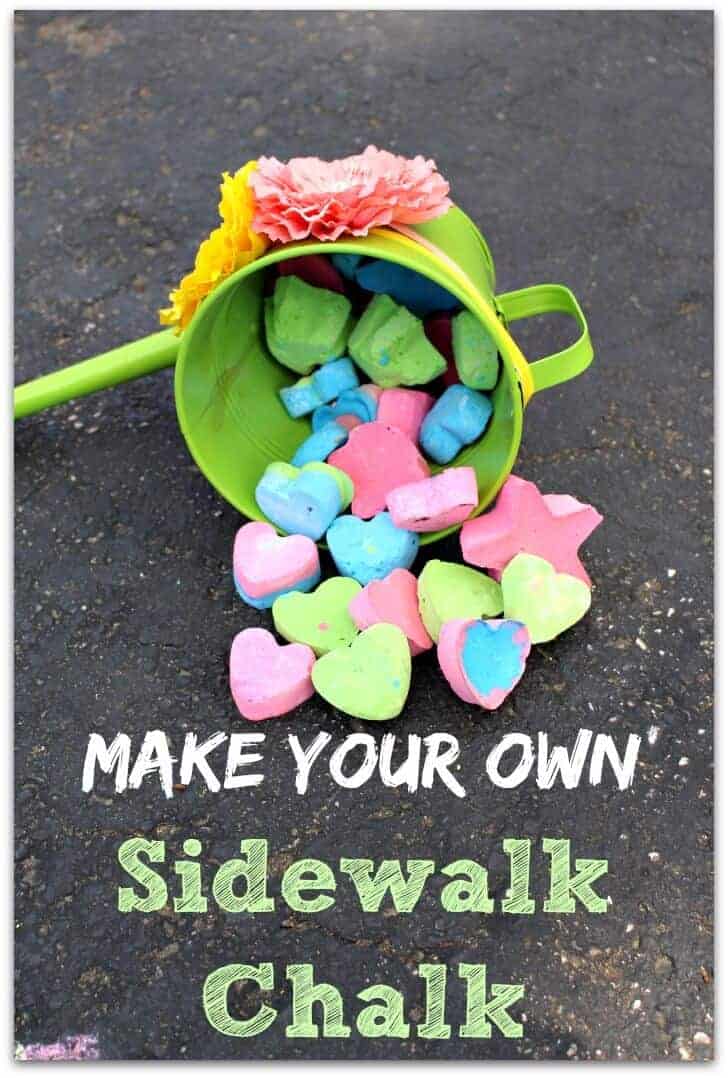
Are you looking for something great to make with the kids this summer? Then you must try my DIY sidewalk chalk! We are going to show you everything you wanted to know about How to make your own sidewalk chalk!
What I love about making our own Sidewalk Chalk is that is it not only super easy and inexpensive to make, but it is a fun activity to do with your kids AND you can make any shape you want!
This sidewalk chalk recipe only takes 3 ingredients and a mold and you are all set to go to create your own summer fun!
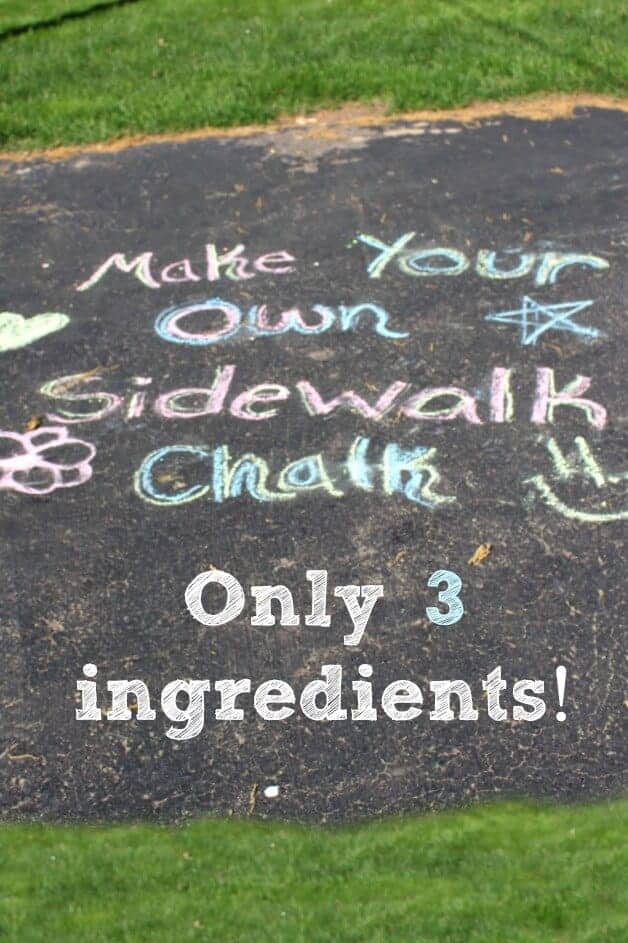
I love playing with sidewalk chalk! What is better than the BIGGEST chalkboard ever – my driveway!!!
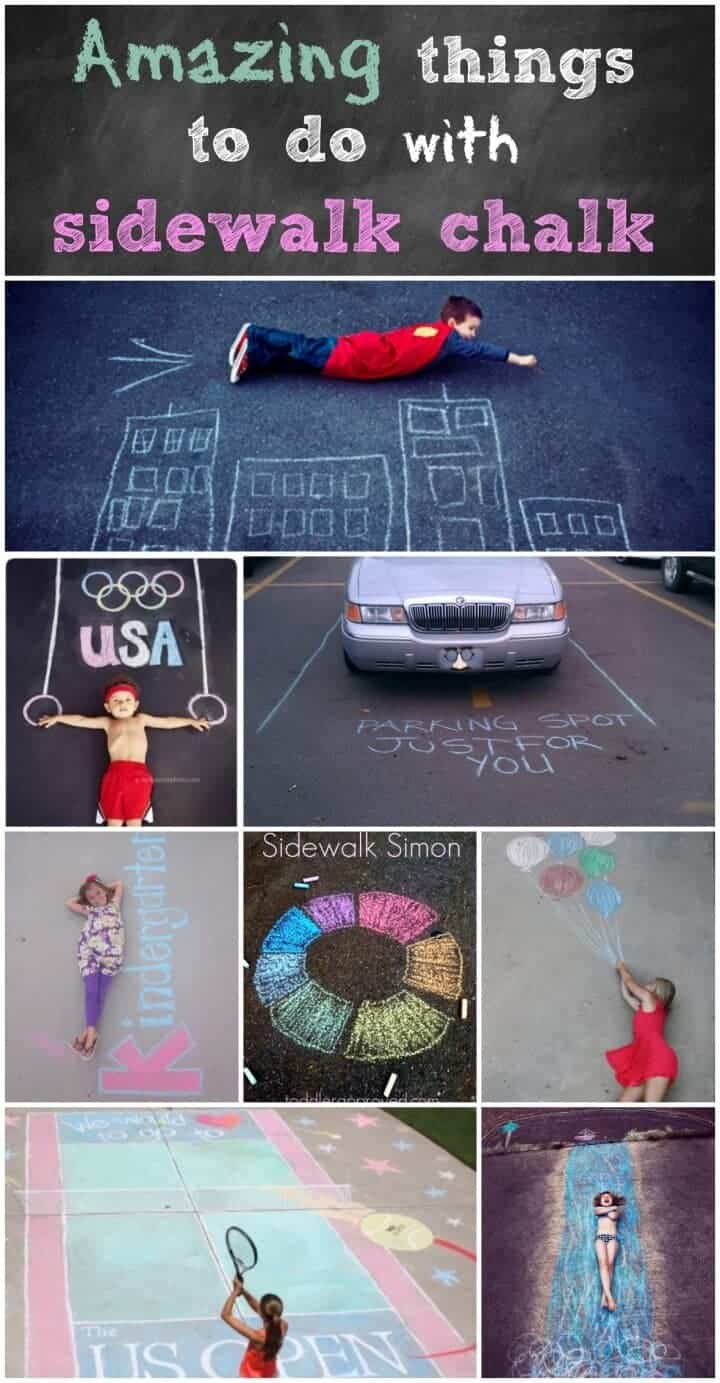
A piece of chalk and a driveway provide hours of entertainment (check out my article on AMAZING THINGS TO DO WITH SIDEWALK CHALK…. there is SO much you can do with it!
You can draw pictures, make up games, draw an entire track of cities to play with trucks on!
So when I found out that I could make my own, that opened up a whole new world of possibilities AND The best news is that it is CHEAP AND if you have the right mold you can make ANY shapes!!!
Having a birthday party or end of the school year party? Make these sidewalk chalks and put them in a cute bag and tie them with some ribbon and you have a cute giveaway for your guests.
They are also great to make as Valentine’s gifts if you are looking for a non-candy Valentine alternative.

Items needed to make sidewalk chalk:
- Plaster of Paris (dry powder, not mixed. Get this HERE at Amazon or locally at Michaels)
- Tempera Paint – have fun with the colors!
- Silicon Mold (here is a great STAR mold & HEART mold)
- Water
- Disposable Cups
- Plastic Spoons

DIY sidewalk chalk
Ingredients
- Plaster of Paris dry powder, not mixed. They have this at Michaels
- Tempera Paint have fun with the colors!
- Silicon Mold
- Water
- Disposable Cups
- Plastic Spoons
Instructions
- For each color you will need a separate cup.
- Fill each cup with 3/4 cup of water.
- Add 1/4 cup of paint
- Add 1 cup of Plaster of Paris
- Mix well
- Pour mixture into molds (I cleaned up the edges with a paper towel)
- If you want to layer colors just pour the first color in and add the second or third on top (see picture below - don't mix them)
- Let dry for 24 hours. Remove them from the mold (be careful because they are still soft and you need to carefully pop them out). Let them dry outside the molds for an additional 24 hours!
- Presto - your own homemade sidewalk chalk!!!! So fun!!
Looking for some creative ideas to do with your new homemade sidewalk chalk, check these out:




Has anyone used this as sidewalk chalk paint? I know you’d need to use as you go before it sets up.
The directions and ingredients wont come up on my page can you please post it or email me it
That’s strange – try here http://princesspinkygirl.com/diy-sidewalk-chalk/2/
Will food coloring work or does it need to be the paint?
i would like this for my grandkids
I have made my own chalk using a similar recipe but it always seems so toxic and dangerous to let kids help. My question is does it not eat through your mold? I have tri d putting the chalk mix in different containers and it always eats through and leaks
Hey Gabby – I haven’t had that problem. I actually left it in the mold for a week once and it didn’t eat through.
OK awesome I have new Lego brick silicone molds I just didn’t want to ruin them. Thank you and I love your posts!
Sure one could just go buy chalk at a dollar store. But this way, one can get the kids to help make it and give them a project to do as well! My grand babies would love making their own sidewalk chalk! Besides a great way to spend time with the kids without boring them or parking them in front of a TV or some kind of game system!!
Just a heads up you dollar store sells chalk for a dollar
This was my exact thought. Why would I mess up my kitchen and buy expensive tempera and plaster when I can get a bucket of chalk for $1? Maybe I’m lazy but I have three kids and making my own chalk feels like an incredible waste of one’s time.
In the picture it looks like the molds have been spray with cooking spray, d
o you need to spray the molds before putting mixture in them?
Nope – didn’t spray them. I used them to make crayons and there was residue from that!
Plaster Of Paris contains chemicals which cause cancer. Just a heads up.
It’s a good thing no one asked for your opinion.
Just went to make this and on the box of the plaster it cautions not to breathe the dust and to avoid skin and eye contact . Also to wear gloves and eye protection while working with is wet because it can cause burns! Yikes!
I’m hoping this is only true of the brand I purchased (DAP) and not all kinds if people are making this with/for toddlers and young children! Bummer.
my question is, your recipe adds up to two cups, but it appears you are using red “solo” cups. Did I miss something?
Hi Skyler – I just used the solo cups to mix in – then I could throw them out.