This post may contain affiliate links. Please read our disclosure policy.
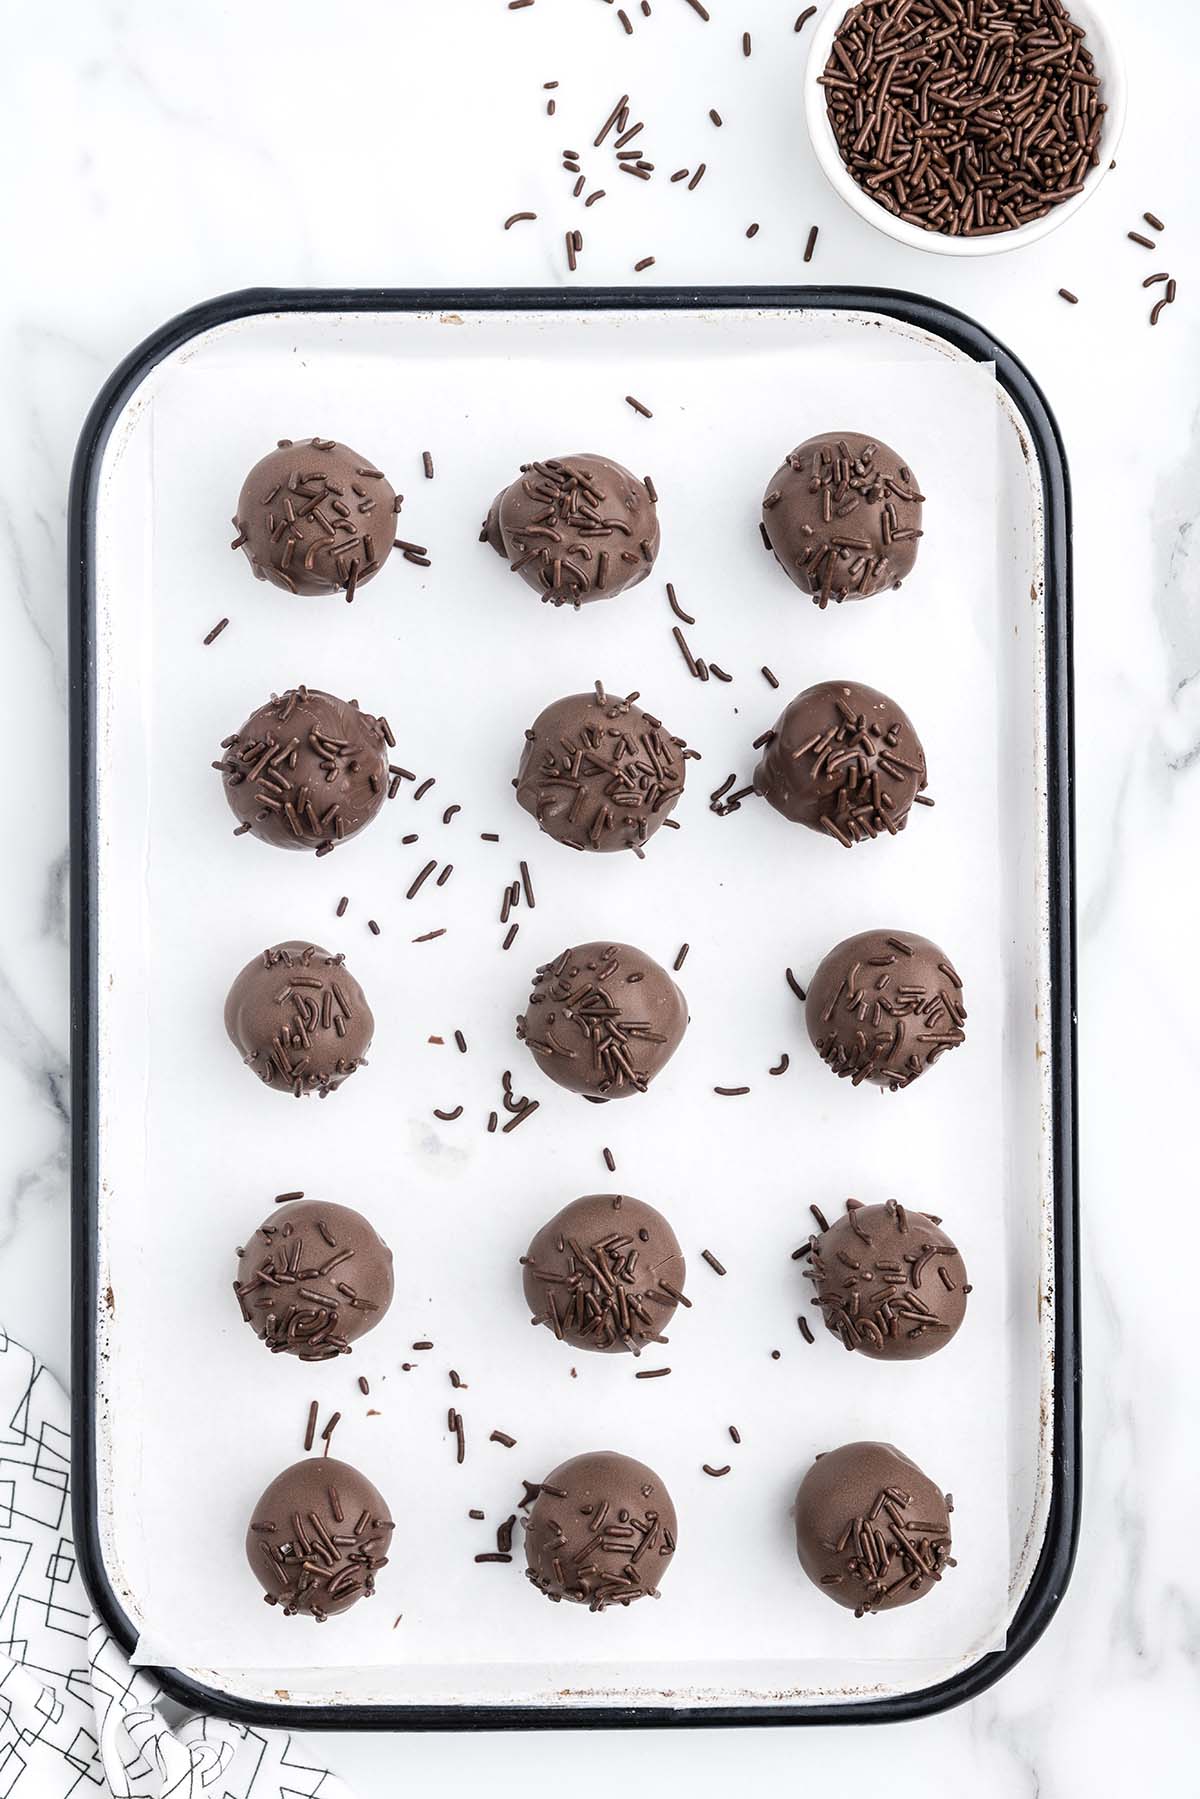
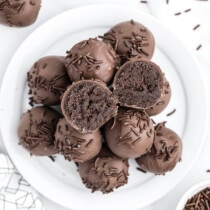
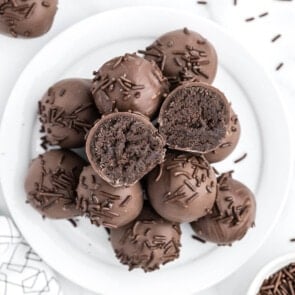
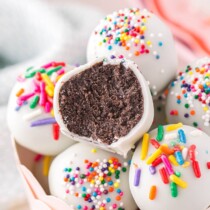
Chocolate Cheesecake Bites is a quick and easy way to make mini bite-sized desserts, flavored like your favorite chocolate cheesecake, but in the form of a cake ball. This no-bake truffle treat can be prepared in 10 minutes using only 3 simple ingredients.
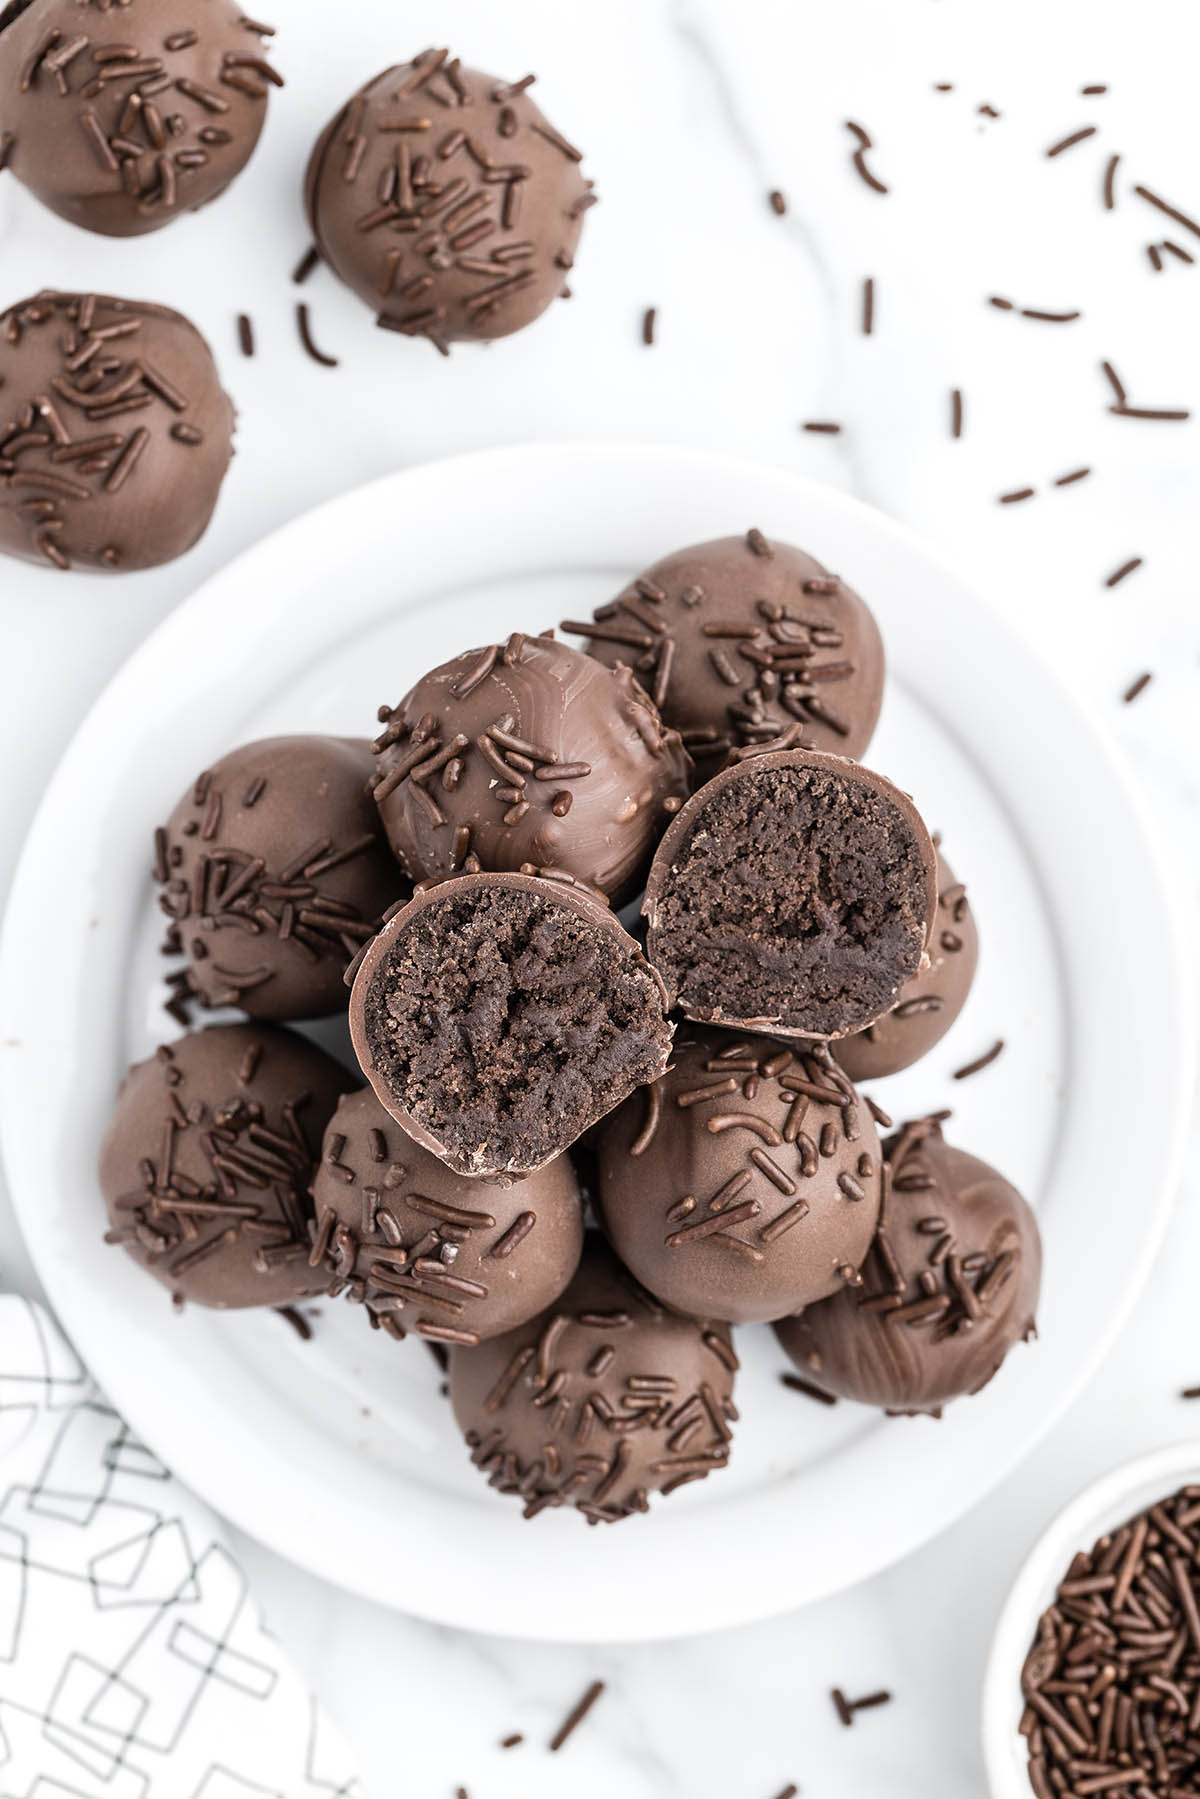
No-Bake Chocolate Cheesecake Balls
This Chocolate Cheesecake Bites recipe is a twist on the traditional sweet and tart treat with a simple shortcut that makes my revised recipe super easy.
In a matter of minutes, you can combine a box of cake mix with cream cheese to make a mixture that you scoop and roll into balls, coat in chocolate, and cover in sprinkles.
Making a bite-sized ball version of a classic cheesecake is a fast and fun way to serve a round “slice” without baking a full-sized cheesecake.
These mouth-watering candy-coated balls are a mash-up of a cake pop and a cake made from a boxed mix, but these bites are even better because there are far fewer ingredients and you don’t have to bake the batter!
For more no-bake round-shaped finger food recipes, try my Strawberry Cheesecake Bites, Cheese Ball Bites, No-Bake Cheesecake Bites, and Energy Bites.
Why We Love This Chocolate Cheesecake Bites Recipe
- Quick and easy to prepare in 10 minutes.
- Only uses 3 ingredients plus sprinkles.
- No-bake recipe and no fancy equipment required.
- Cool and creamy center that’s covered in a chocolate candy coating.
- Kids will love to customize their candy with their favorite cake mix flavor.
- Perfectly portioned and portable sweet snack.
- Delicious make-ahead dessert for potlucks, parties, backyard barbecues, and holiday celebrations.
- Great for gift giving.
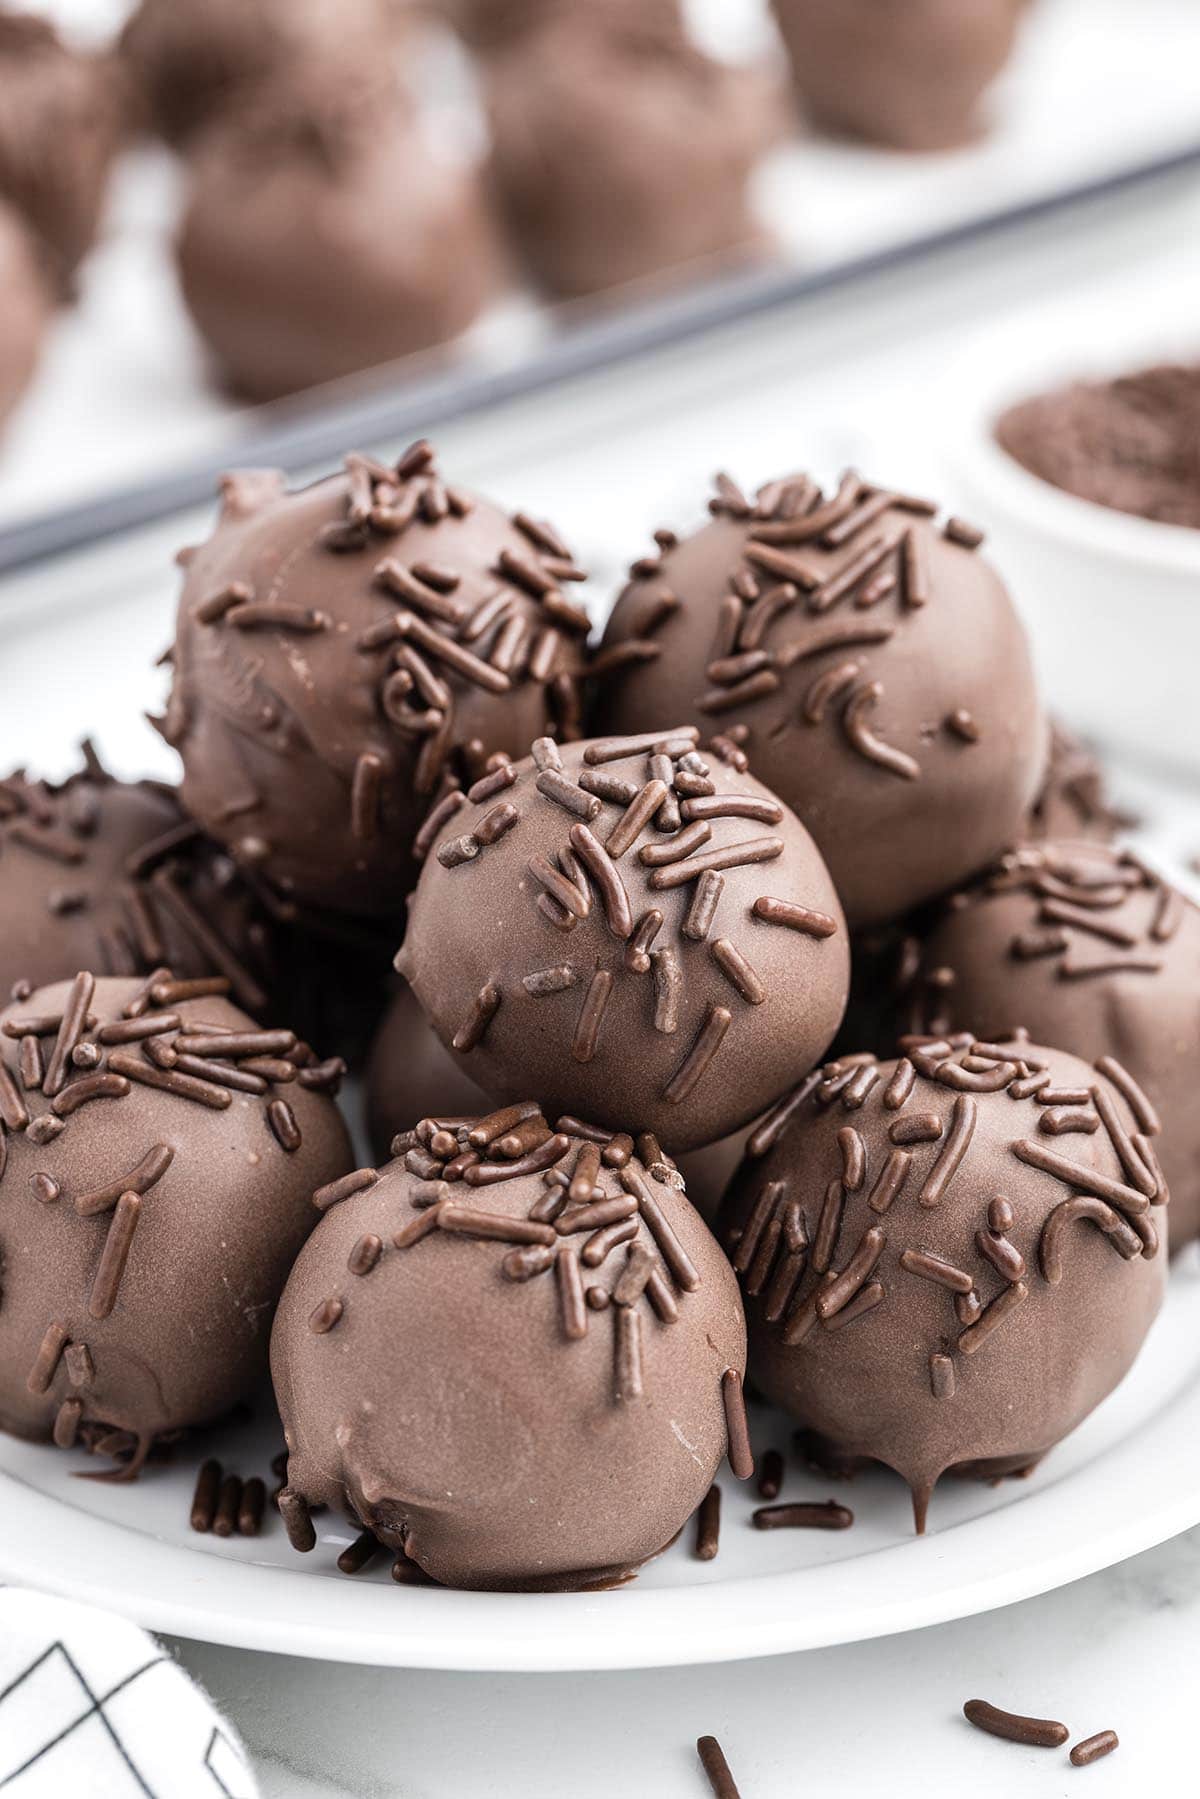
Ingredients
- Chocolate fudge cake mix
- Cream cheese
- Chocolate almond bark
- Chocolate sprinkles
SEE FULL PRINTABLE RECIPE CARD BELOW
Substitutions and Additions
- Choose Your Chocolate: You can substitute milk chocolate, semi-sweet, or dark chocolate chips for the chocolate almond bark. Simply melt in the microwave as you would melt the almond bark.
- Different Decorations: I used chocolate sprinkles a white chocolate drizzle to top these “truffles” but you could also use colored sanding sugar, sprinkles, cookie crumbles, or crushed candy instead.
- Change The Cake Flavor: This versatile recipe can be used with your favorite cake mix flavor. You can try vanilla or funfetti (fun for birthdays), red velvet, lemon, Strawberry, or any flavor you prefer.
- Customize Your Cake Bites: You can easily customize your cheesecake bites to make them festive for any special occasion. Use green and red sprinkles for Christmas, pink and blue for a baby shower, or red, pink, and white for Valentine’s Day!
Recommended Tools
- Mixing bowls
- Handheld mixer
- Baking sheet
- Parchment paper
- 1 Tablespoon cookie scoop
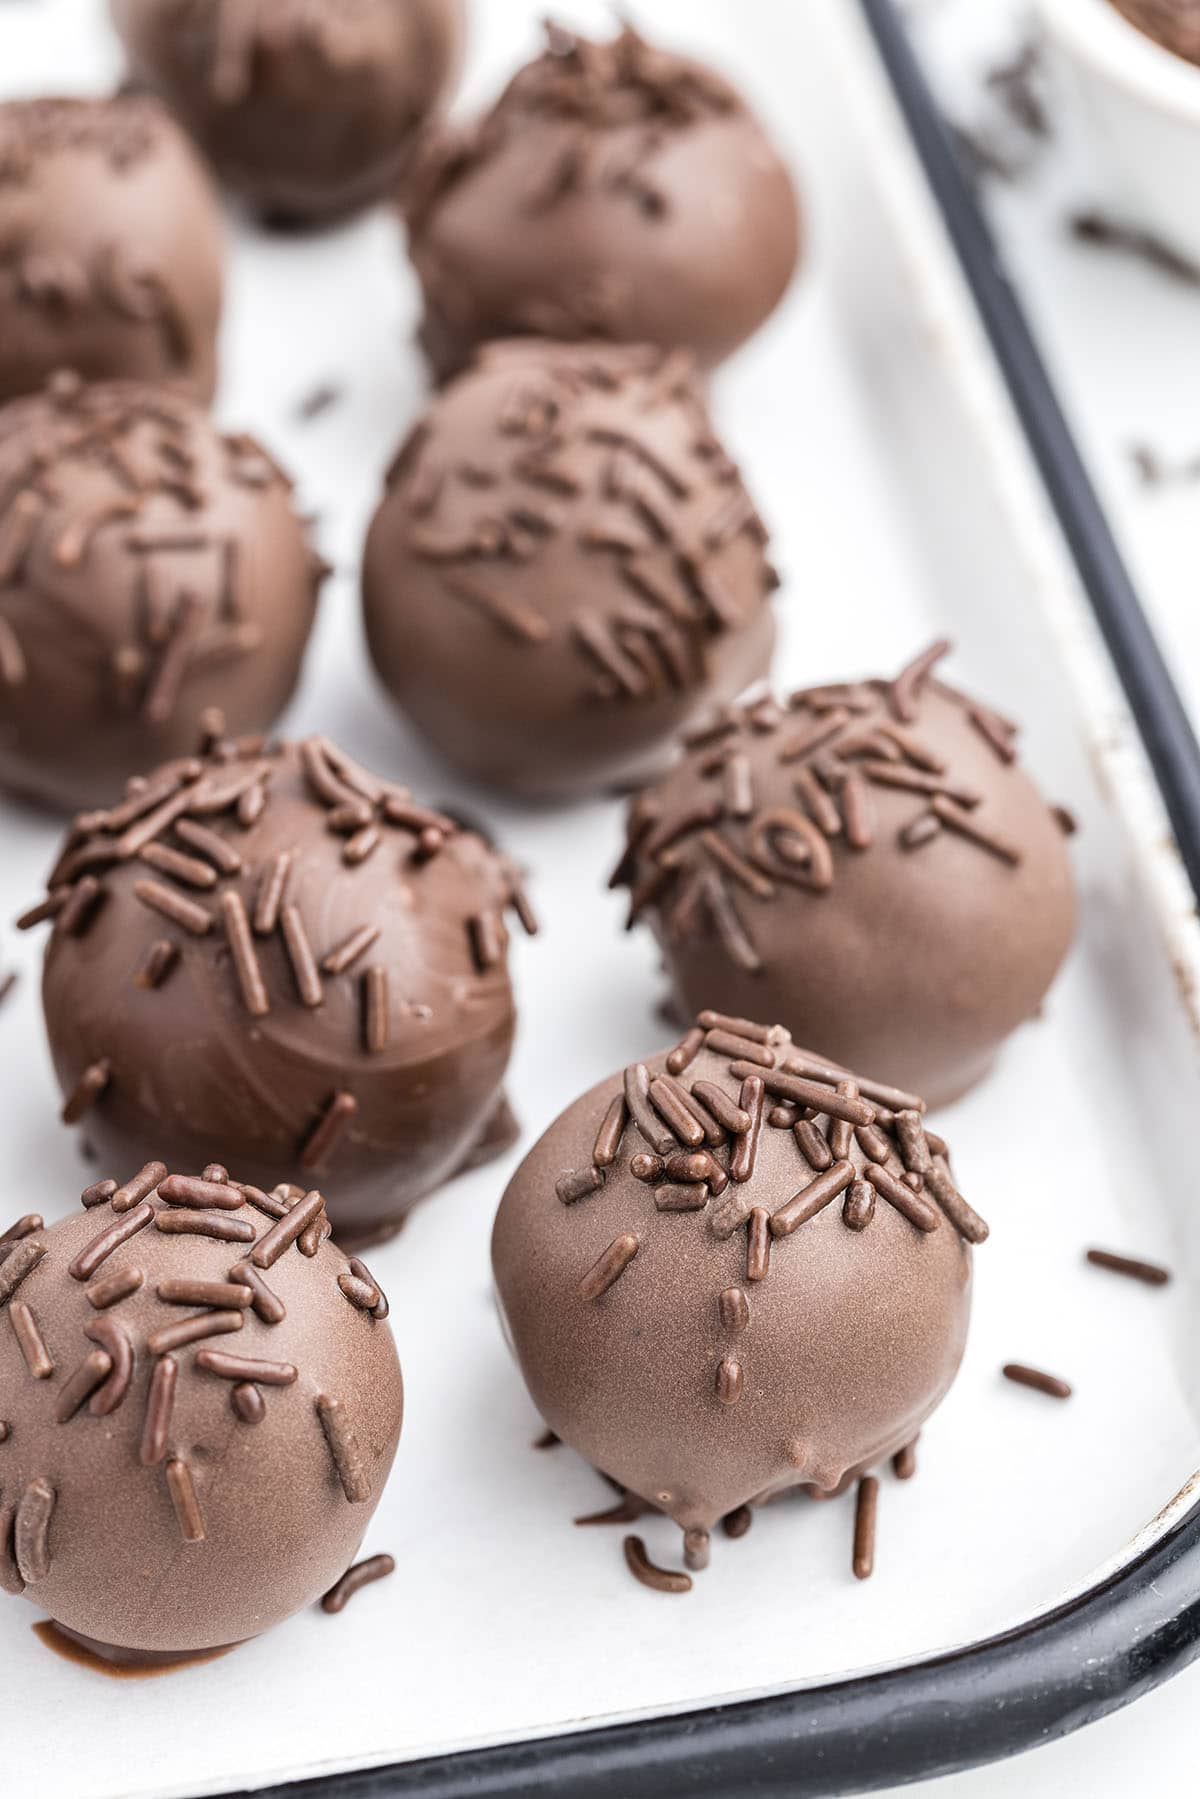
How to Make Chocolate Cheesecake Bites
These simple no-bake Chocolate Cheesecake Bites are rich and creamy and filled with all the flavor of cheesecake but in a bite-sized treat. Only 3 ingredients are needed and then they’re coated and covered in more chocolate!
- Heat Treat: Microwave the dry cake mix in two 30 second intervals, stirring after each interval. Allow the cake mix to cool completely.
Pro Tip: Before adding the cake mix to the cream cheese, it is important to heat treat the dry cake mix to kill any bacteria. - Make The Cheesecake Mixture: Beat the cream cheese until smooth. Add the dry cake and mix until completely incorporated.
- Chill: Tightly cover the cream cheese mixture and chill in the refrigerator for 2 hours.
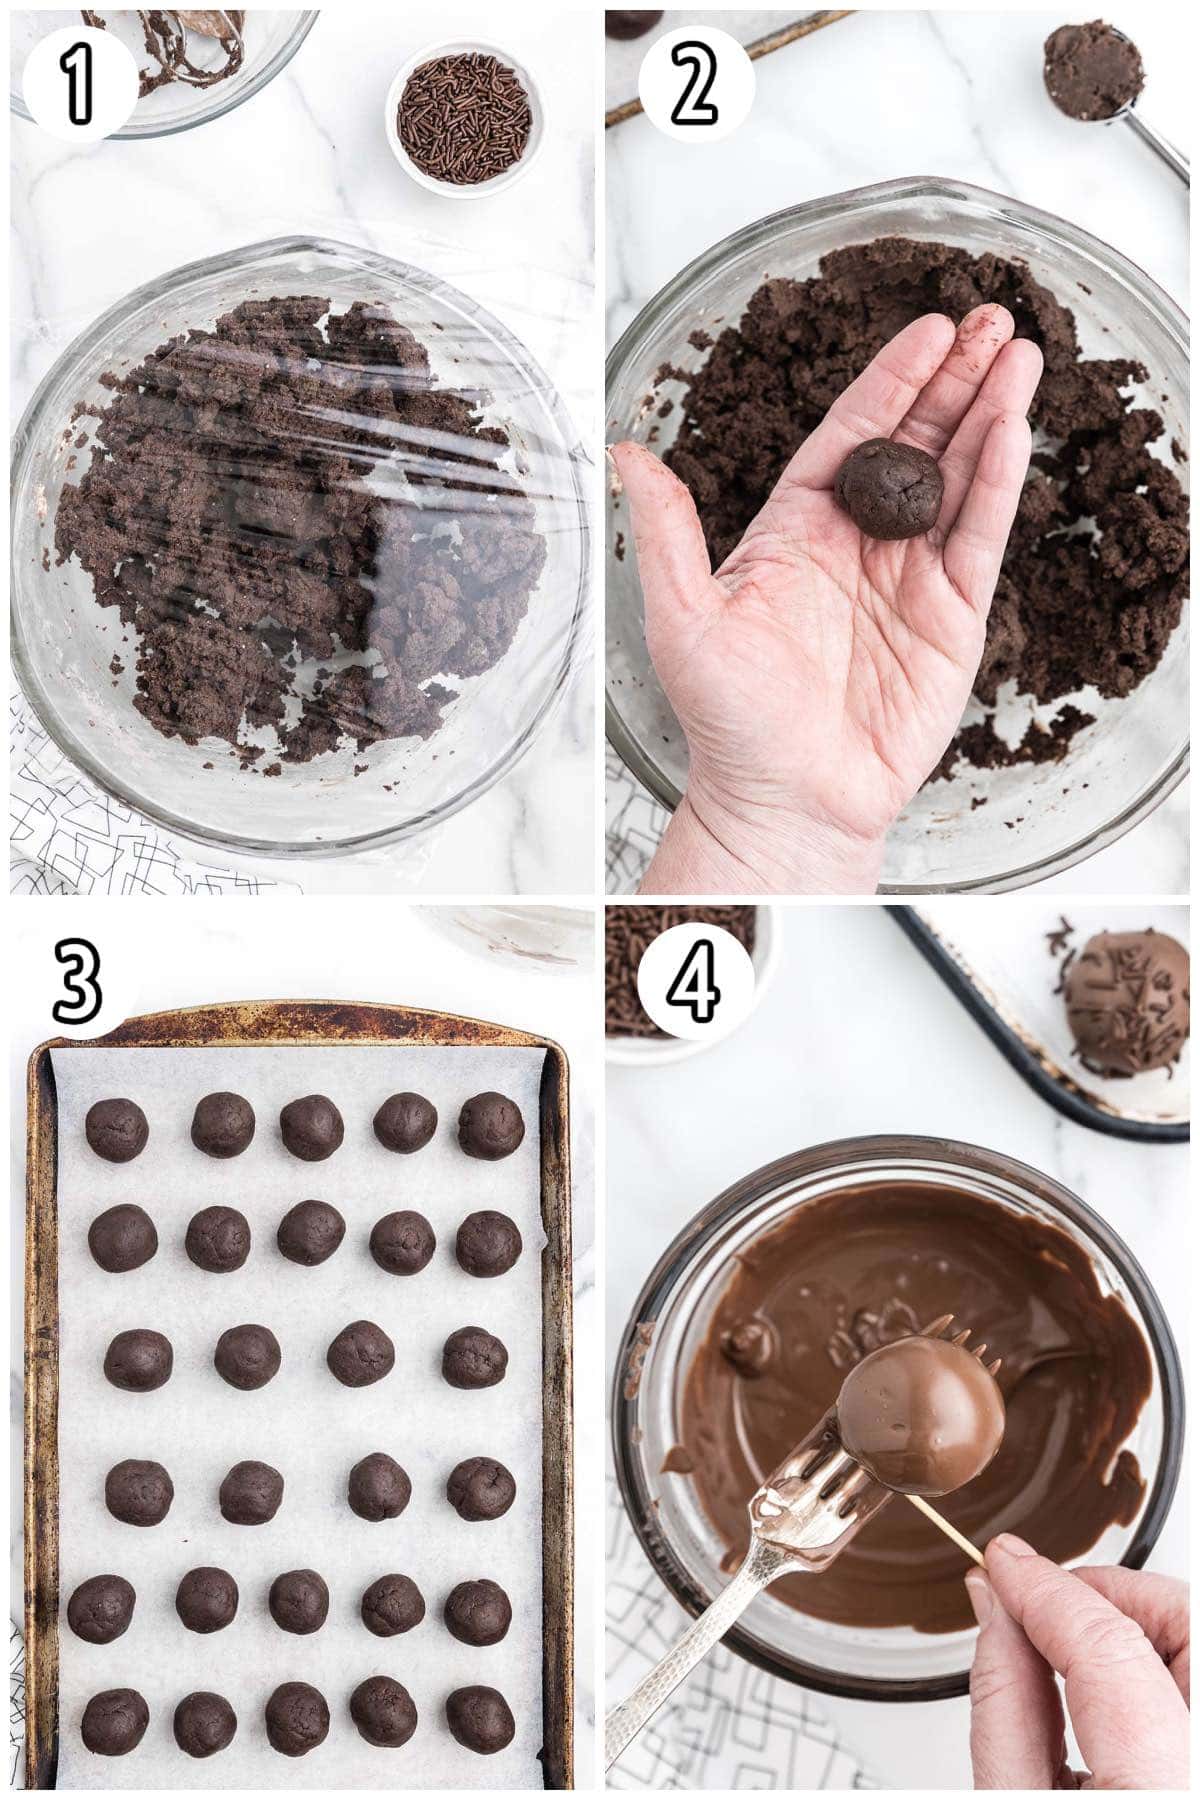
- Make The Ball Bites: Scoop the cheesecake dough with a cookie scoop, roll into a ball, and set the cheesecake bites onto the prepared baking sheet. Repeat the steps.
- Coat In Chocolate: Heat the almond bark in the microwave. Roll each ball in the melted almond bark and place the ball onto the baking sheet. Top with chocolate sprinkles.
Pro Tip: You can also use a spoon to pour the coating over any bare spots on the cheesecake bites. - Serve: Once all the cheesecake bites are completely coated and sprinkled, return to the refrigerator until you are ready to serve. Enjoy!
Tips
- Be sure your cream cheese is at room temperature to ensure you have no lumps in the cheesecake bites.
- You can allow the un-coated cheesecake bites to sit overnight in the refrigerator before coating with the melted chocolate. The cake mix will expand, and the almond bark may crack if you coat the bites too soon.
Storage Tips
- To Store: Store any leftovers in an airtight container in the refrigerator for up to 5 days.
- To Freeze: You can freeze the un-coated cheesecake bites for up to 2 months. Allow the frozen bites to thaw overnight in the refrigerator before coating.
Frequently Asked Questions
Flour in uncooked batter can cause sickness. It can carry bacteria. So, a quick heat treatment is needed to ensure that those germs are killed off. It’s super easy to do this by placing it in the microwave or oven for 1-2 minutes.
The best method to coat these bites in almond bark is to use a fork and gently tap any excess chocolate on the side of the bowl. I like to use a toothpick to remove excess melted almond bark from the bottom of the fork and then to gently push the ball onto the baking sheet.
Yes, these cheesecake bites must be stored in the refrigerator because they are made with cream cheese.
I prefer using full fat cream cheese for this recipe because I think it gives these treats the most flavor and richness. Reduced fat would still work ok, but they may not be as rich tasting.
Other Easy No-Bake Dessert Recipes
- No Bake Oreo Dessert
- Jell-O Pie
- No-Bake Avalanche Cookies
- Chocolate Covered Peanut Butter Balls Recipe
- Cookie Dough Truffles
- Nutella Oreo Truffles
- Rocky Road Bars
- Coconut Cheesecake Bites
Chocolate Cheesecake Bites
Ingredients
- 15.25 ounce box of chocolate fudge cake mix
- 8 ounce package cream cheese softened
- 8 ounces chocolate almond bark
- 2 tbsp chocolate sprinkles
Instructions
- Before adding the cake mix, it is important to heat treat the dry cake mix. Pour the dry cake mix into a medium-sized heat-safe bowl. Microwave the cake mix in two 30-second intervals, stirring after each interval. Allow the cake mix to cool completely before mixing into the cream cheese.
- Using a medium-sized mixing bowl and a handheld mixer on medium-high speed, beat the cream cheese for 2-2½ minutes until completely smooth.
- Sprinkle the dry cake mix over the top of the cream cheese. Continue to mix just until the dry cake mix is well incorporated.
- Tightly cover the cream cheese mixture and chill in the refrigerator for 2 hours.
- Line a baking sheet with parchment paper. Set it aside.
- Using a 1 tablespoon scoop, scoop the cheesecake dough. Roll into a ball and set the cheesecake bites onto the prepared baking sheet. Repeat the steps.
- Using a heat-safe medium-sized mixing bowl, heat the almond bark in the microwave in 30-second intervals until the almond bark is completely melted.
- Roll the cheesecake bites in the melted almond bark. Place the coated cheesecake bites on a fork and gently tap any excess coating off. You can also use a spoon to pour the almond bark over any bare spots on the cheesecake bites. Tip: After you tap the excess melted almond bark, take a toothpick, gently push the ball to the end of the spoon. Then take the toothpick and run it underneath the fork to remove any excess melted almond bark, wipe the edge of the toothpick on the end of the fork and then use the same toothpick to scoot the little ball gently onto the parchment paper.
- Return the coated cheesecake bites to the lined baking sheet, and sprinkle with the chocolate sprinkles.
- Once all the cheesecake bites are completely coated and sprinkled, return the cheesecake bites to the refrigerator until you are ready to serve.
Jenn’s Notes
- To Store: Store any leftovers in an airtight container in the refrigerator for up to 5 days.
- To Freeze: You can freeze the un-coated cheesecake bites for up to 2 months. Allow the frozen bites to thaw overnight in the refrigerator before coating.
- Be sure your cream cheese is at room temperature to ensure you have no lumps in the cheesecake bites.
- You can allow the un-coated cheesecake bites to sit overnight in the refrigerator before coating with the melted chocolate. The cake mix will expand, and the almond bark may crack if you coat the bites too soon.


Love the recipes
Thank you so much, Beverly! Hope you enjoy them!
🥺❤️
So delicious! Doesn’t taste like a cheesecake bite but does taste like a yummy cake pop with a hint of cheesecake! So good!
just got done making the chocolate and vanilla sprinkled cheese cake balls. so the verdict is still out on taste. but i have to comment on the 2 hours and 10 minutes for prep time…. this is absolutely NOT possible. It takes about 5-10 minutes for the cake batter to cool while putting it in the fridge. it took me 20 minutes to roll the dough into balls. then another 30-40 minutes to cover the balls with chocolate. so WARNING to anyone who is in a rush to take these actual times into consideration
They are supposed to be chilled for 1 hours ,just to make handling and rolling into balls easier,not sure why yours are hot or even warm. It took me less then 10 minutes to roll into balls and even less to coat them in the chocolate. Try making again! it’s well worth it!
omg these was amazing
So glad you enjoyed it!
I am going to make some look yummy 😋