This post may contain affiliate links. Please read our disclosure policy.
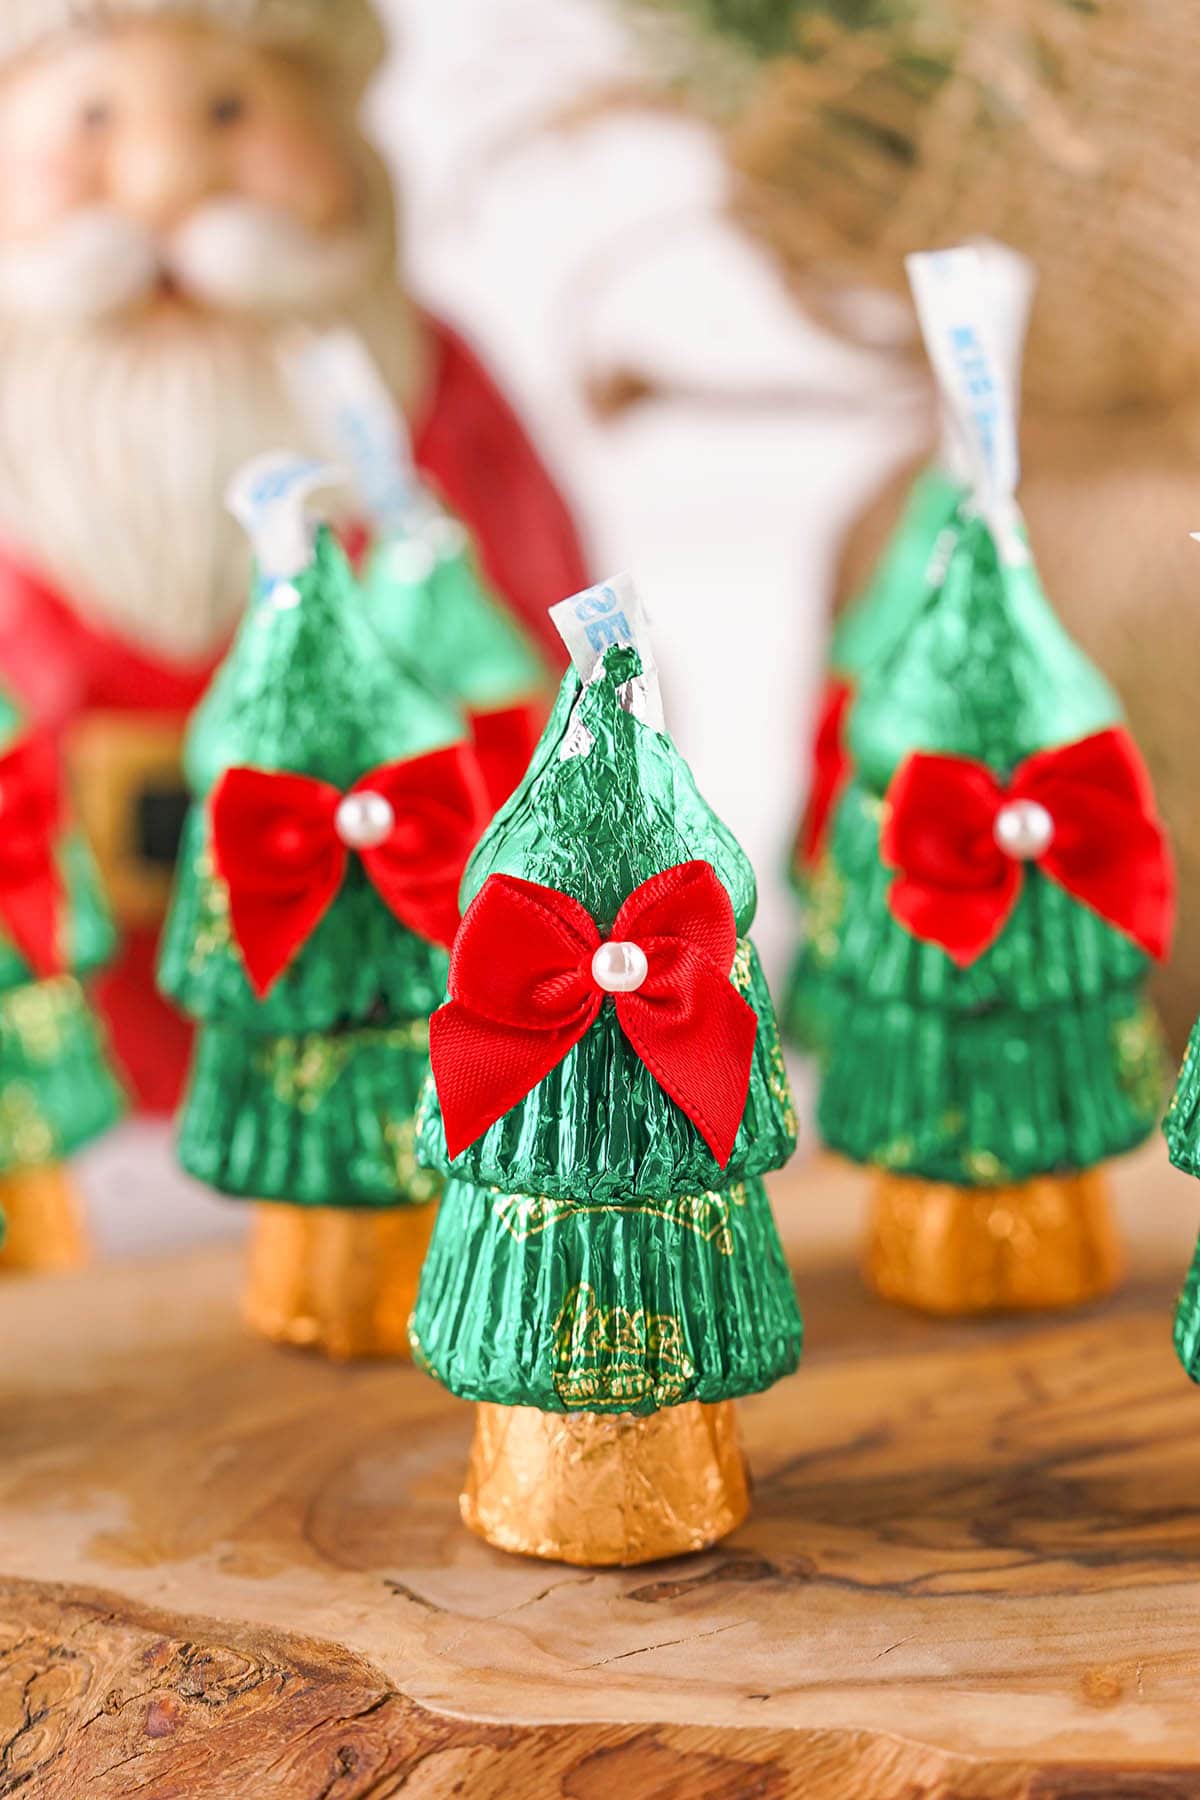
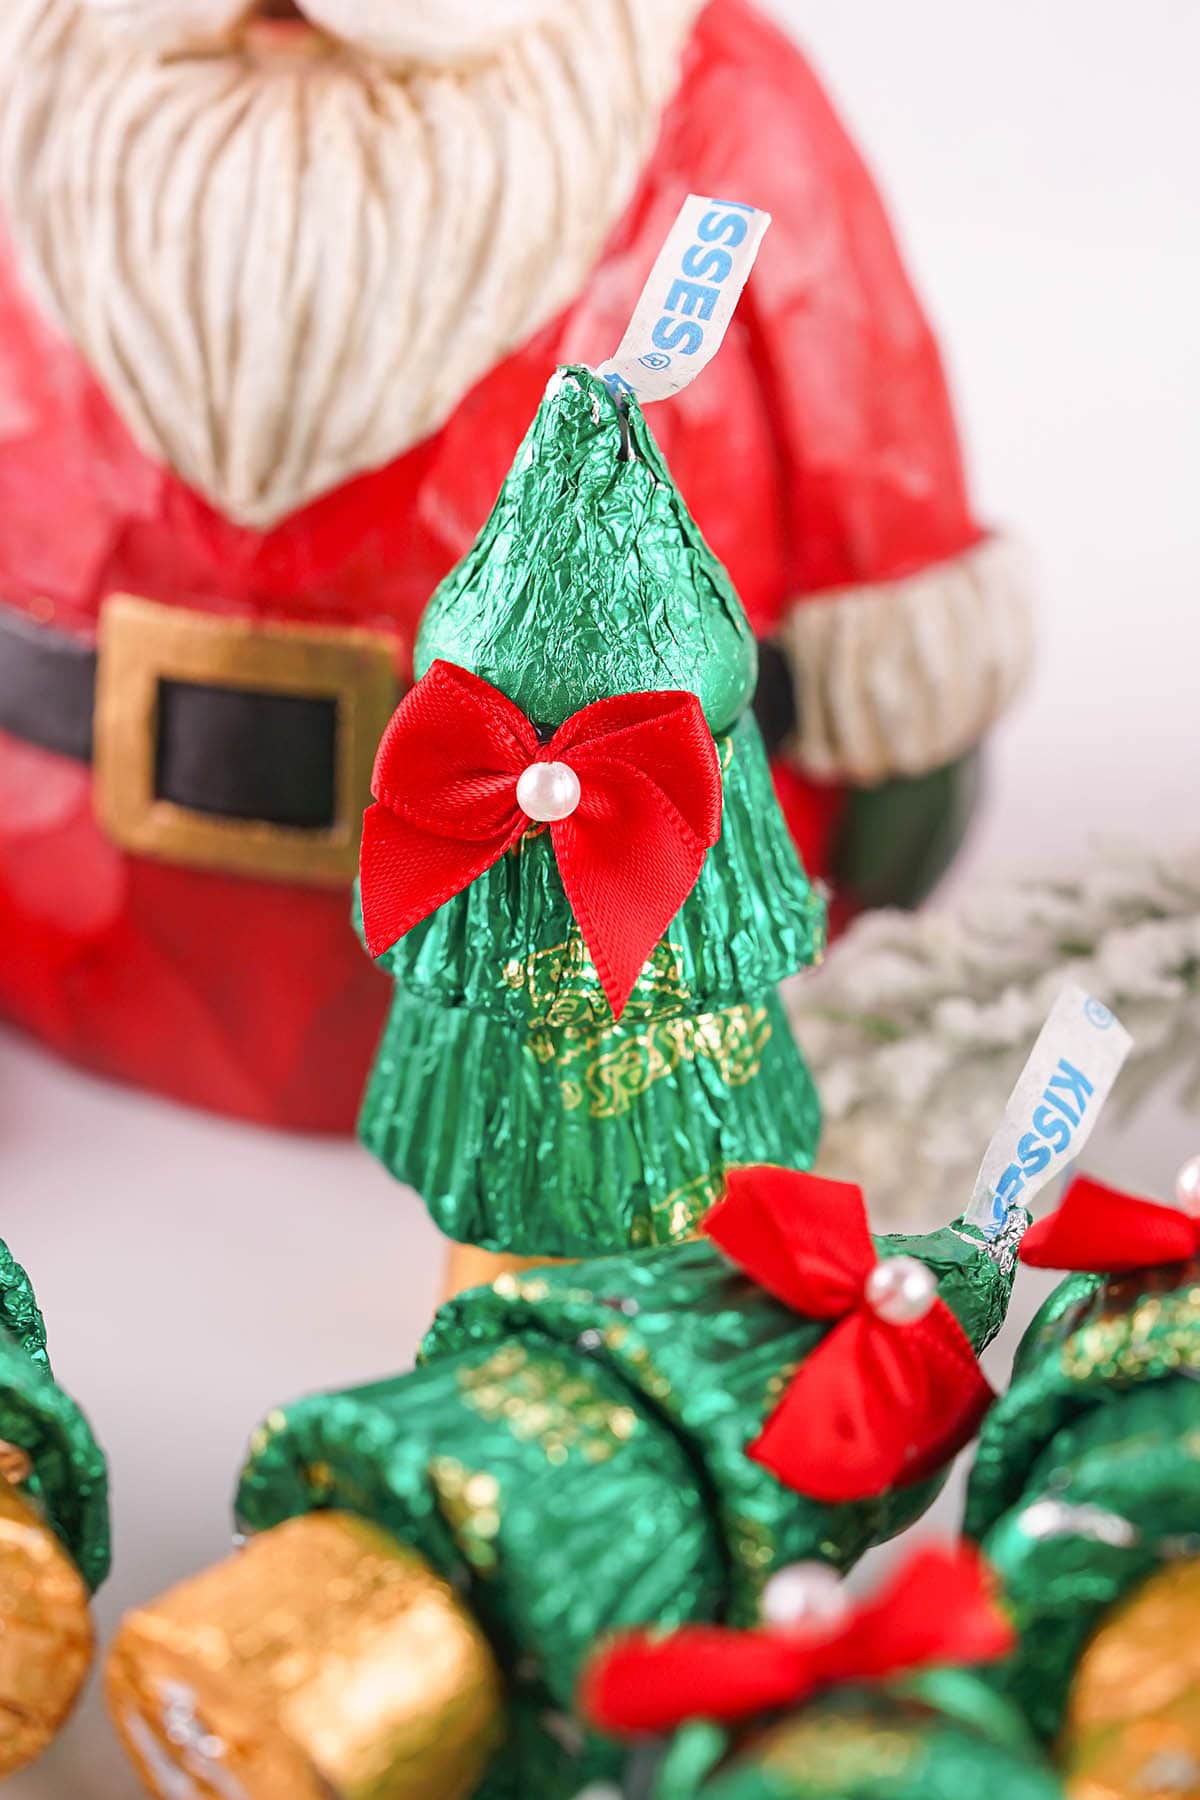
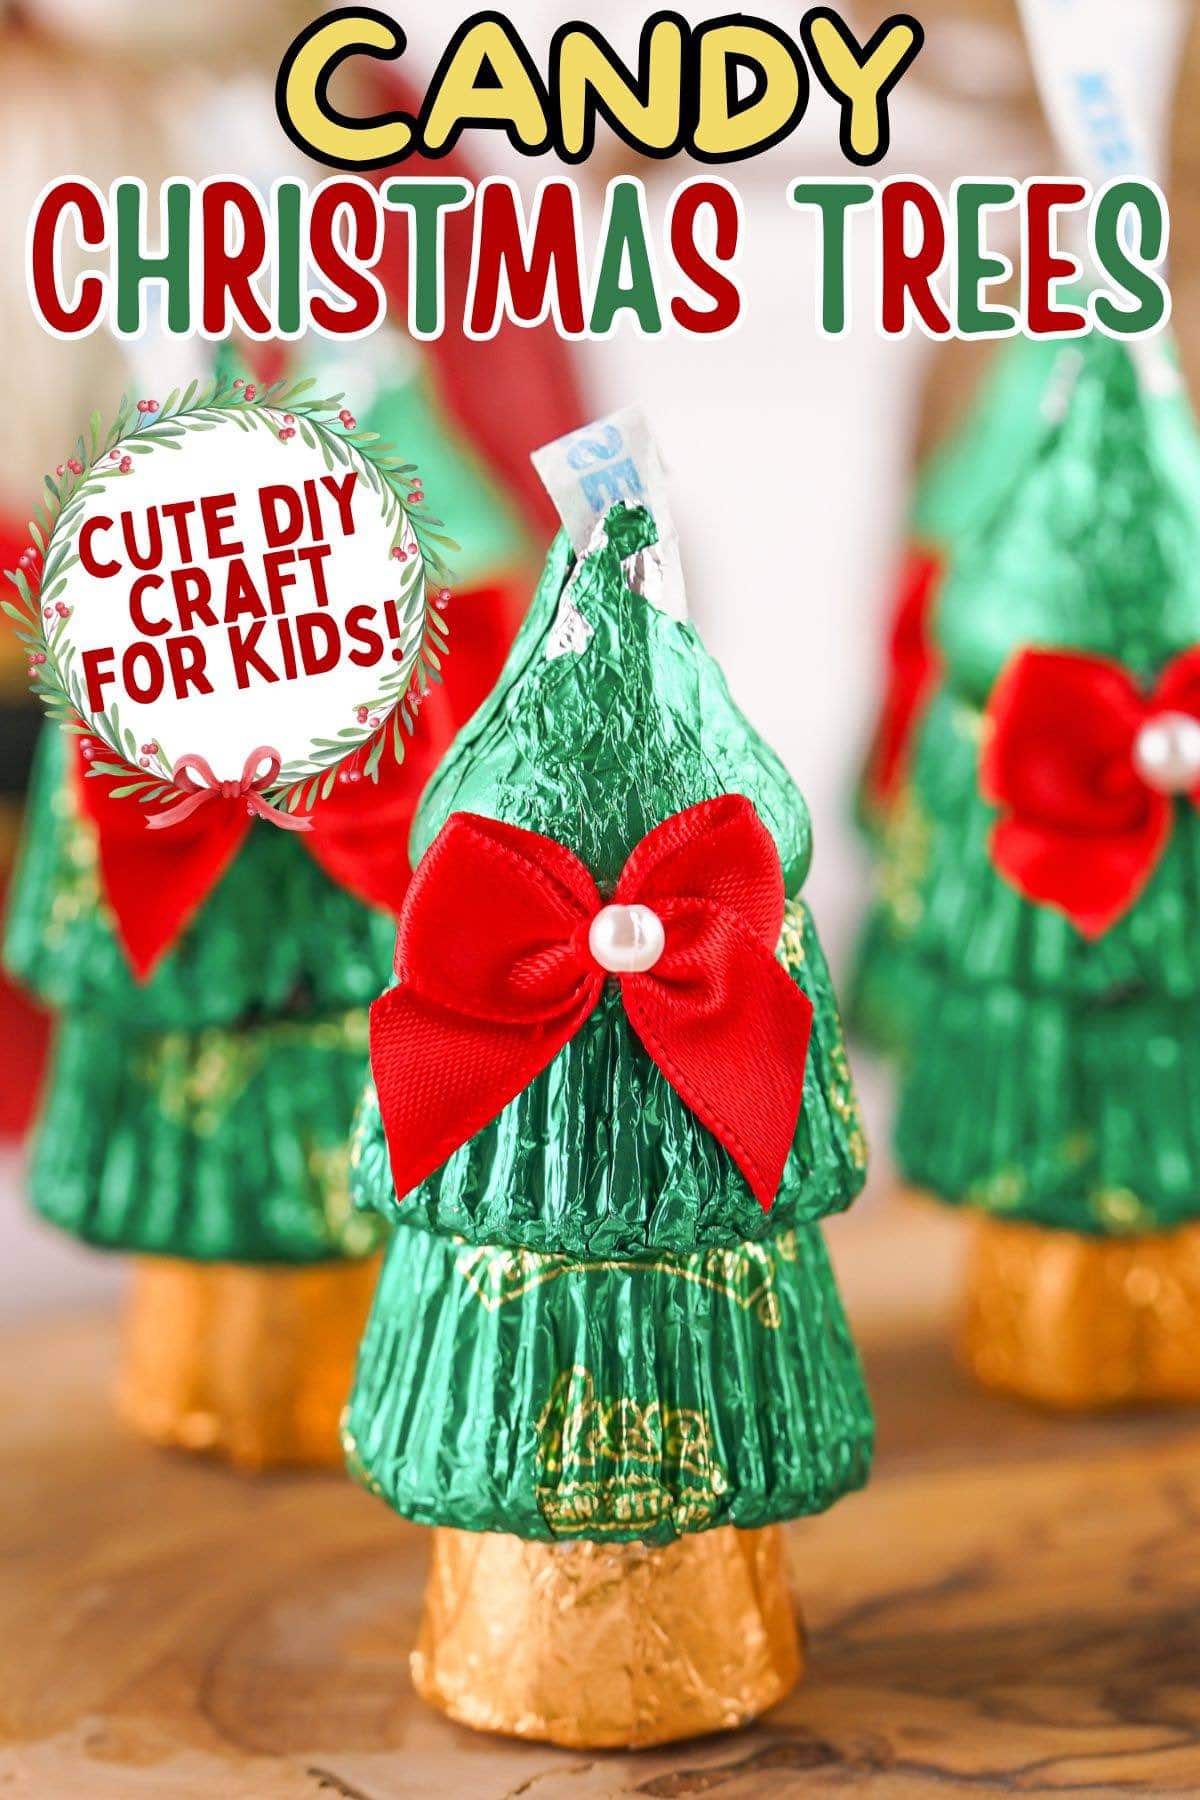
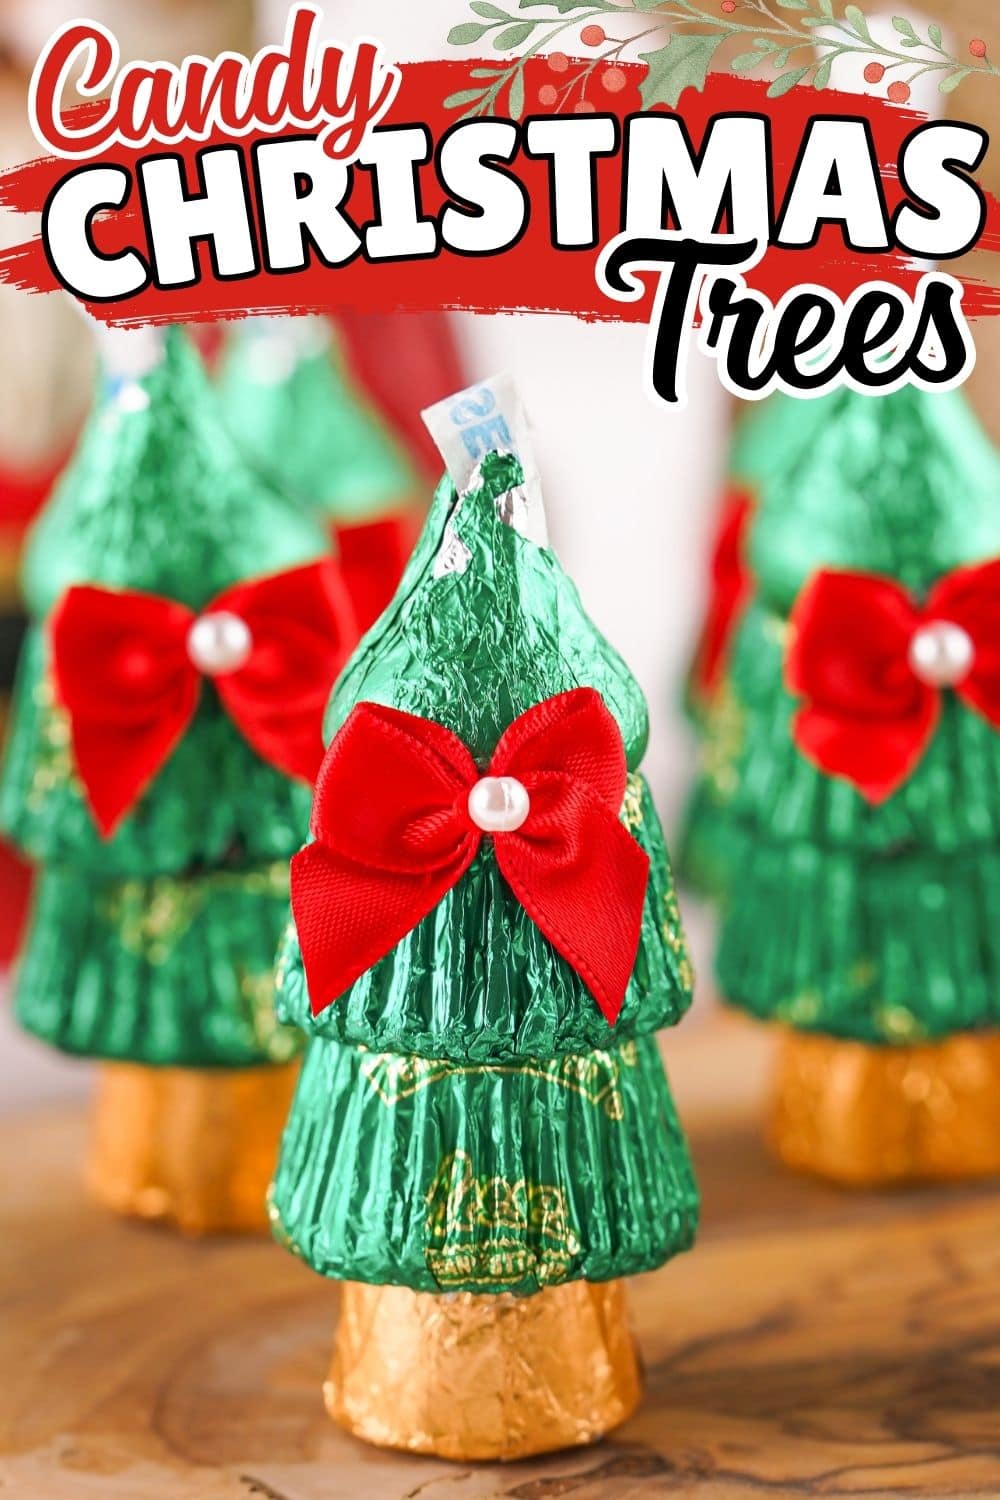
Grab your glue gun and let’s get crafting the cutest Candy Christmas Trees! Make mini treats from green and gold foil wrapped Reese’s peanut butter cups, Rolos, and Hershey’s Kisses and finish them off with a tiny red bow.
DIY Candy Christmas Trees
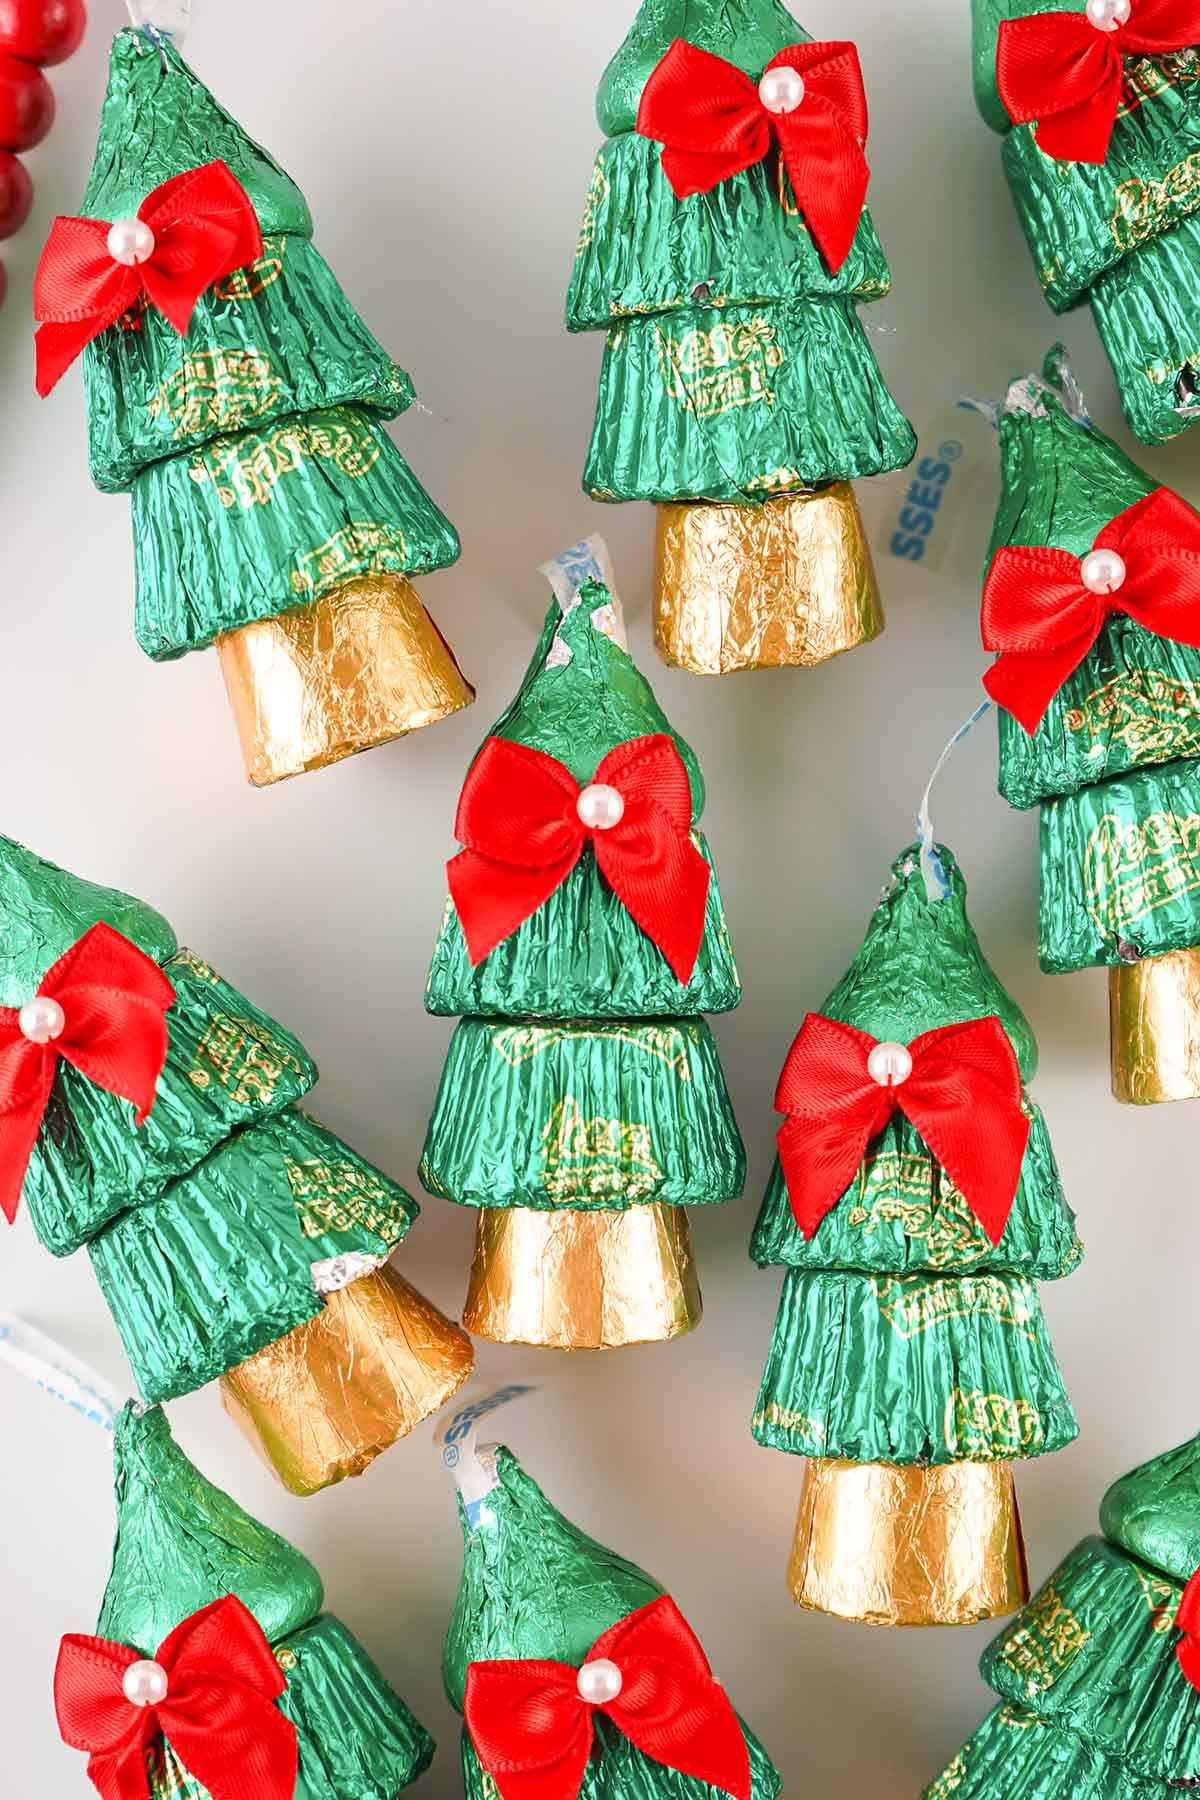
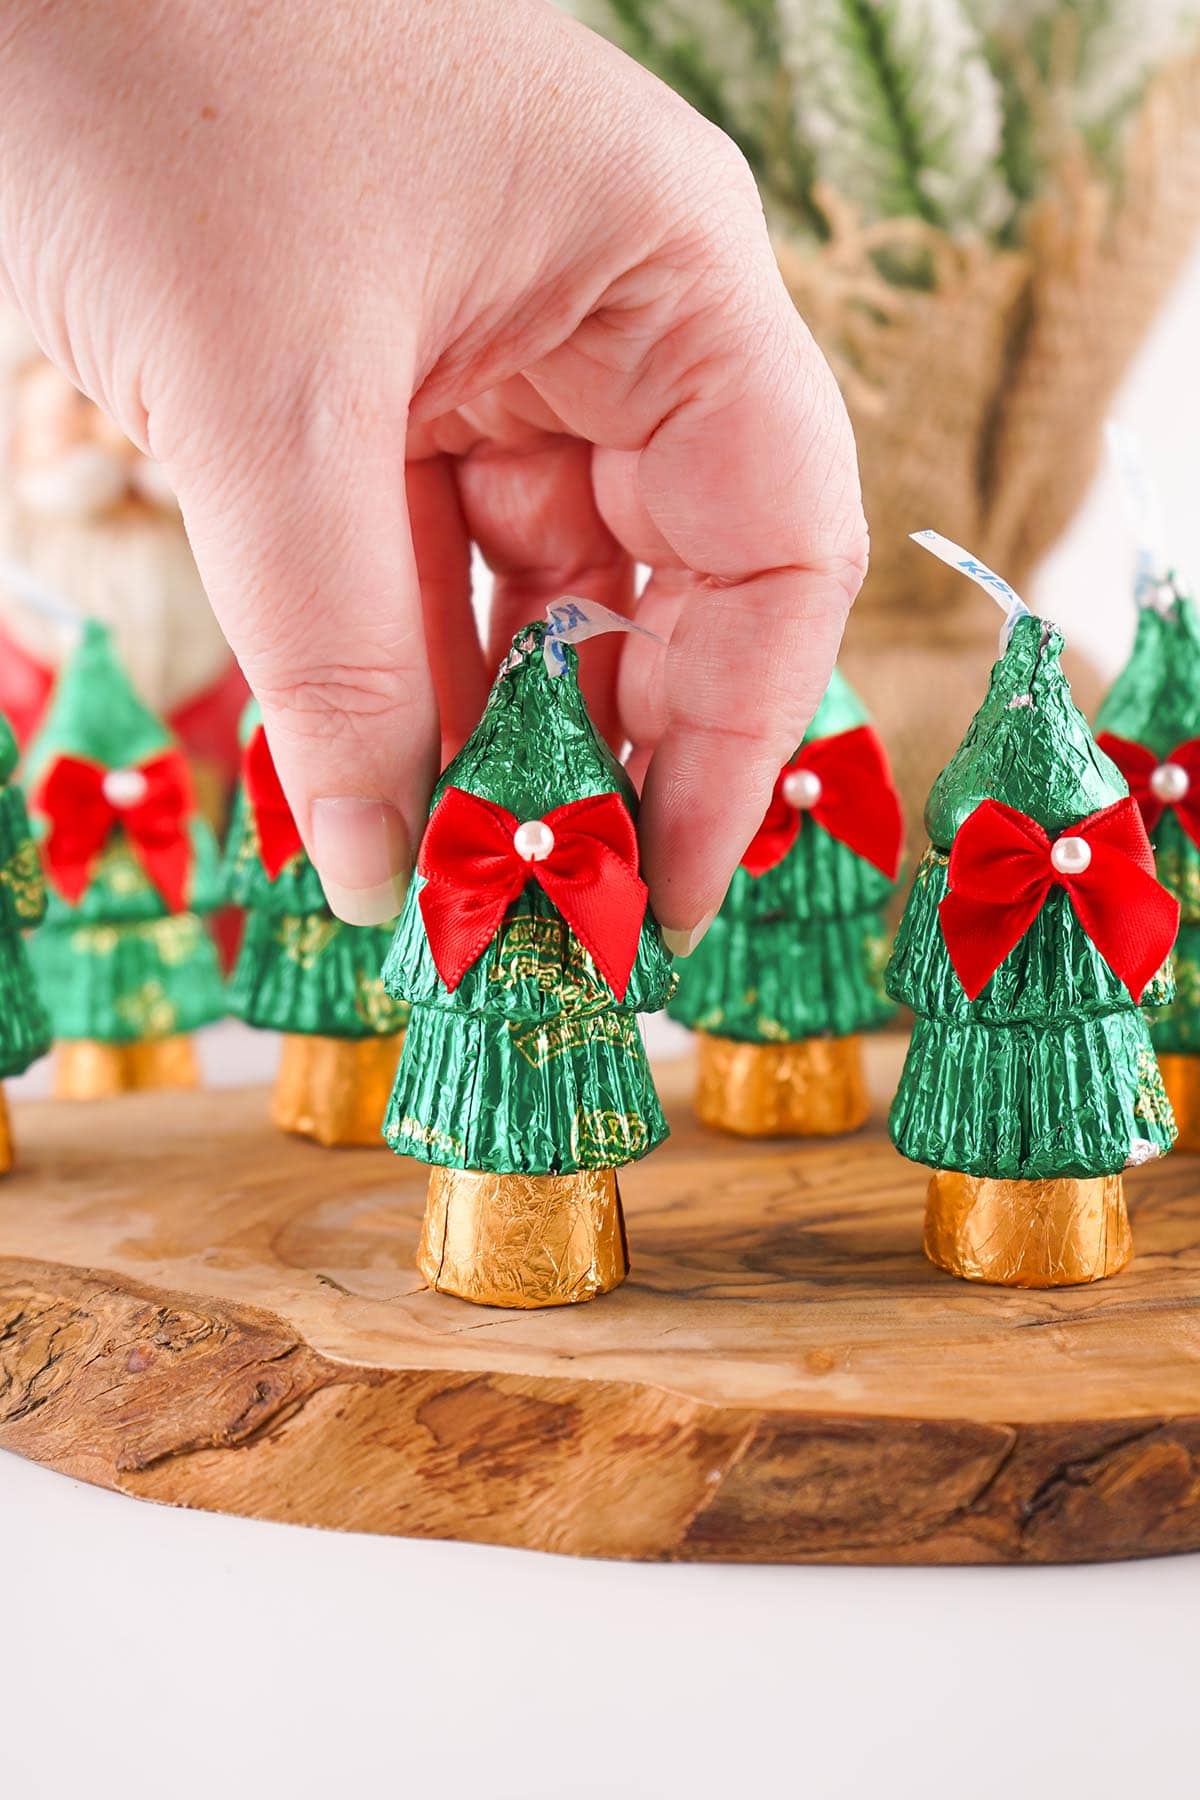
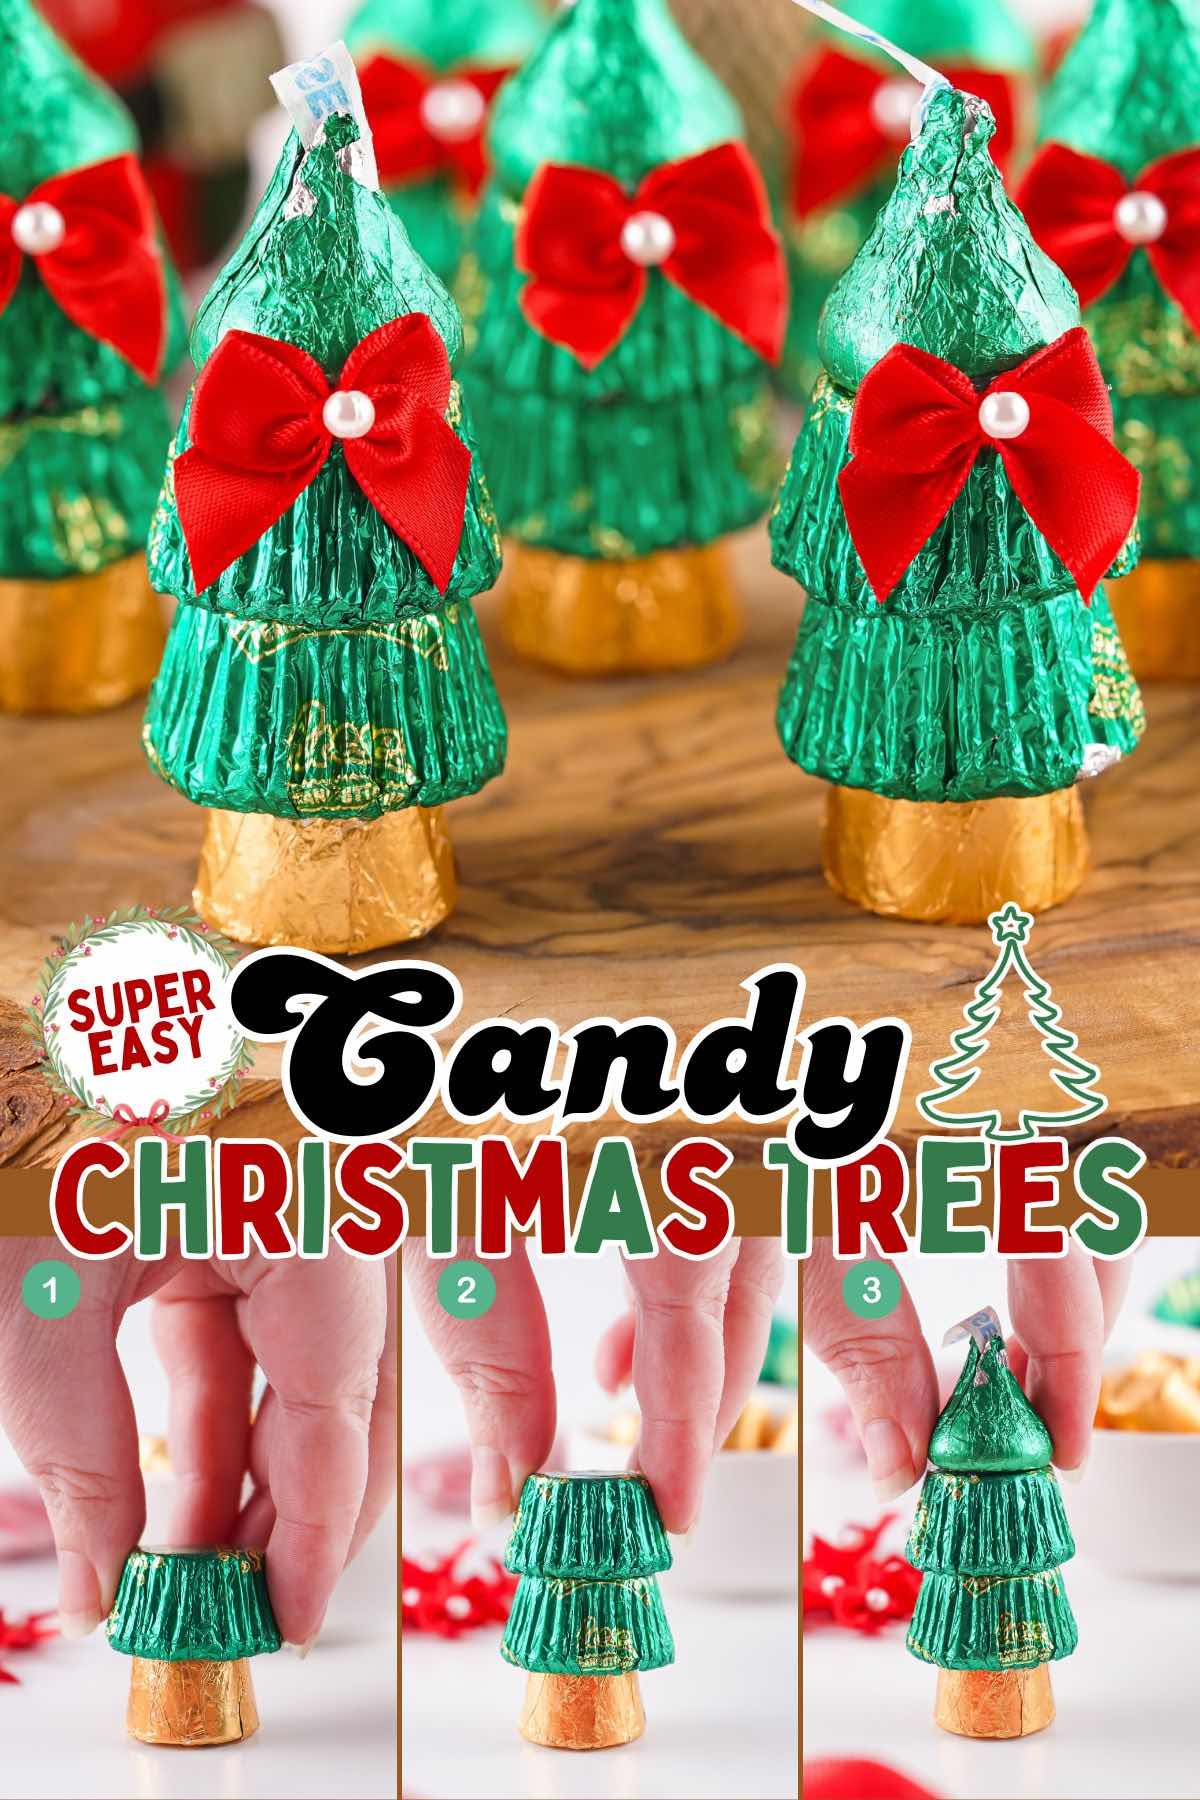
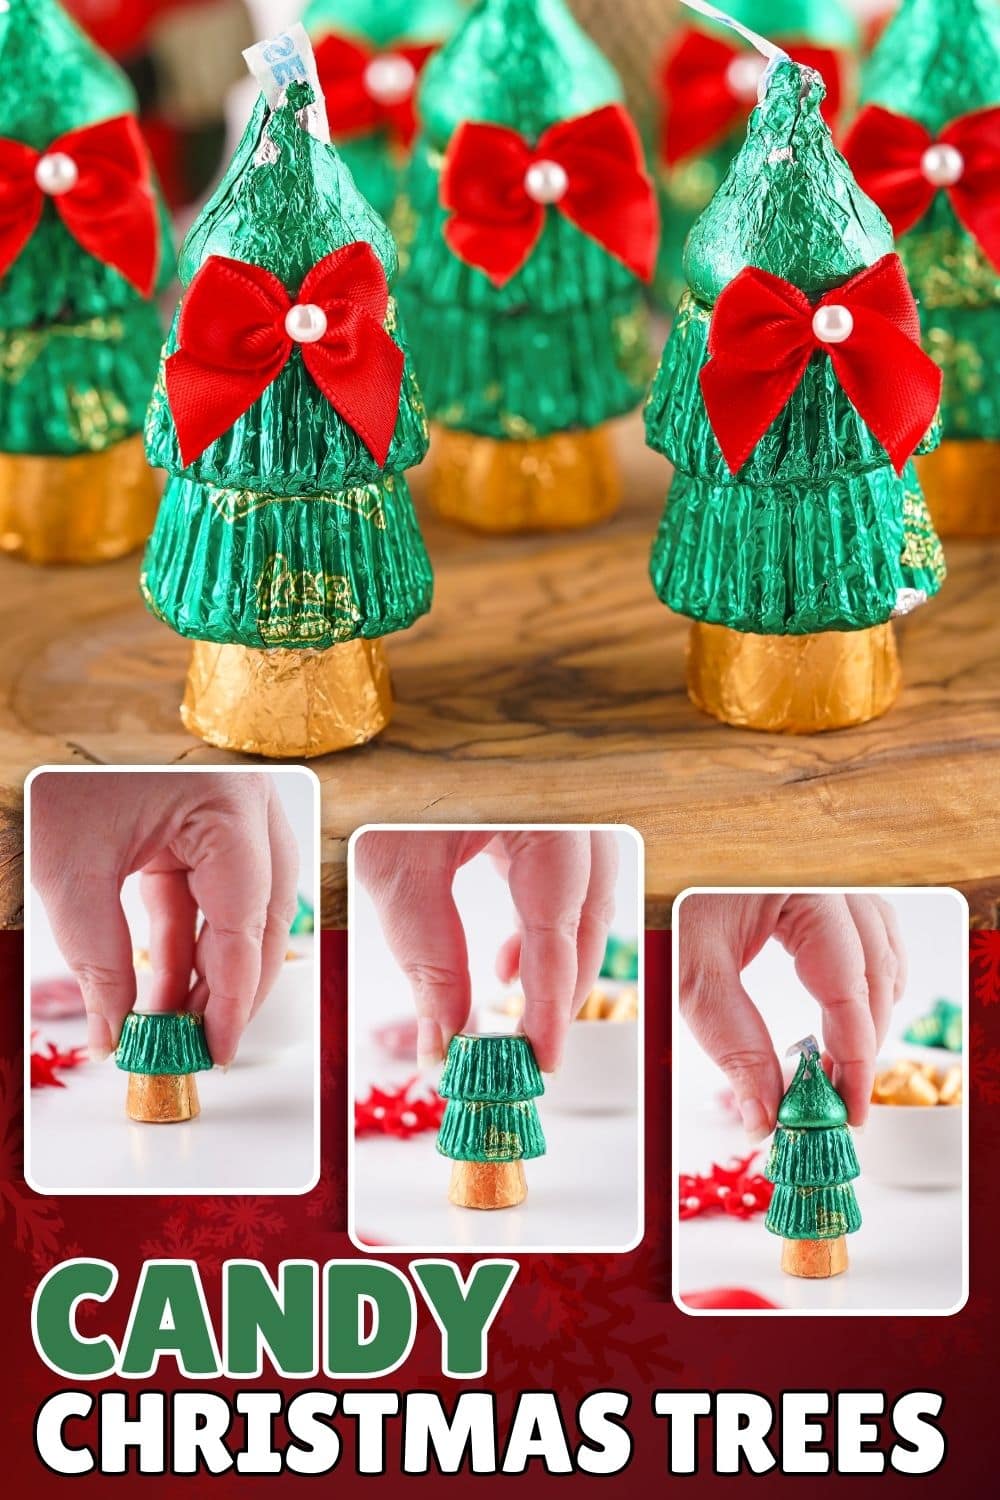
Our easy Candy Christmas Trees recipe does double duty as both edible holiday decor and a fun, festive kid-friendly craft idea for families. It is so simple to assemble each tree using 1 Rolo, 2 mini Reese’s cups, and 1 chocolate kiss – completely stress-free and mess-free, which means not much clean-up!
This candy tree recipe only requires that you have fun and get creative with your candy! Add a red ribbon around the base, sprinkle on some glitter, or even top it with a tiny star—because anything goes!
You know it’s time for Christmas when you’re TikTok feed is filled with DIY candy themed holiday treat!
Candy Christmas Trees Ingredients
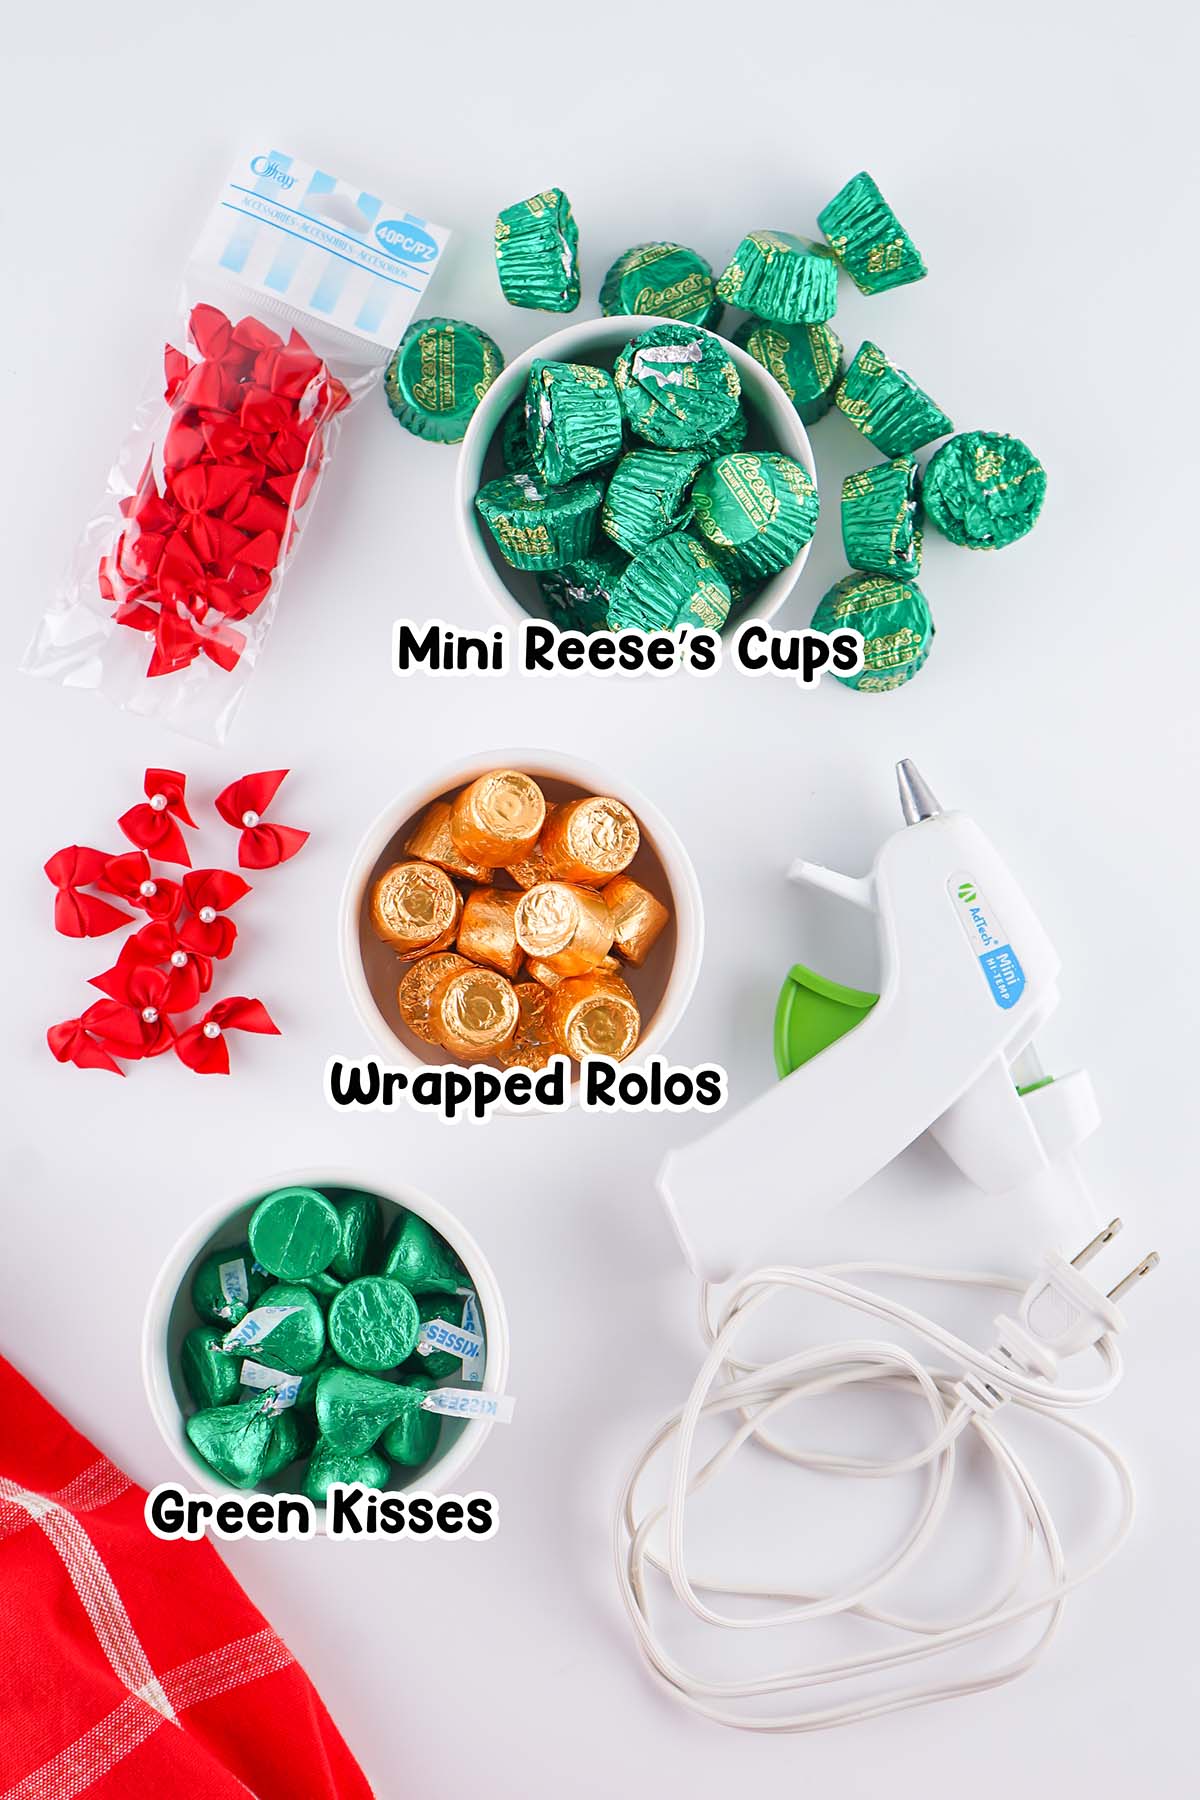
- Green Individually Wrapped Mini Reese’s Cups
- Individually Wrapped Rolos in gold foil
- Green Kisses
See the recipe card for full information on ingredients and quantities.
How to Make Candy Christmas Trees
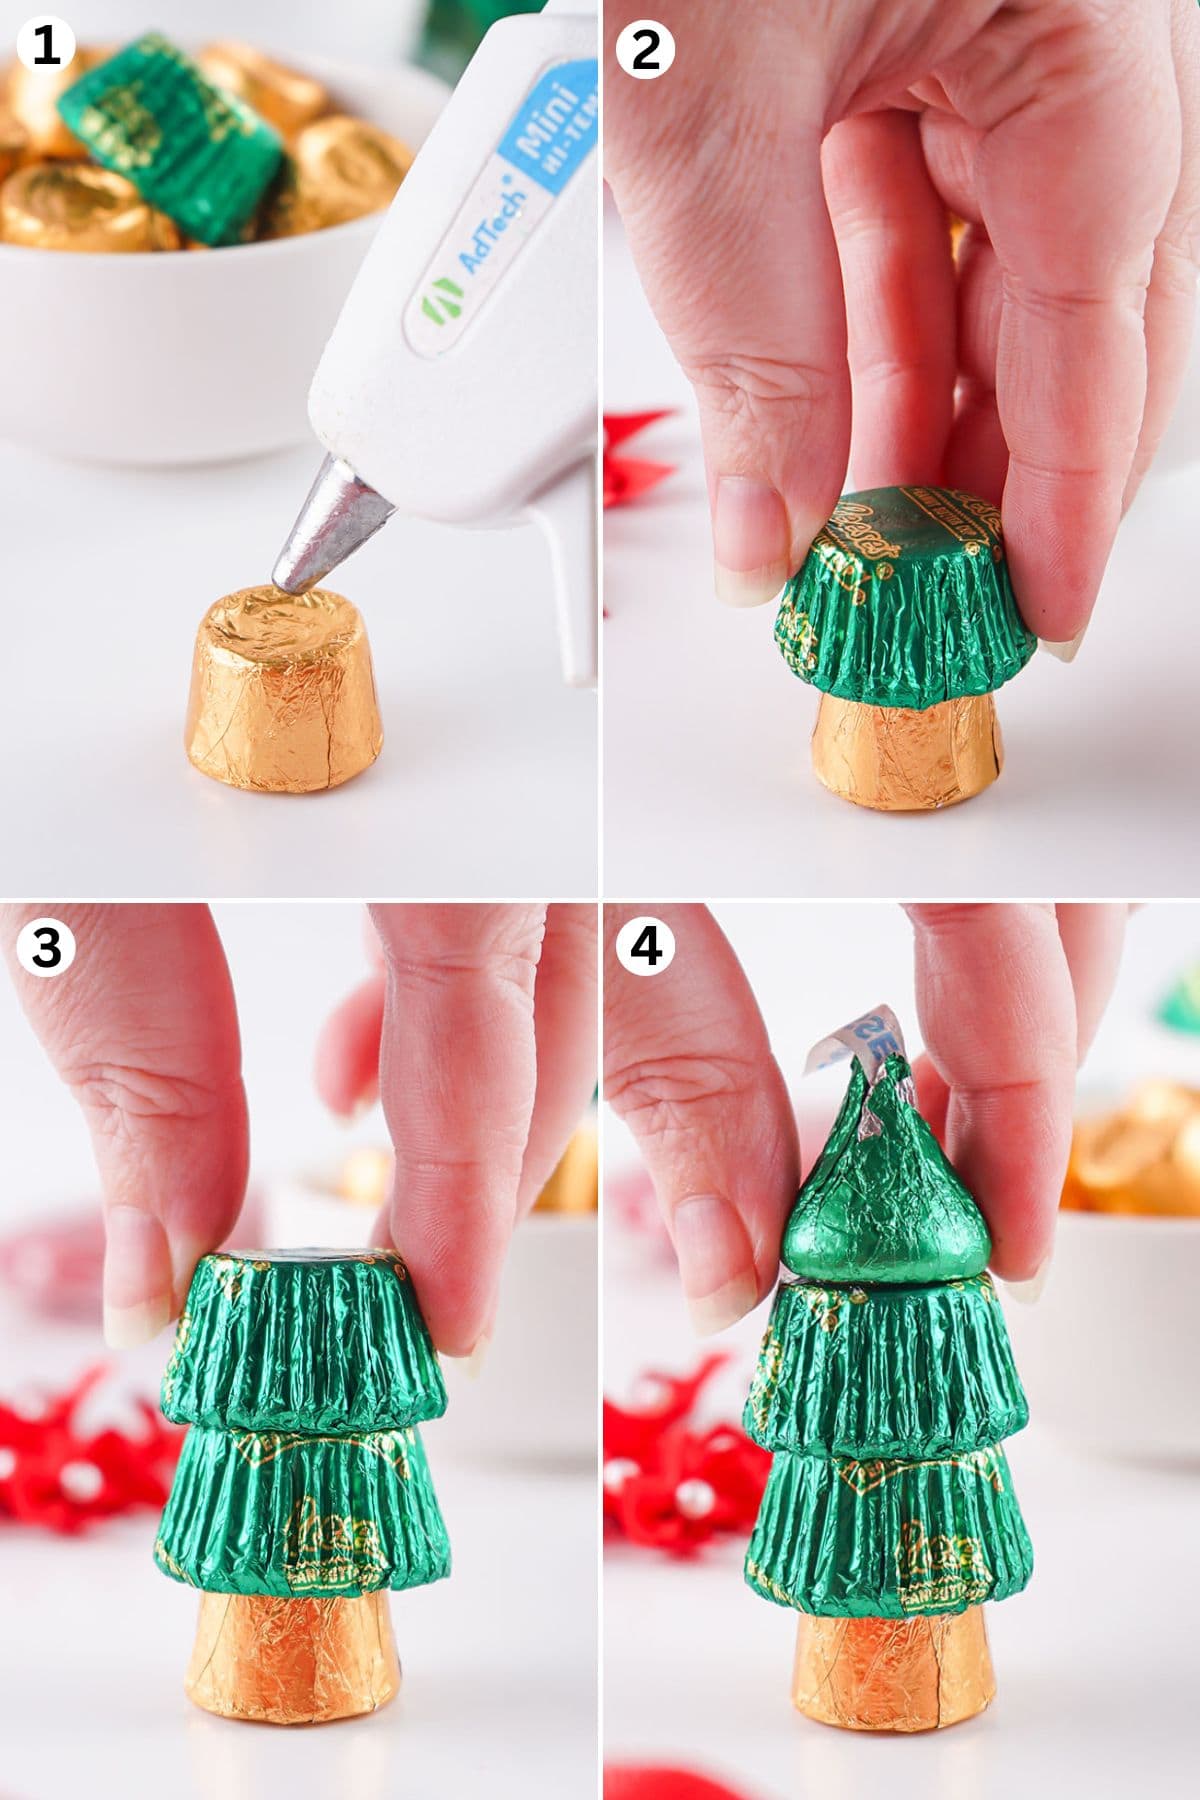
- Top The Trunk: Add a drop of glue to the top of a Rolo, with the small, flat end pointing up. Place a mini Reese’s on the glue, with the smaller, flat end pointing up. Hold it down until the glue is set.
- Repeat The Reese’s: Add a drop of glue to the top of the Reese’s, then place another mini Reese’s on top of it, facing the same way. Hold it down until the glue is set.
- Top The Tree: Add a drop of glue to the top of the Reese’s, then place a Kiss on top of it. Hold it down for a few seconds.
- Decorate The Dessert: Add a drop of glue to the back of a Mini Red Bow and place it on the crease where the top Reese’s and Kiss meet. Press and hold into place for a few seconds.
Serving Suggestions
Need more DIY projects and recipes after picking out the red, green, and gold colored candy? Stop snacking on leftovers and make Rolo blondies, rolo pretzels, and rolo cookies, bake Kiss cookies, make melted snowman chocolate bark, and so many more!
Oreo truffle ornaments and melted snowman Oreo balls are perfect for a Christmas party, dessert platter, cookie exchange, or gift giving.
Tips & Variations
- Customize The Colors: You can have fun mixing and matching the colors since all three candies used can come in red, green, and gold.
- Treat The Tree Gently: These trees hold together pretty well when being moved, but they’re designed to still be eaten easily. If they are handled a bit too much or too roughly, the wrappers will start to pull off and the glue won’t hold.
- Glue Down The Decor: If the bows don’t want to lie flat, simply put a tiny dab of glue on the problem area and glue it down. You can also use Glue Dots if you don’t want to use a glue gun.
Proper Storage
- To Store: Store in a cool, dry area for up to 1 month.
- To Freeze: Do not freeze after the glue has been applied.
More DIY Holiday Treats
If you tried this Candy Christmas Trees Recipe or any other recipe on my website, please leave a 🌟 star rating and let me know how it went in the 📝 comments below. Thanks for visiting!!!
Candy Christmas Trees
Ingredients
- 20 green Individually Wrapped Mini Reese’s Cups
- 10 individually Wrapped Rolos gold foil
- 10 green Kisses
Instructions
- Preheat your glue gun.
- Start by putting glue on top of a Rolo, with the small, flat end pointing up.
- Immediately sit a mini Reese’s on the glue, with the smaller, flat end pointing up. Hold it down until the glue is set (a couple of seconds is fine).
- Put glue on top of the Reese’s that you just glued to the Rolo, and put another mini Reese’s on top of it, facing the same way. Press and hold for a few seconds to set the glue.
- Put glue on top of the Reese’s you just glued and place a Kiss right on top of it. Hold it down for a few seconds.
- Put a small dab of glue on the back, middle of the bows, and place them on the crease where the last Reese’s and Kiss meet. Press and hold into place for a few seconds.
Jenn’s Notes
- To Store: Store in a cool, dry area for up to 1 month.
- To Freeze: Do not freeze after the glue has been applied.
- You can have fun mixing and matching the colors since all three candies used can come in red, green, and gold.
- These trees hold together pretty well when being moved, but they’re designed to still be eaten easily. If they are handled a bit too much or too roughly, the wrappers will start to pull off and the glue won’t hold.
- If the bows don’t want to lie flat, simply put a tiny dab of glue on the problem area and glue it down.



Wonderful easy
Could I use a thickened frosting instead of a glue gun or adhesive dots to hold everything together?
These look adorable!! Thank you
thank you so much! I haven’t tried that to see if it would be strong enough. If you do try it, let us know how it works for you!
Adorable and so easy to make!
adorable!
It’s a great craft for kids and then they can give them away to friends at school. I love the Christmas Tree Candy Treat and my grandkids are gonna love it too!! 🤩🤩
Can I use glue dots instead of hot glue?
Yes! Those work great!!
yummy and easy
I tried this once with a glue gun. But it just melted the chocolate through the tin foil