This post may contain affiliate links. Please read our disclosure policy.
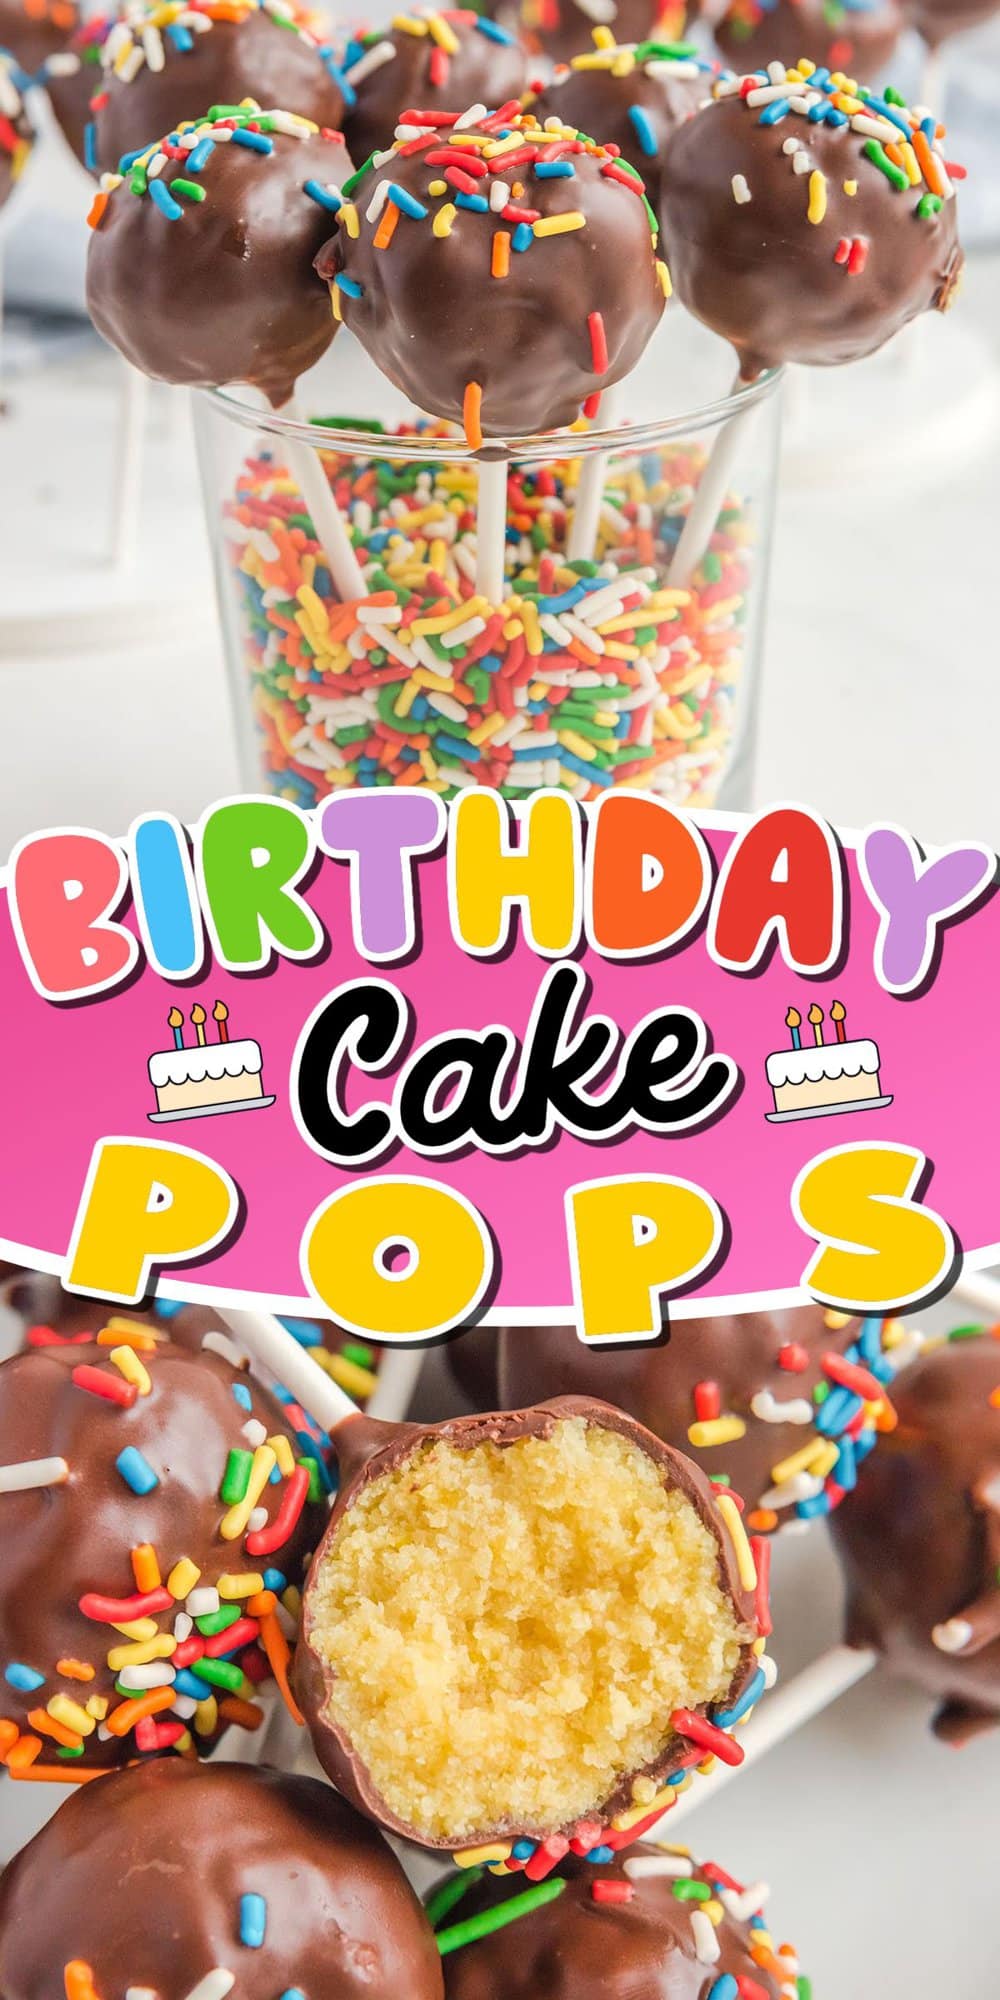
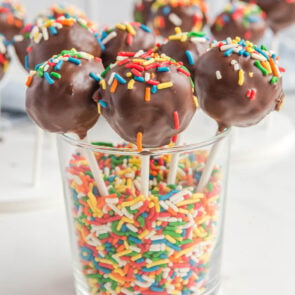
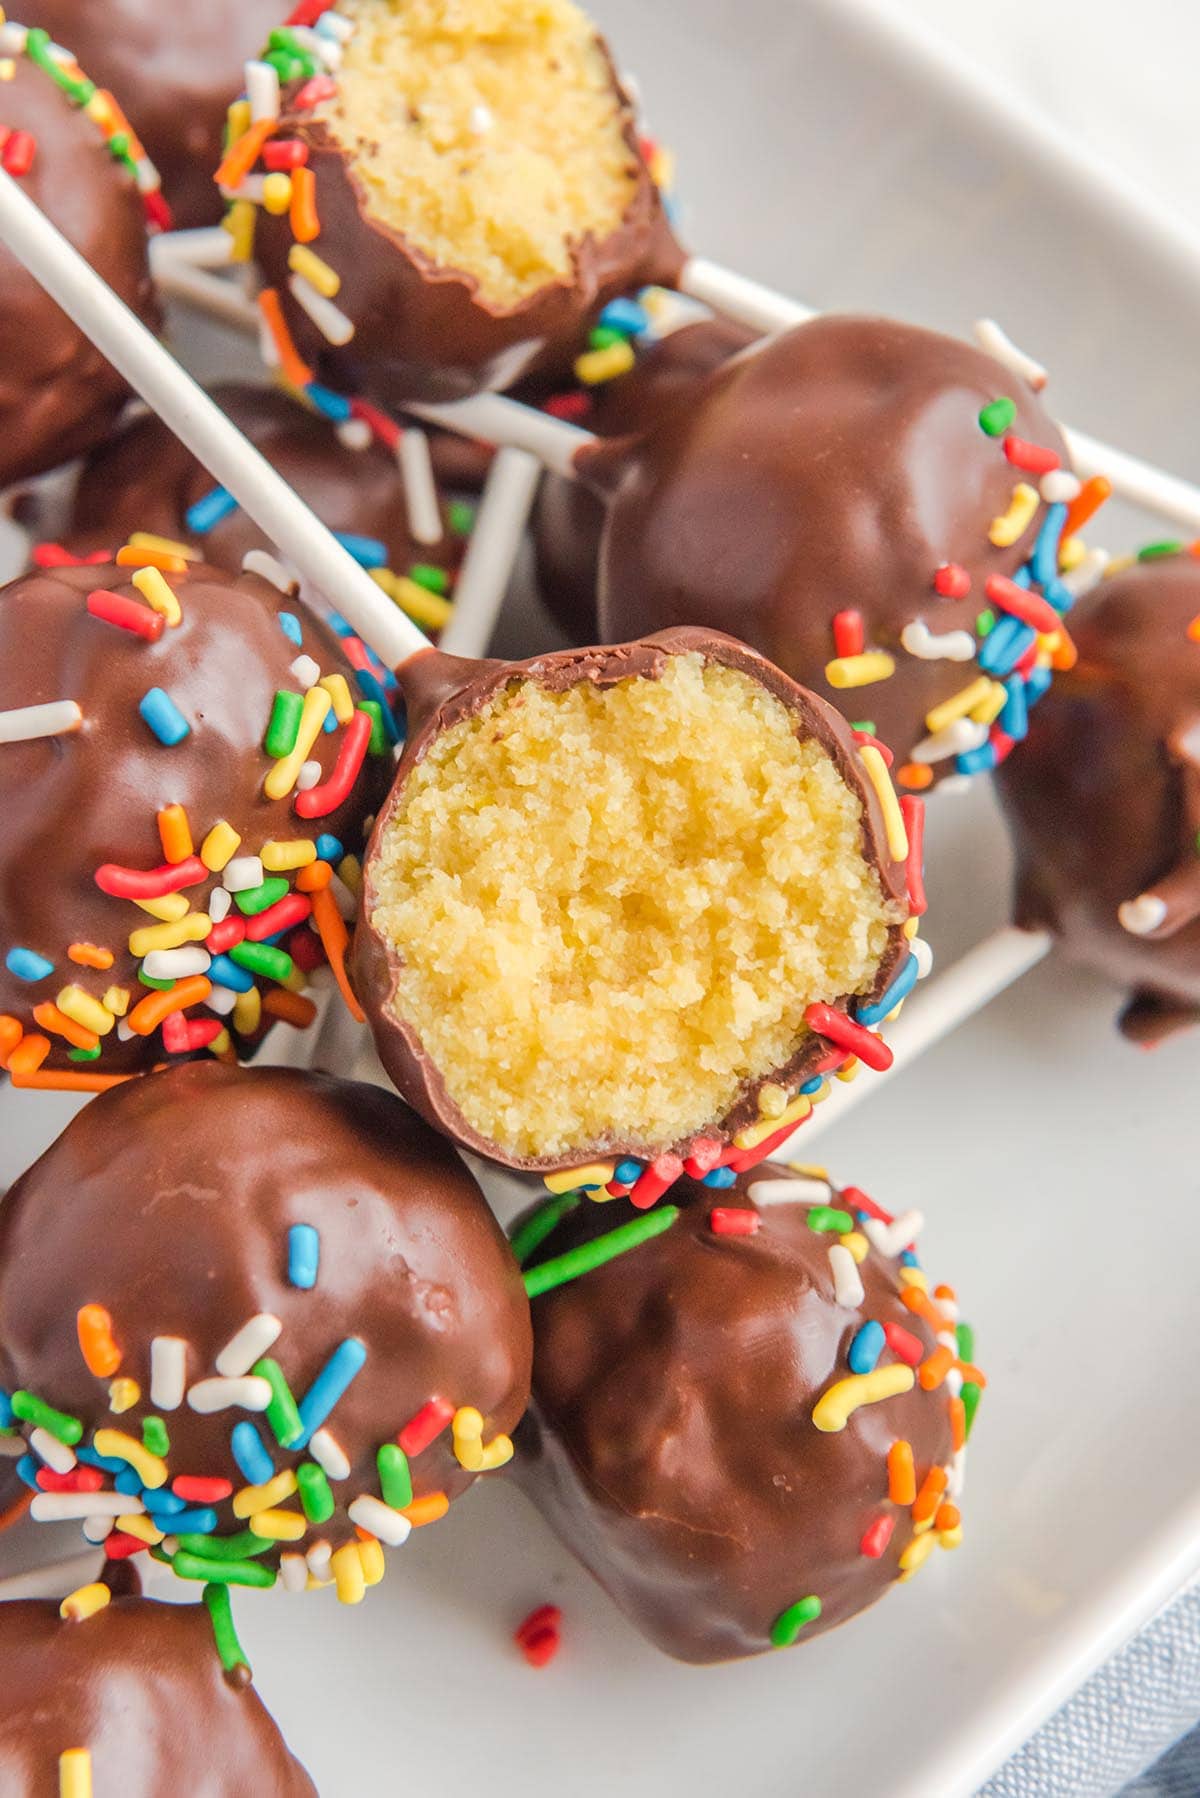
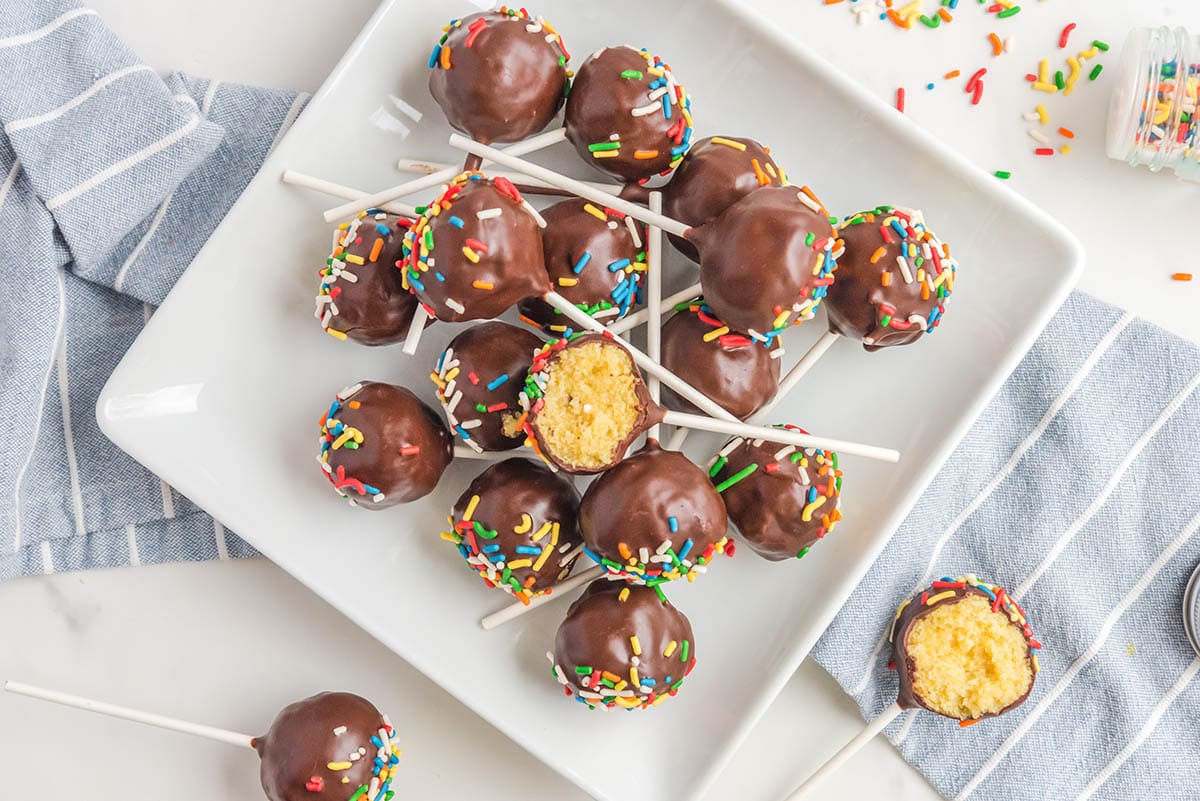
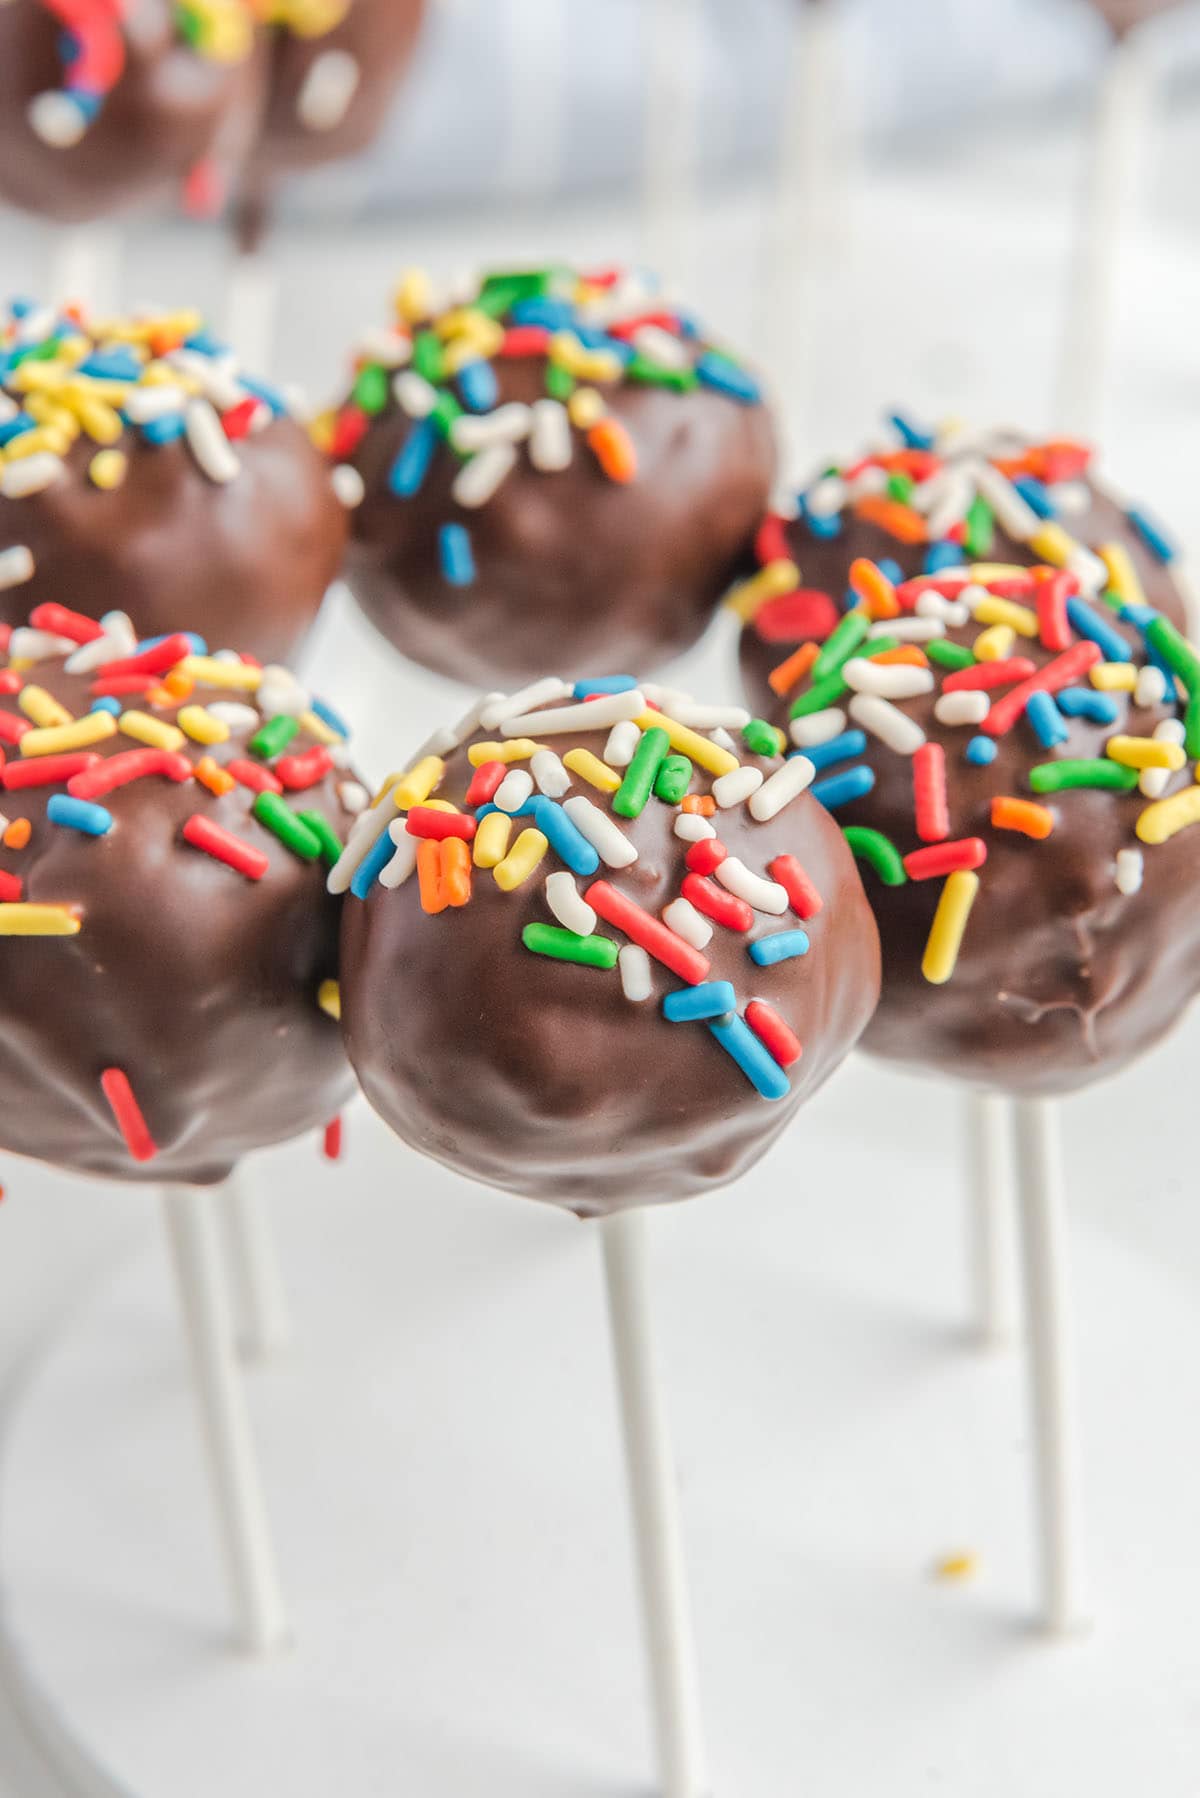
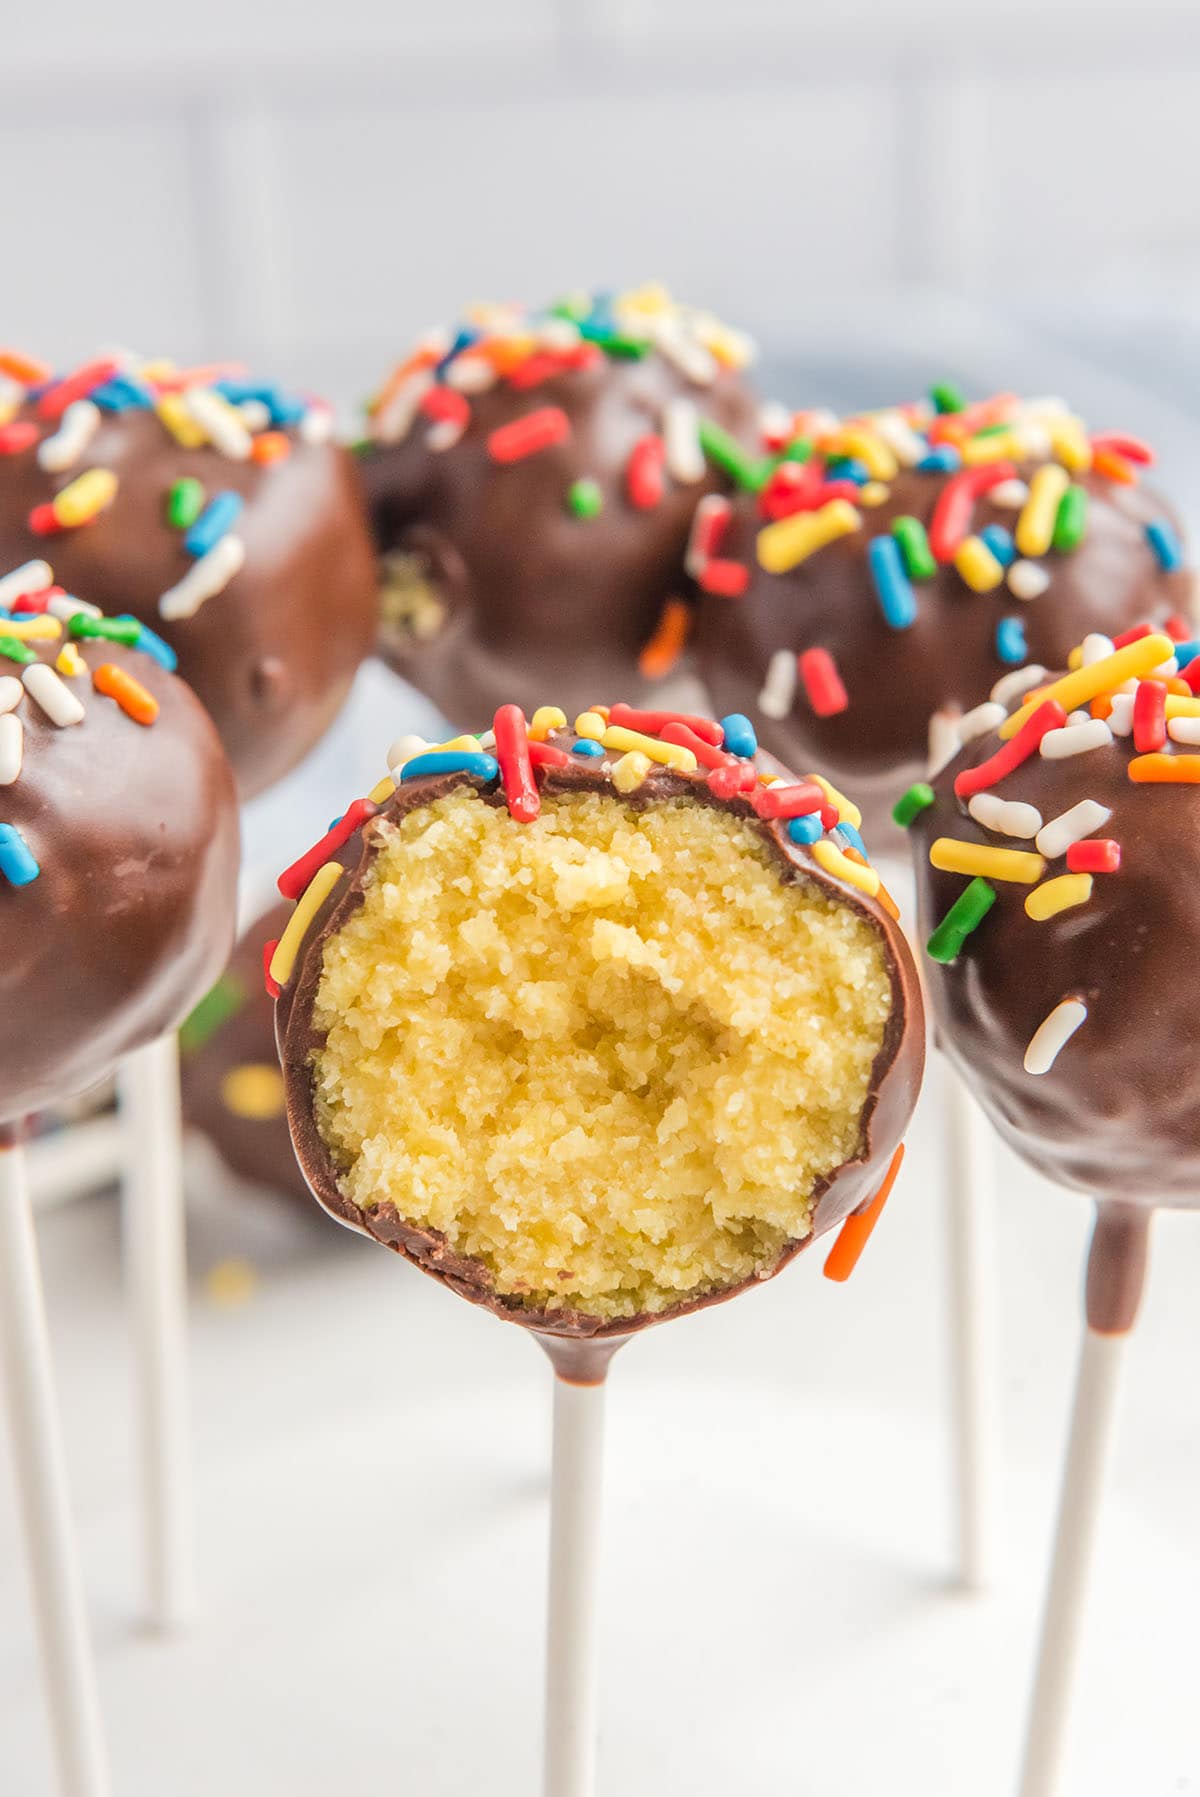
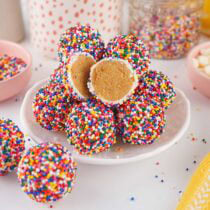
These Birthday Cake Pops are the perfect treat for any celebration. With moist yellow cake, creamy vanilla frosting, and a rich chocolate coating, they’re a bite-sized burst of sweetness that will bring joy to your taste buds.
Chocolate Dipped Cake Pops
These Birthday Cake Pops are the ultimate treat for any celebration. With their moist yellow cake, creamy vanilla frosting, and rich chocolate coating, they are a burst of sweetness that will delight both kids and adults.
The bite-sized portions and playful presentation make them perfect for parties, while their customizable nature allows you to tailor them to any occasion.
Whether you’re hosting a children’s birthday party or a sophisticated bridal shower, these cake pops are sure to impress. So gather your ingredients, follow the simple steps, and enjoy these delightful and irresistible Birthday Cake Pops!
Why We Love Chocolate Covered Cake Pops
- Easy to make and fun to decorate.
- Uses a handful of simple ingredients.
- Portable and perfectly portioned bites of cake.
- Kid-friendly homemade treat that won’t leave messy hands.
- Versatile recipe that lets you get creative with customized flavors and colors.
- Perfect handheld, bite-sized party treat, edible gift, or party favor.
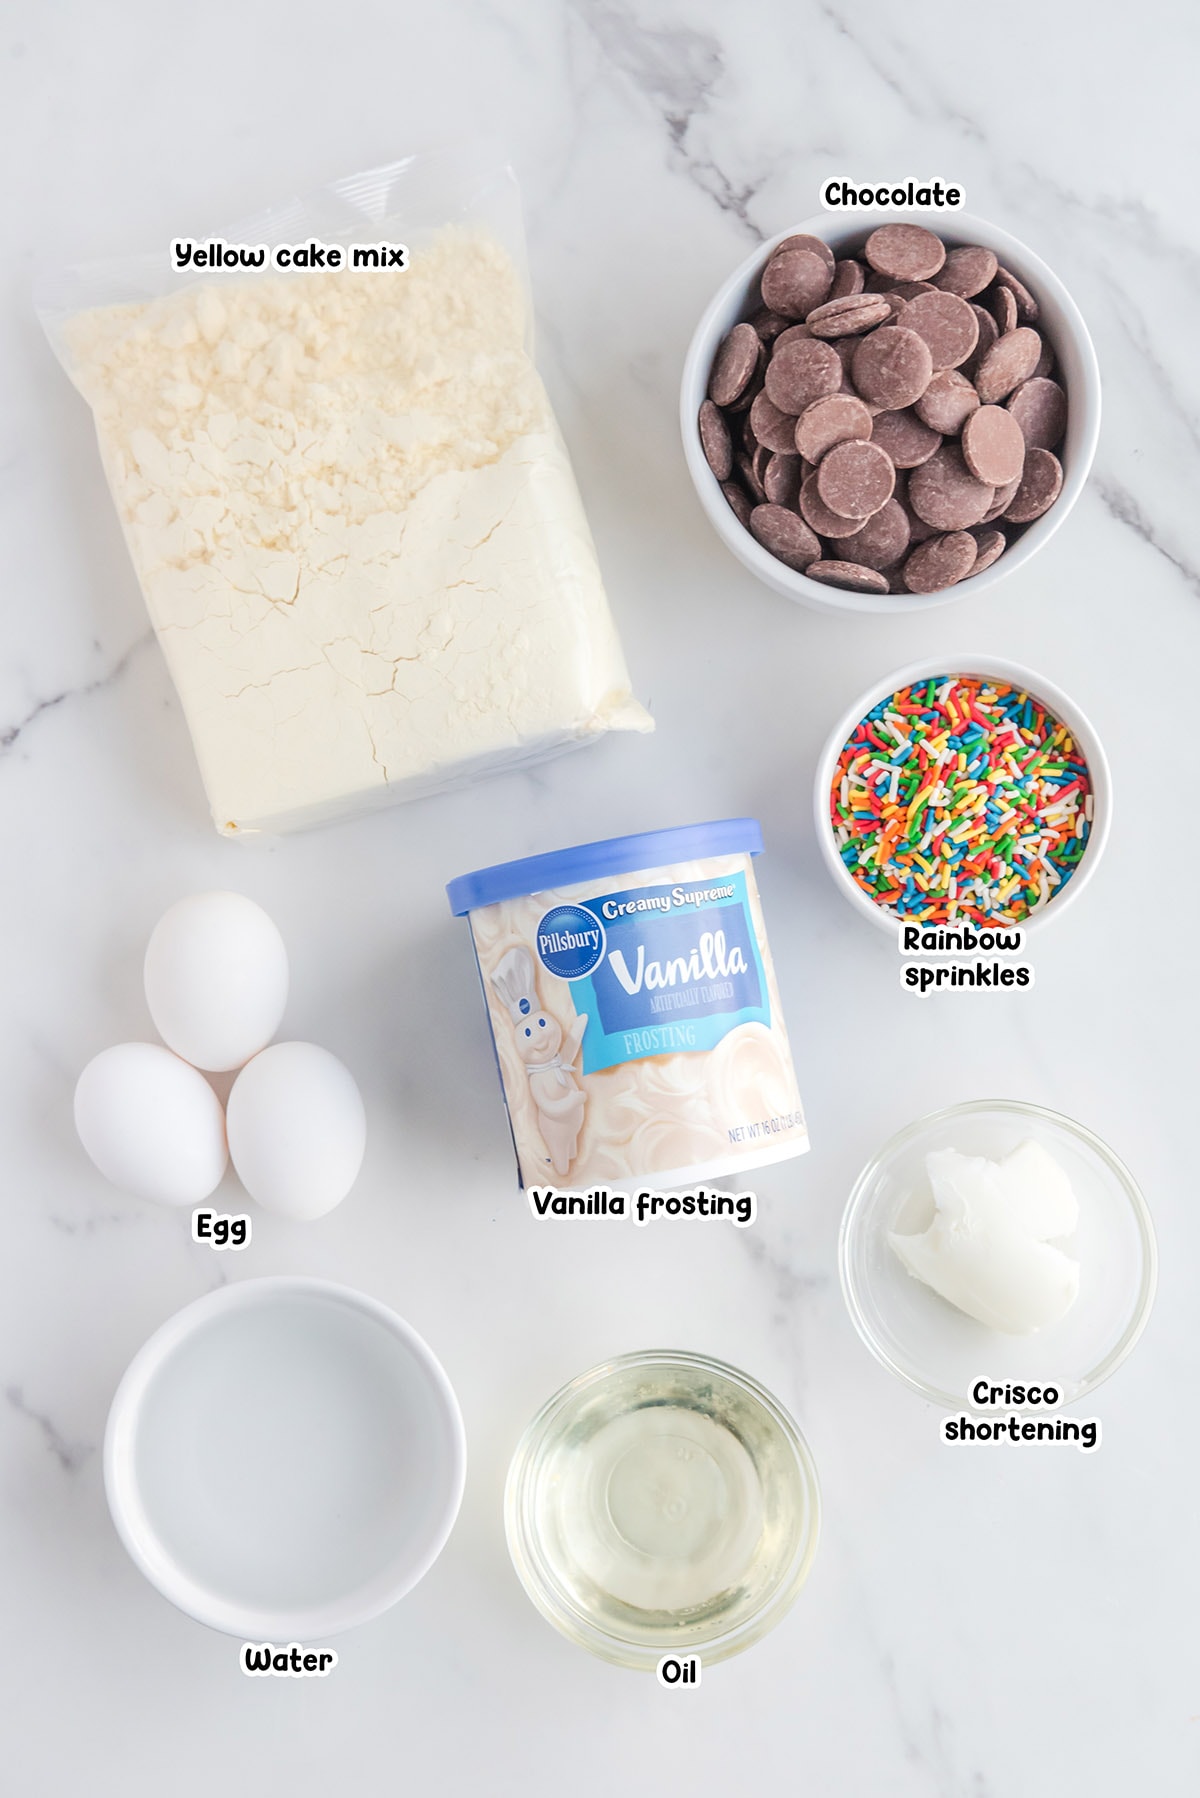
Birthday Cake Pops Ingredients
- Classic Yellow Cake Mix: This boxed mix provides the base for our cake pops, giving them a tender and moist texture. Follow the instructions on the box to prepare the cake batter, using the additional ingredients mentioned.
- Vanilla Frosting: Adding a creamy and sweet element, the vanilla frosting binds the crumbled cake together, creating a delightful and flavorful mixture.
- Chocolate Melting Wafers: These melting wafers provide the smooth and rich chocolate coating for our cake pops. We will divide them into batches for melting and dipping.
- Crisco Shortening: Adding a small amount of shortening to the melted chocolate helps to achieve a smooth and glossy consistency, making it easier to coat the cake pops.
- Rainbow sprinkles
Substitutions and Additions
- Choose A Chocolate: White chocolate, milk chocolate, or dark chocolate melting wafers can be used to coat your cake pops.
- Customize Your Cake Pops: This recipe can be a blank canvas for you to create your own custom themed-cake pops. Use red and green sprinkles for Christmas; pink and red sprinkles for Valentine’s Day; pretty pastel colors for Easter or a baby shower.
- Skip the Stick: Serve these treats as cake balls, bites, or truffles.
- Bake From Any Box: You can use any cake mix or brownie mix to bake your cake filling or you can use a homemade sheet cake recipe if you prefer. Try vanilla, red velvet, strawberry, or chocolate cake. Just remember to match the frosting flavor to the cake itself. (Of course you can use a homemade frosting or cream cheese frosting if you prefer.)
Recommended Tools
- Mixing bowls
- Electric hand or stand mixer
- Large baking sheet
- Parchment paper
- Cookie scoop
- Cake pop sticks
- Deep bowl or cup
How to Make Birthday Cake Pops
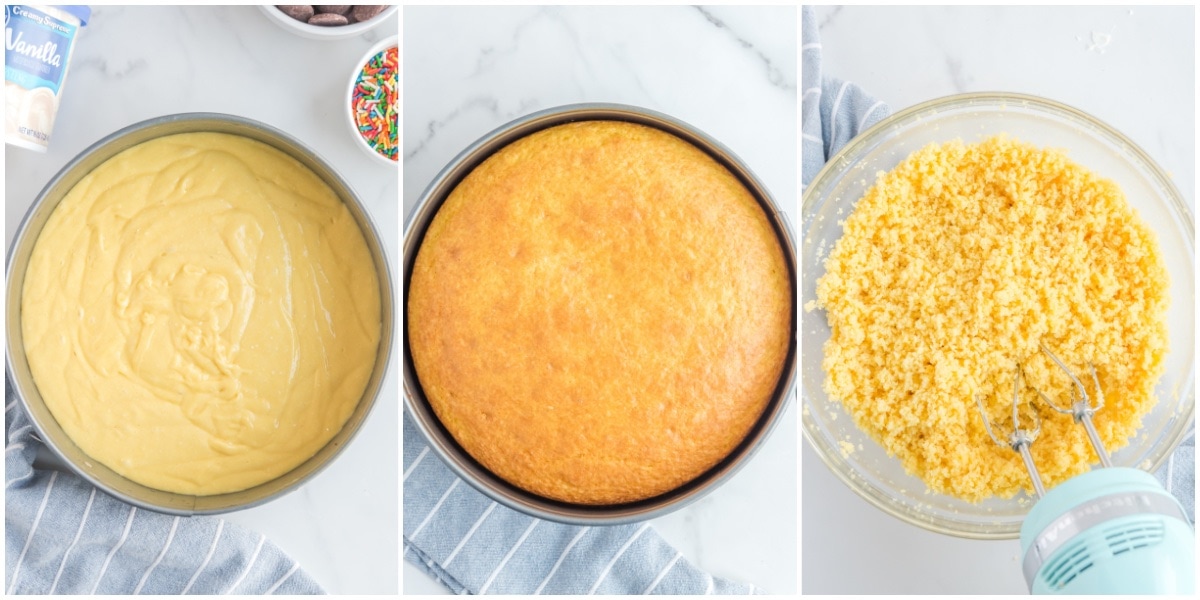
- Prepare The Cake: Cook the cake according to box directions and cool completely.
- Make The Middle Mixture: Remove the brown edges of the cake and crumble the rest inside a bowl. Add frosting and mix to combine.
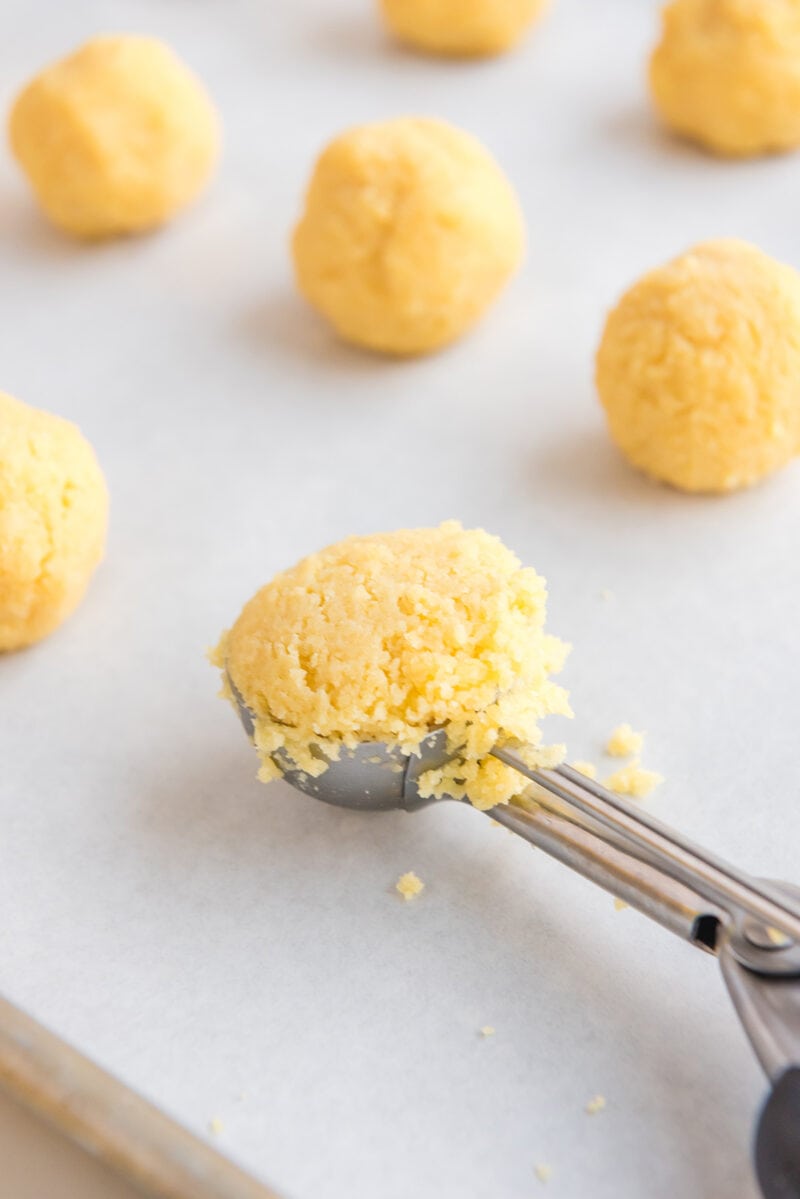
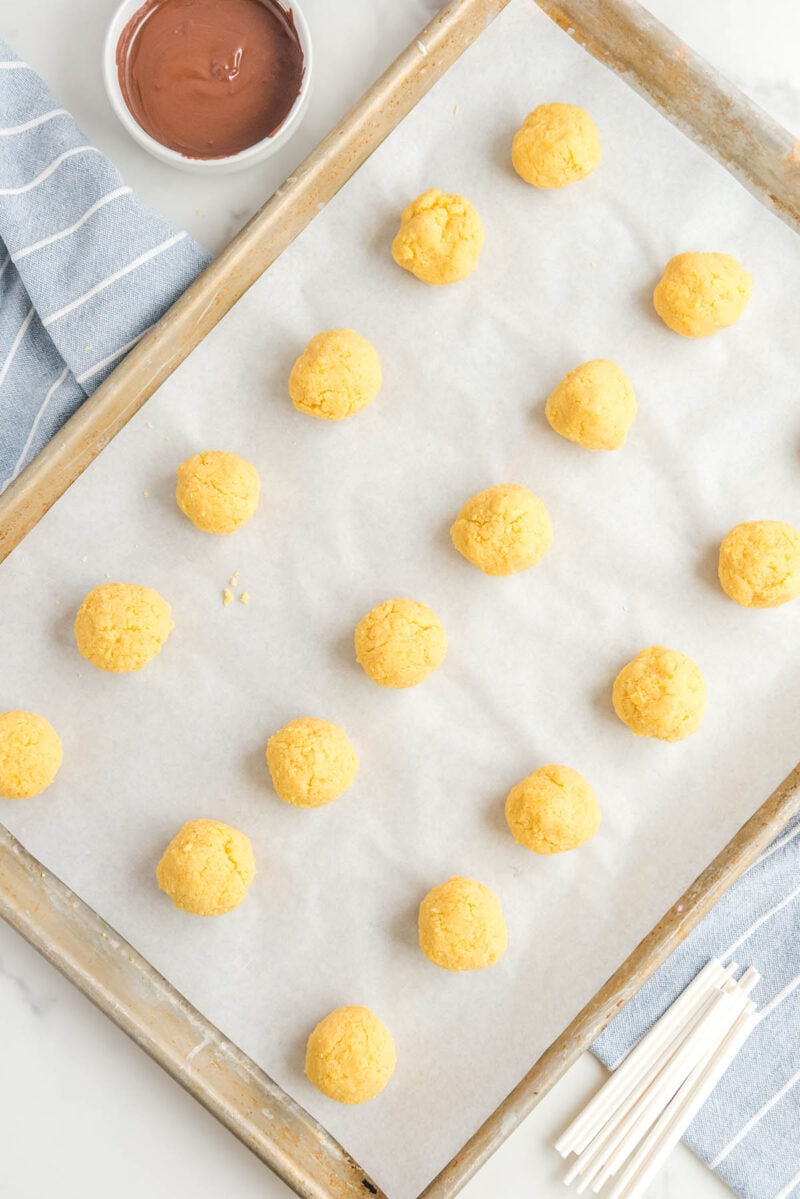
- Roll Into Round Balls: Scoop the mixture into a tight ball. Smooth and round the ball by rolling it in between the palms of your hand.
- Melt the Chocolate: Microwave the melting wafers for 60 seconds, stir, and heat in 30-second bursts, stirring in between, until silky smooth.
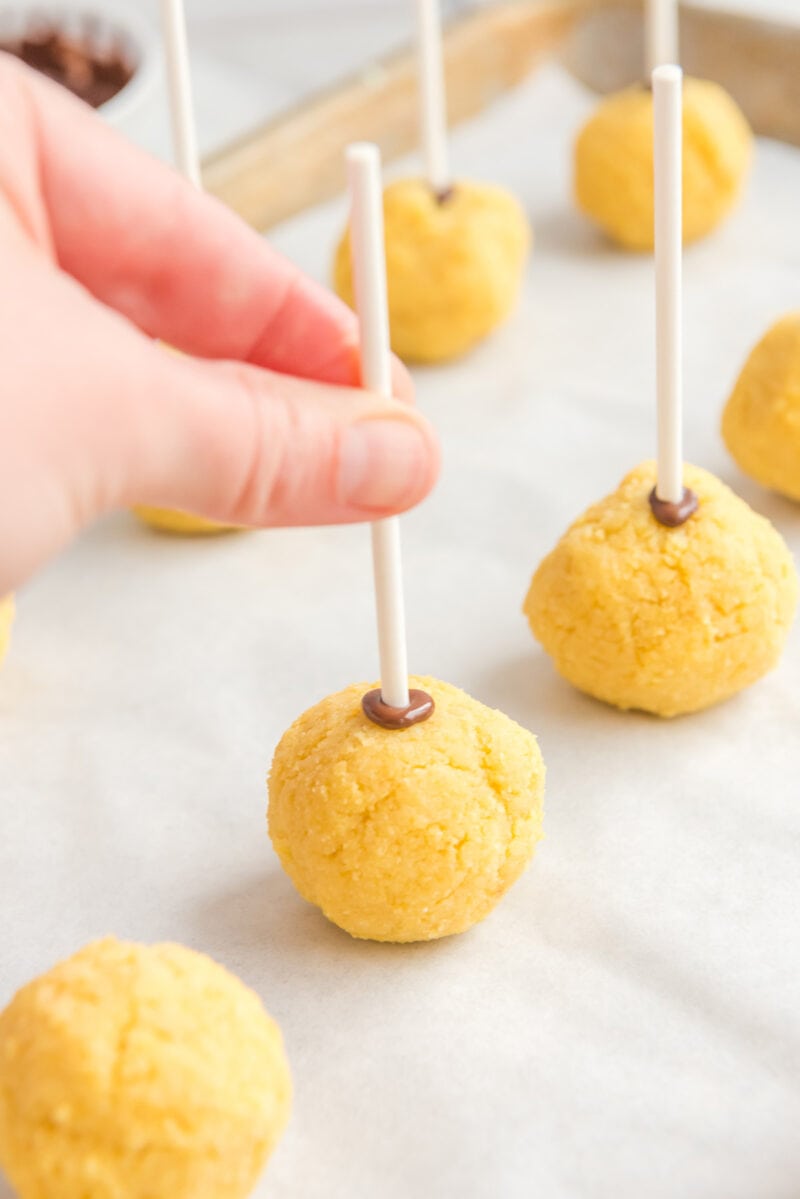
- Dip The Stick: Dip the tip of each stick into the top of each cake pop to create a hole. Then remove and dip the stick into the melted chocolate and place the chocolate-covered end back inside the cake pop hole.
- Cool The Cakes: Chill in the fridge for 30 minutes.
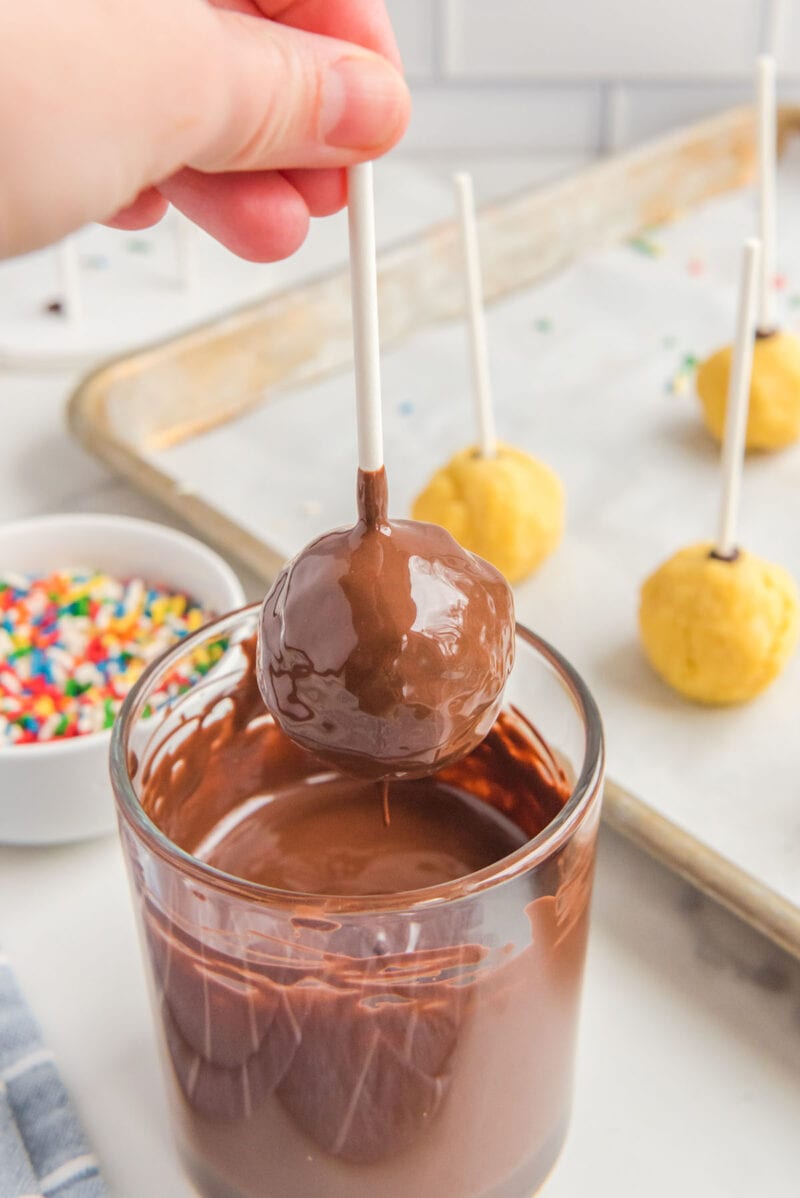
- Dip And Decorate: Melt the remaining wafers and crisco until the mixture is silky smooth. Pour the melted mixture into a deep bowl or cup and dip each cake pop into chocolate. Carefully pull it out, allow the excess to drip off, and immediately top with sprinkles.
- Serve: Chill in the refrigerator for an hour before serving. Enjoy!
Tips For Making The Best Birthday Cake Pops
- Use an electric mixer to combine the cake and frosting. This will help chop up the cake even more and create a consistent and finer texture.
- When rolling the balls, squeeze each cake pop call in your fist like a stress ball while rolling into shape. This will help round the edges and compact the inside.
- You will have leftover chocolate from dipping the sticks. This chocolate can be added back to the main chocolate for coating the balls.
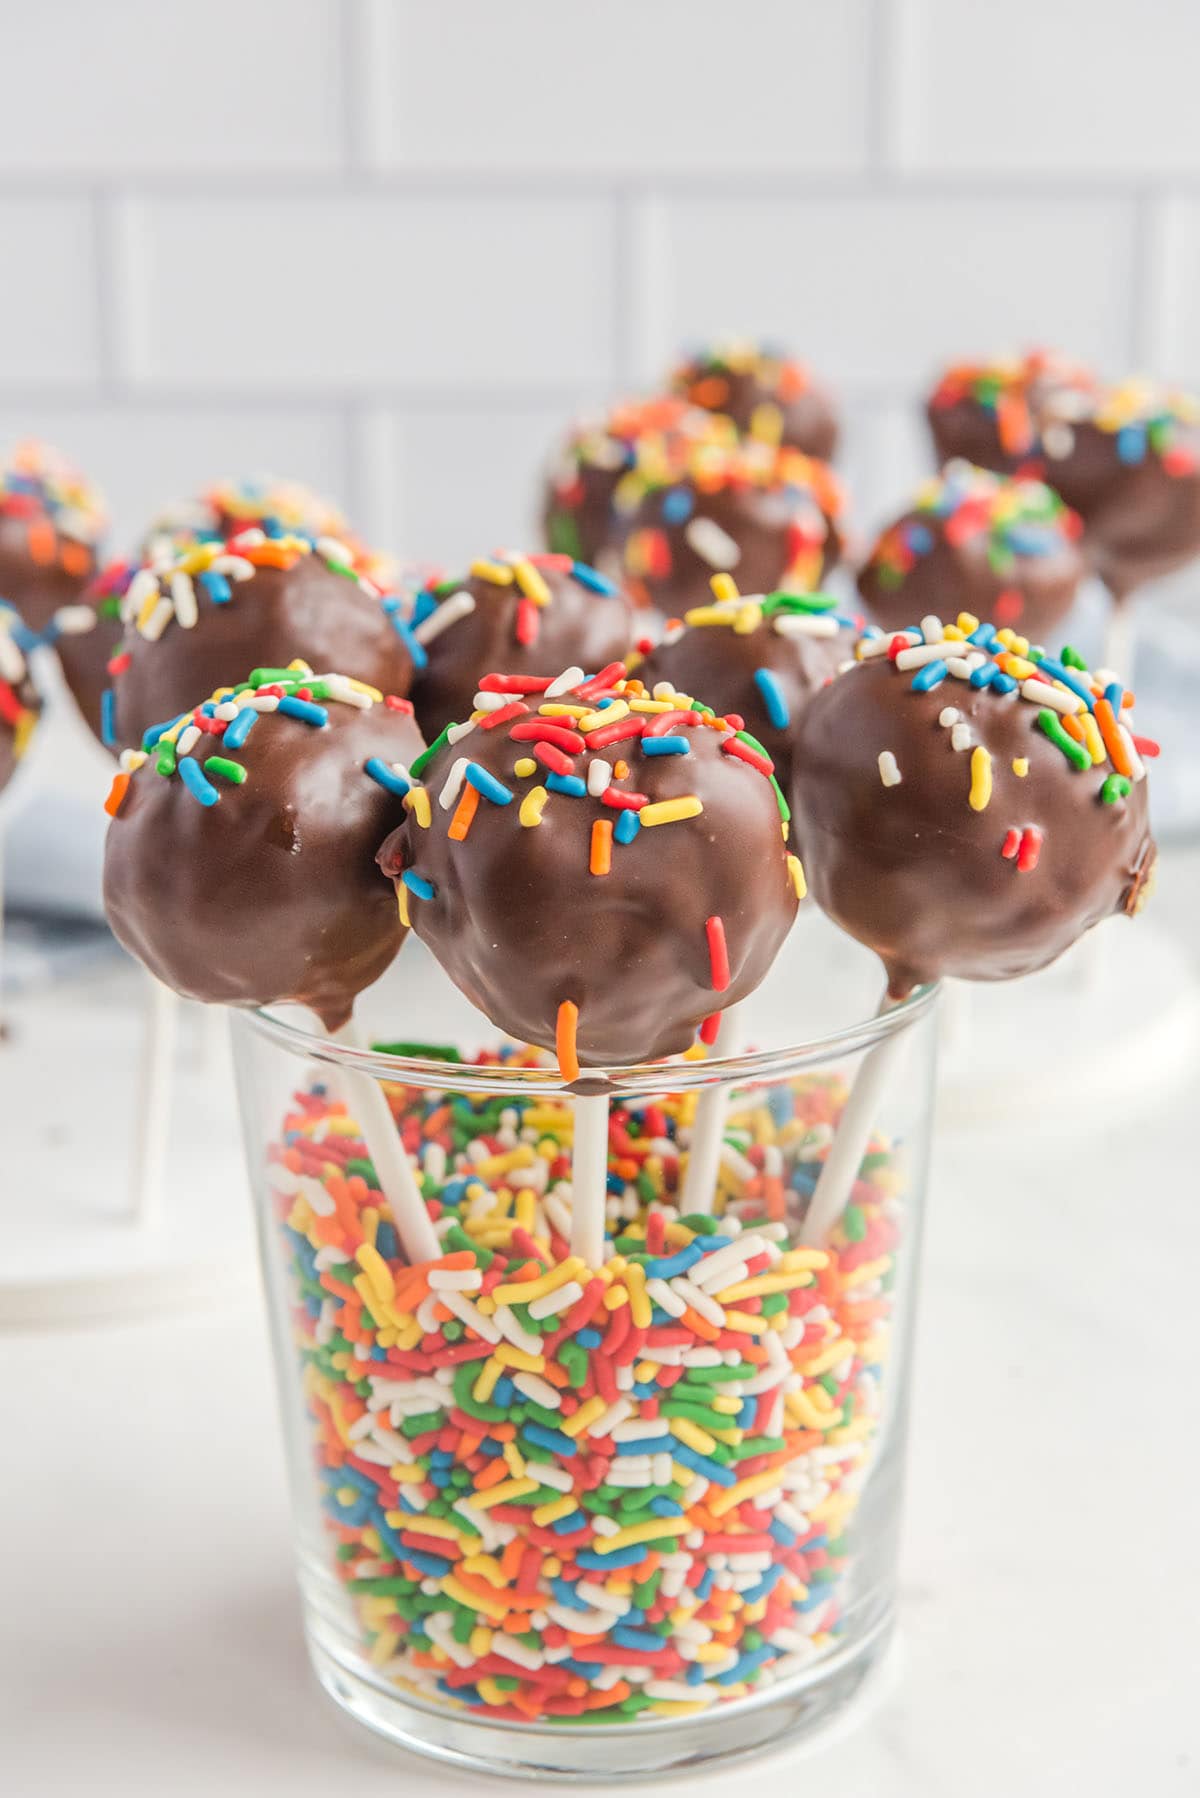
- I like to use a deep, narrow cup or tall drinking glass to submerge the cake ball into the coating. It is the perfect depth for dipping the cake pops.
- You can use a shallow cup or a soft styrofoam block for a stand if you do not already have a foam or cake pop stand.
Make your Cake Pop Mixture Ahead Of Time
Your cake mixture can be prepared a couple of days in advance and kept in the fridge until you are ready to use. You can even form the cake balls a day ahead and let them chill in the fridge for easier dipping.
If you want to prep your cake balls and freeze them, store them in a large freezer bag and keep them in the freezer for up to 6 weeks. Let your cake balls come to room temperature before dipping and decorating.
How to Serve
Serve these delightful Birthday Cake Pops on a decorative platter or place them in a foam block covered with colorful wrapping paper for an eye-catching centerpiece. They are perfect as a sweet treat at birthday parties, baby showers, or even weddings.
To add an extra touch of elegance, you can drizzle melted white chocolate or colored candy melts over the chocolate coating. Decorate with additional sprinkles, edible pearls, or edible glitter to make them truly sparkle.
For a themed party, consider customizing the cake pops by using colored candy melts or adding themed decorations on top. You can create characters, patterns, or even small edible fondant toppers to match the occasion.
These Birthday Cake Pops also make wonderful party favors. Wrap each cake pop individually in clear cellophane bags, tie with colorful ribbons, and attach a personalized tag to create a sweet and memorable gift for your guests.
How to Store Birthday Cake Pops
- To Store: Once the cake pops have been constructed they can be stored in a sealed airtight container at room temperature for 3-4 days. If stored in the refrigerator they will keep a little longer, for 5-7 days.
- To Freeze: If you want to make the cake pops ahead of time, you can freeze them. Place them in a single layer in an airtight container or freezer-safe bag. They will keep well for up to 2 months. Thaw the frozen cake pops in the refrigerator overnight before serving.
More Easy Bite Sized Dessert Recipes

Other Easy Dessert Recipes
- Punch Bowl Cake
- Copycat Magnolia Bakery Banana Pudding
- S’mores Trifle
- Copycat Dairy Queen Buster Bars
- Ice Cream Cake Pops
- Raspberry Poke Cake
- Walking Strawberry Pretzel Salad
- Nutter Butter Truffles
- Boston Cream Pie Trifle

Chocolate Birthday Cake Pop
Ingredients
- 1 box classic yellow cake mix + ingredients from box
- 5 tablespoons vanilla frosting
- 10 ounce bag of chocolate melting wafers divided
- 2 tablespoons Crisco shortening
- Rainbow sprinkles
Instructions
- Cook the cake according to box directions.
- Allow it to cool completely. Then shave all of the brown edges of the cake off and crumble the remaining cake inside of a large mixing bowl.
- Add frosting to the bowl and mix to combine well using an electric hand or stand mixture.
- Prepare a large baking sheet with parchment paper. Then use a cookie scoop to scoop the mixture into a tight ball. Smooth and round off the ball even more by rolling it in between the palms of your hand. Work one at a time, place each ball on the sheet of parchment paper.
- Add about ½ cup of melting wafers to a microwave safe bowl. Microwave on 50% power for 60 seconds. When done, stir gently. Return to the microwave and heat in 30-second bursts on 50% power, stirring in between, until the wafers are silky smooth.
- Dip one tip of each cake pop stick into the top of each cake pop, creating a hole about half way through.
- Next dip the cake pop stick into the melted chocolate about ½ inch deep. Then place the chocolate covered end of the stick inside the cake pop hole. Repeat for each cake pop.
- Place the baking sheet inside the refrigerator and let it cool for 30 minutes before proceeding.
- Near the end of the chill time, begin to prepare the remaining wafers. Repeat step 5 using the remaining wafers and crisco until the mixture is silky smooth.
- Remove the cake pops from the refrigerator.
- Pour the melted mixture into a deeper bowl or cup. This will help with dunking. Working one at a time, dunk each cake pop into the mixture and carefully pull out, allowing excess to drip off.
- Place cake pop upside into a cake pop stand and immediately top with sprinkles. Repeat this process for each cake pop.
- Place cake pops inside the refrigerator to chill for another hour before serving.
Jenn’s Notes
- To Store: Once the cake pops have been constructed they can be stored in a sealed airtight container at room temperature for 3-4 days. If stored in the refrigerator they will keep a little longer, for 5-7 days.
- To Freeze: Place cake pops in a freezer safe container large enough to house them without crowding, and separate each layer with a sheet of wax paper. Seal them, and freeze for 6-8 weeks.
- Use an electric mixture to combine the cake and frosting. This will help chop up the cake even more and create a consistent and finer texture.
- When rolling the balls, squeeze each cake pop call in your fist like a stress ball while rolling into shape. This will help round the edges and compact the inside.
- You will have left over chocolate from dipping the sticks. This chocolate can be added back to the main chocolate for coating the balls.
- I like to use a deep, narrow cup or tall drinking glass to submerge the cake ball into the coating. It is the perfect depth for dipping the cake pops.
- You can use a shallow cup or a soft styrofoam block for a stand if you do not already have a foam or cake pop stand.


These cake pops look fun for a party!
Thank you! I just made them this past weekend and they were a hug hit! Side note – they are big, you don’t need to plan on one per person.