
This post may contain affiliate links. Please read our disclosure policy.
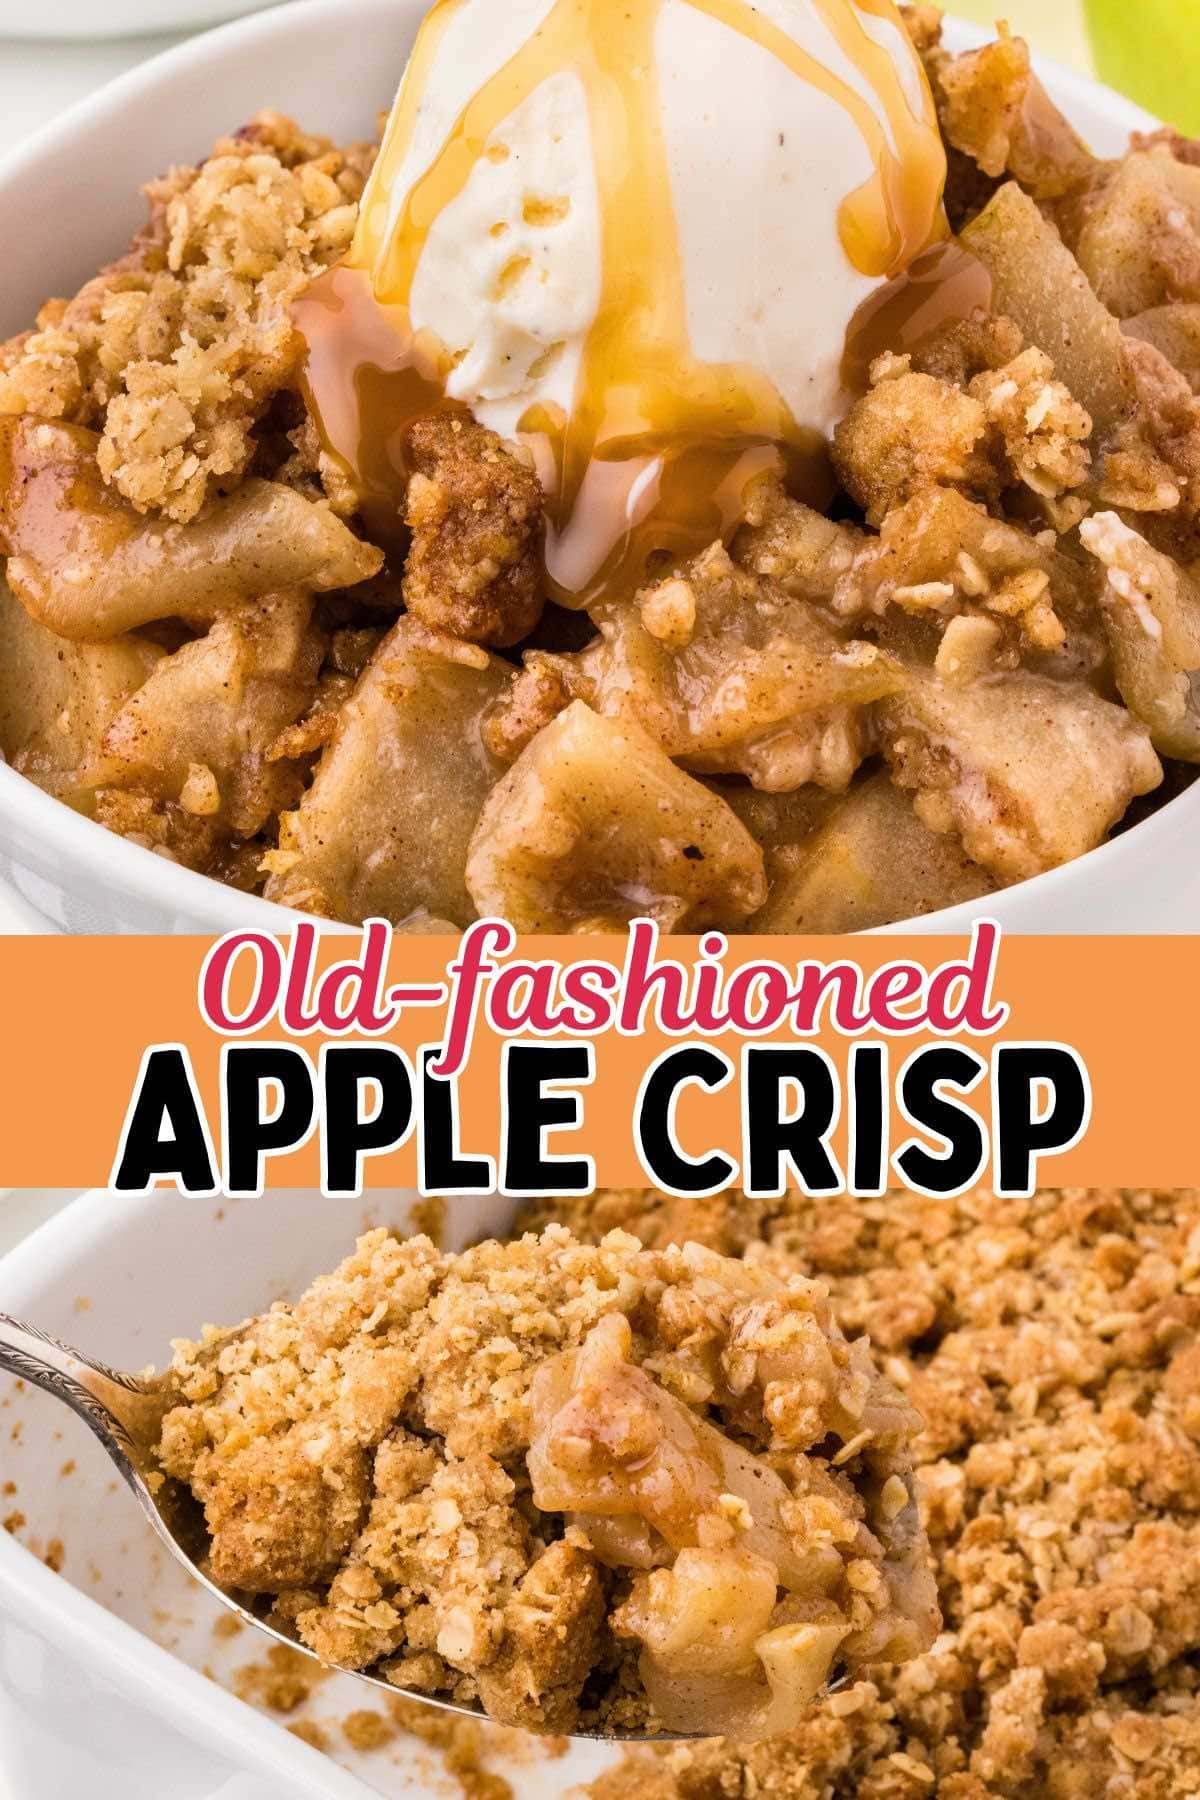
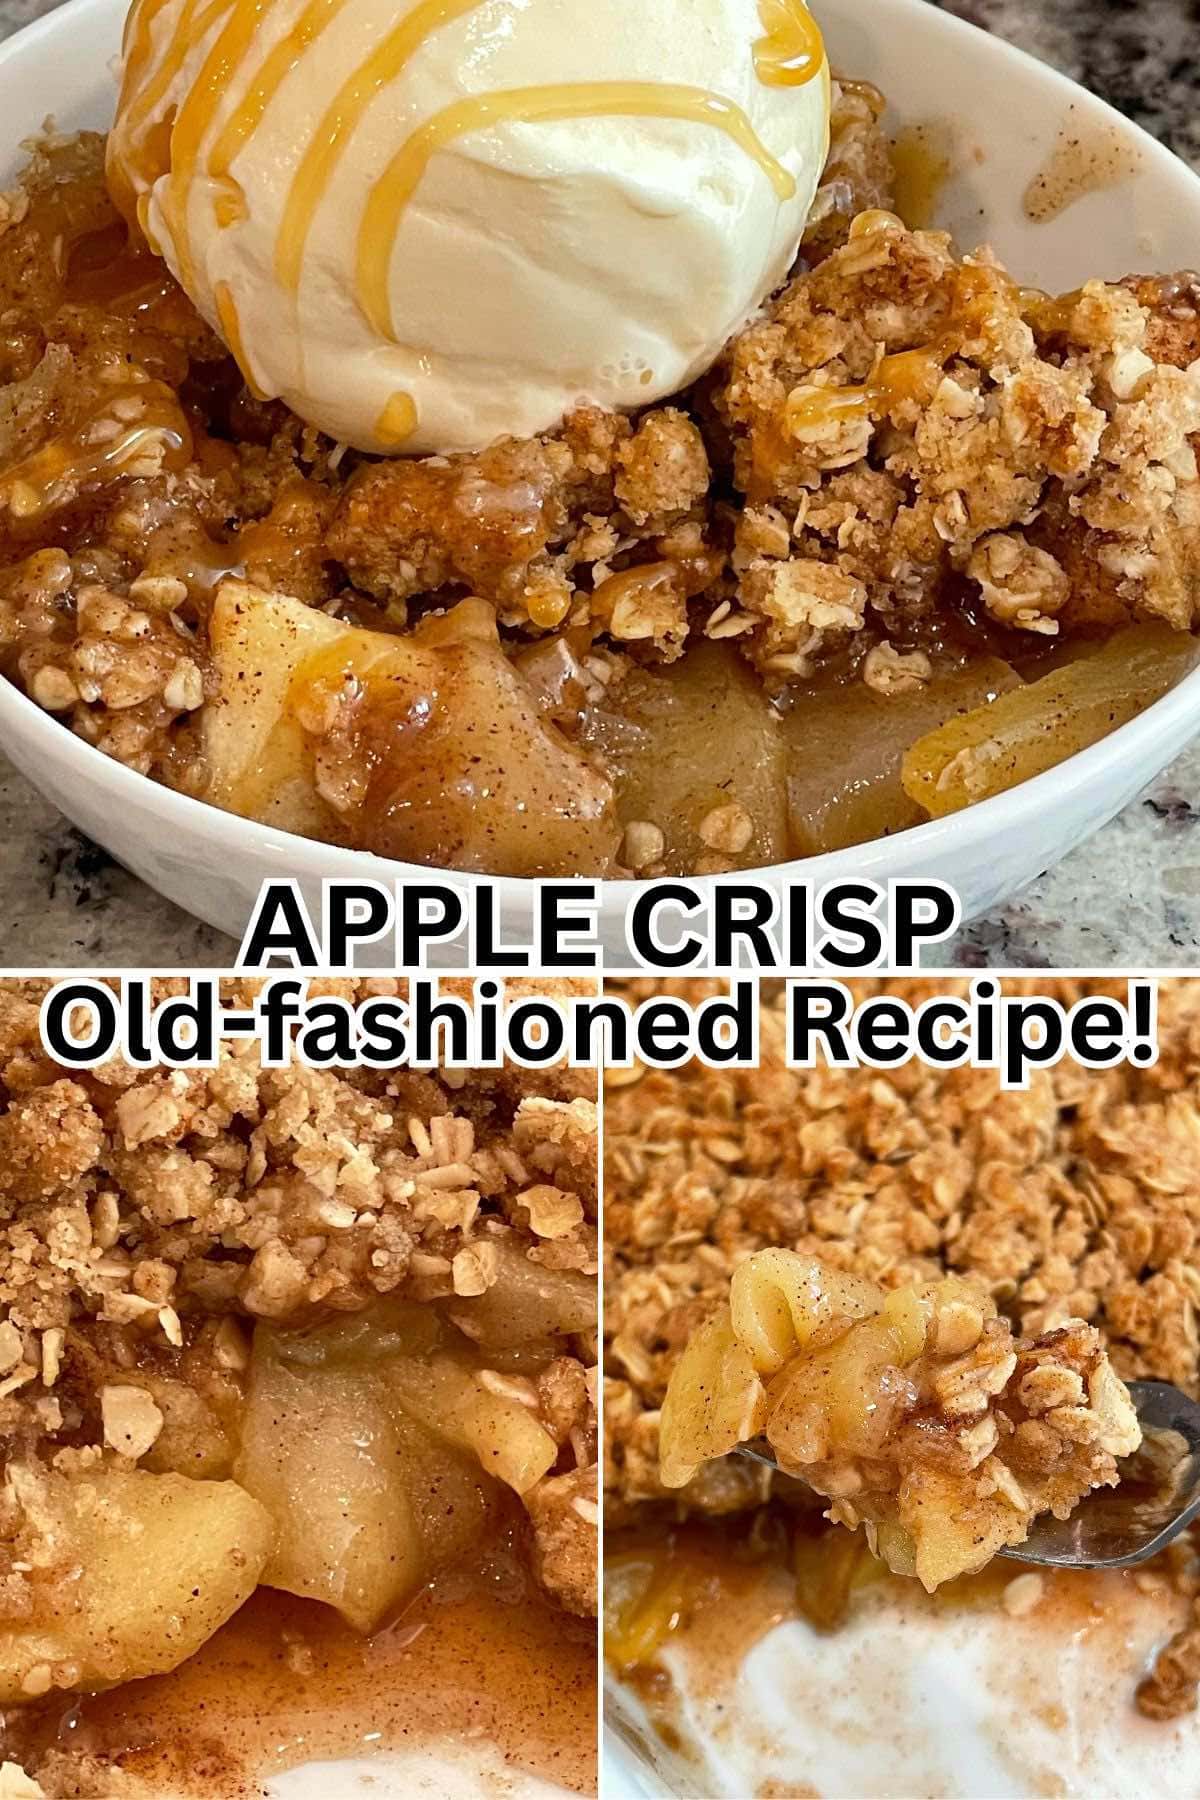
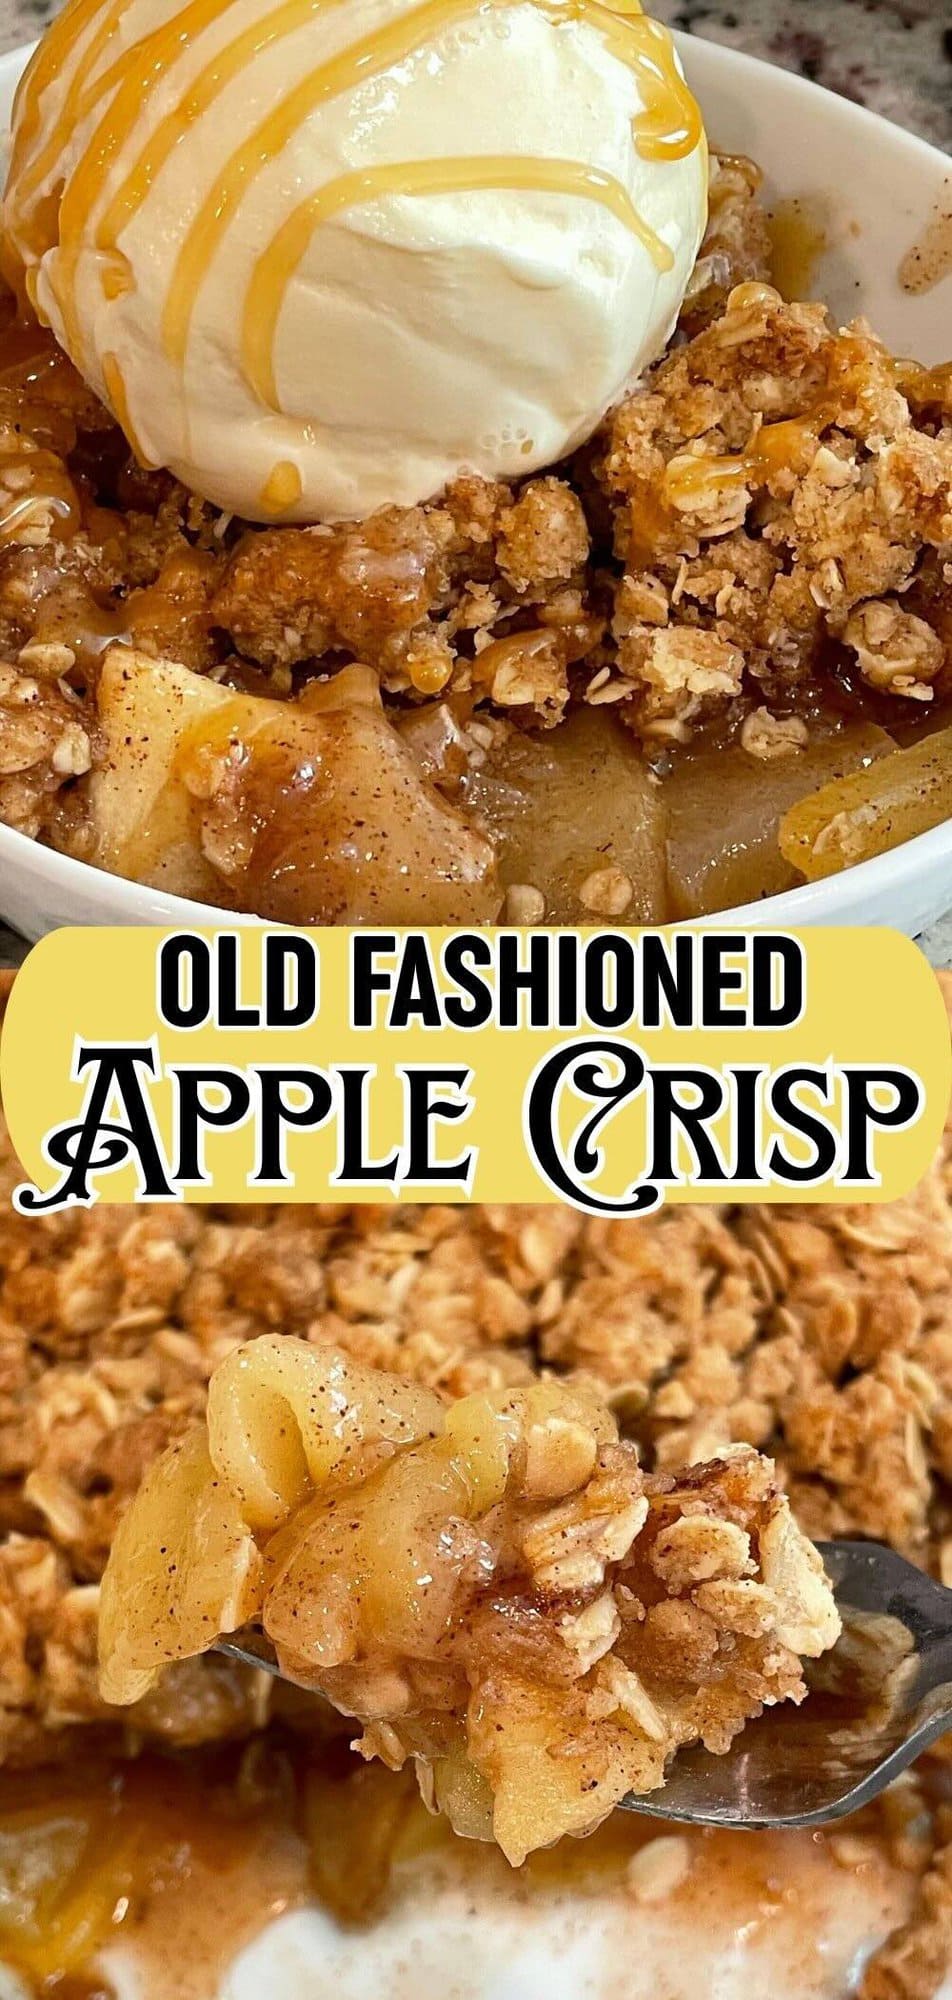
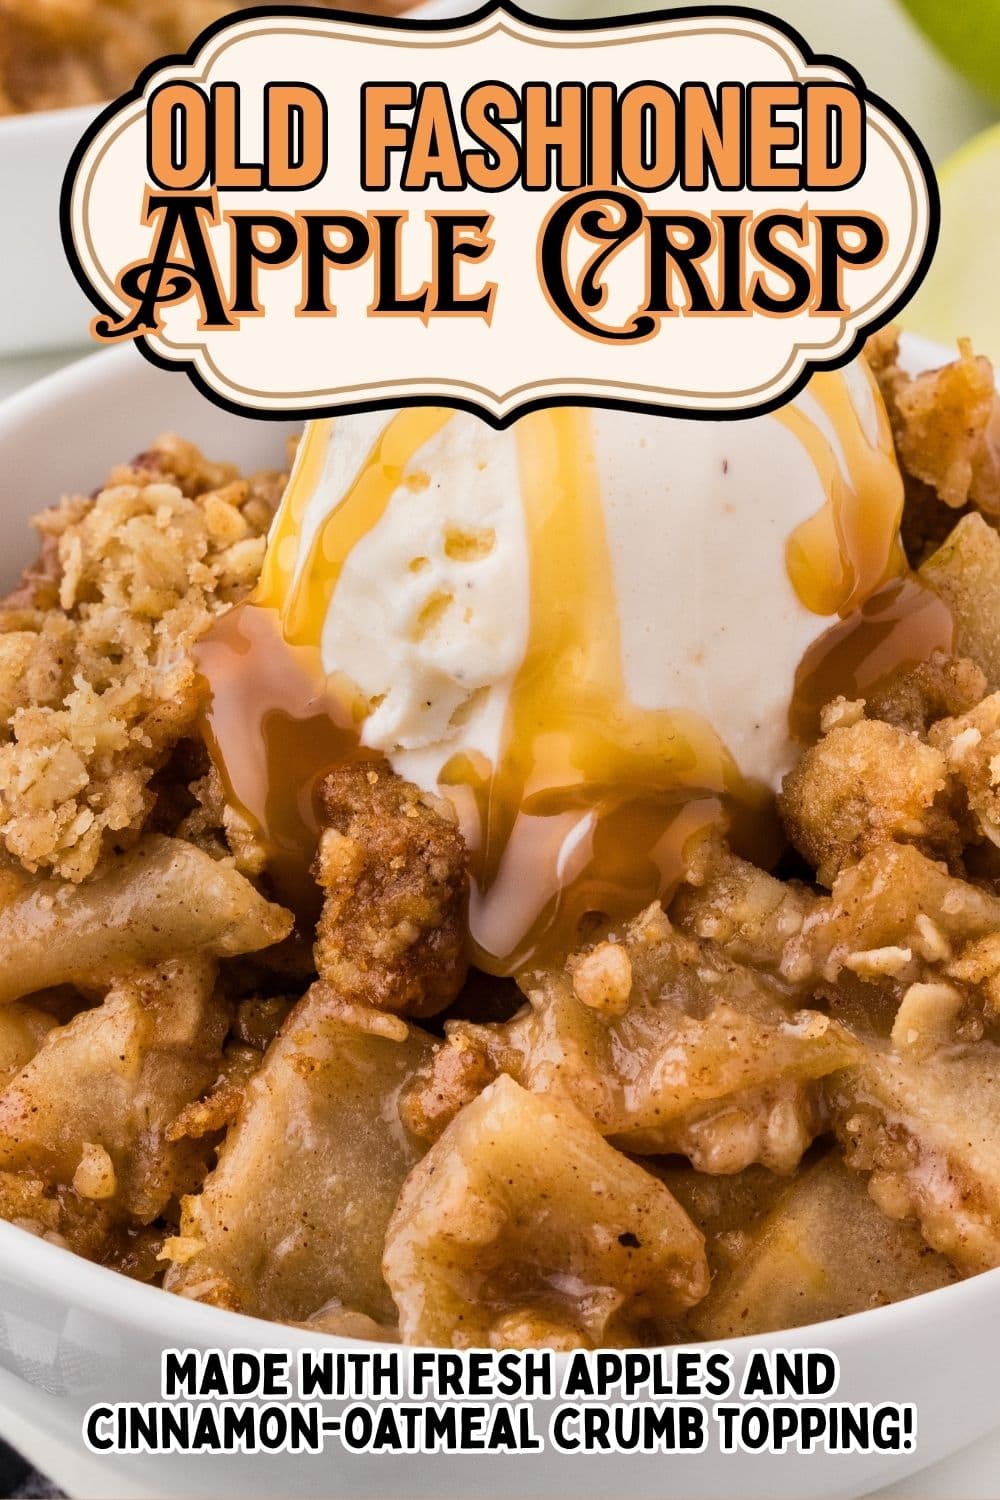
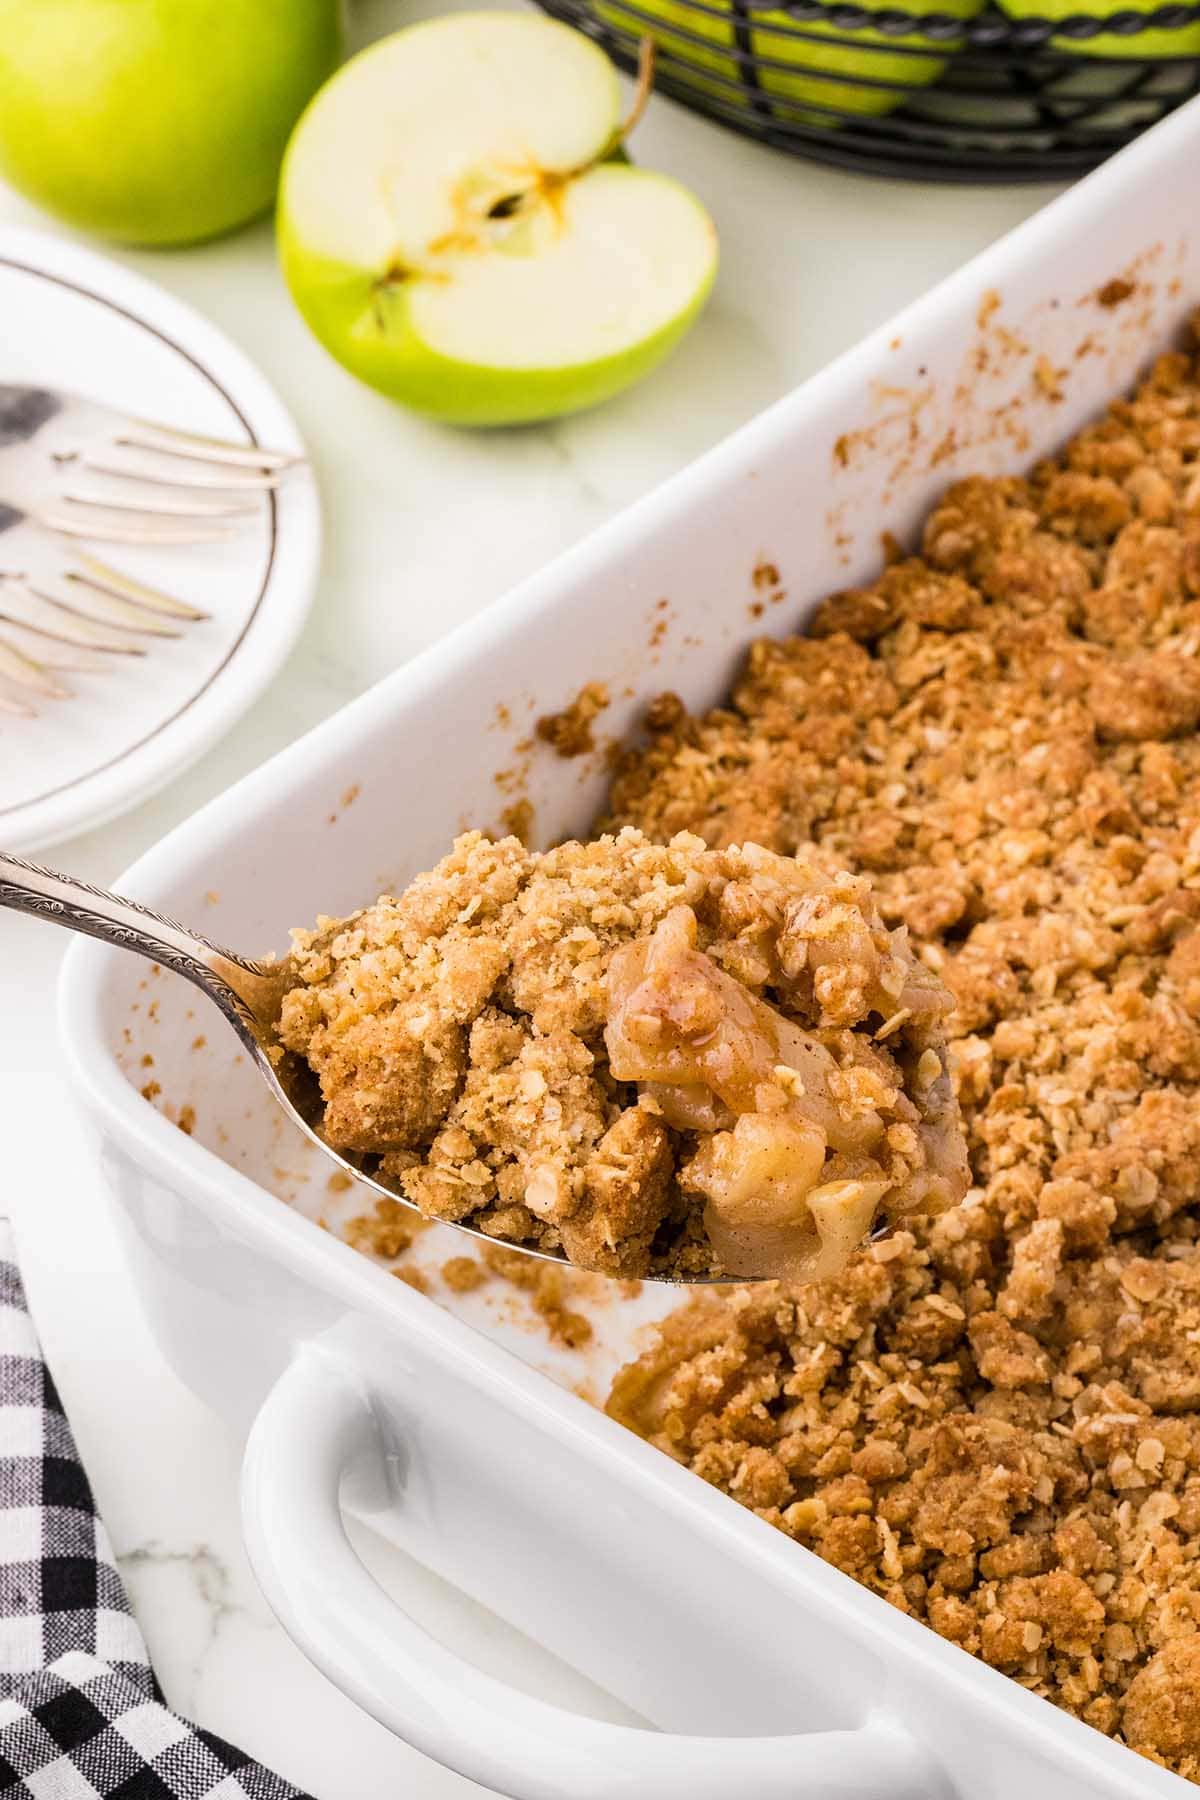
Does anything say fall more than a warm apple crisp? Our Classic Apple Crisp recipe is one of my favorite Fall desserts that my grandma used to make. With sweetly spiced apple slices baked below a crunchy oat topping, the fruit filling is cooked until gooey and bubbly, and the crumble becomes golden brown; it’s no wonder why this homemade apple crisp recipe is a guaranteed crowd-pleaser.
If you want that same buttery crumb but in cake form, my apple crumb cake bakes streusel into the middle of the cake and on top.
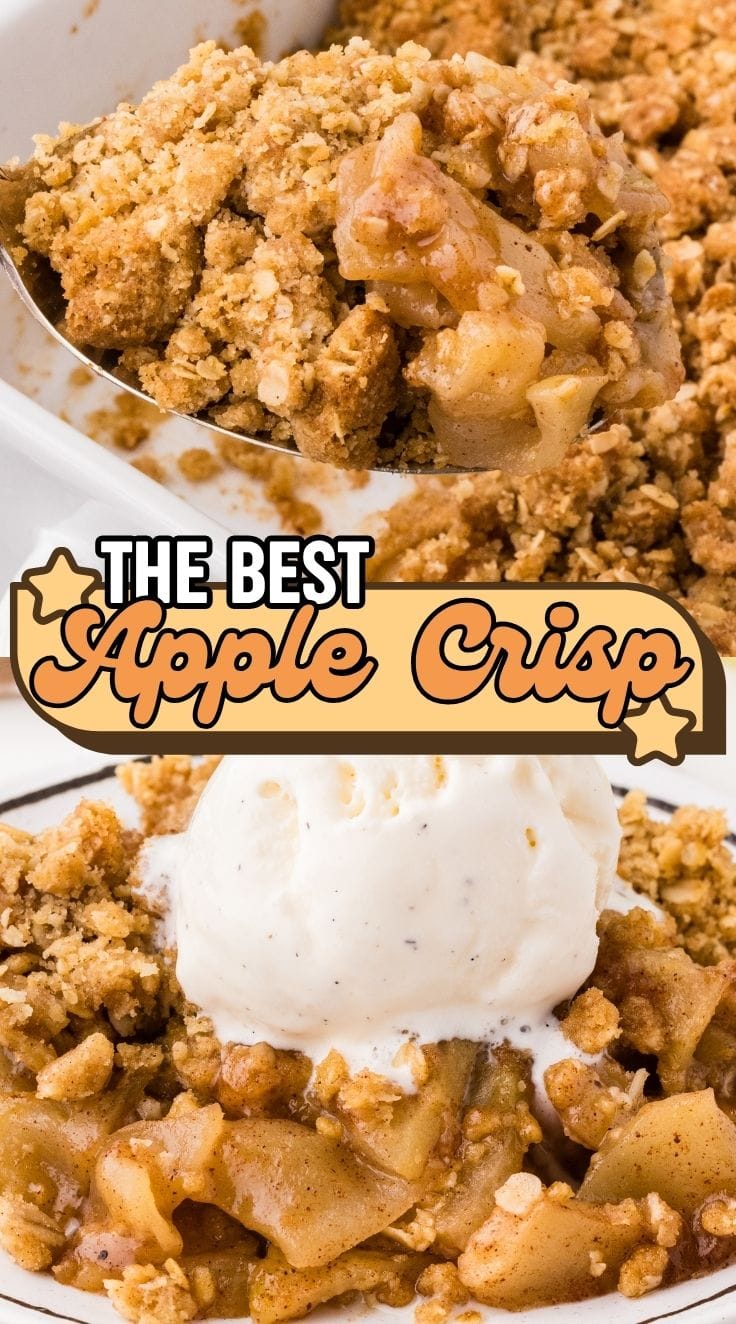
The Best Apple Crisp
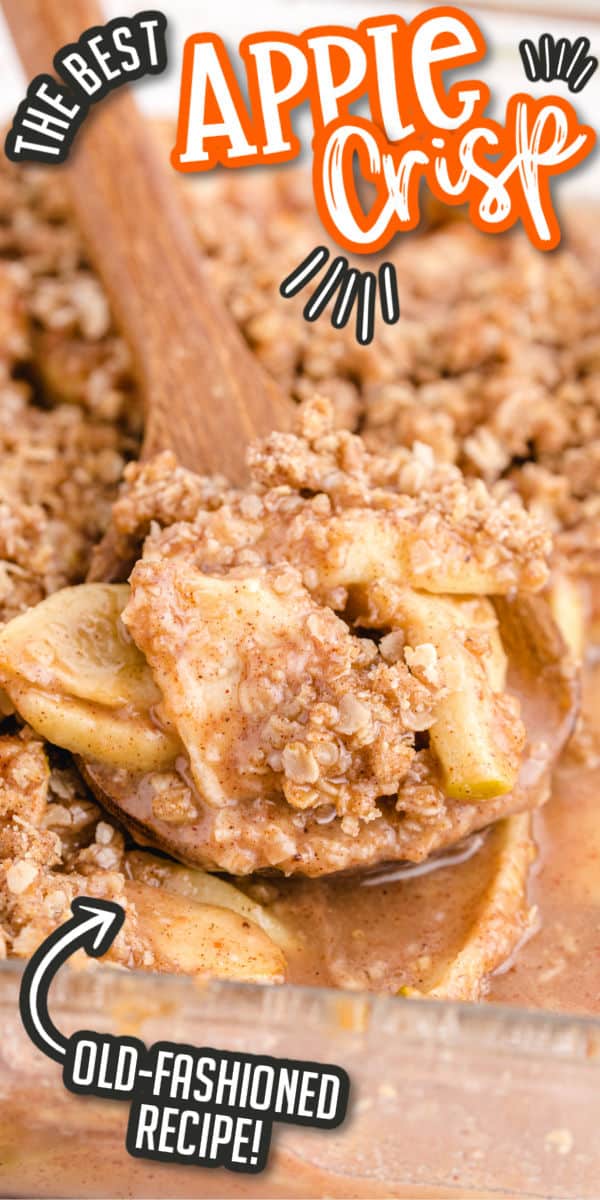
Grab your Granny Smiths and get ready to upset Grandma, because this easy Apple Crisp recipe is even better than what you remember from growing up. Featuring 3 and a half pounds of peeled apples for the filling all covered with a sweet cinnamon spiced oat crumble topping, the fruit cooks soft and tender while the juices become thick and gooey as it bakes.
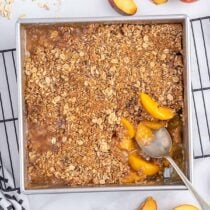
Fall is apple picking season and always a favorite family pastime, but we always come home with far too much fruit than we can consume before it goes bad. When I am drowning in apples like that, I pull from my full list of apple desserts to use them all up. Since my peach crisp and strawberry crisp recipes received so many rave reviews, I knew I could add an apple version after summer produce is no longer at its peak and I’m struggling with what to do with so many sitting around!
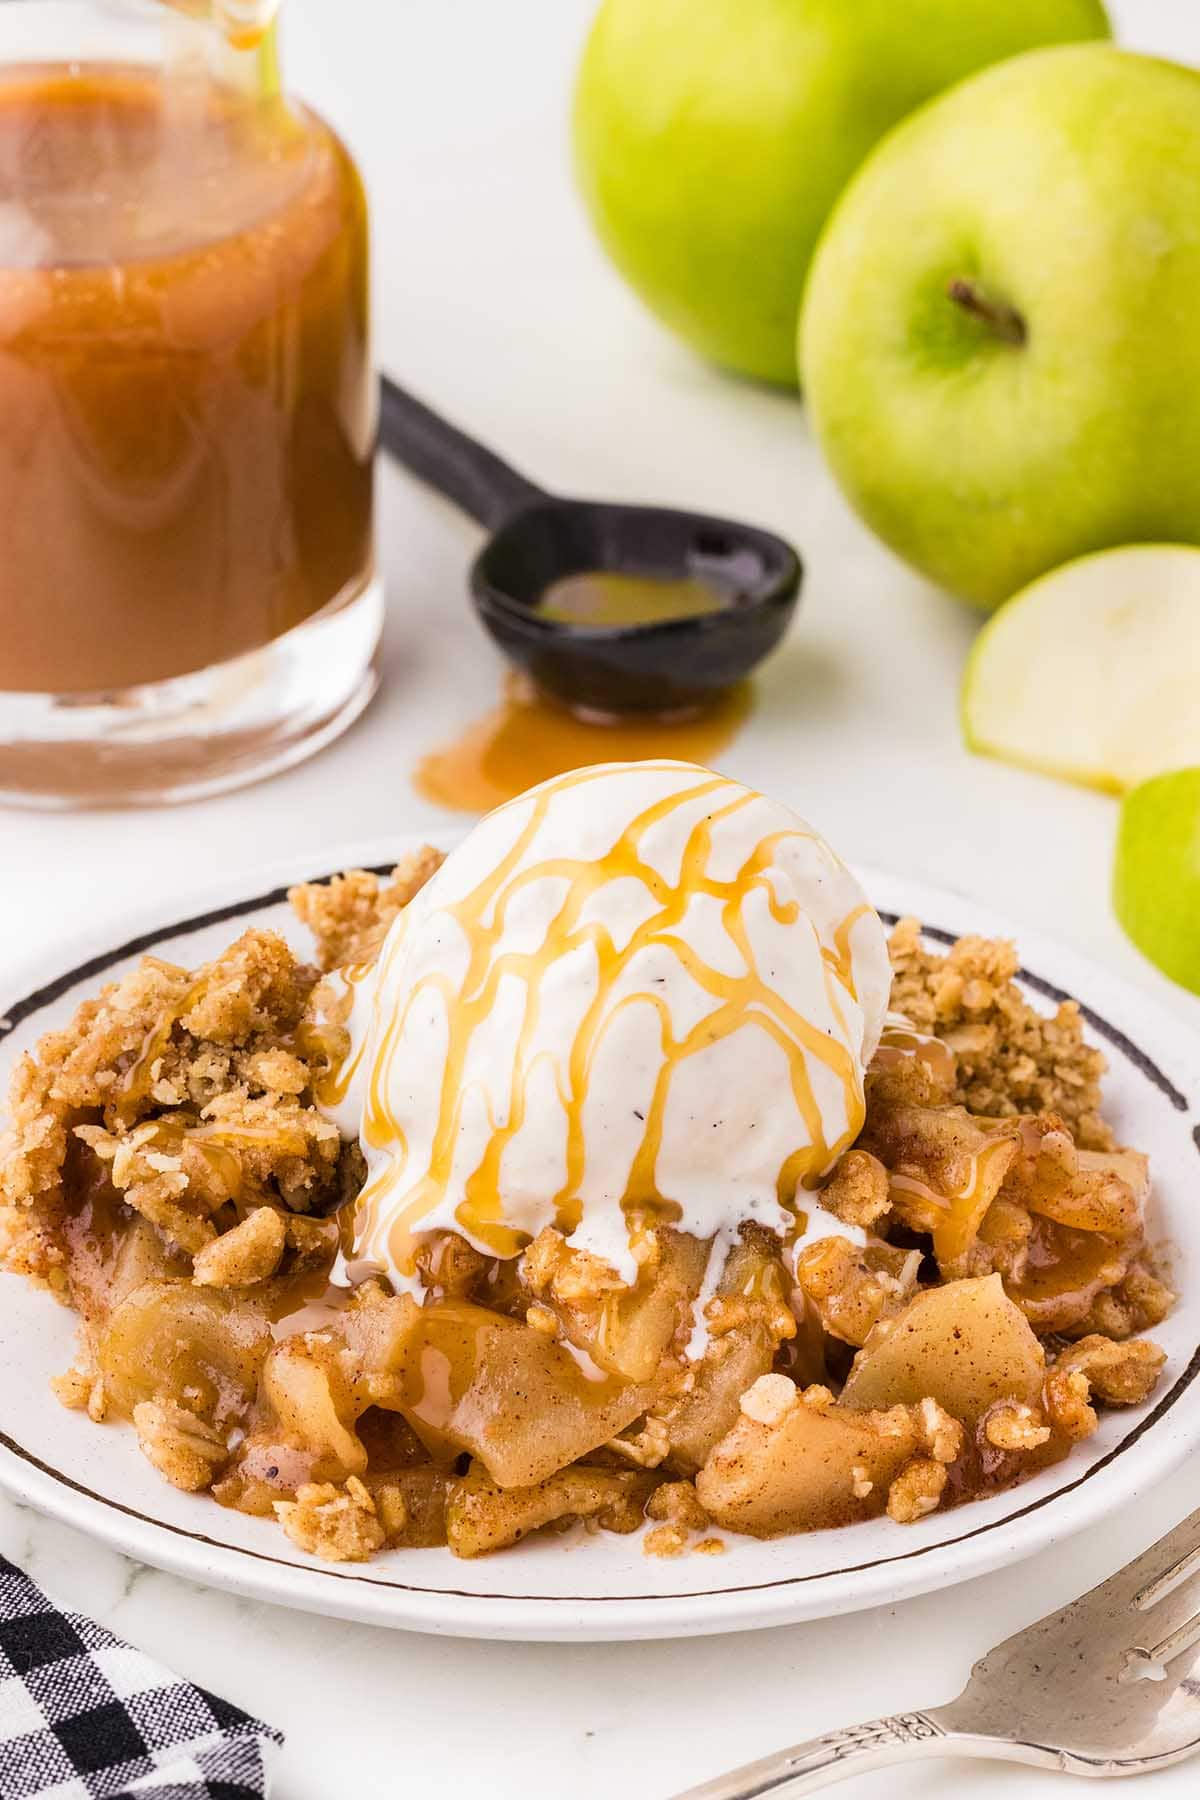
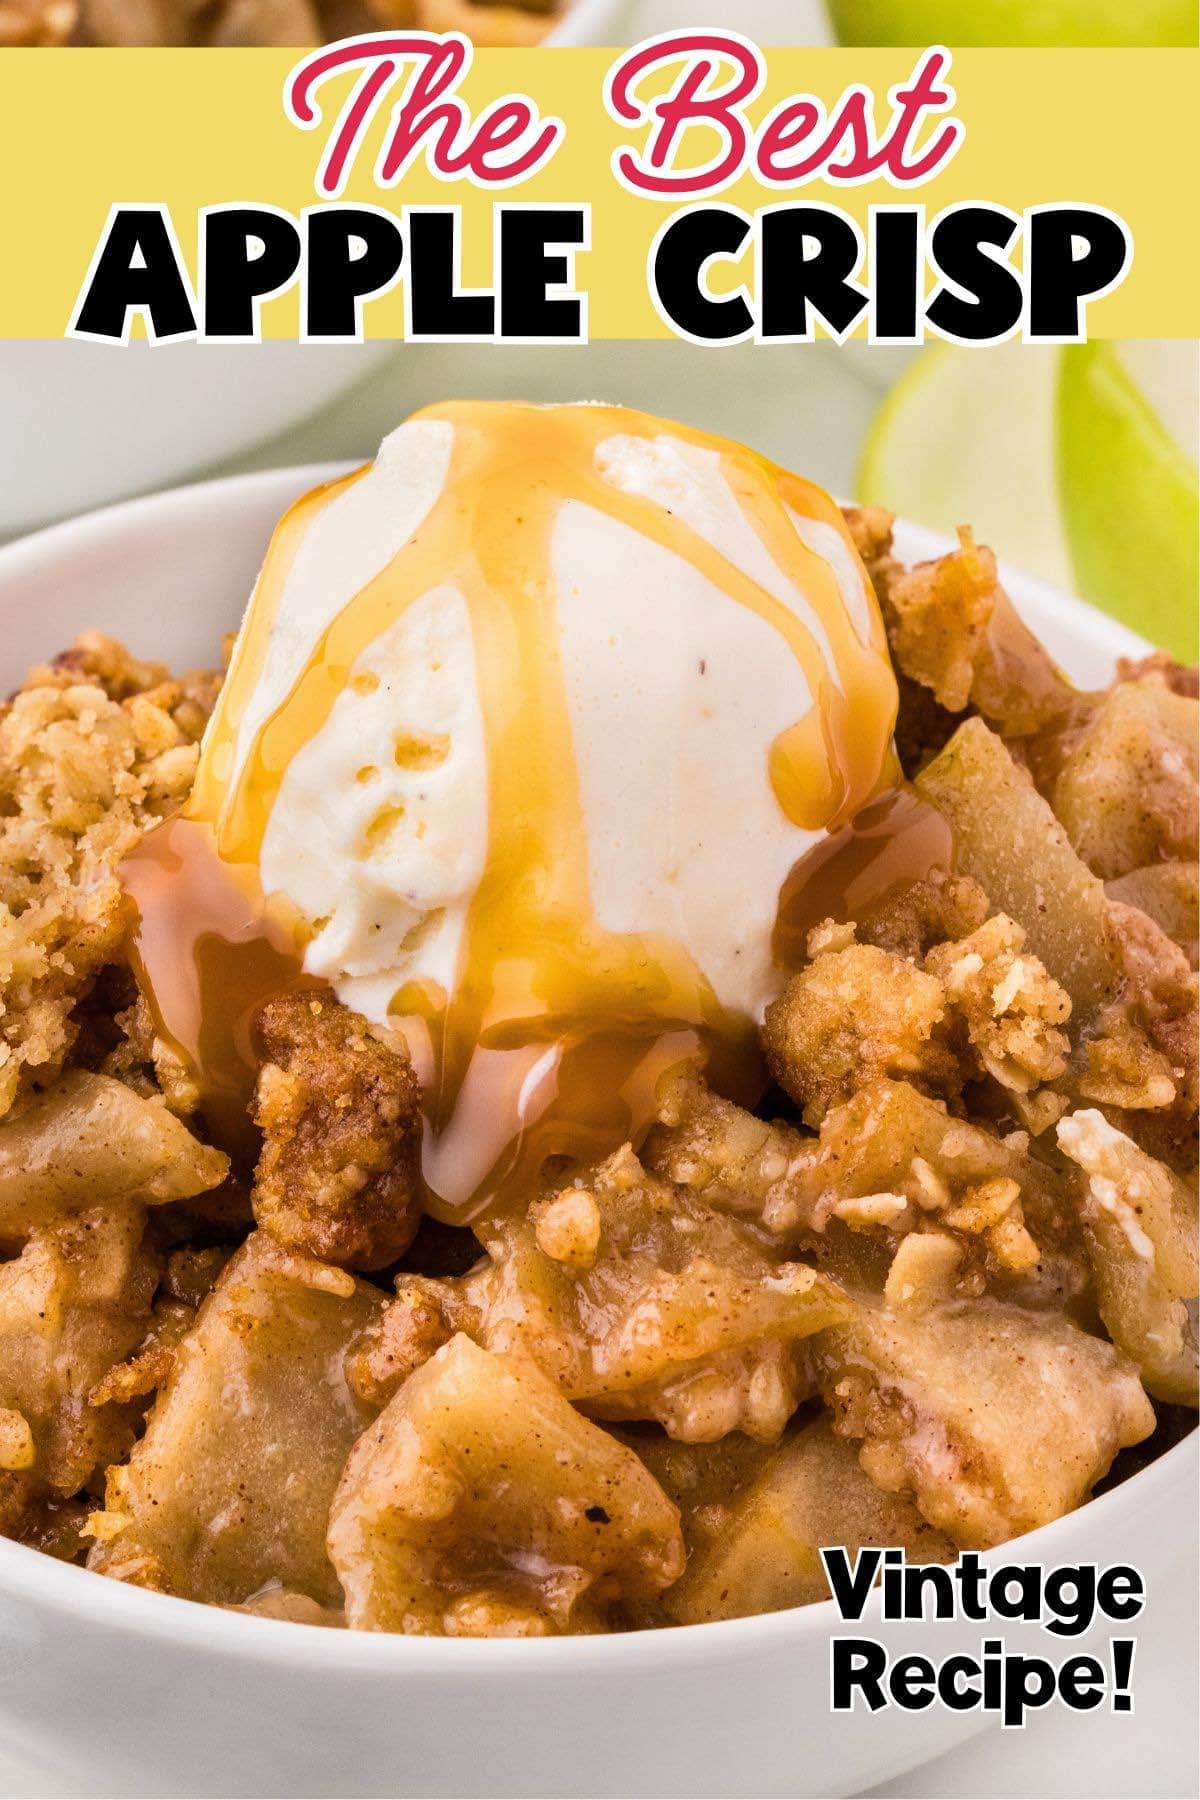
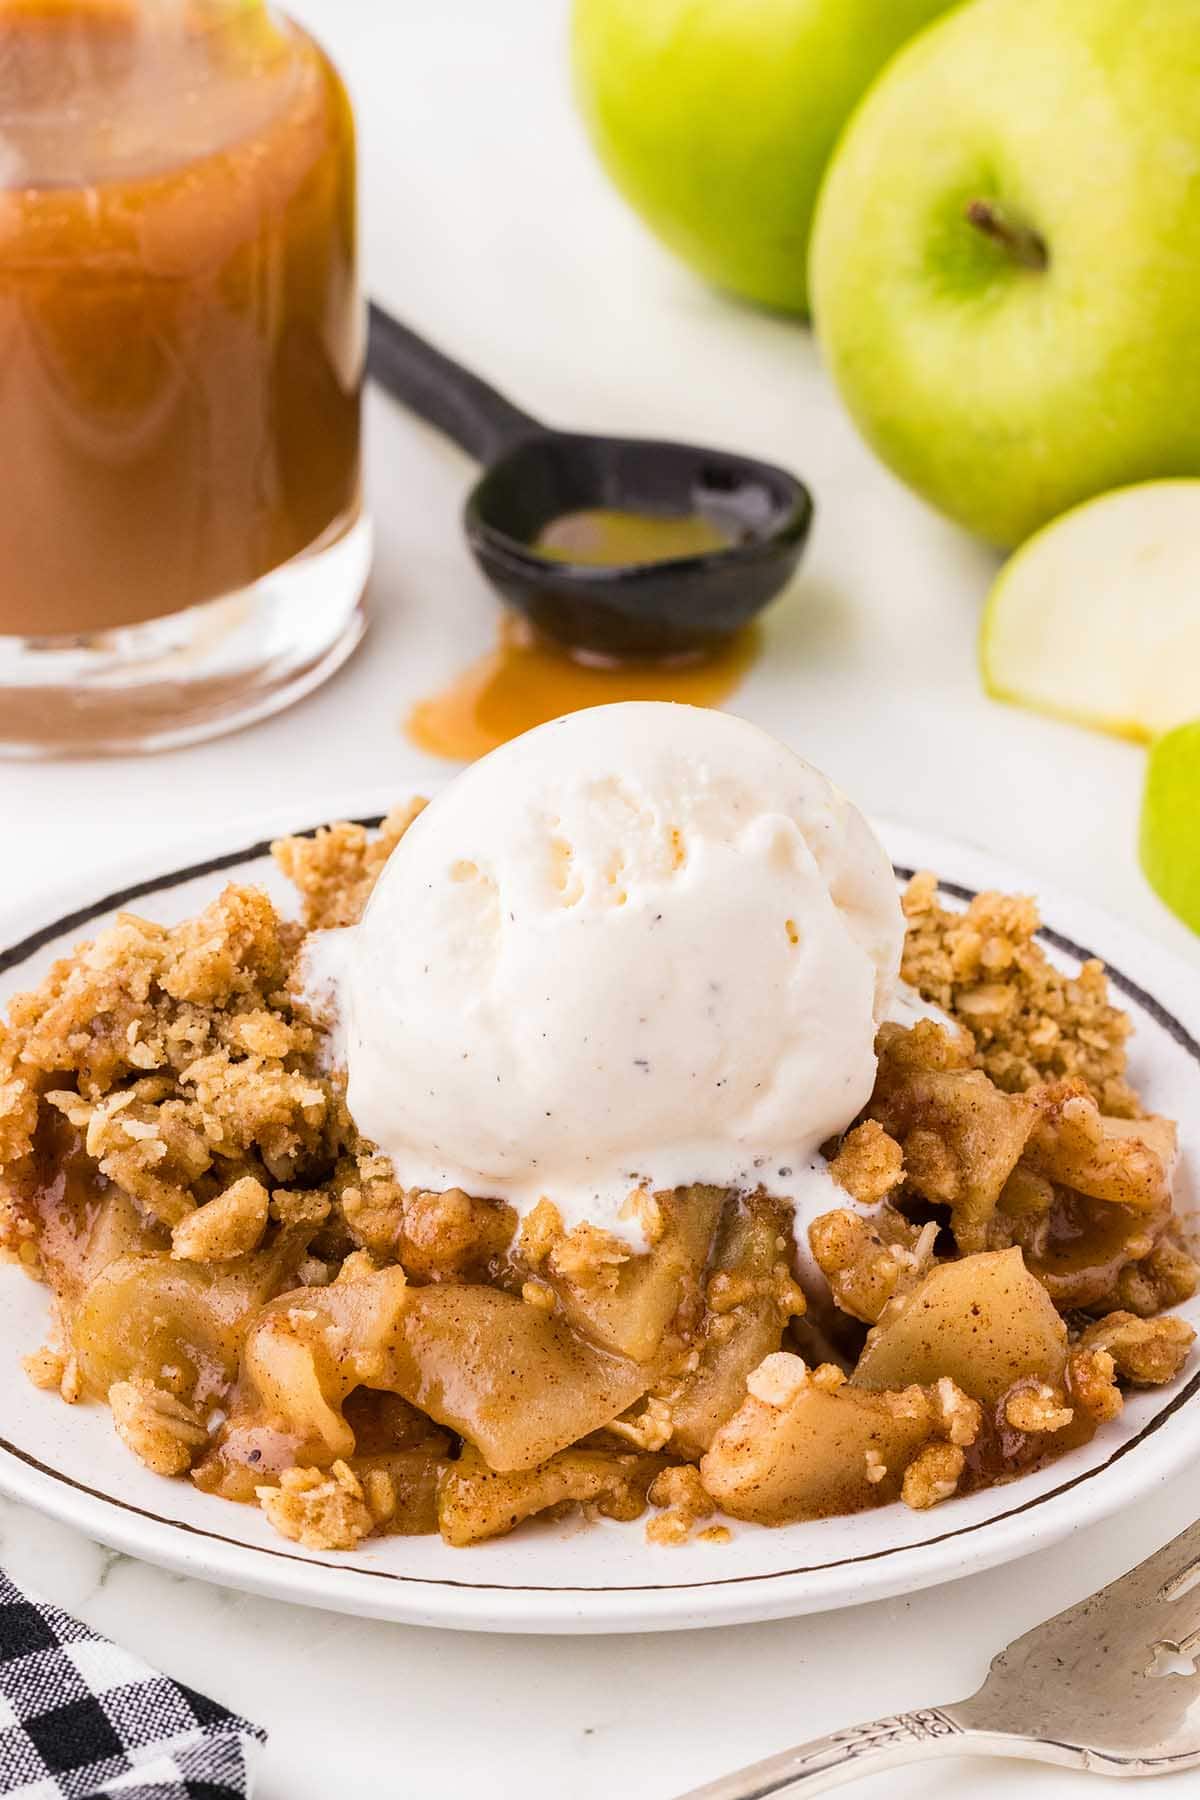
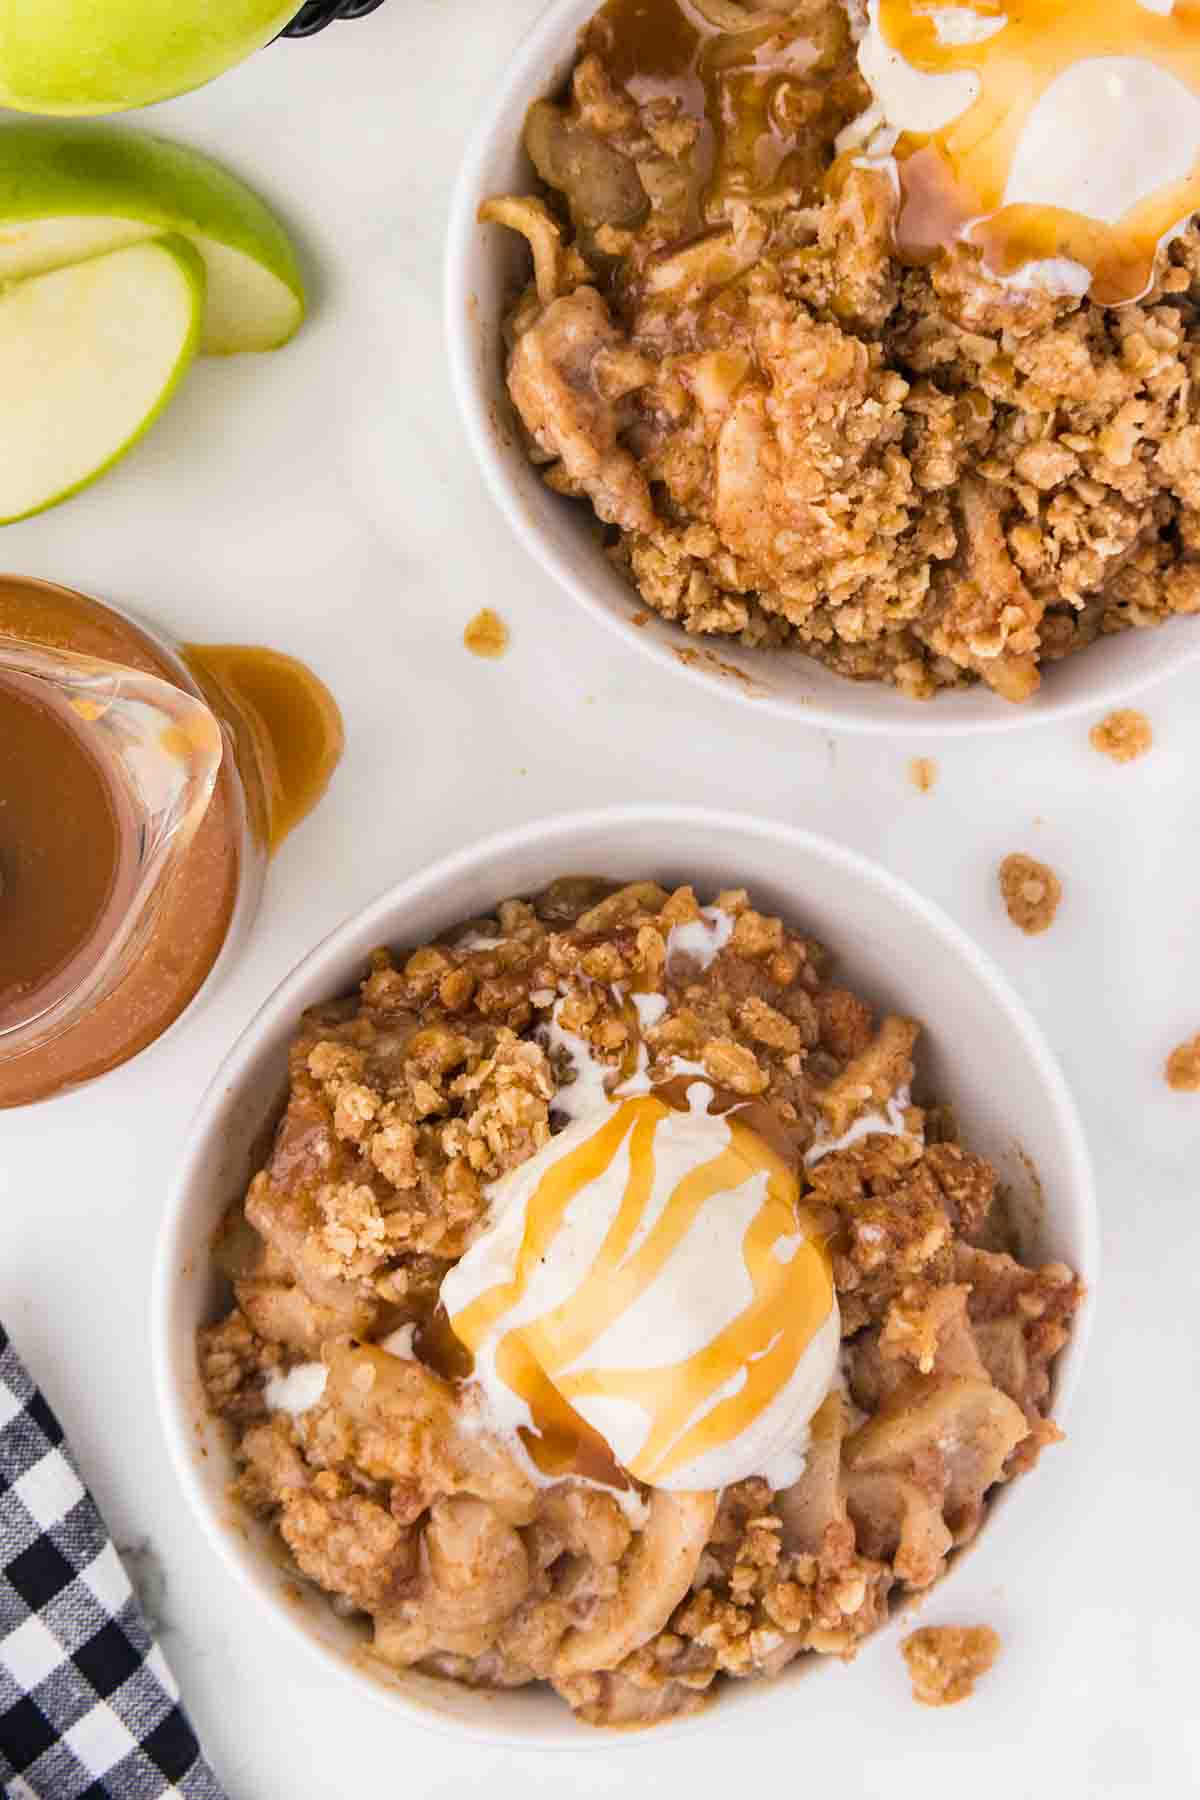
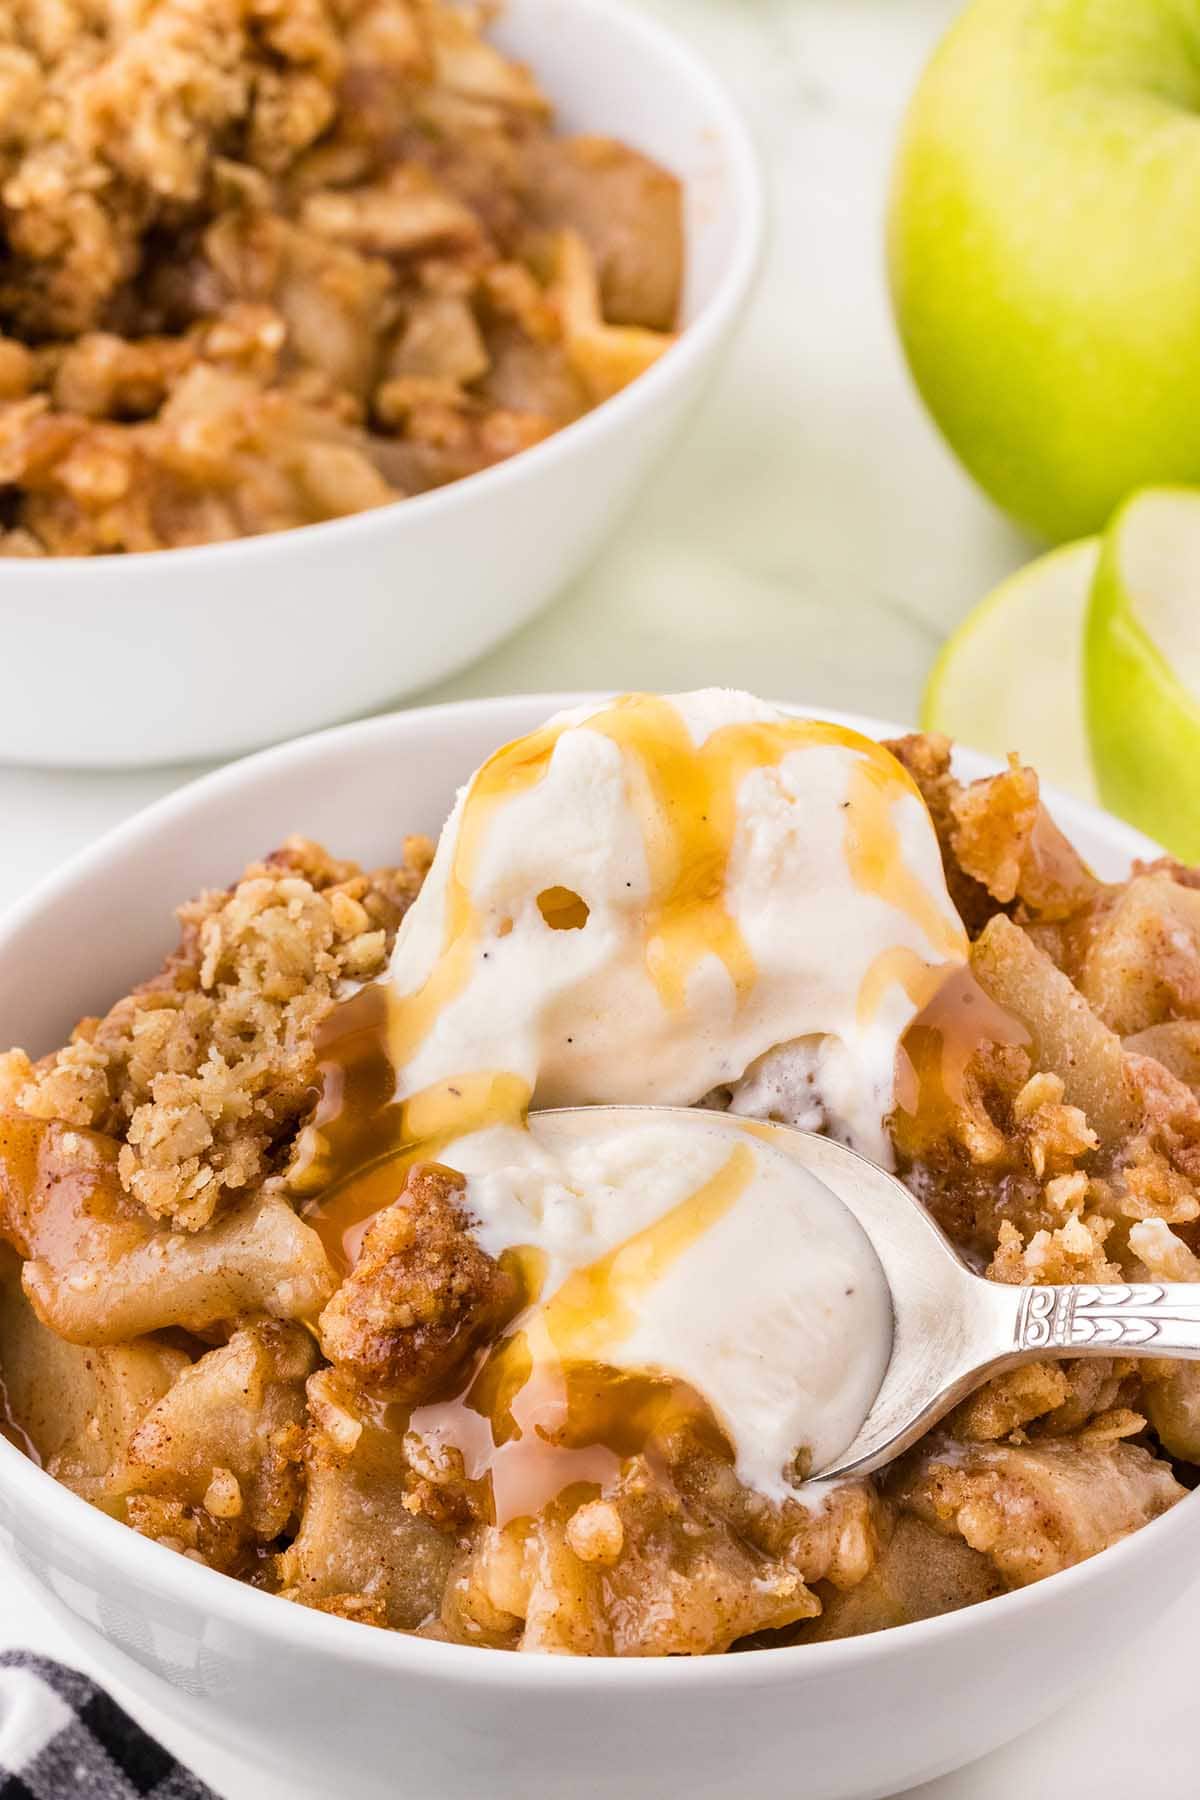
While apple crisp recipes may never replace the classic round apple pie, it’s always fun to create the same delicious cozy fall flavors, but just in a different form! A scoop of vanilla ice cream with a swirl of salted caramel sauce takes this treat over the top!
Ingredients Notes
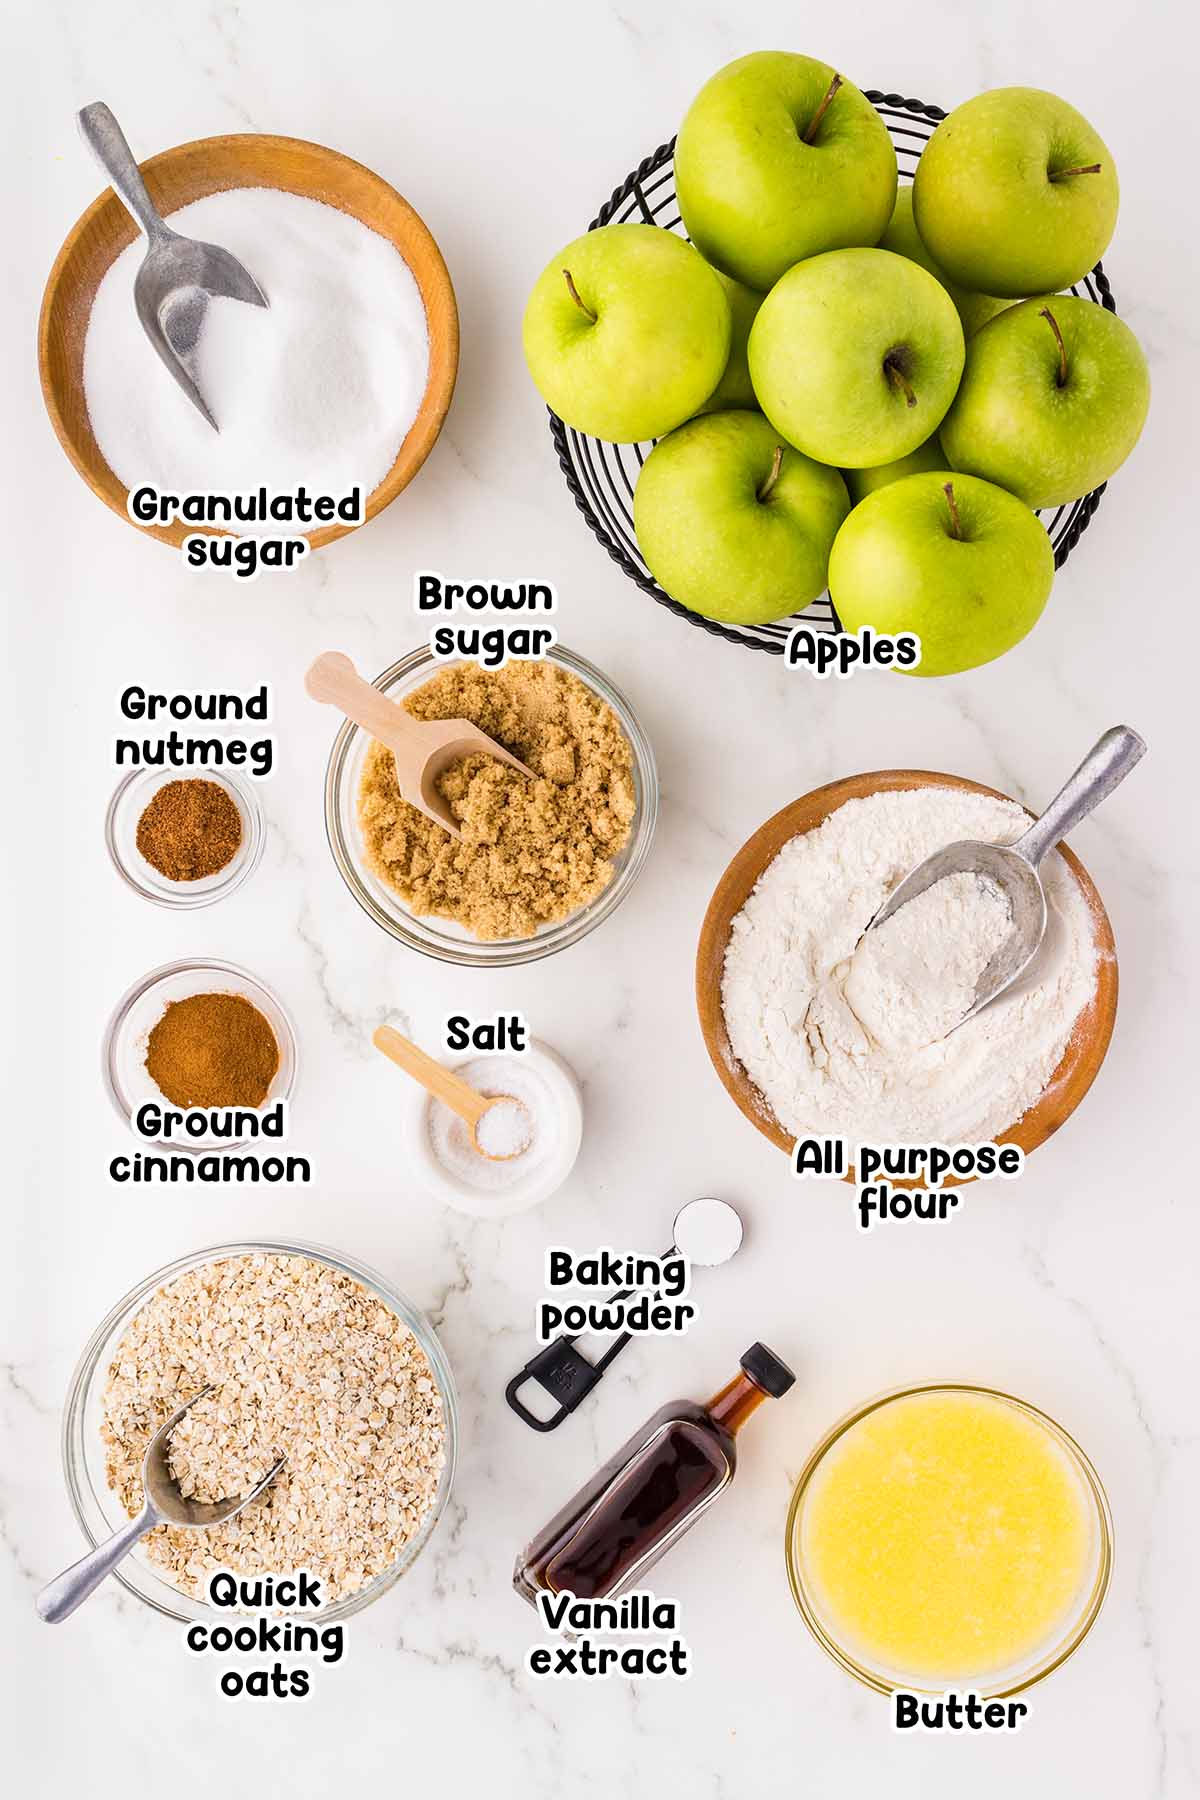
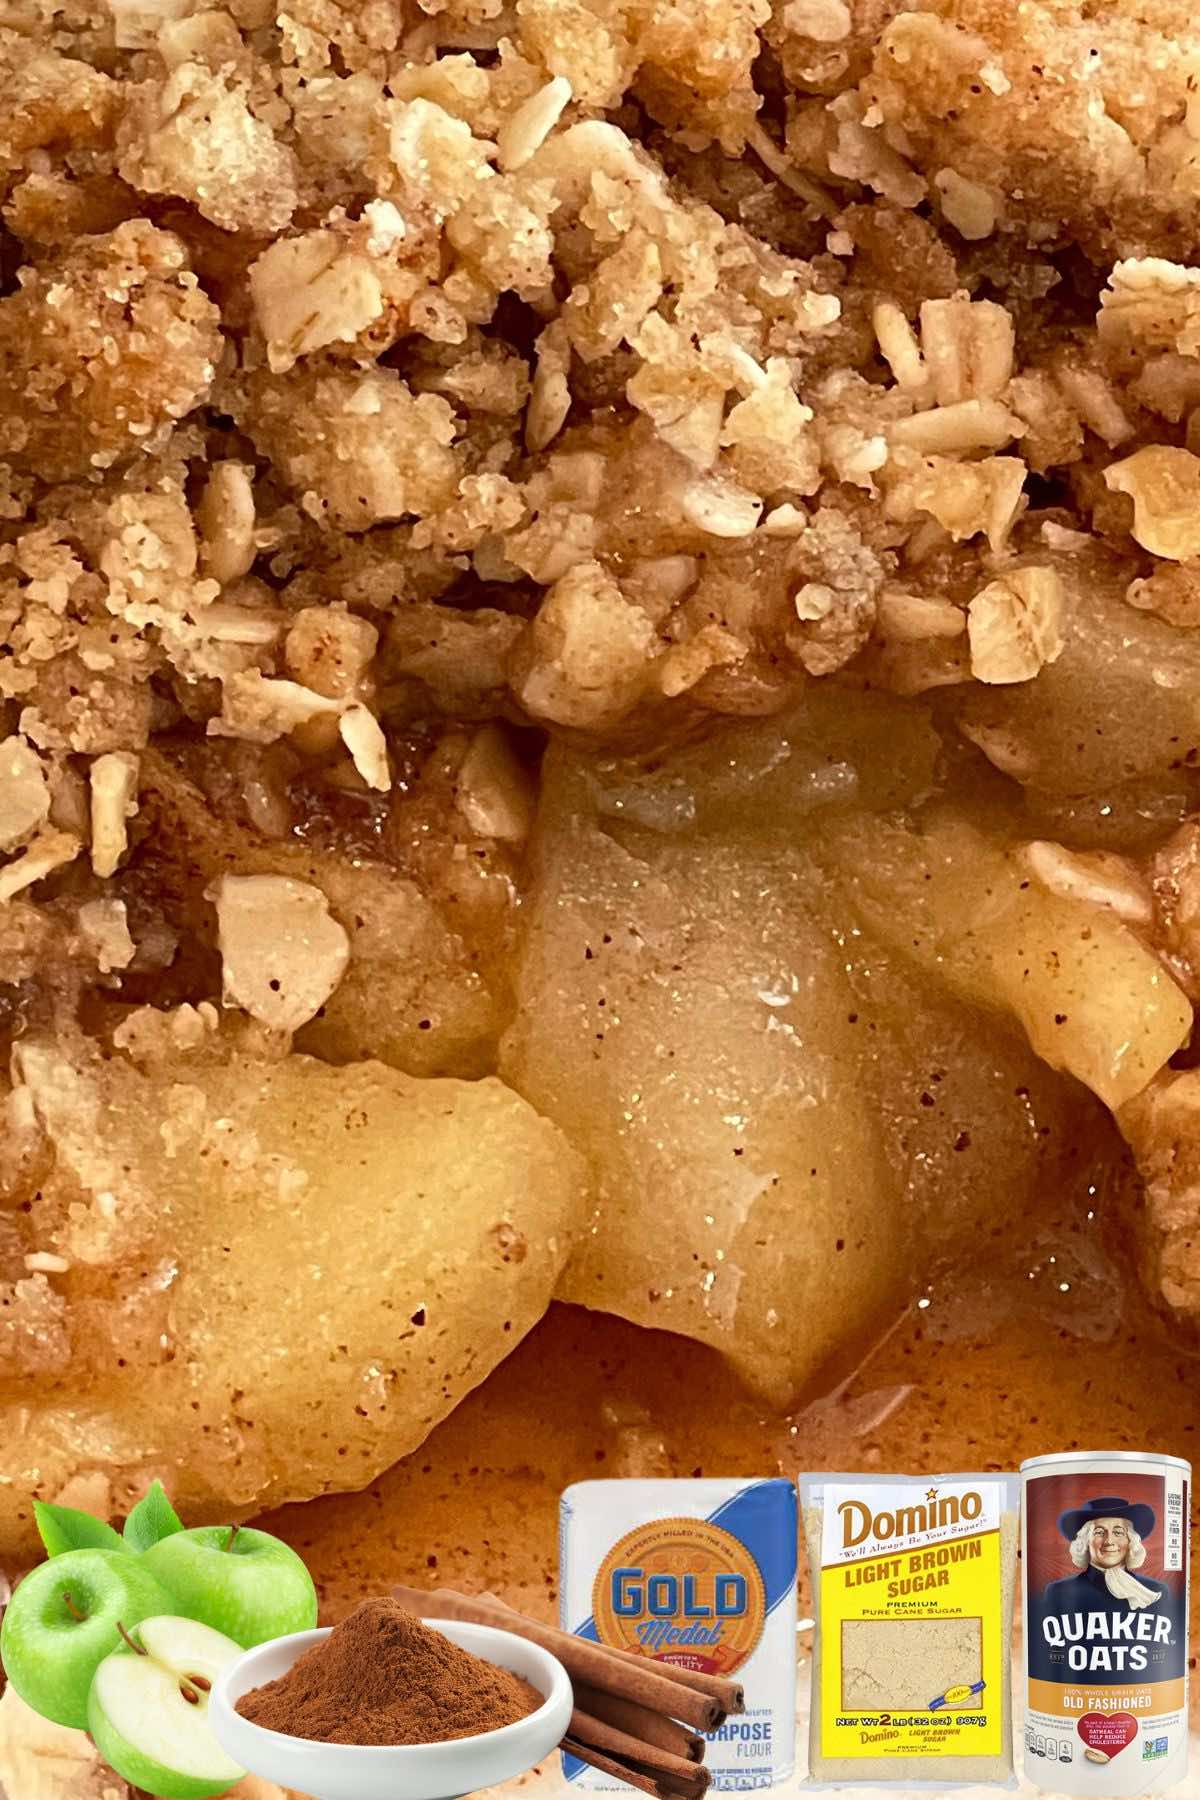
- Granny Smith apples: I used Granny Smith apples to develop this recipe as they are firm and crisp with a slightly tart-sweet flavor (and I personally think they are the best apples for apple crisp). They also hold up very well when baked. Some great alternatives would be pink lady apples, fuji apples, or honey crisp apples. Any combination of these apples would add great flavor to your apple crisp as well.
- Light brown sugar: Adds sweetness and moisture to the filling and the topping, with a hint of molasses flavor that complements the apples and spices. It also helps to create a slightly caramelized sauce when baked.
- All purpose flour: Acts as a thickening agent, helping to bind the juices released by the apples during baking. This creates a thicker, more cohesive filling rather than a runny one.
- Granulated sugar: Provides additional sweetness to balance the tartness of the apples.
- Ground cinnamon: Adds warm, sweet-spicy notes that are classic in apple desserts.
- Ground nutmeg: Adds a subtle, slightly nutty, and sweet flavor that complements the cinnamon and enhances the overall spice profile of the filling.
- Vanilla extract: Vanilla extract brings out the sweetness of the sugars and the fruitiness of the apples, providing a more rounded flavor.
- Quick cooking oats: Provides texture and a chewy, hearty component to the topping. You can substitute old-fashioned oats in the crisp topping; however, keep in mind that the mixture will be a little chewier and will have a thicker crumble texture using old-fashioned oats vs. the thinner and smaller, quick-cooking oats. Do not use instant oats!
- Salt: Balances the sweetness and prevents the topping from tasting flat.
- Baking powder: Provides a slight leavening effect, making the topping a bit lighter and crispier.
- Unsalted butter: Binds the dry ingredients together and adds rich flavor.
See the recipe card for full information on ingredients and quantities.
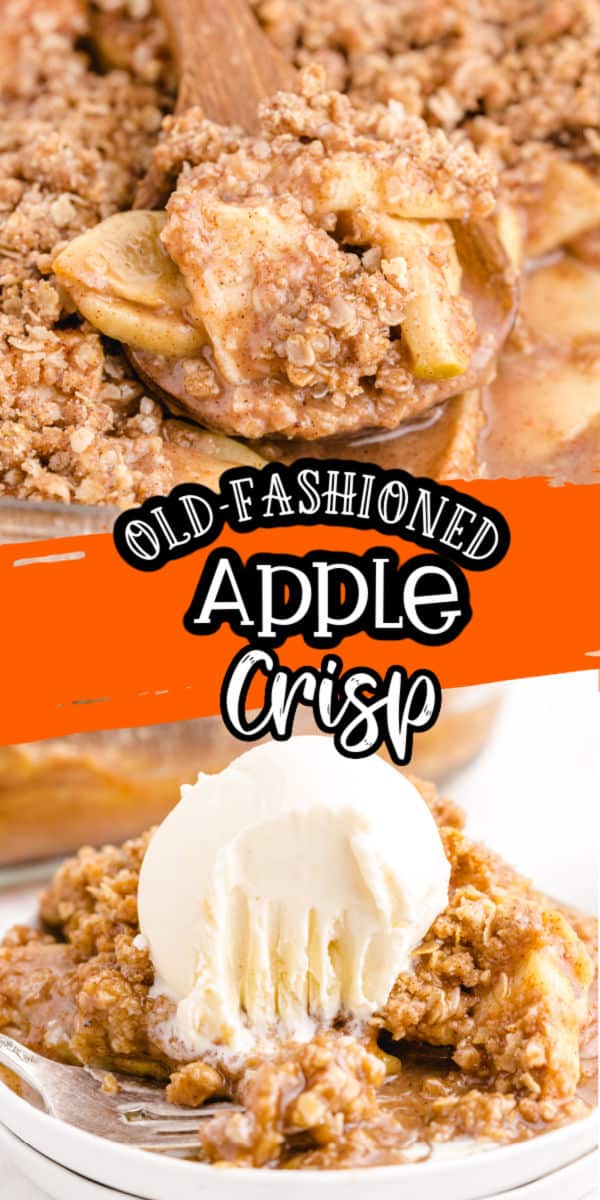
How to Make Old Fashioned Apple Crisp
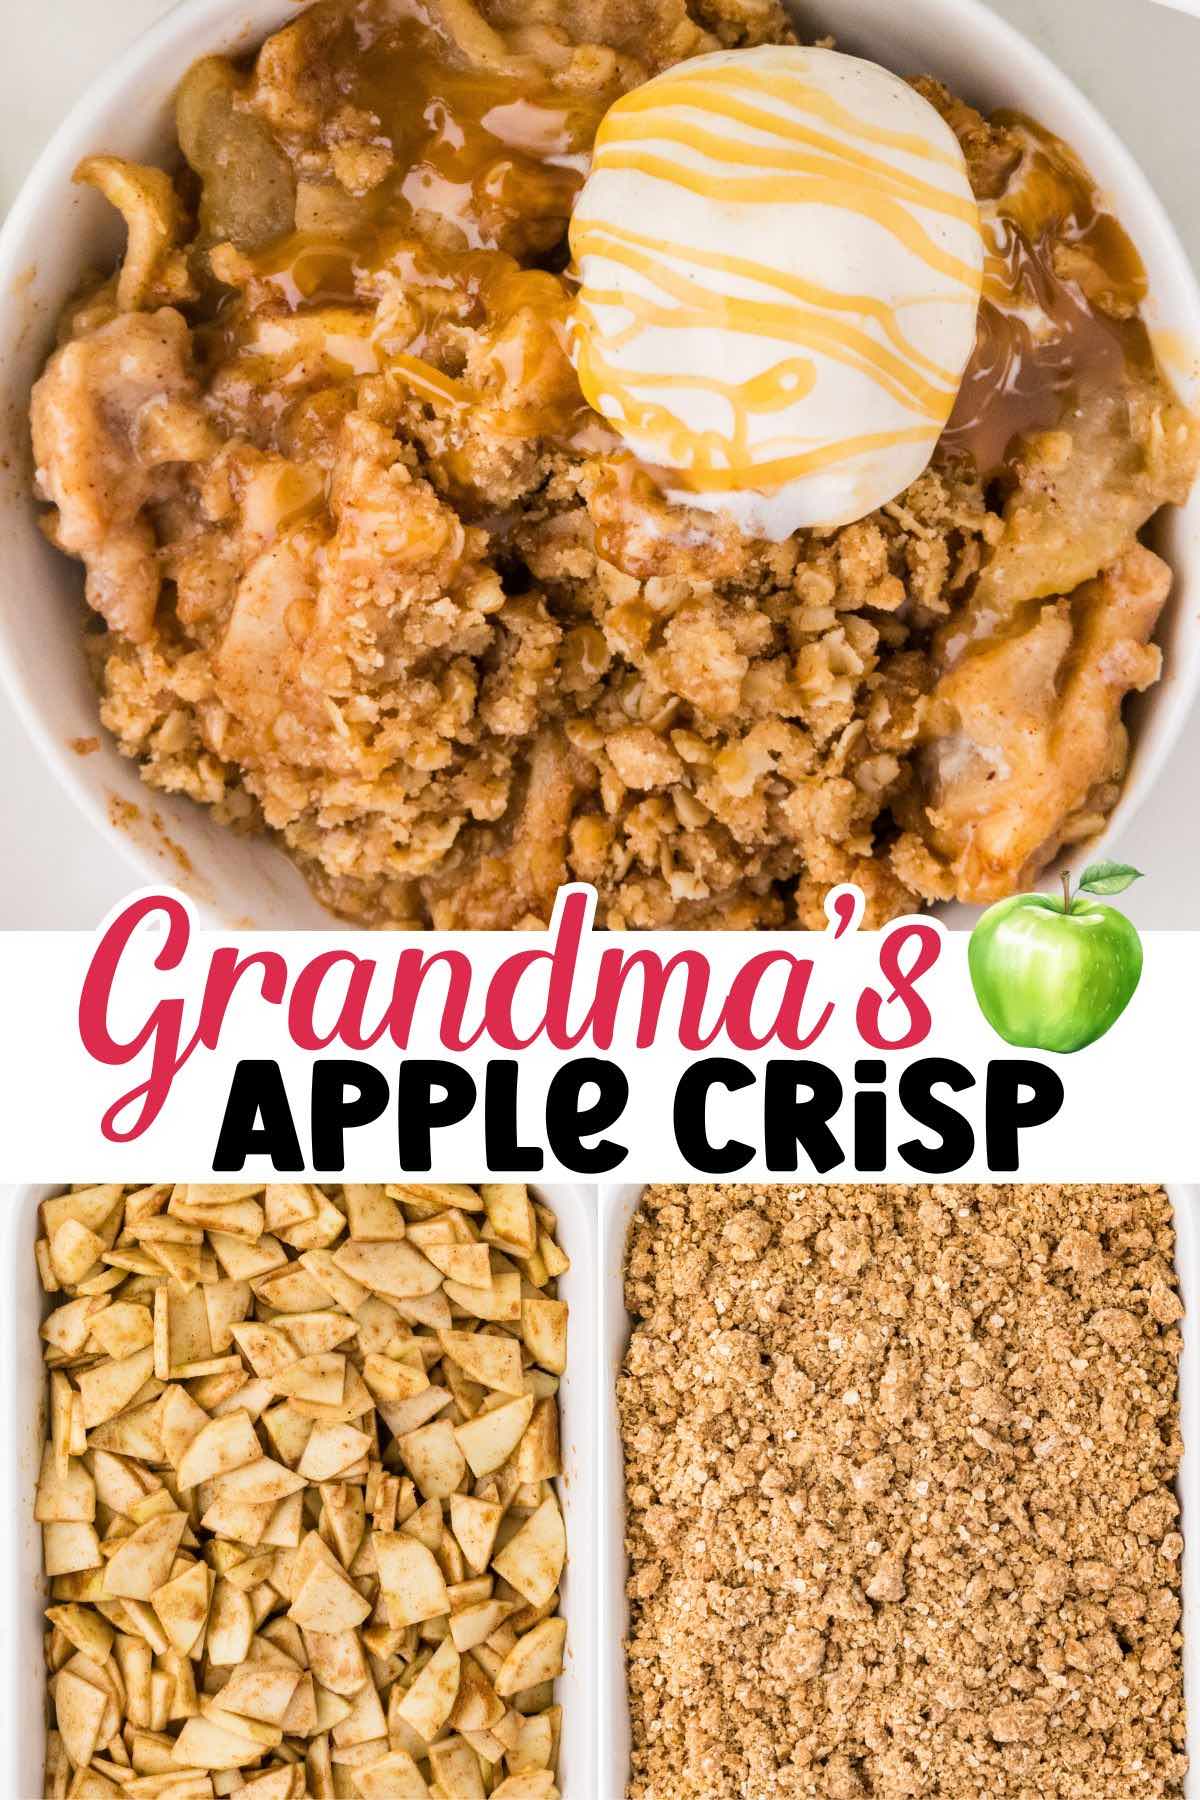
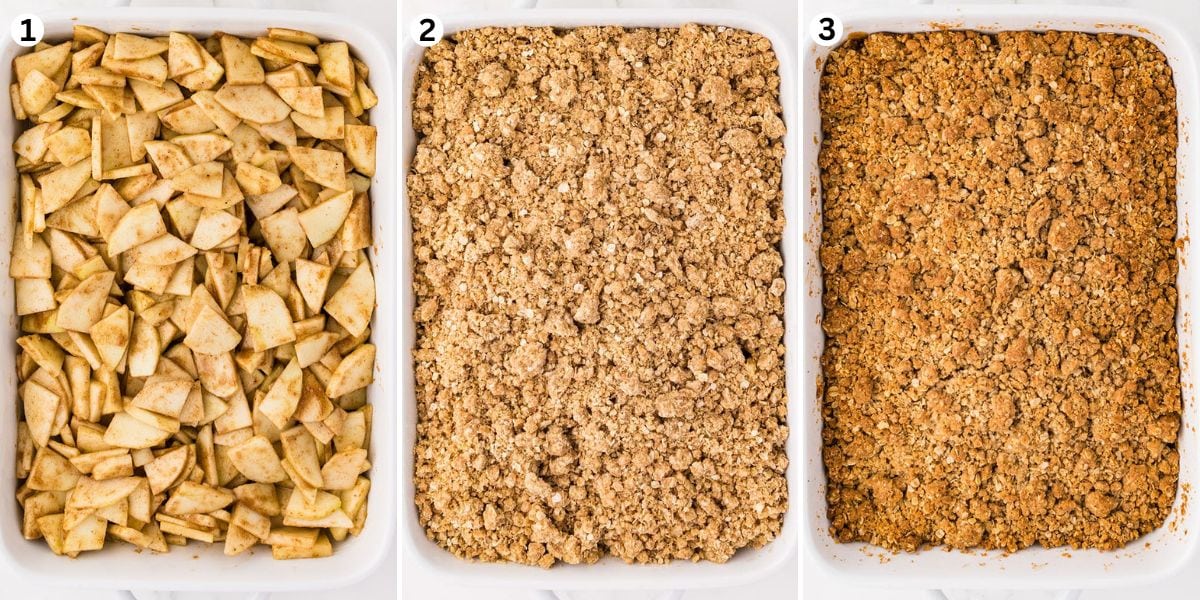
- Form The Filling: Fold together the apple slices, both sugars, flour, cinnamon, nutmeg, and vanilla extract to coat the apples.
- Pour Into The Pan: Spread the apple filling mixture into the bottom of the baking dish.
- Make The Crisp Topping: Stir together the oats, flour, brown sugar, cinnamon, salt, and baking powder. Add the melted butter stir until no dry pockets of flour remain.
- Cover The Crisp: Cover the apple filling with the crisp topping mixture.
- Bake: Bake uncovered at 350 degrees Fahrenheit for 40-45 minutes or until the topping is golden brown and the apple filling’s juices are bubbly.
- Serve: Set on the counter for 5 minutes to cool and allow the juices to thicken. Serve and enjoy!
Serving Suggestions
Serve your homemade apple crisp warm or at room temperature. Top it with a scoop of vanilla ice cream, a dollop of homemade whipped cream, or a drizzle of caramel sauce for a delightful dessert.
Better yet, set it on the buffet table beside the omelet bites, bagels, and casseroles, and enjoy it for breakfast or brunch.
Tips & Variations
- Cut The Contents: This recipe can easily be cut in half to serve 4 instead of 8. Bake it in an 8×8 baking dish and begin to check for doneness at 30-35 minutes.
- Swap The Spices: You can substitute 2 teaspoons of apple pie spice blend for the cinnamon and nutmeg in the apple filling and 1 ½ teaspoon for the cinnamon in the crisp mixture. Spice blends make great shortcut pantry items if you do not use these baking spices often and don’t want to buy larger quantities of individual spices.
- Prepare The Produce: It’s not necessary to peel apples for this apple crisp dessert, but peeling them can improve the texture and appearance of the dish.
- How will I know when it is done?: You’ll know apple crisp is done when the topping is golden brown, the apples are tender when pierced with a fork, and the filling is bubbling around the edges.
- Go Gluten Free: To make this a gluten-free recipe, use a gluten-free all-purpose flour blend that can be used as a 1:1 replacement for regular flour. Also, ensure you use certified gluten-free oats. Regular oats can be cross-contaminated with gluten during processing.
What’s the difference between a crisp, a cobbler, and a crumble?
All three desserts start with a base of cooked, bubbly, sweet fruit, but the toppings vary. A crisp and a crumble both have a crunchy, crumbly topping, but a crumble rarely includes oats or nuts, making it less crispy.
A cobbler is made with a biscuit or cake-like layer baked on top of a fruity filling.
Proper Storage
- To Store: Leftovers can be stored in the refrigerator, covered with plastic wrap, for up to 3 days. The longer this apple crisp is refrigerated, the softer the crisp topping will get from the moisture in the apple filling.
- To Freeze: You can freeze this apple crisp either before or after baking. If you are freezing after baking, allow the apple crisp to cool completely before tightly wrapping the baking dish with plastic wrap and aluminum foil. The frozen apple crisp will keep for up to 2 months in the freezer. Thaw the apple crisp completely in the refrigerator before reheating or baking.
- Make Ahead: You can prepare your apple crisp a day or two ahead. Make sure to let it cool completely before wrapping and refrigerating. You can reheat your crisp in the oven the next day or enjoy it at room temperature.
More Apple Recipes
If you tried this Old Fashioned Apple Crisp Recipe or any other recipe on my website, please leave a 🌟 star rating and let me know how it went in the 📝 comments below. Thanks for visiting!!!
Homemade Apple Crisp Recipe
Ingredients
Apple Filling
- 10 cups granny smith apples approximately 7-8 apples or 3 ½ pounds, peeled, cored and sliced into ⅛ inch thick slices then cut the slices in half (to approximately 1 inch wide x ⅛ inch thick pieces)
- ½ cup light brown sugar tightly packed
- ⅓ cup all-purpose flour
- ¼ cup granulated sugar
- 2 teaspoons ground cinnamon
- ½ teaspoon ground nutmeg
- 1 teaspoon vanilla extract
Crisp Topping
- 1⅓ cups quick cooking oats (not instant)
- 1⅓ cups all-purpose flour
- 1 cup light brown sugar tightly packed
- 1½ teaspoons ground cinnamon
- ½ teaspoon salt
- ½ teaspoon baking powder
- ¾ cup unsalted butter melted
Instructions
- Preheat oven to 350°F. Lightly spray a 9×13 baking dish with non-stick baker’s spray. Set aside.
- To a very large mixing bowl add the apple slices, light brown sugar, all-purpose flour, granulated sugar, ground cinnamon, ground nutmeg and vanilla extract. Gently fold all the ingredients together to evenly coat the apple slices with the sugars and spices.10 cups granny smith apples, ½ cup light brown sugar, ⅓ cup all-purpose flour, ¼ cup granulated sugar, 2 teaspoons ground cinnamon, ½ teaspoon ground nutmeg, 1 teaspoon vanilla extract
- Transfer the apple filling mixture to the prepared 9×13 baking dish and spread into an even layer. Be careful not to pack the apple filling too tightly when adding to the baking dish.
- To make the crisp topping, add to a large mixing bowl the quick cooking oats, all-purpose flour, light brown sugar, ground cinnamon, salt and baking powder. Stir to combine.1⅓ cups quick cooking oats , 1⅓ cups all-purpose flour, 1 cup light brown sugar, 1½ teaspoons ground cinnamon, ½ teaspoon salt, ½ teaspoon baking powder
- Add the melted butter to the bowl of oats and stir to combine until all the melted butter has been evenly incorporated and no dry pockets of flour remains.¾ cup unsalted butter
- Top the apple filling with the crisp topping mixture. Be sure to evenly distribute the crisp mixture over the apples so that all the apple filling is evenly covered with the crisp mixture.
- Bake, uncovered, for 40-45 minutes or until the topping is golden brown and the juices are bubbly from the apple filling.
- Allow the apple crisp to cool on the counter for 5 minutes before serving to allow the apple filling to set-up slightly and the juices to thicken.
Jenn’s Notes
- To Store: Leftovers can be stored in the refrigerator, covered with plastic wrap, for up to 3 days. The longer this apple crisp is refrigerated, the softer the crisp topping will get from the moisture in the apple filling.
- To Freeze: You can freeze this apple crisp either before, or after being baked. If you are freezing after baking, allow the apple crisp to cool completely before tightly wrapping the baking dish with a layer of plastic wrap, then a layer of aluminum foil. The frozen apple crisp will keep for up to 2 months in the freezer. Thaw the apple crisp completely in the refrigerator before reheating or baking.
- Make Ahead: You can prepare your apple crisp a day or two ahead. Make sure to let it cool completely before wrapping and refrigerating. You can reheat your crisp in the oven the next day or enjoy it at room temperature.
- This recipe can easily be cut in half to serve 4 instead of 8. Bake it in an 8×8 baking dish and begin to check for doneness at 30-35 minutes.
- You can substitute 2 teaspoons of apple pie spice blend for the cinnamon and nutmeg in the apple filling and 1 ½ teaspoon for the cinnamon in the crisp mixture. Spice blends make great shortcut pantry items if you do not use these baking spices often and don’t want to buy larger quantities of individual spices.
- It’s not necessary to peel apples for this apple crisp dessert, but peeling them can improve the texture and appearance of the dish.
- You’ll know apple crisp is done when the topping is golden brown, the apples are tender when pierced with a fork, and the filling is bubbling around the edges.
- To make this a gluten free recipe, use a gluten-free all-purpose flour blend that can be used as a 1:1 replacement for regular flour. Also ensure you use certified gluten-free oats. Regular oats can be cross-contaminated with gluten during processing.


This is the best apple crisp recipe!
The topping turns out very good, so crunchy, just perfect! I cut back on the sugar. Thank you for sharing!
YUMMY 😋 Thank You for Sharing Jennifer 👏🏼👍🏼❤️ This LOOKS AWESOME 👏🏼 I LOVE ❤️ Granny Smith Apples 🍏 AND NOW I KNOW the Difference it Makes In BAKING 👍🏼😊❗️Thank You 😊G-d❤️Bless❗️
Can I double this recipe, if so will the time be the same when baking?
I would probably bake it in two separate baking dishes and add a little more time to the baking time if baking both at the same time.
Looking for an older recipe – thank you for sharing – I can’t wait to make it !
That is the best apple crisp I have had. My grandson is an apple crisp snob…. Very picky…. He loved it. Ice cream on top….yummy.
This was very, very good!
I love this recipe, I have made it 3 times in the last month our new favorite dessert. Love the way you did the directions.
At the beginning it says spray an 8×8 pan then later it says put apples in a 9×9 pan. Which pan should it be?
It should be 8×8. Sorry for the confusion
Any suggestions on what to do if I don’t like oats? Is it okay to just leave them out? Or are there some other substitutions?
❤️🍎👩🏽🍳
You need to check the recipe for Apple Crisp. The steps are incorrect. In steps 3 and 4, you combine all the dry ingredients except the butter. Then, in 4, you instruct to cut in the butter. Steps 5 and 6 are just to take care of the apples and add the lemon juice and toss. In step 7 and 8, you instruct to combine all dry ingredients except oats and toss with apples. Step 9 is to put the apples into the pan. Step 10 is to put “oatmeal mixture” over the apples. You can’t put in the oatmeal in step 3 and combine all ingredients with butter in step 4 and have a separate “oatmeal mixture” left at the end to put on the top of the apples. I’m sure it is supposed to be 4 easy steps because that’s the way my mom always fixed it.
I see why you were confused. I separated the filling and topping out and hopefully this is clearer. Thanks for letting me know!