These Valentine’s Day Heart Shaped Crayons are the perfect homemade Valentine’s Day project and gift to hand out at your child’s classroom party
Are you looking for an easy DIY Valentine’s Day or Halloween class gift? Something non-candy, no sugar, peanut-free and all of that? These DIY Heart-Shaped Crayons will be a classroom party favorite!
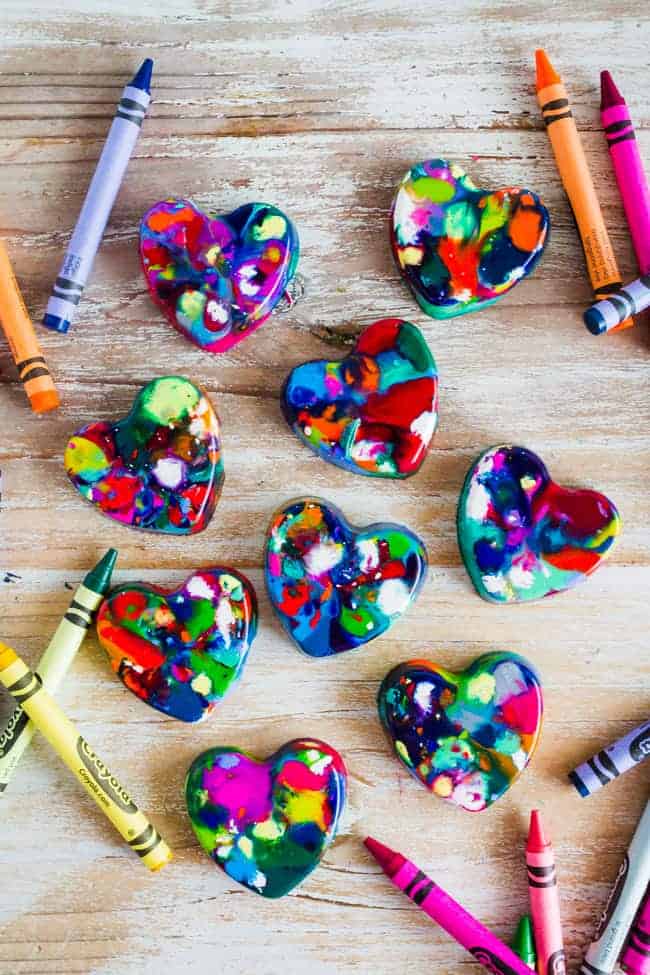
Heart-Shaped Crayons
Valentine’s Day is coming and I don’t know about you, but I am always looking for creative ideas to give out for my kids Valentine’s treats that aren’t candy!
Many schools now restrict any type of food treats in the classroom, so I am always looking for some non-candy Valentine’s Day treats.
These Valentine’s Day Heart Crayons are simply perfect!! If you are looking for some other great Non-Candy Valentine’s Day treats and gifts – check out some of these!
Also, if you are a ROOM PARENT looking for a great Valentine’s Day Classroom project, I have a huge round-up of some fantastic ideas – be sure to check them out!!
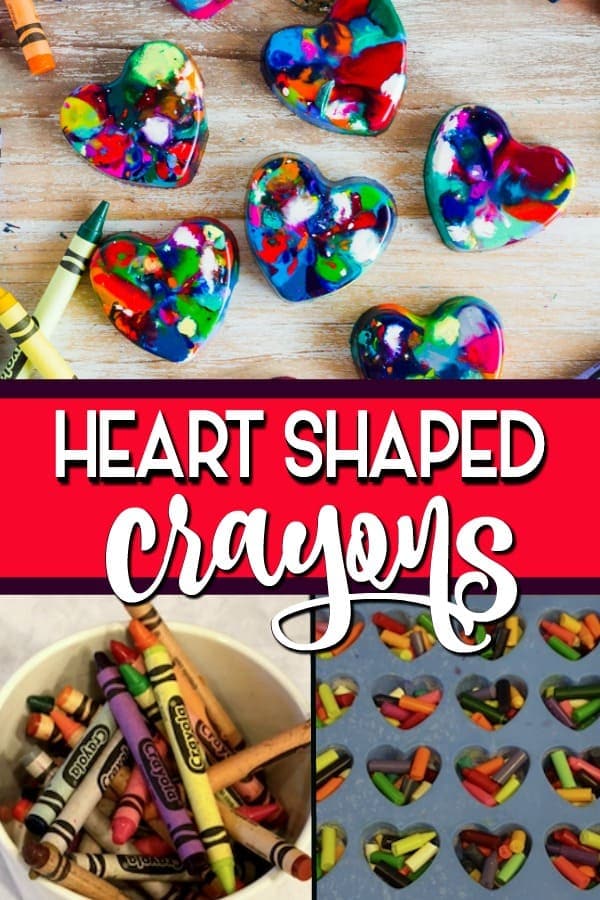
These Valentine’s Day Heart Crayons are super easy to make. We have a ton of broken crayons laying around the house. This is the perfect use for them AND the more broken the better!!!
This is also a great project to work on with the kids – let me tell you, taking the paper off the crayons, is probably the most time-consuming part.
PRO TIP: Use a super sharp knife to slice the paper off. Just be careful!
What are some other ways to get the paper off of the crayon? Some readers mentioned some other great ways to get the paper off easily.
One said to soak them in water for a few minutes and they peel right off. Like I said, I used a super sharp knife to slit a line done the crayon and it came right off (obviously, be very careful – don’t want any knife accidents)
How to make DIY Heart-Shaped Crayons
Materials Needed:
- Silicon heart mold – here is where I got mine
- Broken crayons
Instructions:
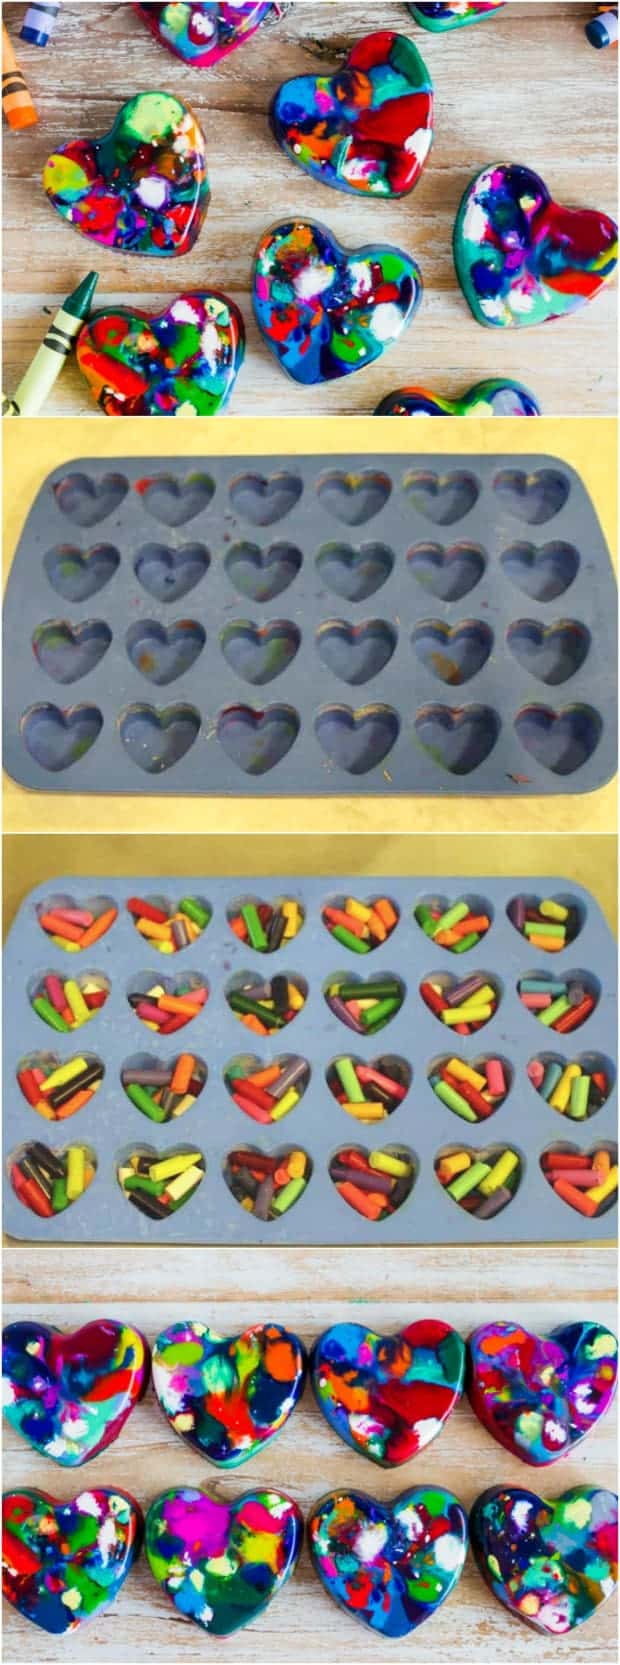
STEP ONE: Preheat your oven to 250 degrees.
STEP TWO: Peel the paper off of all of the crayons and break into small pieces.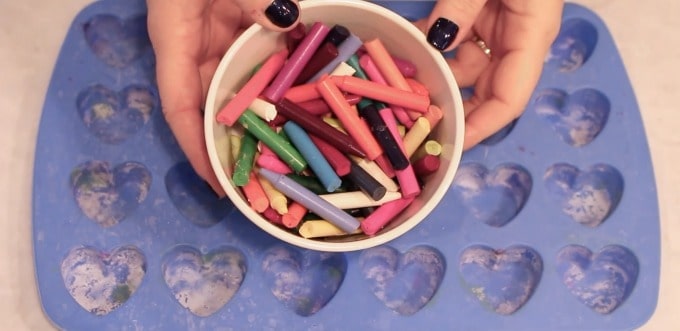
STEP THREE: Place the crayon pieces into each of the heart molds. Make sure to mix up the colors and add some light colors with some dark colors. I like to put a few small pieces of white into each mold because it helps define and break the other colors up nicely! Don’t worry though, it is pretty hard to mess up! 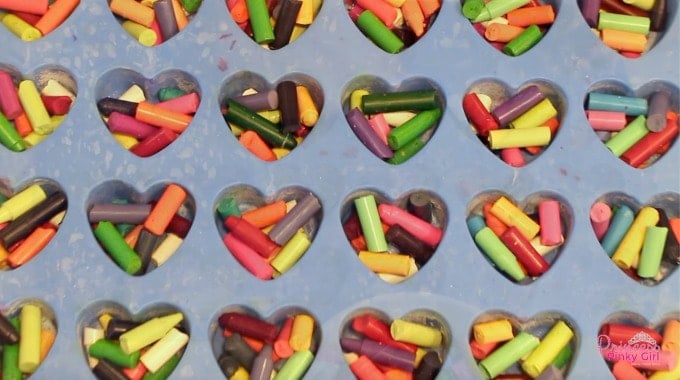
STEP FOUR: Place the mold onto a cookie sheet and place in the oven for about 12 minutes
PRO TIP : All ovens cook differently. You will want to watch for the crayons to melt completely, but take them out before all of the colors mush together too much!!
STEP FIVE: Take them out of the oven and let them cool completely. The crayons should pop right out of the molds!
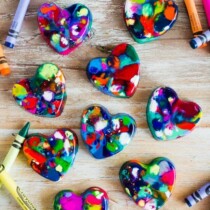
Heart Shaped Crayons
Video
Ingredients
- Silicon heart mold
- Broken crayons
Instructions
- Preheat oven to 250 degrees
- Peel the paper off of all of the crayons and break into small pieces
- Place different color pieces in each of the heart molds (I like to make sure to have some light colors and some dark colors in each. I try to put at least a small piece of white in each one). Some people like to separate the crayons in like color categories. Up to you...have fun with it!
- Place on a cookie sheet in the oven for about 12 minutes. Please note: all ovens cook differently. You will want to watch for the crayons to melt completely, but take them out before all of the colors mush together too much!!
- Take out of the oven and let them cool completely. The crayons should pop right out of the molds!
Want to make other adorable shaped crayons? You could use any of these molds and the same method: (affiliate links)
- These Star War molds would be great for a Star Wars Birthday Party giveaway!
- Or…what about these Lego molds!
- These would be cute for a Princess Party!
- How fun would these Monster molds be for a Halloween party?
Looking for some other Valentine’s Day treats?
These Easy Valentine’s Day Projects are great to work on with the kids!
Looking for a super easy and delicious Valentine’s Day treat? These Valentine’s Day White Chocolate Oreo Hearts barely involve any “cooking” – it is more like melting!! They are great and if you put them in a cute little bag, they make a super Valentine’s Day gift!
Have any Lego fans? Then I have the perfect Valentine’s Day treat for you! Jolly Rancher Lego Valentine’s. Again, no baking, just melting! They are seriously the easiest thing to make and your kids will literally flip over them!!





How long does it take for them to cool?
Not long at all – just a few minutes.
how did you get them shiny? mine always come out matte
Hmmmmm that’s strange, I really didn’t do anything but remove the paper and melt them. Not sure why yours are not shiny. I used Crayola brand if that helps? The brand could matter.
So just from previous work experience I happen to know that if you hold wax under cold running water and rub it with a cotton ball it will buff the wax and make it shiny.