
This post may contain affiliate links. Please read our disclosure policy.
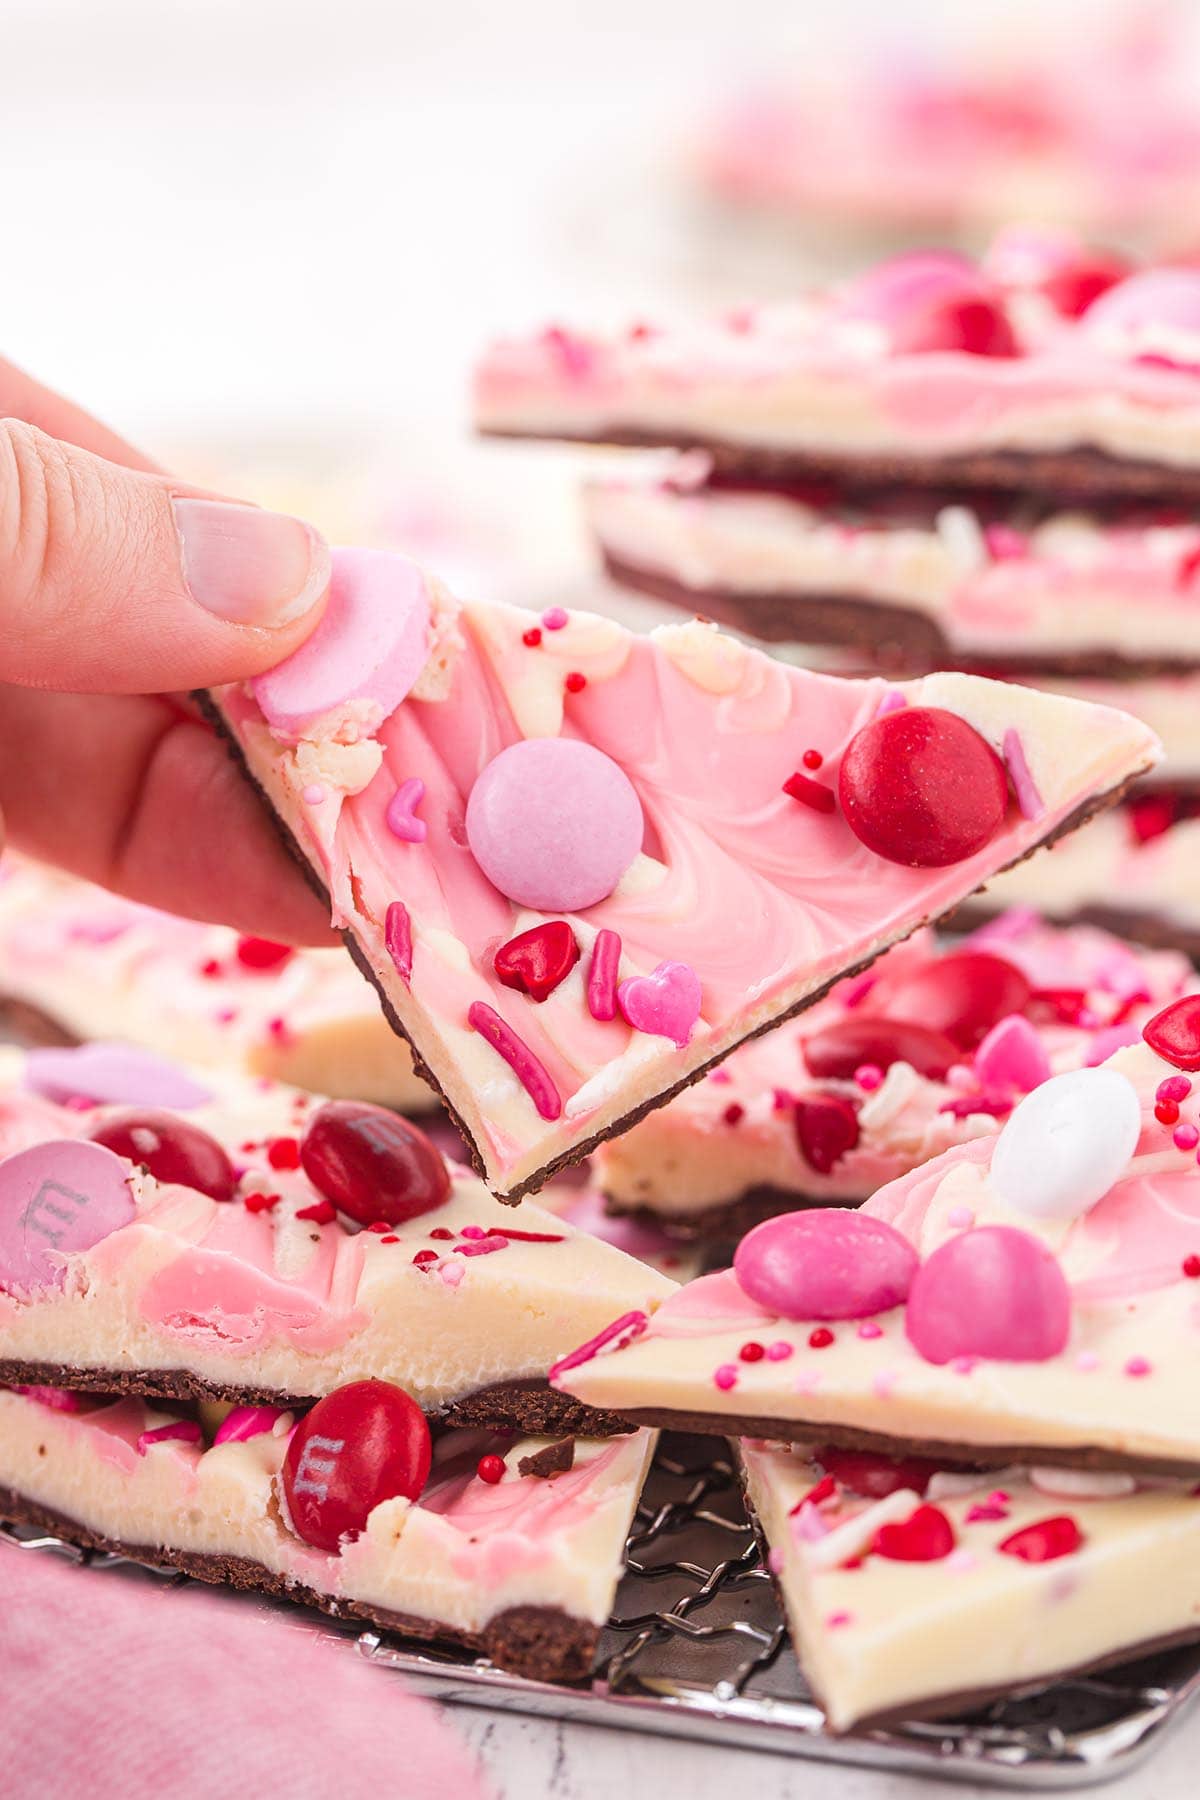
Valentine’s Day Bark recipe is a fun and festive way to customize your candy using 2 layers of melted chocolate and dressing it up with sprinkles, conversation hearts, and red and pink colored decor.
Easy to prepare in minutes, this Valentine’s Day treat is perfect for parties, dessert platters, or packaging in bags for gifts.

Easy Valentine’s Day Chocolate Bark
Our no-bake Valentine’s Day Chocolate Bark recipe uses minimal ingredients and takes under 10 minutes to make simply by melting chocolate in the microwave and decorating it with colorful candy – no stovetop or oven needed.
Build your delicious Valentine bark with your kids and surprise your sweetheart with a homemade layered dessert made with love.
Candy bark recipes can be customized in so many different ways; once you melt the chocolate and spread it on a baking sheet, have fun cleaning out your pantry with your favorite sweet and salty snacks.
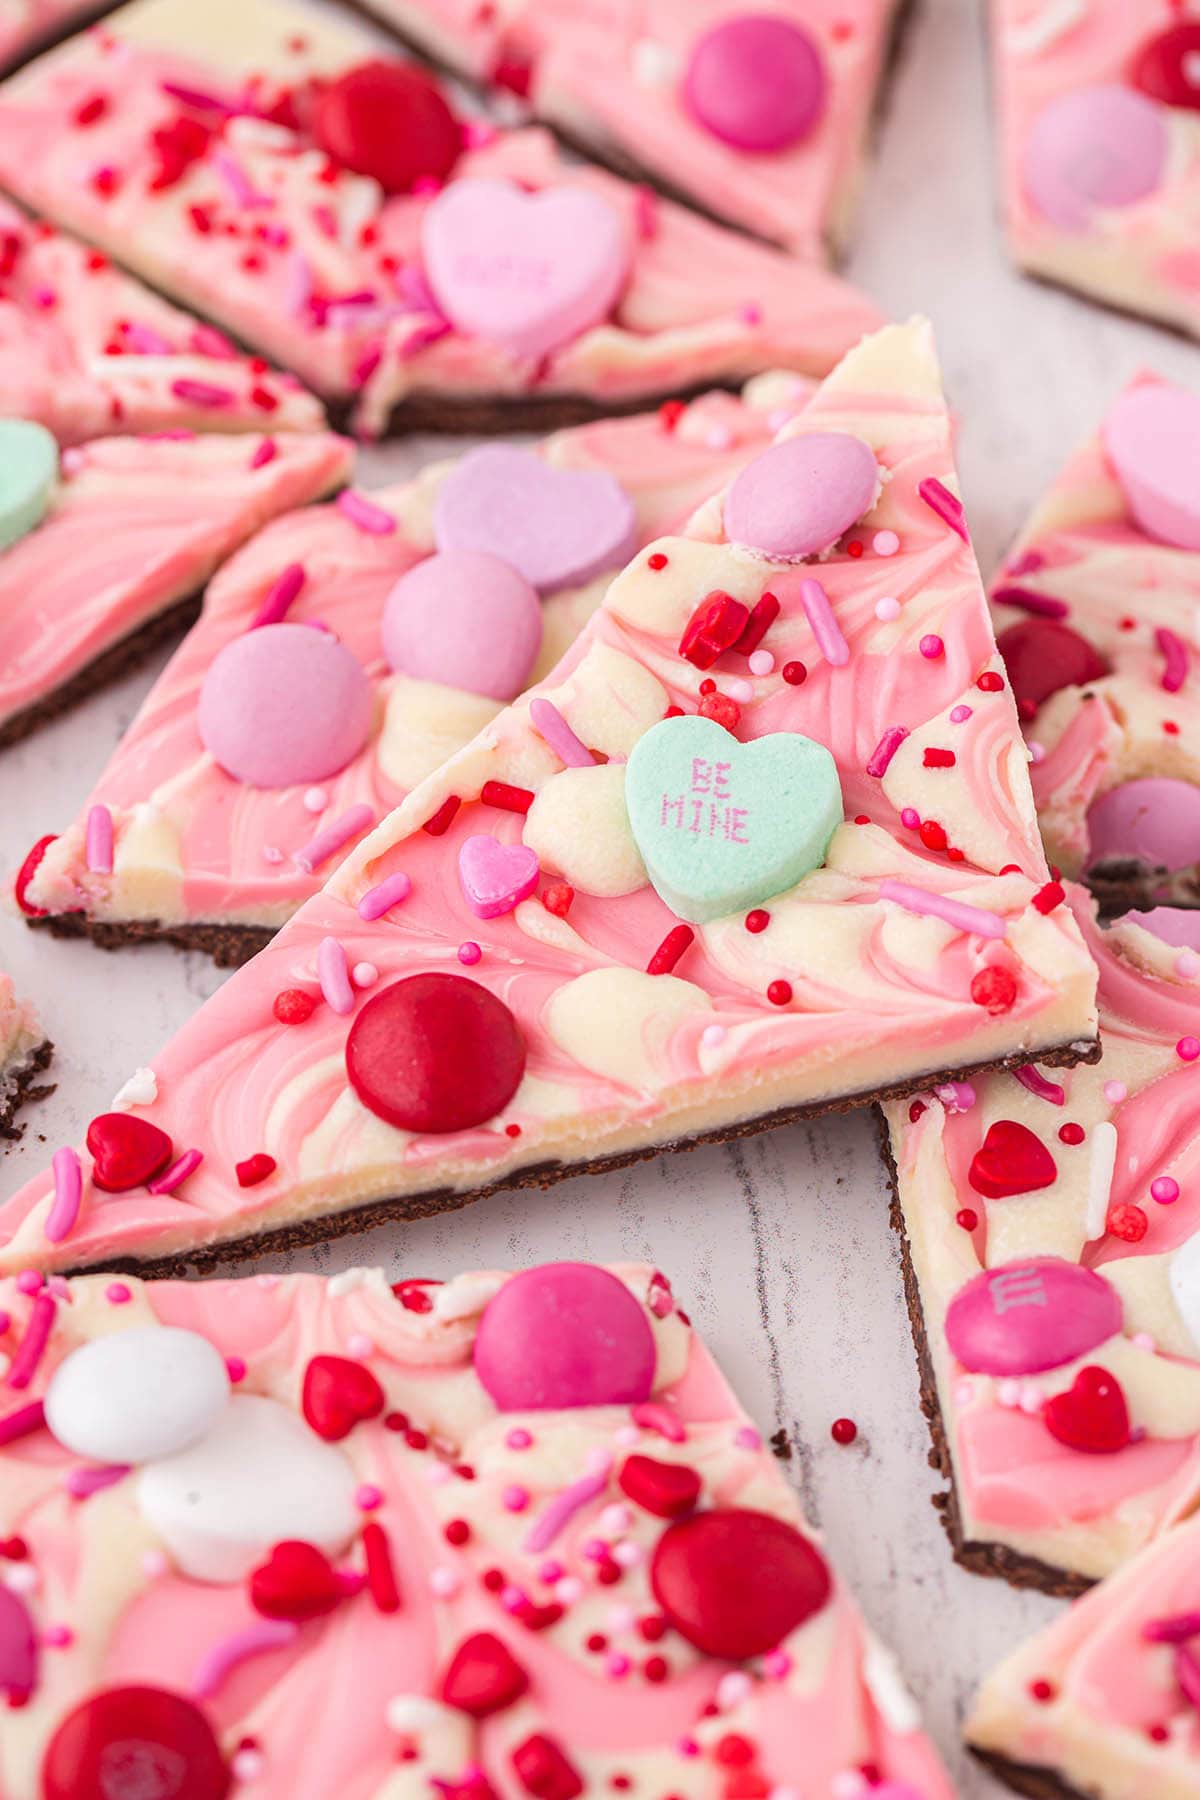
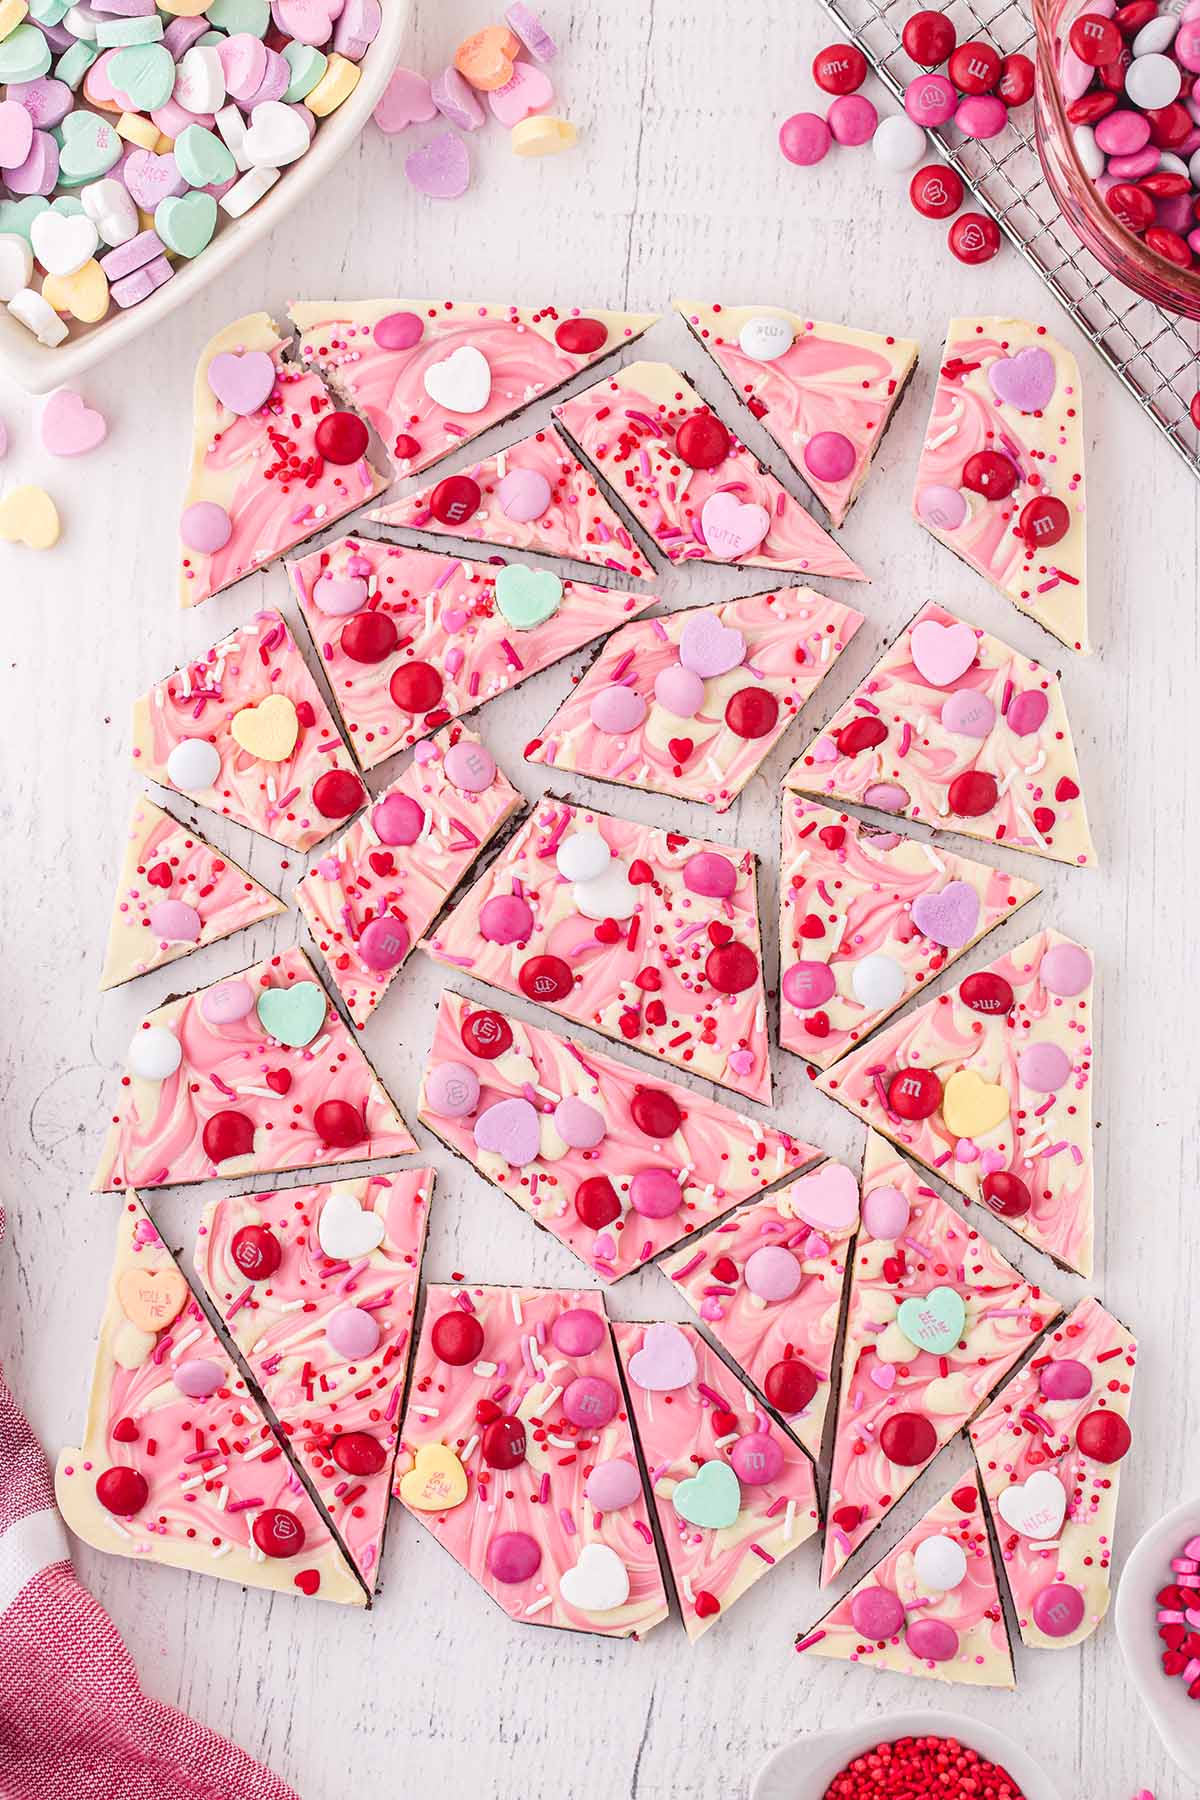
Break apart this holiday dessert so that each marbled piece is deliciously different, then place them on a cookie platter or package them up for gift giving.
Why We Love This Valentine Chocolate Bark Candy Recipe
- Quick and easy to make.
- Only uses 3 ingredients plus any combination of pink and red candy.
- No bake recipe that’s filled with lots of love!
- Chocolate bark recipes are the best because there are no rules or requirements for decorating and customizing your sweet treat.
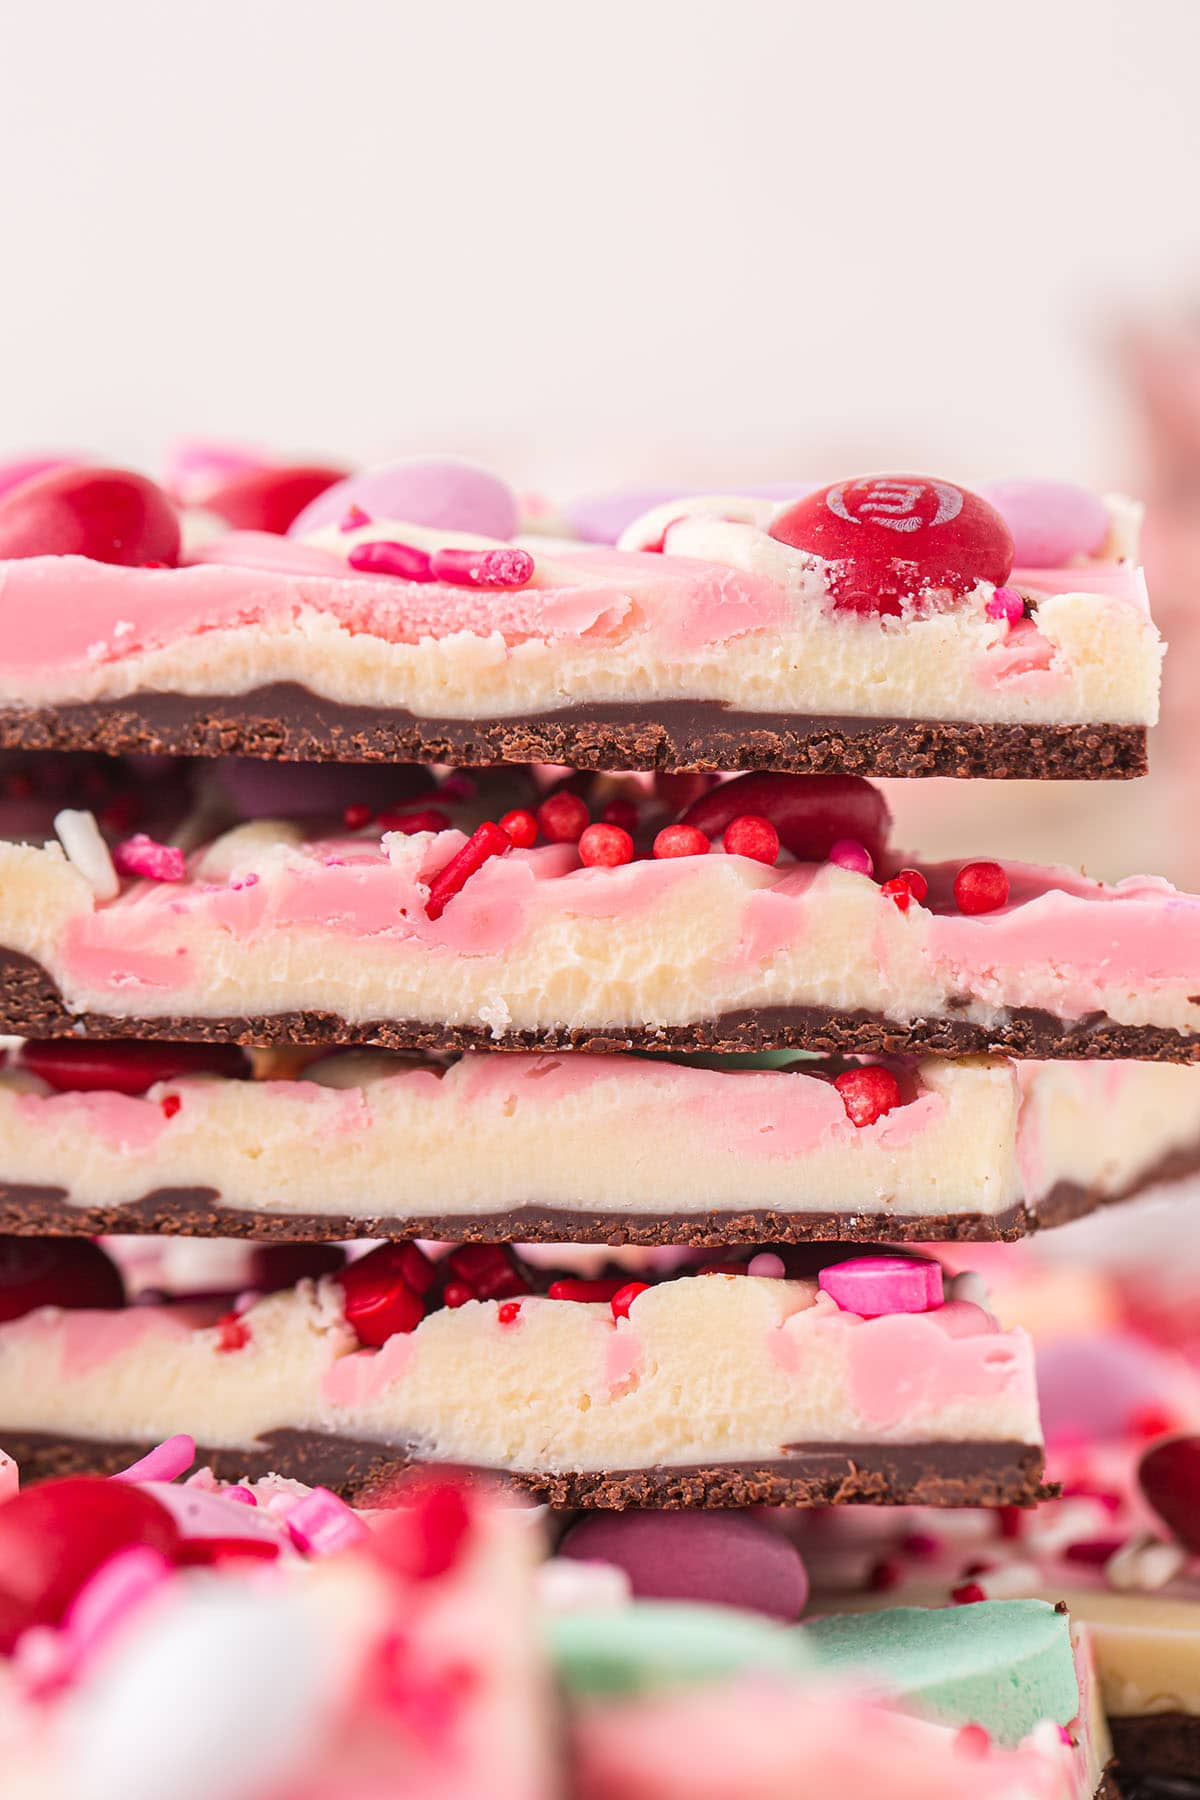
- Two layers of thin and crispy chocolate covered with holiday candy and sprinkles.
- Perfect sweet treat for Valentine’s Day parties, dessert platters, or packaging in bags for edible gifts.
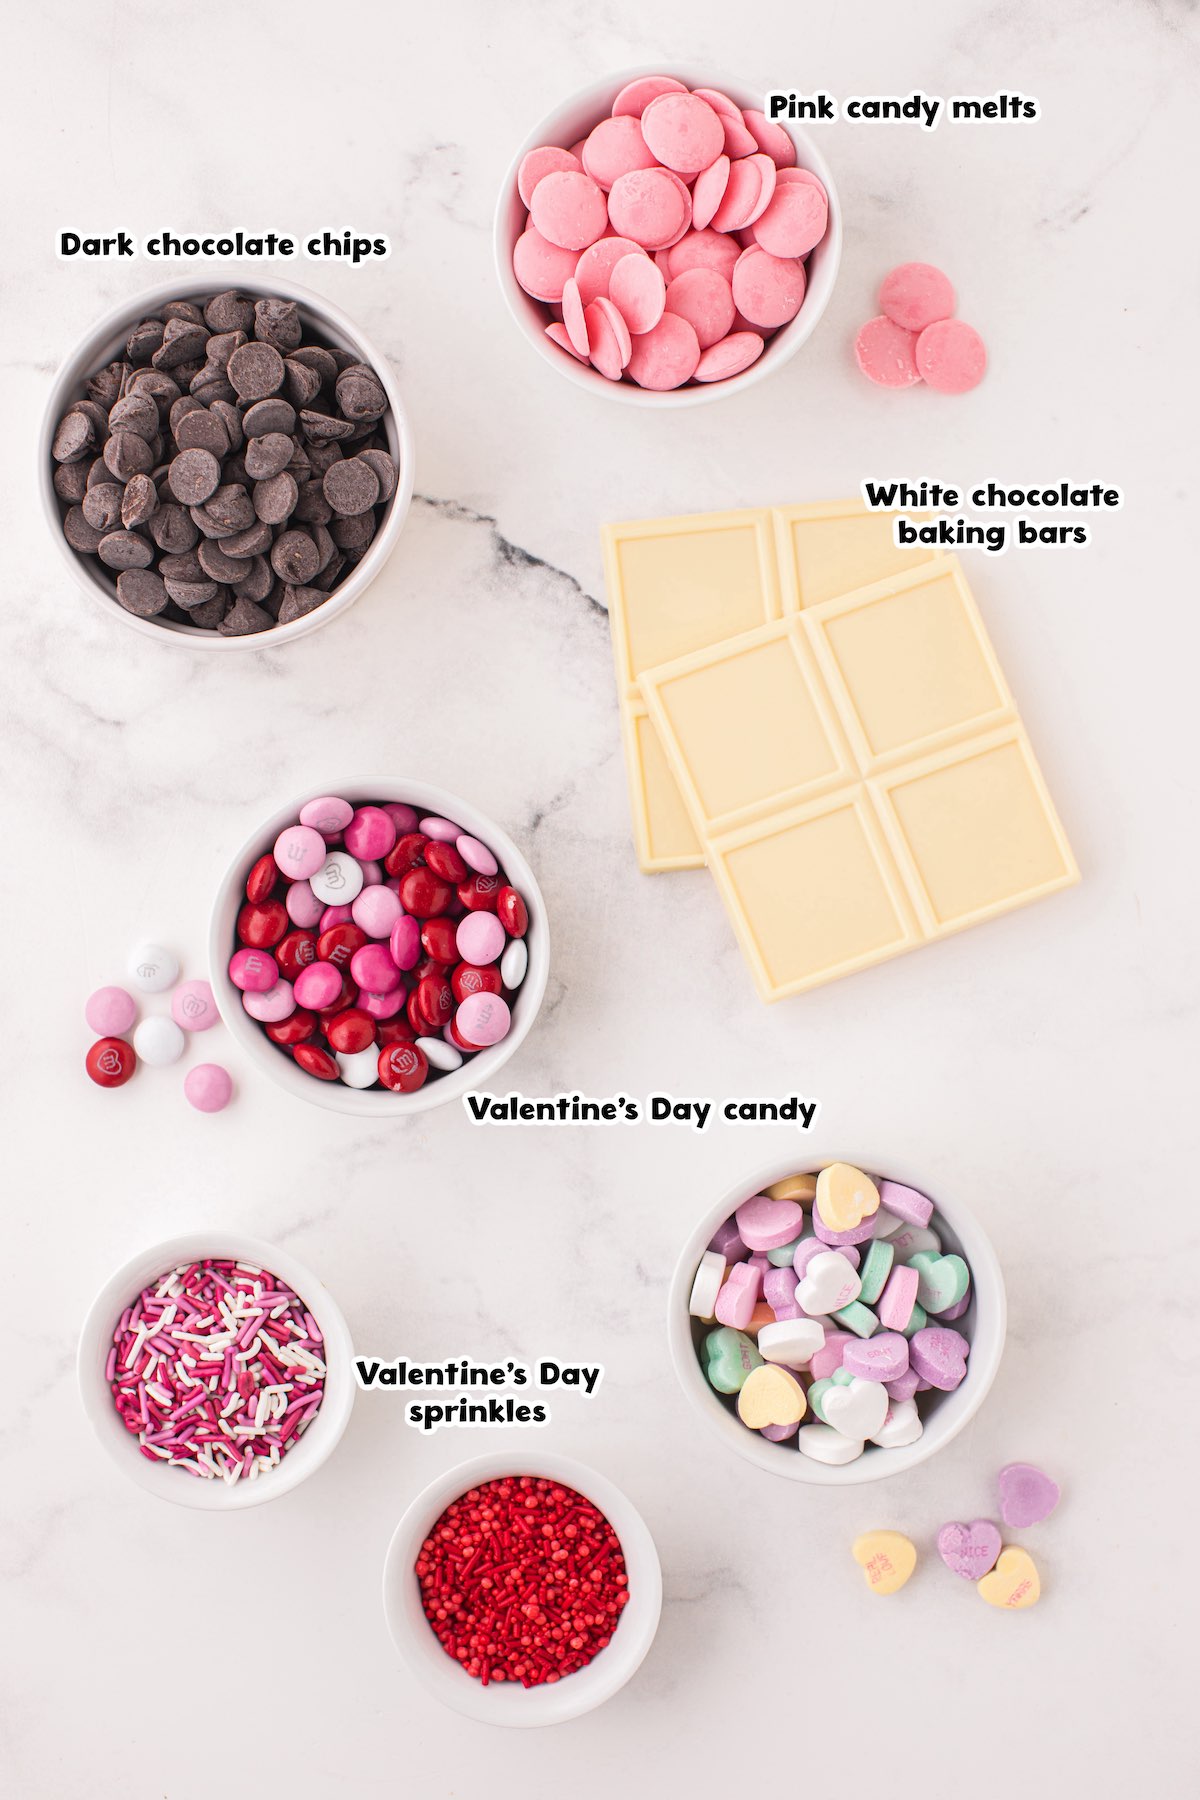
Ingredients
Substitutions and Additions
- Choose Your Chocolate: You can substitute a dark chocolate baking bar or another type of chocolate chip, like milk chocolate or semi sweet chocolate, if you prefer. If you don’t use dark chocolate the end result will be a sweeter bark.
- Change The White Chocolate: You can substitute white chocolate chips but they tend to be more difficult to melt and spread than the baking bars. You can also use vanilla almond bark instead for a similar look but slightly different flavor.
- Variation 2: Use your favorite type of candy such as M&Ms, conversation hearts, Hot Tamales, or colorful chocolates. If you want to omit the candy you can use a total of ¼ cup of sprinkles instead. You can even add pretzel pieces for a sweet and salty combination.
- Substitute The Sprinkles: Pink, red and white non-pareils or heart sprinkles look great on this bark. You can also use pink or red sanding sugar if needed.
- Customize Your Candy: Chocolate candy bark can be made any time of year and customized with holiday colors and seasonal snacks. Some of my favorite unique bark recipes include Halloween Candy Bark, Melted Snowman Chocolate Bark, Christmas Chocolate Bark, Reindeer Chocolate Bark, and so many more.
Recommended Tools
- Dark chocolate chips
- White chocolate baking bars
- Pink candy melts: You can use red candy melts instead or omit this completely for a thinner bark.
- Valentine’s Day candy
- Valentine’s Day sprinkles
How to Make Valentine’s Day Bark
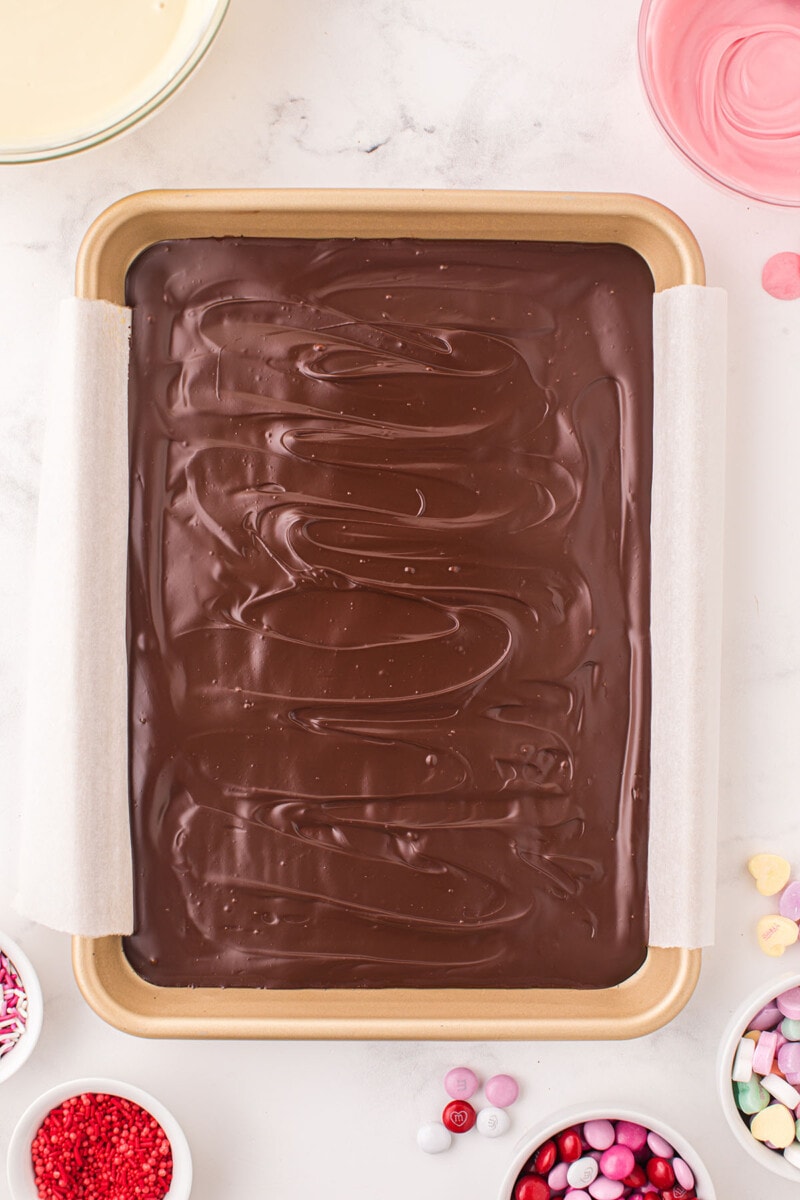
- Make The Chocolate Layer: Microwave the dark chocolate chips for 30 seconds, mix well, and continue heating in 15-20 second increments, until completely melted and smooth. Spread the melted chocolate onto the parchment paper and set it aside for until mostly hardened.
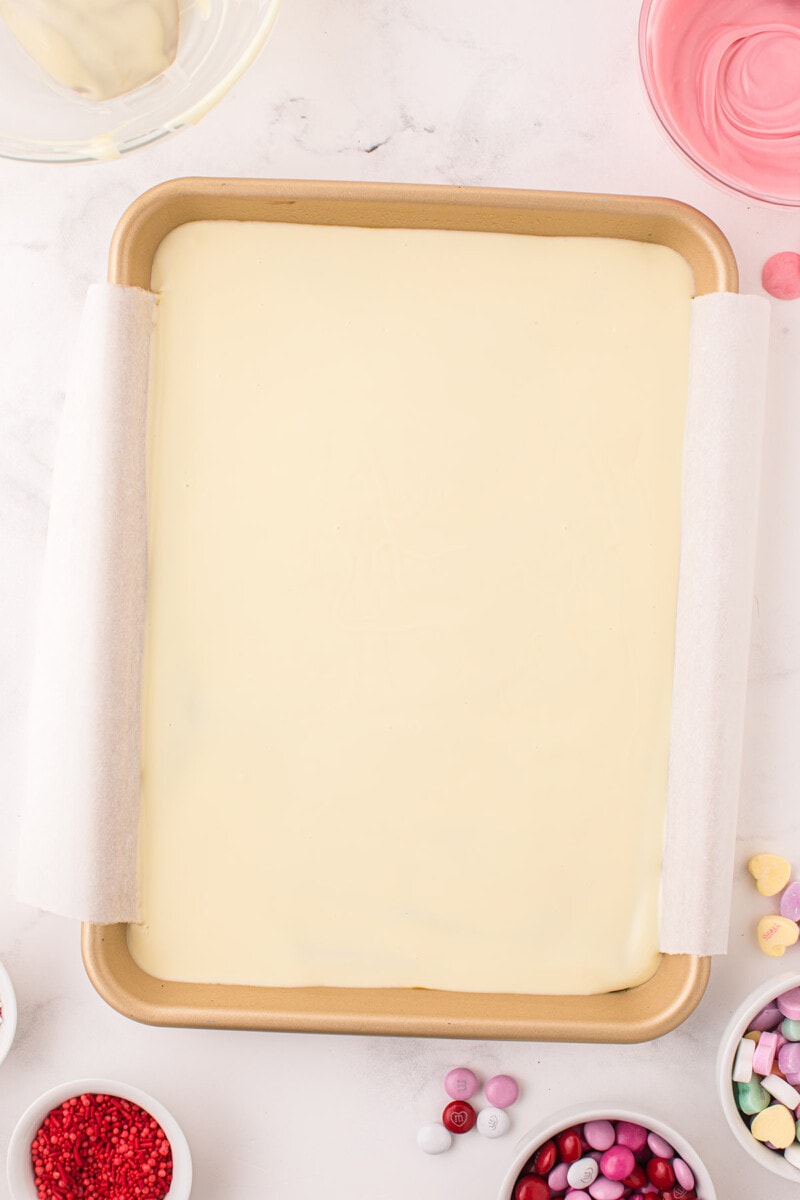
- Melt The White And Pink Chocolate: Microwave the white chocolate for 30 seconds, stir well and then continue heating in short increments until melted and smooth. In a separate bowl, melt the pink candy melts in the same manner as the dark and white chocolate.
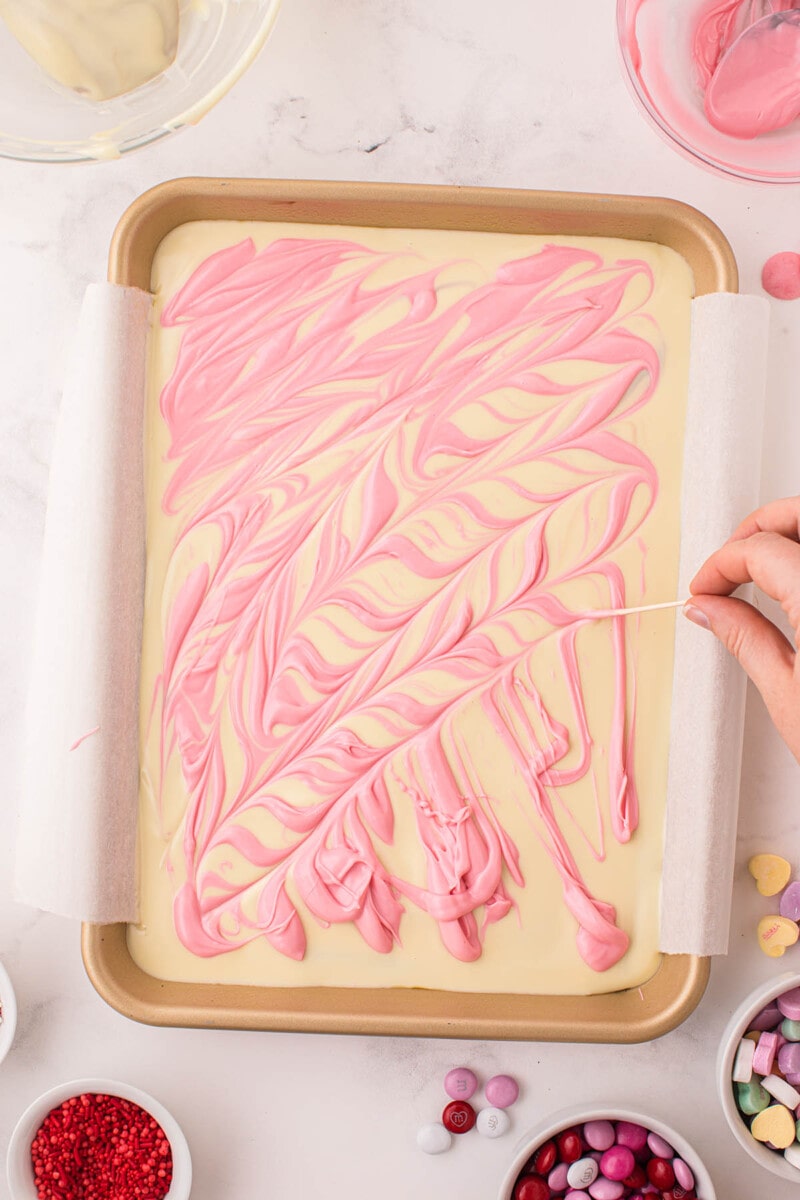
- Make The Marbled Layer: Spread the melted white chocolate over the dark chocolate. Before the white chocolate layer sets, drizzle the melted pink candy melts over the top of the white chocolate. Use a toothpick to make a marble pattern.
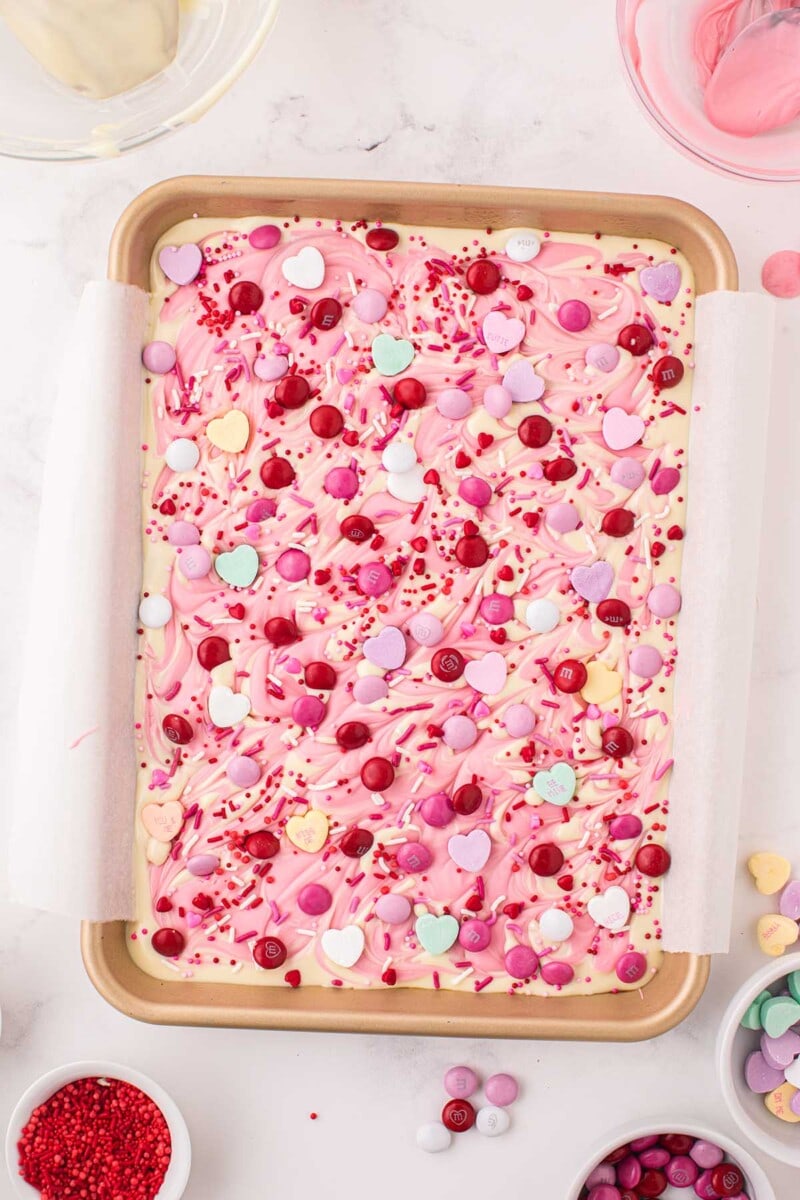
- Decorate: While the chocolate is still warm, sprinkle the candy and sprinkles over the top. Cool for 30 minutes or until completely hardened.
- Serve: Break or cut into pieces and serve. Enjoy!
Tip From Our Recipe Developer
- Depending on how small or large the pieces of bark are broken into, the servings can easily be adjusted.
- Make sure to leave an overhang (extra parchment paper) when preparing the baking sheet so that you can easily lift the hardened chocolate out of it. It is helpful to crease where the bottom of the pan meets the edges for a defined shape.
- Heat each chocolate layer slowly so that it doesn’t seize. If you overheat any type of chocolate or candy melt, it will start to lump up and it is nearly impossible to get it spread evenly after that. Be patient and heat in small increments with a lot of stirring for best results.
- You want your layers to be almost completely hardened when you add the next layer. If the first layer is too soft then the two will blend. If you want a swirl effect then you may choose to do this intentionally. If you wait until each layer is completely hardened before adding the next layer, they won’t bond to each other and you may find that the layers snap off of one another.
How To “Break” Chocolate Bark
When cutting the bark, I have found that it can be helpful to use a sharp pizza cutter instead of a knife. This allows you to cut the bark into more even pieces. You can also use a pizza cutter to “score” the bark and then cut it along the lines. This gives a rougher look, more like actual bark, but makes it easier than just breaking the bark without any lines.
- Half sheet baking pan
- Parchment paper
- Spreading spatula
- Microwave safe bowls
- Mixing tools
- Measuring tools
How To Store Chocolate Bark
This Valentine’s Day Chocolate Bark can be kept in an airtight bag or container at room temperature for 4-5 days. Be sure to avoid direct sunlight and heat so that it does not melt. You can store it for up to 2 weeks in the refrigerator and up to 4 months in the freezer.
Be aware that you may get streaks of white on the dark chocolate if the bark is chilled. This is a normal reaction that chocolate has to temperature changes and does not affect the flavor. Depending on the type of candy you use on the top, it may or may not keep its texture when chilled.
Storage
- To Store: Store your bark in an airtight bag or container at room temperature for 4-5 days or 2 weeks in the refrigerator.
- To Freeze: Store your bark in a freezer-safe container for up to 4 months in the freezer.
More Desserts Perfect for Valentine’s Day
- Red Velvet Cheesecake Bites
- Strawberry Cheesecake Bites
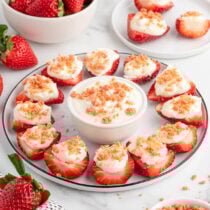
- Cheesecake Stuffed Strawberries
- Strawberry Cake Mix Cookies
- Valentine Hearts Fudge
- Valentine Oreo Truffles
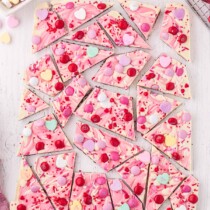
Valentine’s Day Chocolate Bark
Ingredients
- 1½ cups dark chocolate chips
- 12 ounces (3 4-ounce) white chocolate baking bars
- ¾ cup pink candy melts
- ¼ cup Valentine’s Day candy
- 2 tablespoons Valentine’s Day sprinkles
Instructions
- Line a half sheet baking pan with parchment paper and set to the side.
- In a microwave safe bowl, heat the dark chocolate chips for 30 seconds and then mix well.
- Continue heating in 15-20 second increments, stirring well after each time, until completely melted and smooth.
- Pour the chocolate onto the parchment paper and spread out into a thin layer with a spreading spatula.
- Place the pan to the side for about 10 minutes or until mostly, but not completely, hardened.
- After the chocolate has almost completely set, break the white chocolate bars up into a microwave safe bowl.
- Heat in the microwave for 30 seconds, stir well and then continue heating in short increments and stirring until completely smooth. Mix well.
- Put the pink candy melts in a separate microwave safe bowl and heat the candy melts as you did the dark chocolate and white chocolate. Start with 30 seconds, and continue heating in 15-20 second increments and stirring until the candy is melted and smooth.
- Pour the melted white chocolate all over the dark chocolate and spread quickly. This layer will harden rapidly so work quickly.
- Before the white chocolate layer sets, drizzle the melted pink candy melts over the top of the white chocolate.
- Gently run a toothpick through the pink and white layers to make a marble pattern, trying to avoid the dark chocolate
- While the chocolate is still warm, sprinkle the candy and sprinkles evenly over the top.
- Cool for 30 minutes or until completely hardened.
- Break or cut into pieces and serve.
Jenn’s Notes
- To Store: Store your bark in an airtight bag or container at room temperature for 4-5 days or 2 weeks in the refrigerator.
- To Freeze: Store your bark in a freezer-safe container for up to 4 months in the freezer.
- Depending on how small or large the pieces of bark are broken into, the servings can easily be adjusted.
- Make sure to leave an overhang (extra parchment paper) when preparing the baking sheet so that you can easily lift the hardened chocolate out of it. It is helpful to crease where the bottom of the pan meets the edges for a defined shape.
- Heat each chocolate layer slowly so that it doesn’t seize. If you overheat any type of chocolate or candy melt, it will start to lump up and it is nearly impossible to get it spread evenly after that. Be patient and heat in small increments with a lot of stirring for best results.
- You want your layers to be almost completely hardened when you add the next layer. If the first layer is too soft then the two will blend. If you want a swirl effect then you may choose to do this intentionally. If you wait until each layer is completely hardened before adding the next layer, they won’t bond to each other and you may find that the layers snap off of one another.


This was easy and fun to make. I made a double batch to share with lots of friends. I will definitely make this again.
love it