
This post may contain affiliate links. Please read our disclosure policy.

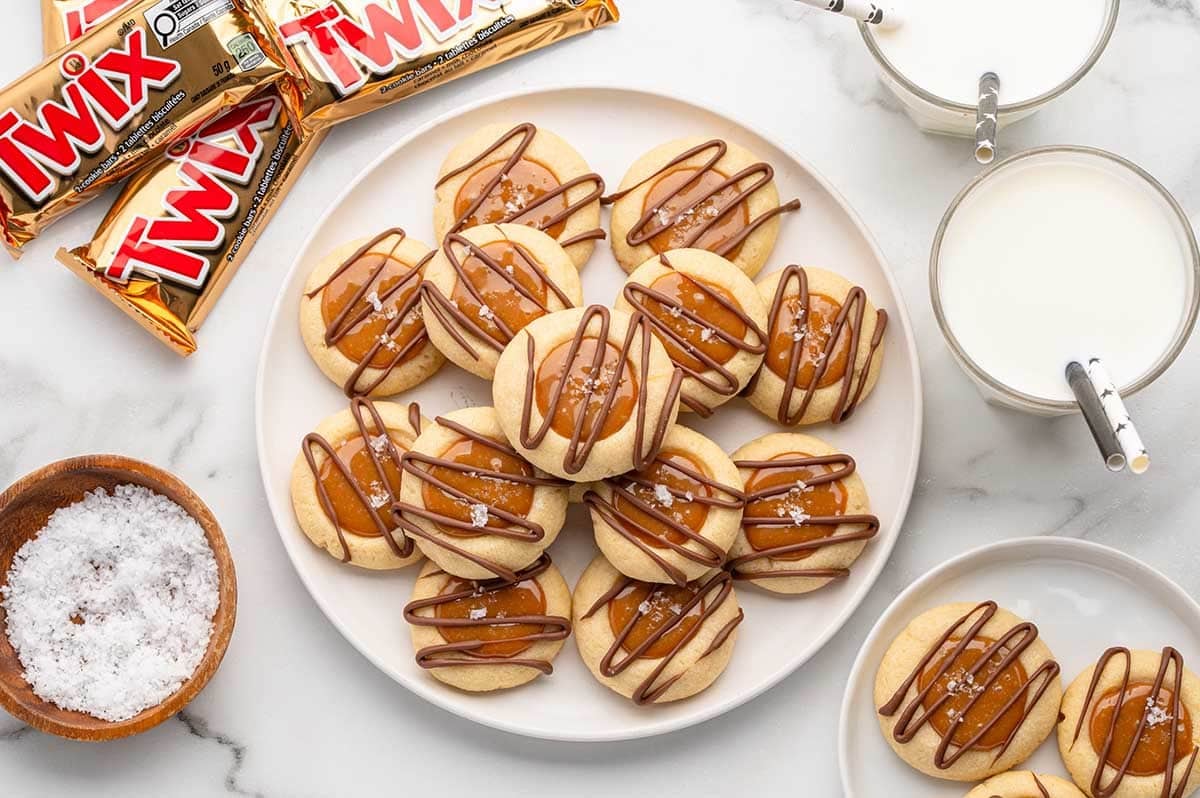
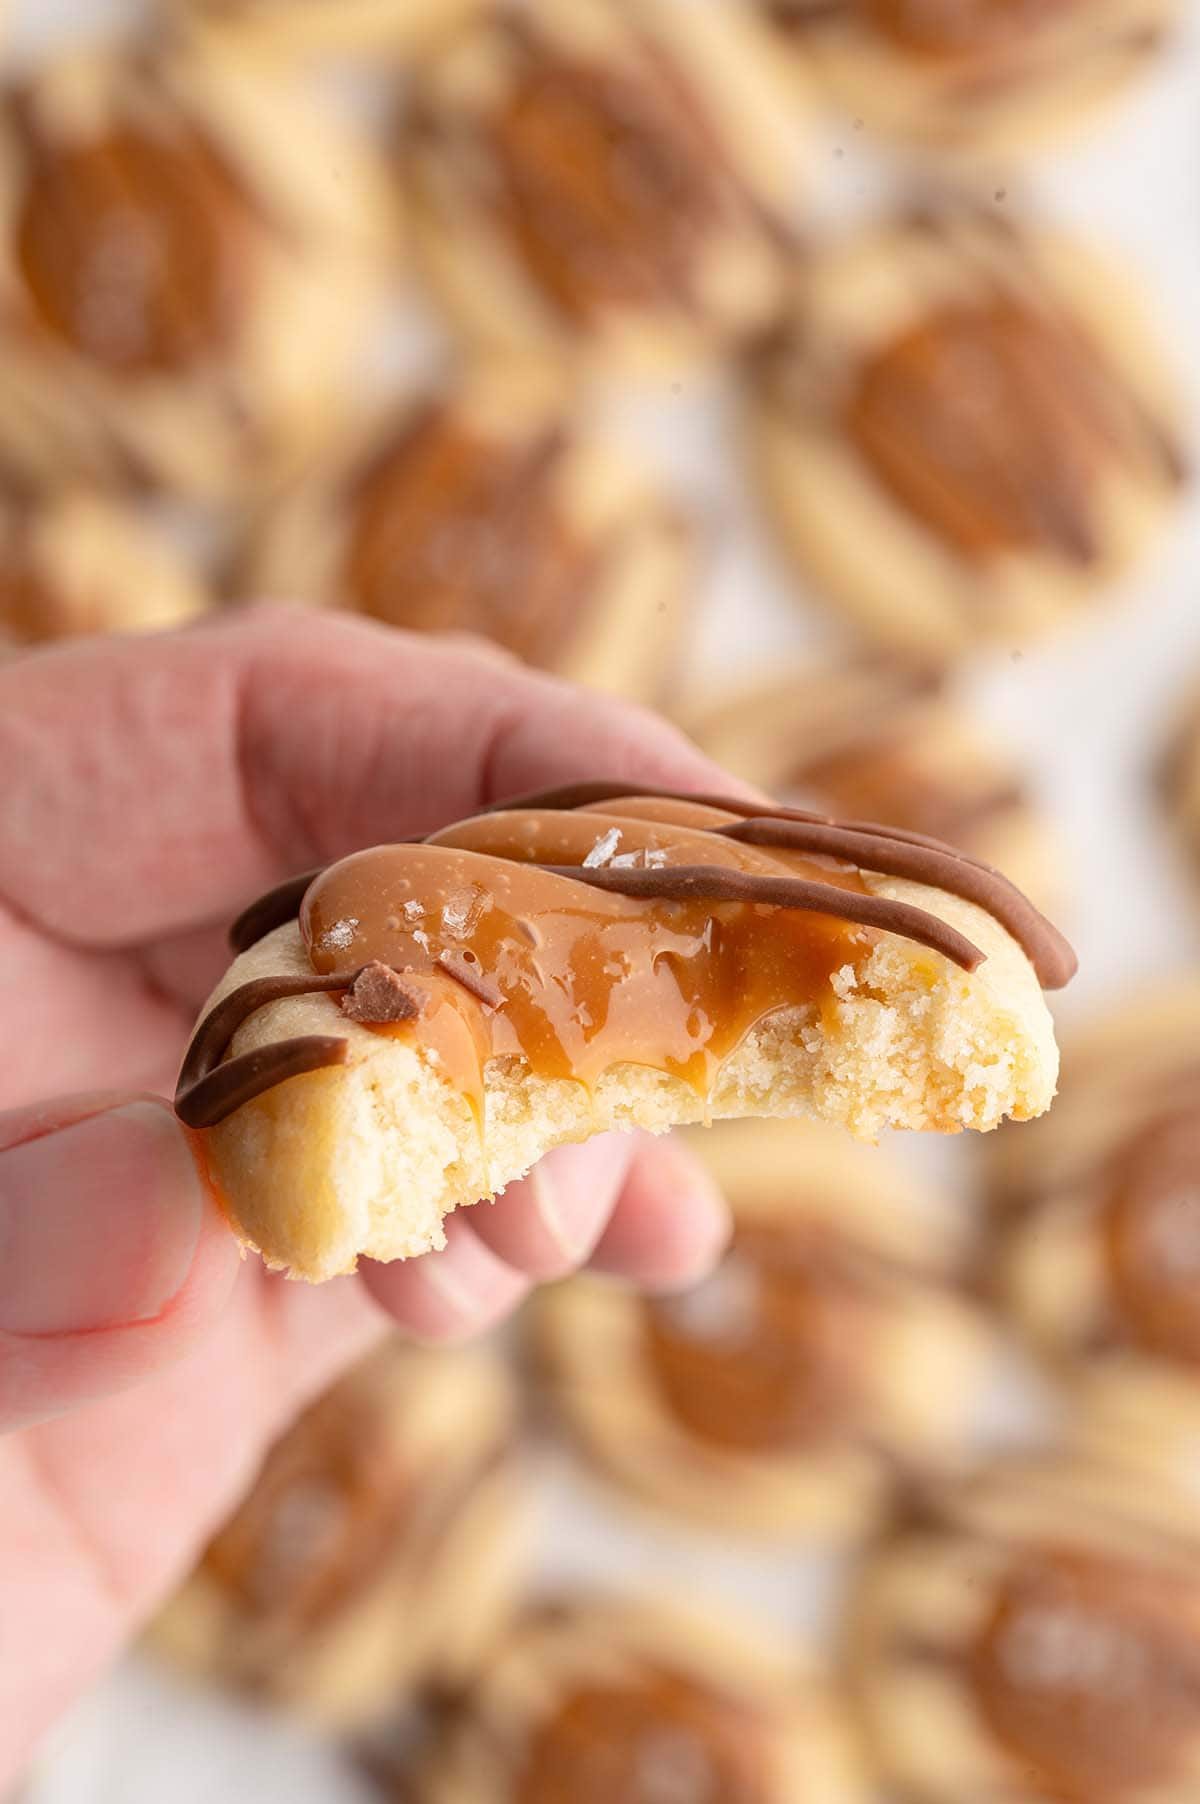
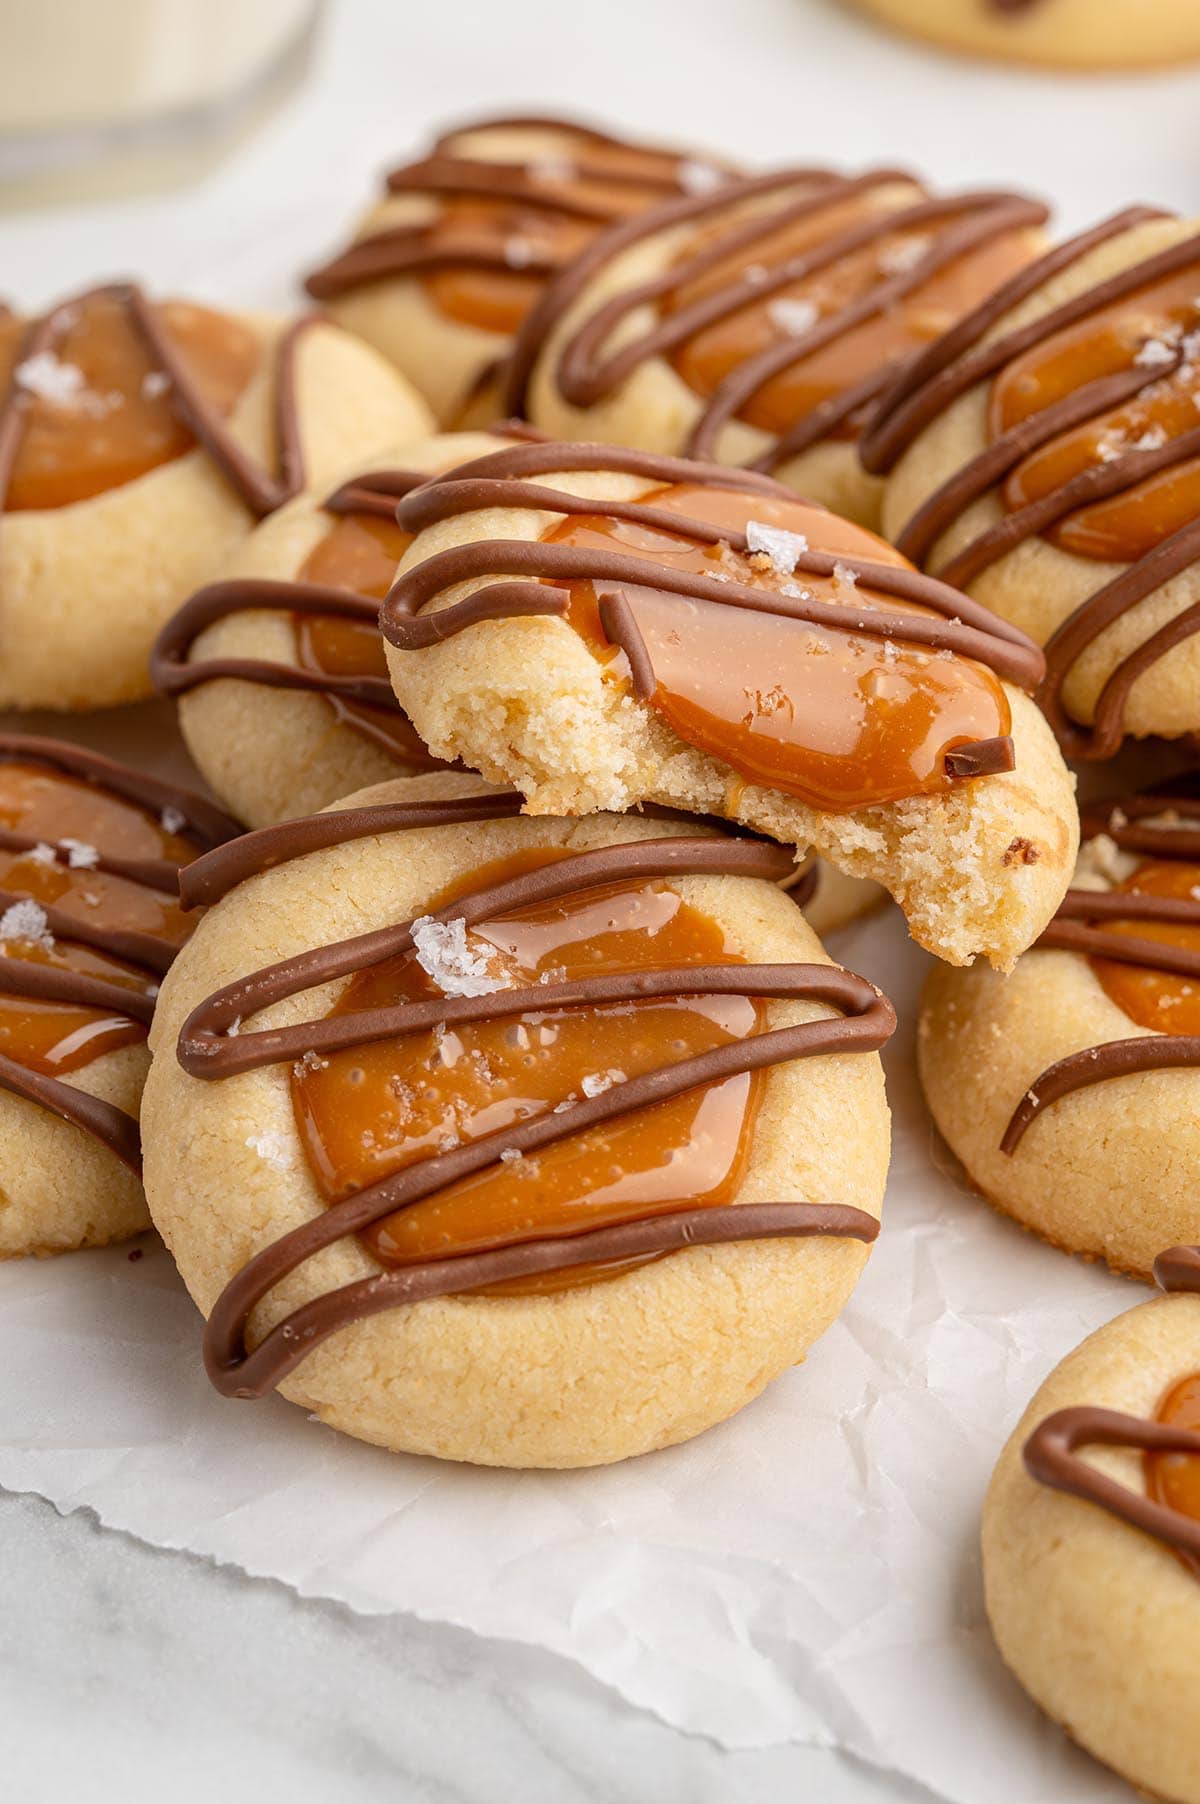
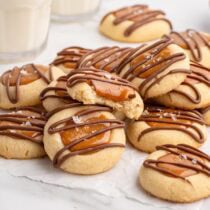
I love how these Twix Thumbprint Cookies capture everything I adore about a Twix bar in a fun, homemade treat. The buttery shortbread base, gooey caramel center, and chocolate drizzle come together in the most delicious way—it’s like having your favorite candy bar baked into a cookie. They’re always a hit when I make them, and I can never resist sneaking one (or two) fresh from the pan.


If you love thumbprint-style sweets, you’ll definitely want to try my Classic Thumbprint Cookies recipe, it’s one of my all-time favorites for filling and flavor.
Why You’ll Love These Twix Thumbprint Cookies
I’ve always been a fan of Twix bars, so creating a cookie version feels extra fun. These thumbprints give me all the candy bar flavors I love in a bite-sized homemade treat.
- I get all the classic Twix flavors I love in every bite—soft, buttery shortbread, a gooey caramel center, and a rich drizzle of chocolate.
- I don’t need a candy thermometer for the caramel—just soft caramels and cream melted in the microwave, which makes it so simple.
- I can prep the dough ahead and freeze it, which is perfect when I’m short on time or want to bake a batch later.
- These cookies feel like the best of both worlds. They’re cute and fun to serve, but also taste like a candy bar in cookie form—my family loves them for holidays, parties, or just because.
Ingredients Notes
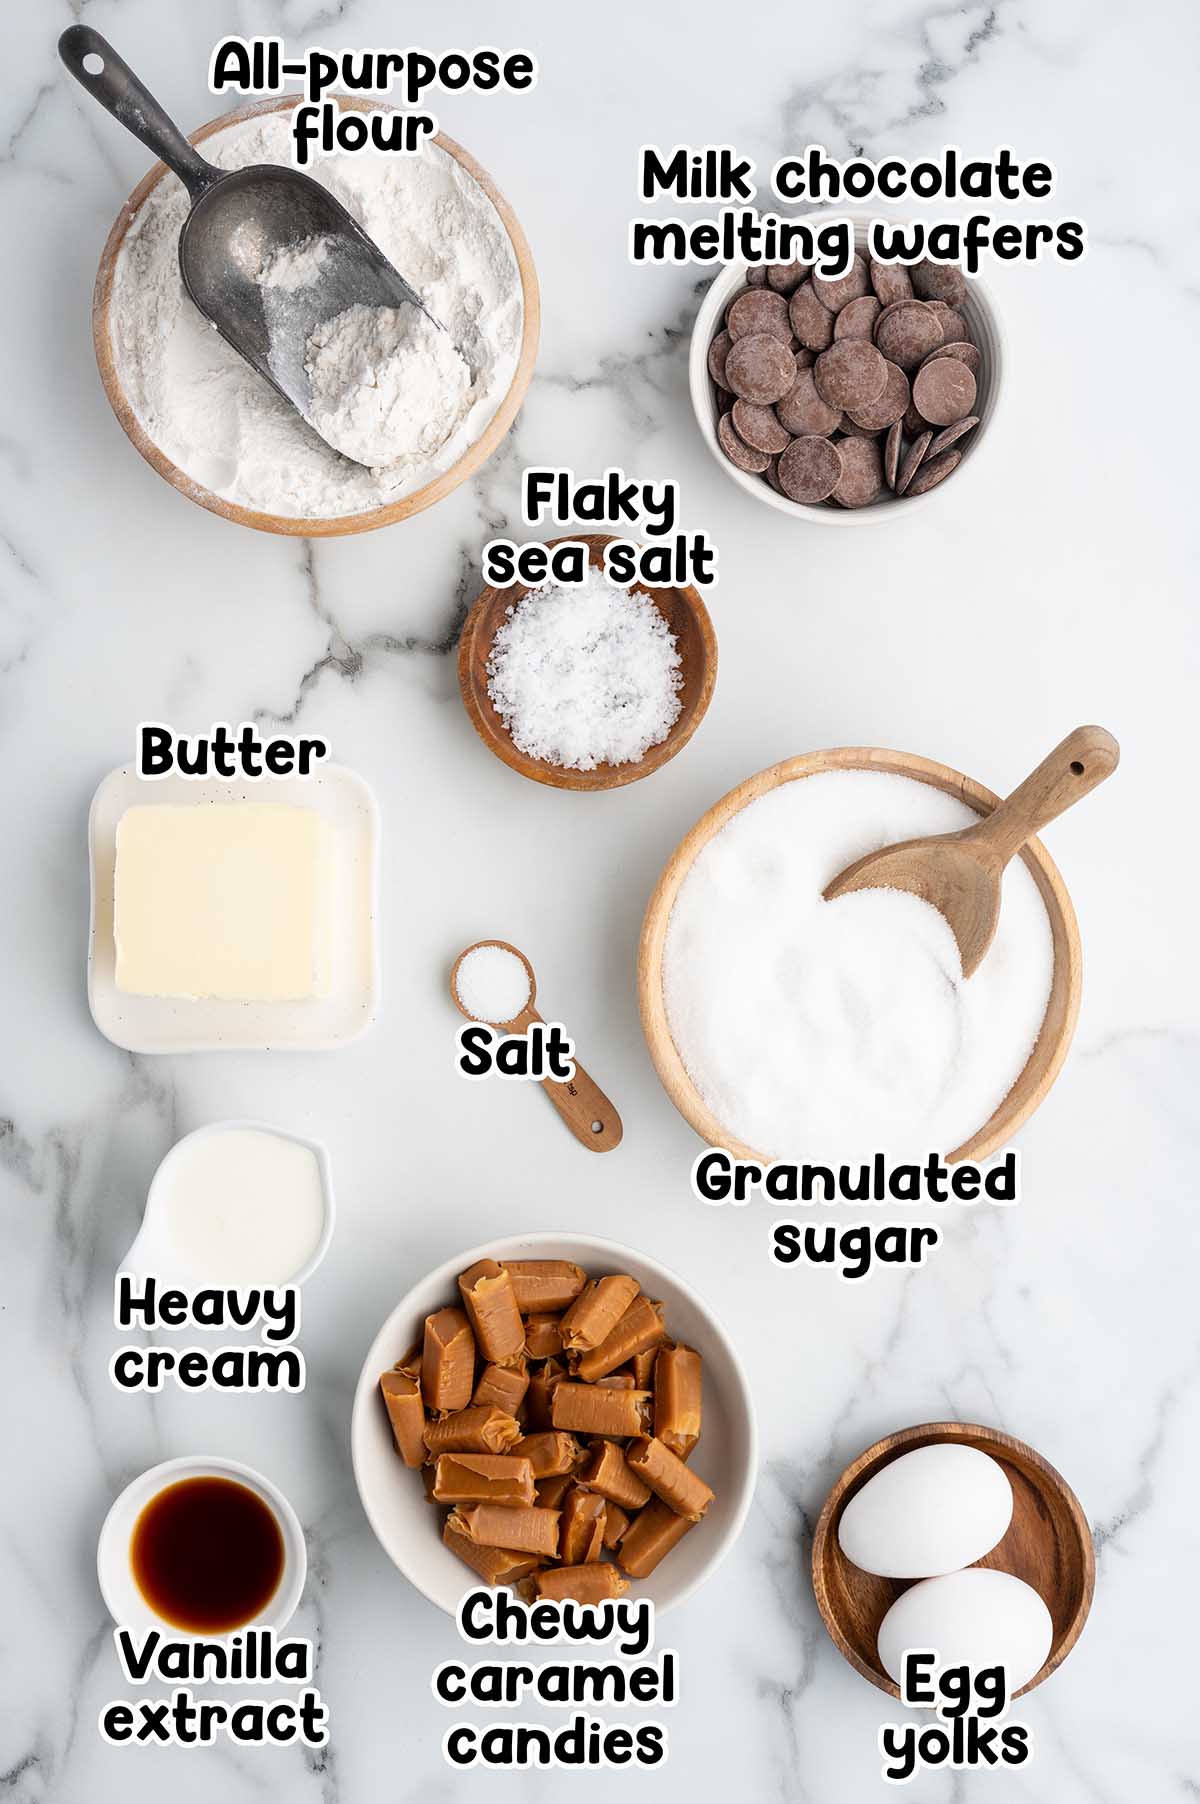
- Unsalted butter: Make sure your butter is softened to room temperature before beating.
- Granulated sugar
- Egg yolks
- Vanilla extract
- All purpose flour
- Salt
- Caramel candies: Brands like Werther’s or Kraft caramels melt smoothly and give you that classic gooey texture without burning. If you’re using a different brand, add an extra tablespoon of heavy cream to help soften the caramels before melting.
- Heavy cream
- Milk chocolate melting wafers: You can substitute a milk chocolate baking bar (not a candy bar) or milk chocolate chips for the melting wafers. If using chips or baking bar, be careful not to overheat or the chocolate may seize up.
See the recipe card for full information on ingredients and quantities.
How to Make Twix Thumbprint Cookies
- Make The Wet Mixture: Beat the butter and sugar with a hand mixer or the paddle attachment of a stand mixer until light and fluffy. Add the egg yolks and vanilla extract and beat again until the eggs are incorporated.
- Create The Cookie Dough: Add the flour and salt to the mixing bowl and mix on low speed until the dough forms a rough ball.
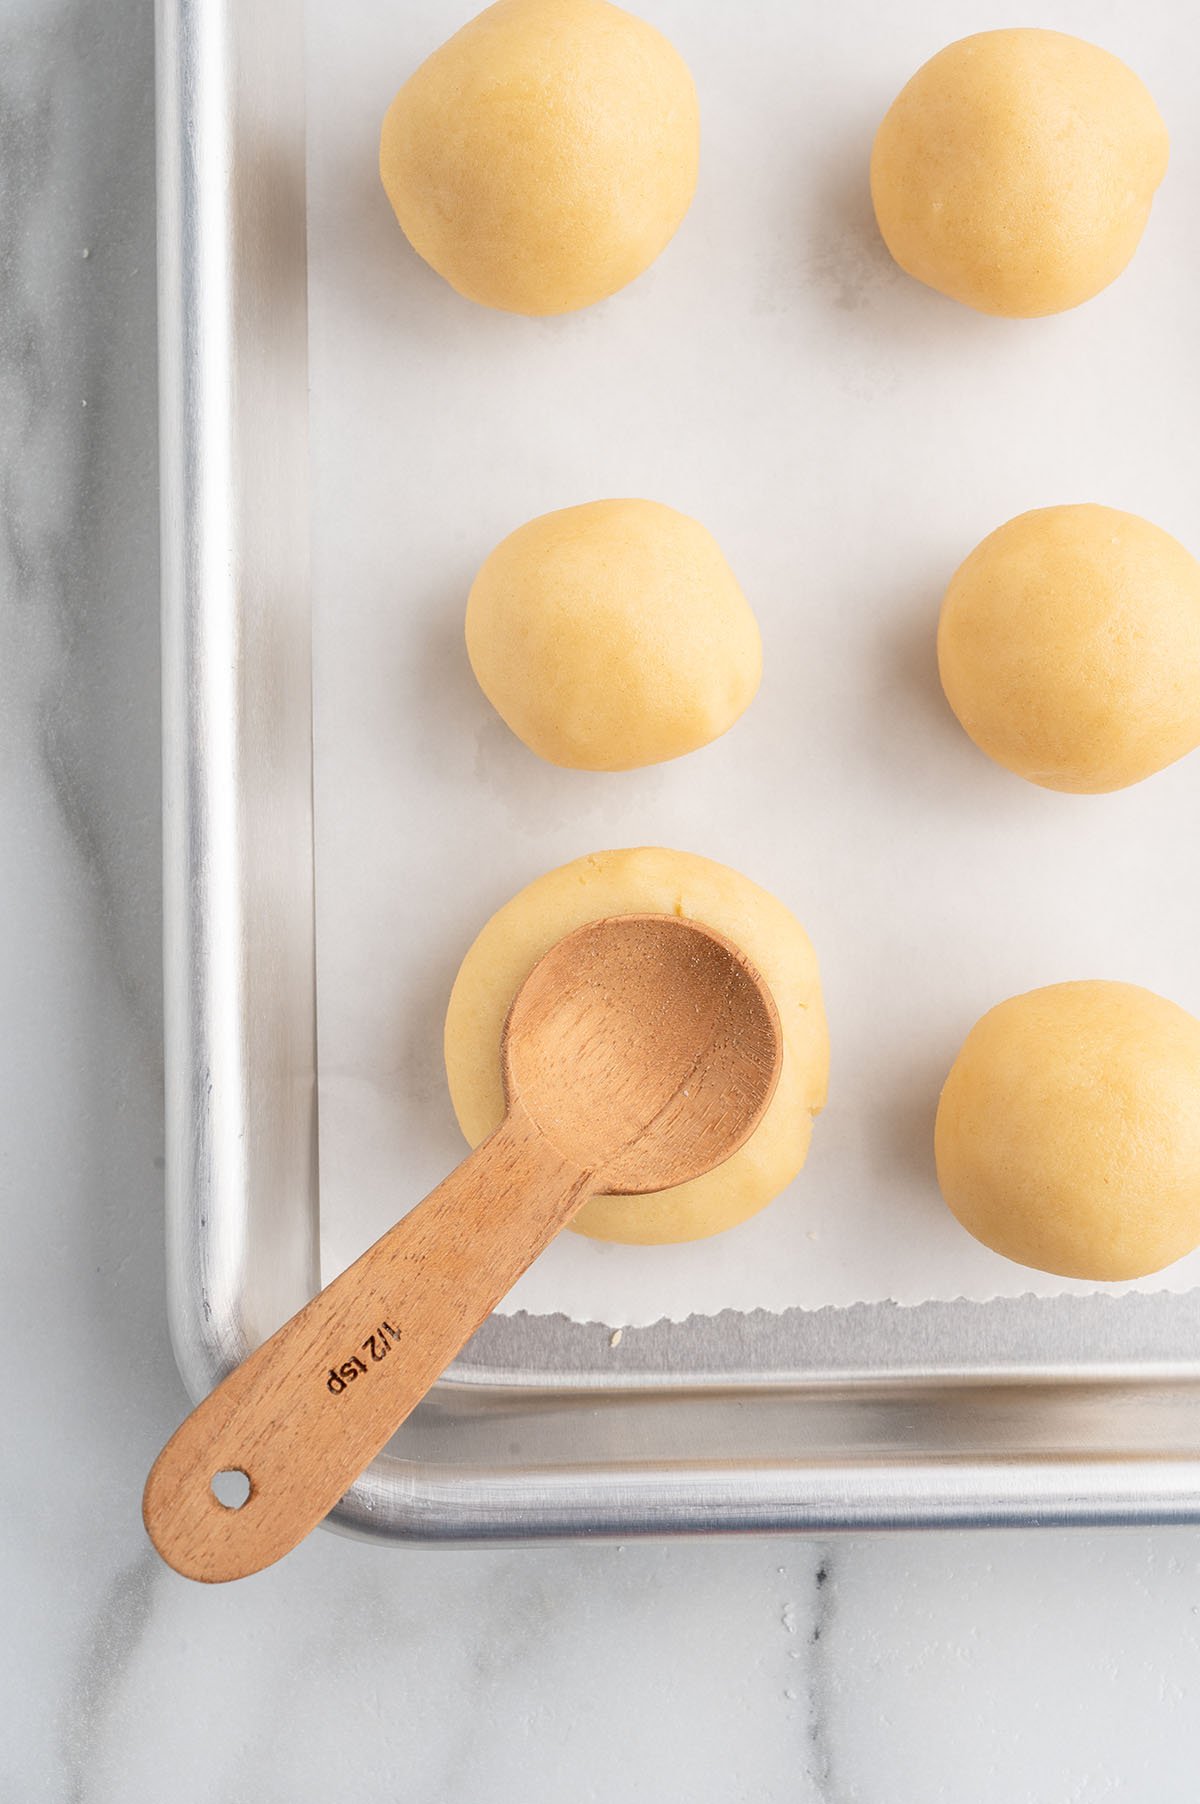
- Scoop And Roll Round: Use a cookie scoop to scoop the cookie dough and roll 1-inch balls. Place the rolled cookie dough balls onto a cookie sheet lined with parchment paper or silicone mat.
- Create The Cavity: Press an indent into the center of each cookie dough ball then chill in the freezer for 30 minutes.

- Bake: Bake each batch at 350 degrees Fahrenheit for 13-14 minutes or just until lightly golden around the bottom edges of the cookies. Cool on the baking sheet for 5 minutes before transferring them to a wire rack to cool.

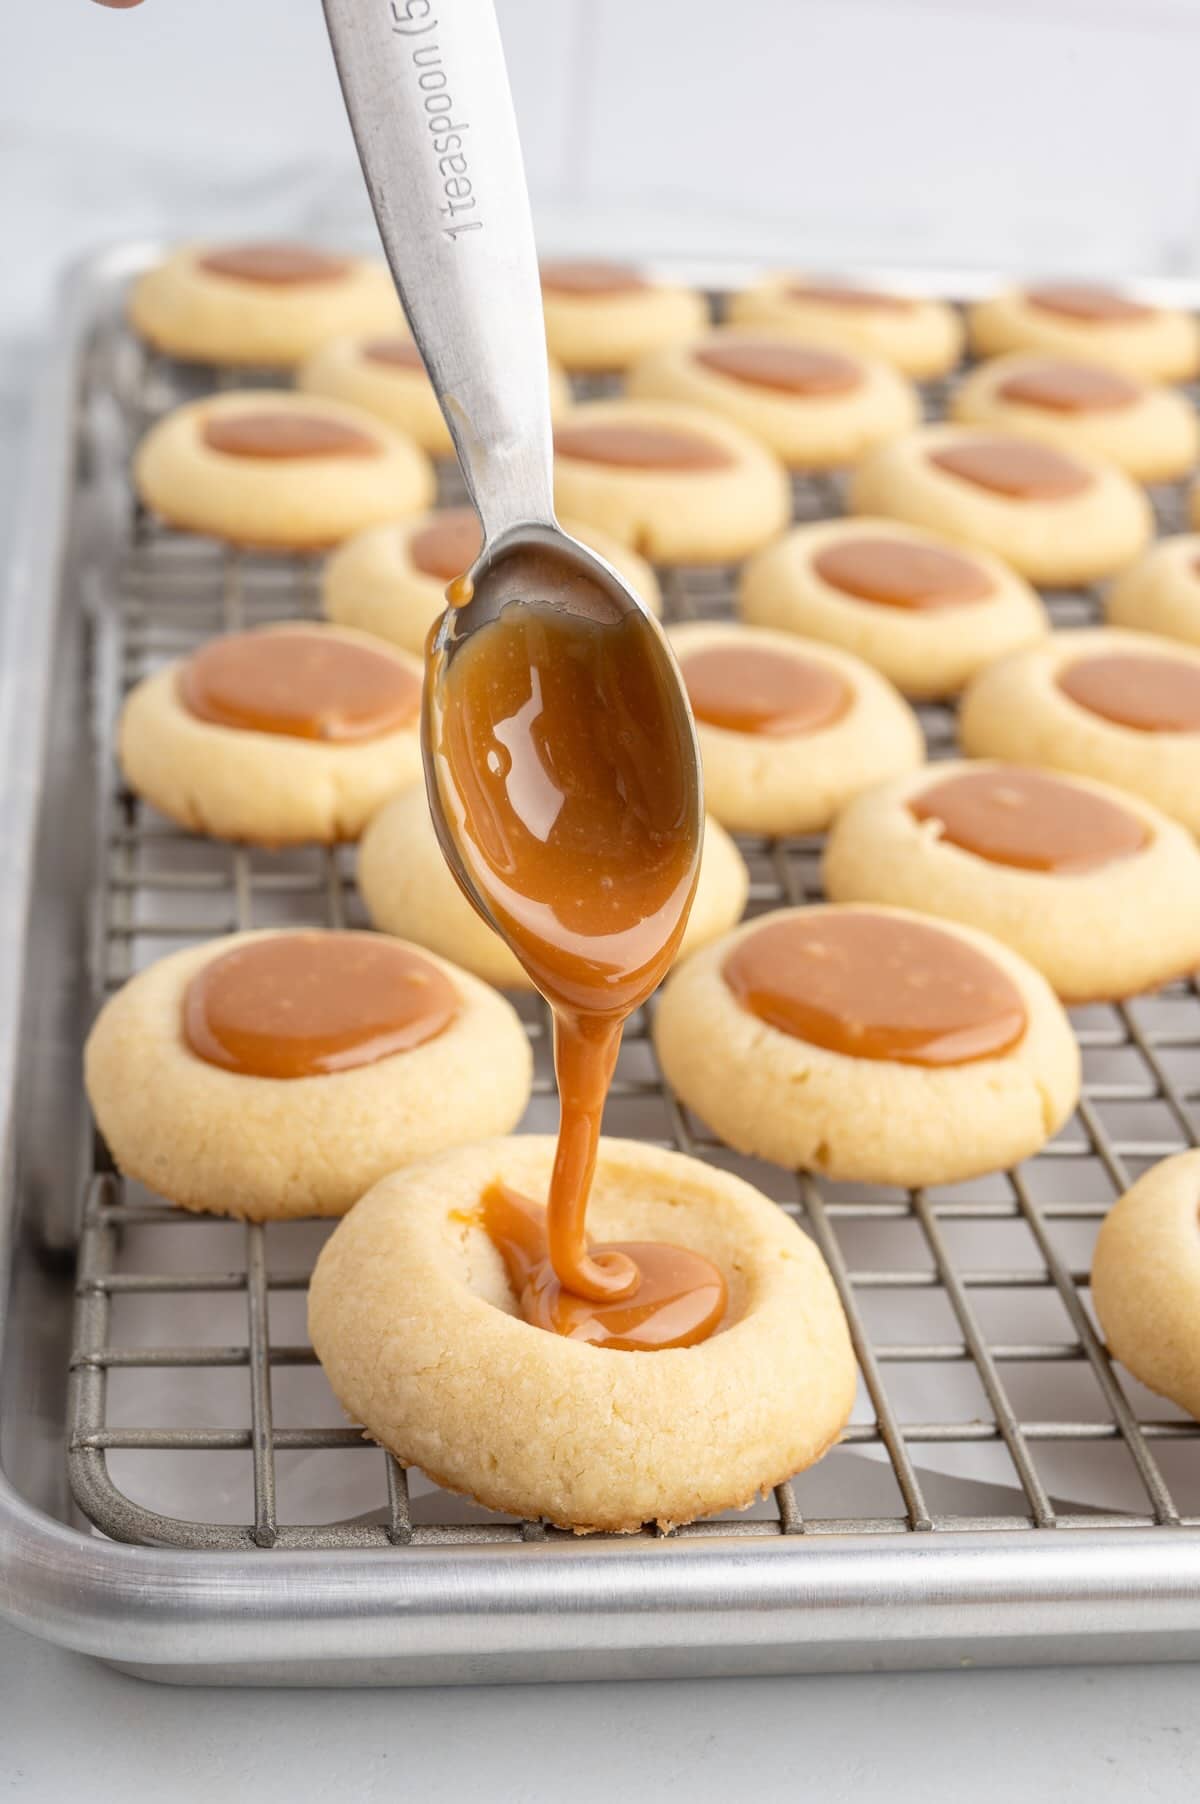
- Spoon In The Caramel Sauce: In a microwave safe bowl, add the caramel candies and heavy cream. Microwave for 30 seconds, stir, and heat in 30 second intervals until fully melted and smooth. Spoon the warm caramel filling into the center of each cookie.
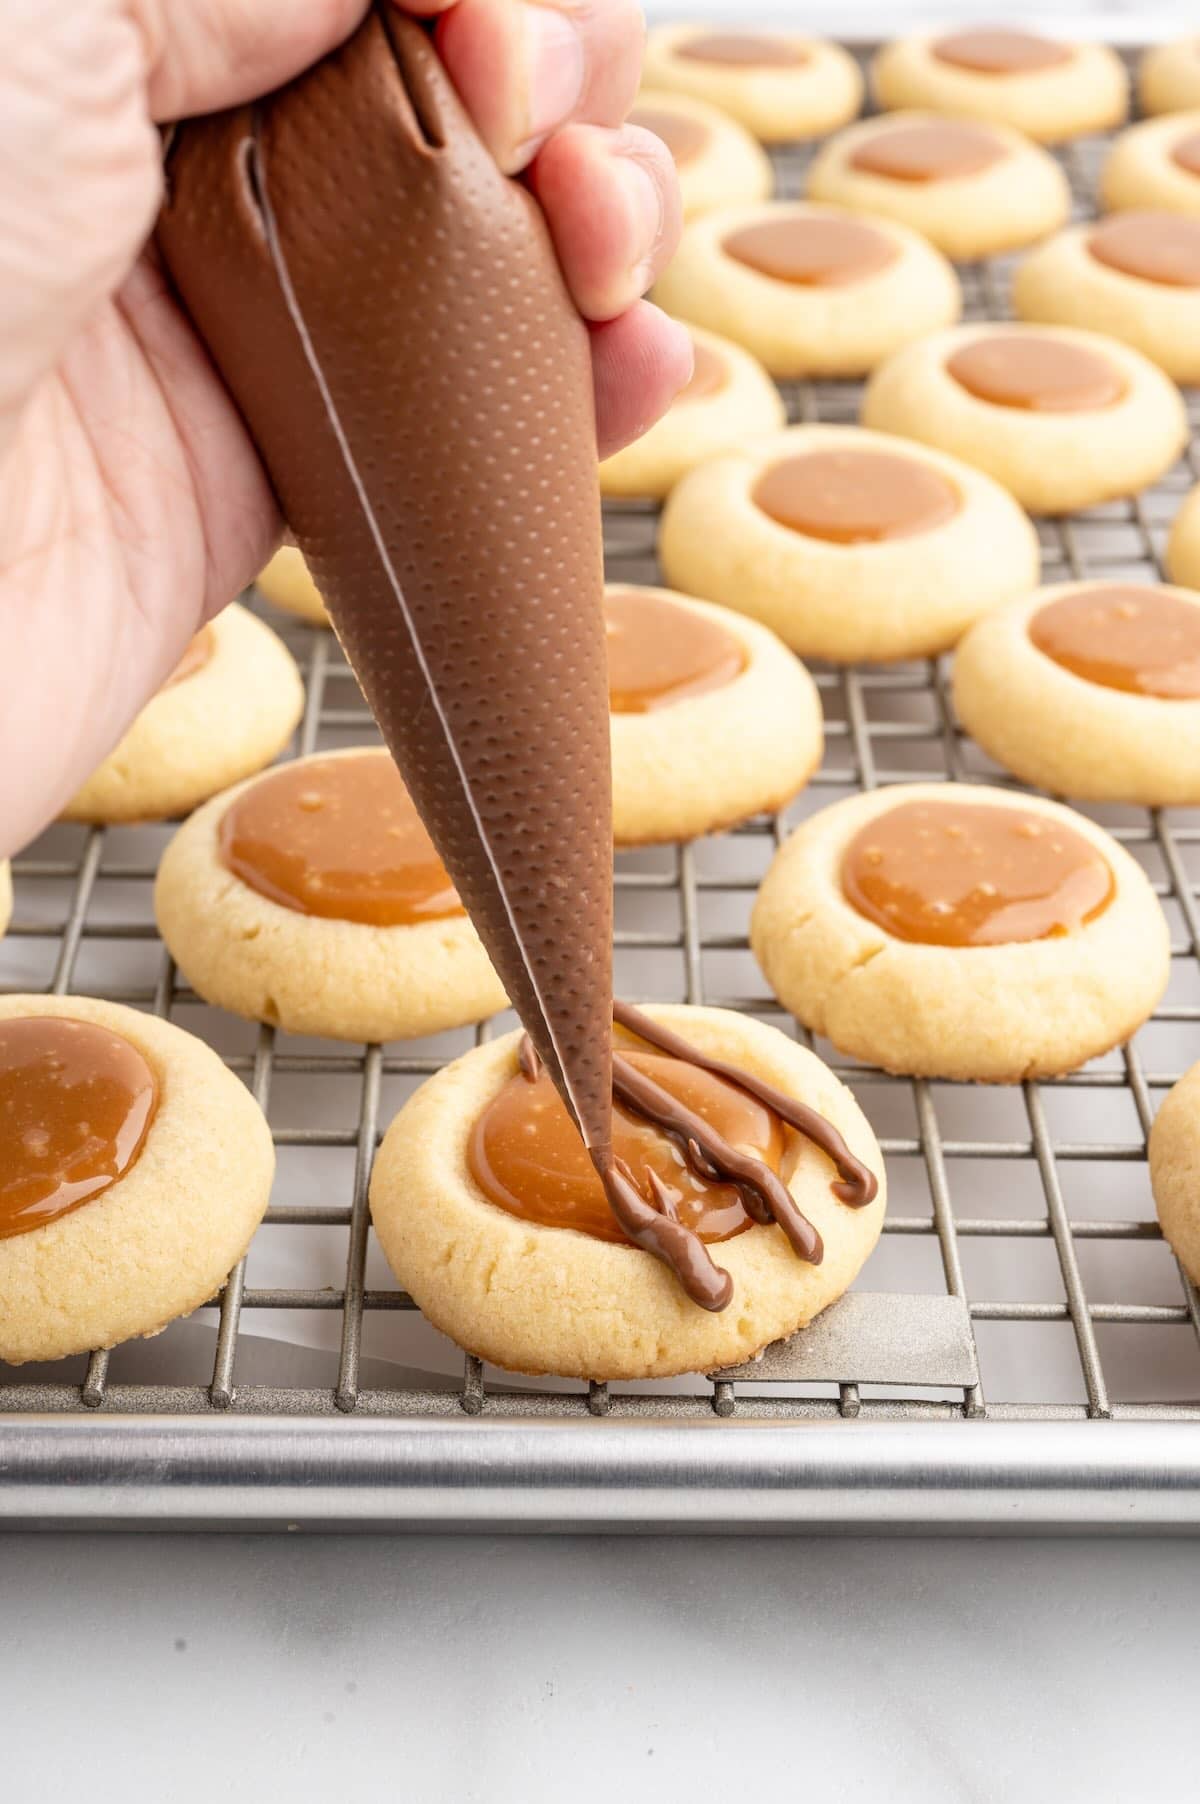
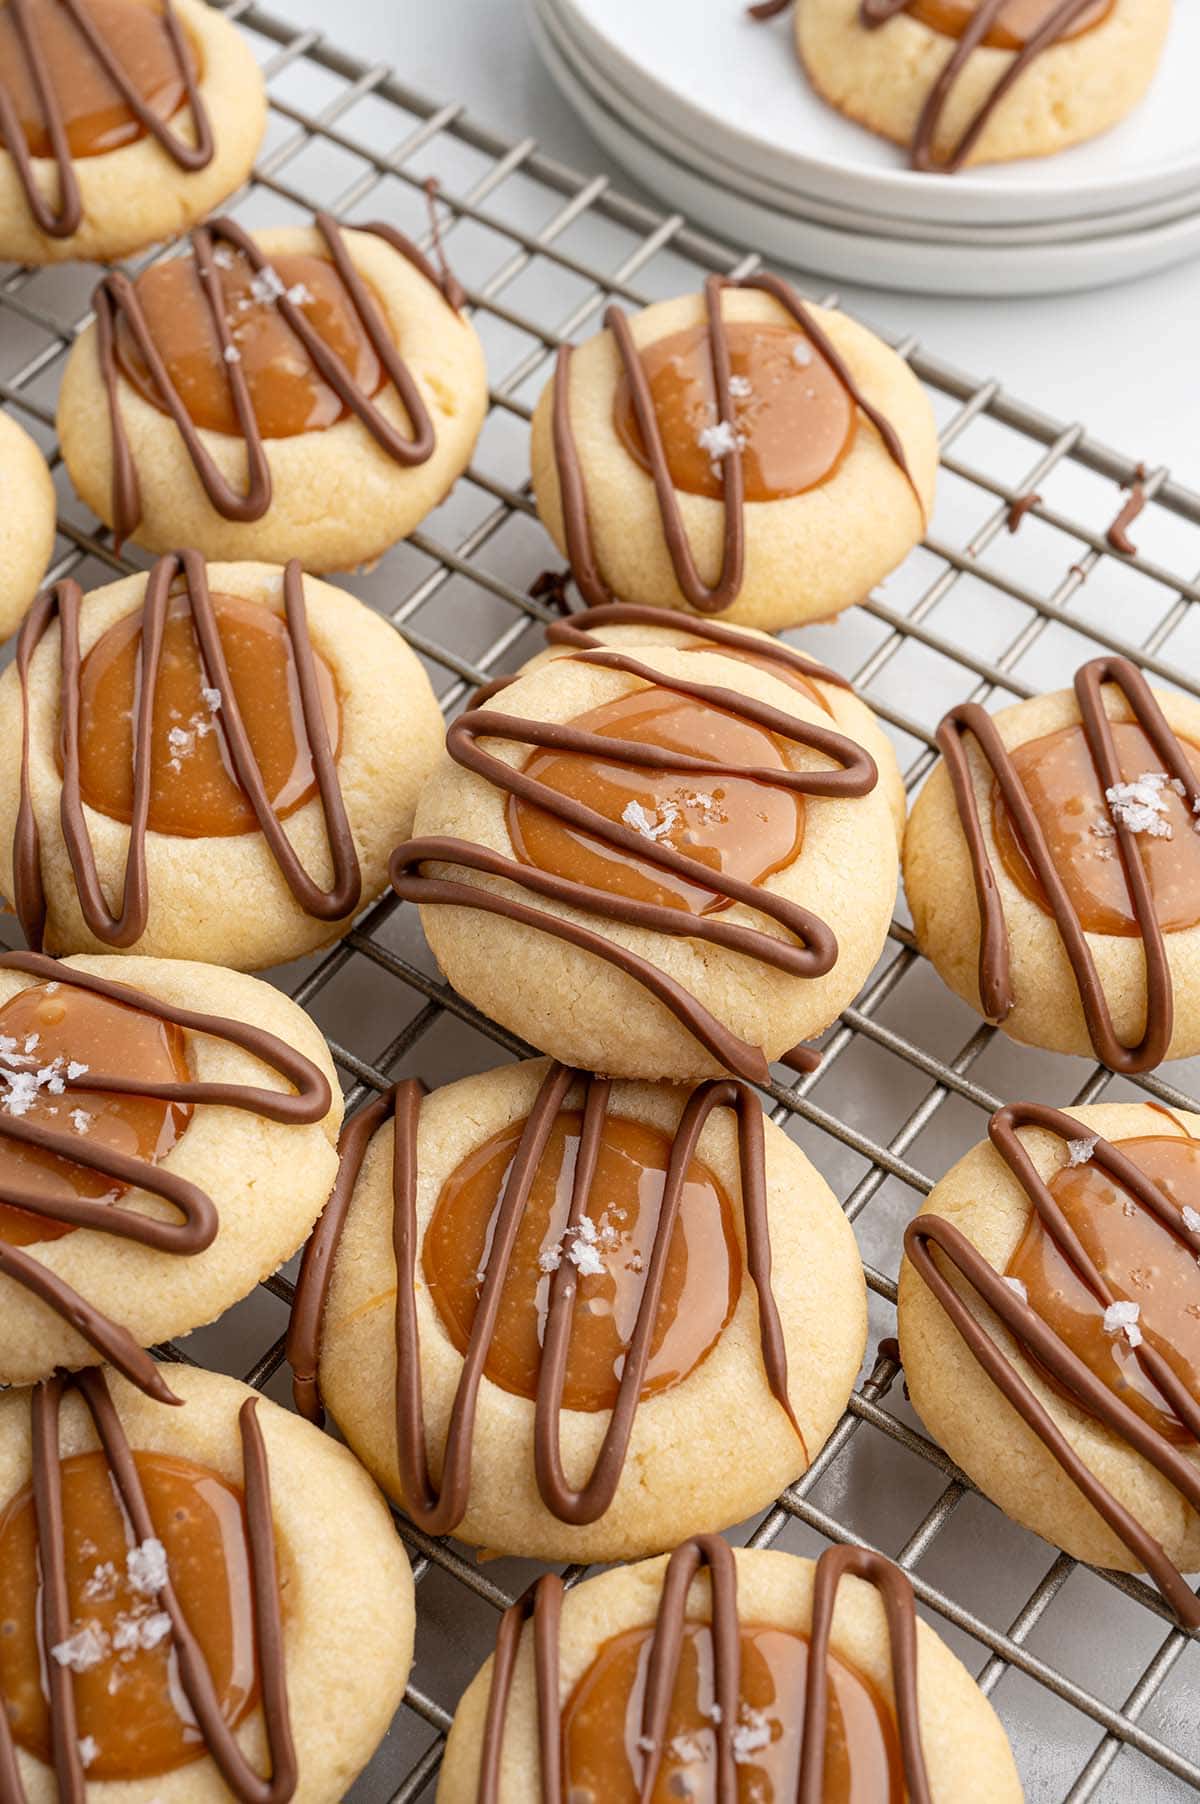
- Drizzle The Desserts: Microwave the chocolate wafers until melted and smooth. Drizzle the melted chocolate across the tops of the cookies and sprinkle with sea salt.
- Serve: Rest on the counter for 10 minutes to allow the chocolate drizzle to harden. Serve and enjoy!

Recipe Tips
- Chill the dough: Freezing the dough balls after making the thumbprint helps them keep their shape while baking and prevents spreading.
- Create the cavity: Use the back of a teaspoon or your thumb to create a deep enough well for the caramel to sit in without overflowing.
- Dip before you dent: Dip your thumb or the back of a small spoon in a bit of flour before pressing the indent to keep the dough from sticking. If the edges crack, simply smooth them back together.
- Bake in batches for best results: For the best texture and even baking, avoid overcrowding the oven. Bake one tray at a time in the center of the oven and keep the rest of the dough chilled between batches.
Easy Ways to Customize Thumbprint Cookies
Get creative with your thumbprint cookies! This cookie dough can cradle all kinds of fillings, from candy and chocolate to jam and marshmallows.
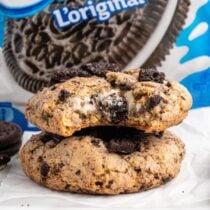
- S’mores Thumbprint Cookies: Fill the cavities with mini marshmallows and a square of chocolate for a fun, campfire-inspired version.
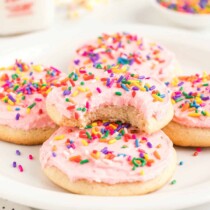
- Thumbprint Cookies with Icing: Skip the caramel and fill the centers with icing instead for a soft, bakery-style treat.
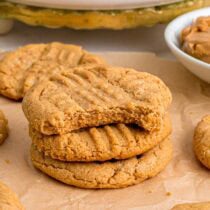
- Peanut Butter Thumbprint Cookies: Go back to basics with a rich, peanut butter base and a puddle of melted chocolate in the middle.
- Peppermint Thumbprint Cookies: Add crushed peppermint candies or fill the centers with peppermint chocolate for a festive holiday version.
Storage Instructions
- To Store: These Twix Thumbprint Cookies will stay fresh for 3-4 days when stored in an airtight container at room temperature. If you’re stacking the cookies, place a piece of parchment paper between the layers to keep them from sticking together.
- To Freeze: For longer storage, you can freeze the cookies for up to 2 months. Thaw at room temperature before serving
- Prep-ahead: Roll, shape, and freeze the cookie dough according to instructions. Once frozen solid, transfer the dough balls to a freezer-safe bag or container and store for up to 2 months. Yoc can bake from frozen, but add an extra 1-2 minutes to the bake time. Then, add the caramel and chocolate drizzle as usual!
Other Easy Cookie Recipes
If you tried this Twix Thumbprint Cookies Recipe or any other recipe on my website, please leave a 🌟 star rating and let me know how it went in the 📝 comments below. Thanks for visiting!!!
Twix Thumbprint Cookies
Ingredients
- 1 cup unsalted butter softened to room temperature
- ¾ cup granulated sugar
- 2 large egg yolks room temperature
- 1 teaspoon vanilla extract
- 2⅓ cups all-purpose flour
- ½ teaspoon salt
- 35 soft chewy caramel candies unwrapped (Werther’s Original Chewy Caramels)
- 2 tablespoons heavy cream
- 4 ounces milk chocolate melting wafers approximately ½ cup
- Flaky sea salt (Maldon or Fleur de Sel) Optional garnish
Instructions
- Line two large rimmed baking sheets with parchment paper and set aside.
- To a large mixing bowl add the unsalted butter and granulated sugar. Beat on medium-high speed, using a handheld or stand mixer, for 1-2 minutes or until light and fluffy.1 cup unsalted butter, ¾ cup granulated sugar
- Add the egg yolks and vanilla extract to the bowl and beat again for another 1-2 minutes or until the egg yolks are fully incorporated.2 large egg yolks, 1 teaspoon vanilla extract
- Add the all-purpose flour and salt to the bowl and mix on low speed for 2-3 minutes or until the dough comes together to form a rough ball. The cookie dough should be thick and not crumbly.2⅓ cups all-purpose flour, ½ teaspoon salt
- Using a 1 inch (approximately 1 tablespoon) small cookie scoop, scoop out a level amount of cookie dough. Place the dough into the palm of your hand and gently roll to form a smooth ball. Place the rolled cookie dough ball onto one of the prepared baking sheets and repeat until all the dough balls have been formed. The dough balls should be placed about 1-1 ½ inches apart on the baking sheet.
- Using your thumb, or a small (½ teaspoon) rounded measuring spoon, press an indent into the center of each rolled cookie dough ball. You can dip your thumb, or the back of the measuring spoon, into a small amount of flour to keep the dough from sticking when being pressed. Be sure to smooth together any cracked edges that may form when pressing the dent into the center of the cookie dough balls.
- Place the baking sheet of formed thumbprint cookies into the freezer to chill the cookies for 30 minutes. This will help to ensure that the cookies hold their shape, and do not spread too much, when baked.
- Preheat the oven to 350°F.
- Remove the baking sheet from the freezer. On the second prepared baking sheet, place 12 chilled thumbprint cookies approximately 2 inches apart. Place the first baking sheet back into the freezer while each batch of cookies bakes.
- Bake the thumbprint cookies for 13-14 minutes or just until lightly golden around the bottom edges of the cookies.
- When the cookies come out of the oven, you may need to gently press down the indents in the center of each cook as they may puff a little when baking. Allow the cookies to cool on the baking sheet for 5 minutes before transferring them to a large cooling rack to cool completely.
- Repeat steps 9-11 until all the thumbprint cookies have baked and cooled.
- In a medium bowl, add the unwrapped soft chewy caramel candies and the heavy cream. Microwave on high for 30 seconds, stir and microwave again in 30 second increments, being sure to stir the caramels in between each heating, until the caramels are fully melted and stirred to a smooth consistency.35 soft chewy caramel candies, 2 tablespoons heavy cream
- Using a small scoop, or teaspoon measure spoon, spoon a little less than 1 teaspoon of the warm caramel sauce into the center of each thumbprint cookie being careful not to overfill the indentation of the cookie.
- In a small bowl, melt the milk chocolate wafers according to package directions (in the microwave for 30-40 second increments stirring between heating times) and stir until smooth.4 ounces milk chocolate melting wafers
- Transfer the melted milk chocolate to a small piping bag with the end snipped off, or use a small spoon, and drizzle the milk chocolate across the tops of all the cookies in a decorative pattern. If adding the optional garnish of flaky sea salt, you will need to sprinkle a small amount onto the cookies while the caramel and milk chocolate are still soft to ensure the flaky sea salt sticks to the cookies.Flaky sea salt (Maldon or Fleur de Sel)
- Allow the twix thumbprint cookies to sit for 10 minutes, to allow the chocolate drizzle to harden, before plating and serving.
Jenn’s Notes
- Storage: Keep in an airtight container at room temp for 3–4 days. Layer with parchment if stacking.
- Freezing: Freeze baked cookies up to 2 months; thaw at room temp.
- Prep Ahead: Freeze shaped dough balls up to 2 months. Bake from frozen, adding 1–2 mins. Add caramel + chocolate after baking.
- Chill dough: Freeze dough balls before baking to help hold shape.
- Make cavity: Press with thumb or spoon deep enough for caramel.
- Flour tip: Dip thumb/spoon in flour before denting to prevent sticking; smooth cracks if needed.
- Bake in batches: One tray at a time, center rack. Keep dough chilled between batches.


Easy and delicious. Cooking time was 10 minutes in my oven.
Thank you for the feedback! So happy you enjoyed them!