
This post may contain affiliate links. Please read our disclosure policy.

This stress-free Peppermint Thumbprint Cookies recipe is so quick and easy, even with the creamy chocolate that puddles and sets in the center. This delicious buttery soft dessert starts with a sugar cookie mix shortcut and is then filled with melted chocolate and topped with crushed candy canes to create a festively flavorful, colorful Christmas cookie confection!

Easy Peppermint Thumbprint Cookies With a Simple Shortcut
This Peppermint Thumbprint Cookies recipe is a revised version of my classic Christmas Thumbprint Cookies, modified with a holiday baking hack (because isn’t the season already hectic enough?) when you need a delicious treat that tastes completely homemade but is made in half the time.
My newest variation is made with a pre-measured sugar cookie mix that easily combines with basic pantry staples to create a minty chocolate dough. And because there is no chilling, you can roll the dough balls right away, bake them in 10 minutes, and finish them with a simple chocolate filling and crunchy candy cane topping. Cool mint meets rich chocolate = the ultimate Christmas cookie combo; they’re the best 2-bite treats of peppermint perfection!
What I love most about these soft and chewy mint-chocolate flavored cookies is that when they come out of the oven and are still warm and fluffy, you form an even deeper indent in the center to create a bigger circle for the creamy candy.
Deck them with red and white colors for a pretty presentation, this festive Peppermint Thumbprint Cookies recipe makes the best double dose of mint-infused chocolate–one bite and you’ll never miss the traditional ones with sticky jam middle.
Why We Love This Peppermint Thumbprint Cookies Recipe
- Quick and easy to make because of the sugar cookie shortcut.
- Only uses 6 basic ingredients and a cookie mix.
- The filling for these cookies is simply melted chocolate–no need for a complicated chocolate ganache.
- Freezer-friendly so they can be prepared in advance, then defrosted just in time for all the festivities.
- Fun to make with kids and decorate with festive candy.
- Perfectly pretty for any Christmas cookie platter, holiday party, or cookie exchange.

Ingredients
- Package sugar cookie mix: I used a Pillsbury Cookie Mix but have also used Betty Crocker mix and it worked great.
- Salted butter: Unsalted butter can be used, but add an extra pinch of salt for some flavor.
- Cocoa powder
- Eggs
- Peppermint extract
- Chocolate almond bark: Semi-sweet chocolate chips or chocolate baking bars can work as well for this recipe.
- Candy canes: If you don’t have any candy canes, you can use peppermint candies, though they are easiest to crush in a food processor.
Substitutions and Additions
- Top Your Treat: You can top your chocolate with a Hershey’s kiss, some holiday sprinkles, crushed candy, or chopped nuts.
- Fun Fillings: For a traditional holiday cookie, feel free to fill the thumbprint with jelly, jam, or caramel.
- Choose Your Chocolate: While I prefer to use semi-sweet chocolate for this recipe, you can use your favorite flavor–milk chocolate, white chocolate, dark chocolate, or whatever you like best.

Recommended Tools
- Sheet pan
- Plastic wrap
- Parchment paper or cooking spray
- Mixing bowl
- Mixing tools
- Hand or stand mixer
- Measuring tools
SEE FULL PRINTABLE RECIPE CARD BELOW
How to Make the Peppermint Thumbprint Cookies
This Peppermint Thumbprint Cookies recipe is so quick and easy because it is made from a cookie mix combined with a few pantry staples. These soft and sweet treats perfectly pair chocolate with peppermint, plus a sprinkle of crushed candy canes for a festively delicious decorative crunch.
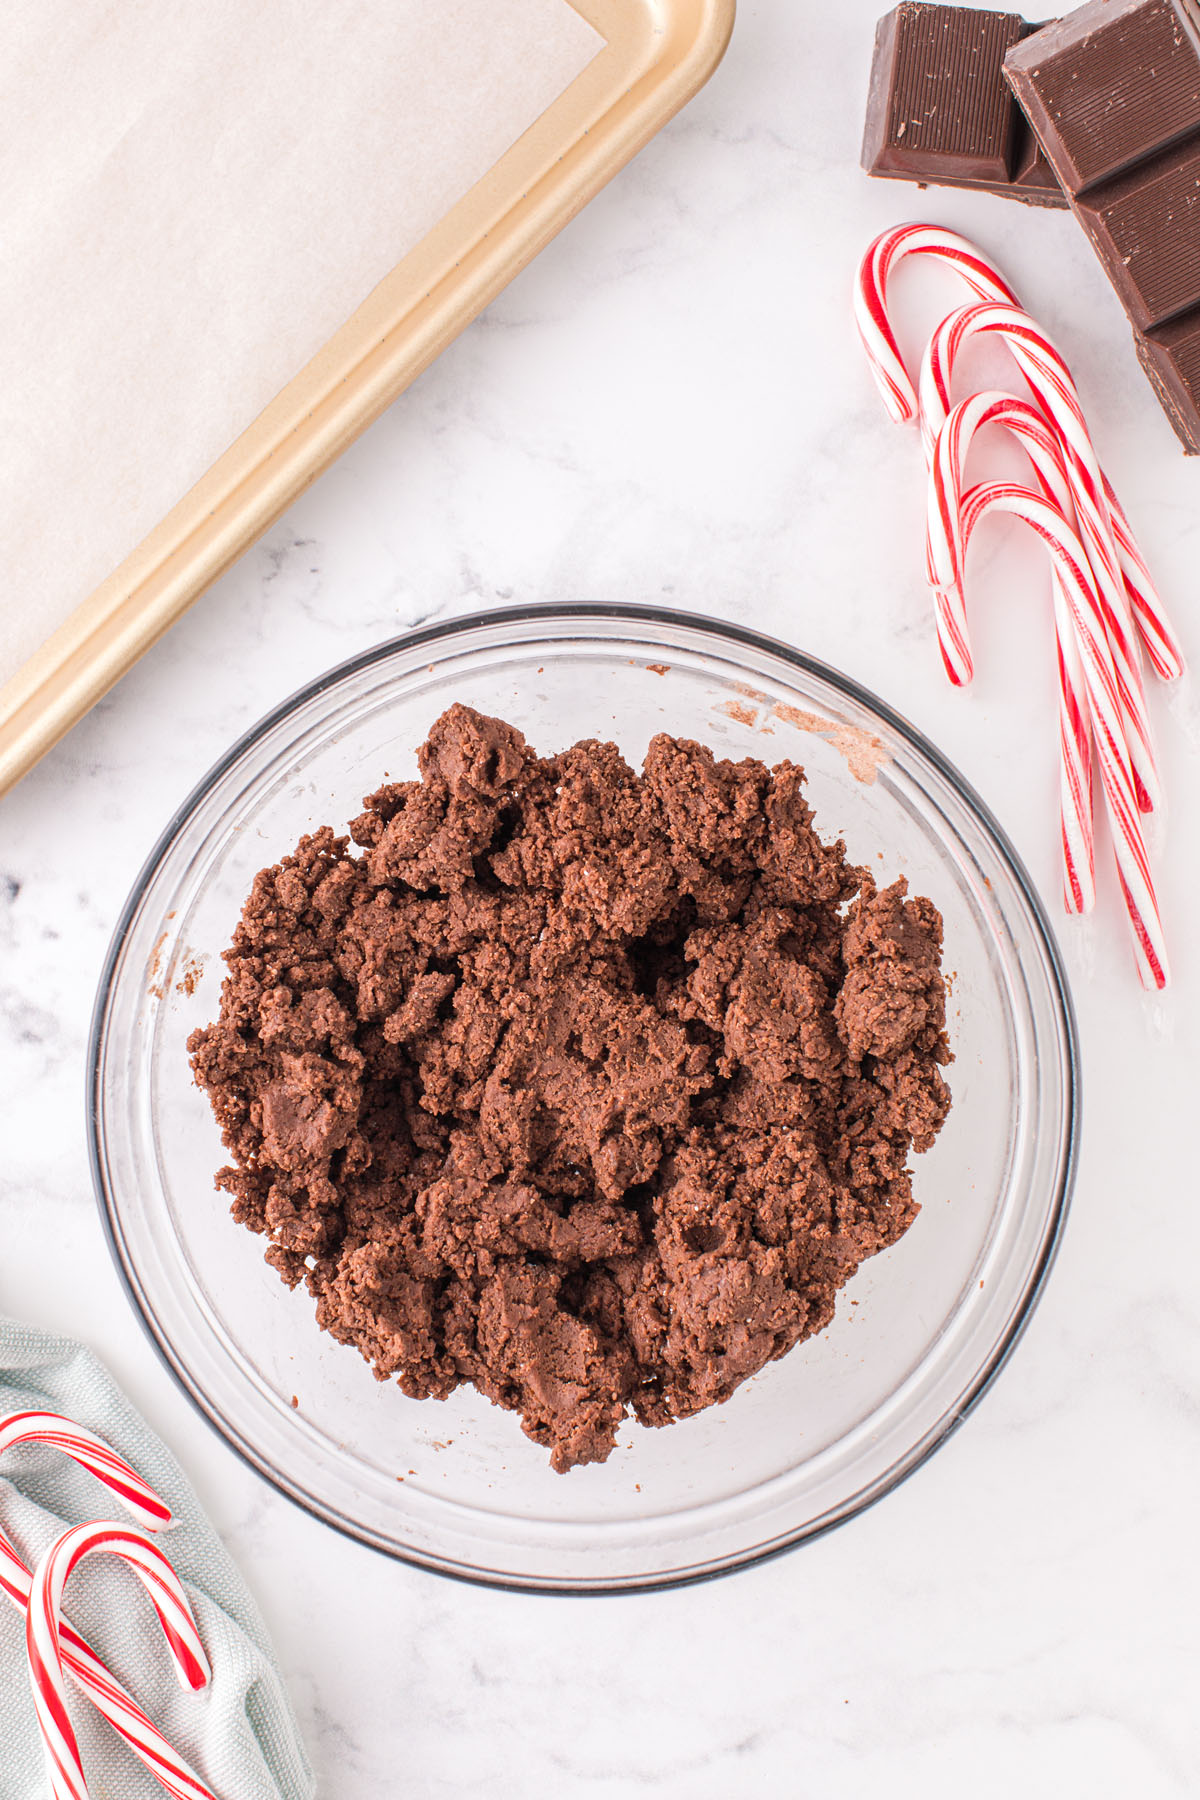
- In a large bowl, beat together the sugar cookie mix, salted butter, cocoa powder, eggs and peppermint extract until completely combined.

- Scoop cookie dough using a 1 T measurer and roll into a ball with your hands to create a smooth surface.
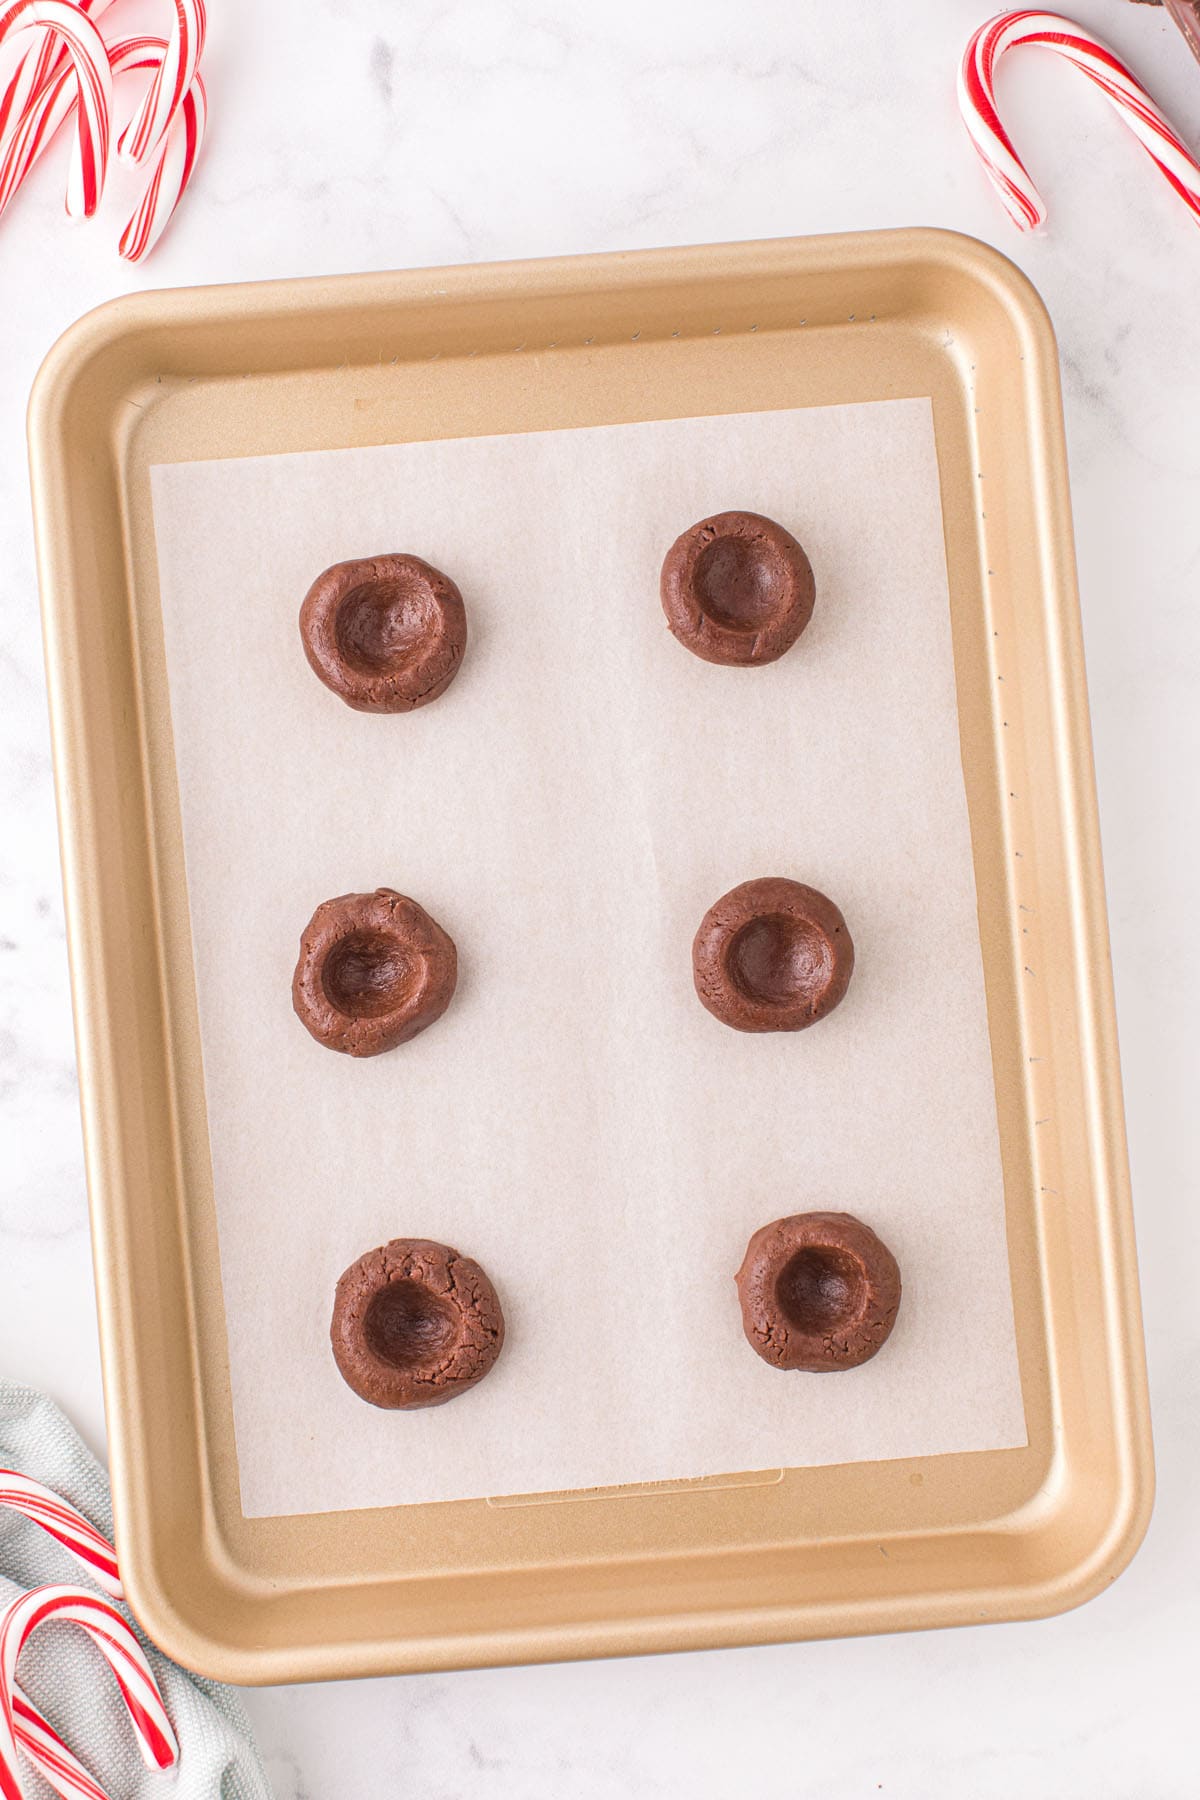
- Place dough balls on the sheet pans.
- Press an indent into the center of each cookie.
Pro Tip: Use your thumb or a 1 teaspoon measurer to create the indent. If the cookie starts to crack, mold it back together. To save a step, you can choose to make only one indent into the cookies after they are done baking. You can simply roll the dough into balls and bake as usual. However, I have found that the cookies tend to crack when there’s no indent before baking, but it doesn’t affect anything else. - Bake at 350 degrees Fahrenheit for 8-10 minutes or until the middle begins to set.
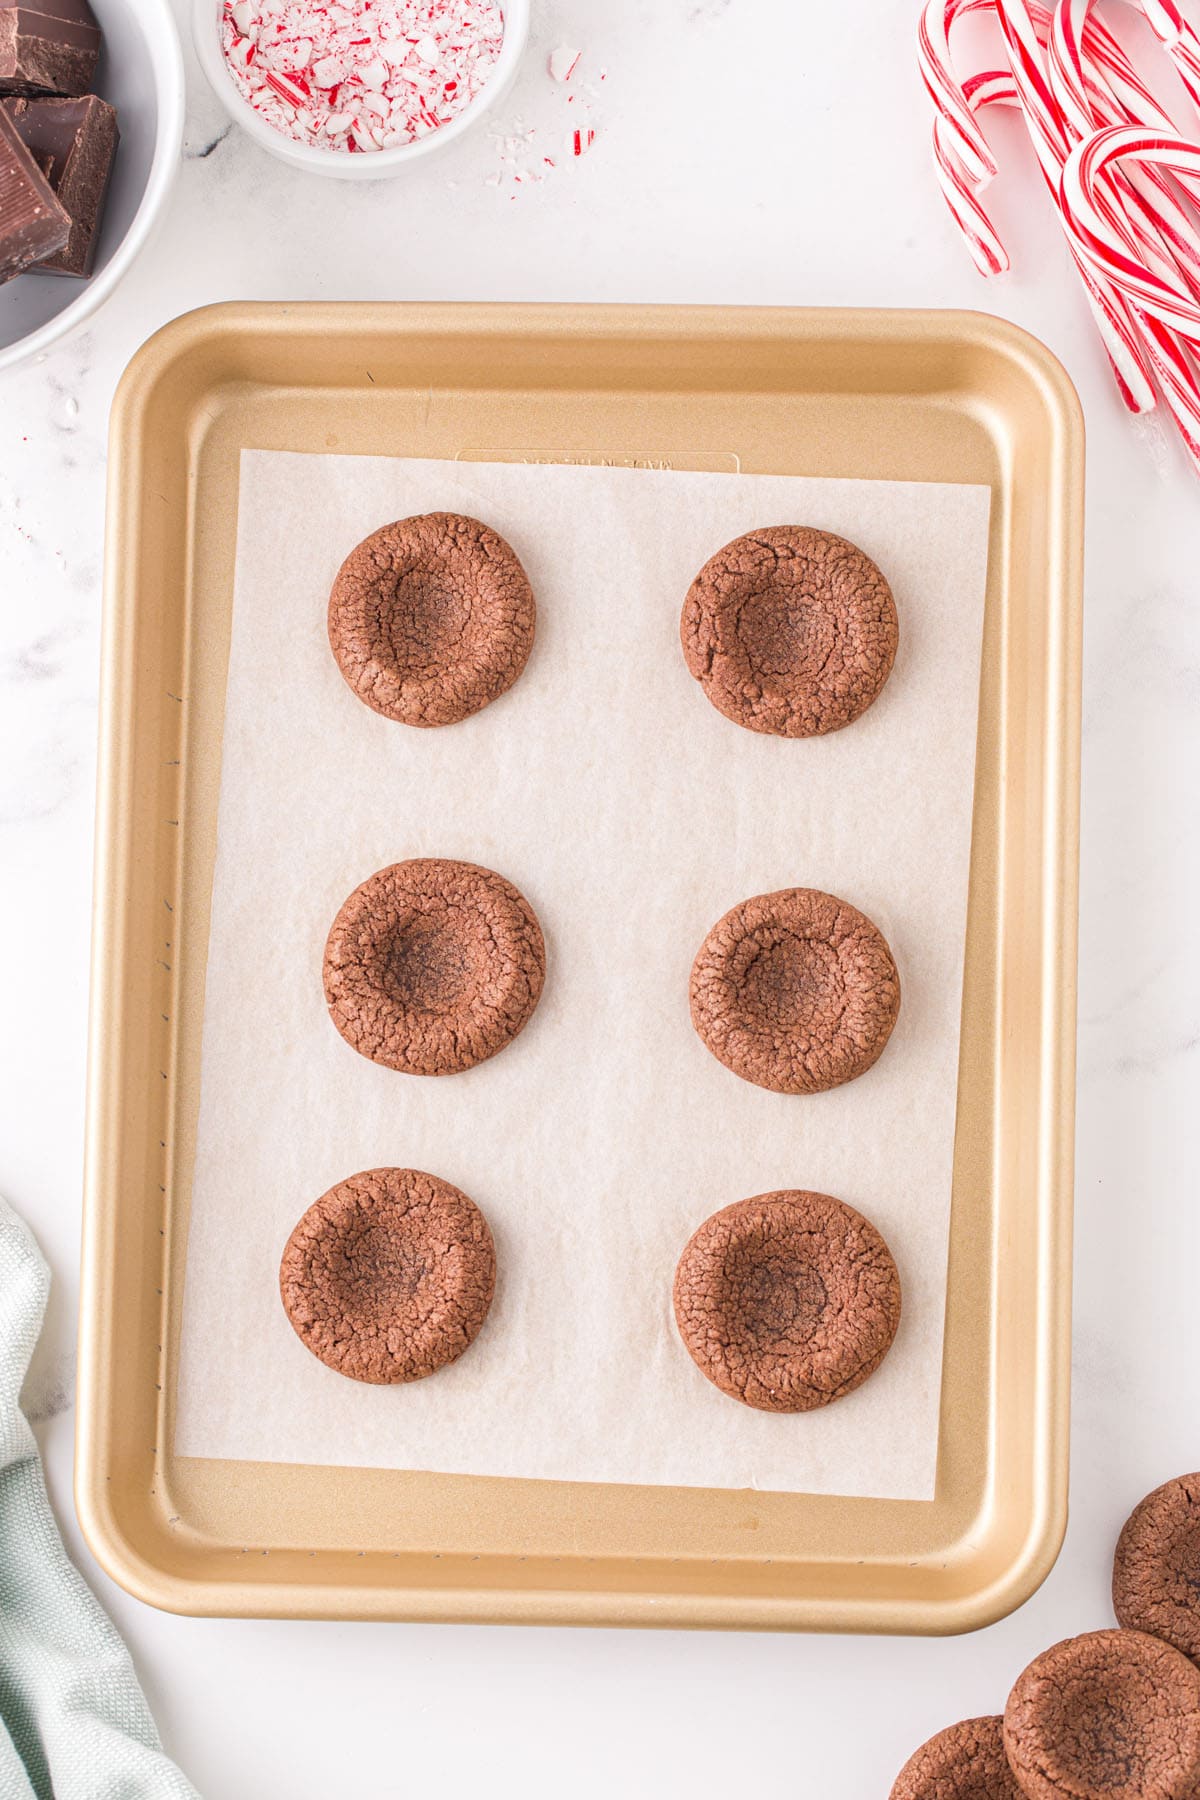
Pro-Tip: If you would like the dough to keep its shape throughout the entire baking process so that you don’t have to make an indent twice, chill the dough for 2-3 hours before baking. - Remove the cookies from the oven and make another indent in the center with your teaspoon measurer.
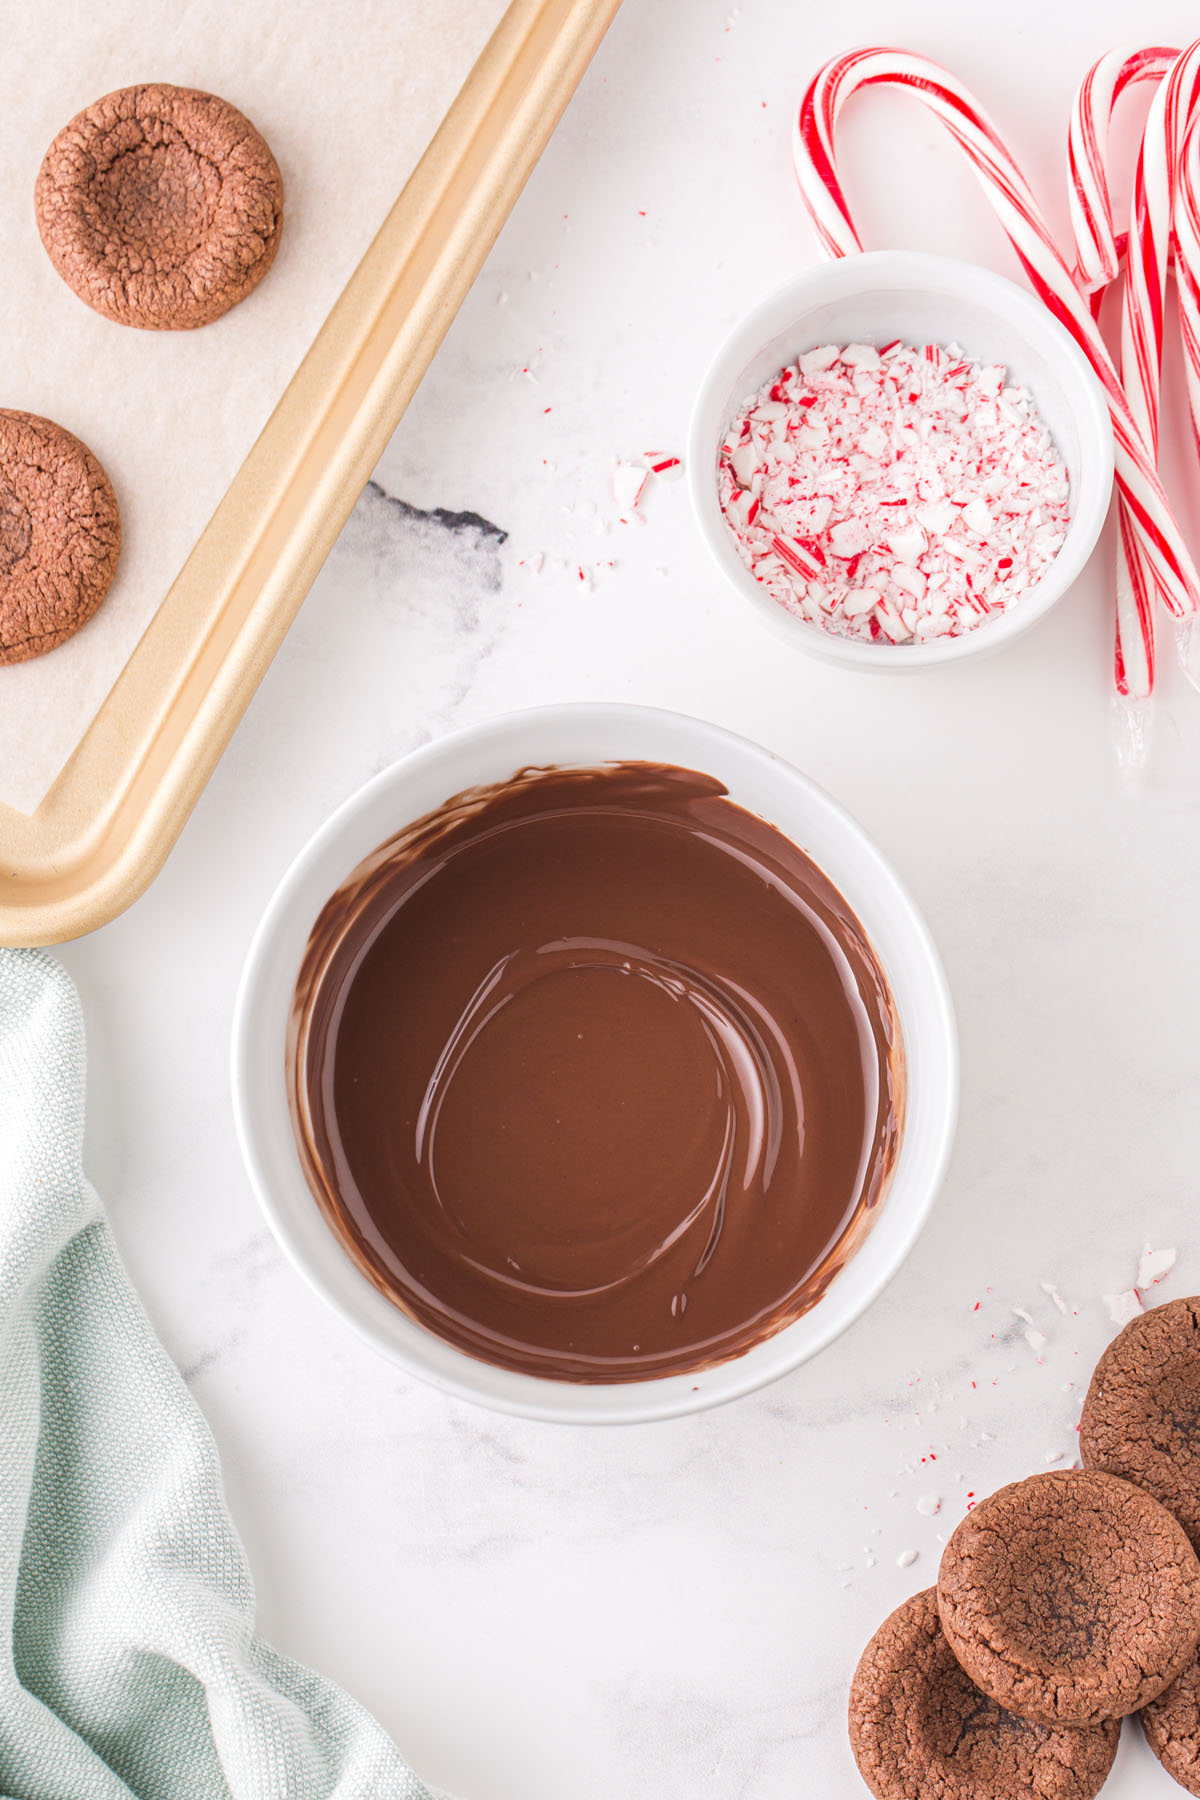
Pro Tip: Make sure the hole is nice and prominent. - Melt chocolate almond bark in the microwave by heating it in 20 second increments, stirring in between intervals until all the chocolate has melted.
- Pour melted chocolate into the wells of baked cookies with a spoon until it fills the wells completely.
- Sprinkle crushed candy canes on top before chocolate sets.
- Cool, plate, and serve warm. Enjoy!


Tips
- For perfect thumbprints, don’t actually have to use your thumb! Instead, I find a round measuring spoon (about 1 teaspoon in size) is perfect for making indentations.
- Make sure to follow my recipe and NOT the instructions on the back of the cookie mix.
Storage Tips
- To Store: If left on the countertop, you can keep your cookies in an airtight container for 2-3 days. Otherwise, keep them in the refrigerator for 4-5 days.
- To Freeze: Once completely cooled, you can store your cookies in an airtight container in the freezer for about 3 months. When thawing frozen cookies, put them at room temperature until they have warmed.

Frequently Asked Questions
The easiest way to crush the candy canes is by placing them in a plastic baggie and smashing them with a rolling pin. You can also use a food processor, but it creates more pink powder than candy cane pieces.
To get more cookies out of this mix, make the dough balls slightly smaller. They will expand a little bit in the oven, so even small balls of dough will be able to hold the melted chocolate. This recipe is slightly different from other thumbprint cookie recipes because it is made with a premade cookie mix, which is why the cookie expands a little bit. Keep that in mind when making your dough balls and make them on the smaller side.

Other Easy Christmas Cookie Recipes
- Candy Cane Kiss Cookies
- Christmas Sprinkle Cookies
- Peppermint Snowball Cookies
- Candy Cane Cookies
- Secret Kiss Cookies

Peppermint Thumbprint Cookies
Ingredients
- 17.5 ounce package sugar cookie mix
- ½ cup (1 stick) salted butter softened
- ½ cup cocoa powder
- 2 large eggs
- 1¼ tsp peppermint extract
- 8 ounces chocolate almond bark chopped (about 1 cup or 4 squares)
- ¼ cup crushed candy canes
Instructions
- Preheat the oven to 350 degrees Fahrenheit.
- Use a beater to mix the sugar cookie mix, salted butter, cocoa powder, eggs and peppermint extract together in a large bowl until completely combined.
- Line a sheet pan with parchment paper.
- Scoop 1-inch balls of the cookie dough (I used a 1 Tablespoon measurer). Roll each ball in between hands to create a smooth surface and place on the sheet pans.
- Use your thumb or a 1 teaspoon measurer to press an indent into the center of each cookie. If the cookie starts to crack, mold it back together.
- Bake the cookies in the oven for 8-10 minutes or until the middle begins to set.
- Take cookies out of the oven and carefully make another indent in the center with your teaspoon measurer to make sure the hole is nice and prominent.
- Allow to cool while preparing the chocolate almond bark.
- Melt chocolate almond bark in the microwave by placing chopped bark in a microwave safe bowl. Heat the bark in 20 second increments, stirring in between intervals until all the chocolate bark has melted.
- Pour melted chocolate almond bark into the wells in the cookies with a spoon until it fills the wells completely.
- Before the almond bark sets, sprinkle crushed candy canes on top.
- Let the almond bark cool for 3-5 minutes before plating and serving while the cookies are still slightly warm.
Jenn’s Notes
- To Store: If left on the countertop, you can keep your cookies in an airtight container for 2-3 days. Otherwise, keep them in the refrigerator for 4-5 days.
- To Freeze: Once completely cooled, you can store your cookies in an airtight container in the freezer for about 3 months. When thawing frozen cookies, put them at room temperature until they have warmed.
- The easiest way to crush the candy canes is by placing them in a plastic baggie and smashing them with a rolling pin. You can also use a food processor, but it creates more pink powder than candy cane pieces.
- To get more cookies out of this mix, make the dough balls slightly smaller. They will expand a little bit in the oven, so even small balls of dough will be able to hold the melted chocolate. This recipe is slightly different from other thumbprint cookie recipes, because it is made with a premade cookie mix, which is why the cookie expands a little bit. Keep that in mind when making your dough balls and make them on the smaller side.
- To save a step, you can choose to make only one indent into the cookies after they are done baking. You can simply roll the dough into balls and bake as usual. However, I have found that the cookies tend to crack when there’s no indent before baking, but it doesn’t affect anything else.
- If you would like the dough to keep its shape throughout the entire baking process so that you don’t have to make an indent twice, chill the dough for 2-3 hours before baking.
- For perfect thumbprints, don’t actually have to use your thumb! Instead, I find a round measuring spoon (about 1 teaspoon in size) is perfect for making indentations.
- Make sure to follow my recipe and NOT the instructions on the back of the cookie mix.


Can chocolate chips be used instead of the almond bark?
Yes, you can absolutely substitute chocolate chips for the almond bark! To get the best results, I recommend adding a teaspoon of coconut oil or shortening when melting the chocolate chips to help them melt smoothly. Let me know how they turn out!