This post may contain affiliate links. Please read our disclosure policy.
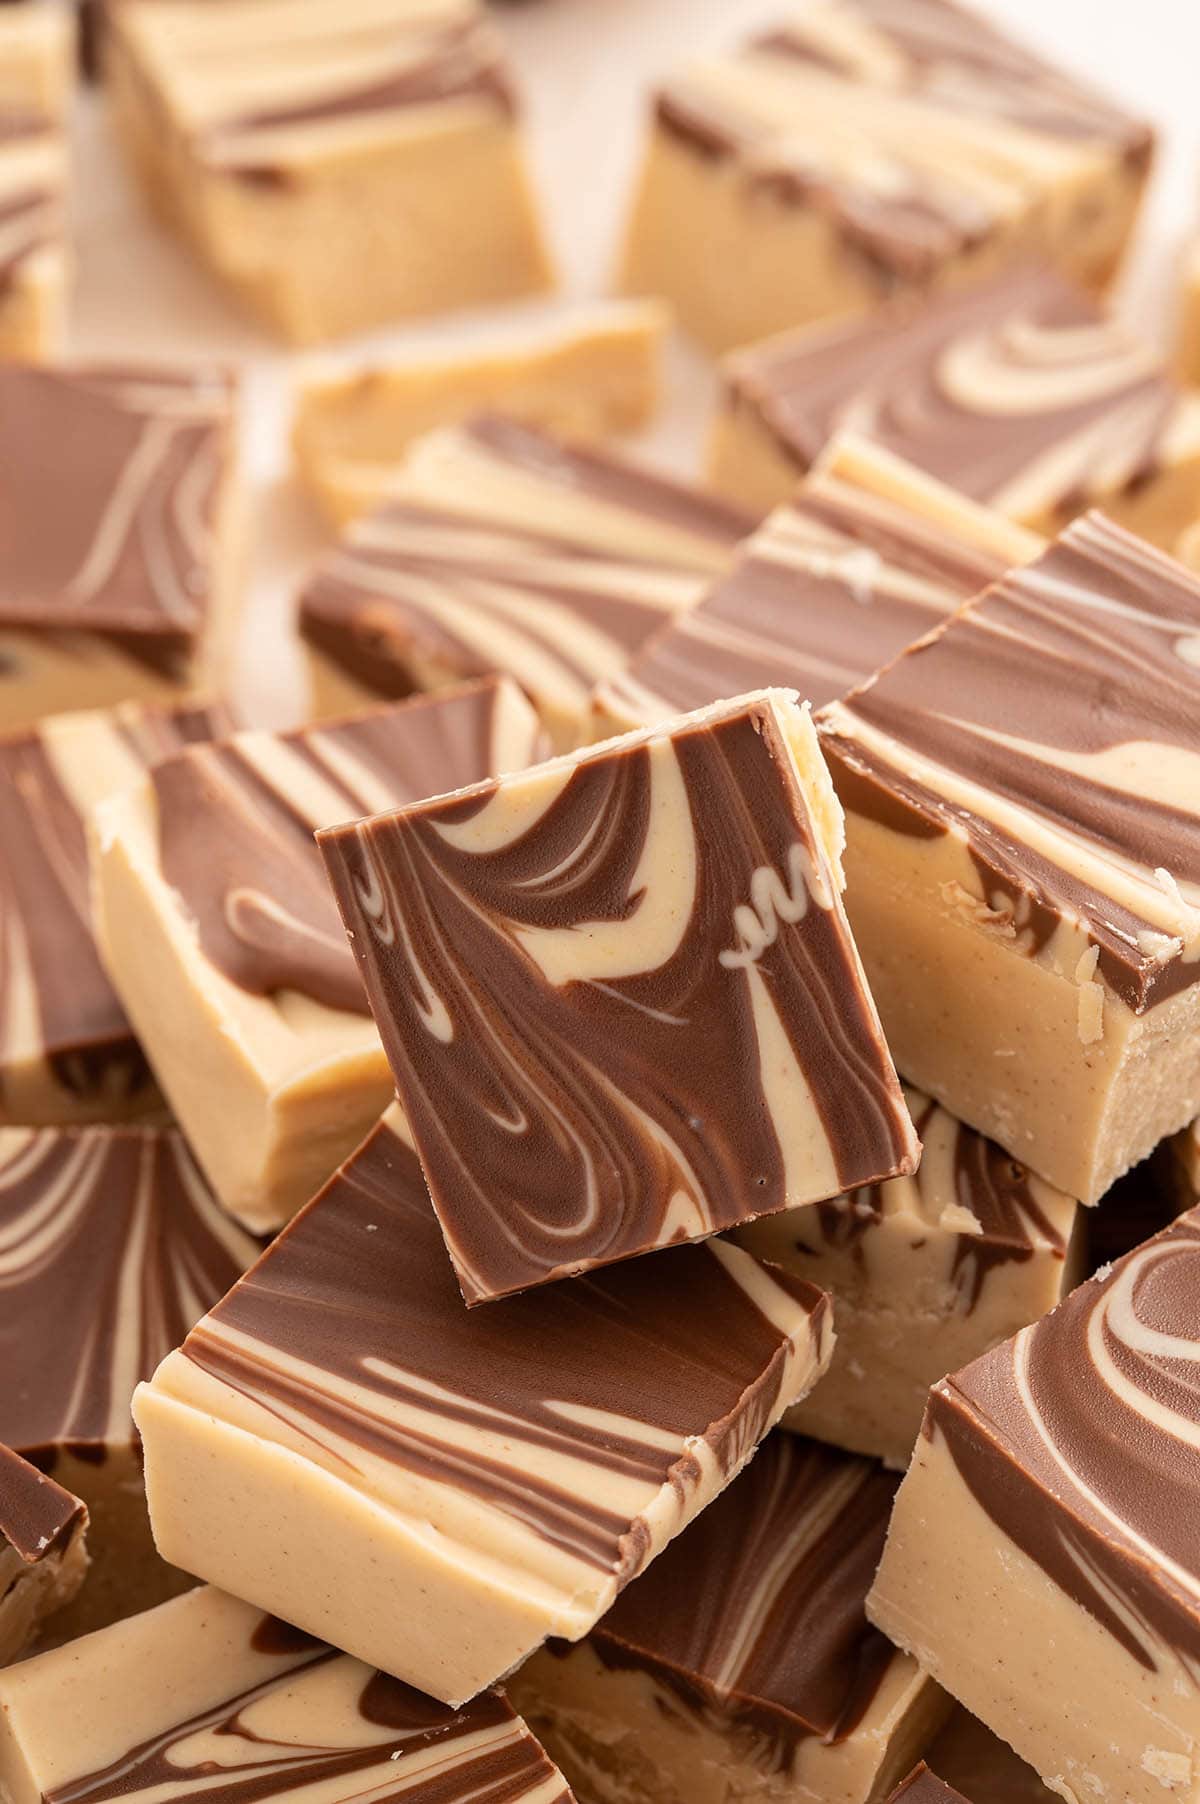
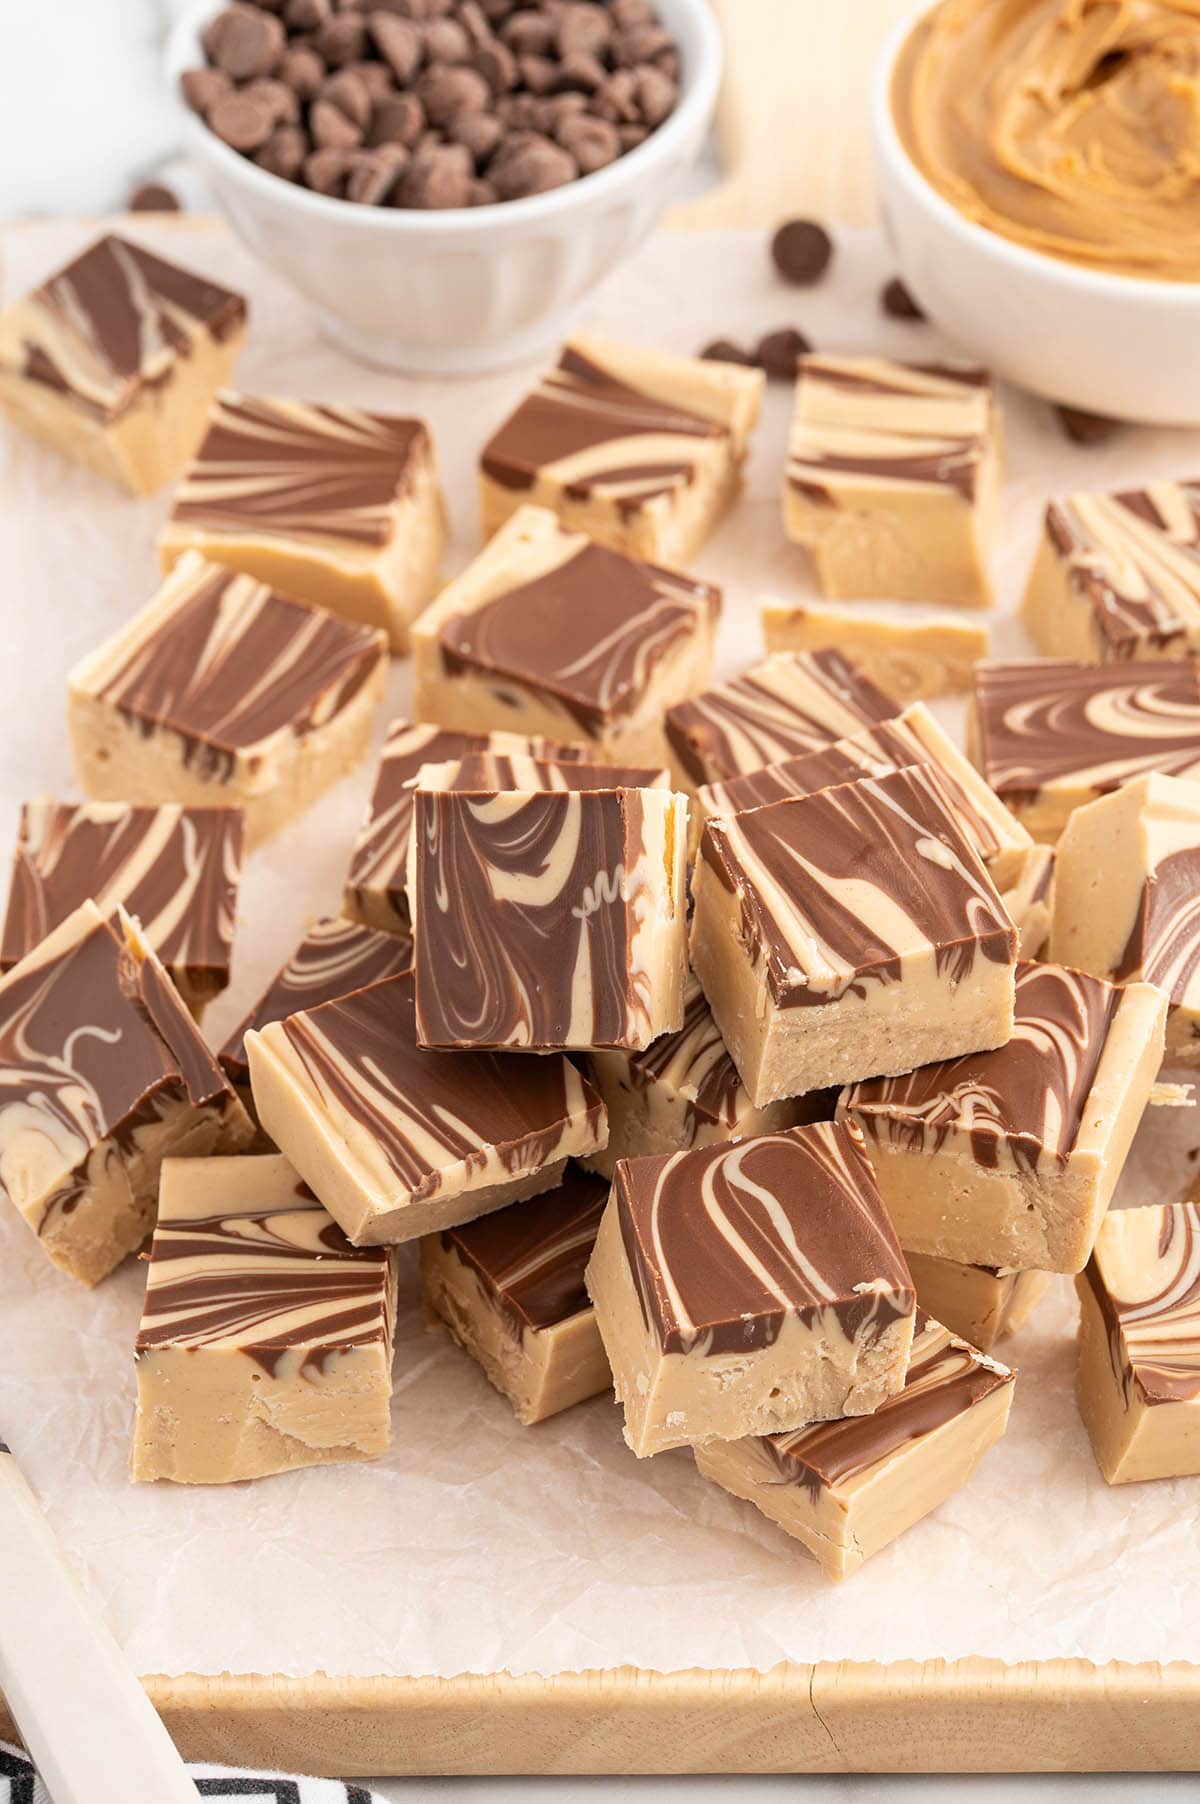
When a peanut butter fudge base begs to be marbled with a pretty chocolate swirl, it’s time to sink your teeth into the tastiest Tiger Butter Fudge. What could be better than a 4 ingredient foolproof fudge recipe that comes together in 5 fast minutes?
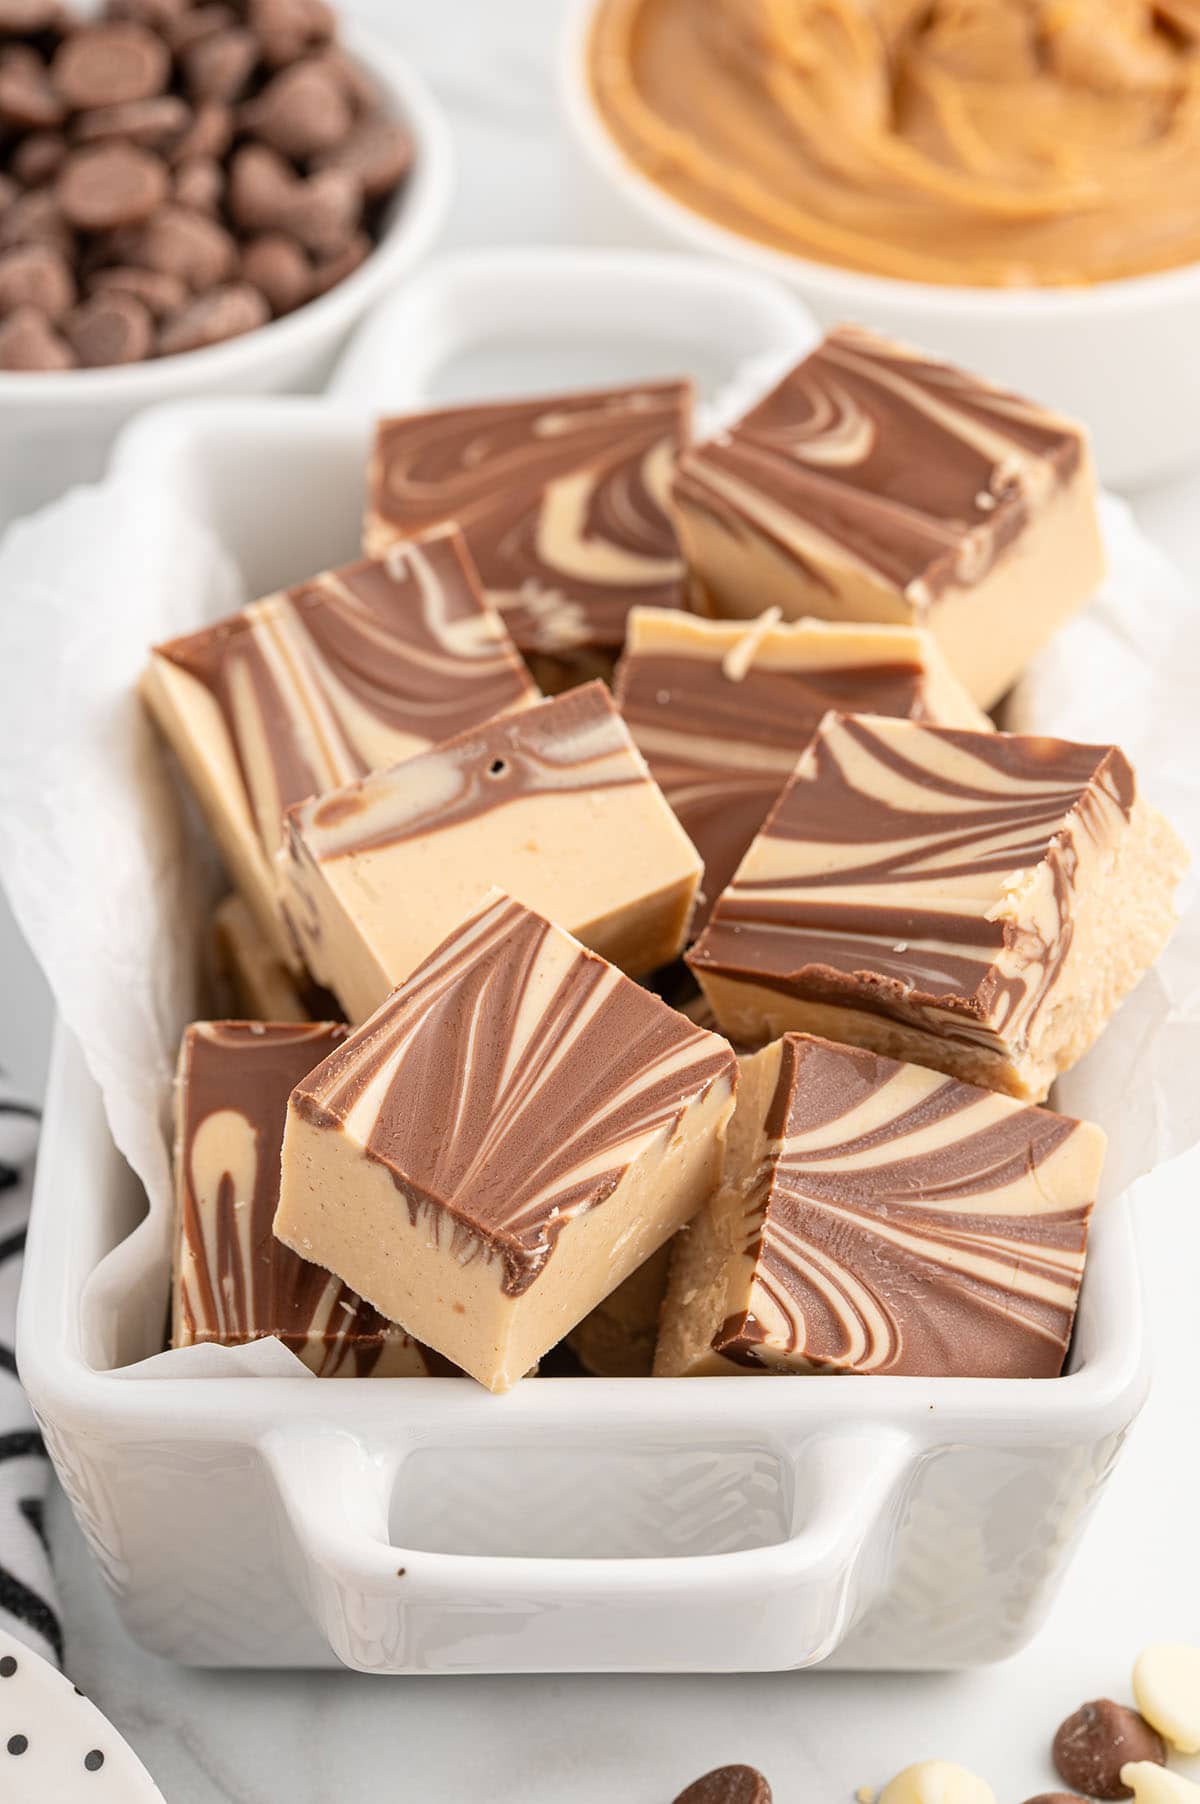
Our homemade Tiger Butter Fudge recipe is the ultimate holiday candy hack! Never heard of Tiger Butter Fudge? You’re in for a treat! With just a few simple ingredients and your microwave, you can create a stunning, swirled peanut butter and chocolate candy that’s both easy and impressive.
This recipe transforms the classic chocolate-peanut butter combo into a rich, creamy, and visually striking dessert that’s sure to please any peanut butter lover. The beautiful swirls and stripes make it a true showstopper, perfect for holiday gifts or last-minute goodies.
This hassle-free, foolproof fudge is your go-to when you need a quick fix. Ready in minutes, it’s the fastest way to satisfy your sweet tooth with minimal effort!
Ingredients Notes
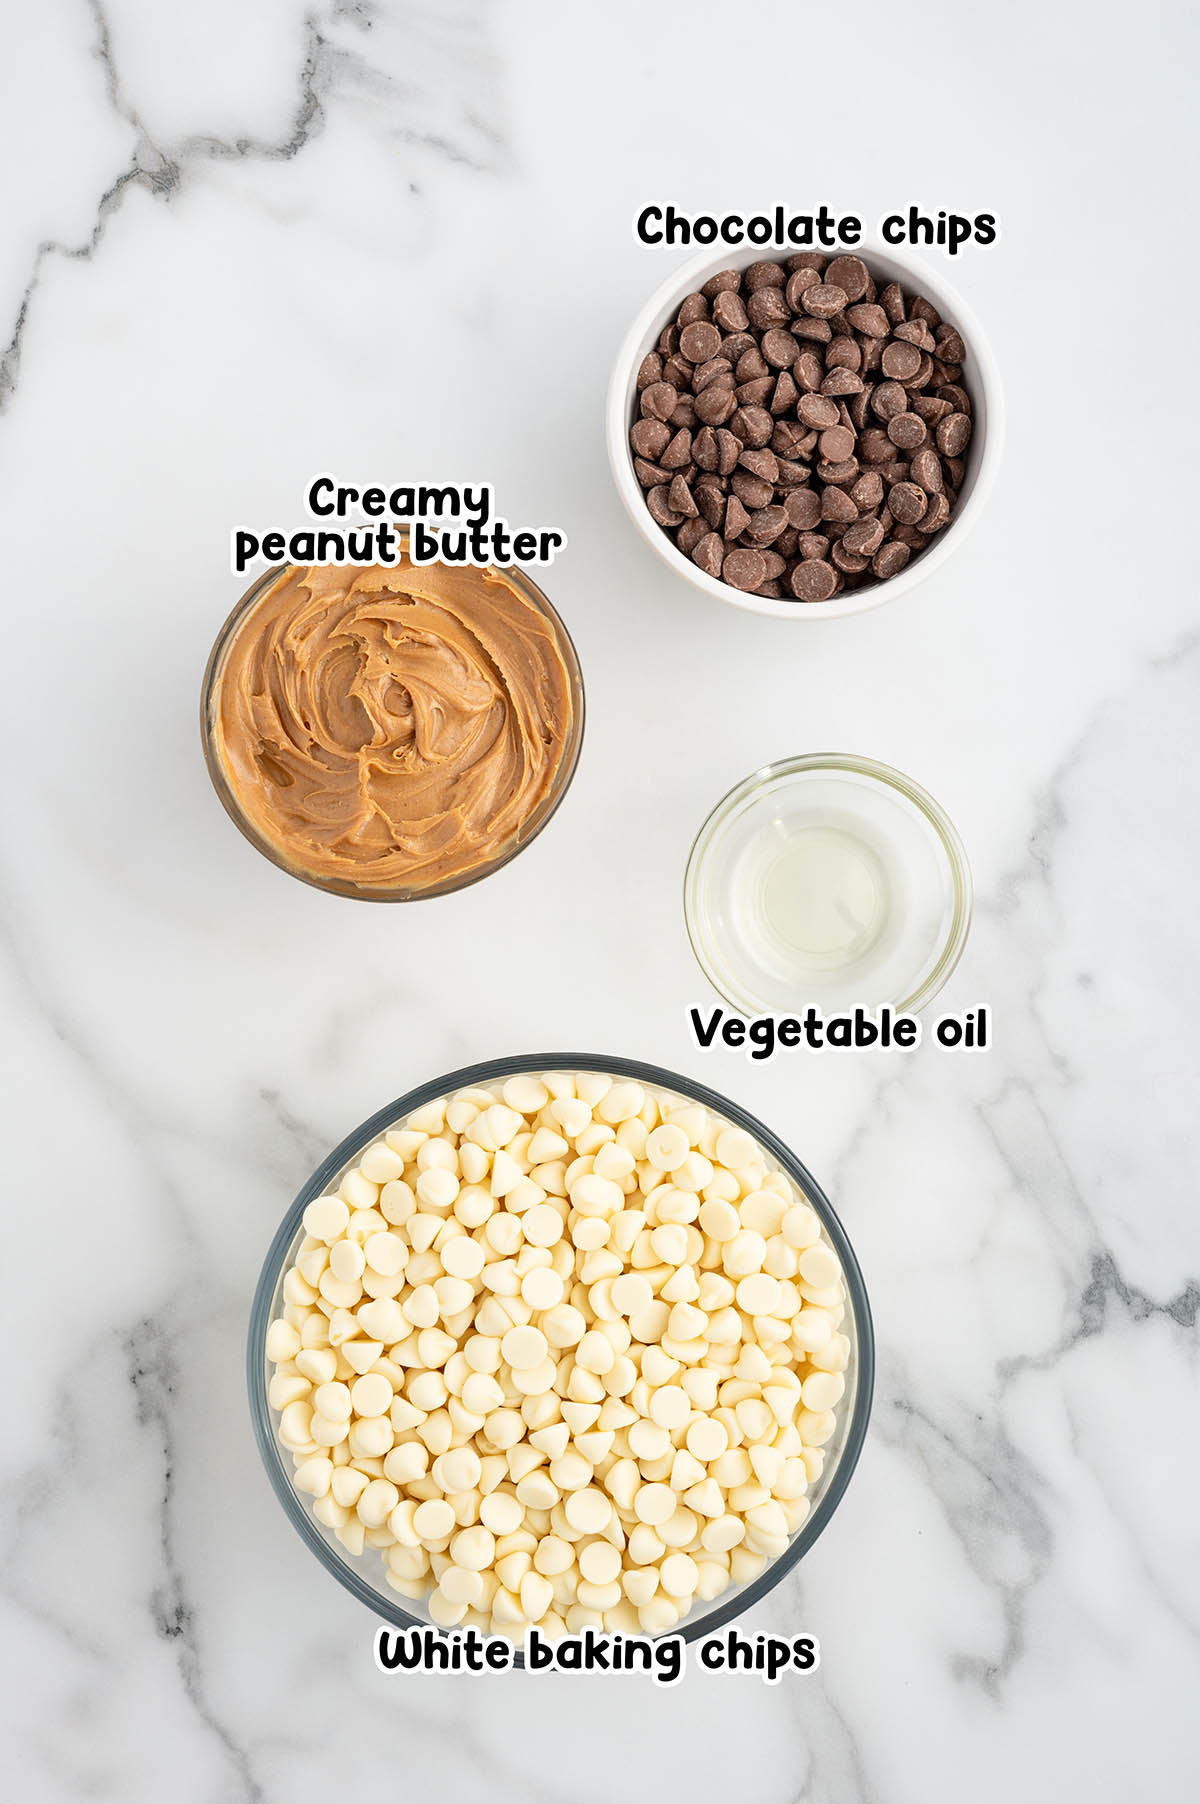
- White baking chips: White chips melt smoothly and blend well with the peanut butter to create a luscious, creamy texture. I do not recommend substituting vanilla chips for tiger butter fudge recipes because they might not melt as smoothly or have a slightly different texture.
- Creamy peanut butter: The star of the show, giving your dessert its rich, nutty flavor and a smooth consistency. If you want to add crunchy texture to your treat, you can use crunchy peanut butter instead. Remember that it might make the mixture a bit thicker than creamy peanut butter.
- Milk chocolate chips: Adds a layer of chocolatey sweetness that complements the peanut butter perfectly. If you prefer a less sweet flavor, you can substitute semisweet chocolate chips or dark chocolate chips.
- Vegetable oil: This helps achieve a smooth, glossy texture in the melted chocolate and peanut butter mixture. It also ensures that the chips melt evenly and blend well, preventing the mixture from becoming too thick or hard. You can use canola oil or vegetable oil if you prefer.
See the recipe card for full information on ingredients and quantities.
How to Make Tiger Butter Fudge
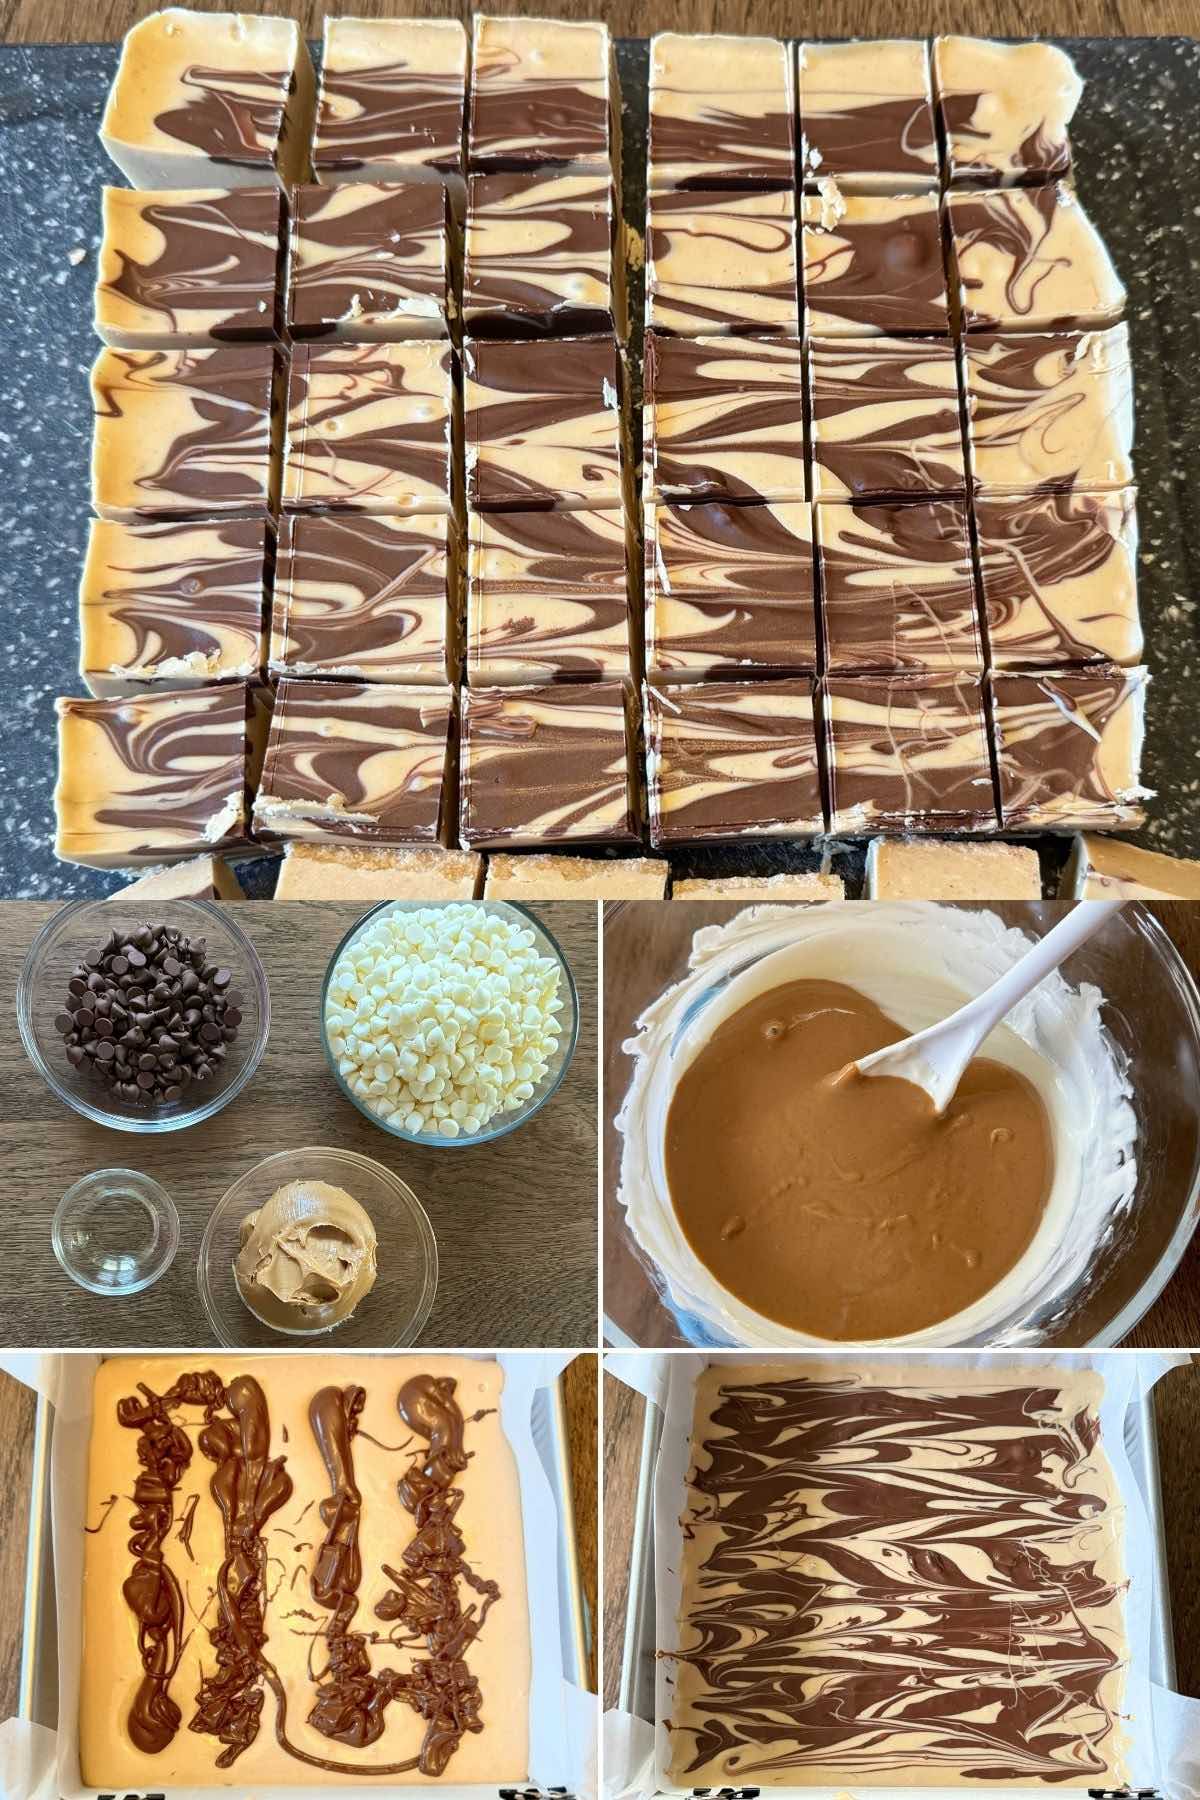
- Melt: Microwave the white baking chips on full power for 1 minute, stir, and continue in 30 second intervals until melted and smooth.
- Make The Peanut Butter Mixture: Microwave the peanut butter at full power for 30 seconds, stir, and pour into the melted white chips. Stir until combined.
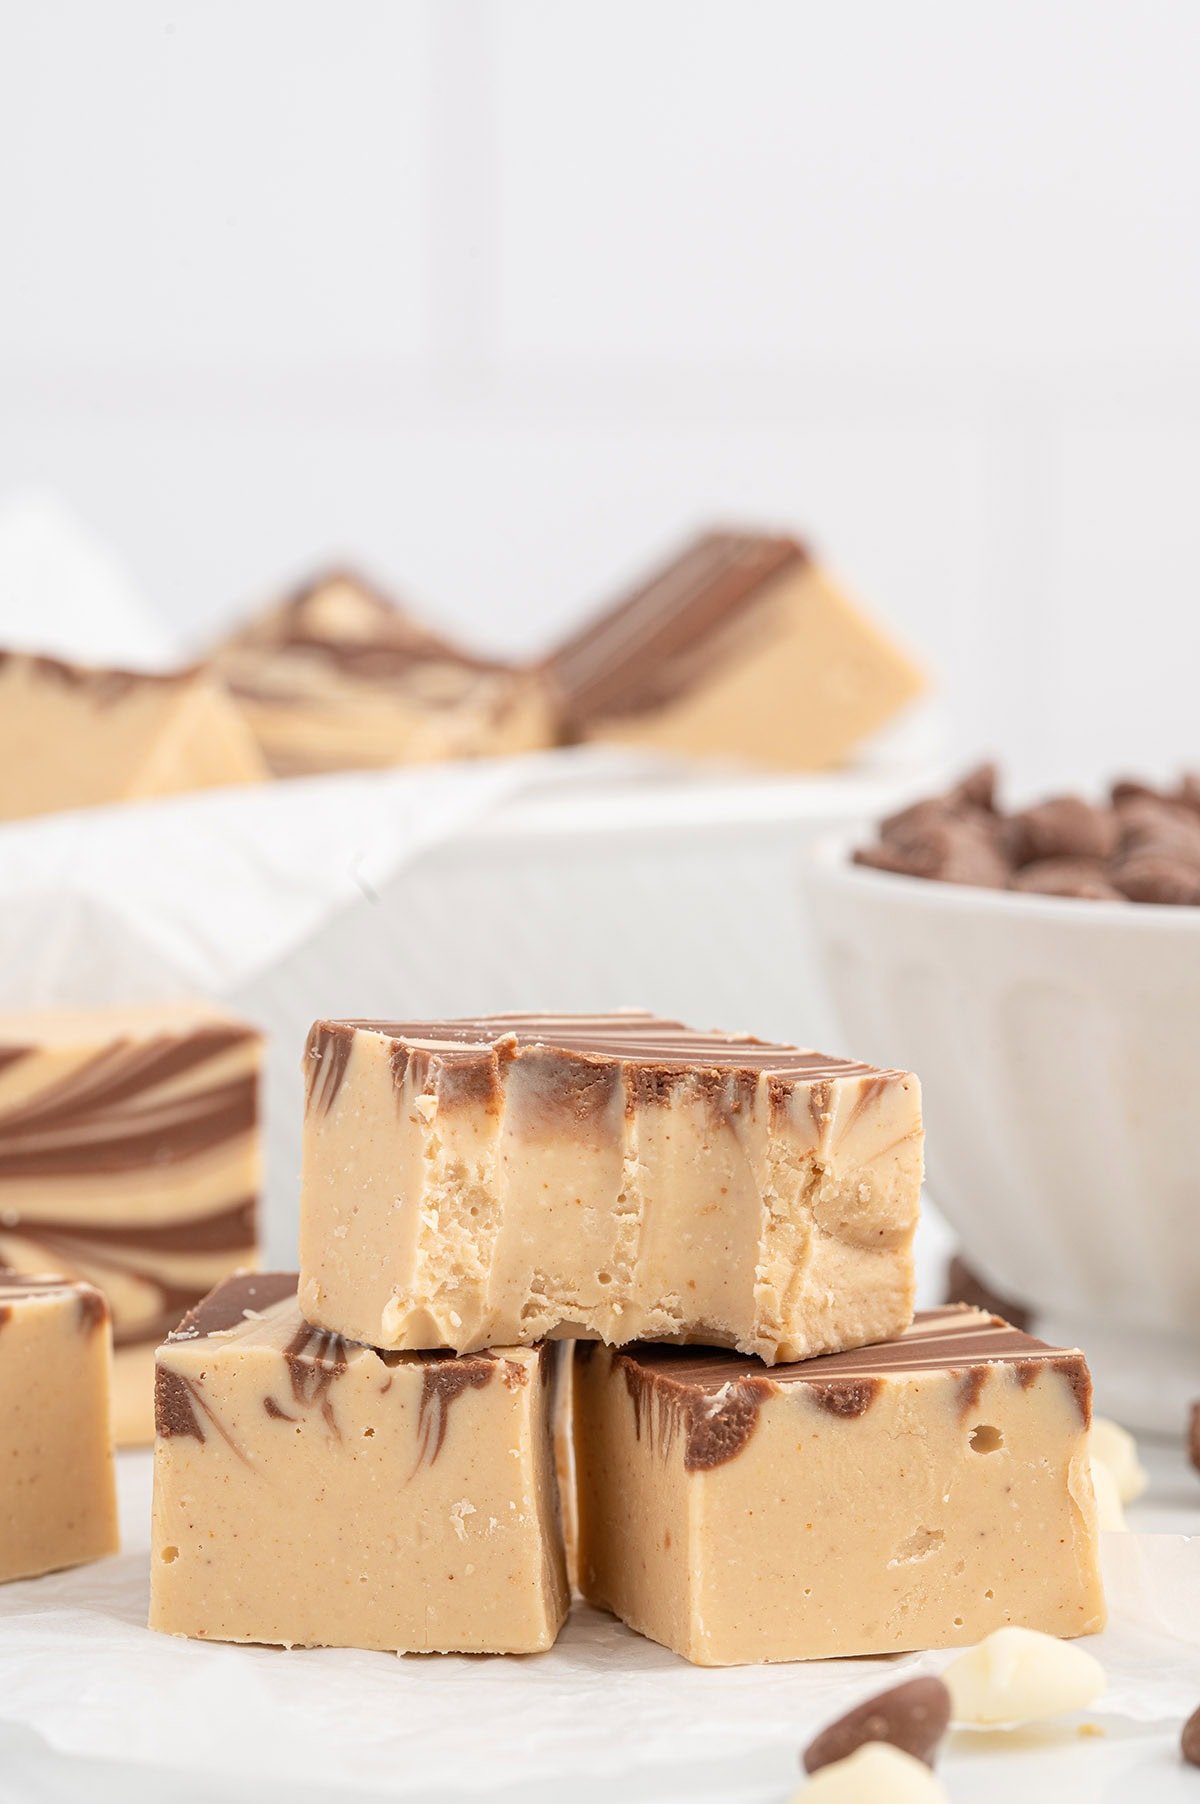
- Pour In The Pan: Pour the peanut butter fudge base into the pan.
- Melt: Microwave the chocolate chips and oil on full power for 30 seconds, stir, and heat for another 15 seconds, if needed, until melted and smooth.
- Drizzle And Drag: Drizzle the melted chocolate over peanut butter base in zigzag lines. Create your desired swirl pattern by dragging the tip of a knife around the top.
- Firm In The Fridge: Cover with aluminum foil and chill in the refrigerator for 45 minutes.
- Slice And Serve: Cut 6 slices x 6 slices. Keep refrigerated until ready to serve. Enjoy!
Serving Suggestions
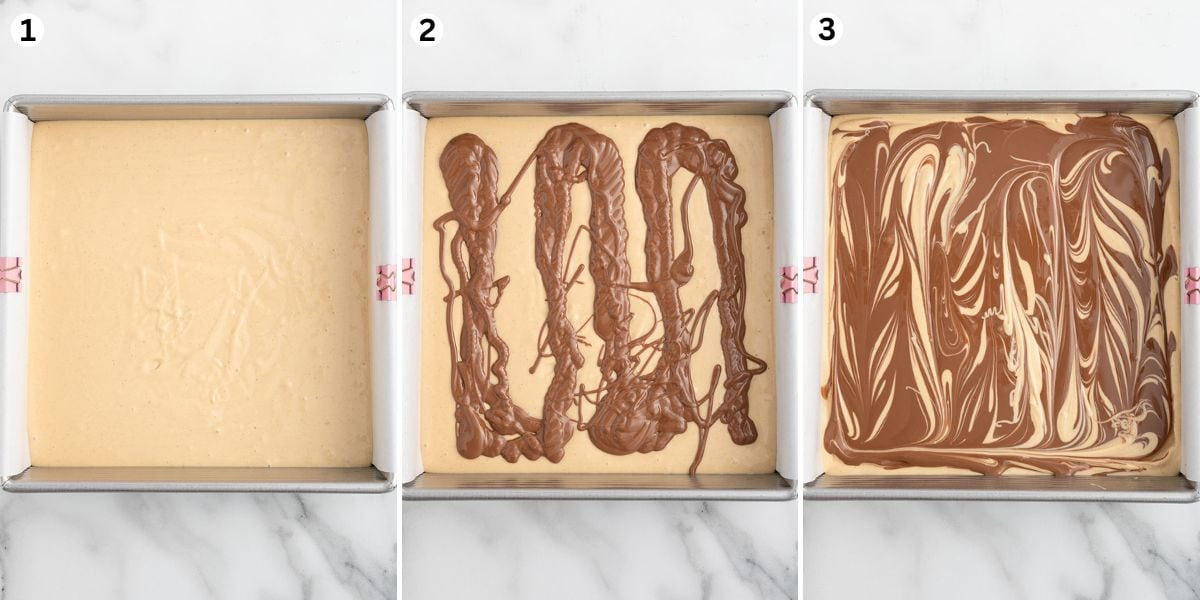
Homemade tiger fudge candy tastes even better than the store-bought, long-cooked kind in a box. It’s the perfect sweet treat to package and give as gifts and is perfect for potlucks and holiday parties. Enjoy a slice for dessert after dinner, and make sure to stash some in the freezer for times you have a candy craving.
Tips & Variations
- Pick Your Peanut Butter: Feel free to use your favorite brands of smooth peanut butter in this recipe, but do NOT use Natural or Natural No-Stir options. These can separate and will result in a different outcome and texture.
- Prepare The Pan: I like to line my baking dish with parchment paper to make removing the fudge from the pan easy. Be sure to leave a slight overhang. Feel free to use small binder clips to fasten the top edge of the parchment paper to the baking dish. This will help ensure the parchment paper does not fold over on top of the fudge and stick to the top.
- Set Before Slicing: If your kitchen is cooler, you can allow the fudge to rest at room temperature to solidify before slicing and serving.
More Easy Fudge Recipes
- Candy Corn Fudge
- Cookie Dough Fudge
- Unicorn Fudge
- Rocky Road Fudge
- Buckeye Fudge
- Peanut Butter Fudge
- I’ve got so many easy fudge recipes for almost any occasion!
If you tried this Tiger Butter Fudge Recipe or any other recipe on my website, please leave a 🌟 star rating and let me know how it went in the 📝 comments below. Thanks for visiting!!!
Tiger Butter (Formerly Tiger Fudge)
Ingredients
- 4 cups white baking chips I used Nestle Toll House brand
- ¾ cup creamy peanut butter I used Jif brand
- ¾ cup milk chocolate chips I used Nestle Toll House brand
- 1½ teaspoon vegetable oil
Instructions
- Line an 8×8 baking dish with parchment paper, be sure to leave a slight overhang to remove the fudge from the pan. (You can use small binder clips to fasten the top edge of the parchment paper to the baking dish. That will help ensure the parchment paper does not fold over on top of the fudge and stick to the top)
- Add the white baking chips to a medium size (2-3 quarts) microwave safe bowl. Microwave on full power for 1 minute, stir well and continue to microwave in 30 second intervals until the baking chips are completely melted and smooth.4 cups white baking chips
- Add the peanut butter to a small (3-4 cups) microwave safe bowl. Heat at full power for 30 seconds. Stir well and pour into the melted white baking chips. Stir well until combined. (You can heat the white baking chips and peanut butter together, but I prefer to heat them separately)¾ cup creamy peanut butter
- Pour the melted white baking chips and peanut butter into the lined baking pan. You can tilt the pan, if needed, to evenly distribute the melted white baking chips and peanut butter in the pan.
- Next add the milk chocolate chips and vegetable oil to a small (3-4 cups) microwave safe bowl. Microwave on full power for 30 seconds and stir well. If needed, you can microwave for another 15 seconds until the milk chocolate chips are completely melted and smooth. (If the melted milk chocolate is a bit too thick to pour easily, you can stir in 1 teaspoon of vegetable oil)¾ cup milk chocolate chips, 1½ teaspoon vegetable oil
- Pour the melted milk chocolate over the top of the white chocolate and peanut butter in zigzag lines.
- Using a knife make a swirl design dragging the tip of the knife around the pan. Cover tightly with aluminum foil and chill in the refrigerator for 45 minutes.
- Just before you are ready to serve, remove the pan from the refrigerator. Use the parchment paper overhang to remove the fudge from the pan.
- Place the fudge on a cutting board. Use a sharp kitchen knife to cut 6 slices x 6 slices. Keep refrigerated until ready to serve.
Jenn’s Notes
- To Store: Store leftover tiger butter fudge in an airtight container in the refrigerator for up to 2 weeks. If your kitchen is on the cooler side, you can store the fudge covered on the counter for 1 week.
- To Freeze: You can freeze the tiger fudge for up to 2 months. Allow the fudge to thaw overnight in the refrigerator before serving.
- Feel free to use your favorite brands of smooth peanut butter in this recipe but do NOT use Natural or Natural No-Stir options. These can separate and will result in a different outcome and texture.
- I like to line my baking dish with parchment paper to make it easy to remove the fudge from the pan. Be sure to leave a slight overhang. Feel free to use small binder clips to fasten the top edge of the parchment paper to the baking dish. This will help ensure the parchment paper does not fold over on top of the fudge and stick to the top.
- If your kitchen is on the cooler side, you can allow the fudge to rest at room temperature to solidify before slicing and serving.











5 stars!
Do you think coconut oil would work?
I haven’t had the chance to try that yet, but I’d love to hear how it turns out if you give it a go!
Sounds delicious. Can’t wait to make it
Looks very delicious
Can u melt pb and white chips on stove
It looks amazing
Hello,
Thanks so much for the recipe, will try this soon.