

This post may contain affiliate links. Please read our disclosure policy.
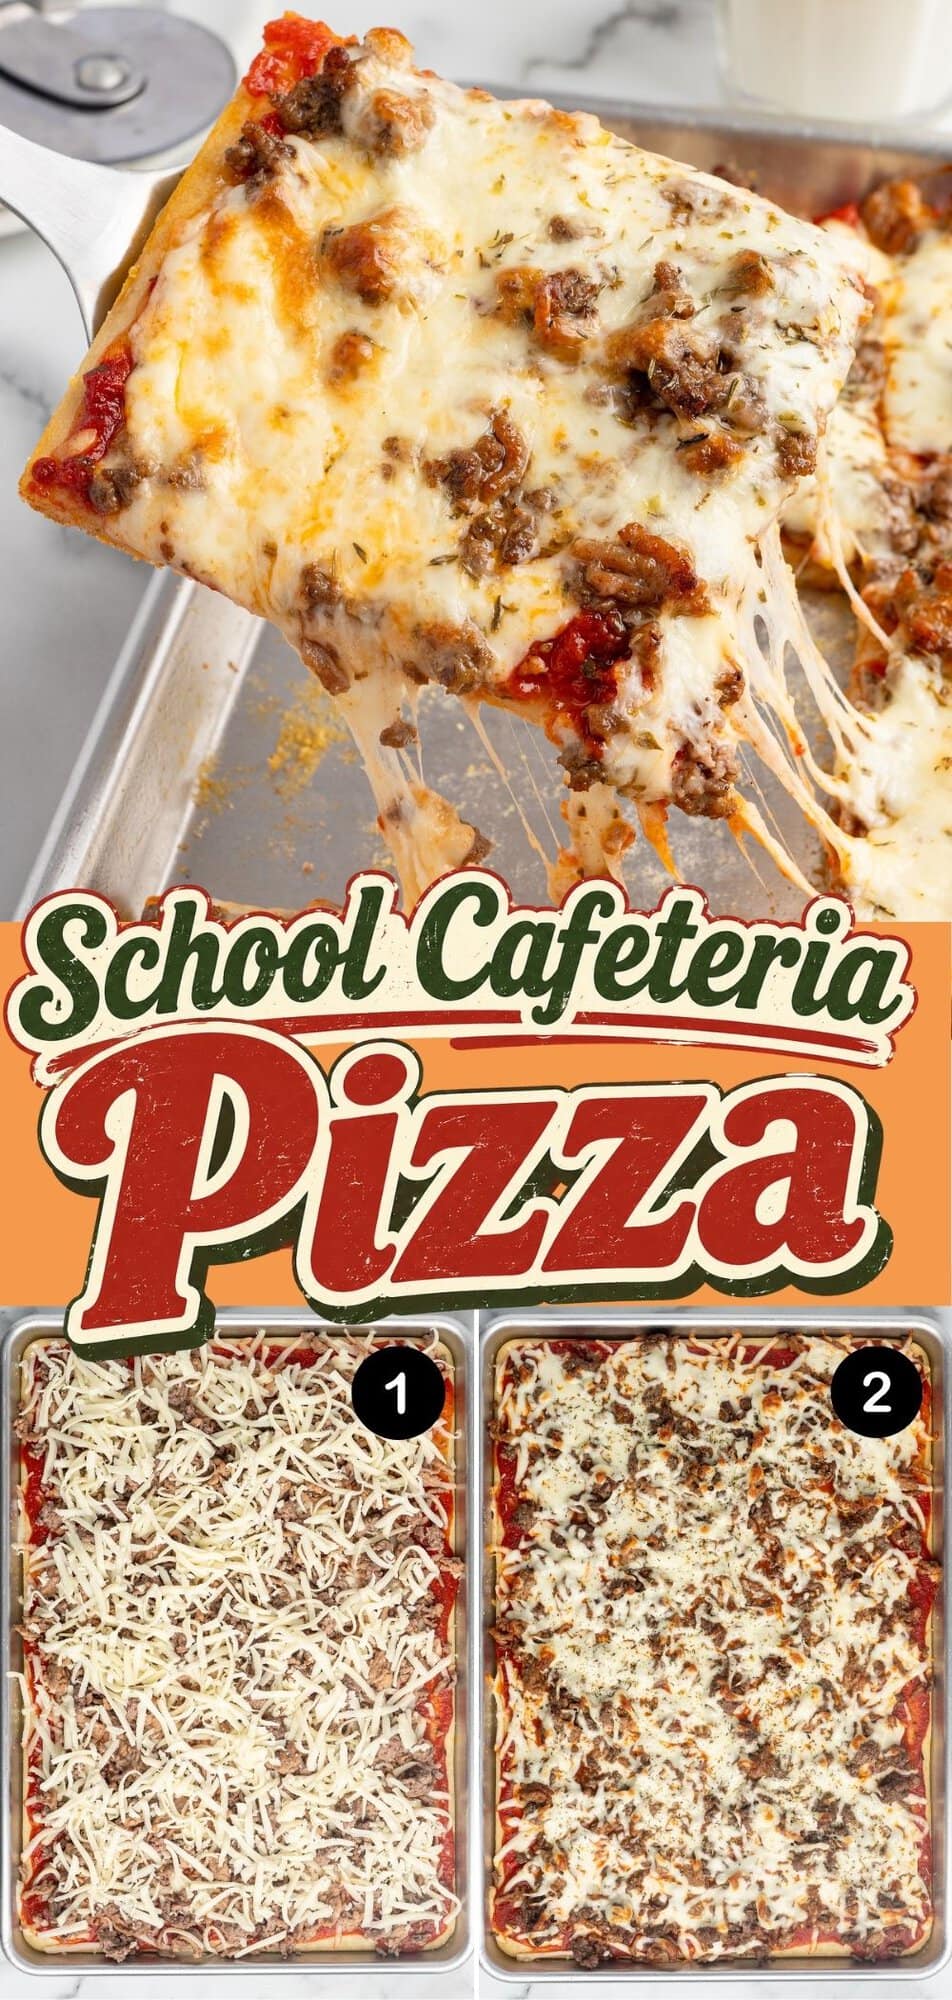
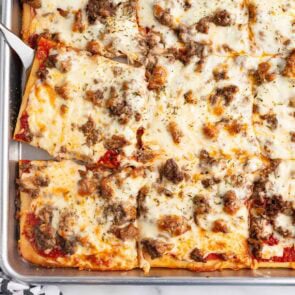
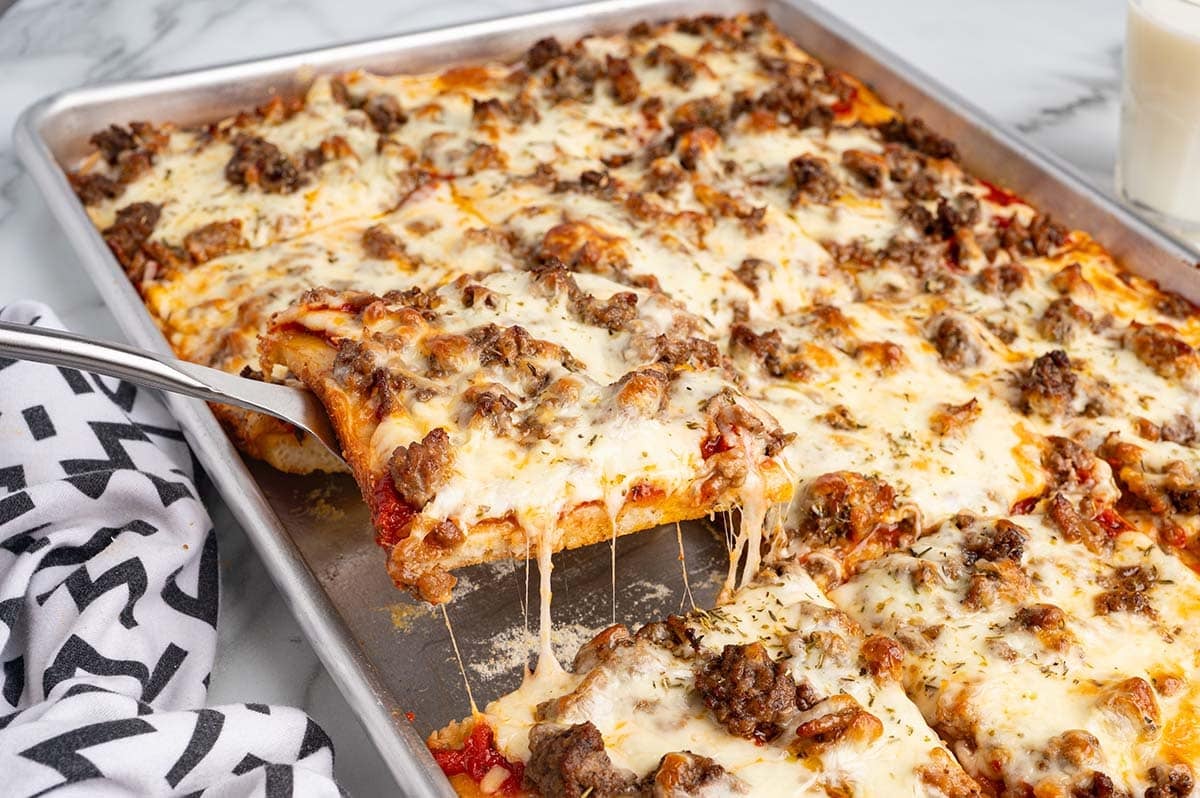
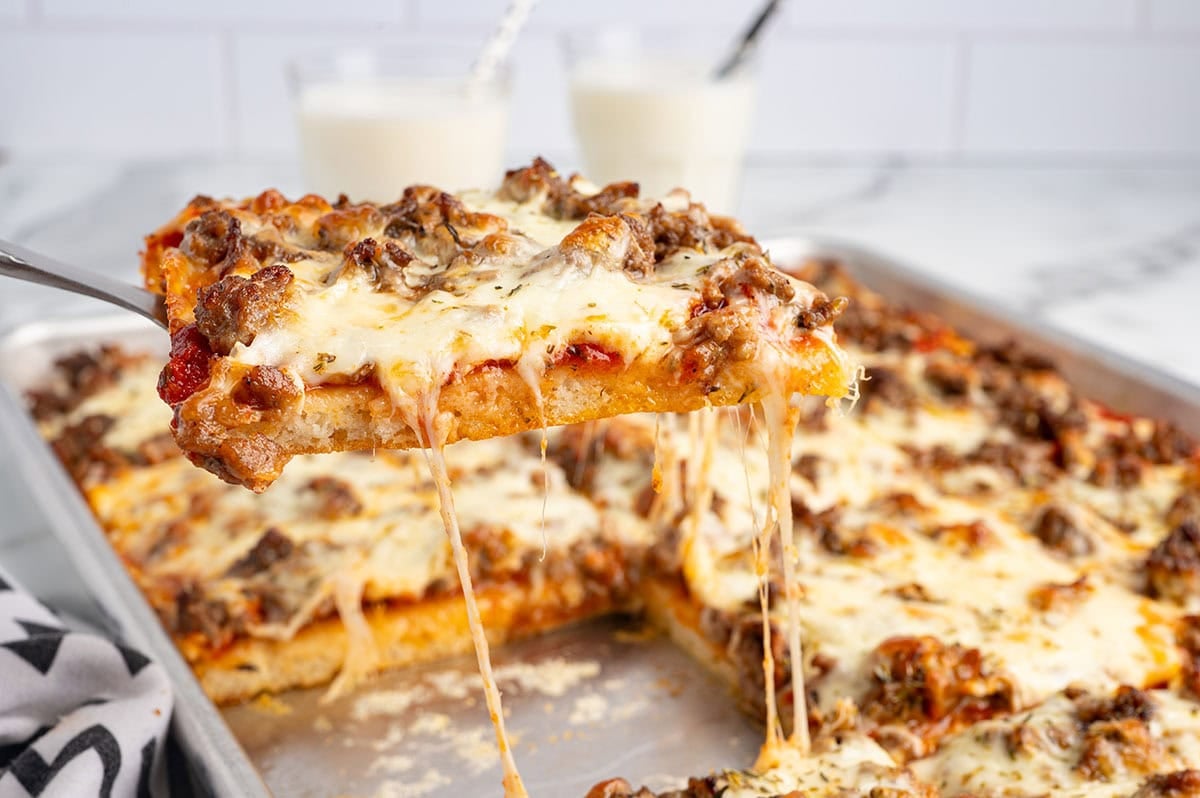
I make this school pizza when I want the pizza I actually craved as a kid. The crust is soft and bready, almost like a dinner roll, with sauce and cheese run right out to the edges so there is no dry rim to work around. The mozzarella goes on above and below the meat, so every rectangle is cheesy top to bottom.
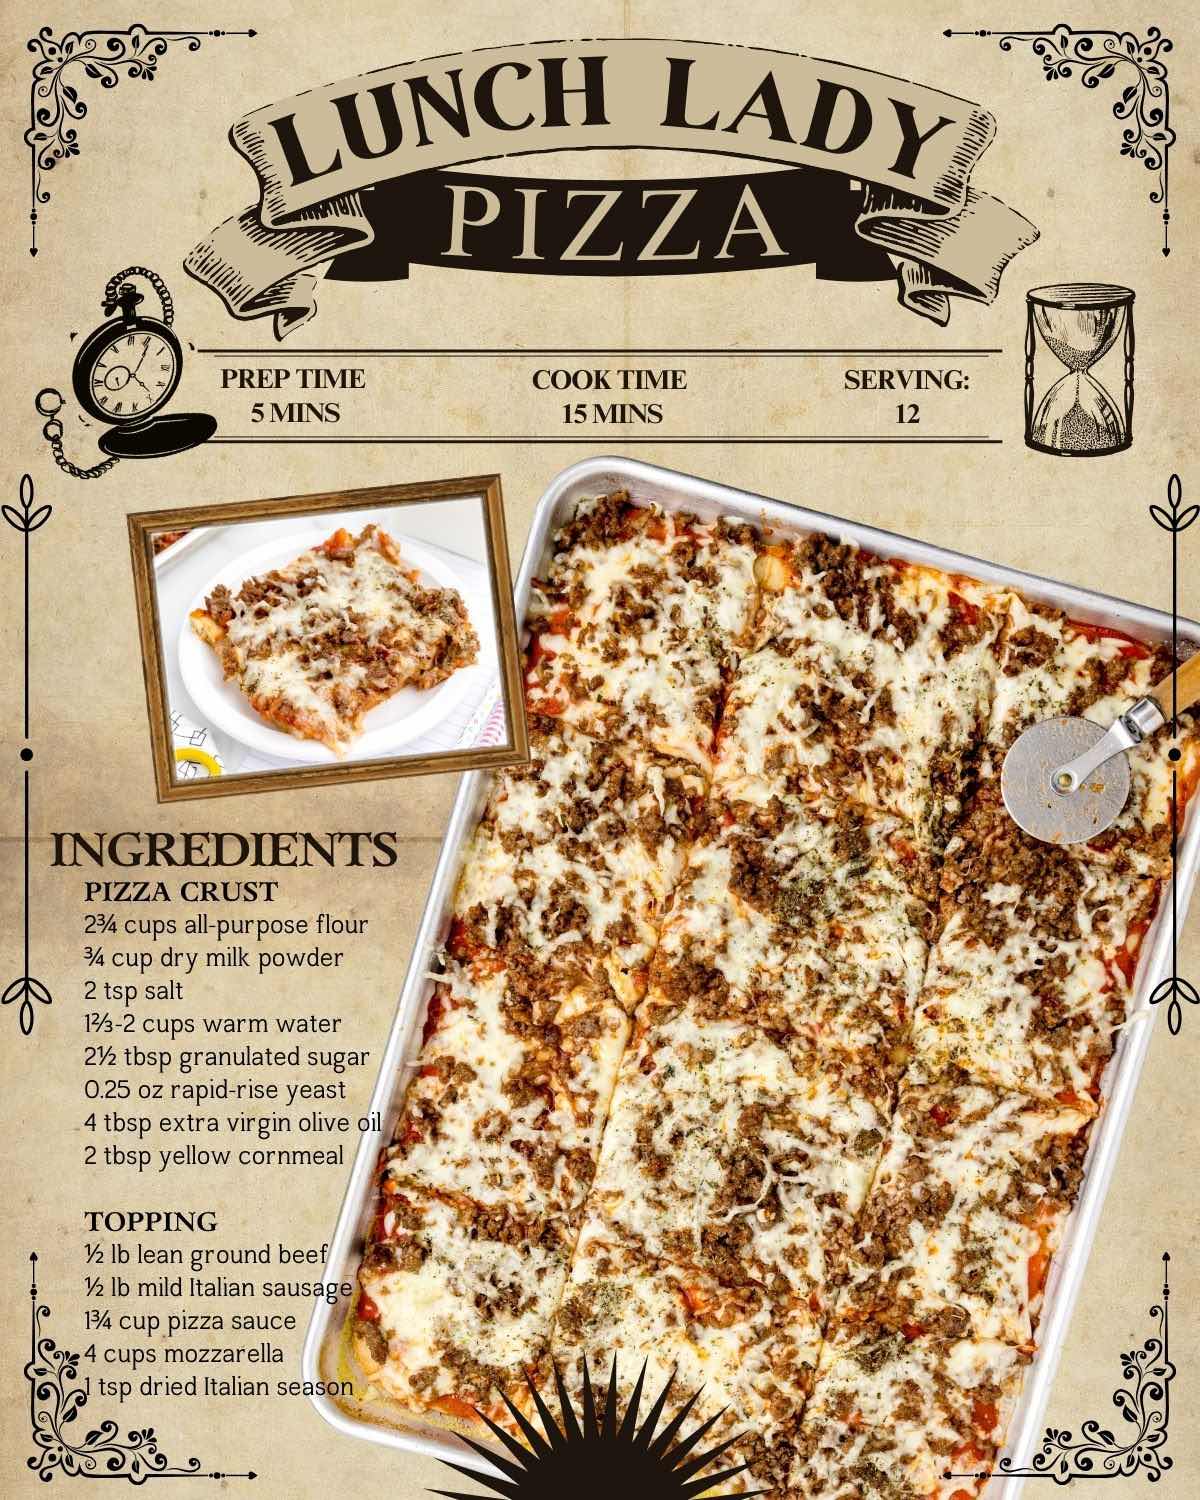


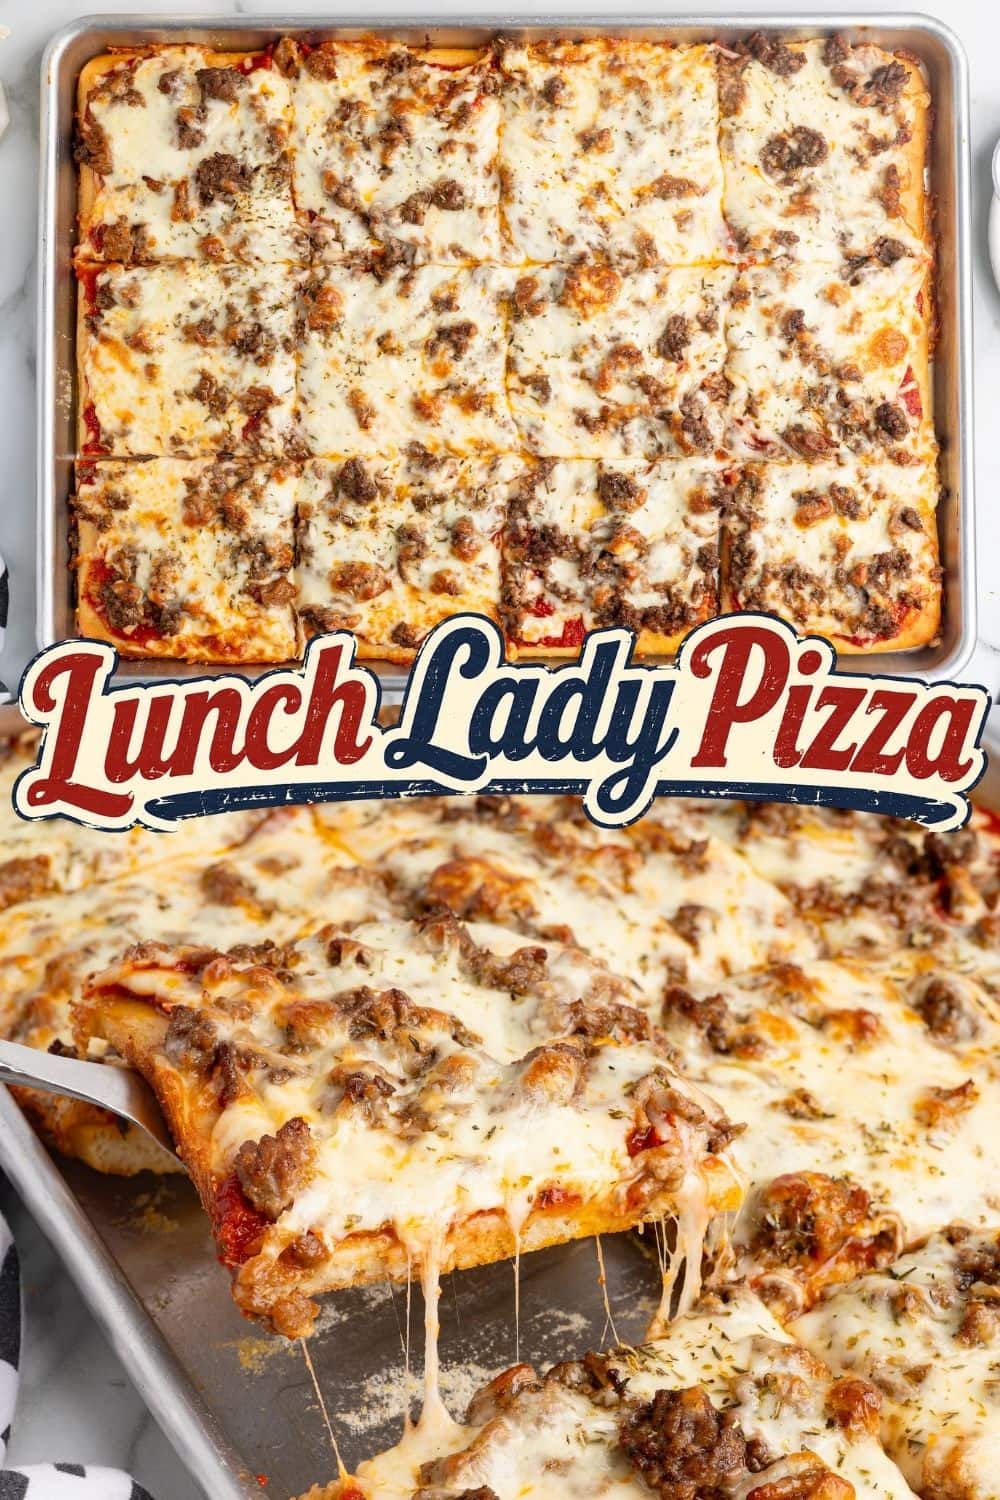
I was not a fan of school lunch. Most days I brought mine from home. But pizza day was different, and the line wrapped around the cafeteria, so I would fly out of class the second the bell rang to get near the front of it. That slice was worth running for. If you’re building the whole tray, my Lunch Lady Brownies were the other half of that lunch.
This is the one that finally tastes like the real thing, and the reason is a crust you pour instead of a dough you stretch. I’ve tested it until it comes out of the pan right every time. Make it once and you will stop looking for the recipe.
Tested & Perfected
I Retested This Crust Until It Stopped Coming Out Rock Hard
The first time around I baked the crust on the bottom rack and coated the pan in olive oil, and the bottom came out so dark and hard that I could not cut through it with a pizza cutter. Not a little too crisp. Genuinely uncuttable.
Two things fixed it. I moved the crust to the center rack so the bottom stopped taking direct heat, and I swapped the olive oil on the pan for baking spray. Olive oil starts smoking at 475°F and it was burning onto the pan and gluing the crust down. I also gave the batter a full 20 minutes to rest instead of rushing it, and the crust rose better and stopped baking up gummy.
Those three changes are the difference between a crust you can slice and one you fight with.

Why You Pour This Crust Instead of Rolling It
This is the part that trips people up, so I want you to see it coming.
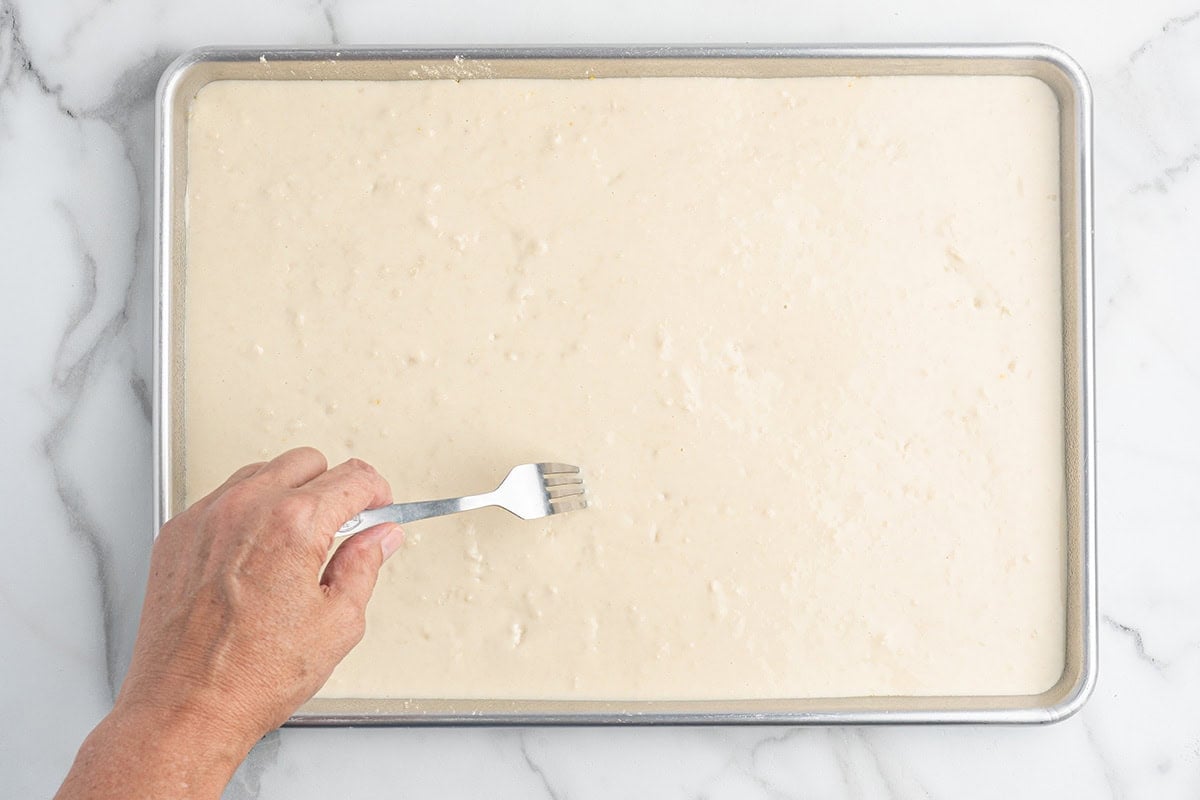
When you mix this crust, you do not get a dough. You get a batter. It pours out of the mixing bowl in a ribbon, it has a few small lumps in it, and when it lands in the pan it spreads on its own instead of pulling back at you. It’s about the thickness of pancake batter.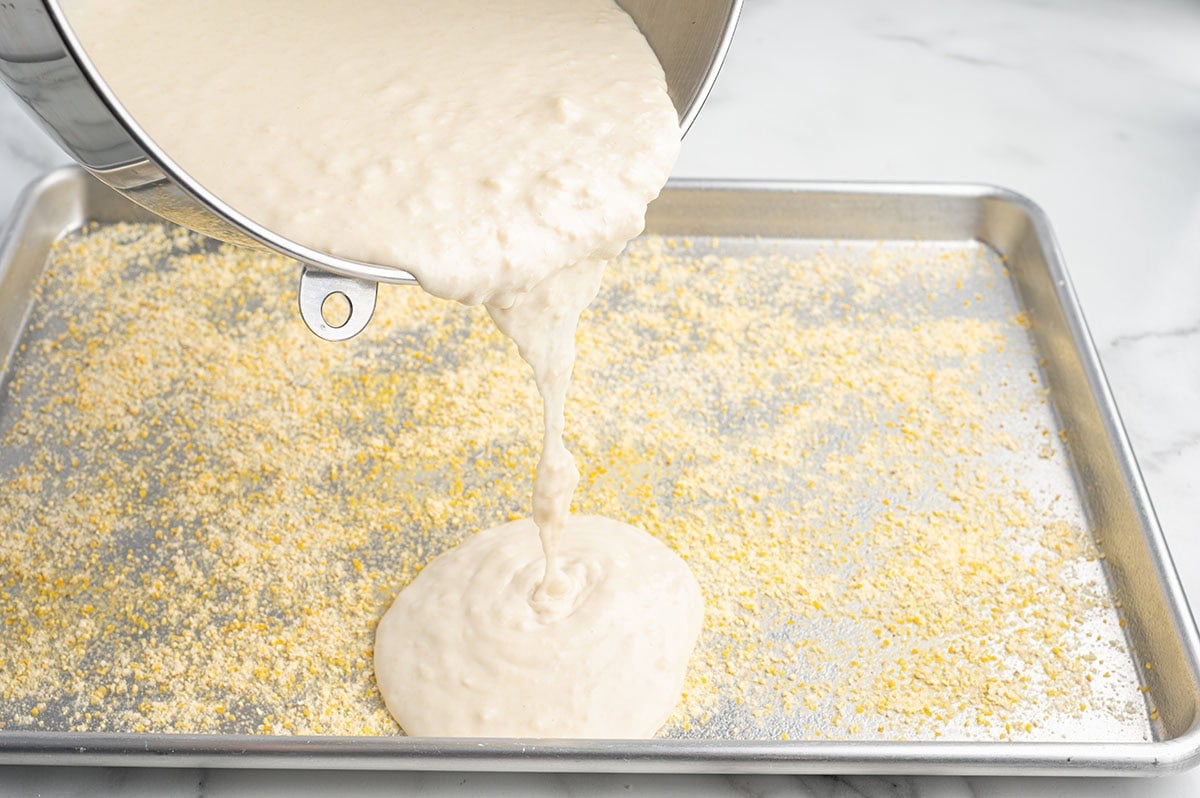
If you’ve only ever worked with pizza dough, your instinct is going to be that you’ve done something wrong and you need to add flour. Do not add flour. This is exactly right. That loose, wet batter is what bakes into the soft, bready, almost dinner-roll crust that cafeteria pizza had. Stretchy kneaded dough bakes up chewy, and chewy is the one thing school pizza never was.
You spread it with an offset spatula or the back of a spoon, working it out toward the corners until it covers the whole pan in an even layer.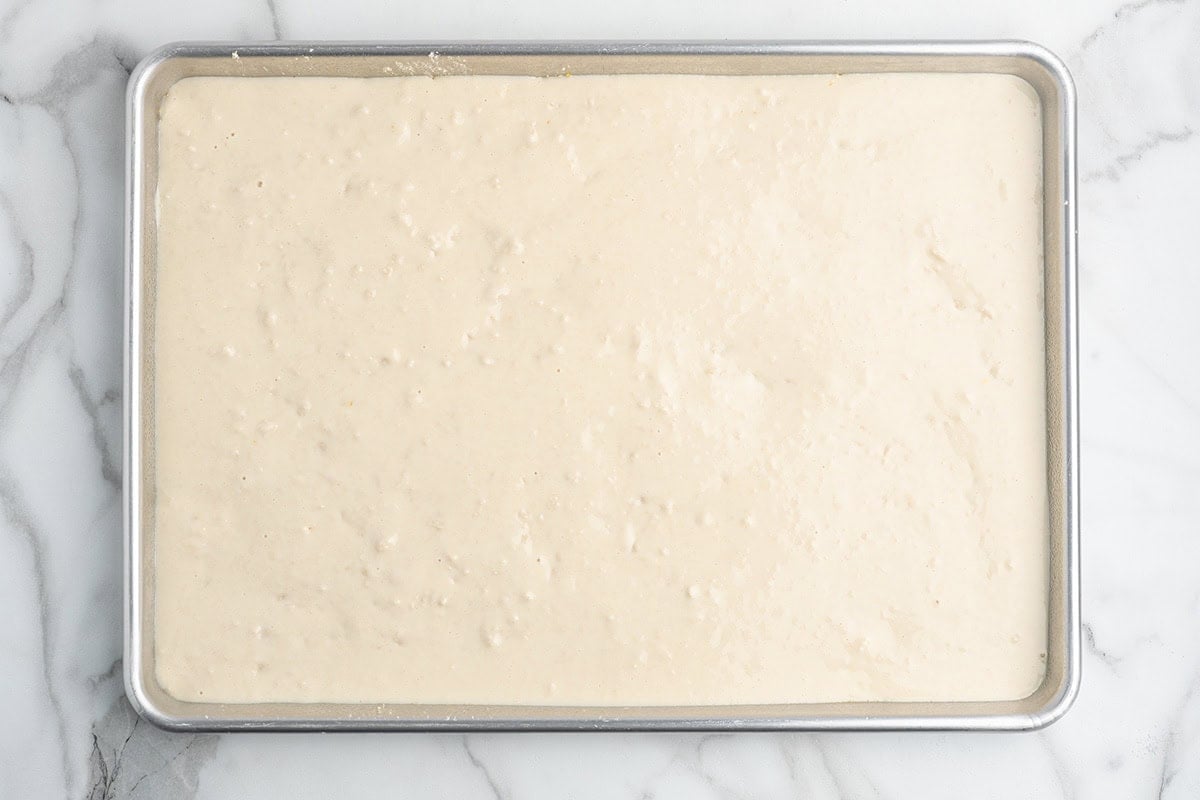
This is also why most school pizza recipes online miss. They start you with a ball of store-bought pizza dough. The toppings might taste close, but the crust is a different animal, and the crust is the whole point.
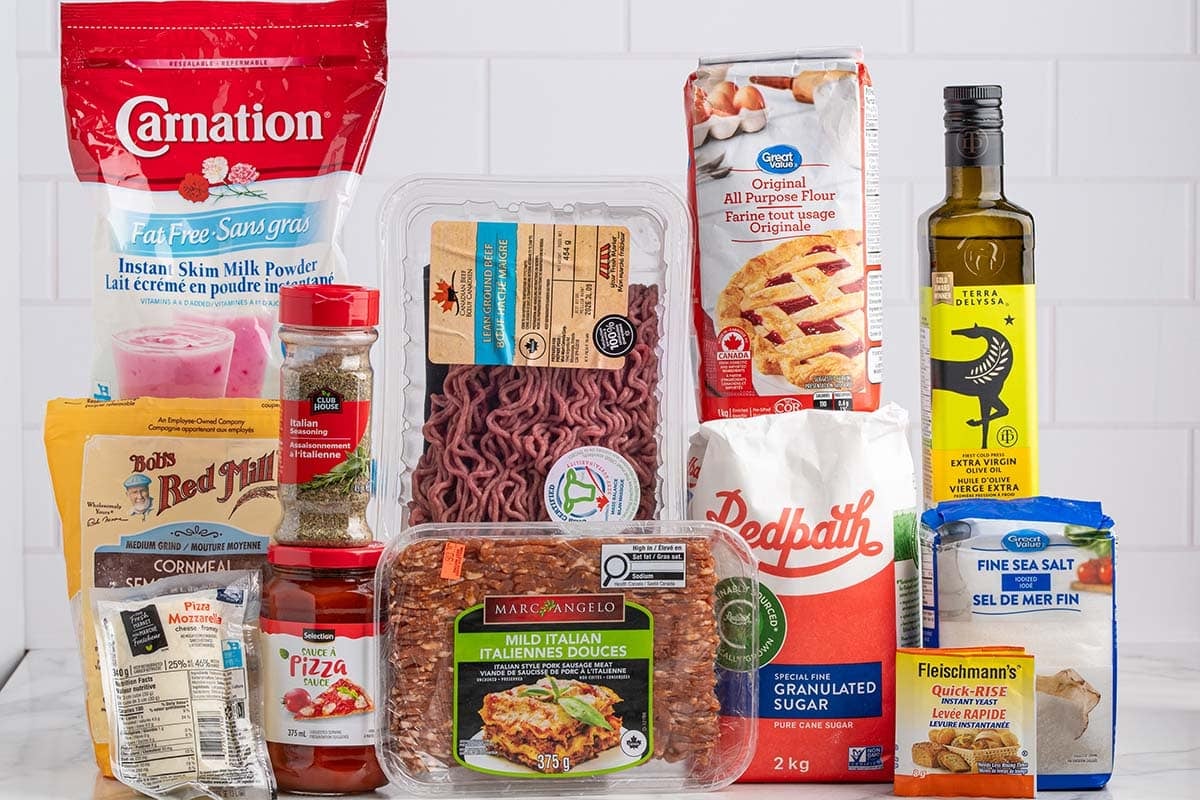
What You’ll Need
For the crust
- Instant nonfat dry milk powder. The one ingredient people ask about, and the one you cannot skip. It puts milk solids into the crust without adding more liquid, which keeps it tender and helps it brown. It’s shelf stable, so it lives in my pantry.
- All-purpose flour. Unbleached. No bread flour here. Bread flour builds the chew you are trying to avoid.
- Instant yeast. Goes straight into the dry ingredients, no proofing step.
- Granulated sugar. Feeds the yeast and helps the crust take on color.
- Fine sea salt.
- Extra virgin olive oil. In the batter, not on the pan. See the box above.
- Warm water. 105°F to 110°F. Hot enough to wake the yeast up, not hot enough to kill it.
- Yellow cornmeal. Goes on the sprayed pan. It keeps the crust from sticking and gives the bottom that faint grit you remember.
For the toppings
- Lean ground beef and mild Italian sausage. Half a pound of each. Beef alone is closer to the original, but the sausage is what makes it taste better than the original.
- Pizza sauce. A jarred pizza sauce, not marinara. Marinara is thinner and it will soak into the crust.
- Whole milk mozzarella, shredded from a block. Four cups. Shred it yourself. Bagged shreds are coated to keep them from clumping and they don’t melt as smoothly.
- Dried Italian seasoning. Goes over the top layer of cheese, not into the sauce.
See the recipe card below for full quantities.
How to Make School Pizza
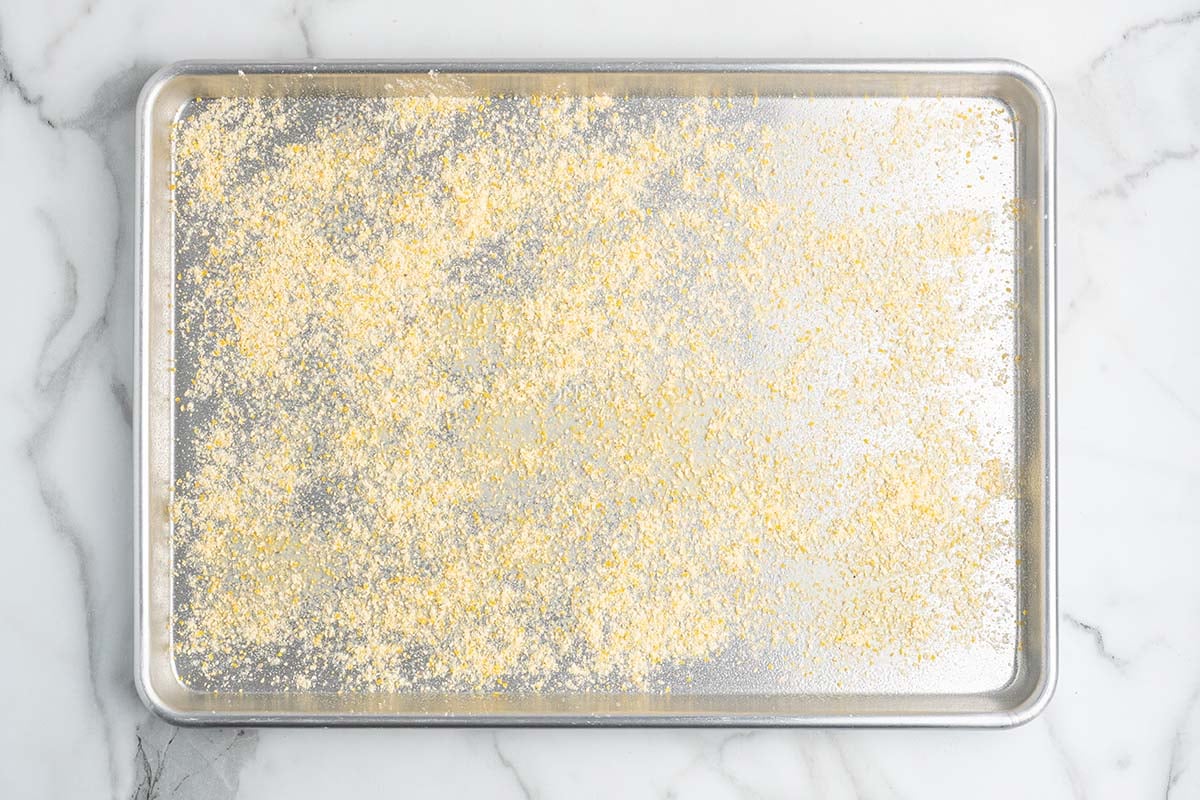
- Prep the pan. Spray an 18×13-inch half sheet pan with non-stick baking spray, then sprinkle the cornmeal evenly across it.

- Make the batter. In a stand mixer with the paddle attachment, whisk together the flour, dry milk powder, sugar, yeast, and salt. With the mixer on low, drizzle in the olive oil and warm water. Mix 2 to 3 minutes, until the batter is smooth and pourable, about as thick as pancake batter. A few small lumps are fine.
- Pour, spread, and rest. Pour the batter into the pan and spread it to every corner in an even layer. Let it rest 20 minutes, until small bubbles show on the surface. Do not shortcut this. It is what keeps the crust from baking up gummy.
- Poke it: Preheat to 475°F. Poke holes all over the rested batter with a fork so big bubbles do not lift the crust.
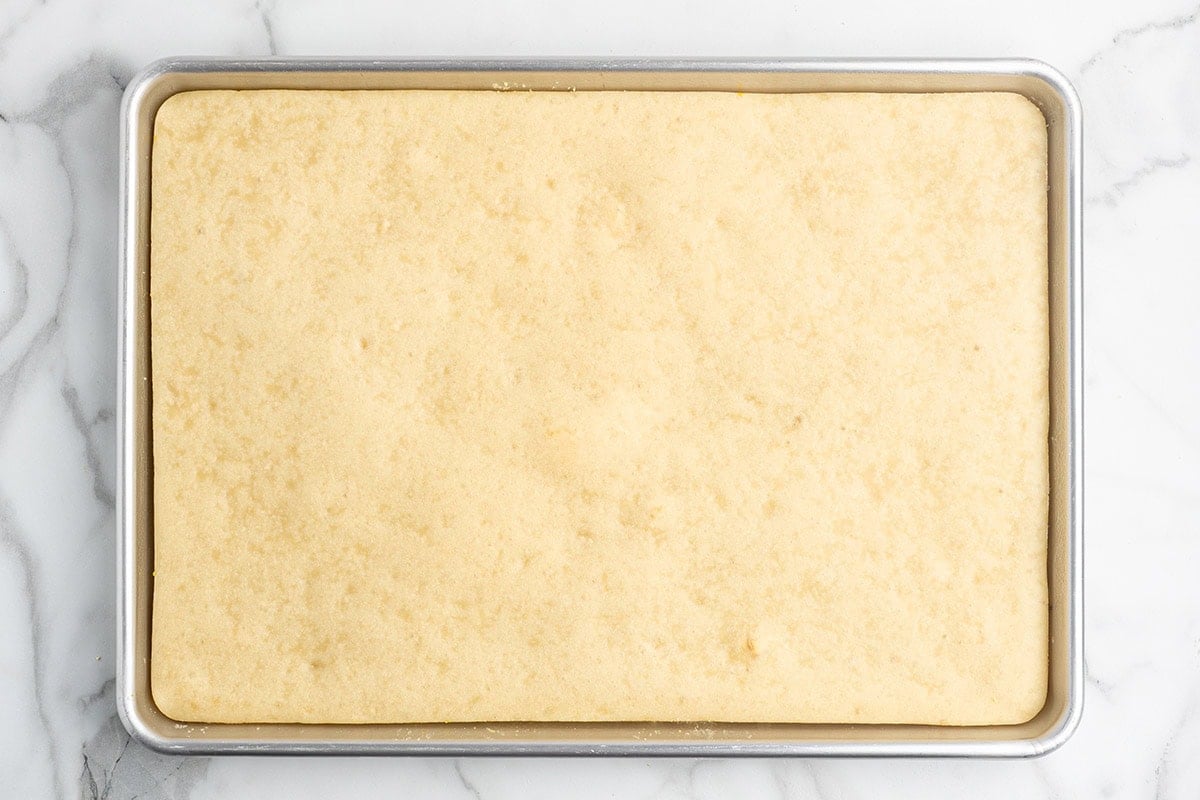
- Par-bake: Bake on the CENTER rack for 10 minutes, until the edges are barely pale gold and the center is set. Not browned. It finishes baking later.
- Brown the meat. While the crust bakes, cook the beef and sausage in a 10-inch skillet over medium-high heat for 6 to 8 minutes, breaking it up small. Drain on paper towels.
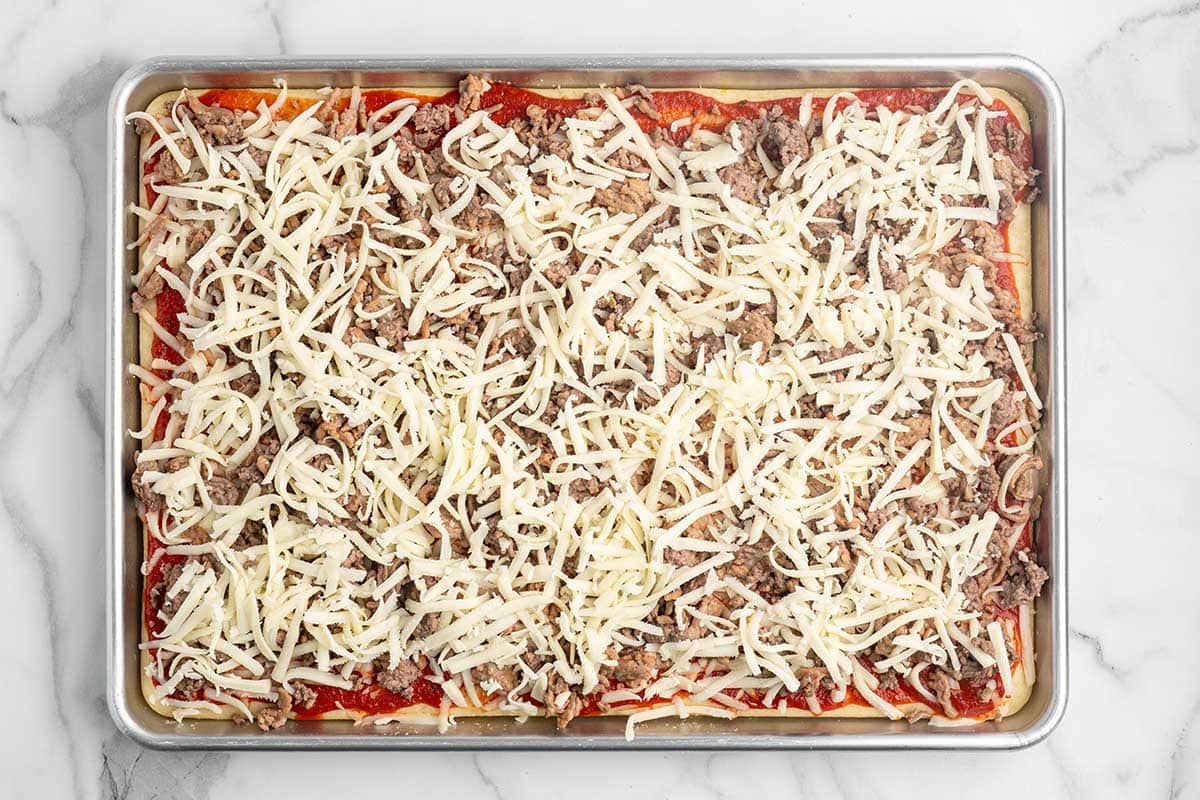
- Sauce and layer. Spread the sauce over the crust, out to the edges. Sprinkle on 2 cups of mozzarella, then all the meat, then the last 2 cups of mozzarella. The meat goes between two layers of cheese. That’s the cafeteria build.
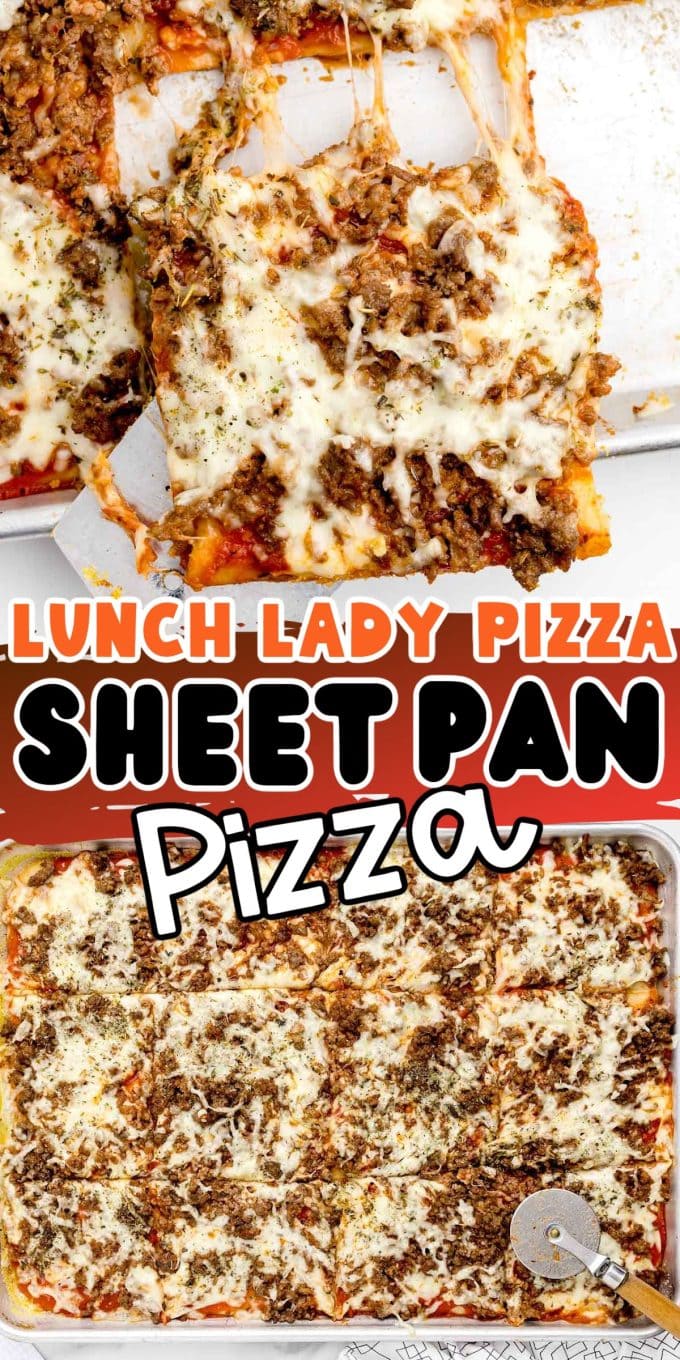
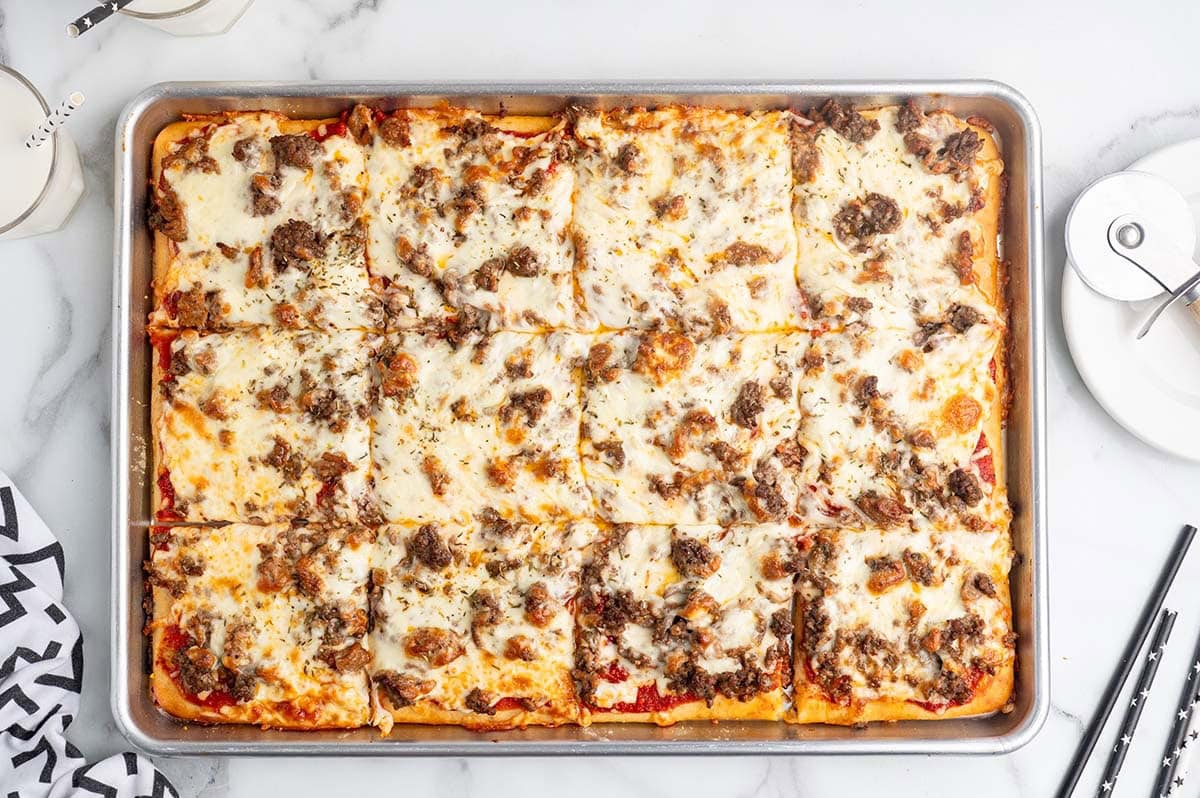
- Bake and slice. Sprinkle the Italian seasoning over the top layer of cheese. Bake on the middle rack 12 to 14 minutes, until the cheese is melted, bubbly, and lightly browned. Let it sit 3 to 5 minutes, then cut into 12 rectangles. This one goes into my regular dinner rotation the same way it went onto the lunch menu, straight into a sheet pan and onto the table.

Here’s Where Most Go Wrong
Baking the crust on the bottom rack. The bottom takes direct heat at 475°F and hardens into something a pizza cutter can’t get through. Center rack for the par-bake, middle rack for the finish.
Oiling the pan. Olive oil smokes at this temperature and it burns onto the pan. Baking spray plus cornmeal releases clean every time.
Rushing the rest. Ten minutes is not enough. Give it the full 20 and wait for the bubbles.
Skipping the fork. Without the holes, the crust lifts into big pockets and the toppings slide.
Overloading it. This crust is soft on purpose, and it cannot carry a heavy pizza. If you’re adding toppings beyond the meat, keep it to about half a cup more. Any more and the slices sag.
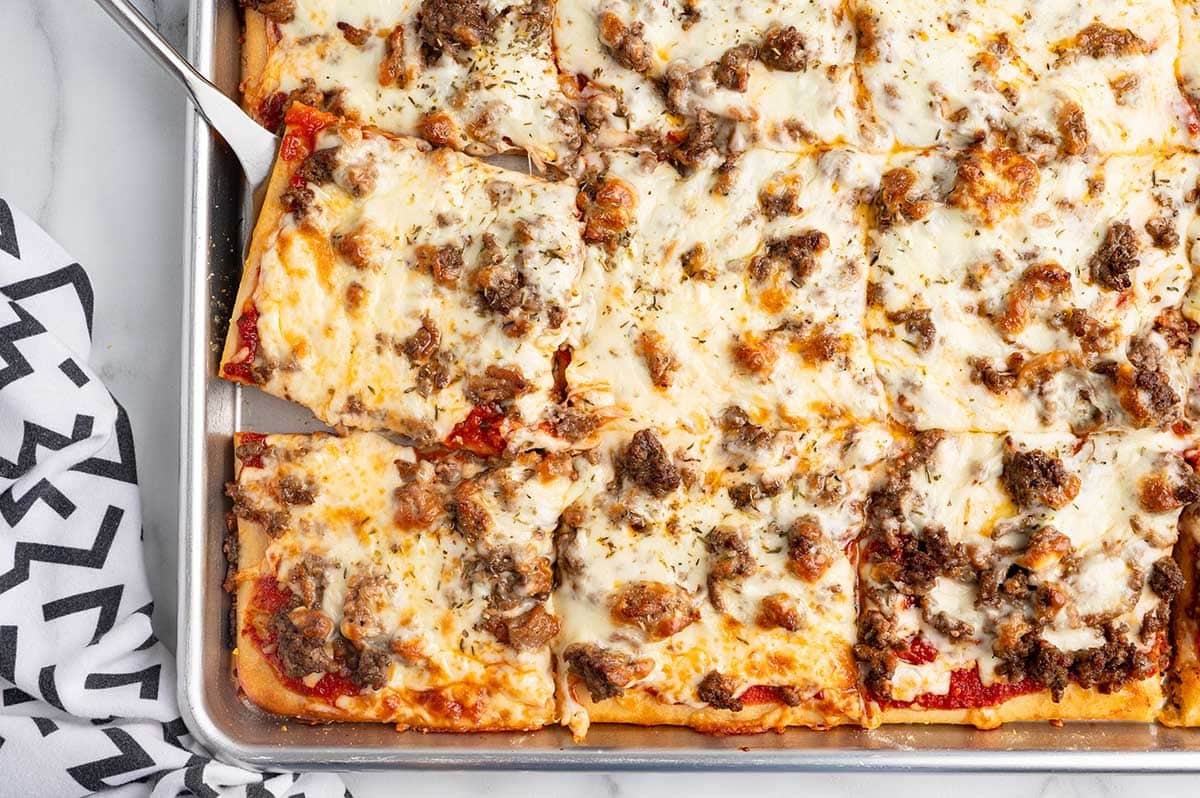
Why the Cheese Goes On in Two Layers
Half the mozzarella under the meat, half on top. It looks fussy and it is not. The bottom layer melts down and seals the sauce against the crust, which keeps the crust from going soft underneath. The top layer browns and holds the meat in place so it doesn’t roll off the slice. You get cheese in every bite from the crust up, which is exactly what those cafeteria squares did. Dump all the cheese on top and the meat sits loose on a wet crust.

“This is our top absolute favorite pizza to make. Simple, easy, and extremely delicious. Tonight is the 2nd time I made it for us. Huge hit, worth more than 5 stars, we give it a 10!”
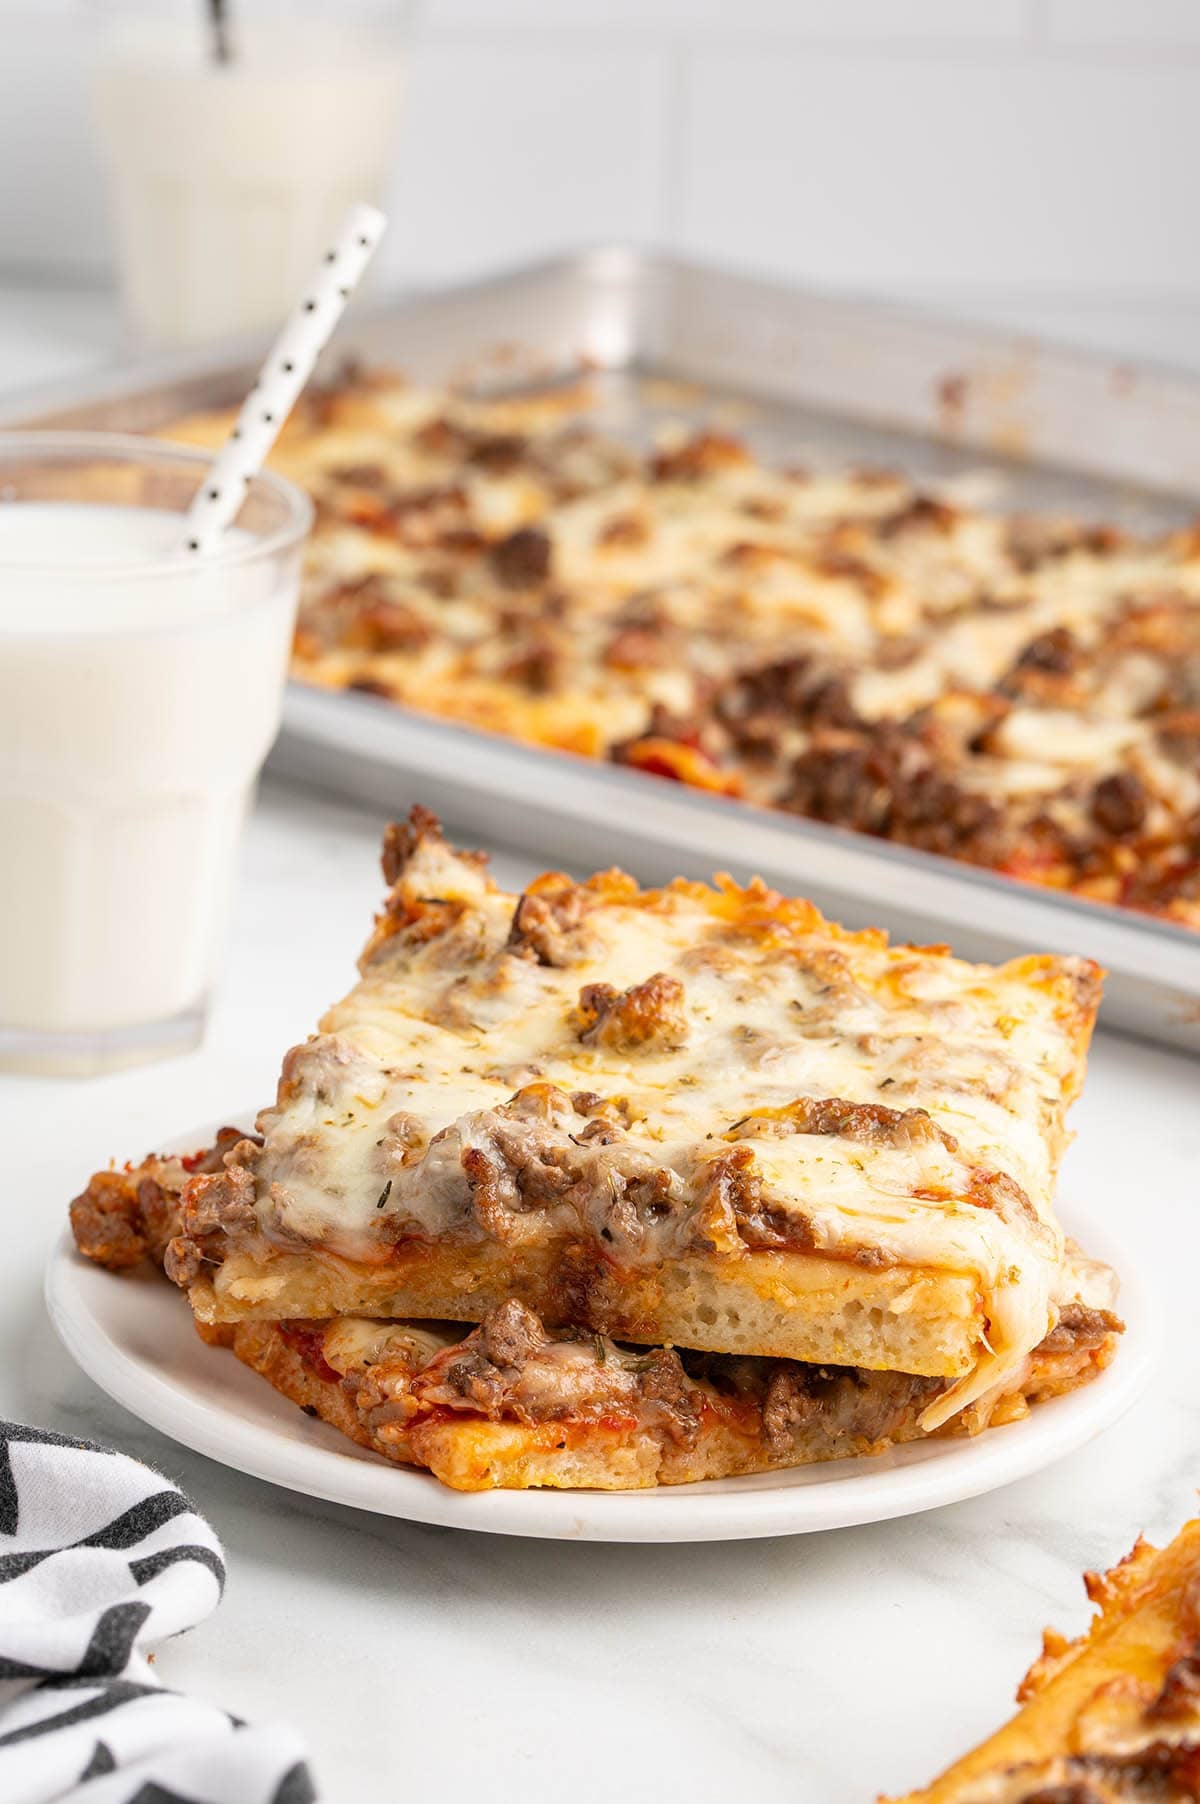
Make It Ahead and Store It
Make ahead and freeze. This freezes best after the par-bake, before the final bake. Par-bake the crust for the first 10 minutes, let it cool completely, then add the sauce, cheese, and meat. Wrap the pan tightly in plastic wrap, then in heavy duty foil. It keeps for 2 months. Thaw it in the refrigerator overnight before you bake it.
Leftovers. Store in an airtight container in the fridge up to 2 days. This one is best the day it’s made.
Reheating. Oven or air fryer. The microwave turns the crust soft and you lose the thing that makes it worth making.
More Recipes From the Lunch Line
School Pizza
Ingredients
Crust
- 2 tablespoons yellow cornmeal
- 2¾ cups unbleached all-purpose flour
- ¾ cup instant nonfat dry milk powder (Nestle Carnation brand used)
- 2½ tablespoons granulated sugar
- 2½ teaspoons instant yeast (from a 0.25-ounce packet – Red Star Platinum brand used)
- 2 teaspoons fine sea salt
- 2 tablespoons extra virgin olive oil
- 2 cups warm water (105°-110°F)
Topping
- ½ pound lean ground beef
- ½ pound ground mild Italian sausage
- 14 ounces jar pizza sauce (MIDS brand used, yields about 1½ cups)
- 16 ounces block whole milk mozzarella cheese shredded (yields about 4 cups)
- 1 teaspoon dried Italian seasoning blend
Instructions
Crust
- Lightly spray an 18×13-inch half-sheet pan with non-stick baker’s spray. Sprinkle the yellow cornmeal evenly over the sprayed surface and set aside. This will prevent the crust from sticking when baked.2 tablespoons yellow cornmeal
- In the bowl of a stand mixer fitted with the paddle attachment, add the all-purpose flour, dry milk powder, granulated sugar, instant yeast, and salt. Whisk to combine.2¾ cups unbleached all-purpose flour, ¾ cup instant nonfat dry milk powder, 2½ tablespoons granulated sugar, 2½ teaspoons instant yeast, 2 teaspoons fine sea salt
- With the mixer on low, drizzle in the olive oil and warm water into the dry ingredients until well combined. Mix for an additional 2-3 minutes or until you have a fairly smooth pourable batter. It should be the consistency of a thick pancake batter. A few small lumps in the batter are fine.2 tablespoons extra virgin olive oil, 2 cups warm water
- Pour the batter into the prepared pan. Carefully spread the batter to an even layer being sure it covers the entire surface of the baking sheet.
- Allow the dough to rest in the pan for 20 minutes or until small surface bubbles start to appear. This ensures your yeast is active and your crust will bake and rise properly.
- Preheat the oven to 475°F. Once the dough has rested, use the tines of a fork to poke holes in the dough to help prevent large bubbles from rising as the crust bakes.
- Bake on the center rack for 10 minutes. The edges should just barely be turning a pale golden color and the center should be fully set. Remove the par-baked crust from the oven and set aside. While the crust is baking you can prepare the toppings.
Toppings
- In a large (10-inch) skillet over medium-high heat, cook the ground beef and mild Italian sausage for 6-8 minutes or until browned and no pink remains. Transfer the cooked meats to a paper towel lined plate to drain off the excess grease.½ pound lean ground beef, ½ pound ground mild Italian sausage
- Once the crust has baked, spread the pizza sauce evenly over the entire surface of the crust.14 ounces jar pizza sauce
- Sprinkle half (about 2 cups) of the shredded mozzarella cheese evenly over the sauce.16 ounces block whole milk mozzarella cheese
- Add the meat evenly over the first layer of cheese, then top with the remaining (about 2 cups) shredded mozzarella cheese.
- Sprinkle the dried Italian seasoning evenly over the top layer of cheese, then bake on the middle rack for 12-14 minutes or until the cheese is melted, bubbly, and lightly browned.1 teaspoon dried Italian seasoning blend
- Remove the baked pizza from the oven and let it cool for 3-5 minutes before slicing and serving.
Jenn’s Notes
- Bake the crust on the CENTER rack, not the bottom. Direct bottom heat at 475°F hardens the crust to the point a pizza cutter will not go through it.
- Use baking spray on the pan, not olive oil. Olive oil smokes at this temperature and burns onto the pan.
- The batter is supposed to be pourable and a little lumpy. Do not add flour to thicken it.
- Do not skip the 20-minute rest. It is what keeps the crust from baking up gummy.
- Add diced pepperoni or other toppings if you want, but keep any additions to about ½ cup. This crust is soft and it cannot carry a heavy pizza.
- The meat can be left out entirely for a cheese pizza.
- Fridge: Airtight container up to 2 days.
- Freezer: Freezes best after the par-bake, before the final bake. Cool the par-baked crust completely, add sauce, cheese, and meat, wrap the pan in plastic wrap then heavy duty foil, and freeze up to 2 months. Thaw overnight in the refrigerator before baking.
- Reheat: Oven or air fryer. The microwave softens the crust.






when baking the crust, & par baking, it says center rack and middle rack, please clarify I’m not sure of the difference
Sorry for the confusion! In this recipe, “center rack” and “middle rack” mean the same thing. You want the oven rack positioned in the middle of the oven for both the 10-minute par-bake and the final bake. I’ll get that wording clarified in the recipe. Thanks for catching it!
Delicious!! Followed the recipe exactly and the family told me “it’s a keeper”!
School pizza was my very favorite, I would love to know how to fix it now.
Come back and let me know what you think! Hope you love it!
This is our top absolute favorite pizza to make simple easy and extremely delicious tonight is 2nd time I made for us huge hit worth more than 5 star rating we give it a 10!!🤩
A 10 out of 5?! I will absolutely take it!! 🤩🍕 This makes me SO happy, there is truly nothing better than a recipe that becomes a repeat in your house!
Do u have the pizza sauce from back then??
Can I use the pillsbury pizza dough for this?