
This post may contain affiliate links. Please read our disclosure policy.
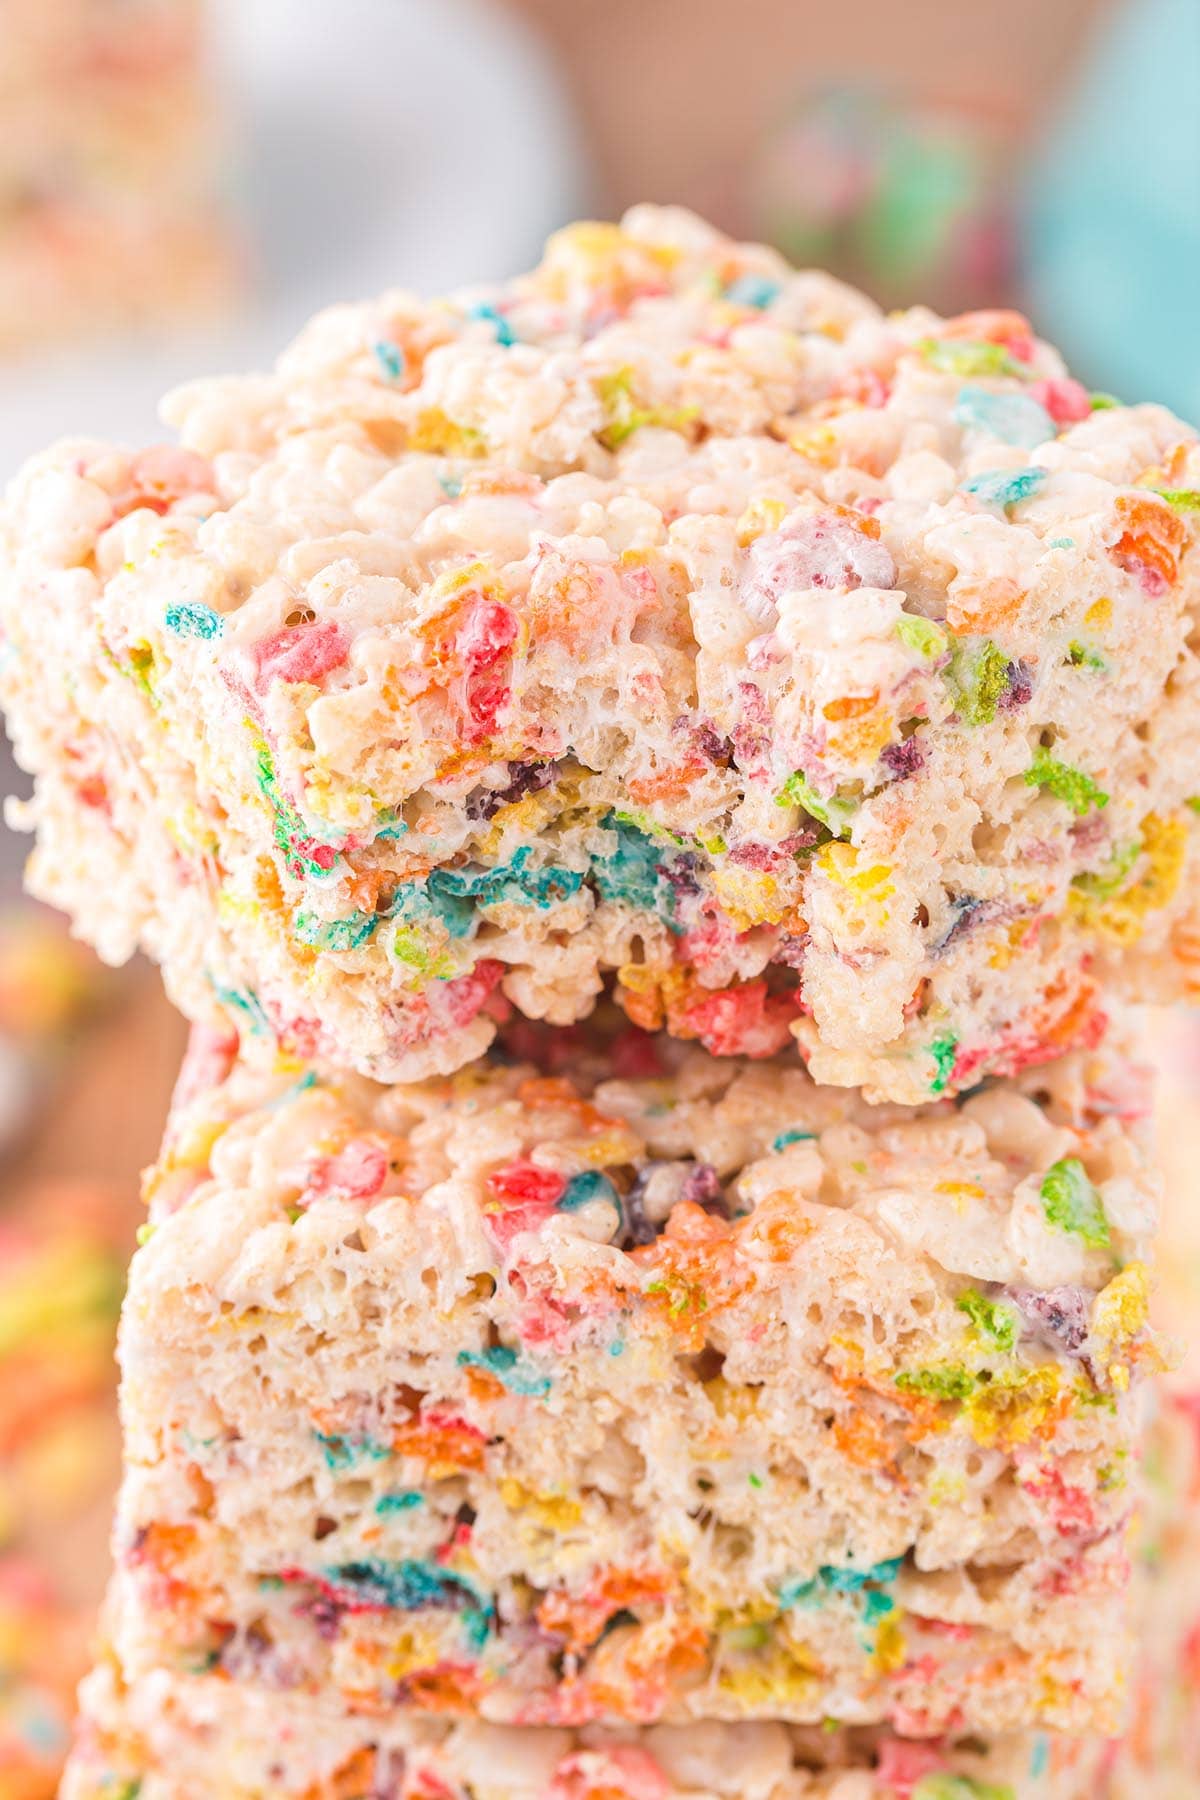
When my kids were little, I was always the designated snack mom for classroom parties and soccer games. These Rainbow Rice Krispie Treats were my secret weapon back then, and honestly, I still make them today because they’re just so cheery!
There’s something about that pop of color that makes everyone from toddlers to my now-grown kids reach for a second piece.

I’ve made these hundreds of times over the years, and I’ve made every mistake in the book so you don’t have to. If I can master the perfect chewiness, anyone can!
Jenn’s Note: If you love these easy no-bake snacks, you should also check out my No-Bake Peanut Butter Bars or my Classic Rice Krispie Treats for more inspiration!
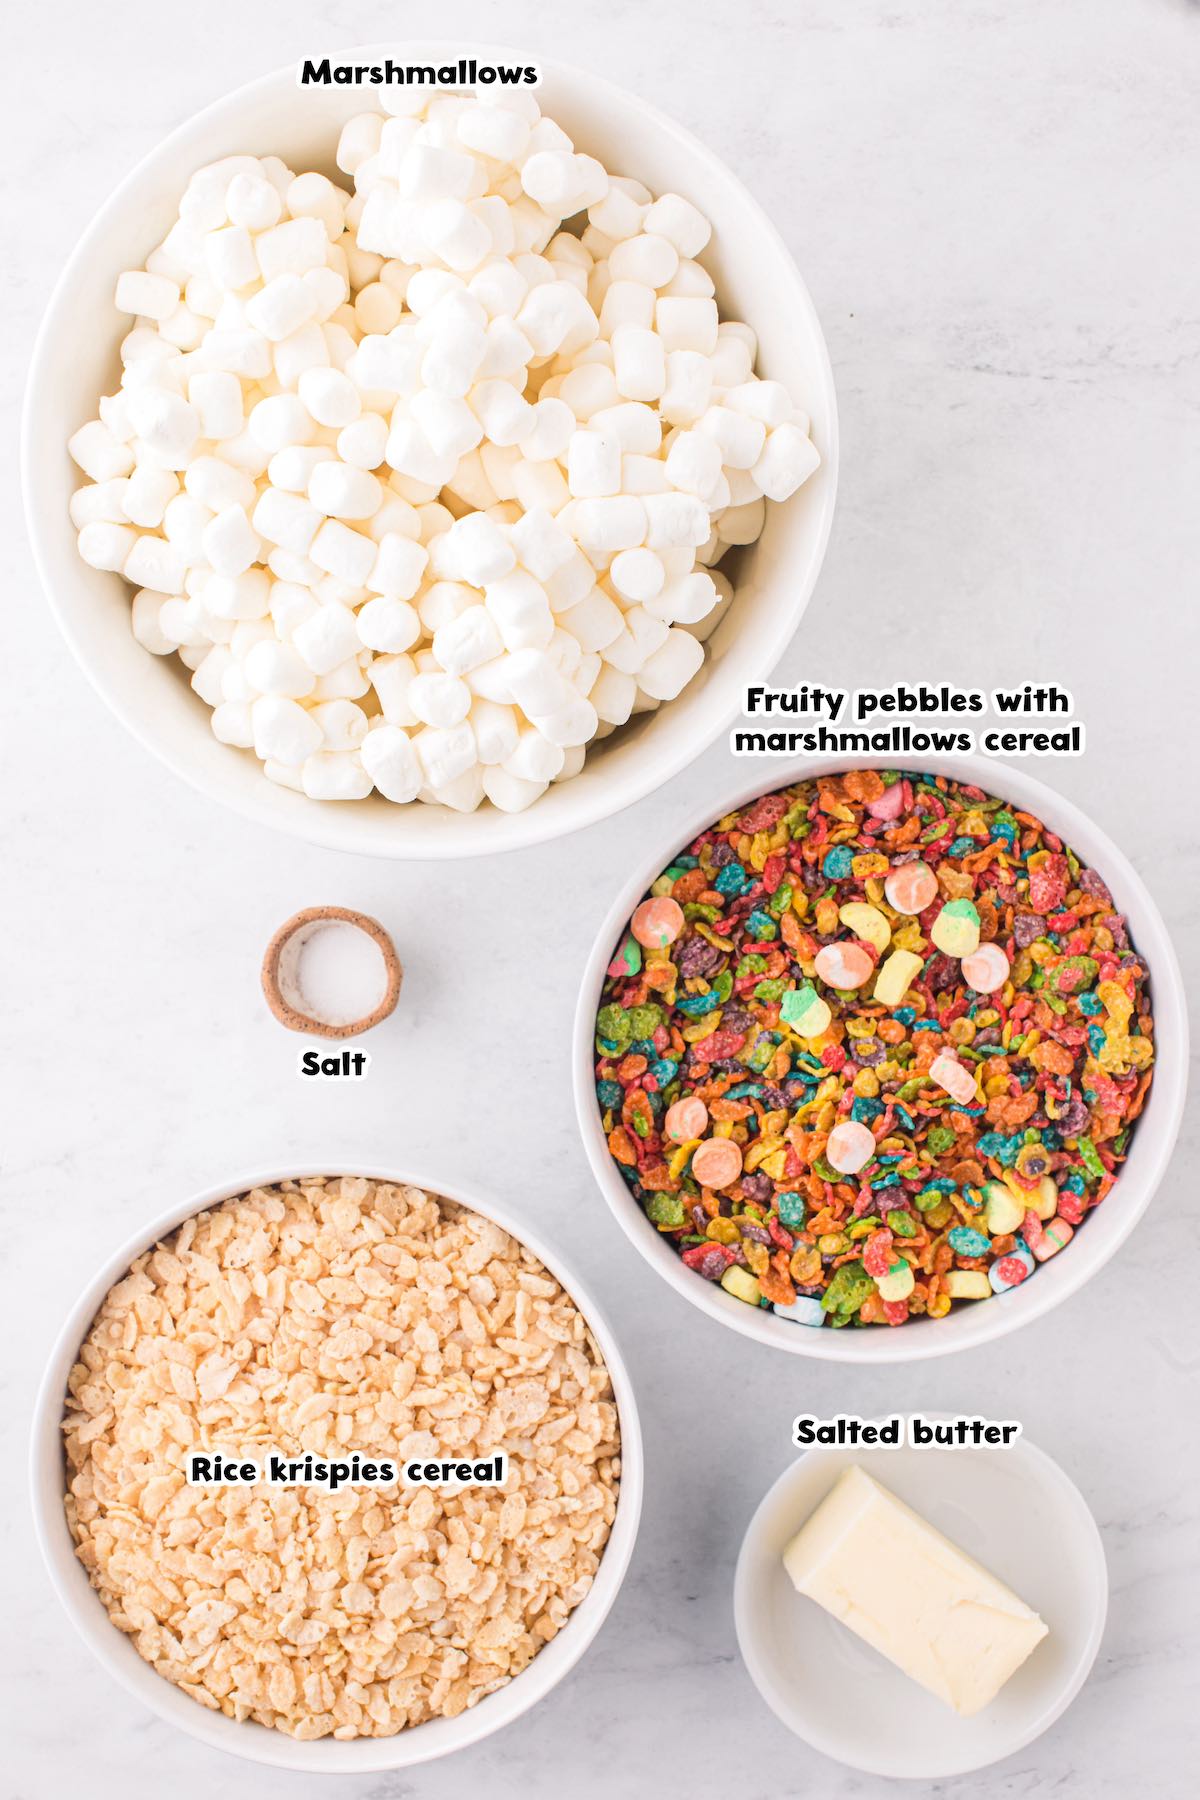
Key Ingredients
For the best results, I always recommend using name-brand marshmallows. I’ve found the generic ones can sometimes be a bit “dusty,” which affects the melt.
- Salted butter: I prefer salted butter for this recipe because it cuts through the sugar. You can substitute unsalted butter with a pinch or two of salt.
- Marshmallows: One 12-ounce bag. (Pro tip: If the bag feels stiff at the store, put it back!)
- A Pinch of Salt: This is the “secret ingredient” that makes the flavors really pop.
- Rice Krispies cereal: You can use a name brand or a generic brand of Rice Krispies cereal for this recipe.
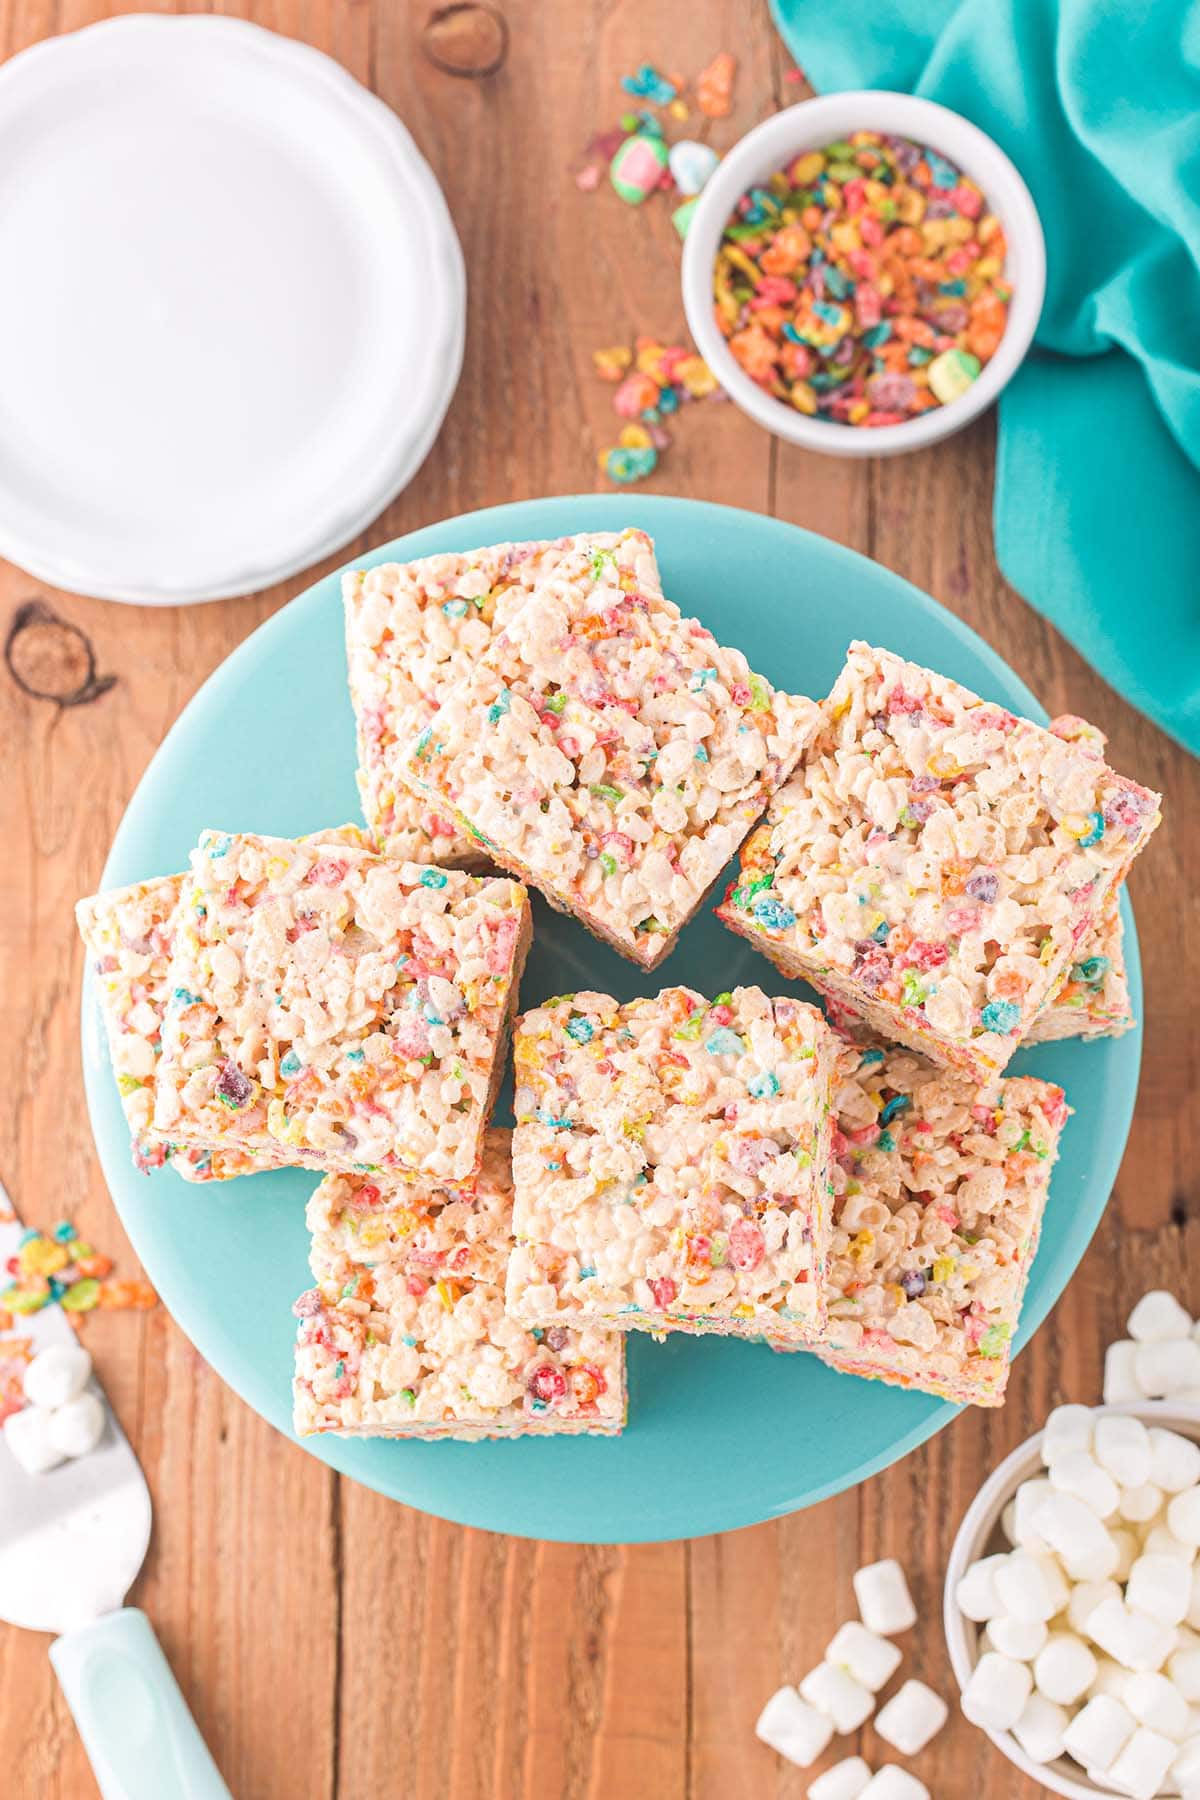
- Fruity Pebbles with Marshmallows cereal: This provides the “rainbow” look without needing any messy food coloring.
Substitutions and Additions
- Pick Your Pebbles: You can substitute just fruity pebbles, if necessary, for a slightly less sweet result. Or you can substitute 2 cups of regular fruity pebbles and ½ cup of mini marshmallows or cereal marshmallows from another box.
- Customize Your Krispies: You can decorate your Rice Krispies squares for any holiday or special occasion. Press candy hearts on the surface of each square before the mixture sets for Valentine’s Day; add Lucky Charms cereal marshmallows into the mixture for St. Patrick’s Day; place some Cadbury mini-eggs on top of the Krispies before they set for Easter.
How to Make Rainbow Rice Krispie Treats
Prep Your Space: Line a 9×9 inch baking pan with parchment paper. Leave a little “overhang” on the sides so you can lift the whole block out later for easy slicing.
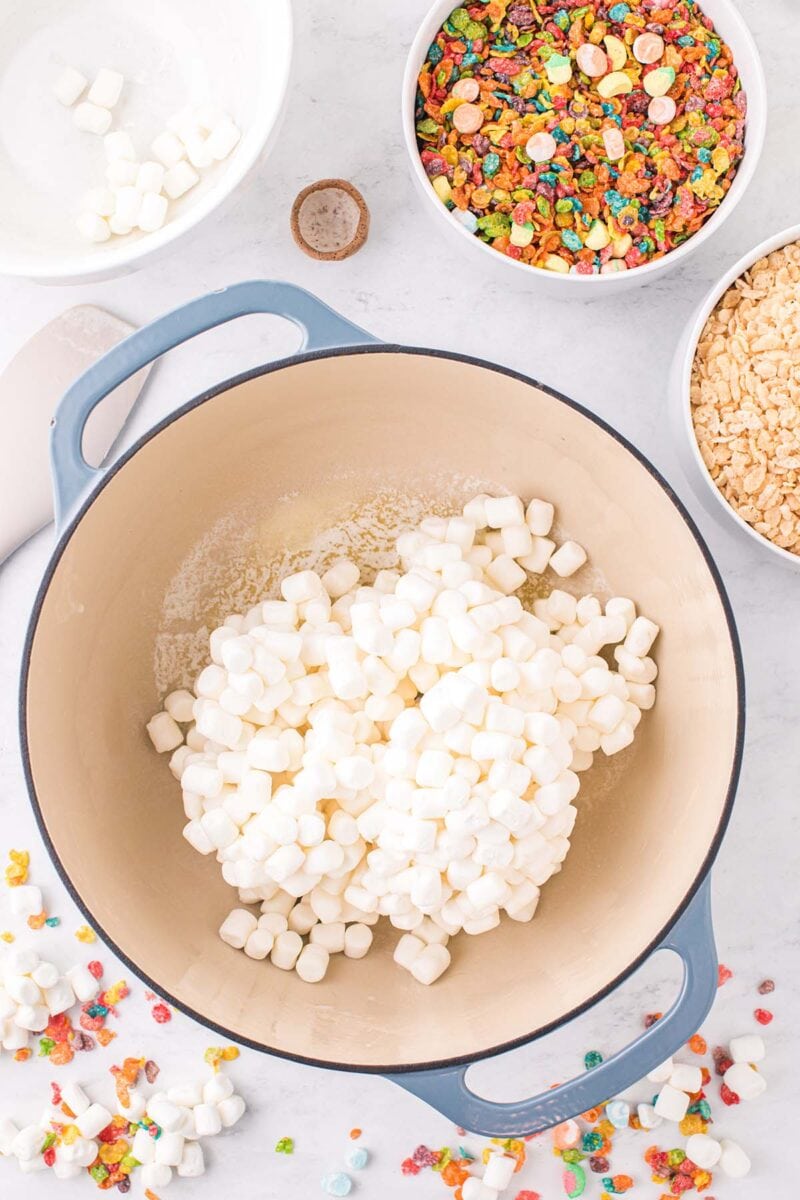
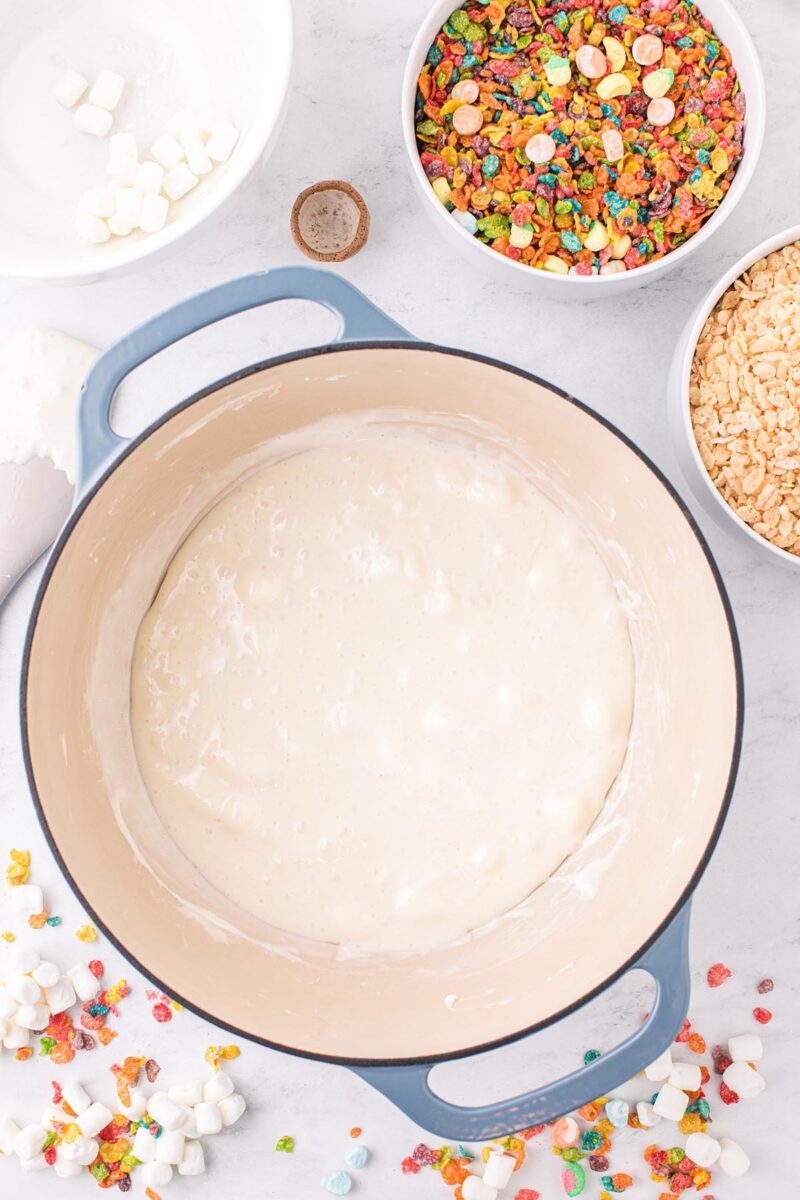
The Gentle Melt: Melt the butter in a large pot over low heat. Once it’s liquid, add the marshmallows and that pinch of salt.
Stir Constantly: Use a silicone spatula to stir until the mixture is smooth and glossy. Remove it from the heat the second the last lump disappears.
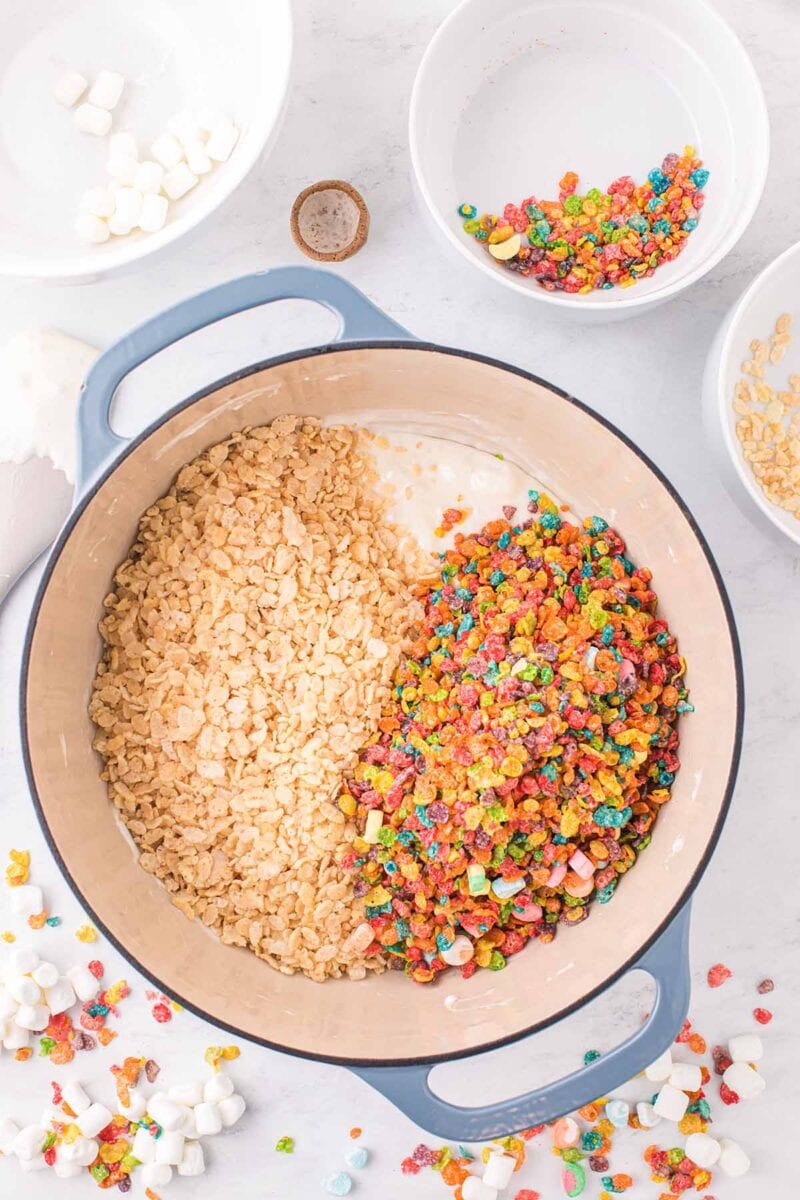
The Big Fold: Gently fold in both cereals. You want to be careful not to crush the cereal flakes so you keep that light texture.
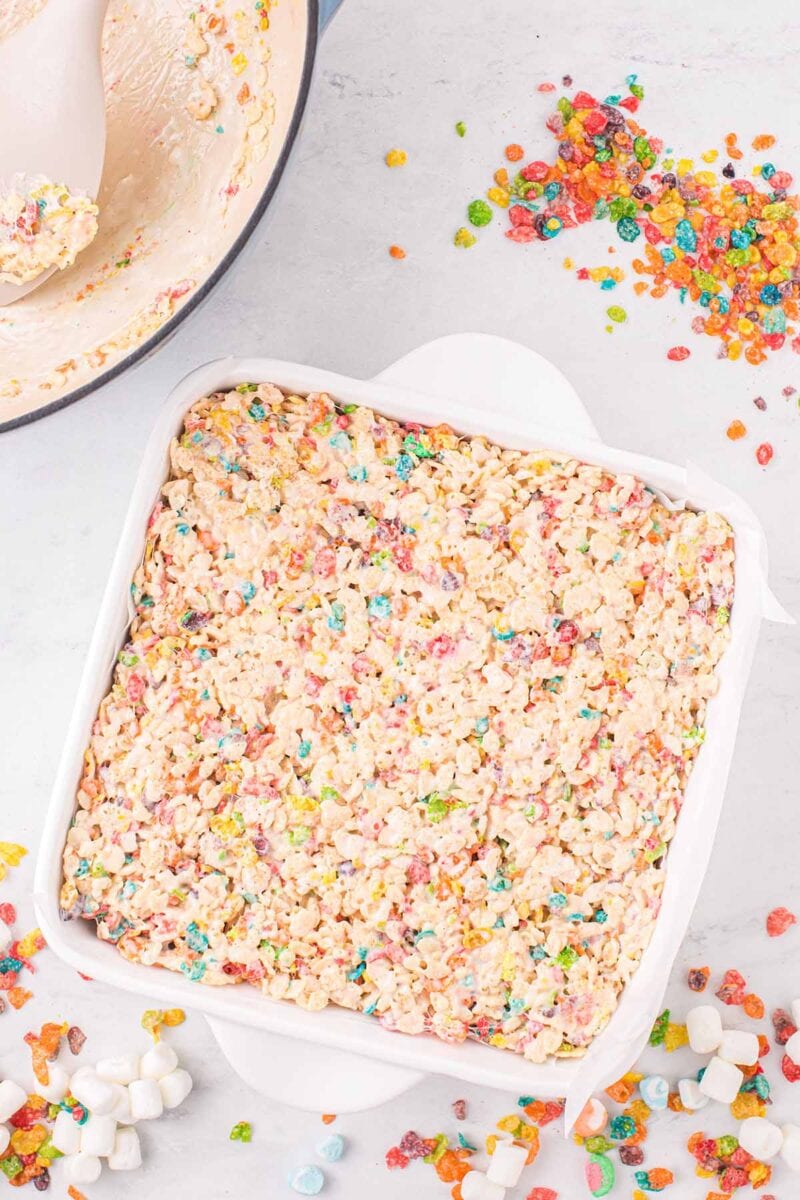
The “Light Touch” Press: Transfer the mixture to your pan. Do not pack it down hard! If you compress them too much, they’ll be tough to bite into. Just lightly pat them into the corners.
Jenn’s Pro Tips for Sucess
- The “Low Heat” Rule: My biggest fail early on was trying to melt marshmallows on high heat to save time. This actually toasts the sugar and makes the treats rock-hard once they cool. Stick to low heat for a soft, gooey bite.
- Butter Your Hands: When I was making these for my kids’ school bake sales, I learned to rub a little butter on my fingers before pressing the mixture into the pan. It keeps the marshmallow from sticking to you!
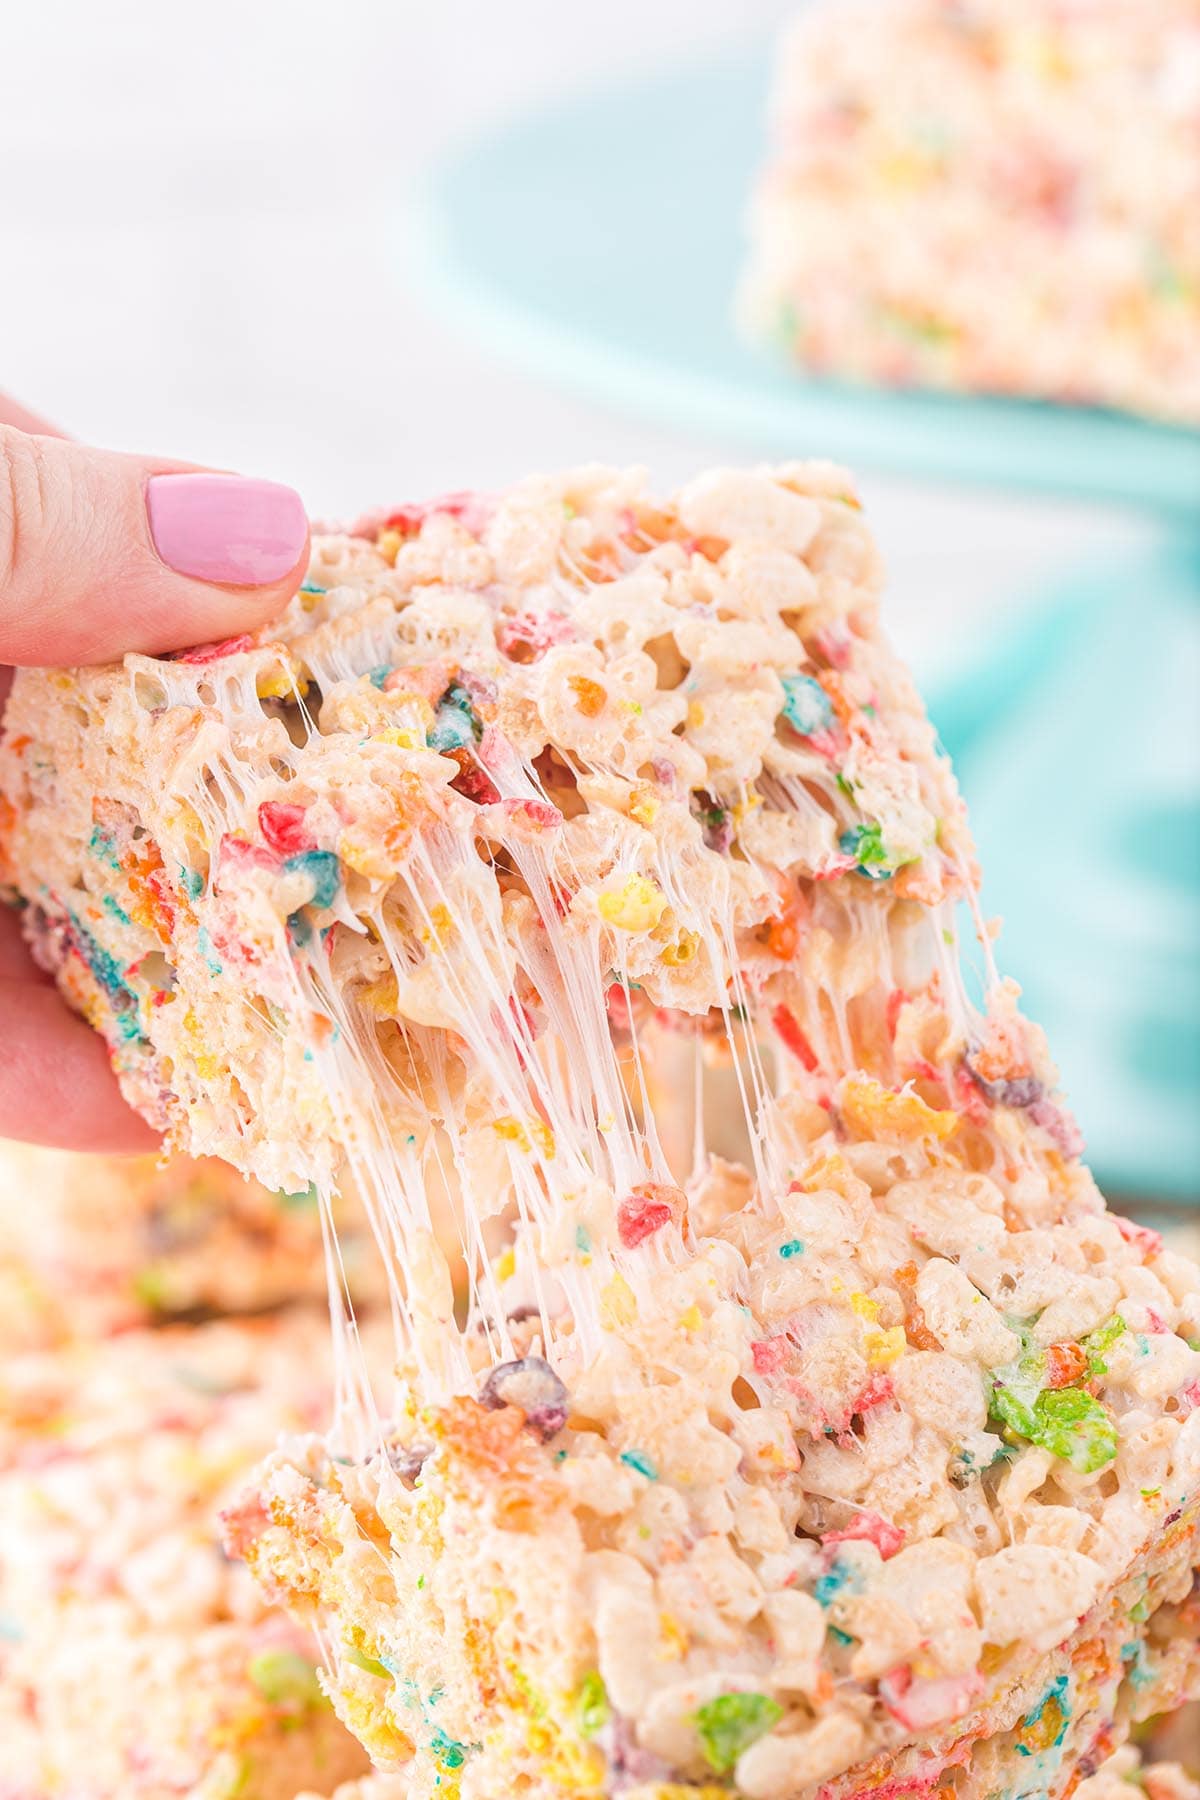
- Freshness Matters: I once tried to use a bag of marshmallows that had been in my pantry for six months. Big mistake! They didn’t melt smoothly. Always start with a fresh, squishy bag for that “pull-apart” texture.
- Sprinkles of Fun: Even though the cereal is colorful, I usually toss a handful of rainbow sprinkles on top while they are still warm. It just adds that extra Princess Pinky Girl touch!
How to Store Rice Krispie Treats
- Room Temperature: Store in an airtight container for up to 3 days. I like to put a piece of wax paper between layers so they don’t fuse together.
- Freezing: These actually freeze beautifully! Wrap individual squares in plastic wrap and pop them in a freezer bag. They’re a great “grab and go” treat for busy weeks. They will keep in the freezer for up to 3 months.
Other Easy Dessert Recipes
- Not Yo Mama’s Banana Pudding
- Rainbow Sprinkle Cookies
- Chocolate Chip Banana Bread Recipe
- Mounds Cake
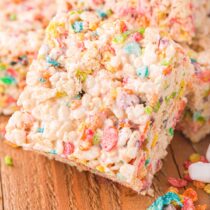
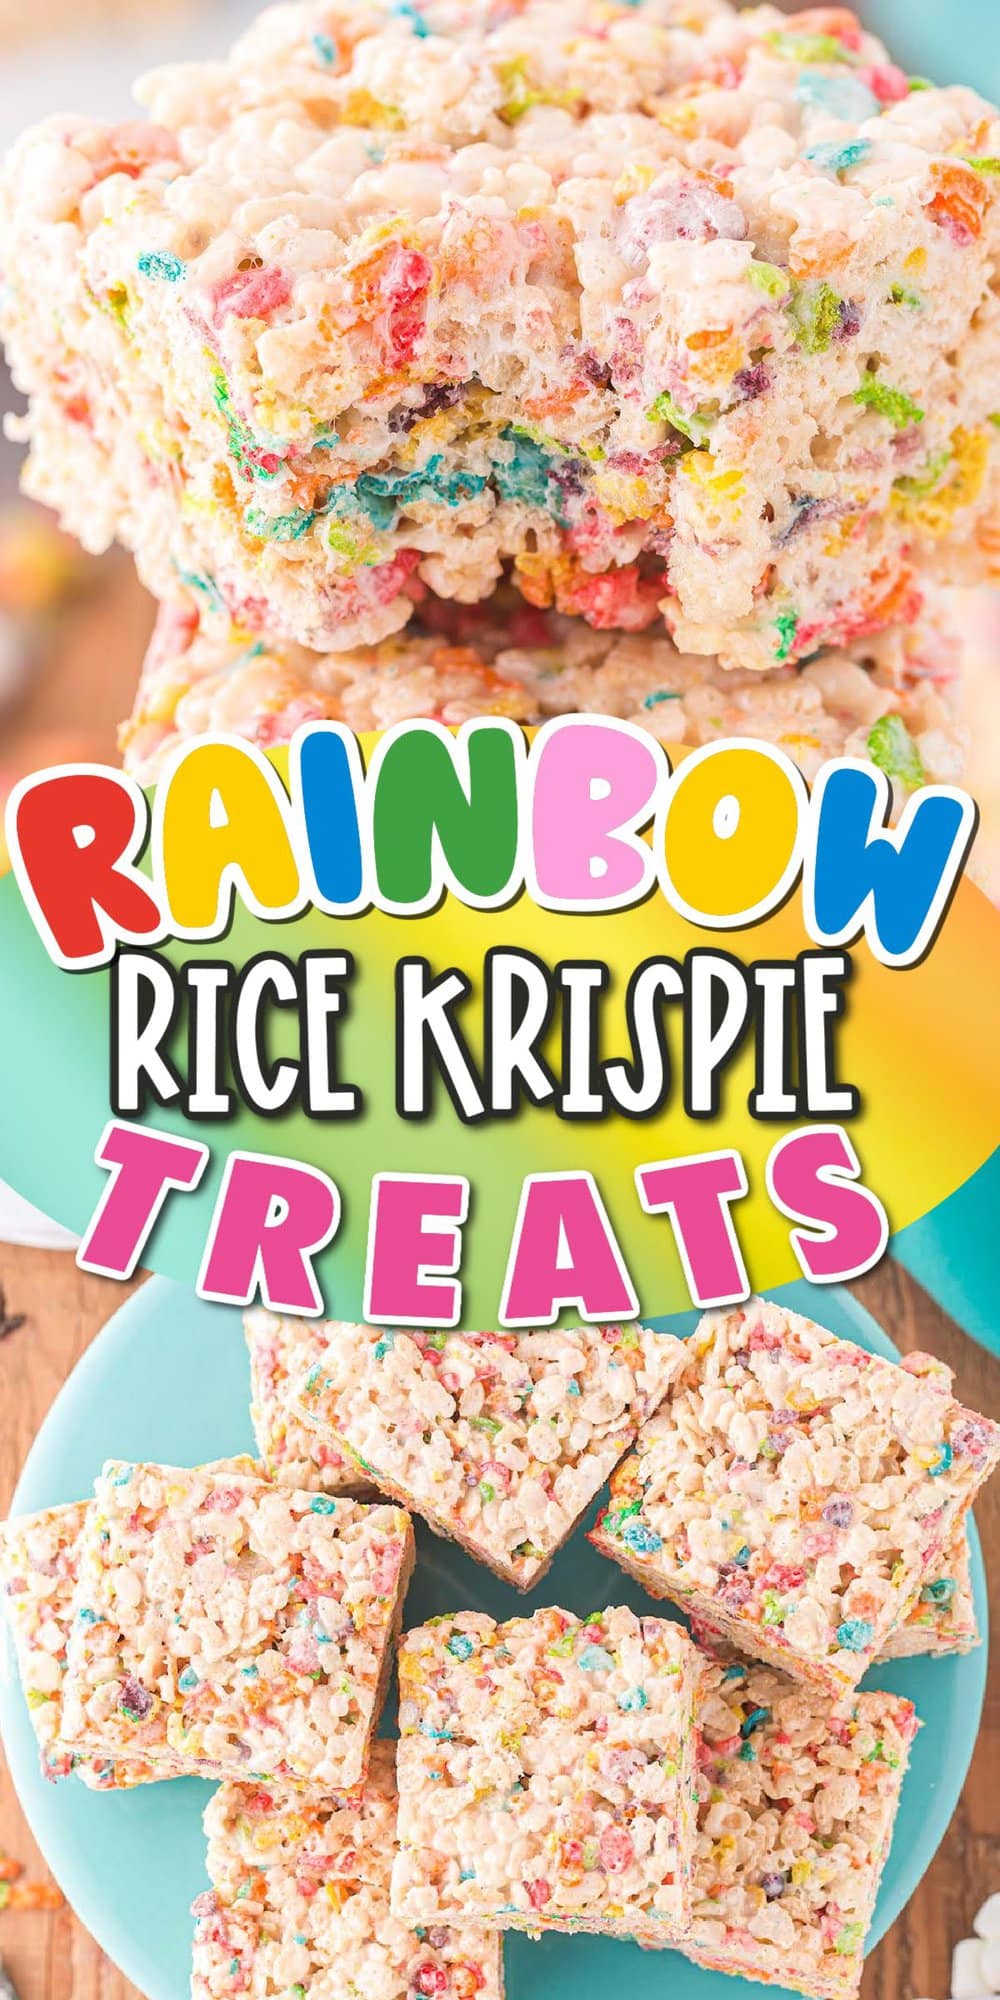
Rainbow Rice Krispie Treats
Ingredients
- ¼ cup (½ stick) salted butter
- 12 ounce bag of marshmallows
- ½ teaspoon salt
- 4½ cups rice krispies cereal
- 2½ cups fruity pebbles with marshmallows cereal
Instructions
- Line a 9×9 inch baking pan with parchment paper and spray it lightly with cooking spray.
- Melt the salted butter in a large saucepan for about 2 minutes over medium-low heat.
- Once the butter has melted, stir in the marshmallows and salt.
- Continue heating over medium-low or low heat, stirring continuously, until the marshmallows are completely melted and smooth, about 2-3 minutes.
- Remove the pan from the heat and gently fold in the rice krispies and fruity pebbles with marshmallows until all the cereal is evenly mixed into the marshmallow mixture.
- Scoop the resulting mixture into the prepared baking pan and smooth it into an even layer with a spreader or your clean hands.
- Cool completely before cutting into squares and serving.
Jenn’s Notes
- To Store: Rainbow Rice Krispie Treats can be stored at room temperature for up to 3-4 days or in the refrigerator for up to a week.
- To Freeze: To freeze, wrap the Rainbow Rice Krispie Treats tightly in plastic wrap and place them in an airtight container or freezer bag. They will keep in the freezer for up to 3 months.
- Make sure to use the correct amount of butter as specified in the recipe so that the texture and flavor turn out correctly. Otherwise the treats will be dry and crumbly.
- Don’t overheat your marshmallows or you will end up with hard, difficult-to-bite treats.
- Using stale cereal can result in treats with an unpleasant texture. I always recommend using fresh, new cereal for this recipe. Afterward, you can enjoy a nice bowl of cereal as well!


Can you use pastel colored marshmallows?
Absolutely!
These look so yummy! I would have never really thought to put sprinkles in them but that’s a great idea! I’ve also made these with fruity pebbles and cocoa pebbles which is so amazing! Thanks for sharing, definitely making these this week 🙂