This post may contain affiliate links. Please read our disclosure policy.
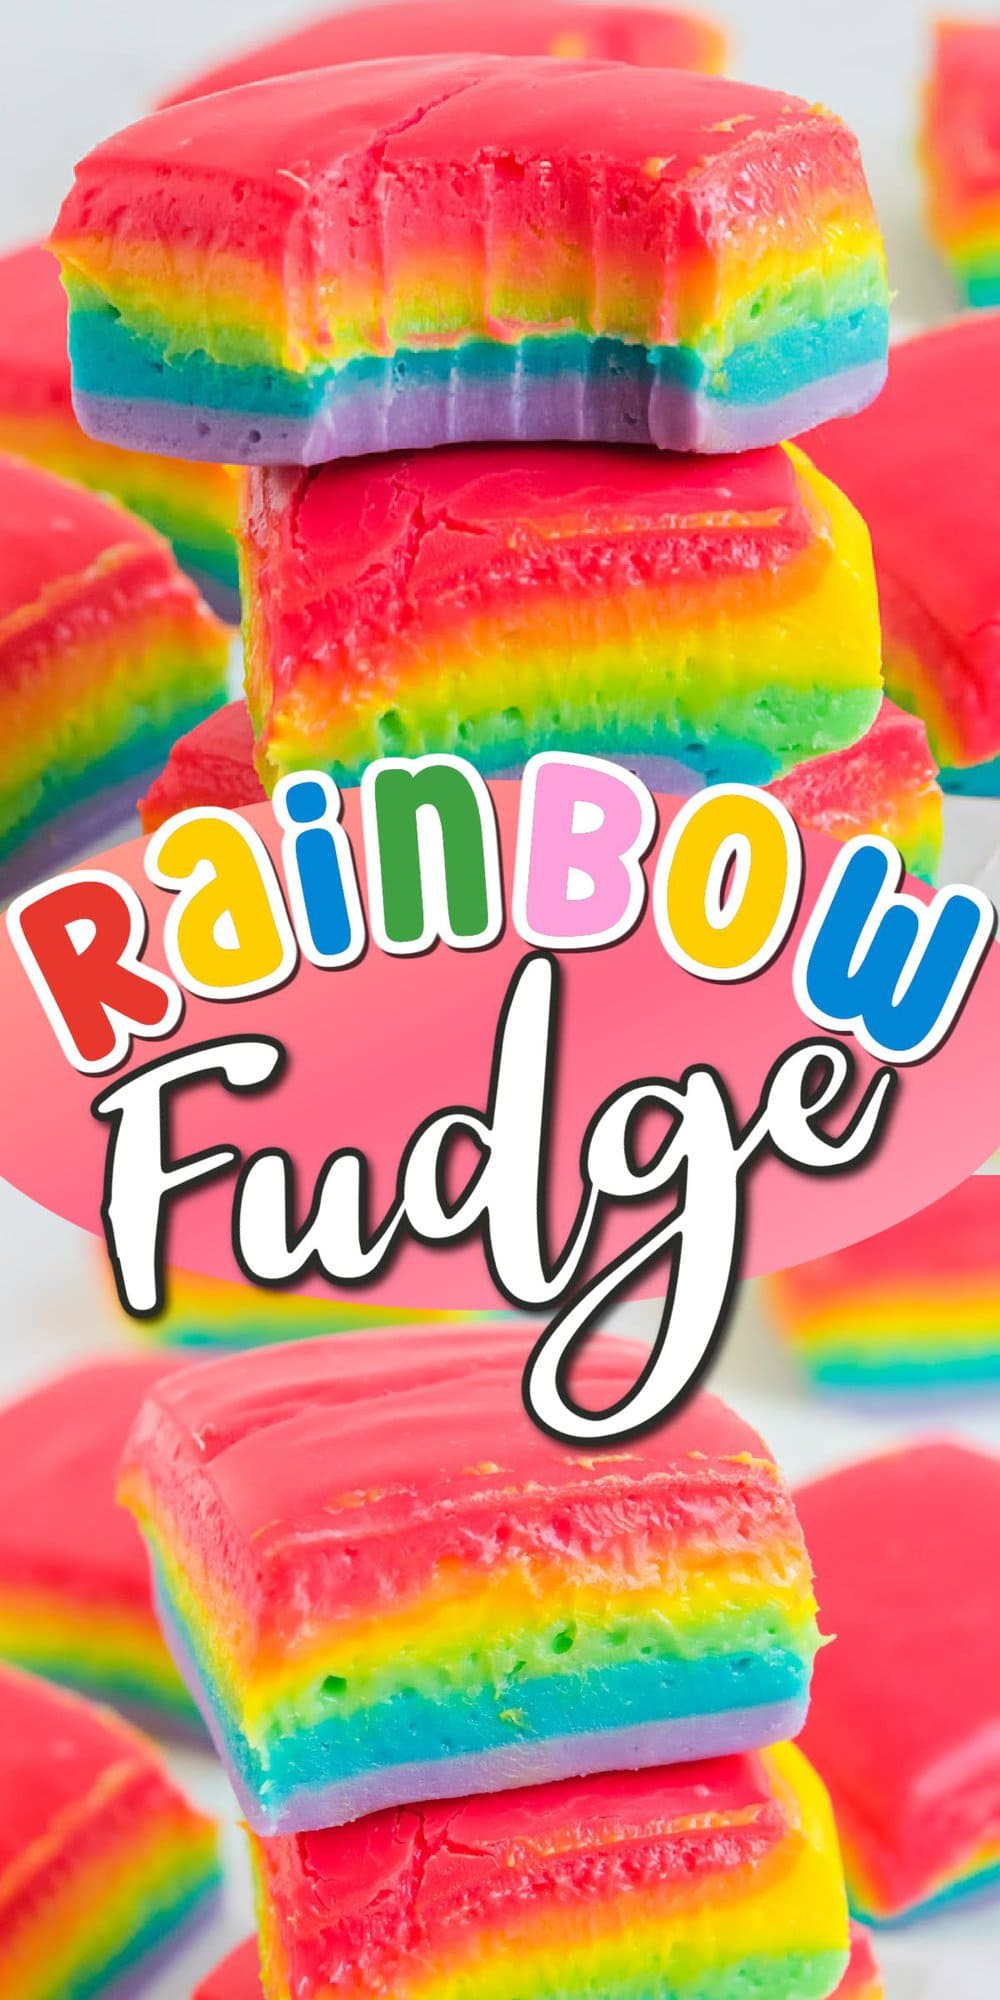
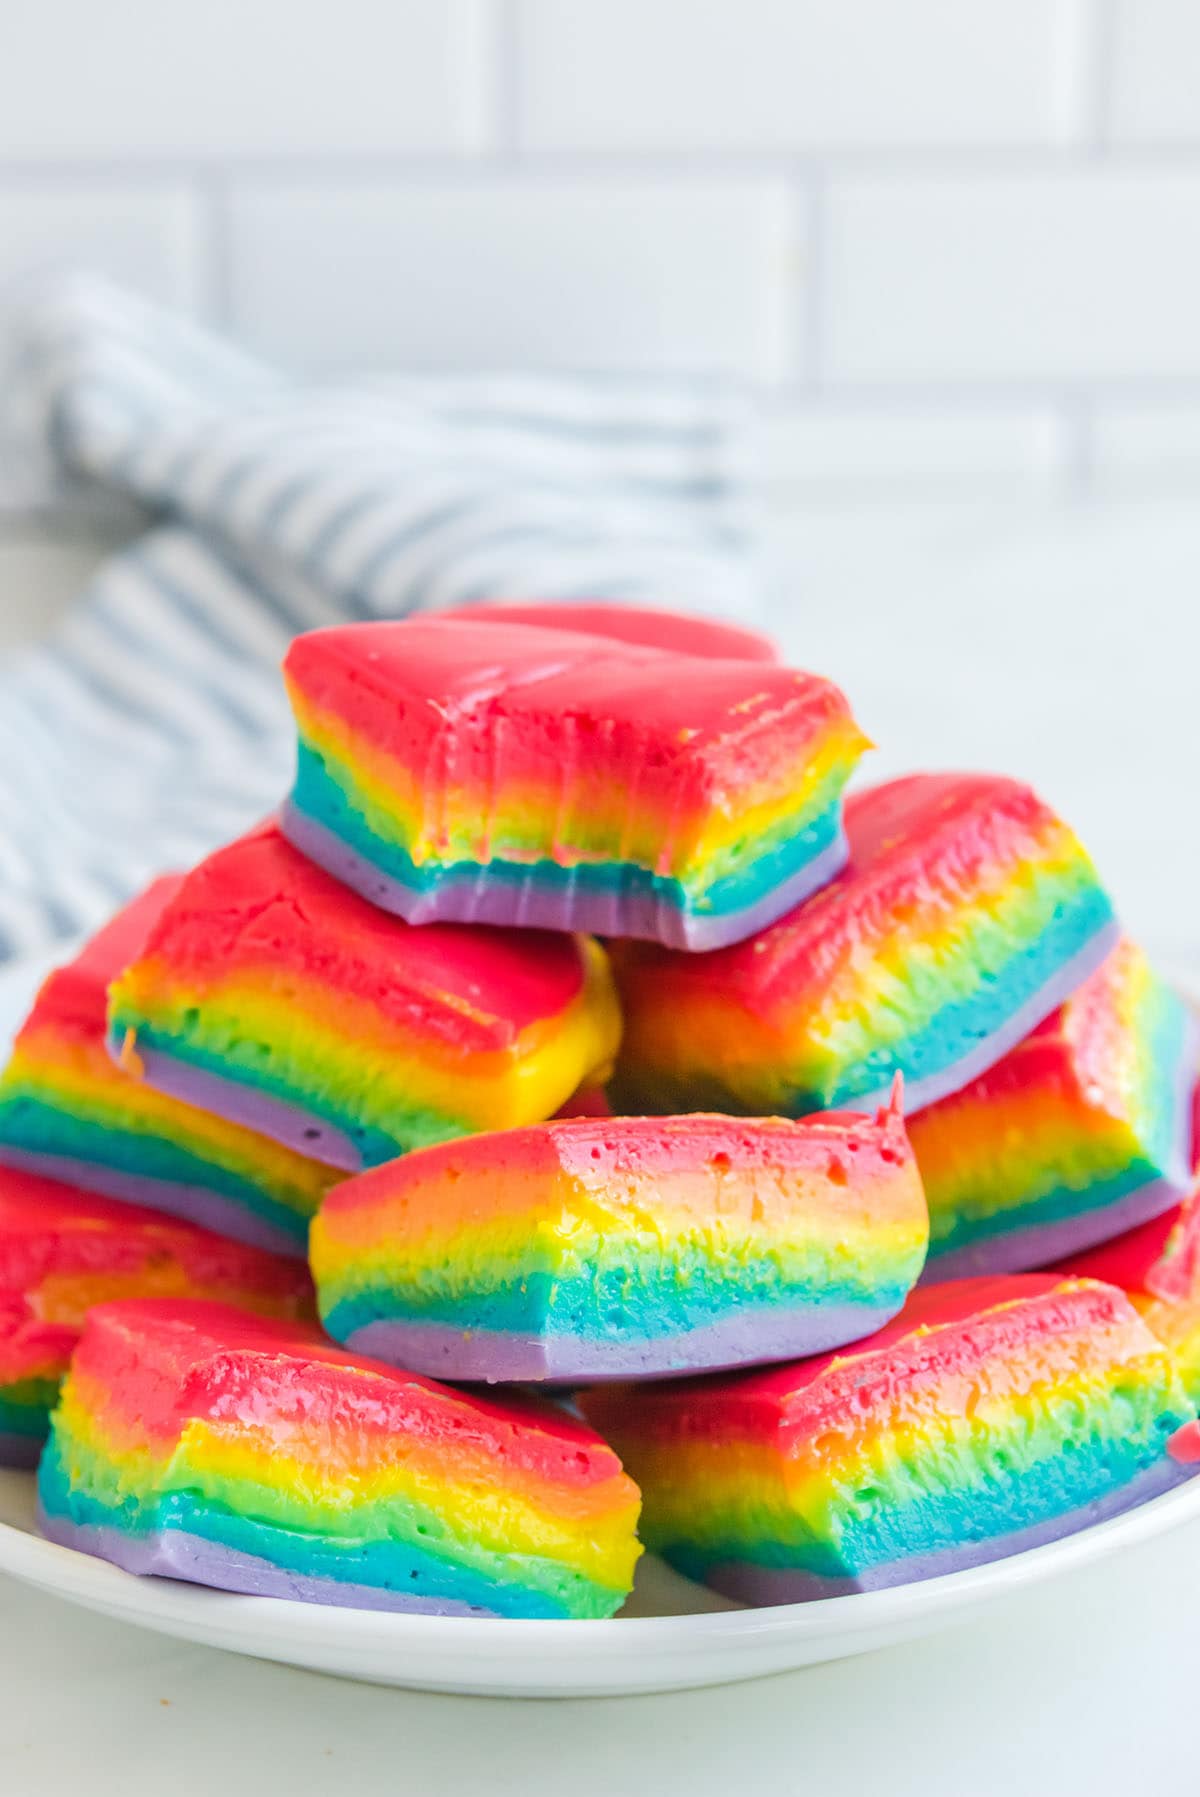
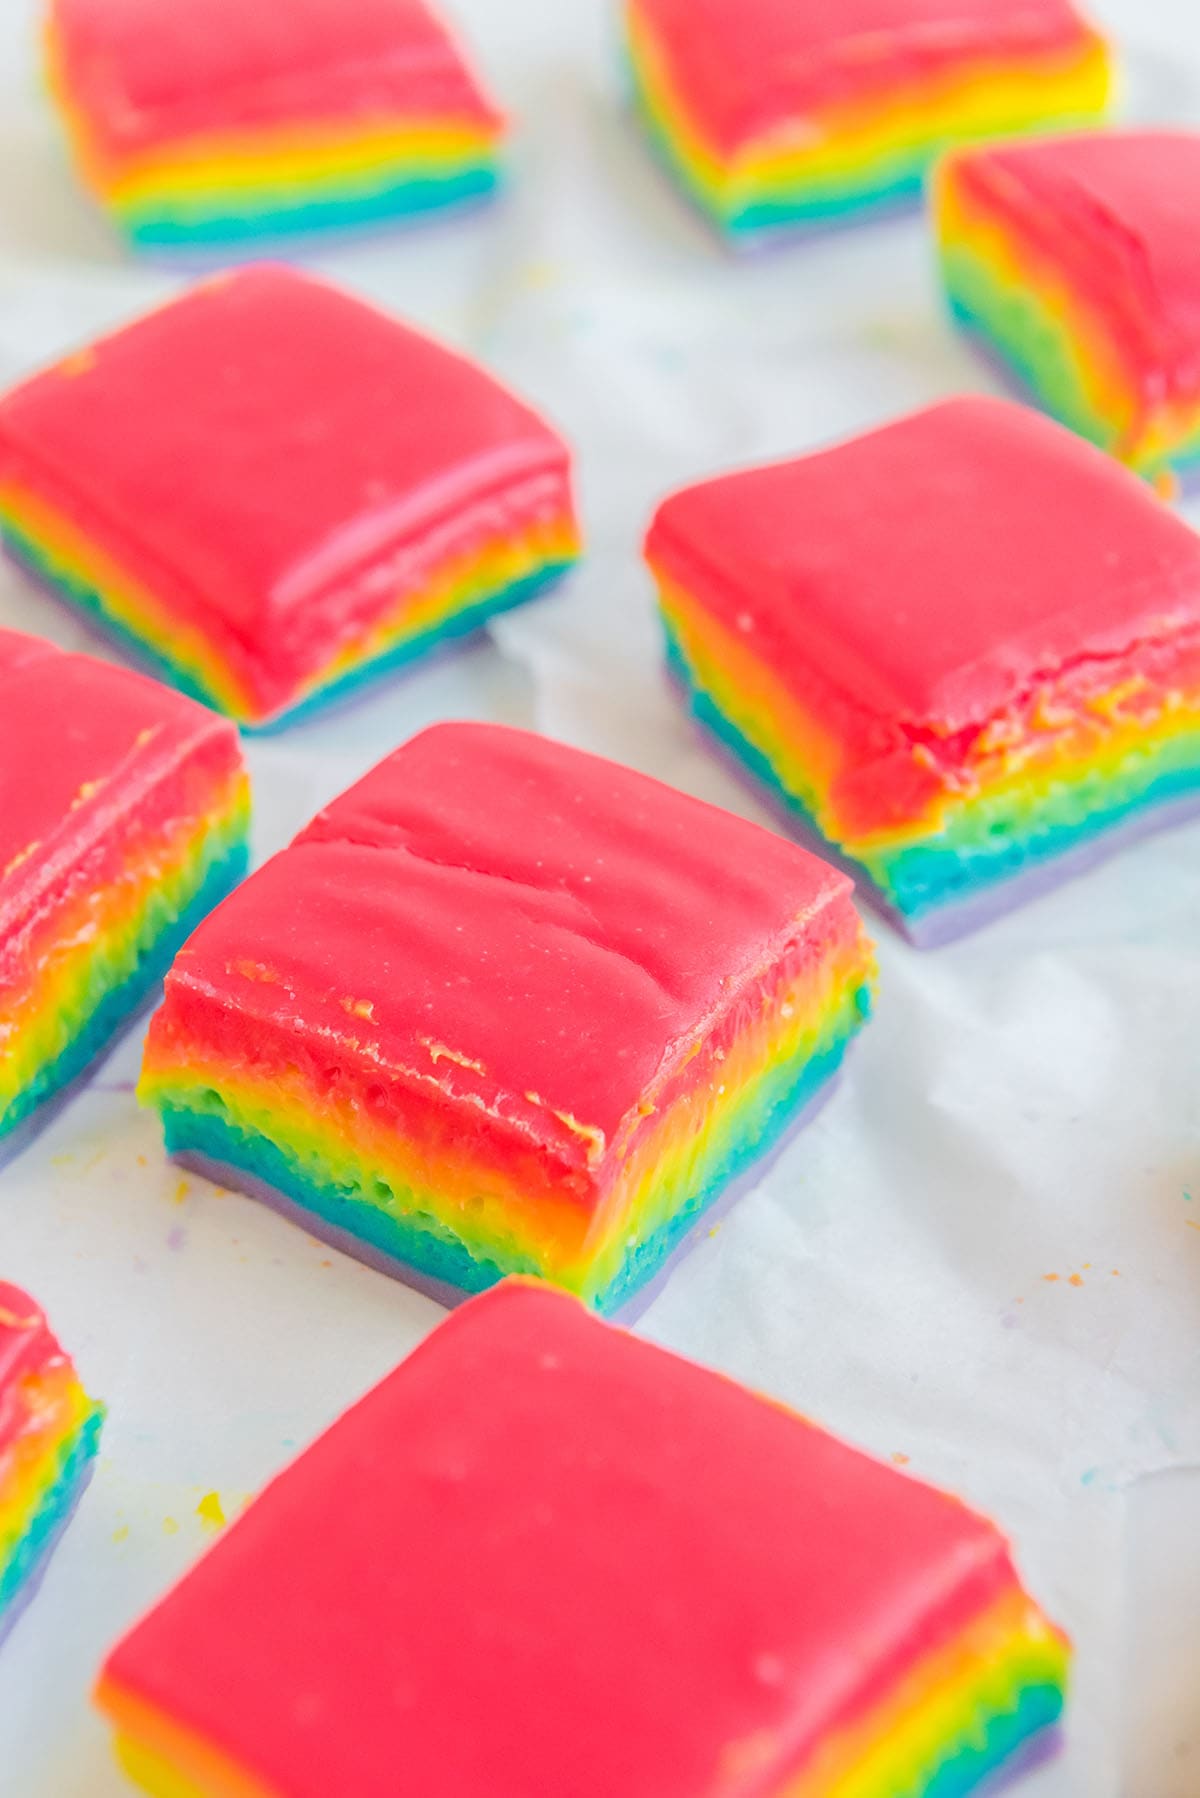
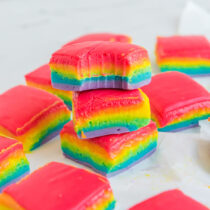
Rainbow Fudge captures your taste buds with its classic, creamy sweetness; each colorful layer echoing the familiar comfort of vanilla. It’s a simple 5-ingredient recipe, perfect for a fun and easy homemade treat.

Easy Rainbow Fudge
Our fool-proof Rainbow Fudge is super easy to make using minimal ingredients and a microwave – no candy thermometer or special equipment is needed.
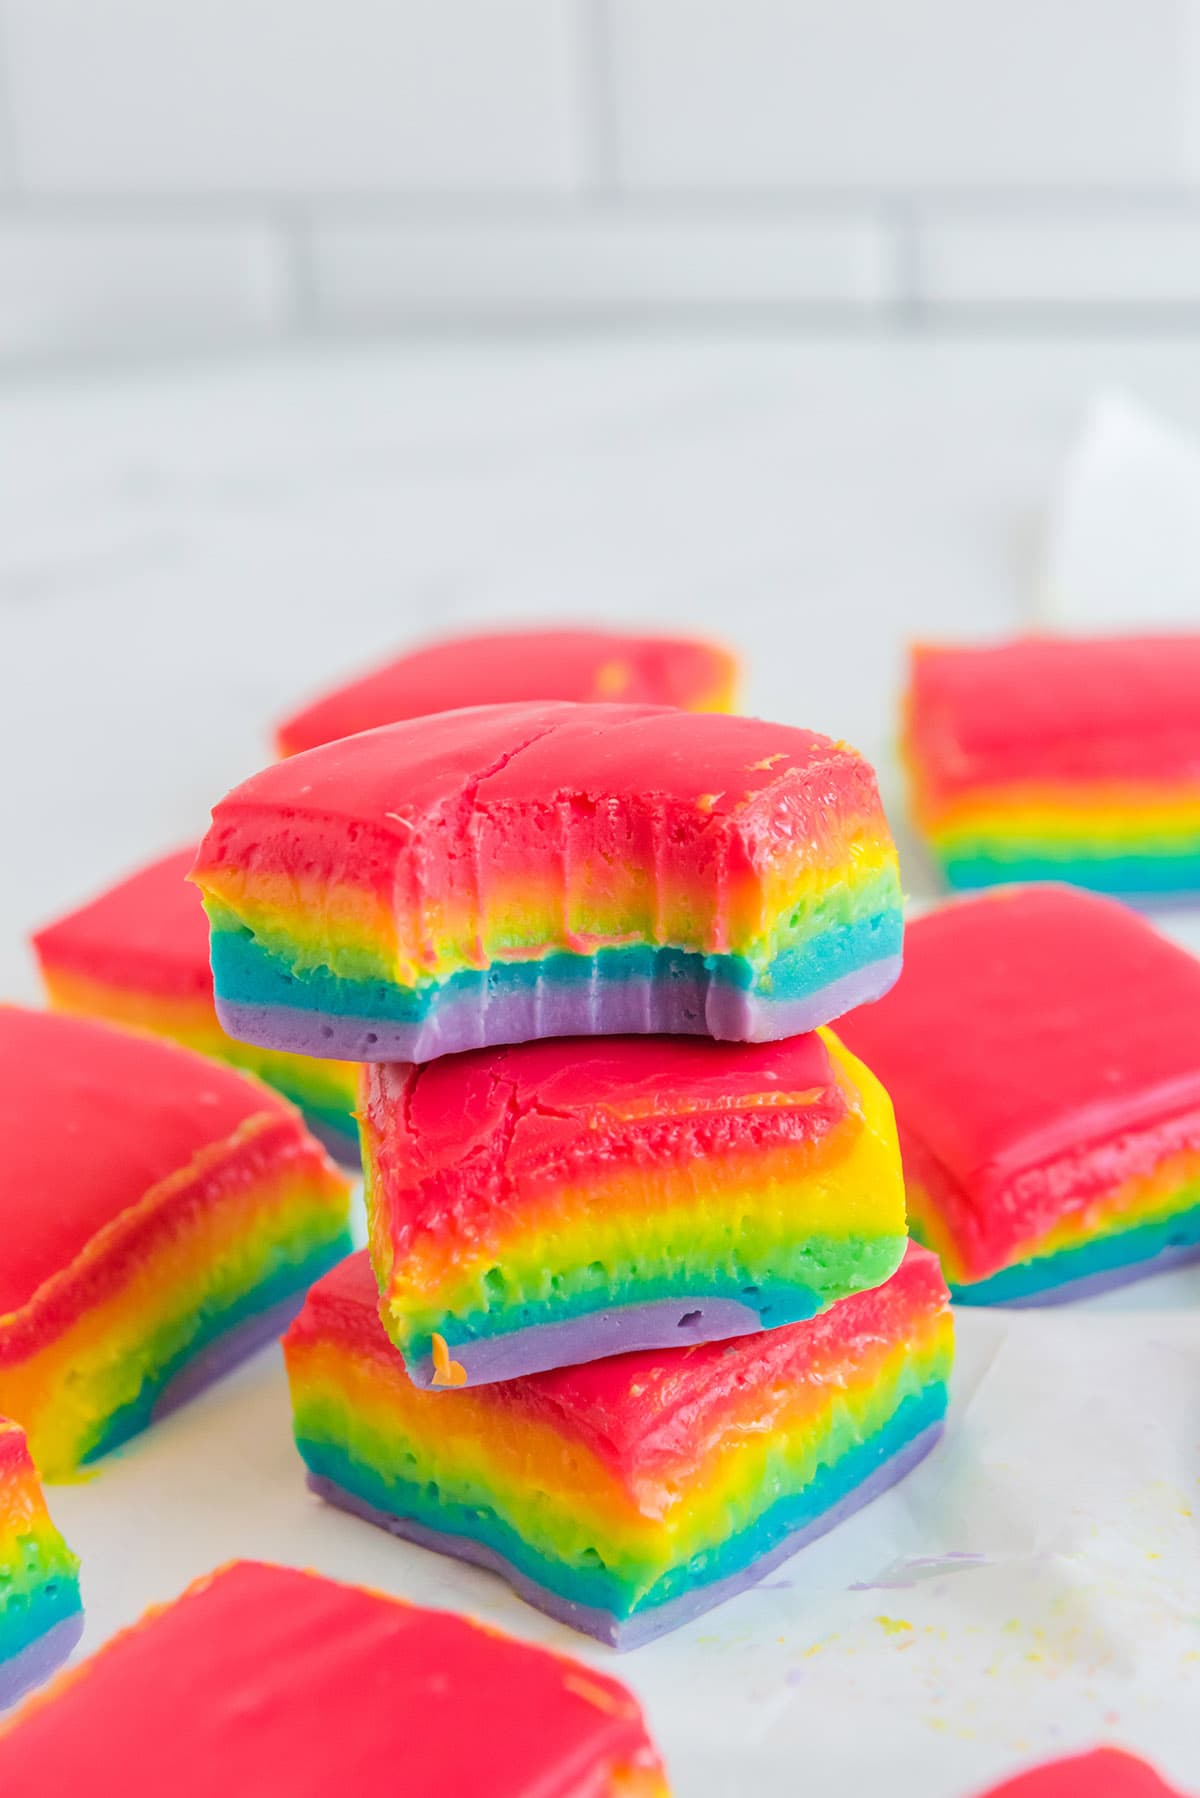
This rainbow white chocolate fudge is prepared in 6 separate layered stripes instead of swirling the colors throughout the vanilla mixture.
This recipe is really easy despite its intricate rows of red, orange, yellow, green, blue, and purple; trust me when I tell you that 6 simple squirts of vibrant food gels make the most magnificent dessert with fun colors in every slice.
Why We Love Rainbow Fudge
- Quick and easy to make.
- Uses only 4 simple ingredients plus food coloring.
- Brilliantly bright and bold no-bake dessert that’s fun to make with kids.
- Straight forward way to cook soft and creamy candy because it doesn’t require a thermometer or special equipment.
- Perfect for birthday parties, unicorn parties, Pride month, Easter and St. Patrick’s Day celebrations, or just to make your day more colorful.
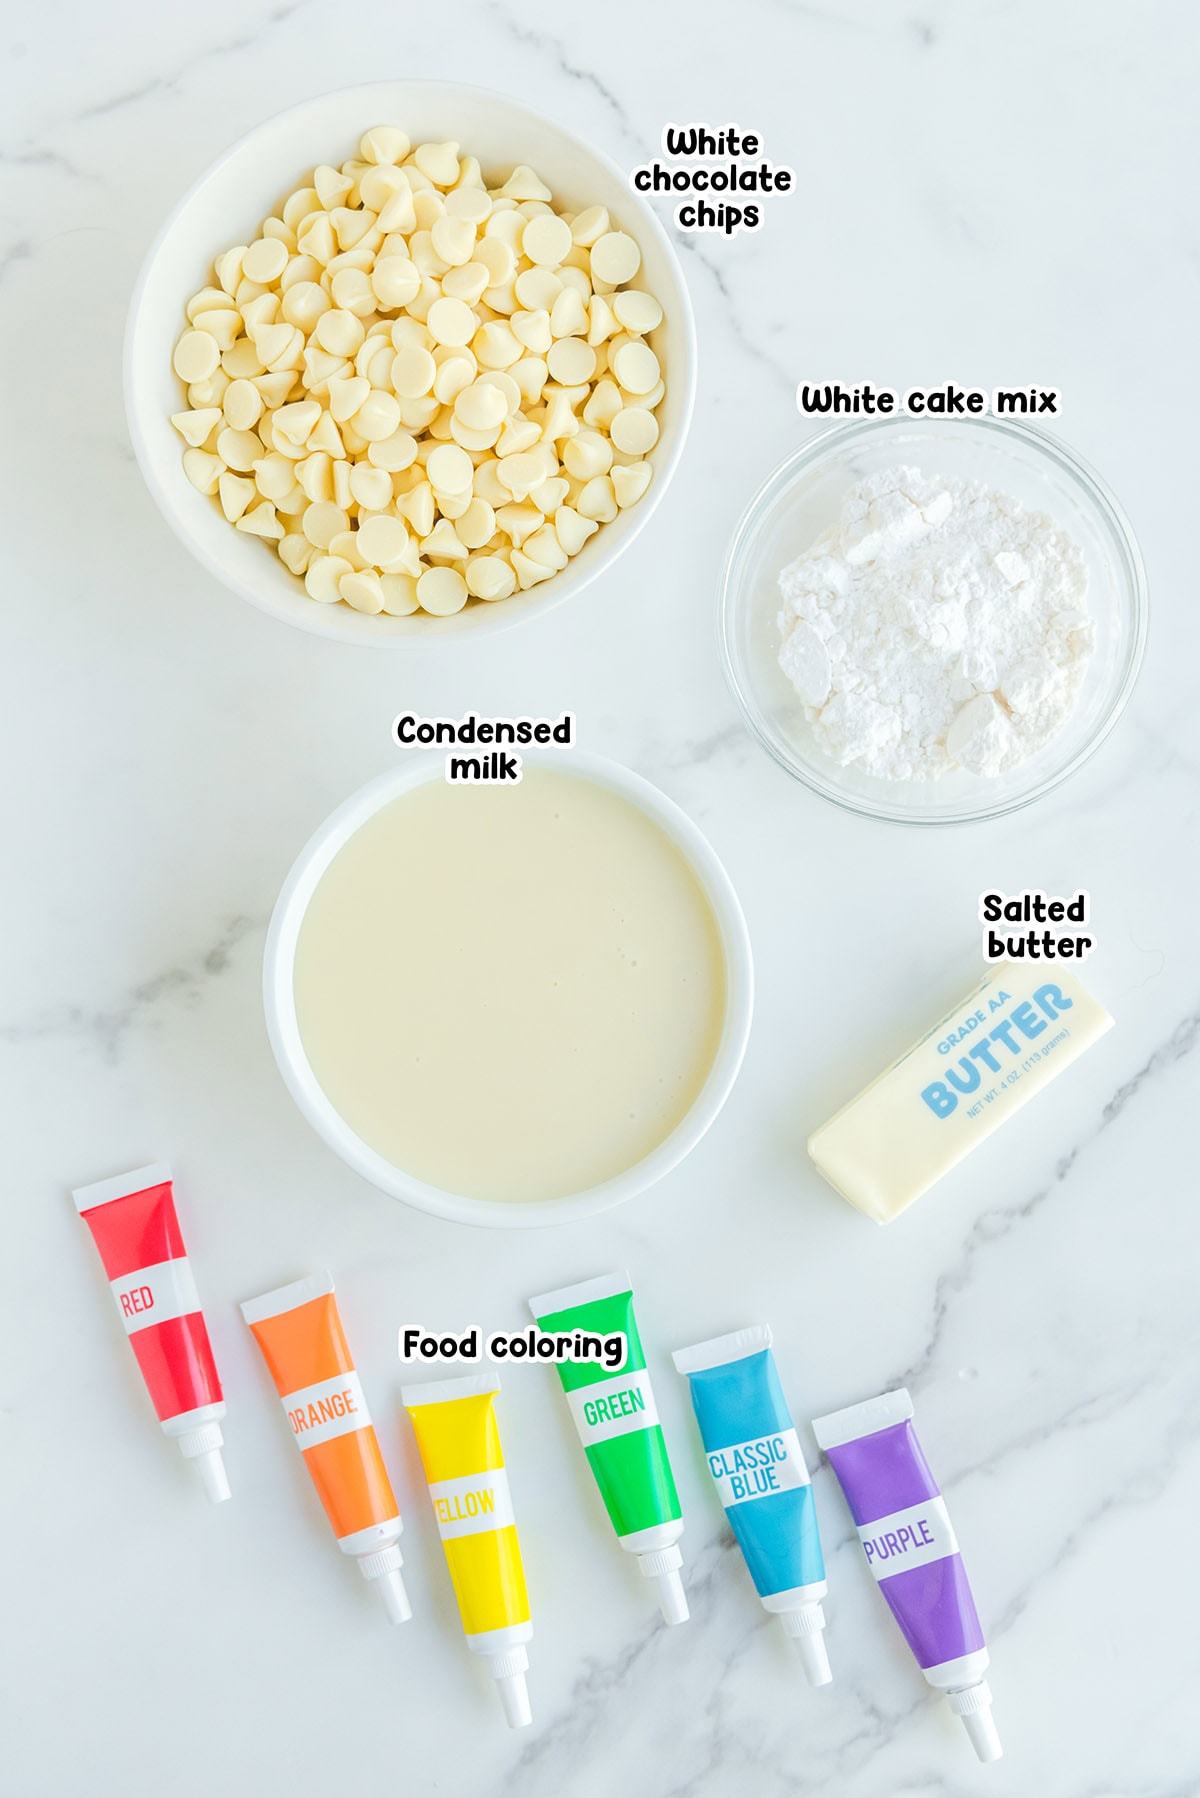
Rainbow Fudge Ingredients
- White chocolate chips
- Sweetened condensed milk
- Salted butter
- White cake mix
- Red, Orange, Yellow, Green, Blue, and Purple gel food coloring
Substitutions and Additions
- Choose Your Chocolate: Feel free to try this recipe with white baking chocolate or almond bark instead of white chocolate chips. I recommend a high-quality chocolate, otherwise the taste and consistency might be off.
- Customize Your Colors: This recipe is so easy to customize for any themed party or holiday. Simply switch up the colors to match your celebration. Make yellow and orange layers for Halloween, red, pink, and white for Valentine’s Day, or red and green for Christmas.
Recommended Tools
- 8×8 pan
- Parchment paper
- Microwave safe bowls
How to Make Rainbow Fudge
- Prepare: Prepare the pan – see the best way to prep your pan for easy removal of the fudge below. Also, be sure to heat treat the cake mix. The detailed how-to can be found below as well.
- Cook The Candy: Divide the white chocolate chips into 6 bowls and top with butter. Microwave each bowl separately for 45 seconds, stir, and microwave for another 45 seconds.
Pro Tip: Be sure not to over-stir. The chocolate will be smooth and melted but still thick. There may also be chocolate chunks inside however they will melt. - Make The Fudge Mixture: Add in condensed milk, stir, and then fold in the cake mix.
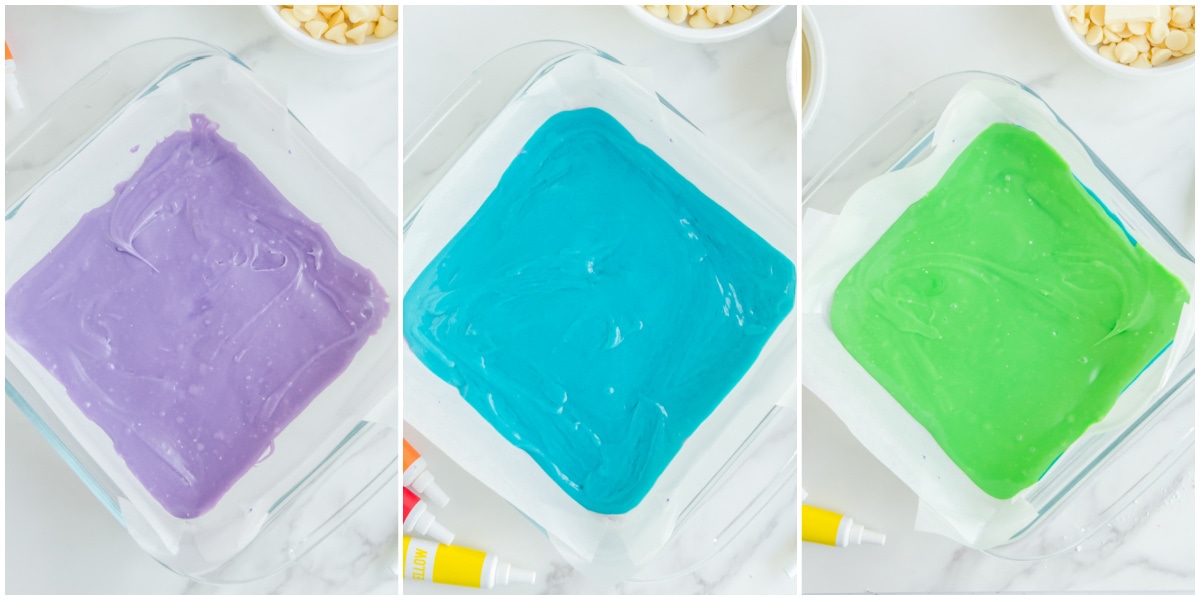
- Prepare The Purple Layer: Add purple food coloring gel to the first bowl and mix to fully blend. Pour and spread into the bottom of the pan. Chill in the refrigerator for about 5-10 minutes before continuing.
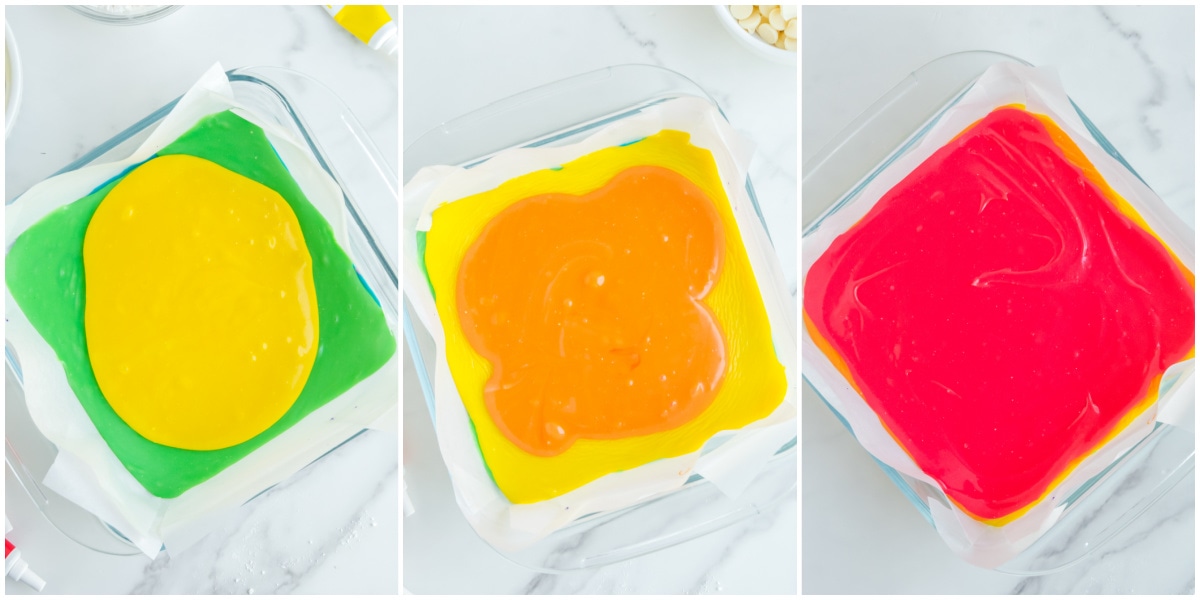
Pro Tip: The fudge will want to harden quickly so work fast and use both hands to spread and hold the parchment paper in place. - Color The Remaining Candy: Repeat the cooking, coloring, and layering steps for each color, starting with the blue layer, then the green layer, yellow layer, orange layer, and finally the red layer.
- Chill: Allow the entire fudge to chill inside the refrigerator for 6 hours or overnight before serving.
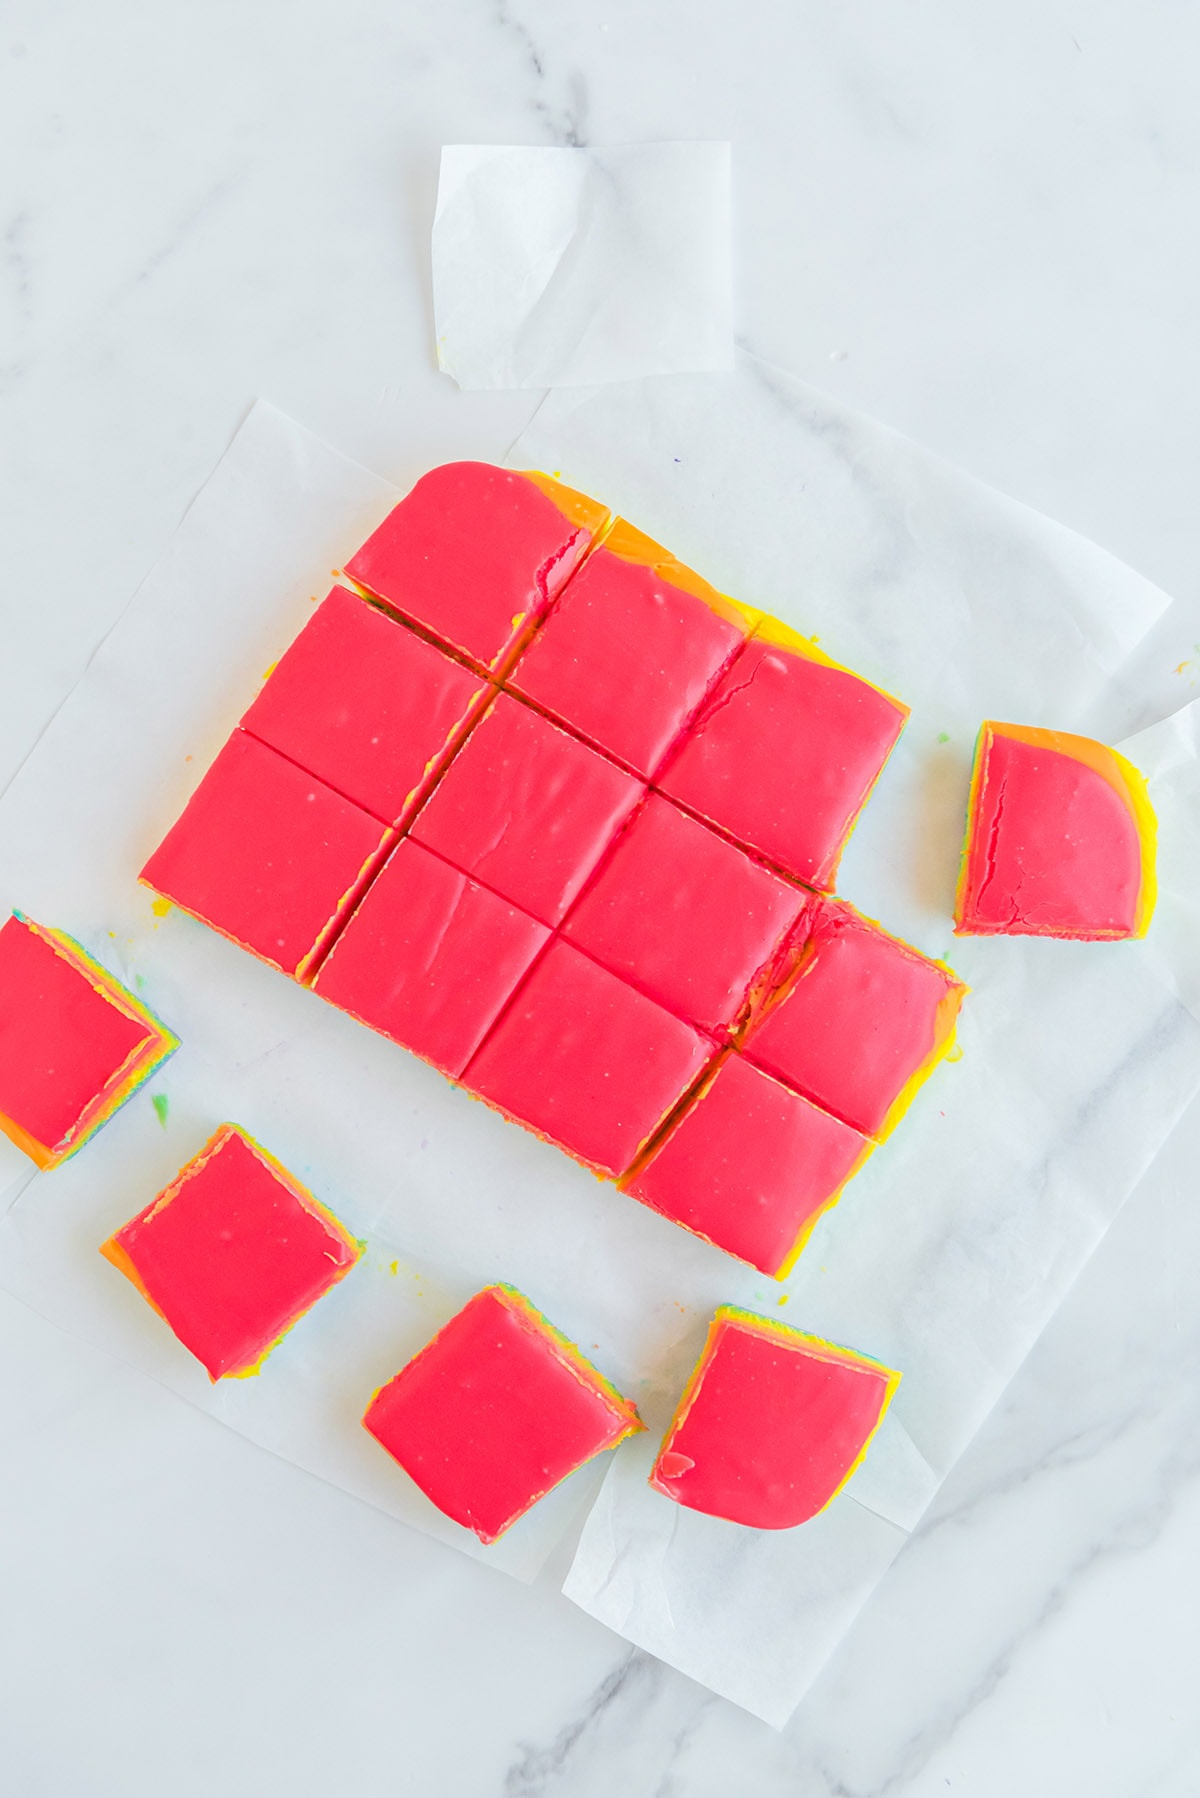
- Slice and Serve: Cut the fudge into 16 equal squares. Serve and enjoy!
How To Heat Treat Cake Mix
To heat treat your cake mix in the microwave, heat the cake mix in a microwave-safe bowl for (2) 30-second intervals, stirring in between. Allow the cake mix to come to room temperature before using.
To heat treat your cake mix in the oven, place the cake mix on a large cookie sheet prepared with parchment paper. Evenly spread your cake mix out to cover the entire sheet. Cook the cake mix at 350 degrees for 5 minutes and allow it to come to room temperature before use.
How To Prepare The Pan For Your Fudge
- To best prepare an 8×8 baking dish with parchment paper, first take a sheet of parchment large enough to cover the dish and about 2 inches overhang.
- Using your thumbs and index fingers, press the parchment paper down into the dish, extending your fingers strongly into the corner to make an indention. Remove your fingers and the parchment paper.
- Using a pair of scissors, cut the parchment paper in 8 places; two cuts leading to each indentation from both sides of the paper. You may need to cut an excess amount of parchment paper off from the longer sides depending on the size of your rolled or pre-cut parchment paper.
- There should be about 2 inches from each indentation to the end of the paper. Be sure your cuts do not touch one another.
- When done, place the parchment paper back into the dish, tucking the corners properly behind the parchment sides. Press the paper with your fingers along the edges of the dish to shape it even further. It should hold up nicely.
Tips For Making Rainbow Fudge
- This fudge is best served chilled.
- Be sure to store this fudge in an air-tight container inside the refrigerator.
- I use a traditional gel food coloring package for this recipe as well as a neon food coloring. Between the two packages, you will have all 6 colors.
- Do not use food coloring drops for this recipe, we recommend gel food coloring.
How to Store Rainbow Fudge
- To Store: Store any leftovers in an airtight container in the refrigerator for up to 7 days.
- To Freeze: For longer storage, tightly wrap the fudge with plastic wrap and then place it in an airtight container or freezer-safe plastic bag for up to 3 months.
More Easy Fudge Recipes
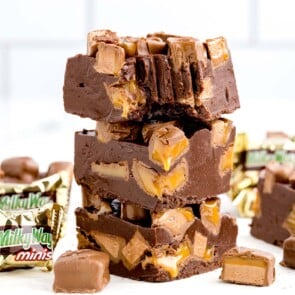
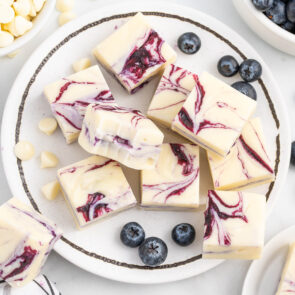
More Homemade Fudge Recipes
Rainbow Fudge
Ingredients
- 1½ bags (11 oz bags) white chocolate chips
- 1½ cans (14 oz cans) condensed milk
- 6 tablespoons salted butter softened at room temperature, divided
- 6 tablespoons white cake mix divided (heat treated, see directions below)
- Red Orange, Yello, Green, Blue, Purple gel food coloring
Instructions
- Prepare a 8×8 pan with parchment paper. See notes for general tips.
- Divide white chocolate chips into 6 even (microwave safe) bowls. This will measure out to be about ⅓ cup + 1 tablespoon of chocolate. Top with 1 tablespoon of butter in each bowl.
- Working one bowl at a time, microwave on 50% power for 45 seconds. Stir gently afterwards and return to the microwave for another 45 seconds on 50% powder. Stir gently, be sure not to over stir. The chocolate will be smooth and melted but still thick. (There may also be chocolate chunks inside however they will melt in step 4).
- Add in ⅓ cup of condensed milk immediately and stir.
- Fold in 1 tablespoon of cake milk and stir again.
- Starting with the purple food coloring gel, add gel to the bowl, about (4-5) 3-inch lines back and forth, and mix until fully blended. Add more gel if desired.
- Pour fudge out into the bottom of the 8×8 pan and spread gently using the back of your spoon. The fudge will want to harden quickly so work fast and use both hands to spread and hold the parchment paper in place.
- Place inside the refrigerator and allow to chill for about 5-10 minutes before continuing.
- Repeat steps 3-7 for each color working blue next then green, yellow, orange and finally red.
- Allow the entire fudge to chill inside the refrigerator for 6 hours or overnight before serving.
- When ready to serve, remove fudge from the dish by pulling up on the parchment paper. Cut carefully with a sharp knife into 16 equal squares by making 3 cuts in either direction.
- This fudge is best served chilled.
- Be sure to store this fudge in an air-tight container inside the refrigerator.
Jenn’s Notes
- To Store: Store any leftovers in an airtight container in the refrigerator for up to 7 days.
- To Freeze: For longer storage, tightly wrap the fudge with plastic wrap and then place it in an airtight container or freezer-safe plastic bag for up to 3 months.
- I use a traditional gel food coloring package for this recipe as well as neon food coloring. Between the two packages, you will have all 6 colors.
- Do not use food coloring drops for this recipe.
- To best prepare an 8×8 baking dish with parchment paper, first take a sheet of parchment large enough to cover the dish and about 2 inches overhang. Using your thumbs and index fingers, press the parchment paper down into the dish, extending your fingers strongly into the corner to make an indention. Remove your fingers and the parchment paper. Using a pair of scissors, cut the parchment paper in 8 places; two cuts leading to each indentation from both sides of the paper. You may need to cut excess amount of parchment paper off from the longer sides depending on the size of your rolled or pre-cut parchment paper. There should be about 2 inches from each indention to the end of the paper. Be sure your cuts do not touch one another. When done, place the parchment paper back into the dish, tucking the corners properly behind the parchment sides. Press the paper with your fingers along the edges of the dish to shape it even further. It should hold up nicely.
- MICROWAVE INSTRUCTIONS for heat treating cake mix: To heat treat the cake mix, microwave the cake mix in a microwave safe bowl for (2) 30-second intervals stirring in between. Allow the cake mix to come to room temperature before using.
- OVEN INSTRUCTIONS for heat treating cake mix: place cake mix on a large cookie sheet prepared with parchment paper. Evenly spread your cake mix out to cover the entire sheet. Cook cake mix at 350 degrees for 5 minutes and allow it to come to room temperature before use.
- This dish is sweet! The primary flavor of this fudge comes from the white chocolate with the secondary flavors being the condensed milk.
- To create evenly cut squares, wash knife in between cuts.