This post may contain affiliate links. Please read our disclosure policy.
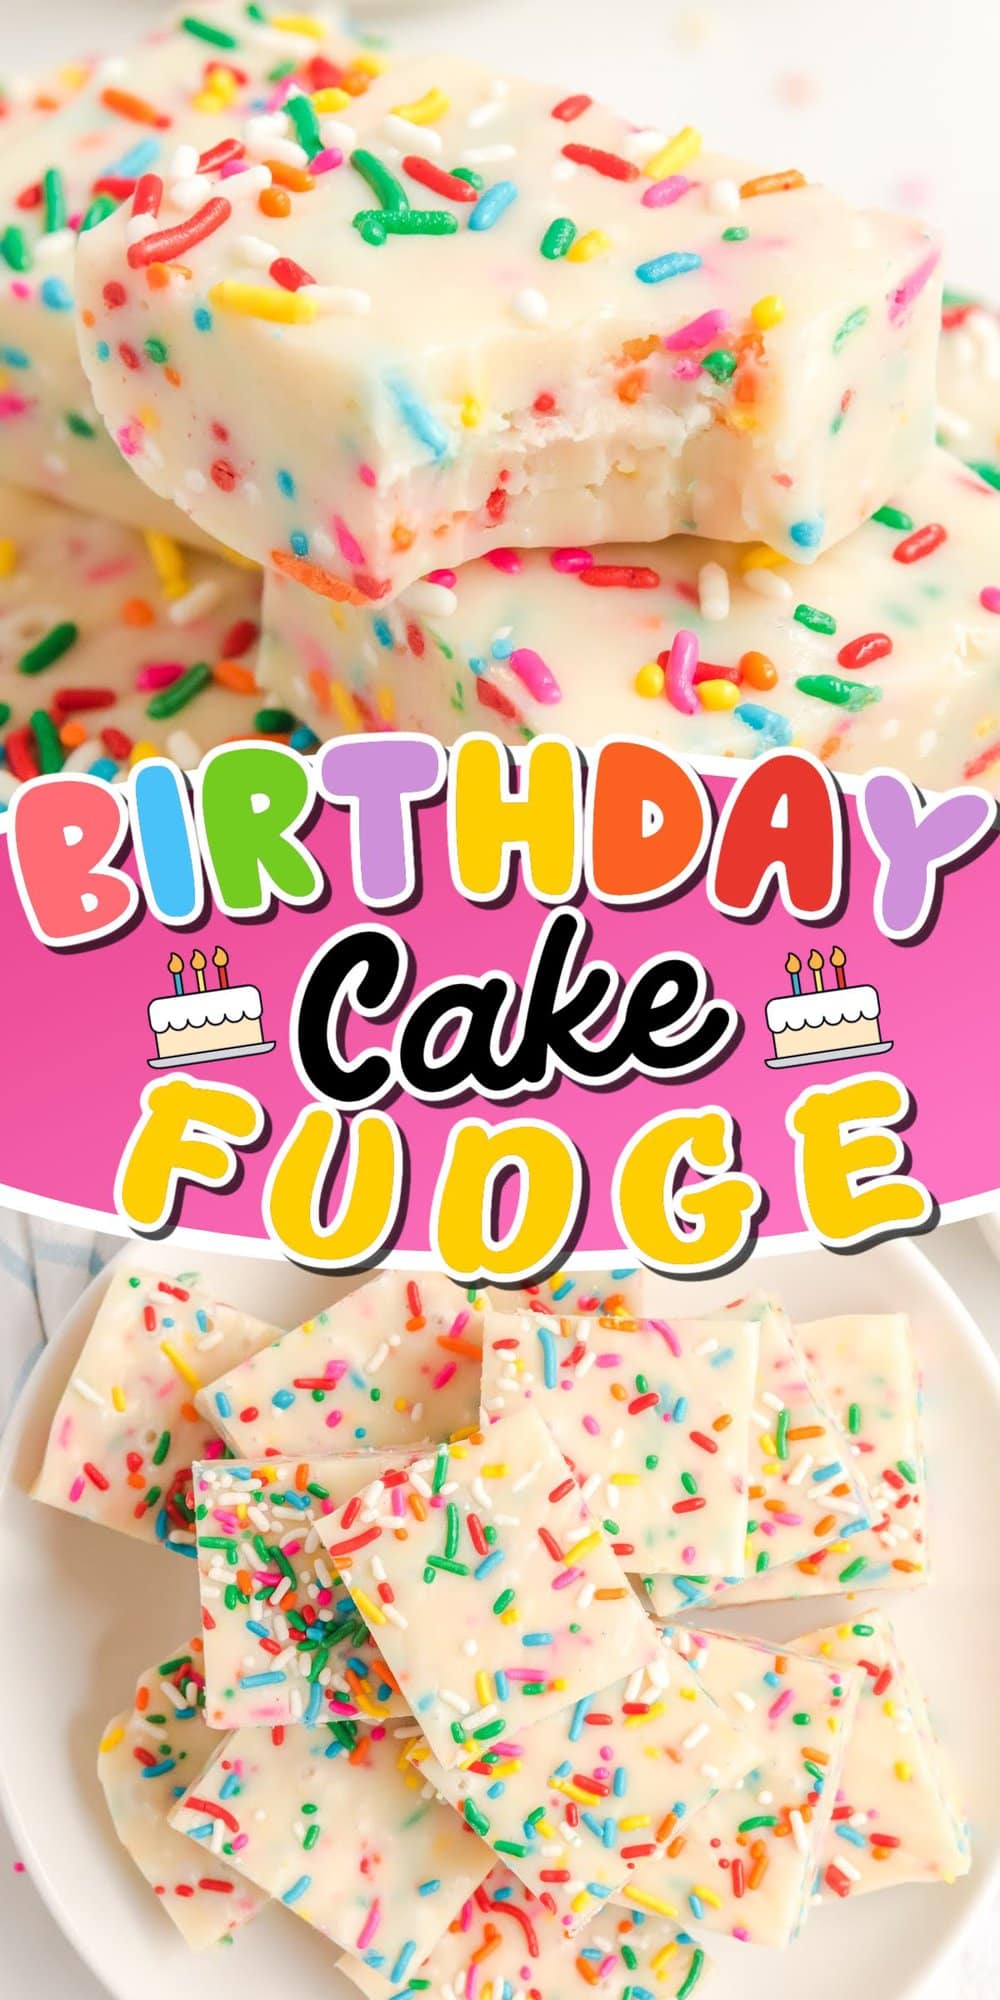
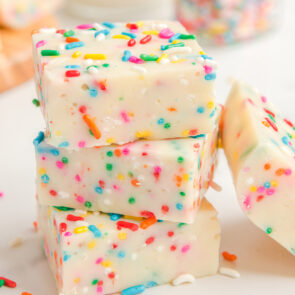
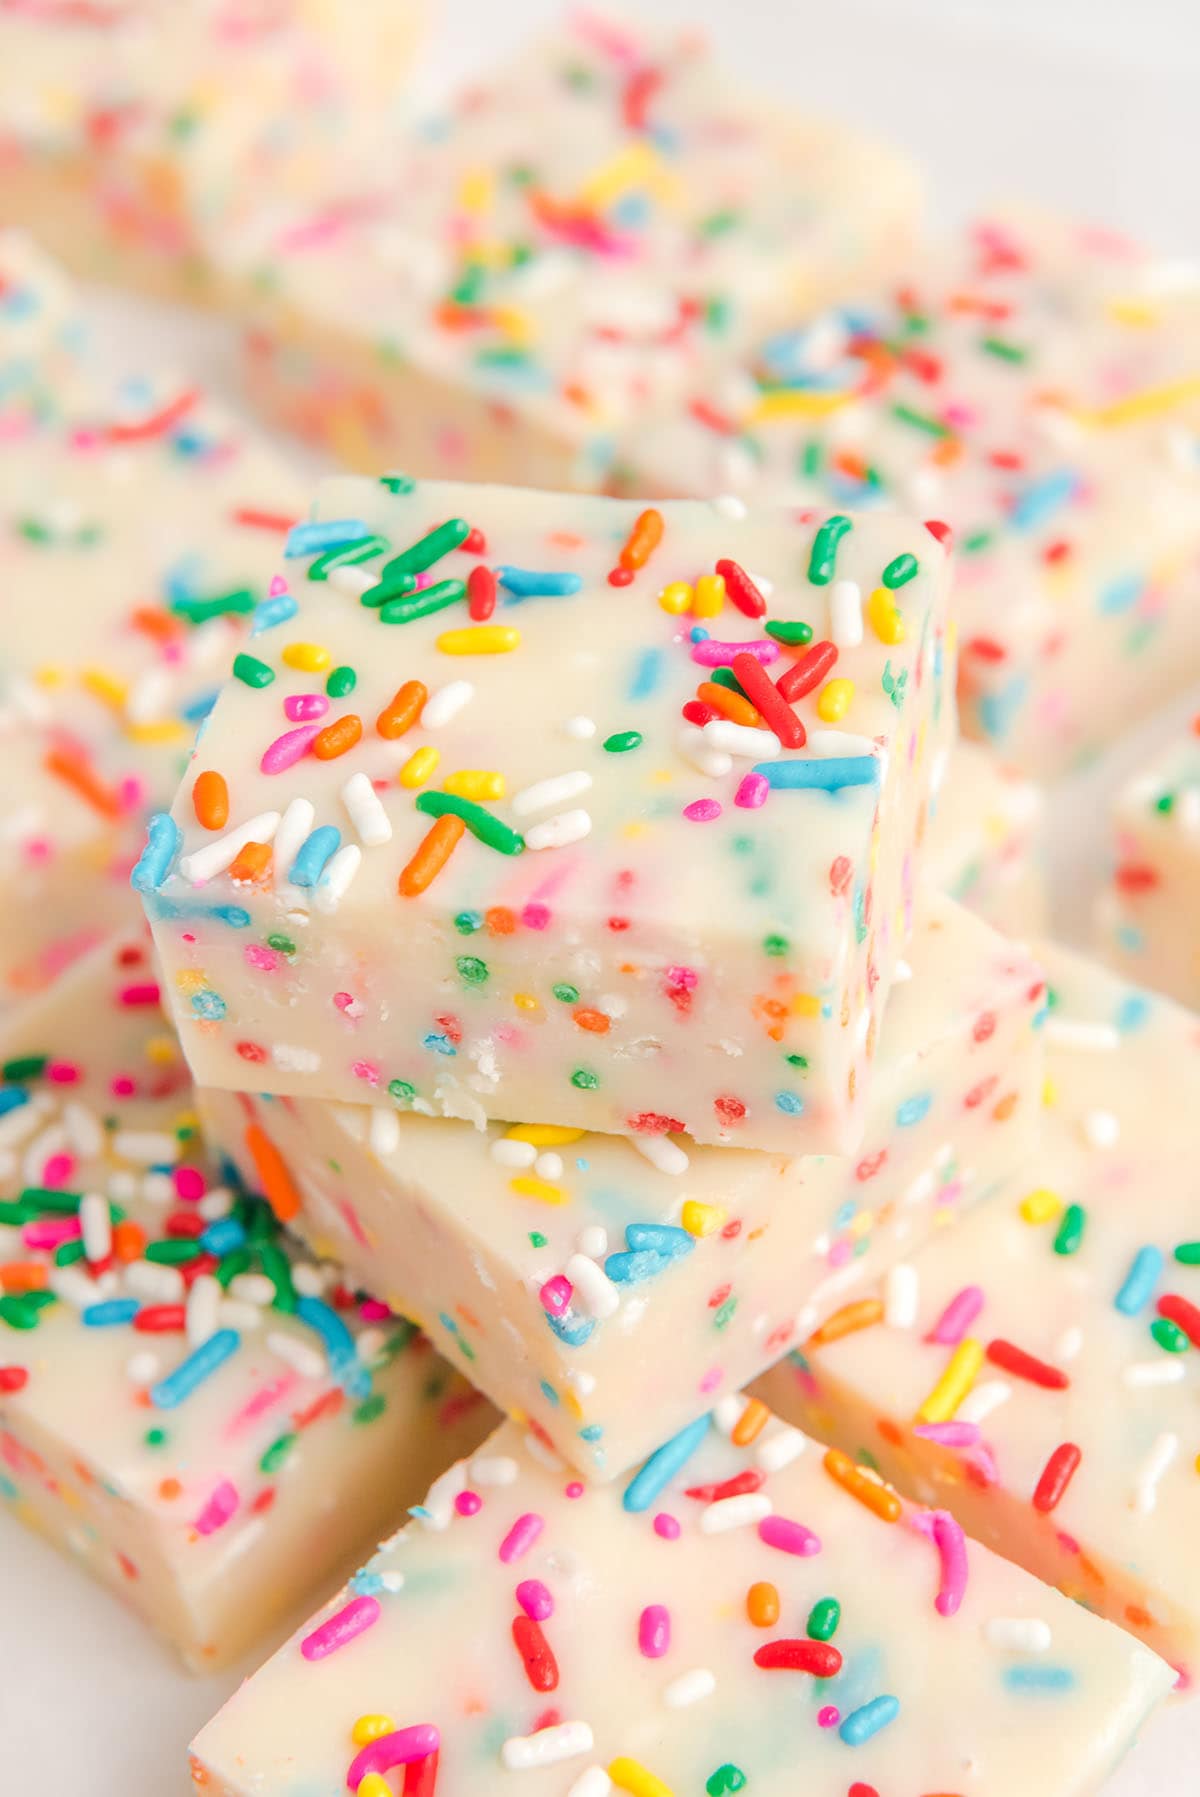
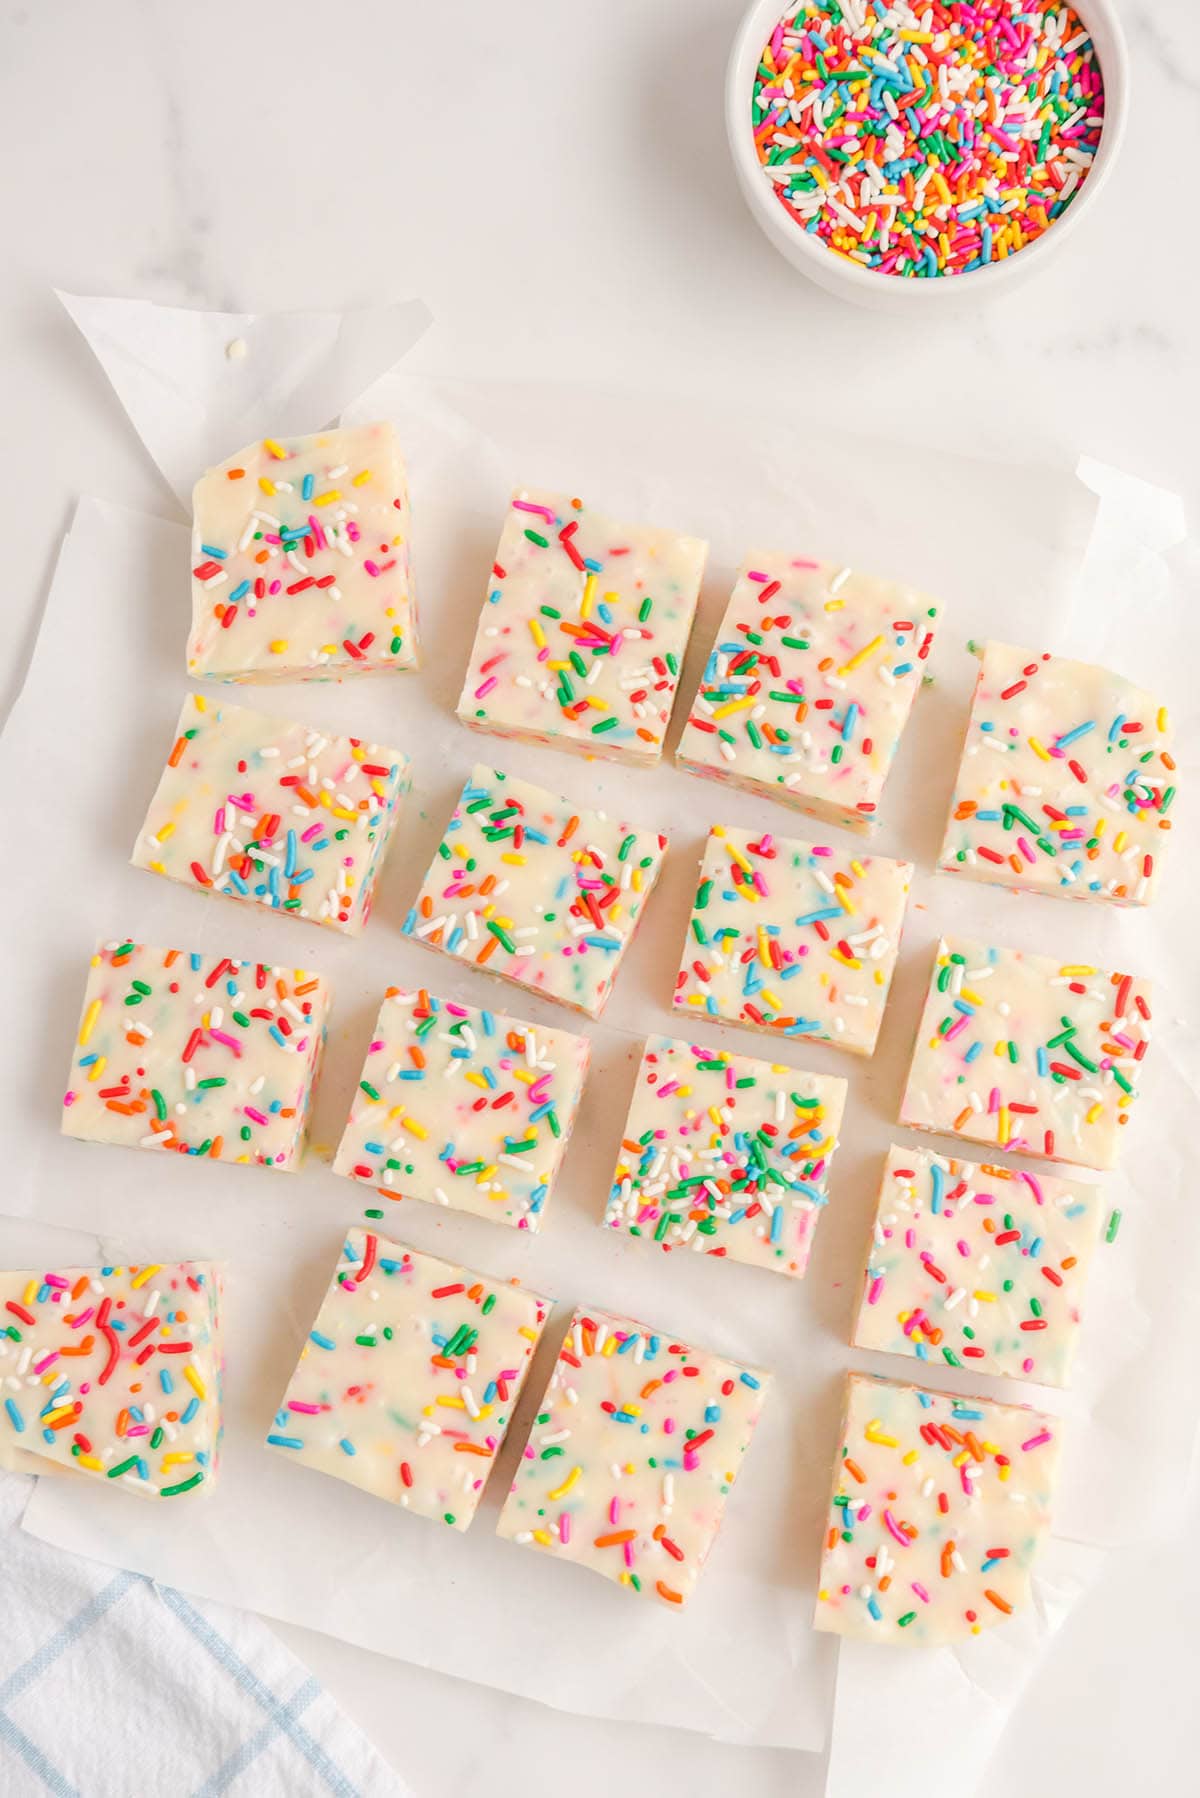
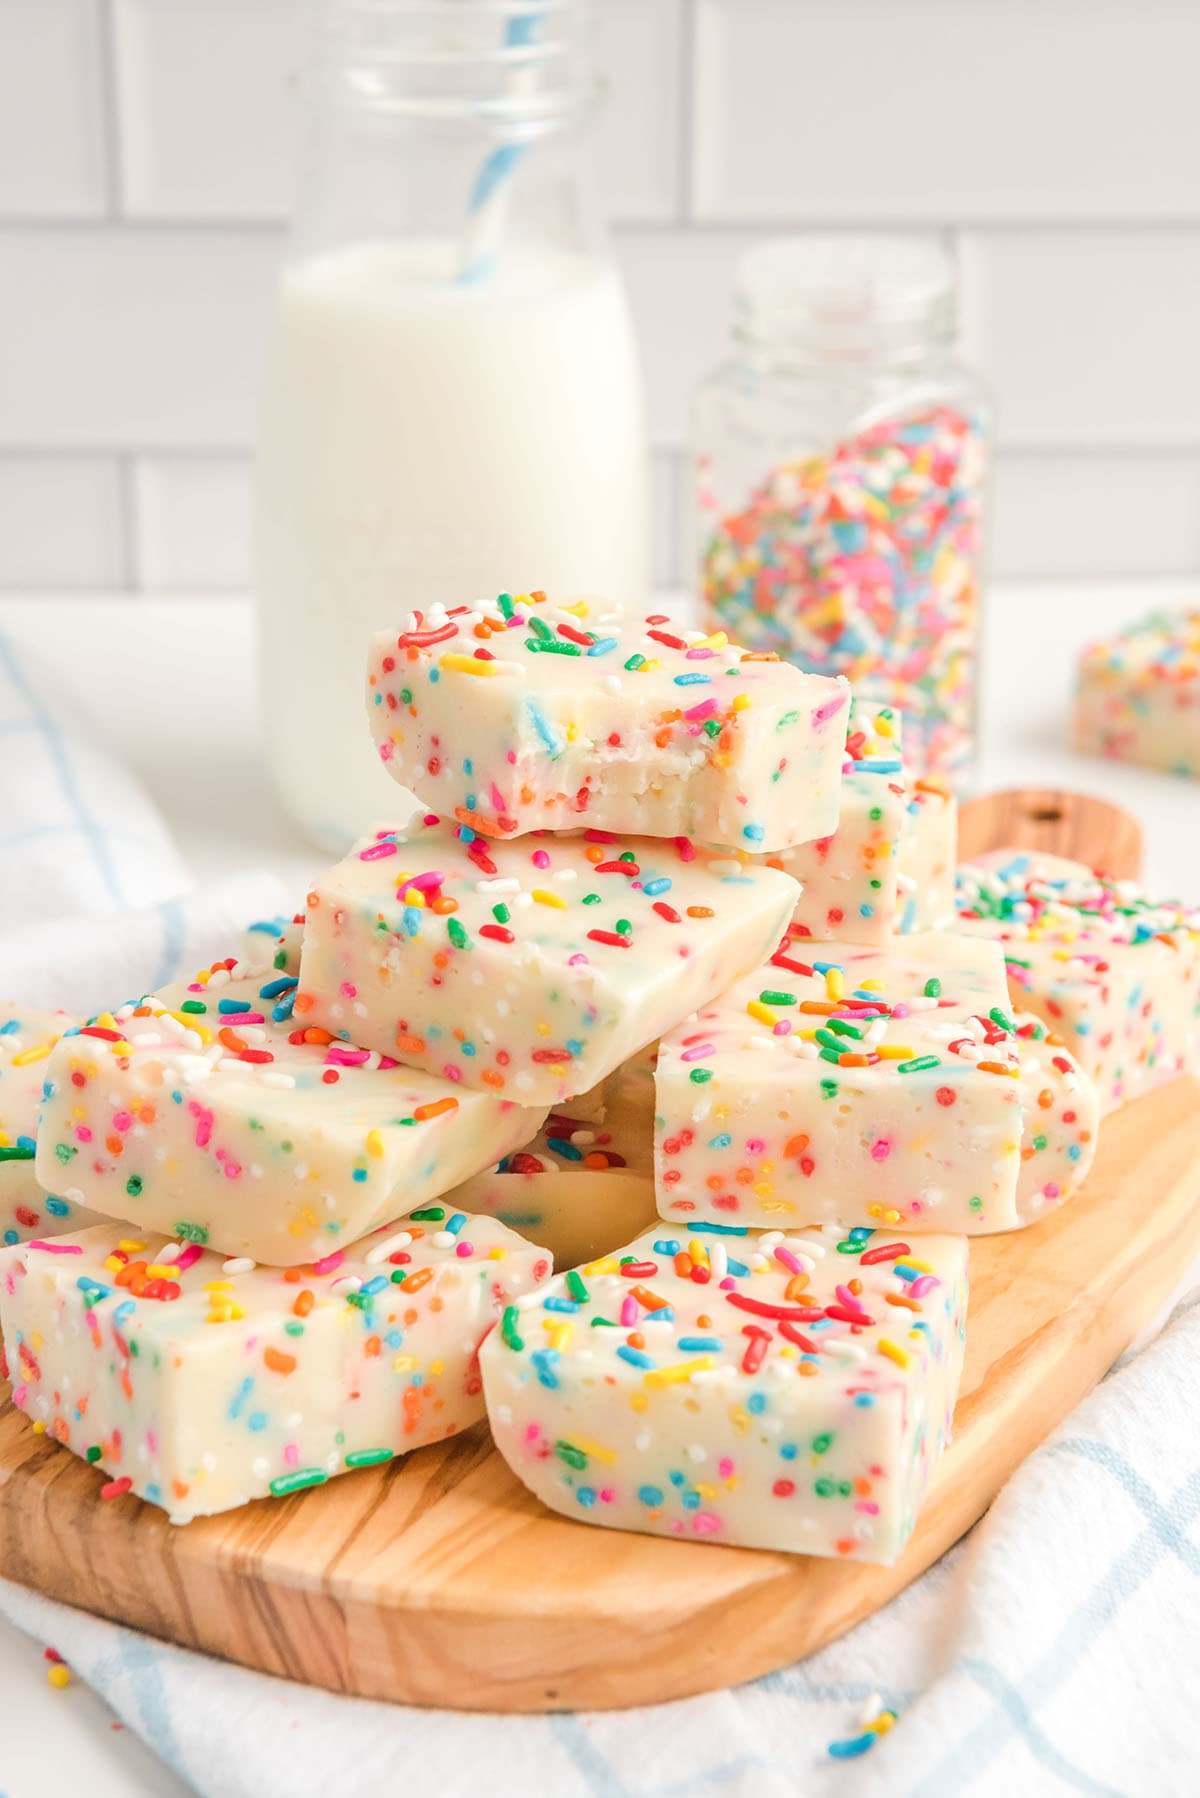
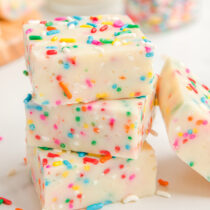
Birthday Cake Fudge is a rich and creamy combination of white chocolate chips, sweetened condensed milk, butter, cake mix, and sprinkles. A delightful treat that combines the classic flavors of birthday cake with the richness of fudge!
Cake Batter Fudge
Our Birthday Cake Fudge recipe is a quick and simple way to cook homemade candy because it doesn’t require a thermometer or special equipment.
Made with almost the same ingredients and easy-to-follow steps I use to prepare my Princess Fudge, this sweet treat has a fun flavor twist: I incorporate cake mix to create a cake batter fudge that tastes just like a birthday cake that you don’t have to bake.
Using a box mix to make funfetti fudge is my favorite shortcut step when I lack the time to bake a cake but still need festive party food that tastes and looks like a delicious birthday dessert, complete with colorful sprinkles.
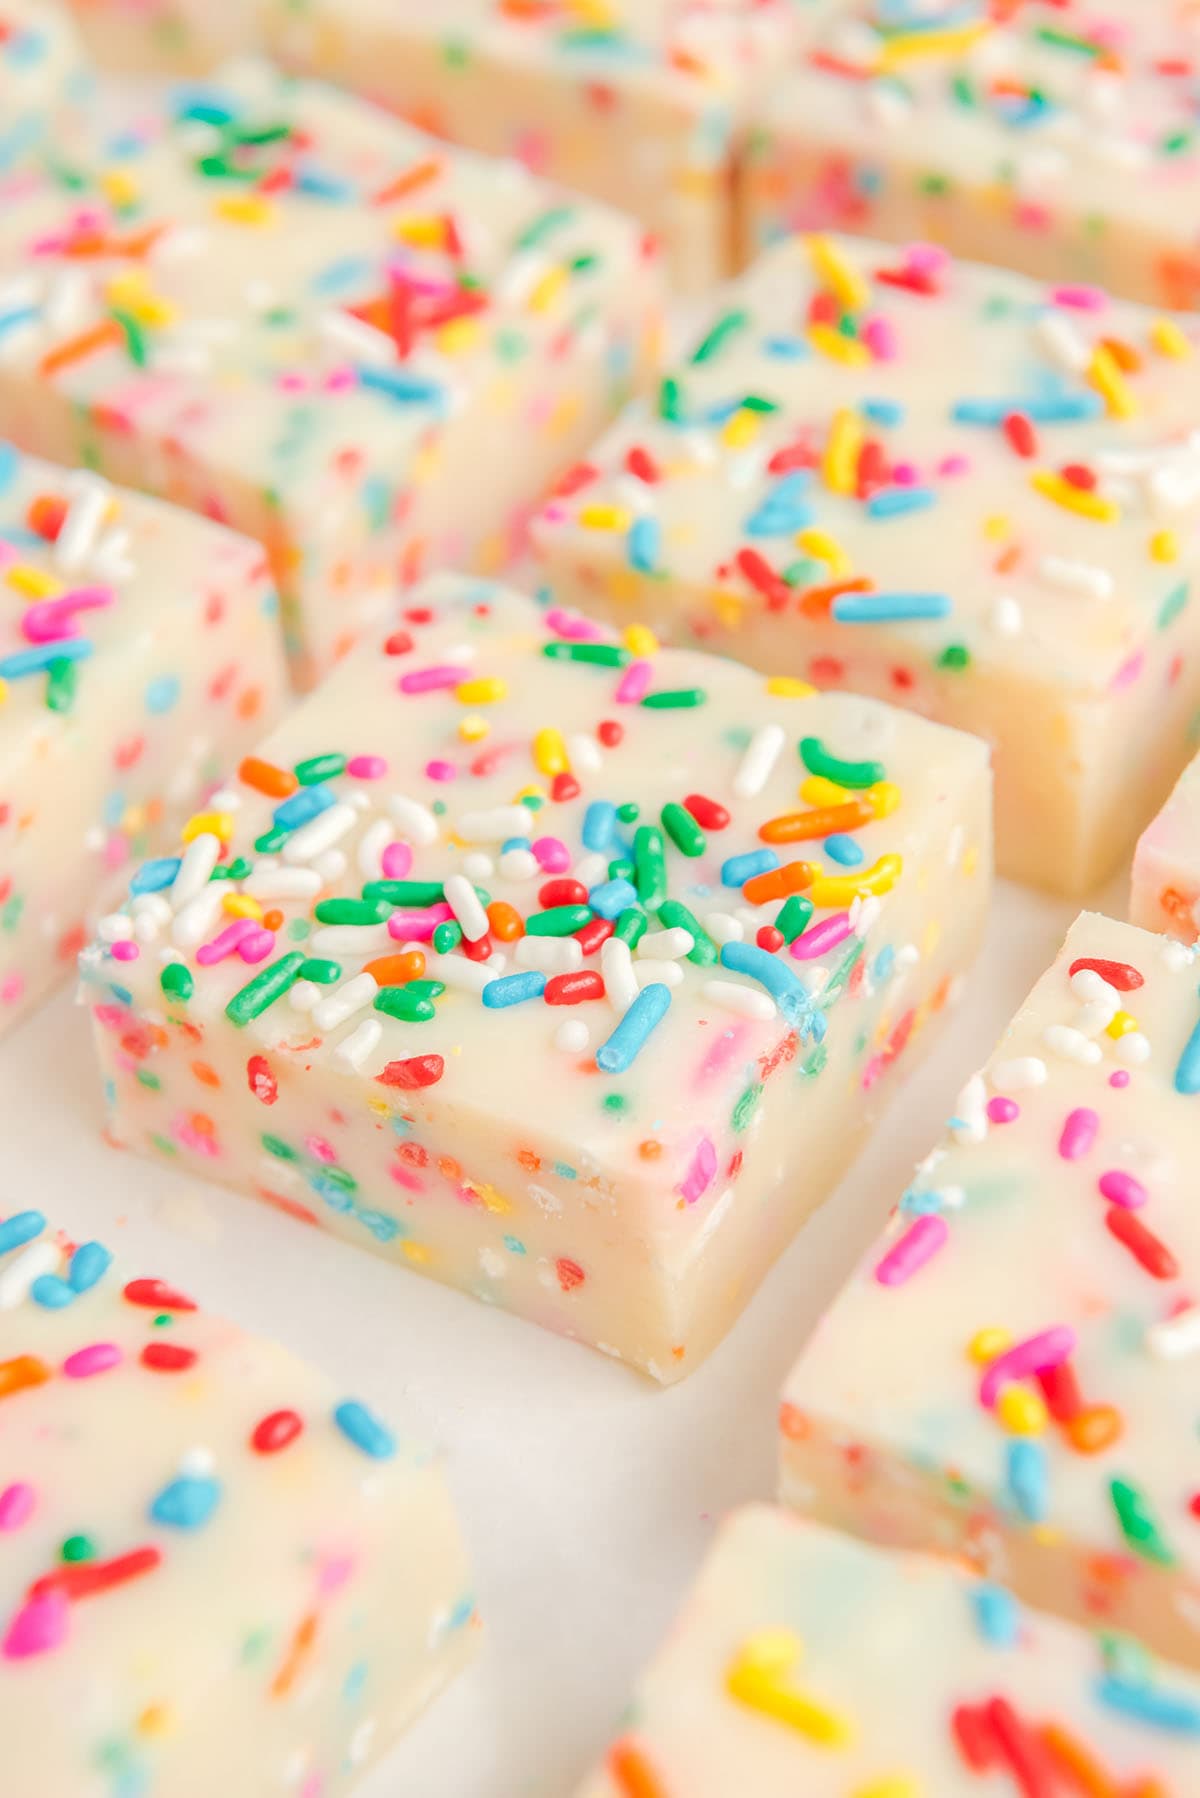
Each piece of white chocolate fudge is made to mimic a mini, bite-sized birthday cake, with rainbow sprinkles studded throughout the cake batter as well as scattered on top of each square. Perfect party treat that’s packed with colorful flecks, flavor, and fun!
Why We Love This Birthday Cake Mix Fudge Recipe
- Quick and easy to prepare in 10 minutes.
- Uses only 5 simple ingredients.
- Birthday fudge tastes just like your favorite funfetti cake, but formed as a small-sized square.
- Delicious no-bake dessert that’s fun to make with kids.
- Soft and creamy with a crunch from colorful sprinkles.
- Cake mix fudge has a firm shape to it, making it easy to hold, pick up, package as party favors, and serve to your guests.
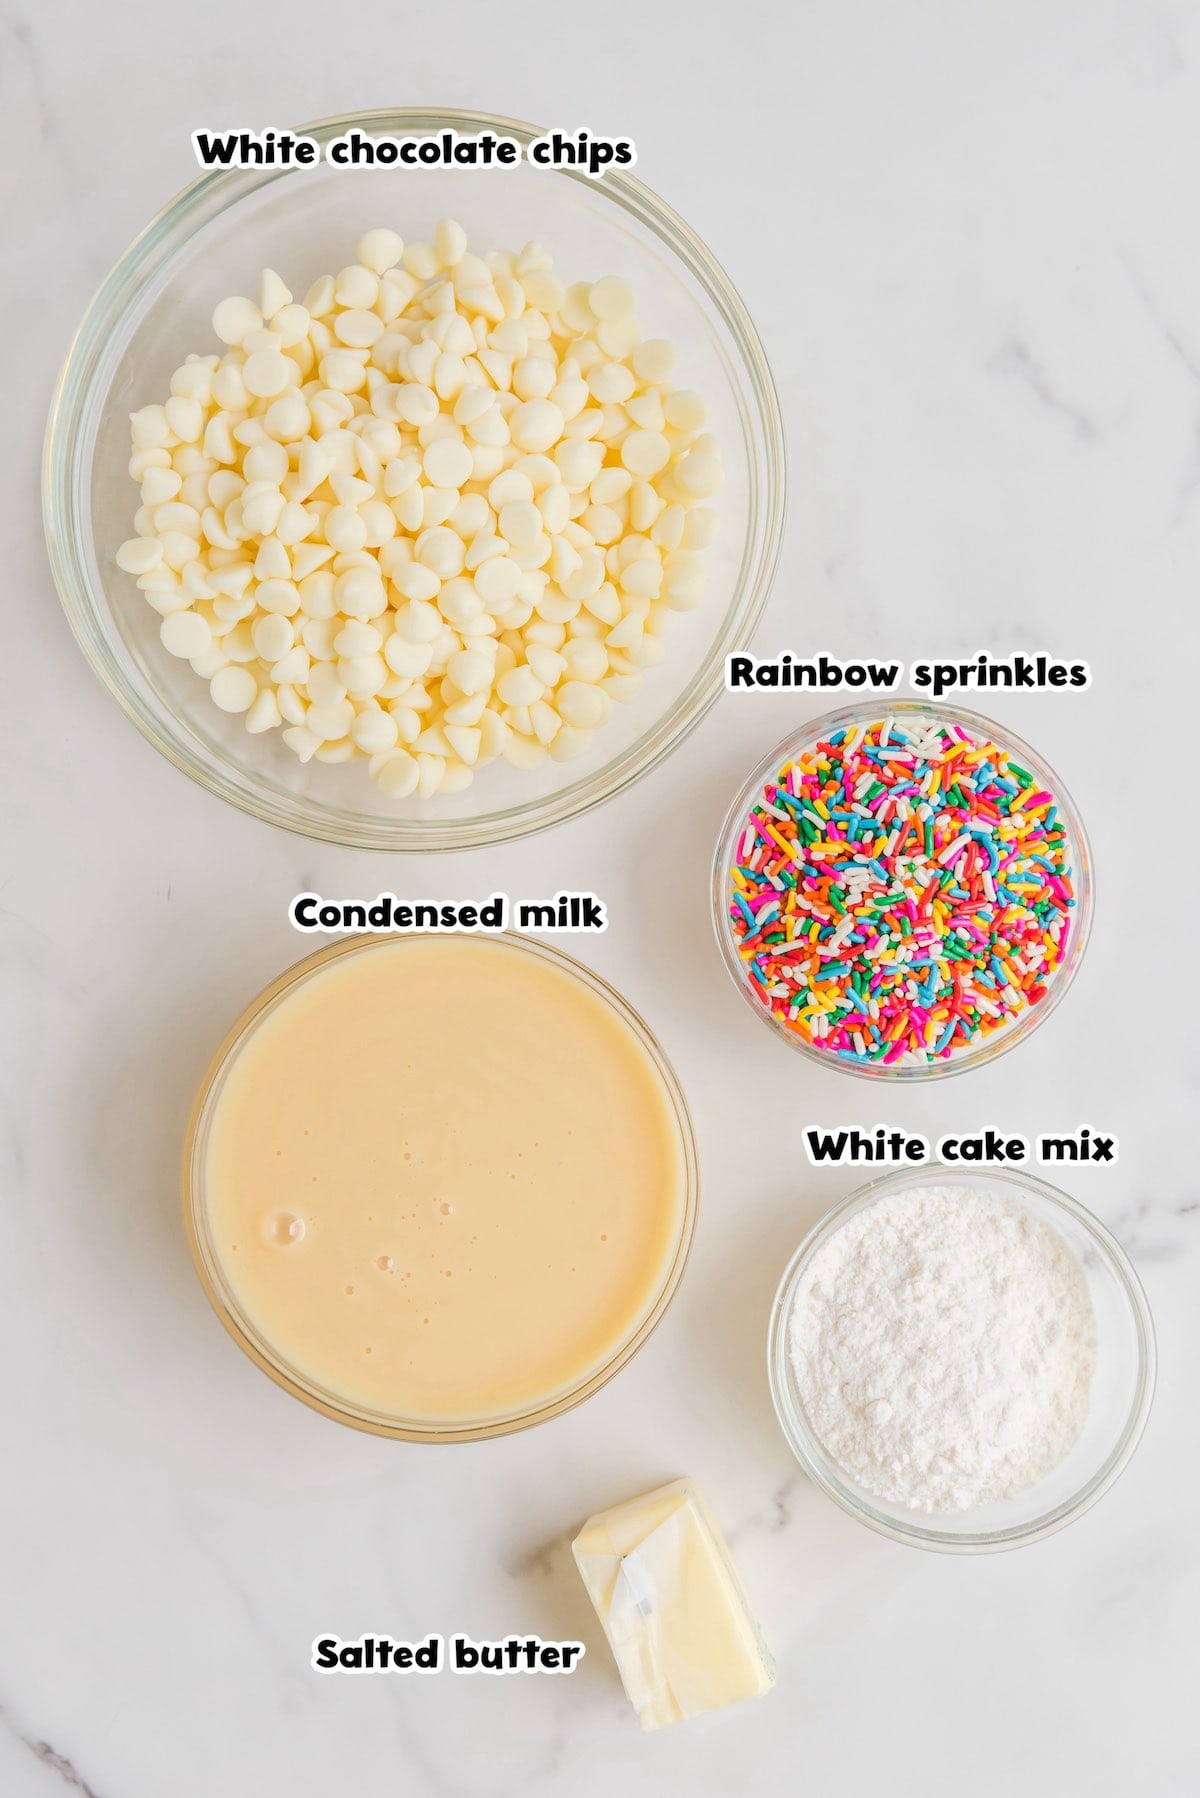
Birthday Cake Fudge Ingredients
- White chocolate chips
- Sweetened condensed milk
- Salted butter
- White cake mix
- Rainbow sprinkles
Substitutions and Additions
- Choose Your Chocolate: Feel free to try this recipe with white baking chocolate or almond bark instead of white chocolate chips. I recommend a high quality chocolate, otherwise the taste and consistency might be off.
- Make With Another Cake Mix: You can make your fudge with your favorite flavor cake mix. Funfetti, red velvet, strawberry, lemon, or chocolate cake mix would all be fun to use in this fudge recipe.
- Customize Your Colors: While this recipe uses rainbow sprinkles for a birthday celebration, feel free to try red and green sprinkles for a Christmas theme, red heart sprinkles for Valentine’s day, pastels for Easter or a baby shower, or fall colors for Thanksgiving.
- Skip The Sprinkles: This fudge is the perfect blank canvas for for you to get creative. Simply skip the sprinkles and add your favorite nuts, candy, dried fruits, cookie pieces, pretzel pieces, marshmallows–the options are endless!

Recommended Tools
- 8×8 pan
- Parchment paper
- Large saucepan
- Rubber spatula
- Knife
How to Make Birthday Cake Fudge
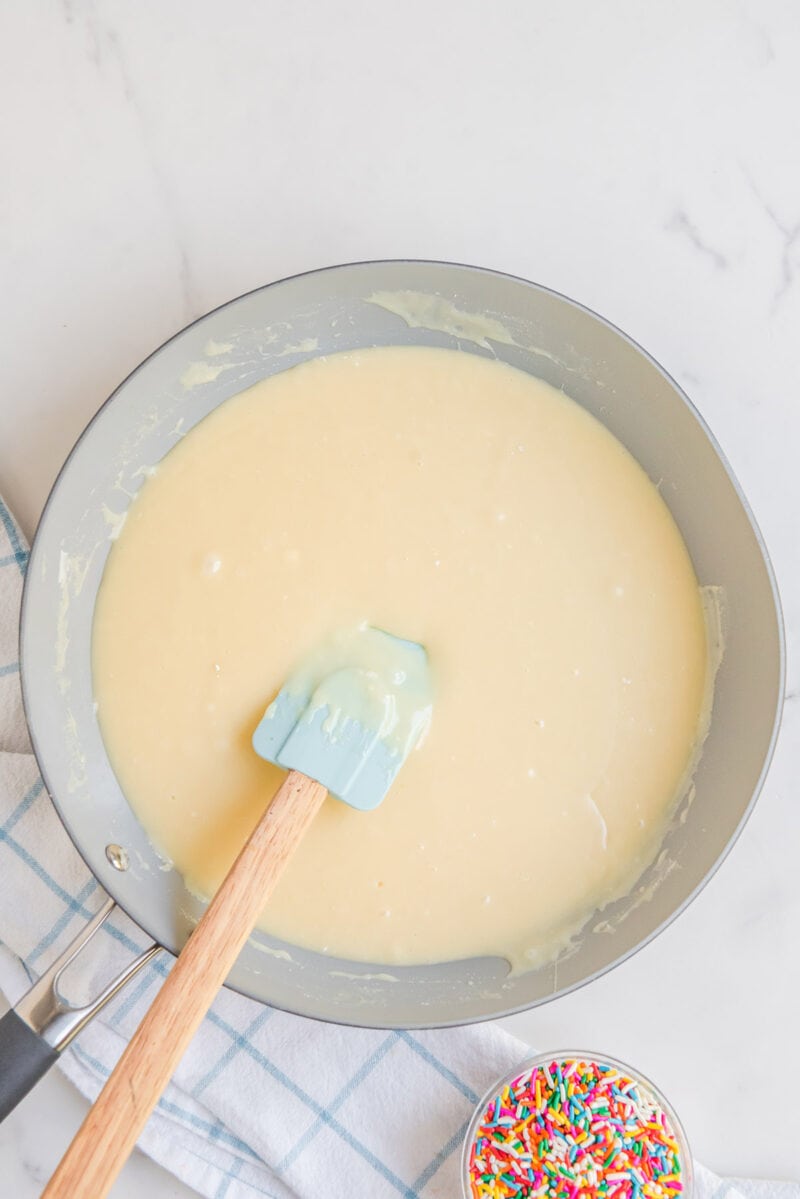
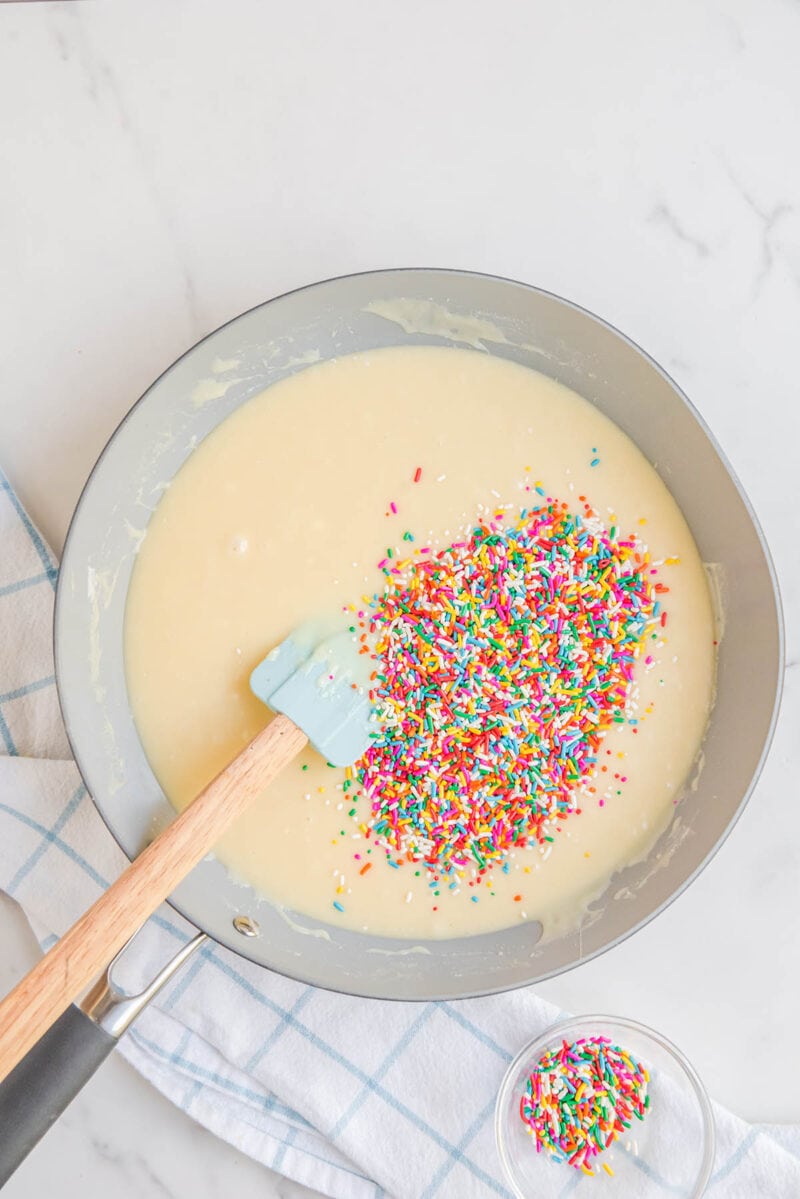
- Cook The Candy: Cook the chocolate chips, condensed milk, and butter on the stove top for 8-10 minutes until the mixture breaks down completely. Remove from heat and stir in the cake mix until completely dissolved. Fold in the sprinkles.
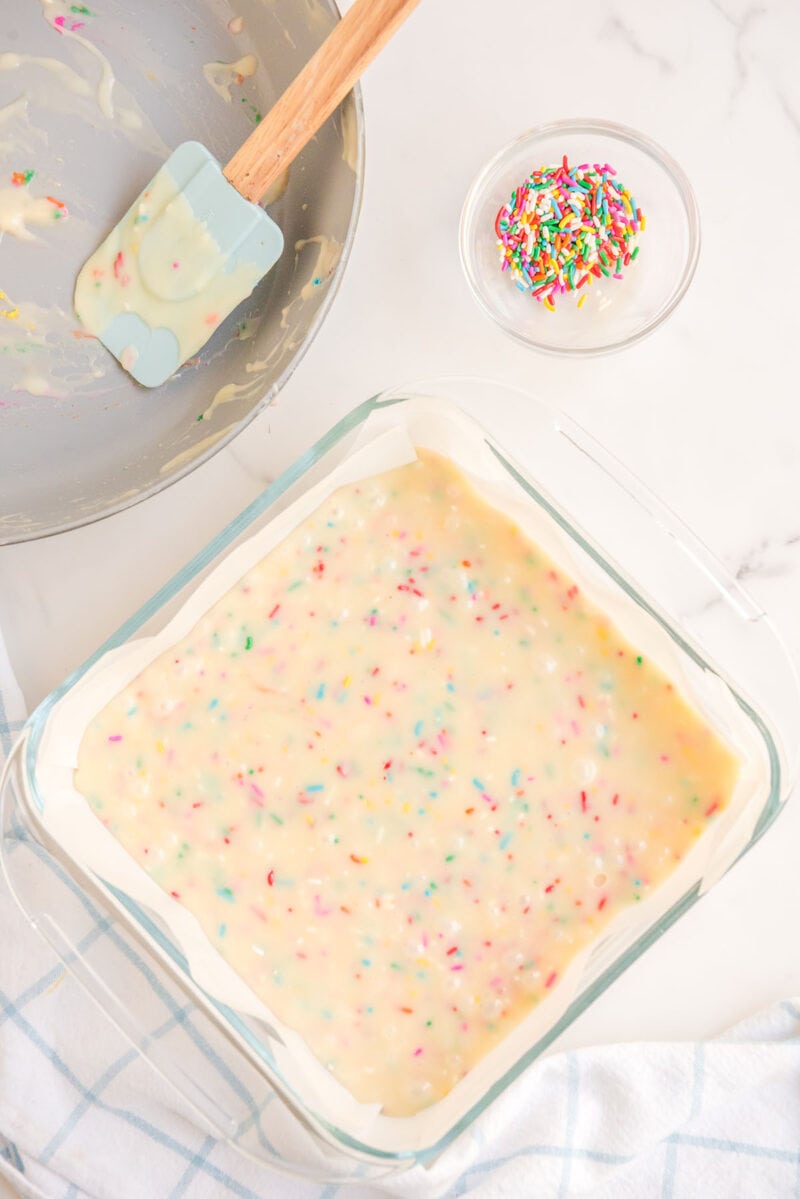
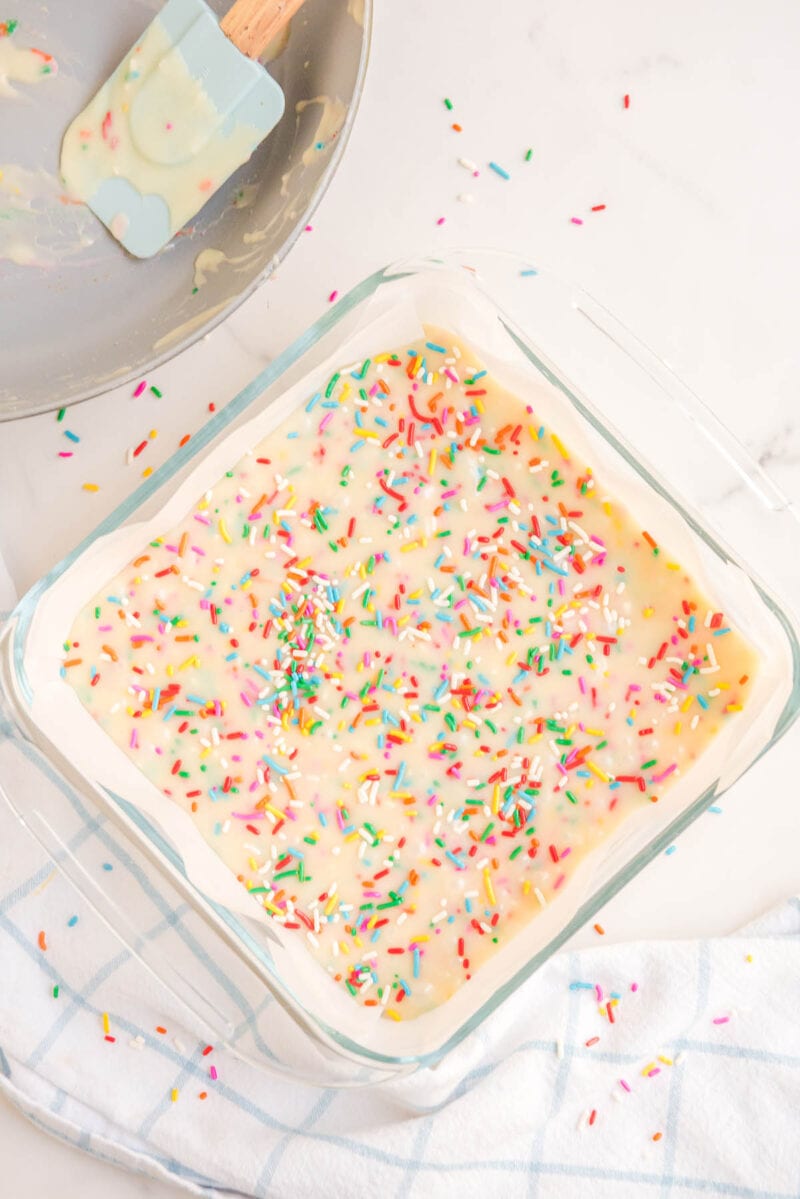
Pro Tip: Be sure not to overmix or it could lead to colors running. - Pour In The Pan: Pour the mixture into the pan and top with sprinkles.
Pro Tip: The fudge should self level well, requiring zero spreading. - Chill: Place inside the refrigerator to chill overnight before serving.
- Slice and Serve: Cut the fudge into 12 equal squares. Serve and enjoy!
How To Heat Treat Cake Mix
To heat treat your cake mix in the microwave, heat the cake mix in a microwave-safe bowl for (2) 30-second intervals, stirring in between. Allow the cake mix to come to room temperature before using.
To heat treat your cake mix in the oven, place the cake mix on a large cookie sheet prepared with parchment paper. Evenly spread your cake mix out to cover the entire sheet. Cook the cake mix at 350 degrees for 5 minutes and allow it to come to room temperature before use.
How To Prepare The Pan For Your Birthday Cake Fudge
- To best prepare an 8×8 baking dish with parchment paper, first take a sheet of parchment large enough to cover the dish and about 2 inches overhang.
- Using your thumbs and index fingers, press the parchment paper down into the dish, extending your fingers strongly into the corner to make an indention. Remove your fingers and the parchment paper.
- Using a pair of scissors, cut the parchment paper in 8 places; two cuts leading to each indentation from both sides of the paper. You may need to cut an excess amount of parchment paper off from the longer sides depending on the size of your rolled or pre-cut parchment paper.
- There should be about 2 inches from each indentation to the end of the paper. Be sure your cuts do not touch one another.
- When done, place the parchment paper back into the dish, tucking the corners properly behind the parchment sides. Press the paper with your fingers along the edges of the dish to shape it even further. It should hold up nicely.
Tips For Making The Best Birthday Cake Fudge
- As you’re stirring the mixture over the stovetop, use your spatula to break up any pieces of butter that do not melt as easily as others. Do this by gently pressing it with your spatula.
- Be sure to use butter that is softened to room temperature. Butter any cooler will be harder to break down over low heat.
- Make sure to use sweetened condensed milk and not evaporated milk or your fudge will not set up.
- This fudge is best served chilled.
How to Store Birthday Cake Fudge
- To Store: Store any leftovers in an airtight container in the refrigerator for up to 7 days.
- To Freeze: For longer storage, tightly wrap the fudge with plastic wrap and then place it in an airtight container or freezer-safe plastic bag for up to 3 months.
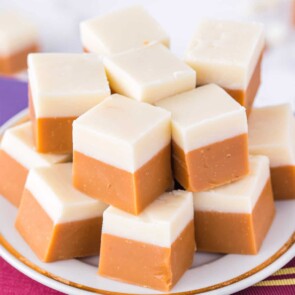
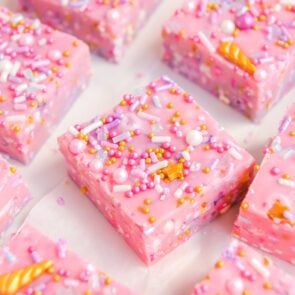
More Easy Fudge Recipes
Other Easy Dessert Recipes
- Rainbow Sprinkle Cookies
- Rainbow Poke Cake
- Pineapple Upside Down Dump Cake
- Coconut Chocolate Chip Macaroon Recipe
- Lemon Eclair Cake
- Blueberry Fudge
- M&M Cookie Dough Fudge
- Grasshopper Fudge
Birthday Cake Fudge
Ingredients
- 11 ounce bag white chocolate chips
- 14 ounce can condensed milk
- 2 tablespoons salted butter softened at room temperature
- ¼ cup white cake mix heat treated- see notes for directions
- 1 cup rainbow sprinkles divided
Instructions
- Prepare a 8×8 pan with parchment paper. See notes for general tips.
- In a large saucepan, combine chocolate chips, condensed milk and butter over low heat. Cook on low for 8-10 minutes until the mixture breaks down completely. Use a rubber spatula and stir frequently.
- Remove from heat and add in cake mix. Stir for about 1 minute until the cake mix has completely dissolved into the mixture.
- Fold in the sprinkles, reserving about ¼ cup, and mix gently. (Be sure not to overmix, this could lead to colors running.)
- Pour mixture into the center of the 8×8 dish, scraping any excess fudge mixture from the pan using your spatula. The fudge should self level well, requiring zero spreading.
- Top with the remaining rainbow sprinkles immediately and place inside the refrigerator to chill overnight before serving.
- When read to serve, remove the fudge from the 8×8 pan by pulling up on the parchment paper. Use a sharp knife or metal spatula and carefully cut the fudge into 12 equal squares.
Jenn’s Notes
- To Store: Store any leftovers in an airtight container in the refrigerator for up to 7 days.
- To Freeze: For longer storage, tightly wrap the fudge with plastic wrap and then place it in an airtight container or freezer-safe plastic bag for up to 3 months.
- MICROWAVE INSTRUCTIONS for heat treating cake mix: To heat treat the cake mix, microwave the cake mix in a microwave safe bowl for (2) 30-second intervals stirring in between. Allow the cake mix to come to room temperature before using.
- OVEN INSTRUCTIONS for heat treating cake mix: place cake mix on a large cookie sheet prepared with parchment paper. Evenly spread your cake mix out to cover the entire sheet. Cook cake mix at 350 degrees for 5 minutes and allow it to come to room temperature before use.
- To best prepare an 8×8 baking dish with parchment paper, first take a sheet of parchment large enough to cover the dish and about 2 inches overhang. Using your thumbs and index fingers, press the parchment paper down into the dish, extending your fingers strongly into the corner to make an indention. Remove your fingers and the parchment paper. Using a pair of scissors, cut the parchment paper in 8 places; two cuts leading to each indentation from both sides of the paper. You may need to cut an excess amount of parchment paper off from the longer sides depending on the size of your rolled or pre-cut parchment paper. There should be about 2 inches from each indentation to the end of the paper. Be sure your cuts do not touch one another. When done, place the parchment paper back into the dish, tucking the corners properly behind the parchment sides. Press the paper with your fingers along the edges of the dish to shape it even further. It should hold up nicely.
- As you’re stirring the mixture, use your spatula to break up any pieces of butter that do not melt as easily as others. Do this by gently pressing it with your spatula.
- Be sure to use butter that is softened to room temperature. Butter any cooler will be harder to break down over low heat.
- This fudge is best served chilled.
- Be sure to store this fudge in and air-tight container inside the refrigerator.
- This fudge has a firm shape to it, making it easy to hold, pick up and serve.
- This dish is sweet! The primary flavor of this fudge comes from the white chocolate with the secondary flavors being the condensed milk and cake mix.
- The sprinkles add a nice texture to this dish when biting it into them.


Wish you explained what heat treating means so I’m a bit confused
Actually, if you read the post, there is a section that explains how to heat treat and there is a FAQ as to why it is important to heat treat.
Can I get the recipe to print?
Sure thing! Just scroll down to the recipe card and hit the “print” button! As long as your device is connected to your printer, it should print no problem!