

This post may contain affiliate links. Please read our disclosure policy.
These pumpkin dog treats are the ones my dog gets ridiculous about. I pull a batch out of the oven, the whole kitchen fills up with warm pumpkin, and he is already parked by the counter waiting for one. He acts like they are the best thing he has ever had.
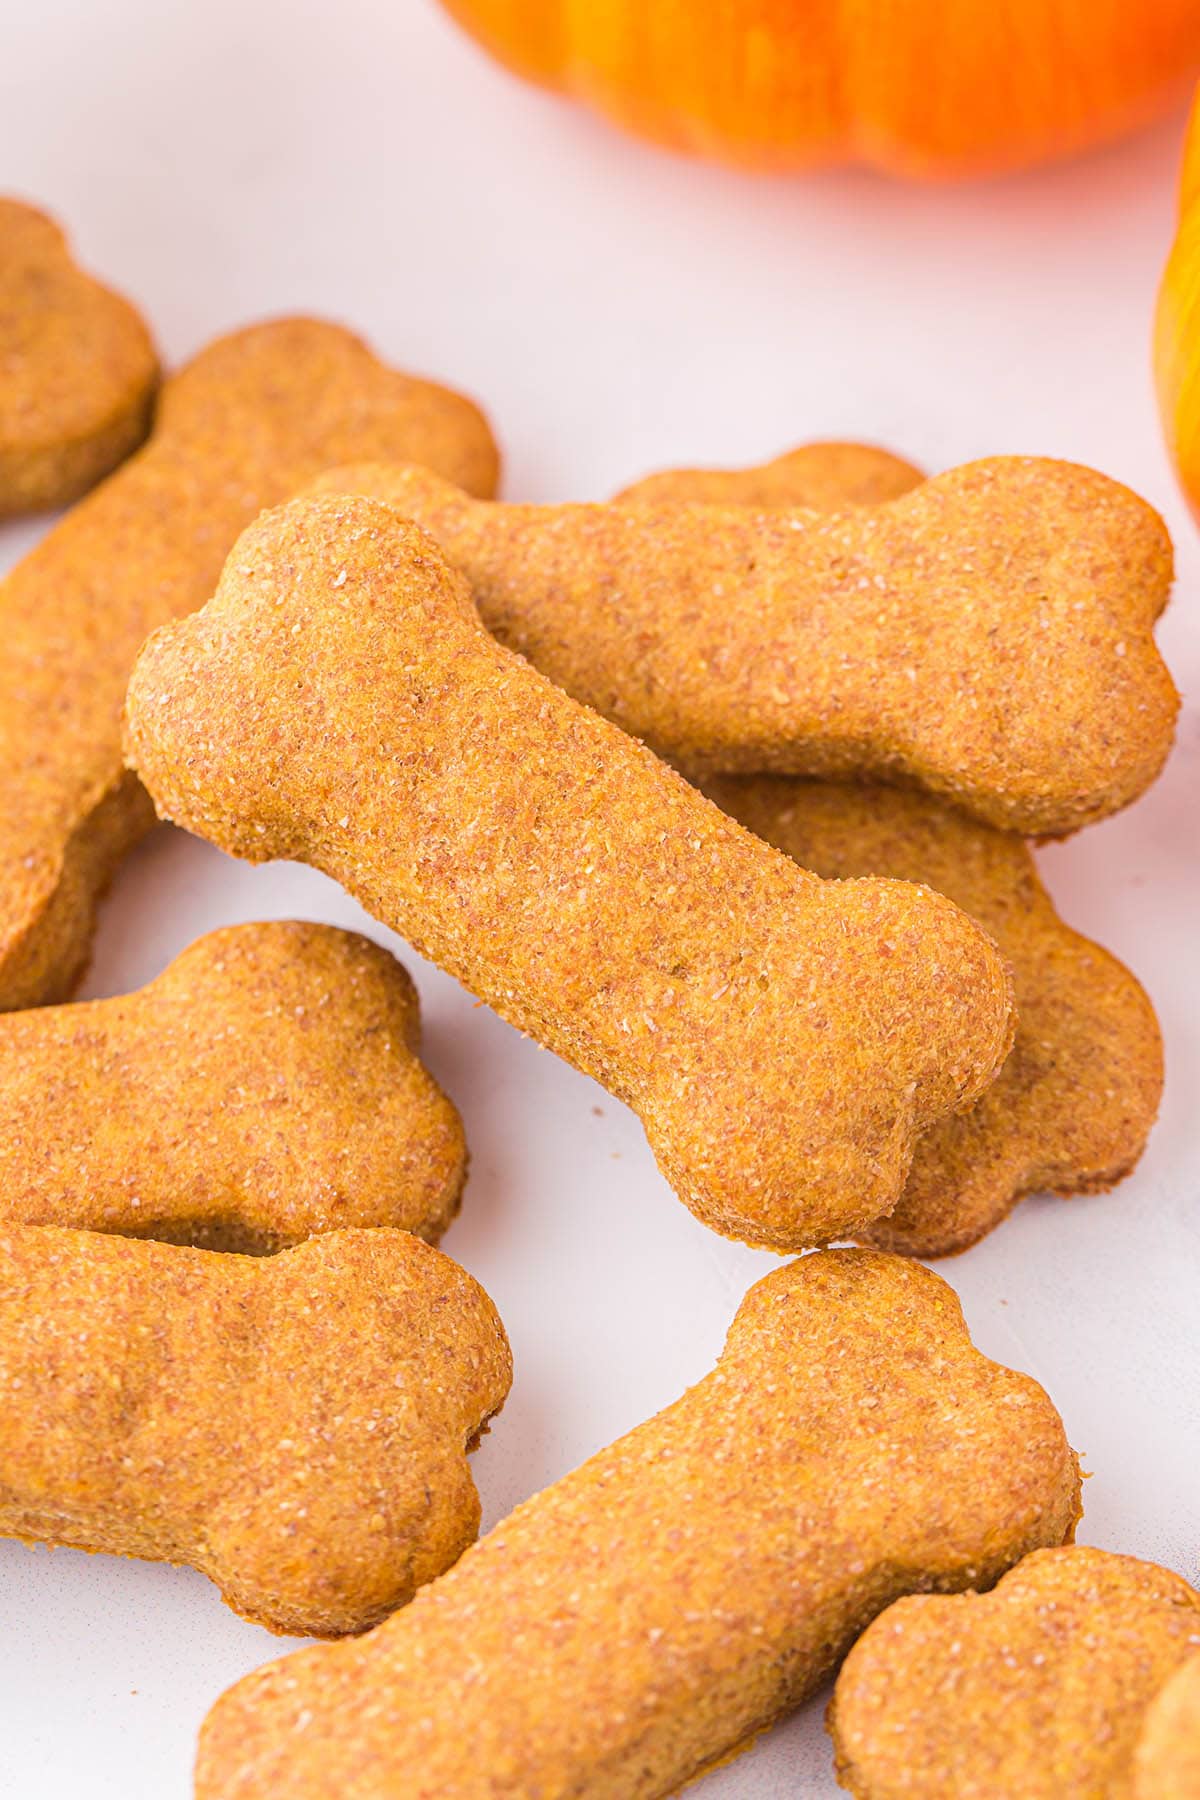
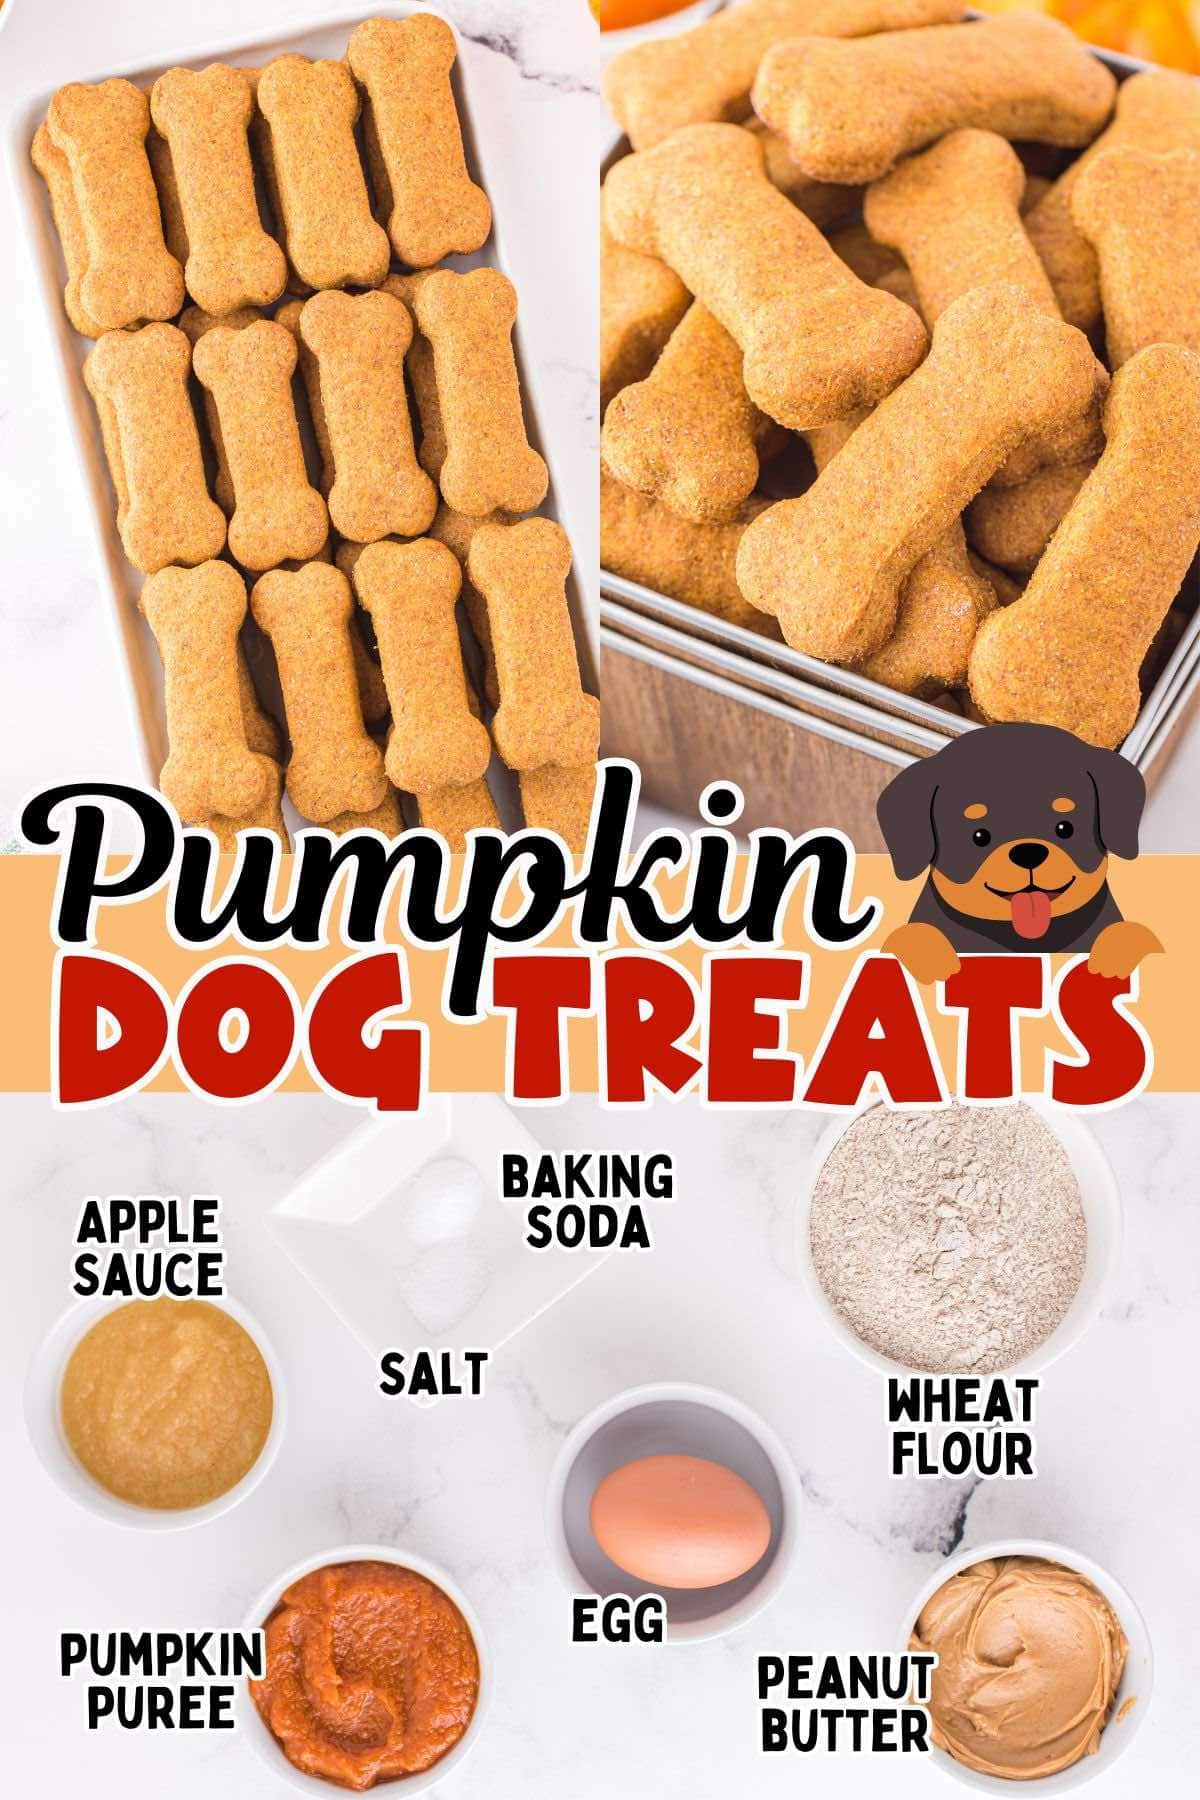
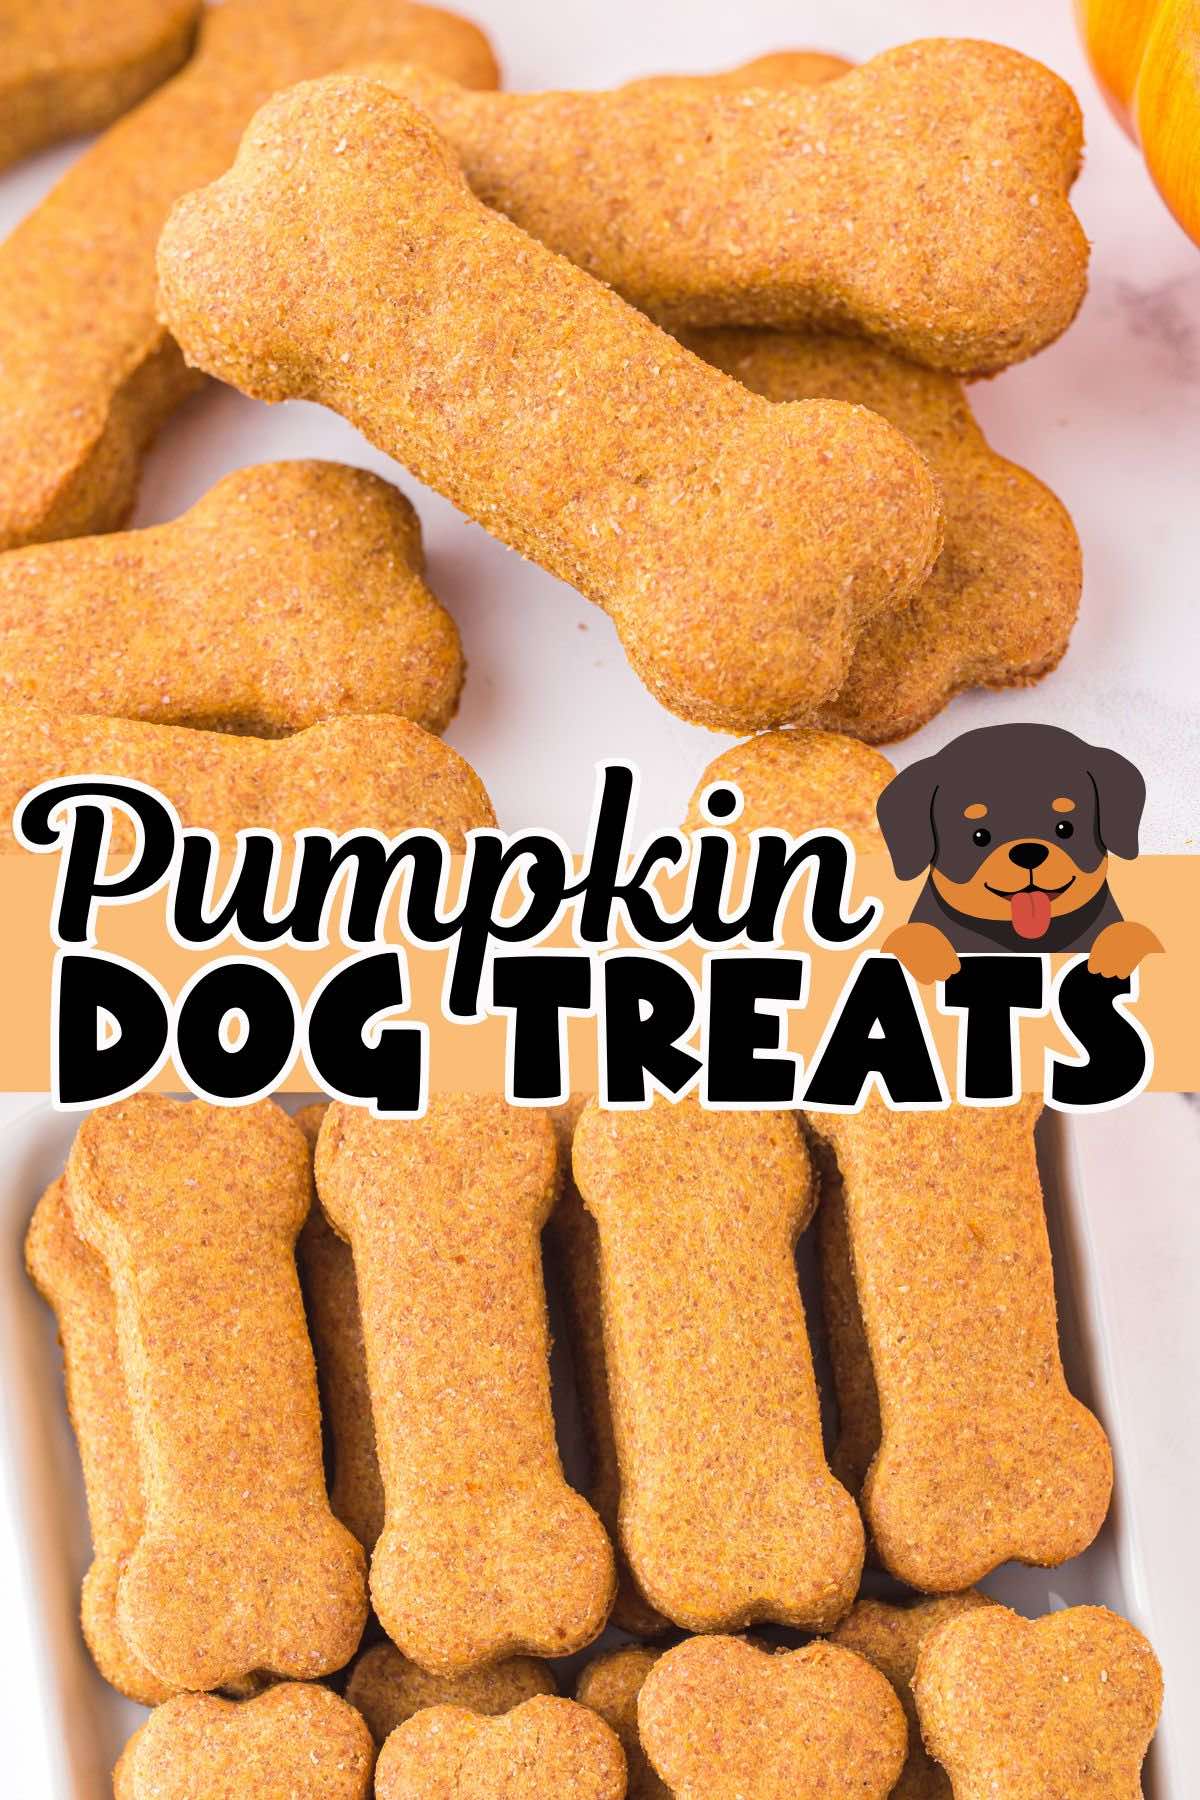
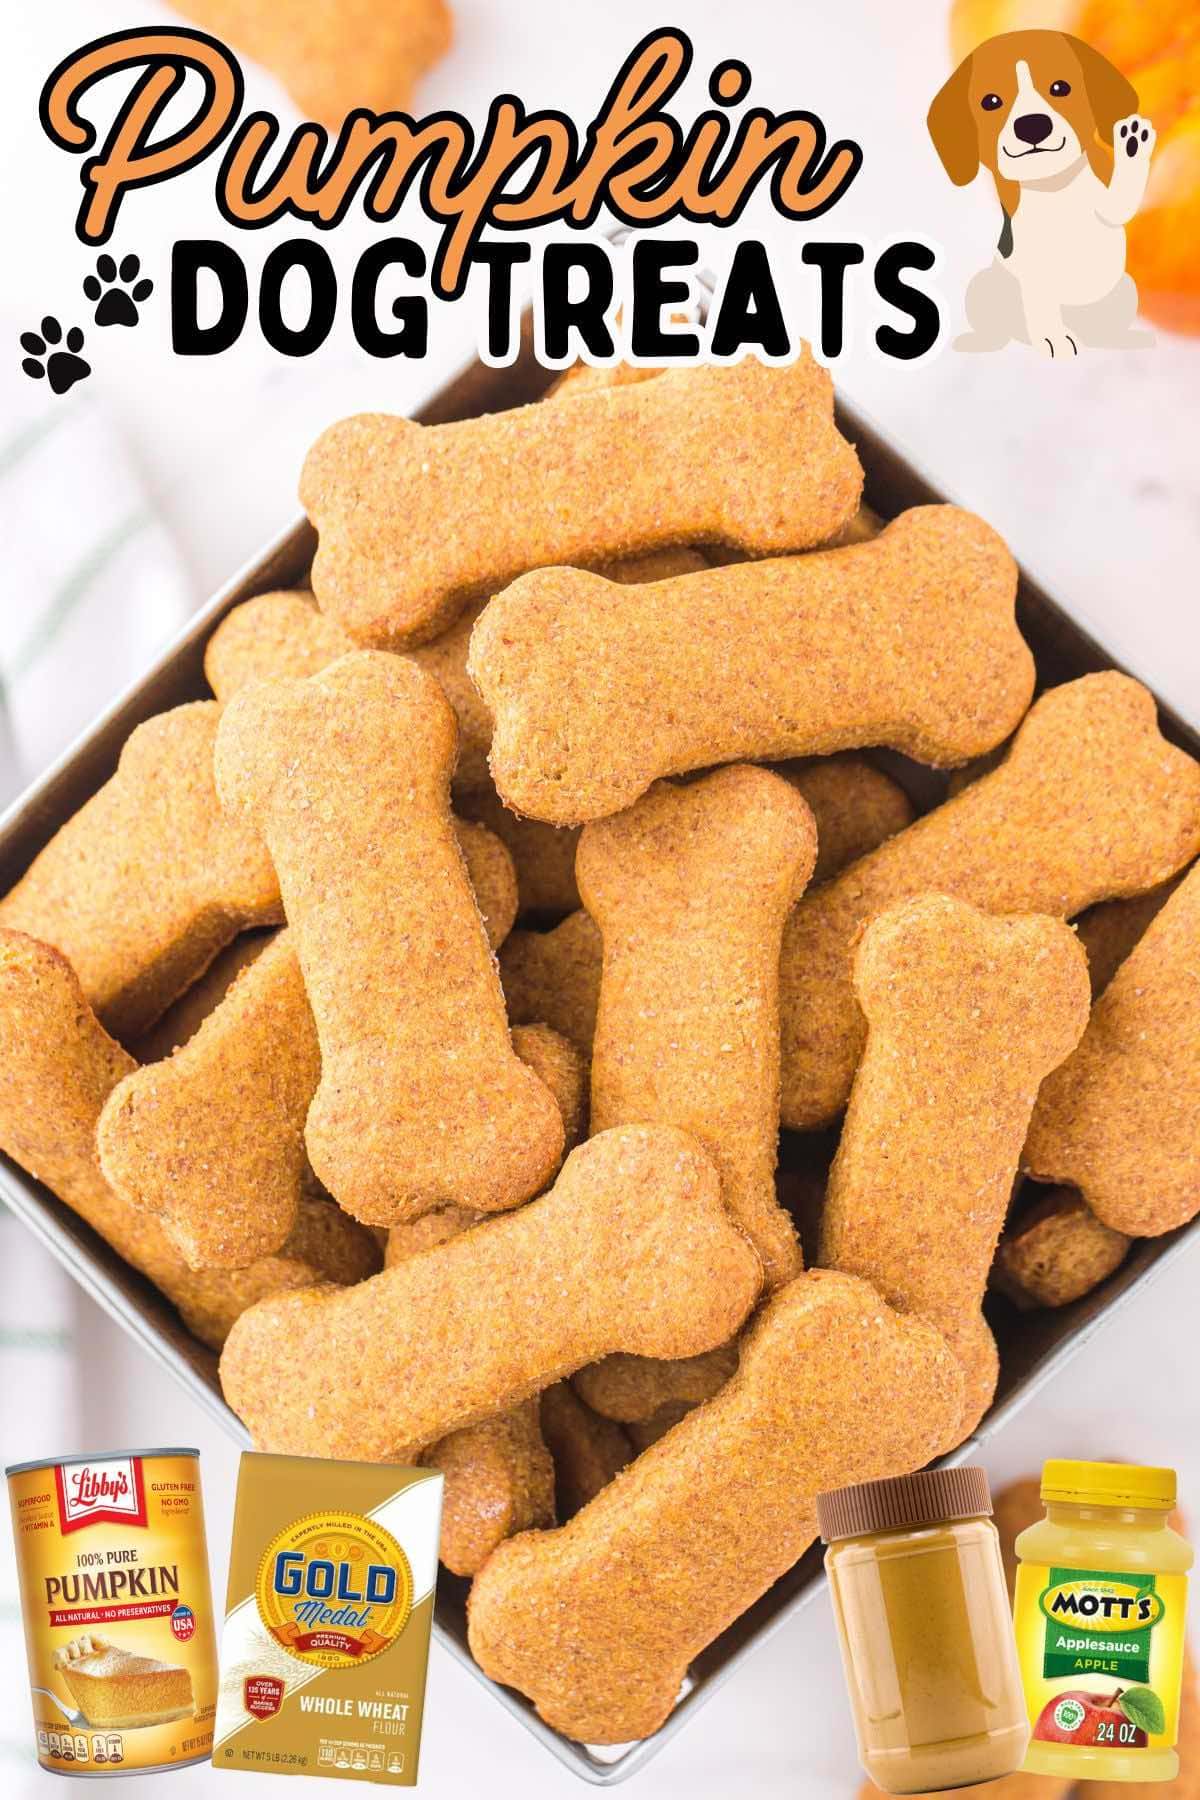
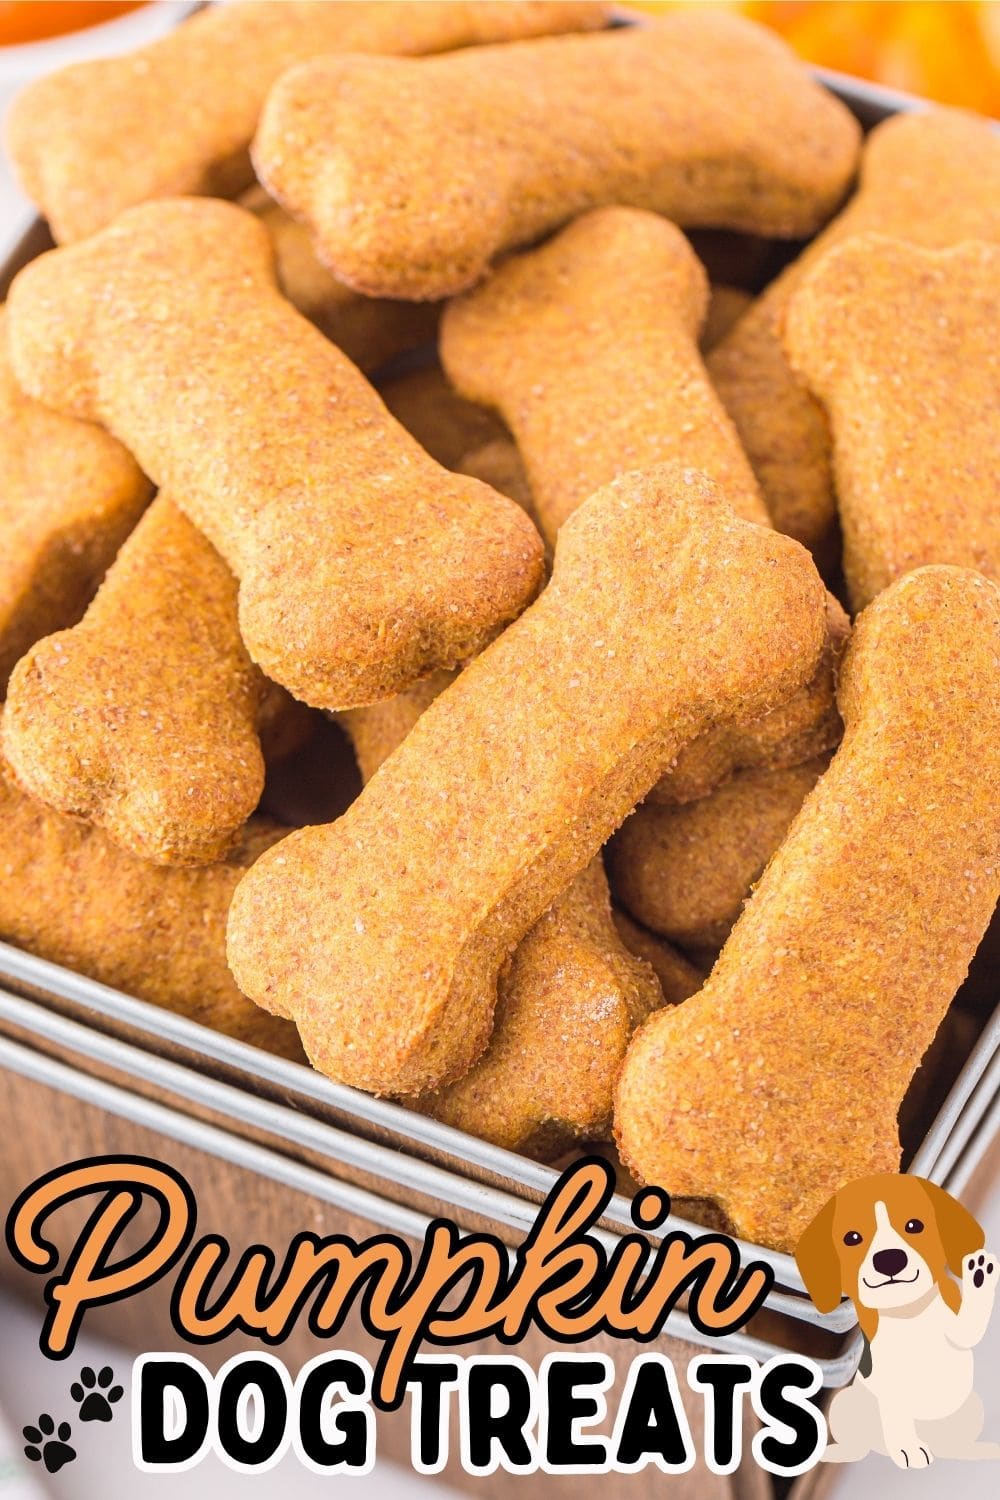
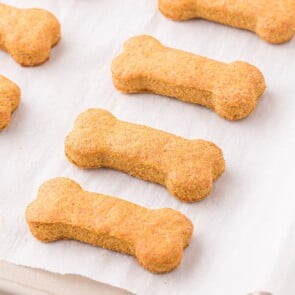
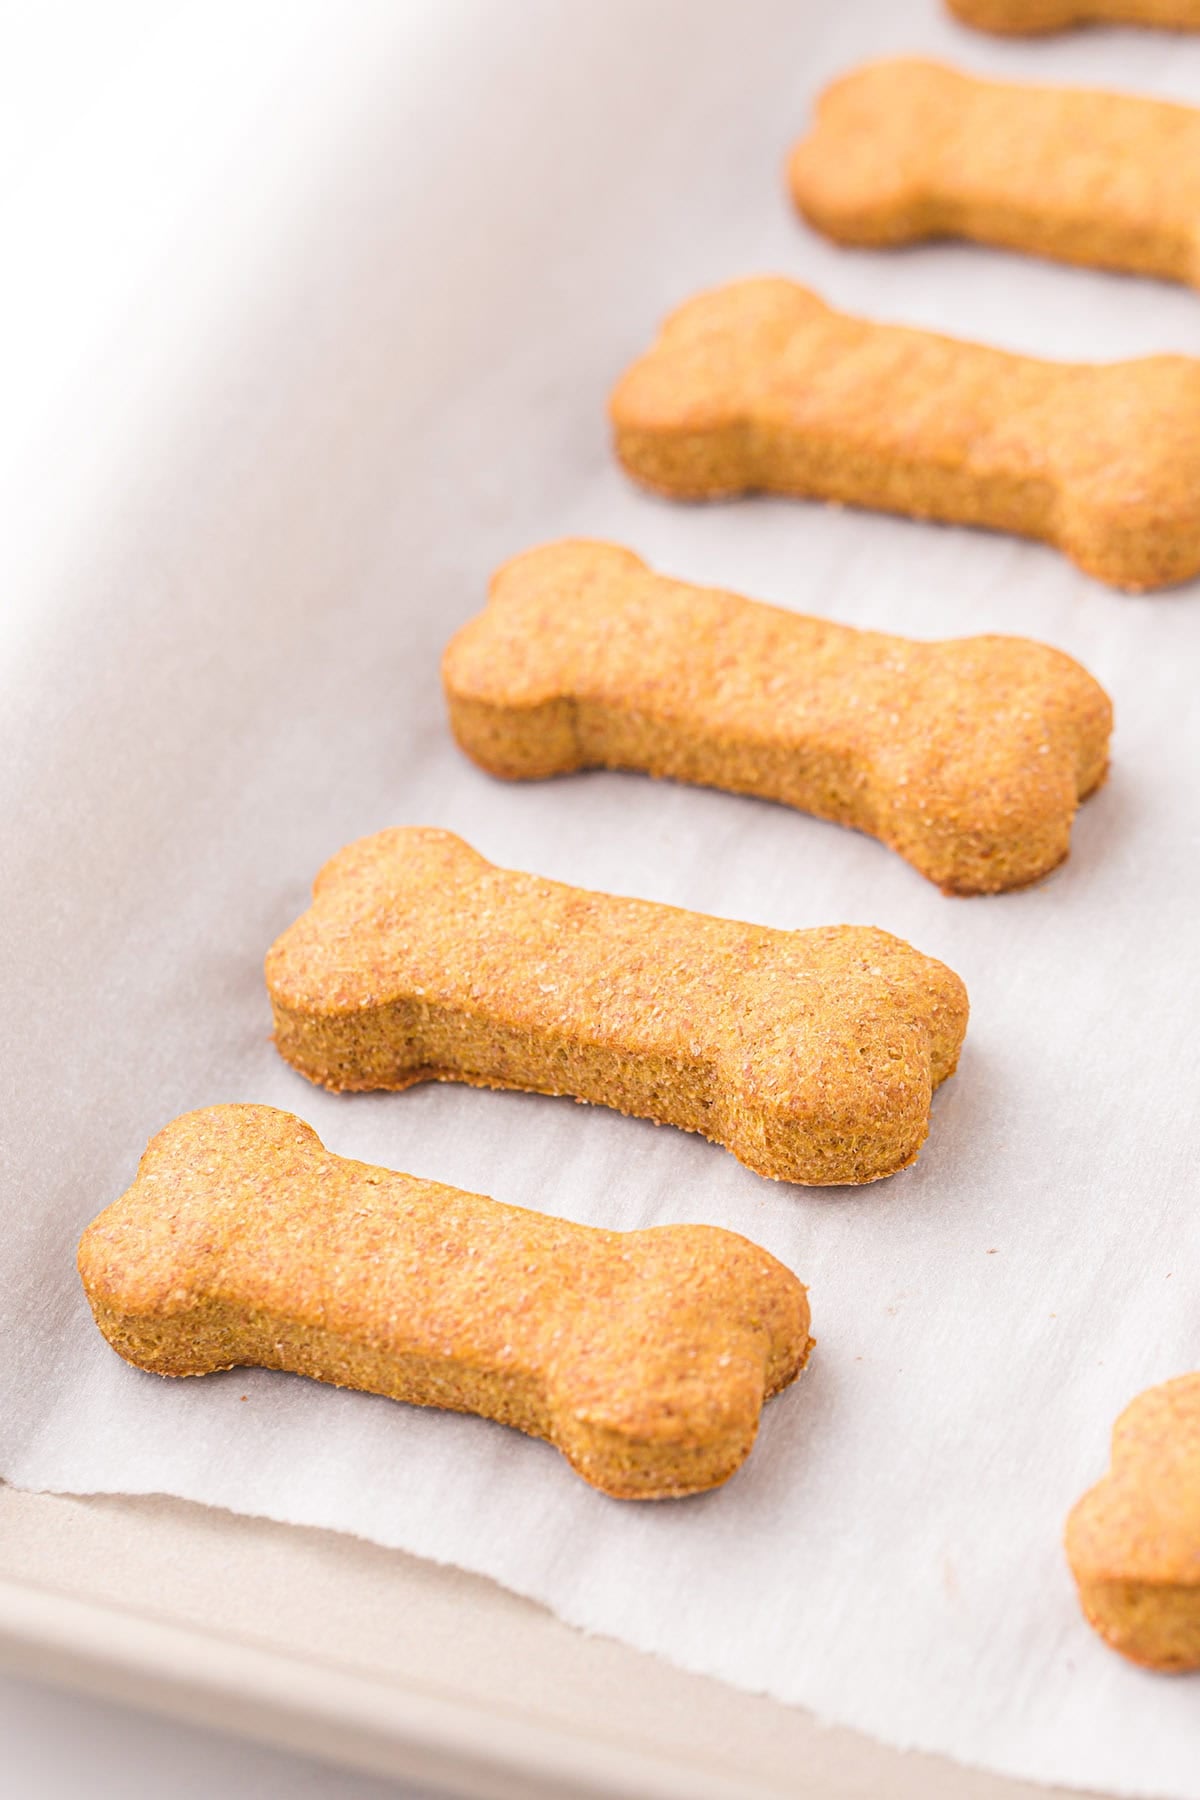
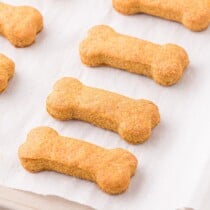
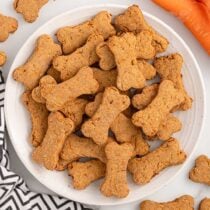
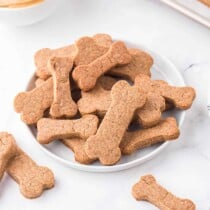
The thing I like about this dough is how cleanly it holds a shape. The bones come out with sharp edges instead of spreading into blobs the way softer doughs do, so they actually look like the cutter you used. That is what sold me on this version for gifting and for my own dog.
What sets these apart is the applesauce. It keeps the treats moist and adds a little natural sweetness, so they are not loaded down with peanut butter the way a lot of recipes are. You can also make them soft or crunchy depending on what your dog likes best.
One thing before you start: check with your veterinarian before you give your dog any new treat, especially if your dog has allergies, a sensitive stomach, or any health condition. I am sharing what works for my dog, and you know yours best.

MY DOG’S FAVORITE
The Homemade Treat I Feel Good Handing My Dog
I keep making these because I like knowing exactly what goes into every batch. No mystery ingredients, no long list I cannot pronounce, only pumpkin, applesauce, peanut butter, and a few pantry staples. My dog gets a treat he is excited about, and I get to be the one who made it. That trade has kept these in my regular rotation for a long time.

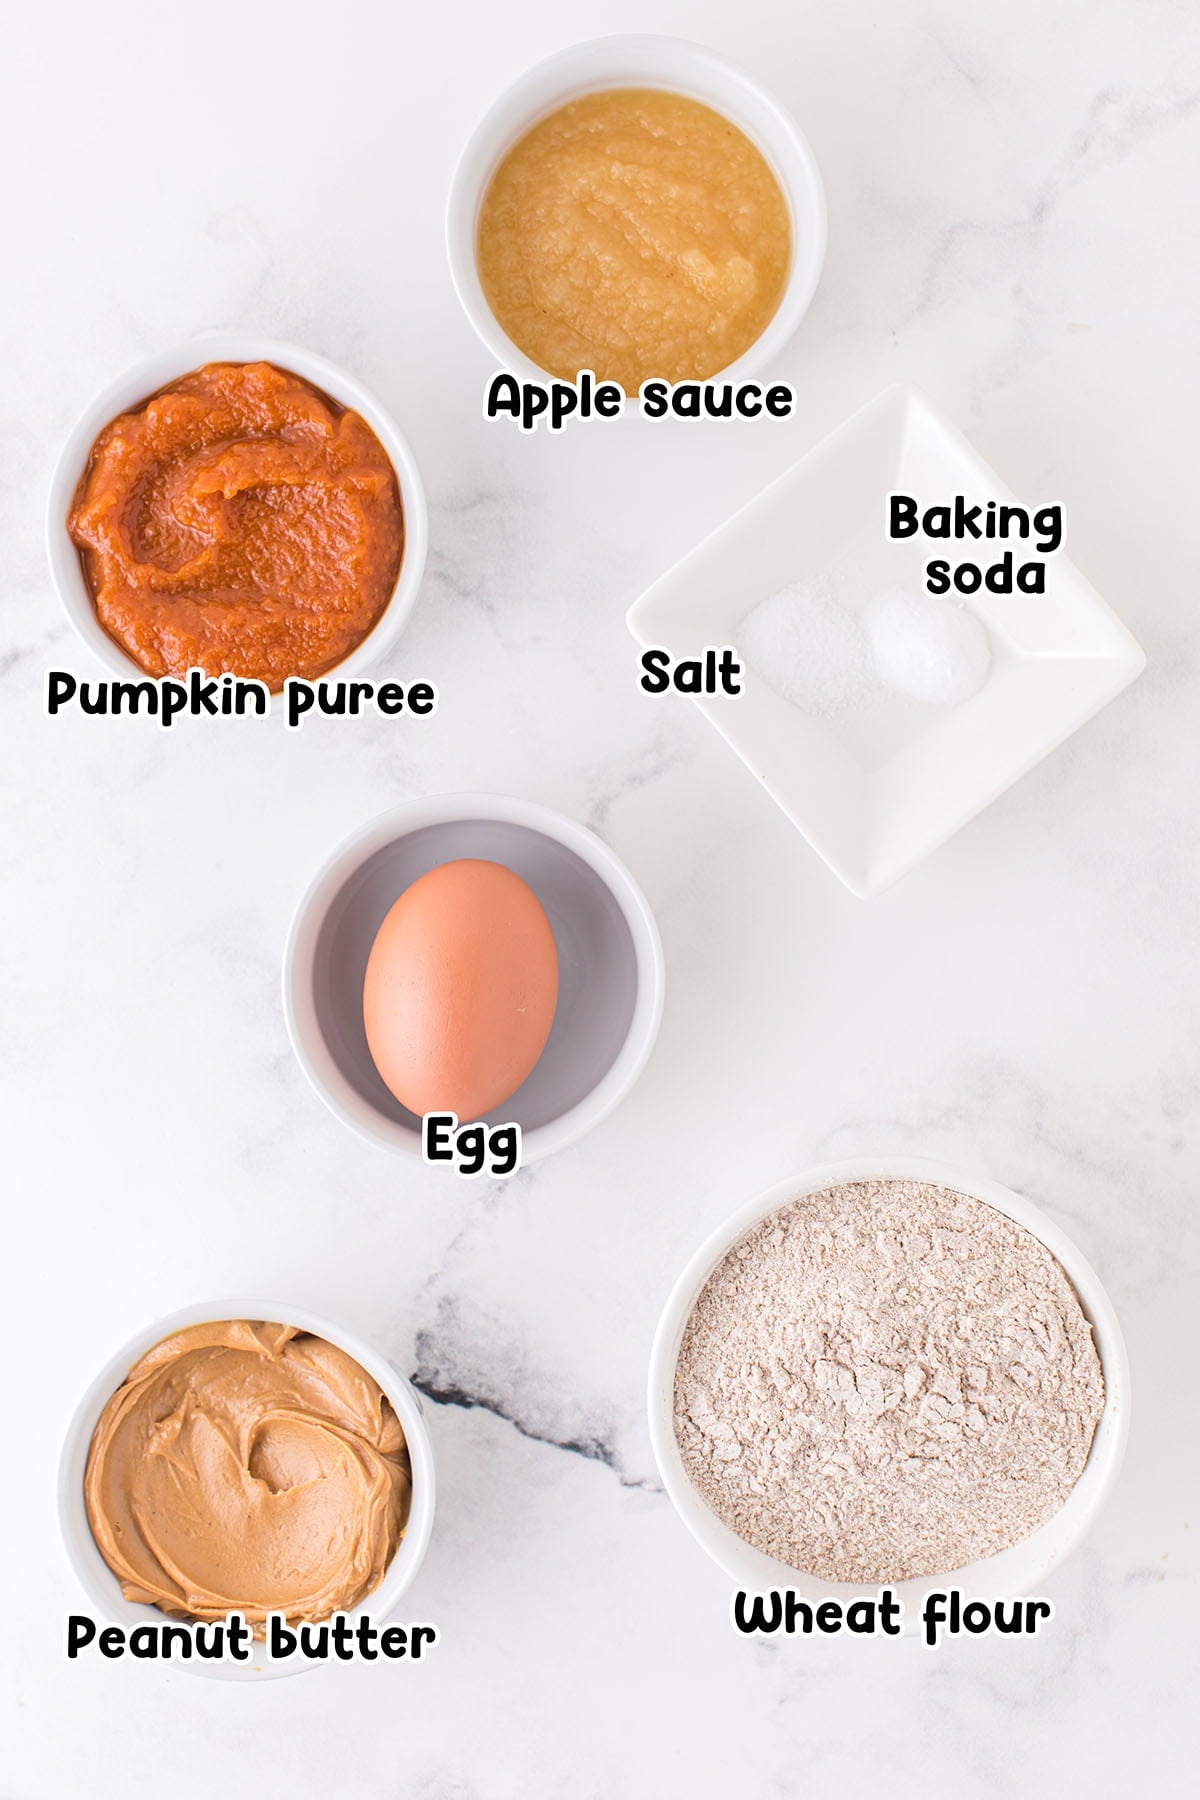
What Goes Into These
- Pumpkin puree: Use plain canned pumpkin puree, not pumpkin pie filling. Pie filling is loaded with added sugar and spices that are not meant for dogs. Check the label and make sure the only thing in the can is pumpkin.
- Applesauce: This is what makes these treats what they are. It adds the moisture and the little bit of natural sweetness the recipe leans on. Use unsweetened applesauce with no added sugar so there is nothing extra in there.
- Peanut butter: Read the label and make sure it does not contain xylitol, which is toxic to dogs even in small amounts. It shows up in some no-sugar-added brands, so check every time. If peanut butter is your dog’s favorite part, my homemade peanut butter dog treats lean all the way into it.
- Egg: The egg binds everything together and holds the shape when you cut the treats. Without it the dough crumbles instead of rolling out clean.
- Baking soda: This helps the treats firm up, but it is optional. If you would rather leave it out, the treats still set up fine without it.
How to Make Pumpkin Dog Treats
Step 1: Heat the Oven and Line the Pan Preheat the oven to 350°F and line a sheet pan with parchment paper. The parchment keeps the treats from sticking so they lift off clean once they are baked.
Step 2: Beat the Wet Ingredients Using a stand mixer or hand mixer, beat the pumpkin puree, applesauce, peanut butter, and egg until smooth. You want it fully combined with no streaks of pumpkin or peanut butter.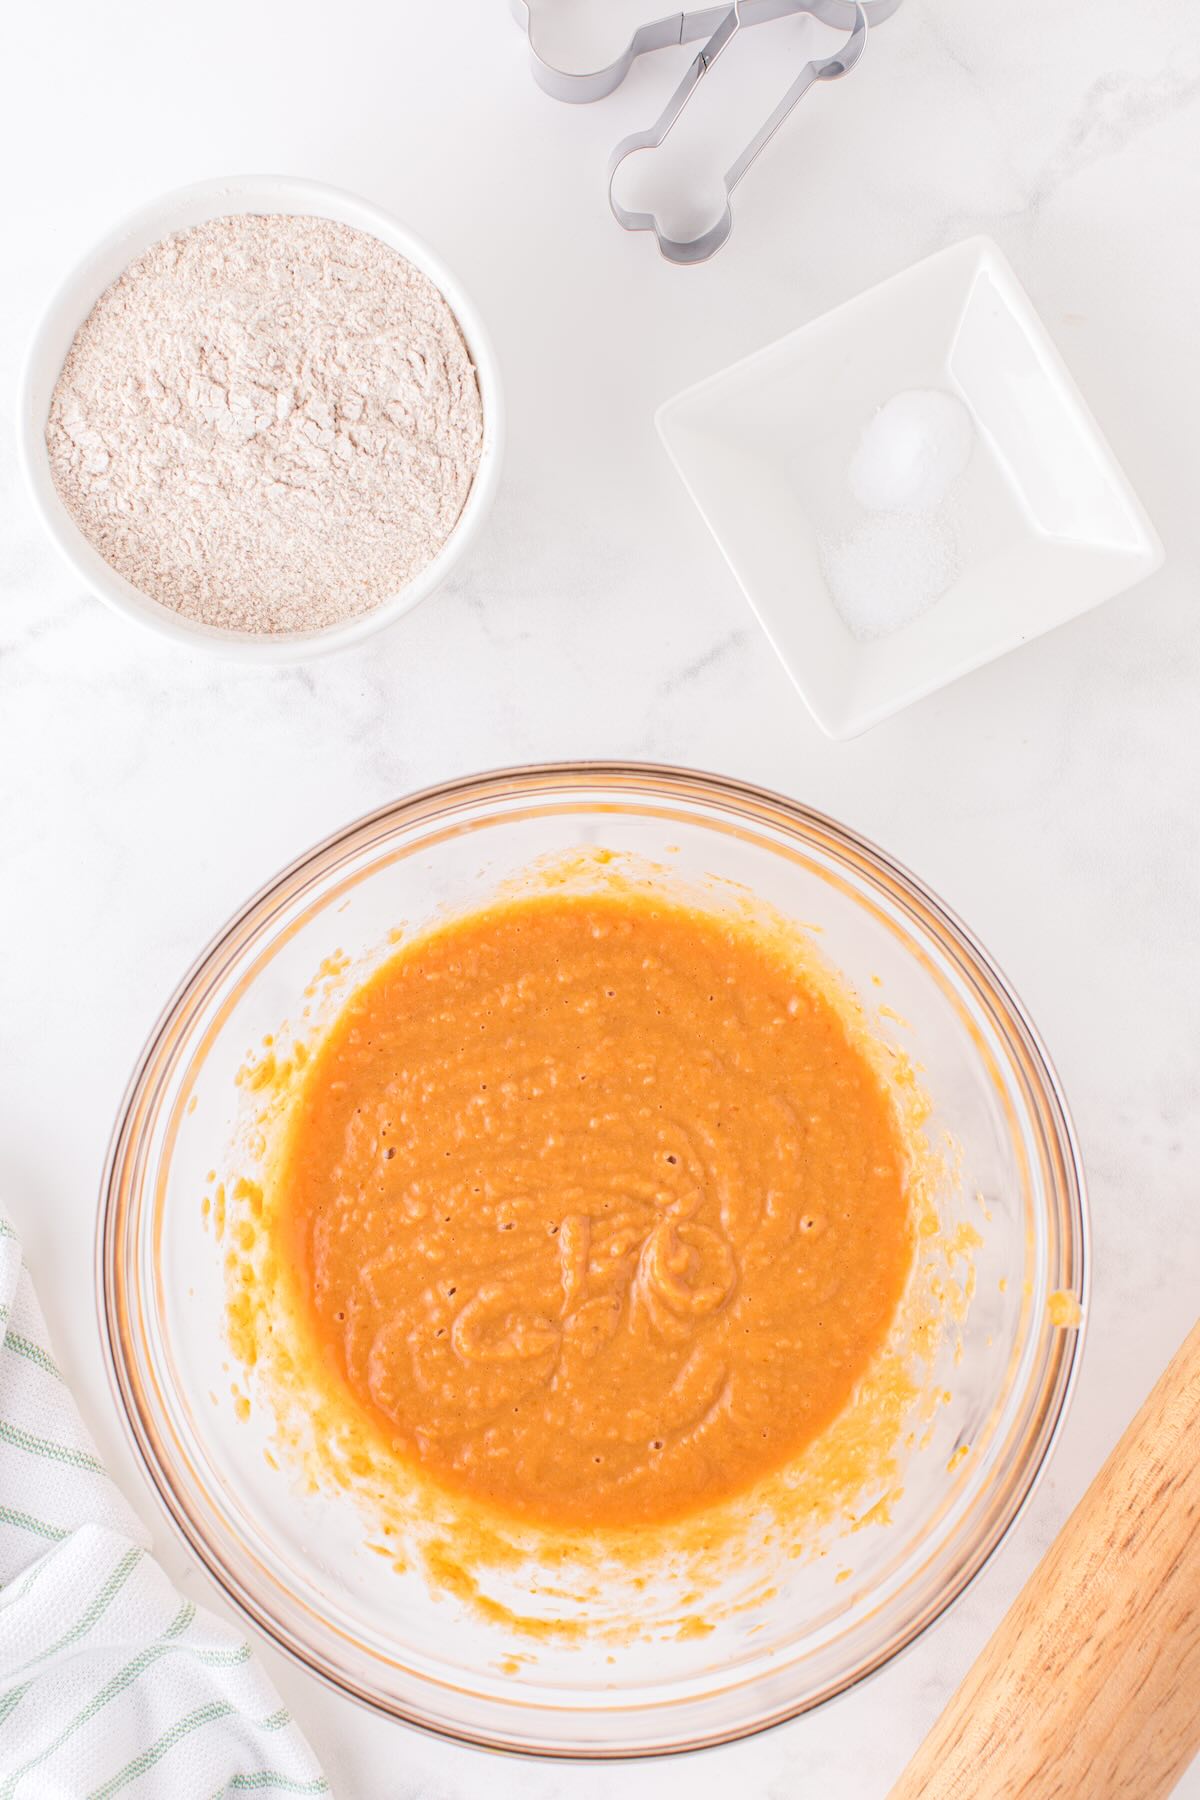
Step 3: Mix in the Dry Ingredients Add the whole wheat flour, salt, and baking soda. Beat just until it comes together into a dough. Turn it out onto a floured surface and knead it a couple of times by hand if it has not fully come together.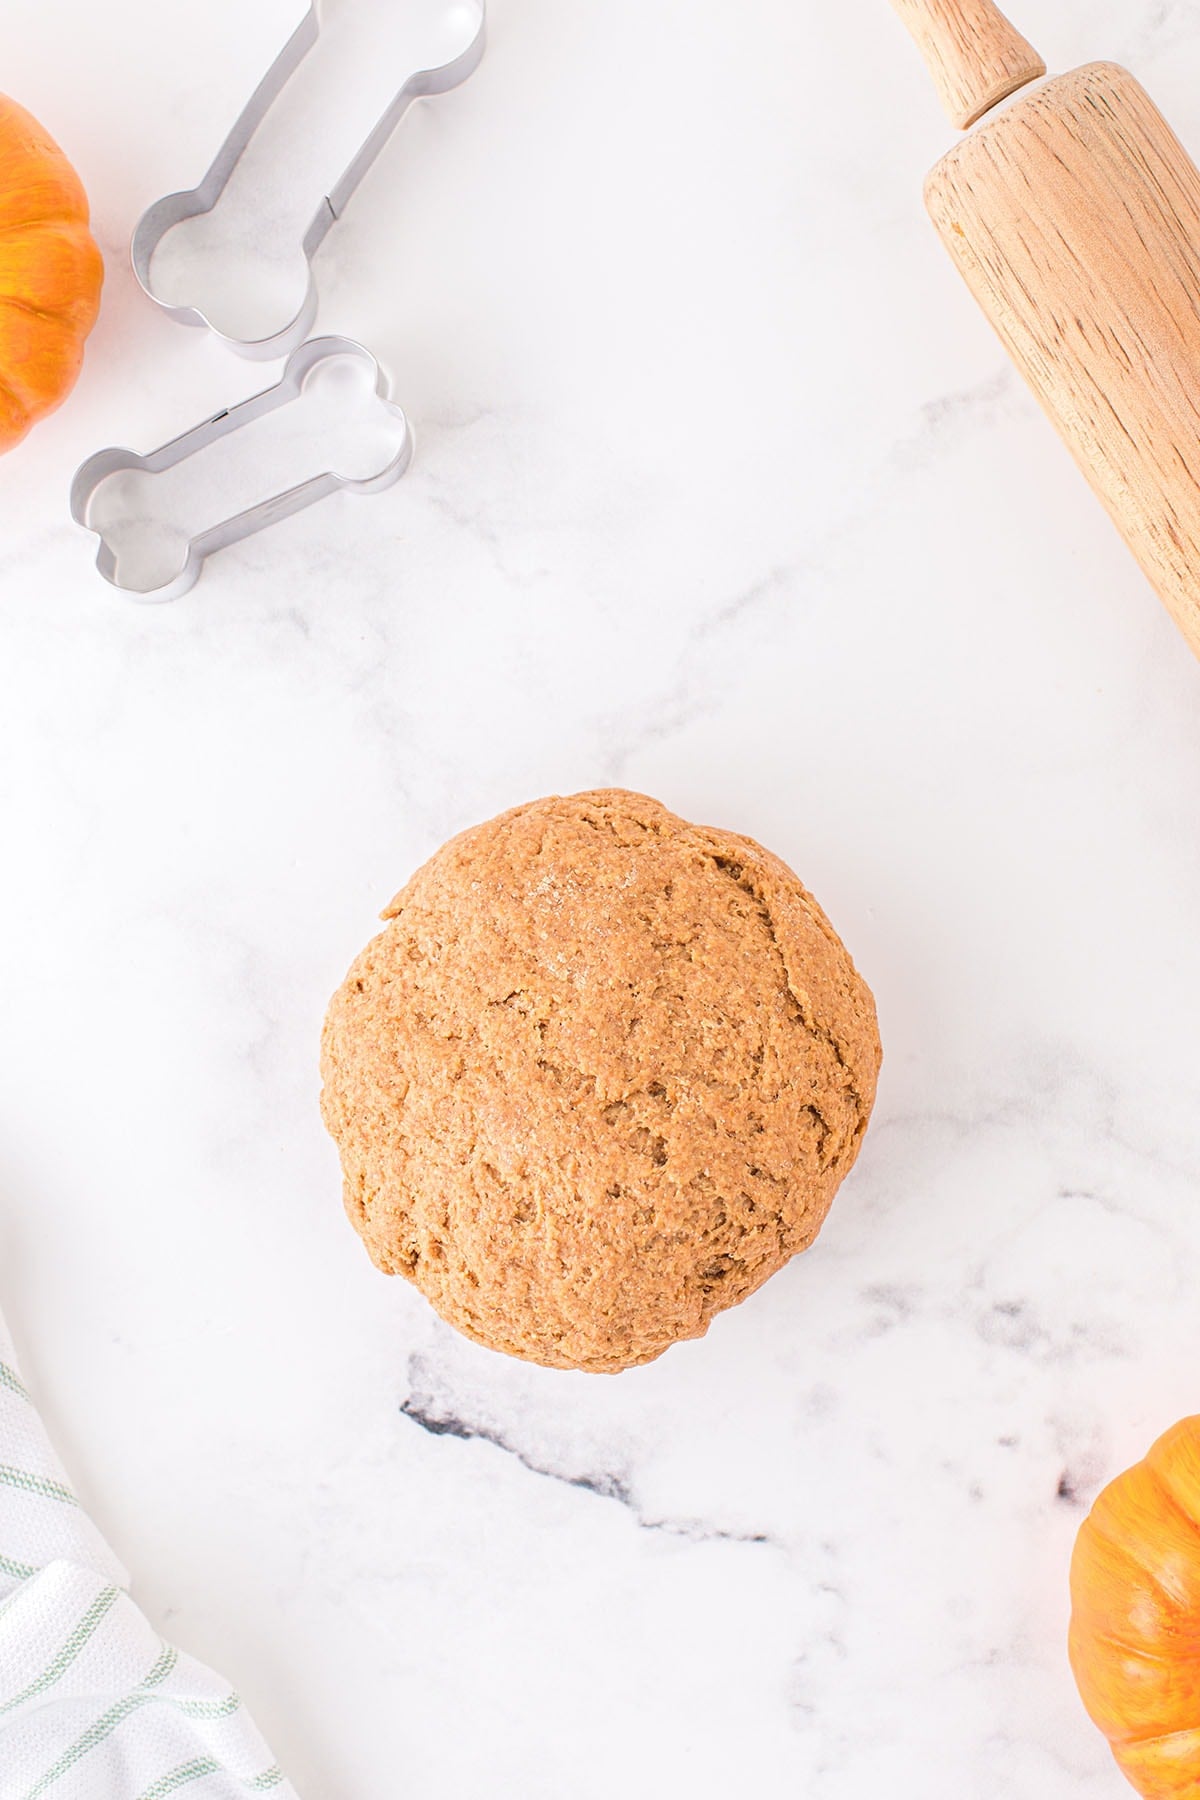
Step 4: Roll and Cut Roll the dough out on the floured surface and cut it with a bone-shaped cookie cutter. Space the treats out evenly on the prepared pan so they bake at the same rate.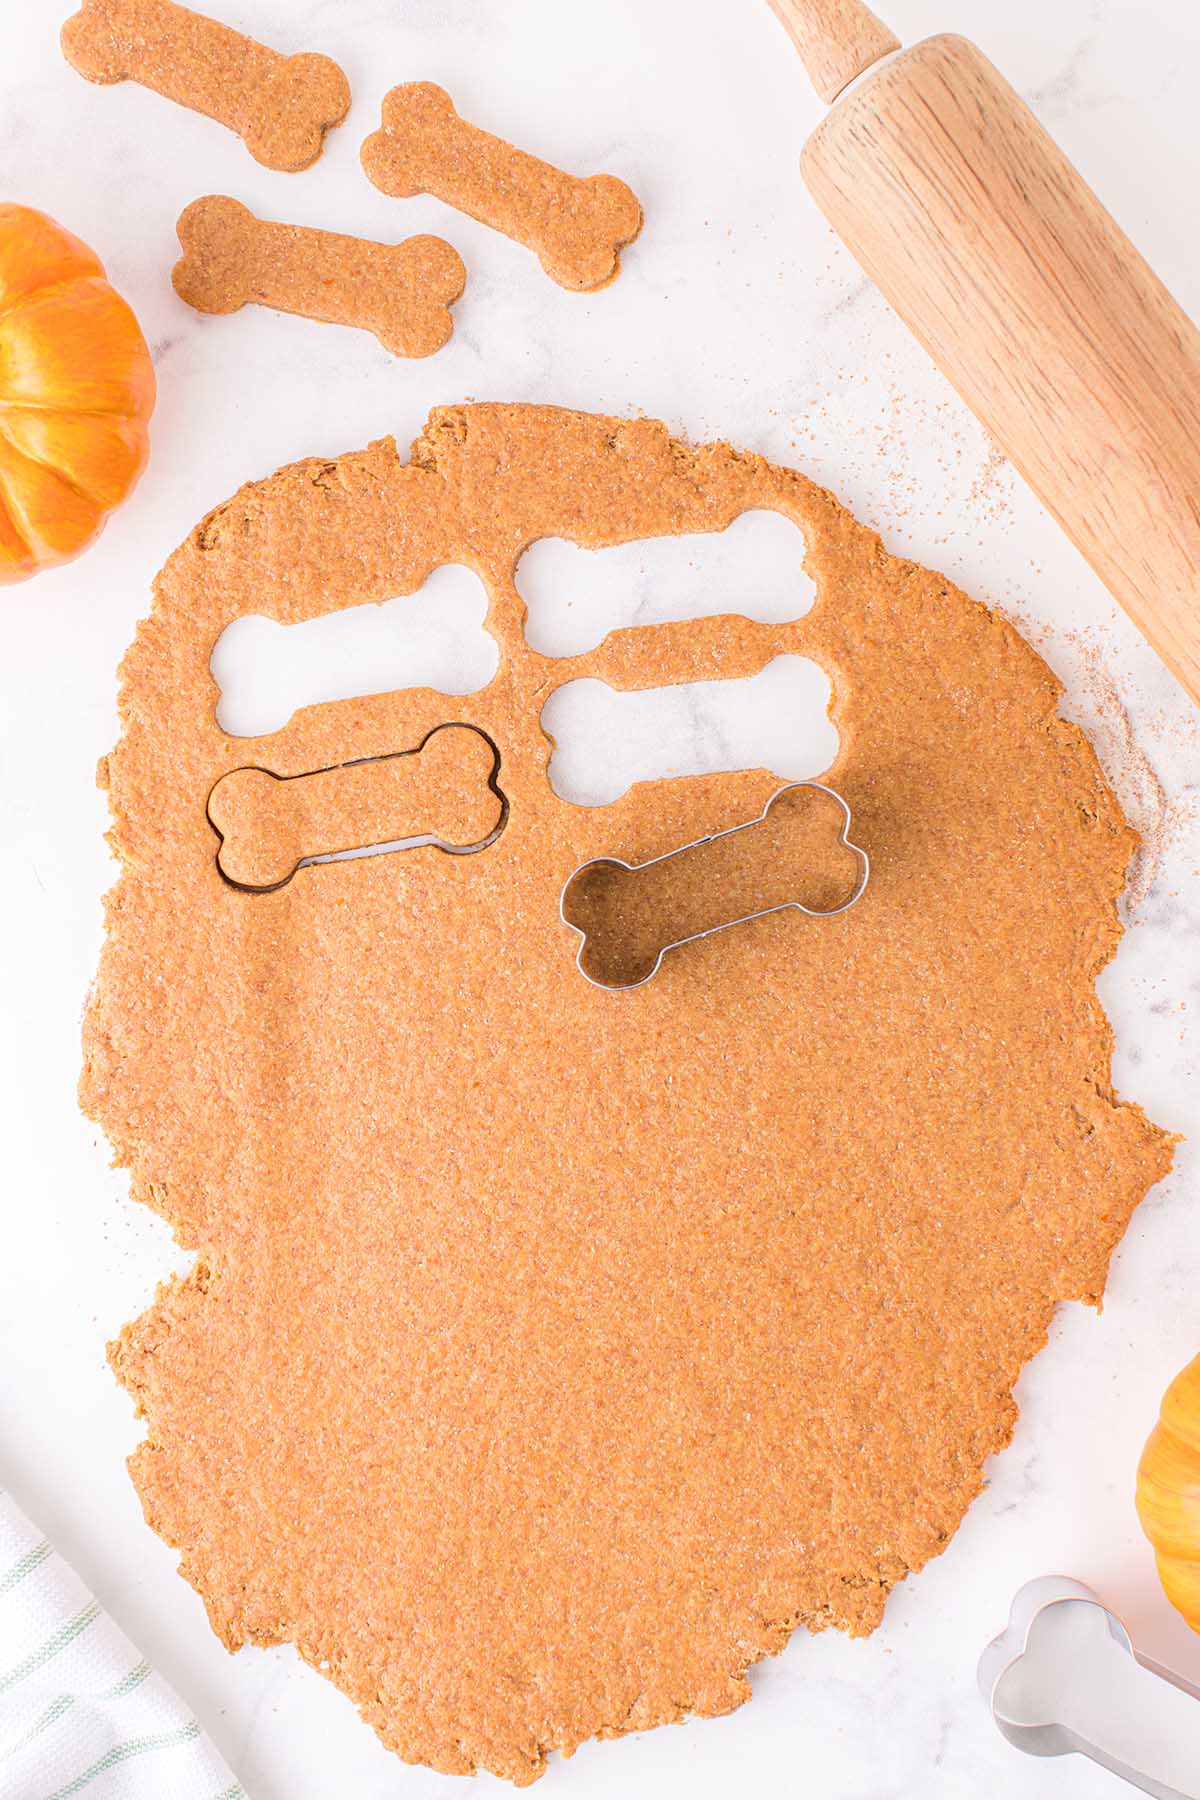
Step 5: Bake to the Texture You Want Bake for 15 to 25 minutes, until the treats reach the hardness you want. Shorter for softer, longer for crunchier. Let them cool completely before you hand one to your dog.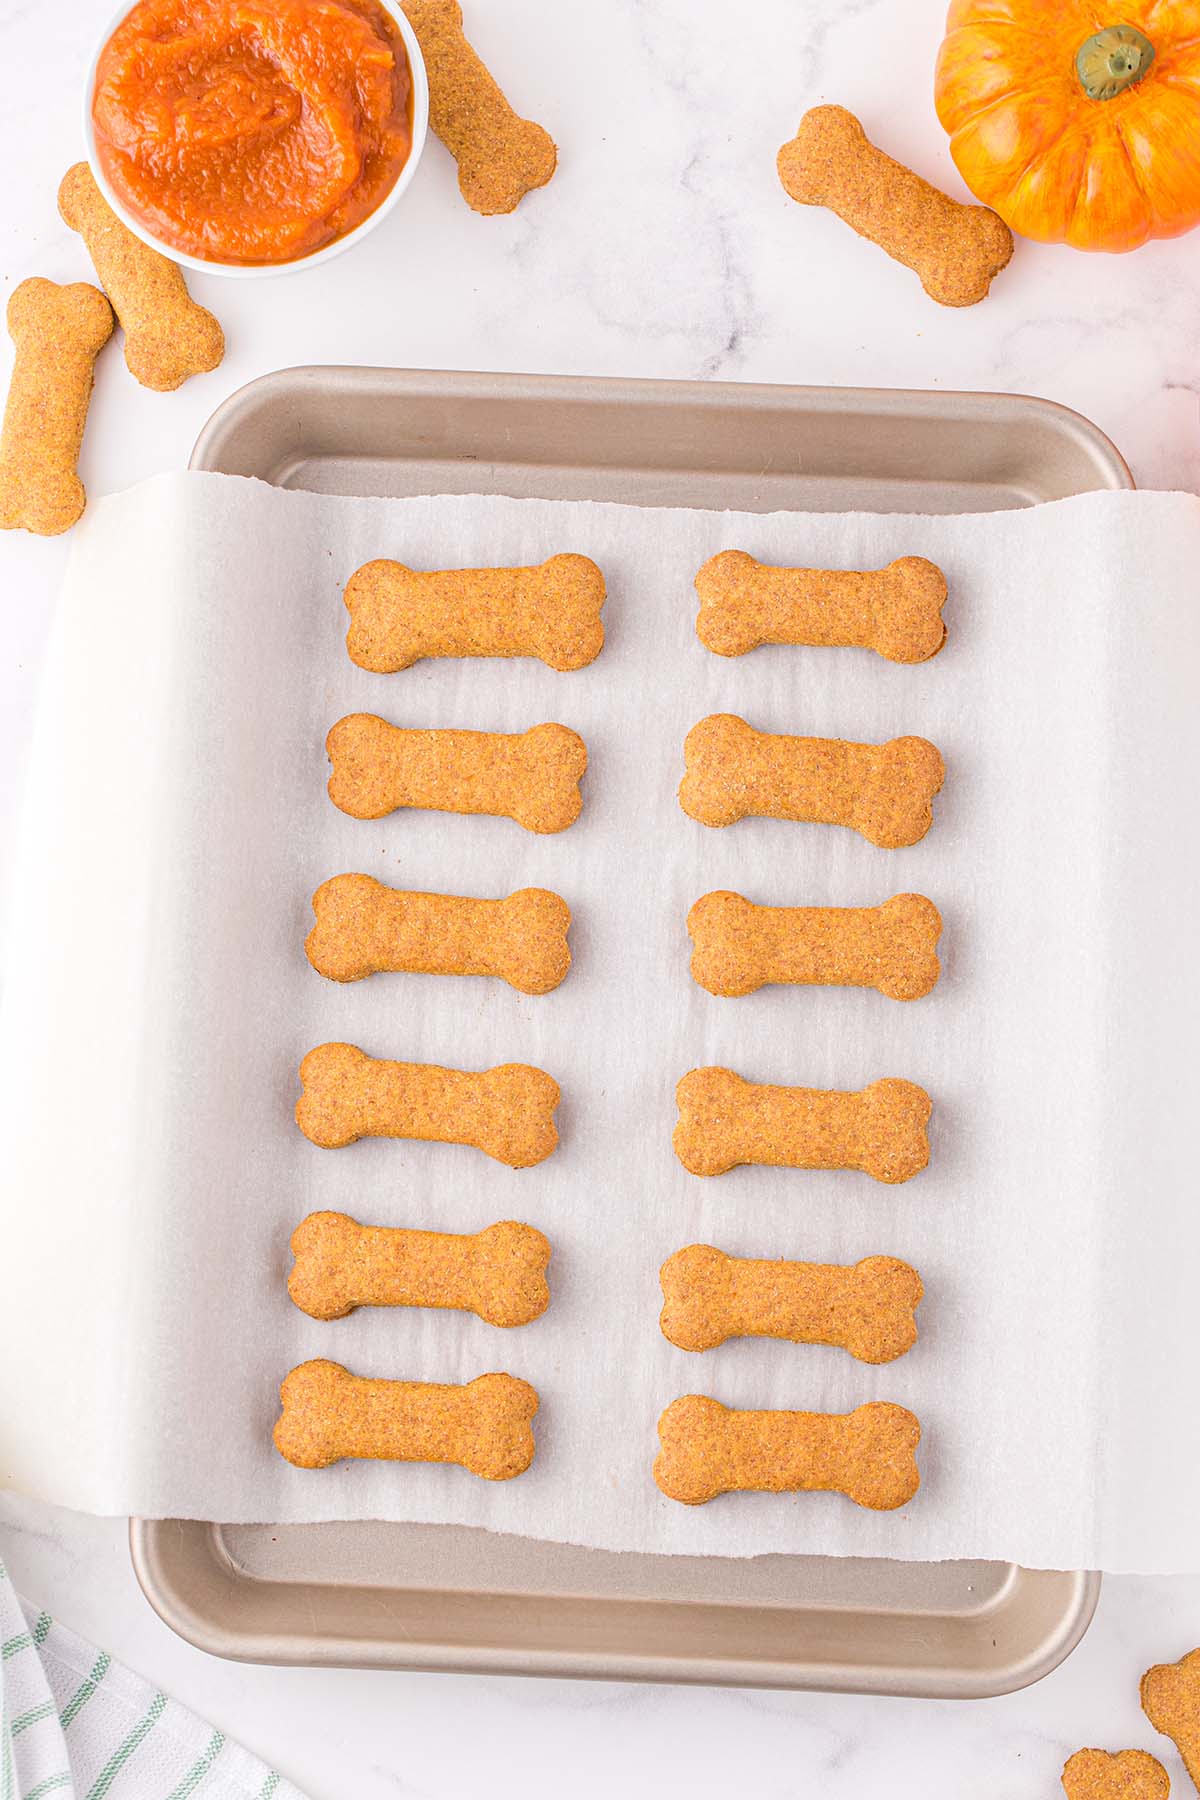
How to Store Them
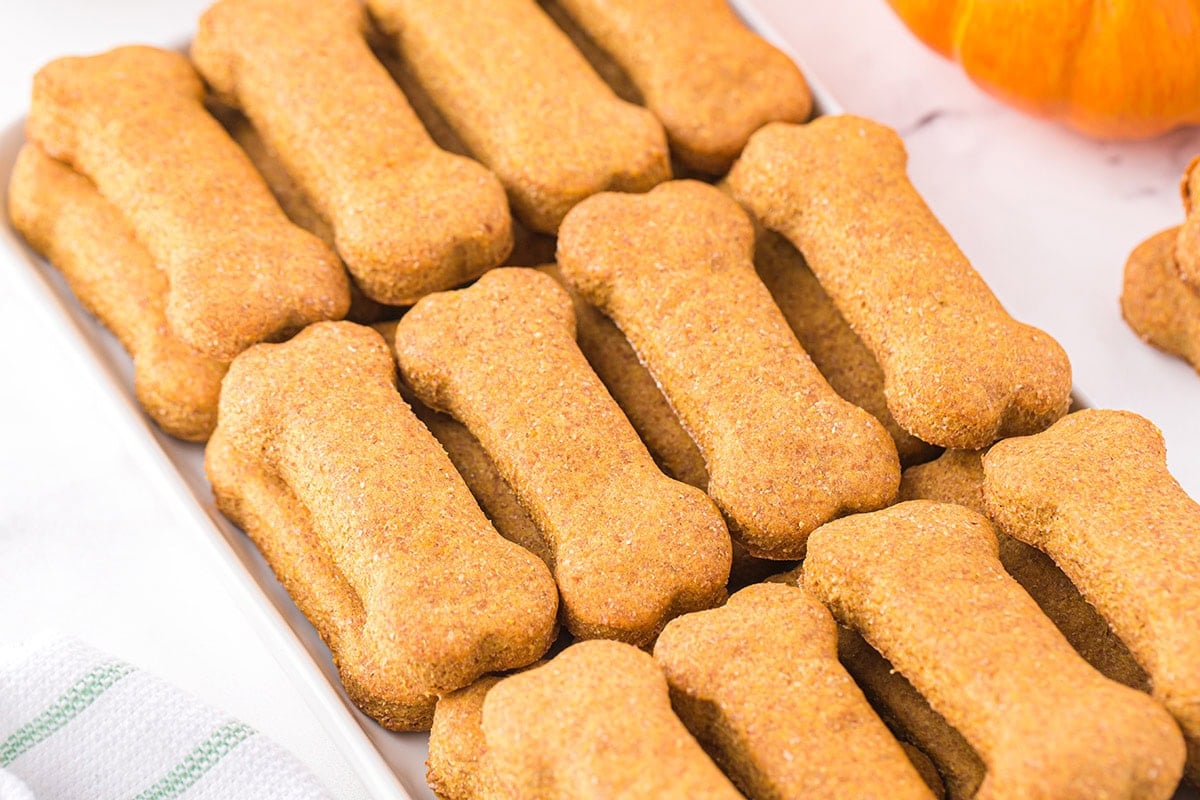
Store the cooled treats in an airtight container in the refrigerator for up to a week. They also freeze well, so you can keep a batch in the freezer for a few months and pull out what you need. I like making a big batch and freezing half so there is always a treat ready to go.
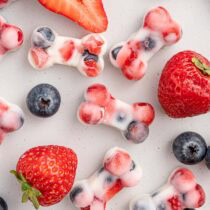
If you want a cold treat for a hot August afternoon, my frozen pupsicles for dogs are an easy one to keep in the freezer alongside these.
More Dog Treats to Make
Pumpkin Dog Treats
Ingredients
- ½ cup pumpkin puree
- ¼ cup applesauce
- 3 tablespoons peanut butter
- 1 egg
- 2 cups whole wheat flour
- ¼ teaspoon salt
- ¼ teaspoon baking soda
Instructions
- Prepare a sheet pan by lining it with parchment paper and preheat the oven to 350 degrees Fahrenheit.
- Using a stand or hand mixer, beat together the pumpkin puree, applesauce, peanut butter, and egg.½ cup pumpkin puree, ¼ cup applesauce, 3 tablespoons peanut butter, 1 egg
- Mix in the whole wheat flour, salt, and baking soda. Beat until just combined and then roll out dough on a floured surface. Knead the dough together if it hasn’t come together all the way.2 cups whole wheat flour, ¼ teaspoon salt, ¼ teaspoon baking soda
- Cut the cookies using a bone-shaped cookie cutter and evenly spread them out on the prepared sheet pan.
- Bake in the oven for 15-25 minutes, until they reach your desired level of hardness.
- Let the treats cool completely before serving to your favorite four legged person.
Jenn’s Notes
- Mix the dough just until it comes together. Overmixing makes it tough and hard to roll out.
- Bake time sets the texture. Pull them earlier for softer treats, leave them longer for crunchier ones.
- The baking soda is optional. Leave it out if you want and the treats still firm up.






substituted AP flour and my dog loves them!
Dough is very stiff and hard to work with. I would roll into a log and cut cookies from it next time. Baked to remain soft, and Awgie loved them, even with limited teeth!
Thank you so much for sharing this. You’re right, the dough can be on the stiffer side, especially depending on the pumpkin and flour used. Rolling it into a log and slicing is a great tip and an easy way to handle it next time. I love hearing that Awgie enjoyed them, especially that they stayed soft and easy to eat. That makes my day. Give Awgie an extra belly rub from me and thanks again for taking the time to leave such a helpful comment.
Mine were a little chewy, but Awgie seemed to like that! After investigating with a sniff, he gobbled it right down. Will definitely make more!
Awwwww so glad he enjoyed them!
Please do some research before perpetuating misinformation. The *only* nut that’s toxic for dogs is macadamia. Other kinds of nuts are not only safe but they contain important nutrients that are often missing from most dogs’ diets. I’d also never use wheat flour because it’s a common allergen for dogs. Oat flour would be one safer option.
thank you for your feedback.